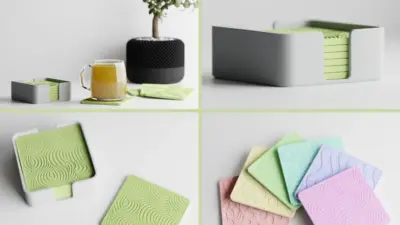
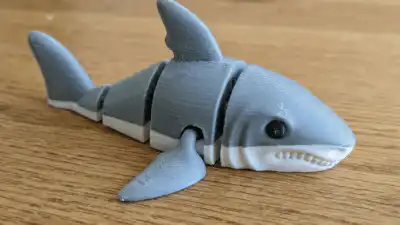
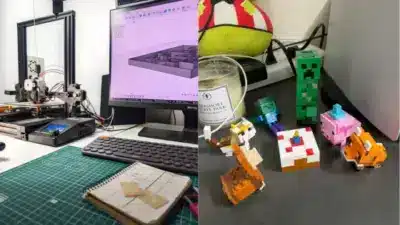
Ever wondered how those cool 3D-printed gadgets, prototypes, or custom figurines come to life? At the heart of almost every 3D printing adventure lies a rather unassuming file format: the STL file. Think of STL files for 3D printing as the universal language that tells a 3D printer what to create. It’s the blueprint, the recipe, the DNA for your physical object. Without it, your fancy 3D printer is just a very expensive paperweight.
In this casual dive, we’re going to pull back the curtain on STL files. We’ll explore what they are, how they work, why they’re so indispensable, and even a few common hiccups you might encounter along the way. Whether you’re a seasoned maker, just getting started with a new printer, or simply curious about the magic behind additive manufacturing, understanding STL files is your first step to unlocking a world of creative possibilities.
What Exactly are STL Files? A Deeper Dive
So, what does STL even stand for? Originally, it was an abbreviation for “Stereolithography,” which is the name of the first 3D printing technology invented by Charles Hull in the 1980s. Today, many in the industry also say it stands for “Standard Triangle Language” or “Standard Tessellation Language” because that’s exactly what it does: it describes a 3D object using a collection of interconnected triangles.
Imagine you have a complex 3D shape, like a curved vase or a detailed character model. An STL file doesn’t actually store the mathematical equations that define those curves or details. Instead, it approximates the surface of that 3D shape using tiny, flat triangles. The more triangles it uses, and the smaller they are, the more detailed and smooth the resulting 3D model will appear. Each triangle is defined by the coordinates of its three vertices (corners) and a “normal vector” – a line pointing outwards from the triangle, indicating which side is “up” or “out.” This information tells the 3D printer the exact geometry of the object’s surface.
There are two main ways an STL file stores this data:
- ASCII (Text) Format: This version is human-readable, meaning you can open it with a text editor and see the coordinates listed out. It’s larger in file size and less efficient.
- Binary Format: This is the more common and preferred format. It stores the same information in a compressed, machine-readable way, making the file size much smaller and faster to process.
The genius of the STL format lies in its simplicity and universality. By breaking down any complex 3D surface into these basic triangular facets, it provides a common language that virtually all 3D CAD (Computer-Aided Design) software can export, and almost all 3D printers and slicing software can understand. This simple, standardized approach is why it became (and remains) the bedrock of personal and professional 3D printing.
The Journey from Idea to STL: How They’re Created
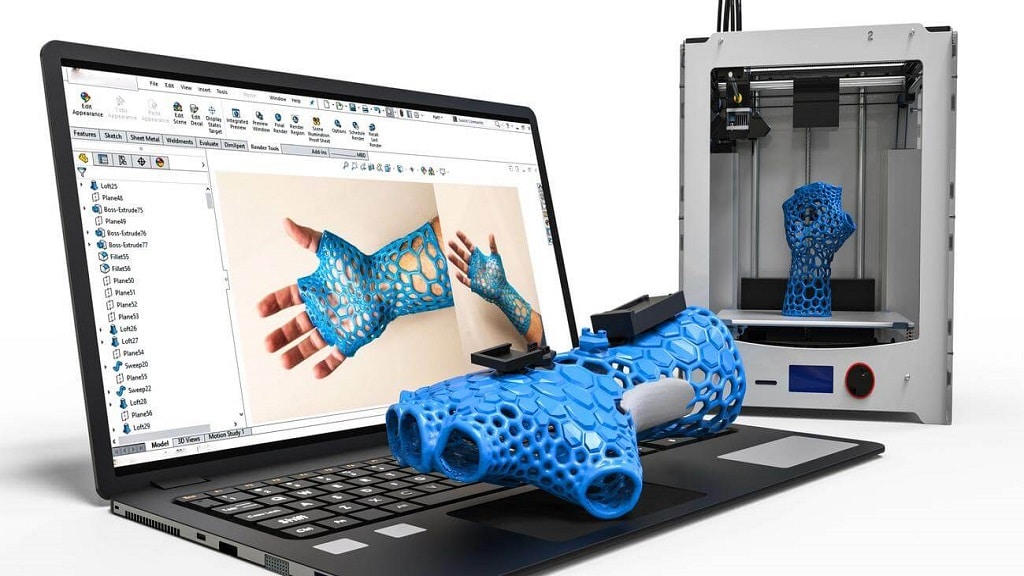
Bringing a 3D idea to life starts long before the printer heats up. It begins with creating or acquiring that crucial STL file. There are several popular avenues for this:
Designing Your Own with CAD Software
This is where the magic really happens for custom creations. CAD software is your digital workbench for sculpting, engineering, and designing in three dimensions.
- Beginner-Friendly Options: Programs like Tinkercad are fantastic for starting out. They use simple drag-and-drop shapes, making it easy to learn the basics of 3D modeling. You can quickly assemble objects, merge them, and subtract parts to create surprisingly complex designs.
- Intermediate to Advanced Tools: As you gain confidence, you might move to software like Fusion 360, SketchUp, or Blender.
Fusion 360 is popular for mechanical design and engineering, offering robust tools for creating precise, functional parts. SketchUp is often favored for architectural models and interior design, providing intuitive tools for building structures and spaces. For those interested in home design, understanding foundational design principles can be greatly enhanced by exploring resources on how to build an effective design system, which often overlaps with architectural modeling. Blender* is a powerful open-source suite for 3D creation, encompassing modeling, sculpting, animation, and rendering. It has a steeper learning curve but offers incredible artistic freedom.
- Professional Suites: For industrial design and complex engineering, software like SolidWorks, CATIA, or AutoCAD are industry standards, offering unparalleled precision and features.
Once your design is complete, the software exports it as an STL file, triangulating the surfaces and preparing it for the next stage.
Scanning Real-World Objects
Another fascinating way to get an STL file is by 3D scanning. This technology captures the geometry of a physical object and translates it into a digital model.
- Desktop 3D Scanners: These devices often use structured light or lasers to capture detailed surface data. They’re great for replicating existing parts or digitizing sculptures.
- Handheld Scanners: More flexible for larger or irregularly shaped objects, these allow you to move around the object to capture all angles.
- Photogrammetry: Believe it or not, you can create 3D models from a series of 2D photographs. Software stitches these images together, identifying common points to reconstruct the object’s geometry. While it creates a mesh, further processing is usually needed to optimize it for 3D printing.
The output from these scanners is often a point cloud or a raw mesh, which then needs to be processed, cleaned up, and converted into a manifold (watertight) STL file suitable for printing.
Online Model Repositories: A Treasure Trove of Designs
If designing from scratch isn’t your forte or you just need a specific part, the internet is brimming with free and paid STL files. These online platforms host millions of user-contributed and professionally designed models.
- Thingiverse: Probably the most well-known, Thingiverse is a massive community hub for 3D models. You can find everything from practical tools and spare parts to toys and artistic creations.
- MyMiniFactory: Known for its curated, high-quality models and focus on ensuring printability.
- Cults3D & PrusaPrinters: Offer a mix of free and premium models, often featuring more intricate designs.
- GrabCAD: More focused on engineering and professional designs.
These repositories are incredible resources for hobbyists and professionals alike, providing a huge jumpstart to any project. If you’re looking for inspiration for your home, remember that essential online resources for stylish and functional home design can also include these 3D model sites, allowing you to print decorative items or custom organizers.
Converting Other 3D Formats
Sometimes you might have a 3D model in a different format, like OBJ, FBX, or a native CAD format (e.g., .step, .iges). Most 3D modeling software or dedicated conversion tools can import these formats and then export them as STL, making them ready for 3D printing.

The Crucial Role of STL in 3D Printing Workflow
Once you have your STL file, it’s time to bridge the gap between digital design and physical reality. This is where the 3D printing workflow truly begins, and the STL file is the star player.
From Design to Export: Preparing the STL
After you’ve finished designing your object in CAD software, the next critical step is to export it as an STL file. This isn’t just a simple “save as” click; there are often important settings to consider:
- Resolution/Tolerance: This setting dictates how finely the curved surfaces of your model are approximated by triangles.
A higher resolution (smaller tolerance) means more triangles, a smoother surface, and a larger file size. It captures more detail but can also increase processing time for the slicer. A lower resolution (larger tolerance) results in fewer triangles, a blockier appearance (you might see facets on curves), and a smaller file size. * Finding the right balance is key. You want enough detail for a smooth print without creating an unnecessarily massive file. A common recommendation is to ensure the maximum deviation between the actual curve and the flat triangle facet is no more than 0.01mm.
- Units: Make sure your export units (millimeters, inches, centimeters) match the units your slicing software expects. A common headache for beginners is printing a tiny version of their object because the STL was exported in inches but the slicer interpreted it as millimeters!
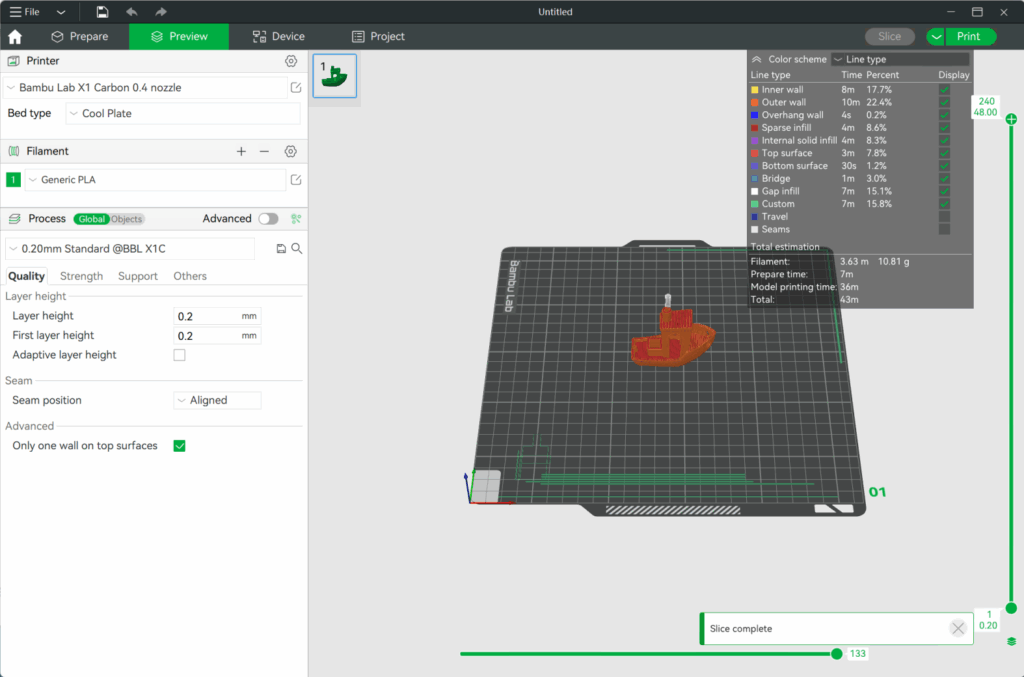
Enter the Slicer: The STL’s Translator
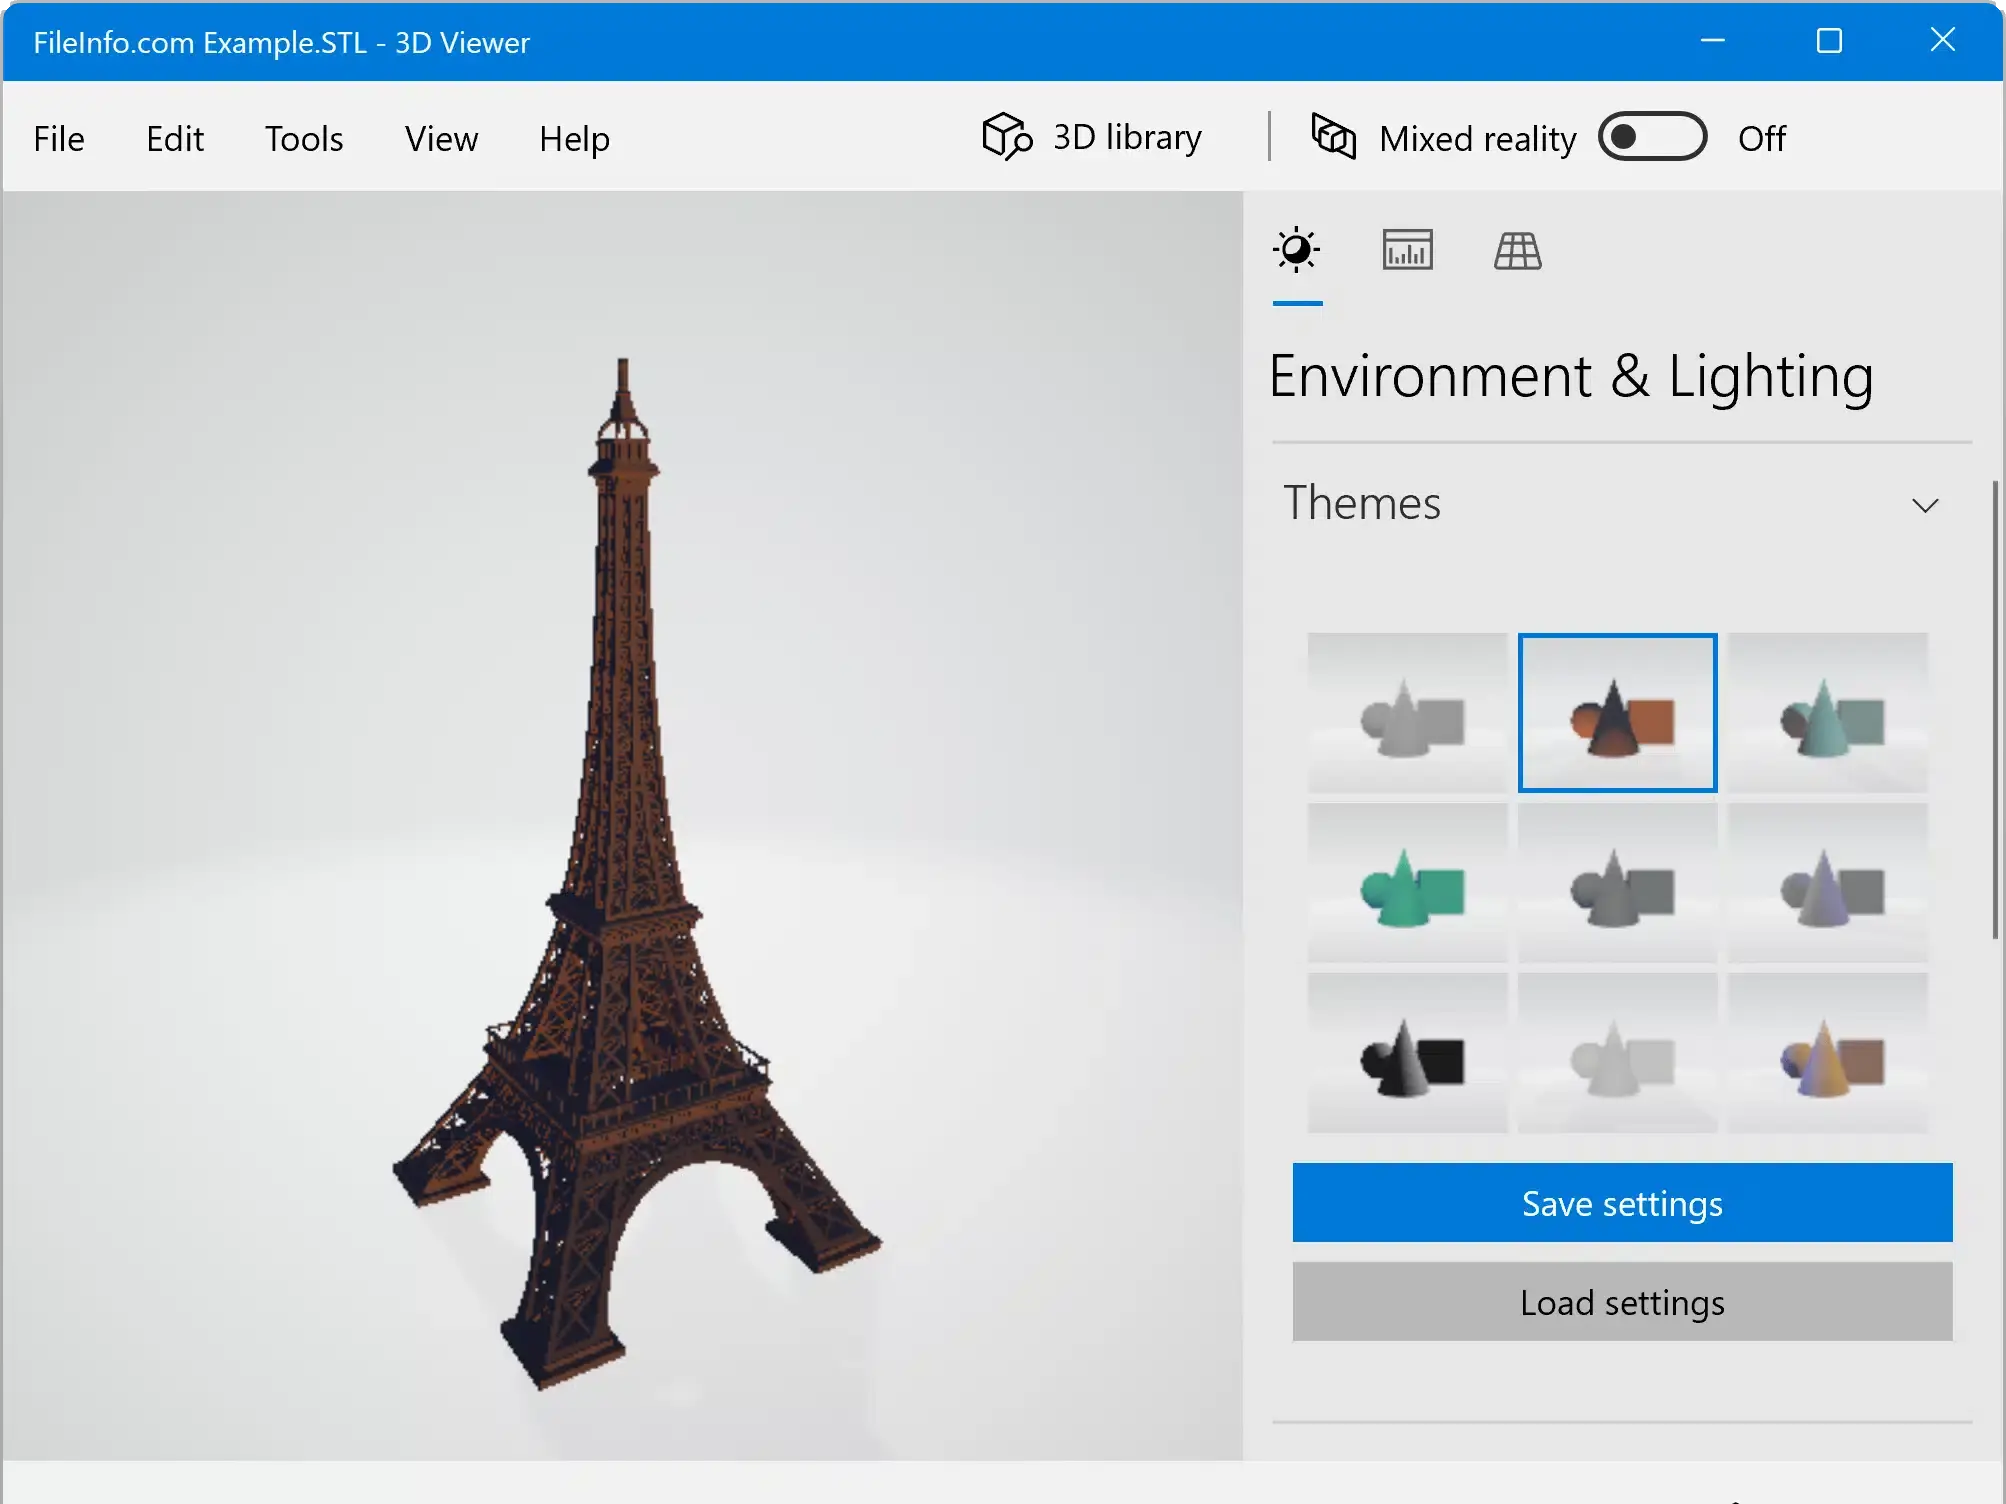
Once you have your pristine STL file, it’s passed on to the “slicer” software. Popular slicers include Cura, PrusaSlicer, Simplify3D, and Ultimaker Cura. This software is the brain between your digital model and your physical printer.
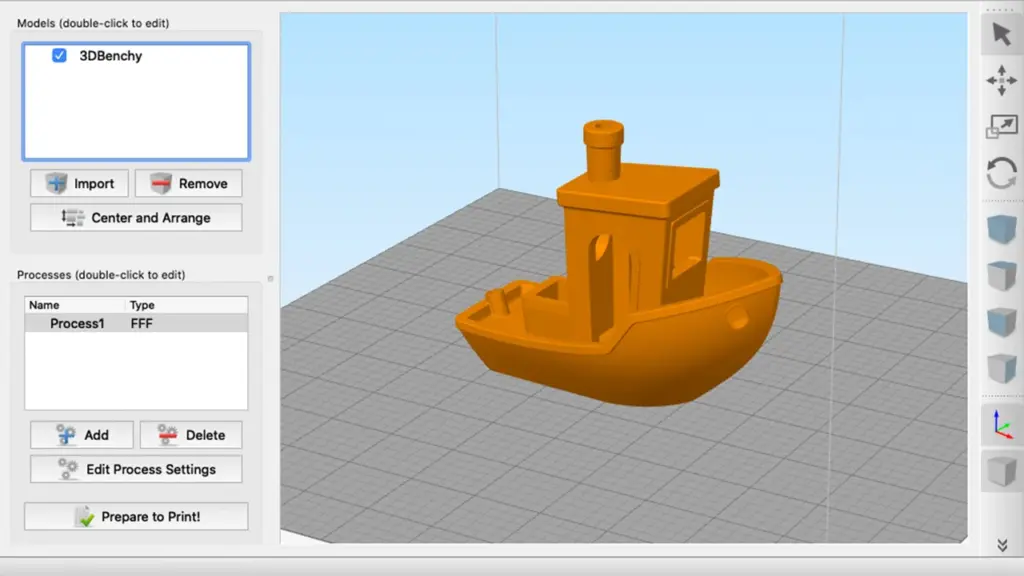
Here’s what a slicer does with your STL:
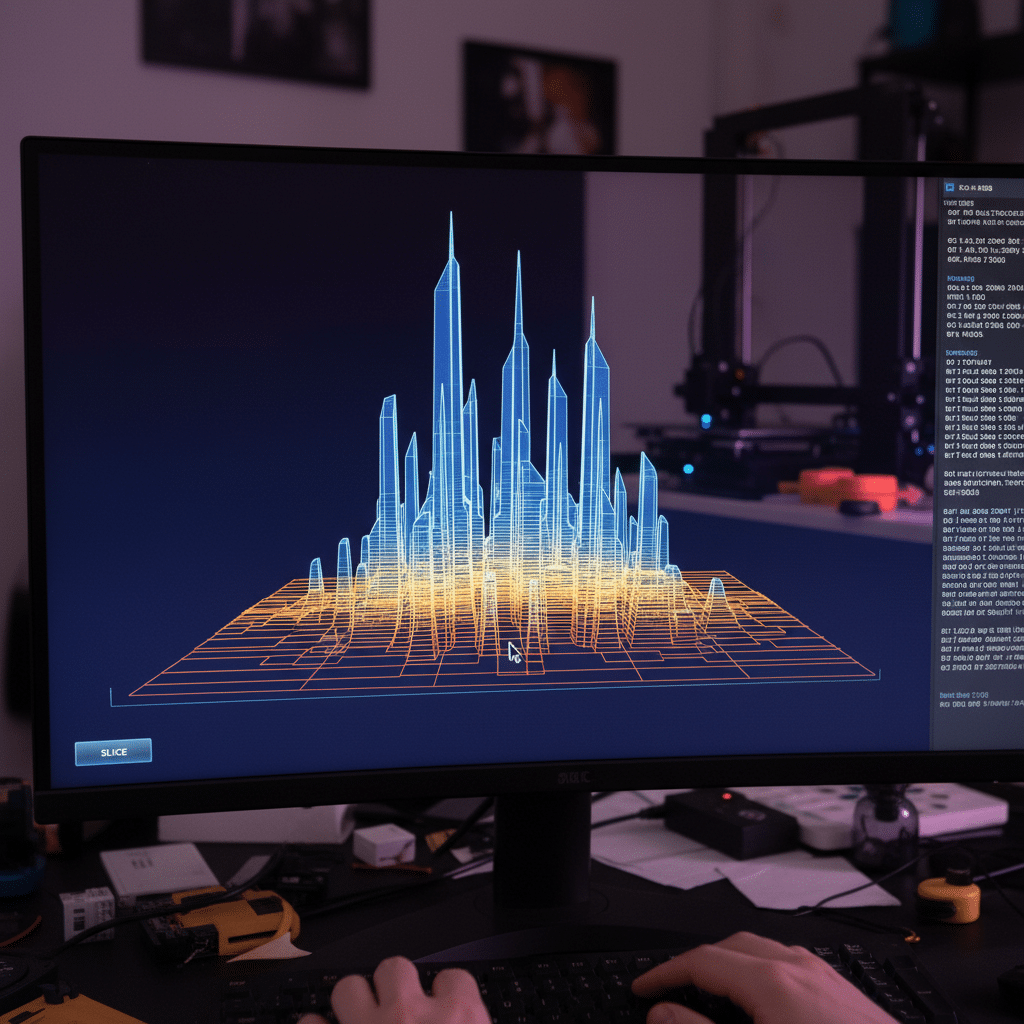
1. Reads the STL: It interprets the triangular mesh, understanding the object’s exact shape and dimensions. 2. Slices the Model: As the name suggests, it “slices” the 3D model into hundreds or thousands of thin, horizontal layers. Imagine cutting your physical object into many paper-thin cross-sections. 3. Generates G-code: For each of these layers, the slicer generates a detailed set of instructions called G-code. G-code is a specific machine language that tells your 3D printer precisely what to do: Where to move the print head (X, Y, Z coordinates). How much plastic (or other material) to extrude. At what speed to move. What temperature to set the nozzle and print bed. When to cool down, when to retract filament, and much more. 4. Adds Supports and Infill:* The slicer also determines if your model needs support structures (for overhanging parts) and how dense the internal infill should be (e.g., hollow, 20% grid, 100% solid). These are not part of the STL file itself but are generated based on the STL’s geometry and your chosen print settings.
Essentially, the STL file provides the geometric definition, and the slicer translates that definition into actionable, layer-by-layer movements for your specific 3D printer. Without a valid STL file, the slicer has nothing to work with.
Printer Execution: Bringing It to Life
Finally, the G-code file (generated from the STL) is loaded onto your 3D printer (usually via an SD card, USB, or Wi-Fi). The printer then faithfully executes each line of G-code, meticulously building your object layer by layer, turning plastic filament, resin, or powder into a tangible reality.
Demystifying STL File Properties: What Matters for a Good Print
While the simplicity of STL is its strength, some core properties within the file are crucial for a successful print. Ignoring them can lead to frustrating failures.
Resolution (Tessellation)
We touched on this during the export phase, but it’s worth revisiting. The resolution of your STL directly impacts the visual quality of your print.
- Too Low: If your model has curves or organic shapes and the STL resolution is too low, your printed object will look “faceted” or “blocky.” You’ll clearly see the individual triangles on the surface, which is rarely desirable unless it’s a specific aesthetic choice.
- Too High: Conversely, if the resolution is excessively high (meaning millions of tiny triangles), the file size can become enormous. This can slow down your slicer, cause crashes, or even exceed the memory limits of some printers. Crucially, a super-high resolution STL doesn’t necessarily mean a super-smooth print if your printer’s nozzle size or layer height limitations prevent it from reproducing such fine detail. Find the sweet spot where the facets are small enough to be invisible to the naked eye given your printer’s capabilities.
Manifold vs. Non-Manifold Geometry (Watertightness)
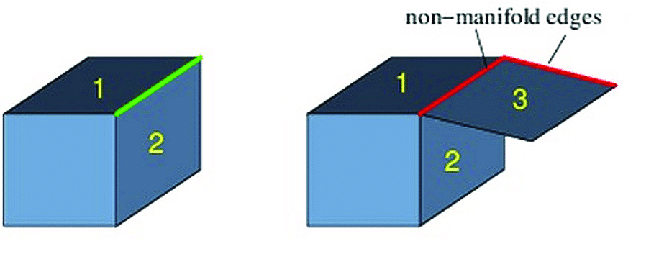
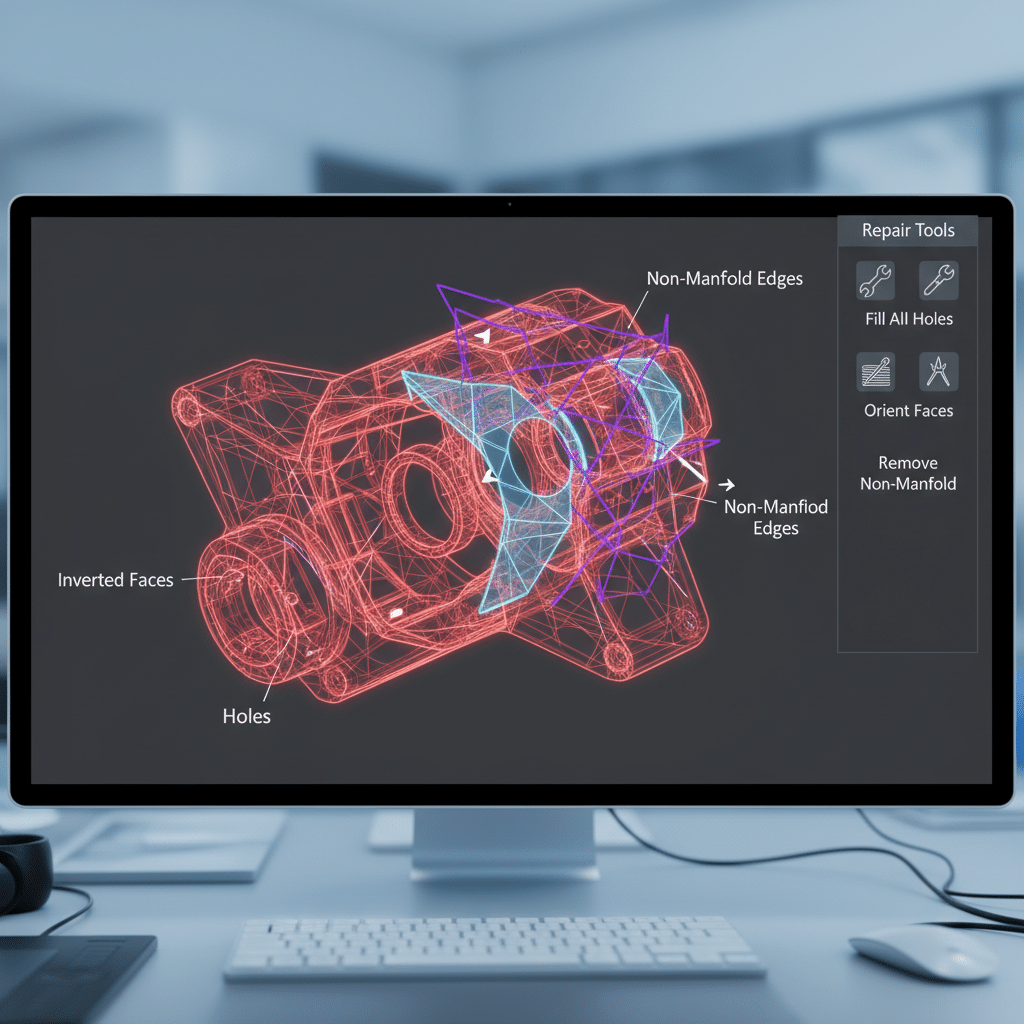
This is perhaps the single most critical property for a printable STL file. A “manifold” model (often described as “watertight”) is one where every edge of every triangle is shared by exactly two triangles. Think of it like a perfectly sealed balloon; there are no holes, gaps, or internal overlaps.
- Why it Matters: A 3D printer needs to know what is “inside” the object and what is “outside.” If your STL file is non-manifold, meaning it has holes, inverted faces, or intersecting geometry, the slicer gets confused. It can’t reliably determine the volume to fill or the surface to print, leading to:
Missing layers or walls. Holes in the print. Incorrect infill generation. Complete print failure. * Slicer errors or crashes.
- Common Causes: Non-manifold issues often arise from sloppy modeling (e.g., forgetting to close a surface), combining complex objects incorrectly, or errors during 3D scanning.
Normal Vectors
Remember those little lines pointing outwards from each triangle? Those are normal vectors. They tell the slicer which side of the triangle is the “outside” of the object.
- Why it Matters: If a normal vector is pointing inwards (an “inverted normal”), the slicer might interpret that face as being inside the model, even if it’s on the surface. This can lead to similar issues as non-manifold geometry, such as missing walls or holes, as the slicer tries to “fix” what it perceives as an error or simply ignores the incorrectly oriented surface.
Units
While not strictly a property within the STL file itself (STL files are unitless), the units used during design and export are paramount. Always confirm that your STL’s scale (e.g., 100 units = 100mm) matches what your slicer expects. A factor of 25.4 (the conversion between inches and millimeters) is a common cause of drastically scaled prints.
By understanding and paying attention to these properties, you can significantly increase your chances of a successful and high-quality 3D print.
Common STL File Issues and How to Fix Them (Troubleshooting)
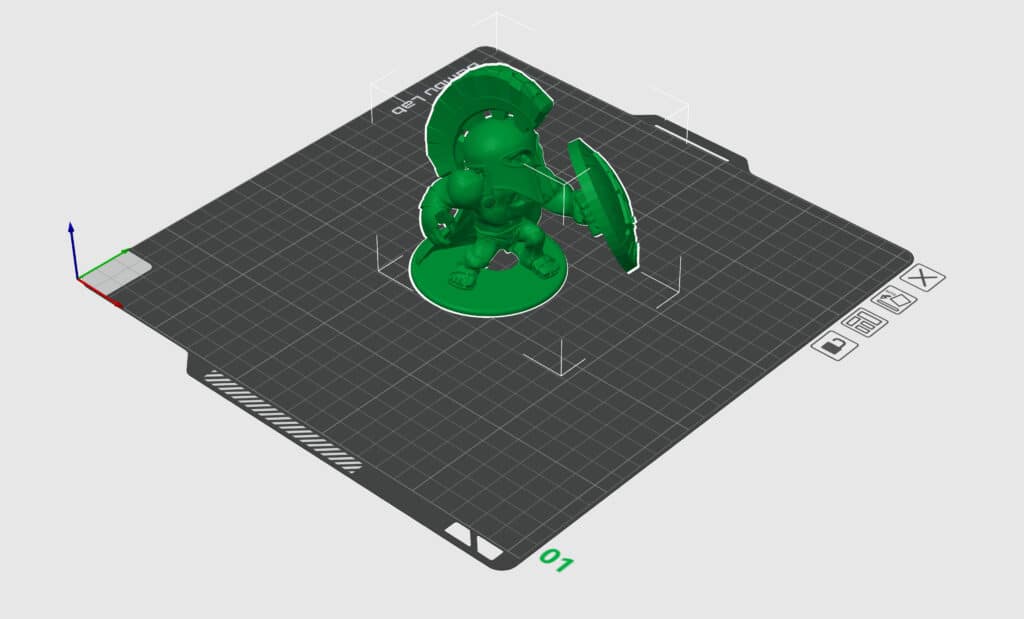
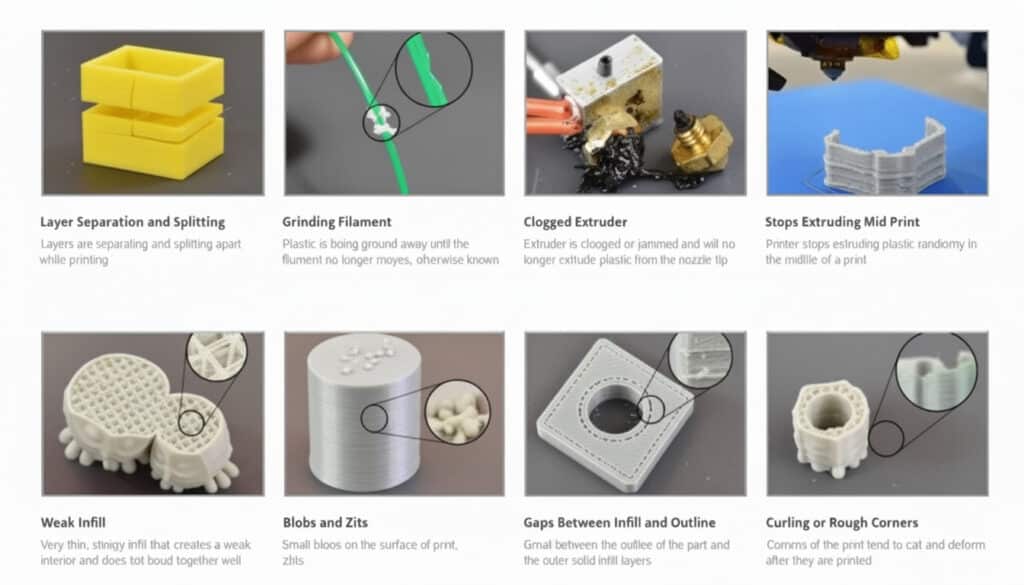
Even with careful design, STL files can sometimes come with quirks that trip up your 3D printer. Knowing how to identify and fix these common problems can save you a lot of headache, wasted filament, and time.
The Dreaded Non-Manifold Edges/Faces
This is the big one. As discussed, non-manifold geometry means your model isn’t watertight, which is like trying to fill a leaky bucket.
- What it Looks Like: In a 3D viewer, you might see visible gaps, strange shadows, or parts of your model disappearing when viewed from certain angles. The slicer will often flag these errors or simply produce an incomplete G-code.
- Causes:
Unclosed Meshes: You might have designed a shell but forgotten to close a bottom or top face. Internal Intersections: Two parts of your model are intersecting each other rather than cleanly merging. Flipped Normals:* As mentioned, some faces might be pointing inward.
- How to Fix:
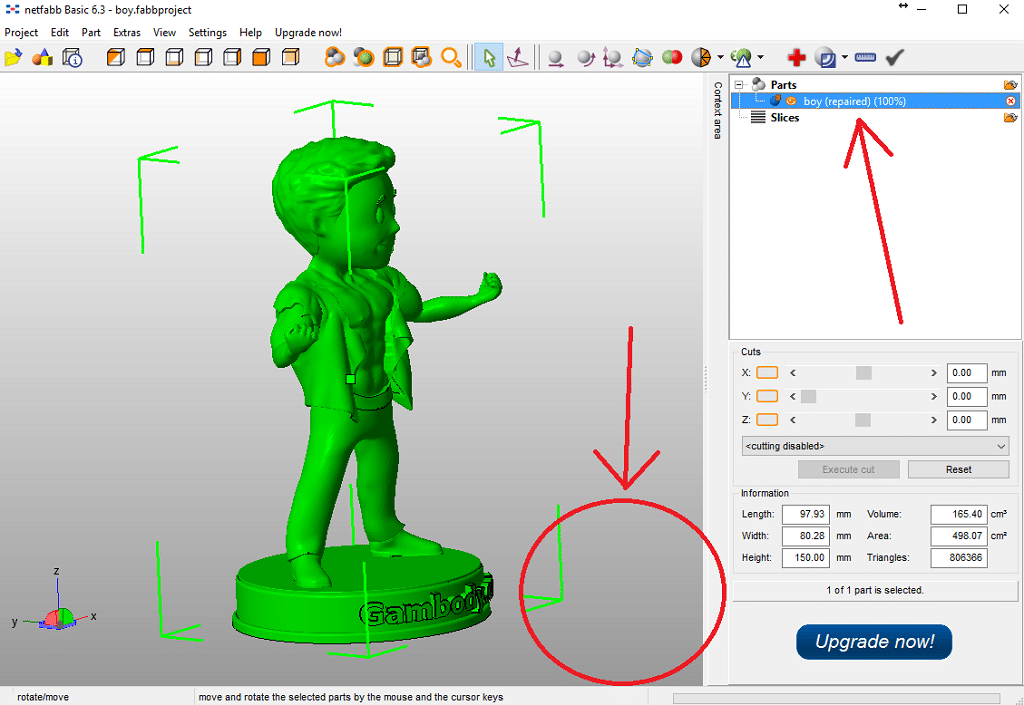
In CAD Software: Go back to your original design program. Most CAD software has tools to check for and repair manifold issues, combine objects properly (using Boolean operations like “union”), or automatically fix flipped normals during export. Dedicated Mesh Repair Tools: Meshmixer (Free): An incredibly powerful tool from Autodesk. It has robust analysis and repair functions, including “Make Solid” which can often automatically fix holes and non-manifold edges. Netfabb (now part of Fusion 360, but a free version used to exist): Another industry-standard tool for mesh repair. Online Services: Websites like MakePrintable or PrusaSlicer’s built-in repair tools* can automatically fix many common STL errors. You upload your problematic STL, and it attempts to make it manifold.
Inverted Normals
While often contributing to non-manifold issues, sometimes faces simply have their normals pointing the wrong way without creating actual holes.
- What it Looks Like: In a slicer or 3D viewer, these faces might appear transparent, darker, or highlighted with a different color. The slicer might interpret them as “inside” the object.
- How to Fix: Most 3D modeling software has a “Flip Normals” or “Recalculate Normals” function. Mesh repair tools also often include this as part of their automatic fixes.
Overlapping or Intersecting Triangles
This can happen when parts of your model are not cleanly merged, resulting in redundant or conflicting geometry within the STL.
- What it Looks Like: The slicer might struggle to interpret these areas, leading to artifacts, incorrect infill, or weakened structures.
- How to Fix: In your CAD software, use Boolean operations (union, subtract, intersect) to properly combine or modify your shapes. Tools like Meshmixer can also help simplify and clean up complex meshes.
Scaling Issues
Your print comes out tiny or enormous!
- What it Looks Like: An obvious size mismatch between your intended object and the printed result.
- How to Fix: Check your CAD export settings for units. In your slicer, there will always be a scaling option where you can adjust the size, often by setting the unit (mm, inch) or applying a percentage scale.
Emphasize Pre-Print Checks
Before hitting “Print,” always: 1. Visually Inspect in Slicer: Load your STL into your slicer. Look for any strange artifacts, missing walls, or unusual shading. Use the “preview” mode to see how the printer will actually lay down layers. 2. Use Repair Tools: Don’t hesitate to run your STL through a mesh repair tool like Meshmixer or an online service if you suspect issues. 3. Check Dimensions: Confirm the dimensions in your slicer match your design.
A little proactive checking can save you hours of failed prints and wasted material!
Beyond the Basics: Advanced STL Considerations
While STL files are known for their simplicity, there are a few more nuanced aspects to consider, especially as your projects grow in complexity.
Multi-part Prints and Assemblies
Not every 3D object can be printed as a single, monolithic piece. Sometimes, you need to print multiple parts that fit together to form a larger assembly.
- Individual STLs: For complex assemblies, it’s often best to design and export each component as its own individual STL file. This allows you to print parts separately, use different materials or colors for each, and then assemble them post-print.
- Fit and Tolerance: When designing parts that need to fit together (like a peg in a hole), remember to build in “tolerance.” This means making the hole slightly larger than the peg to account for material expansion, printer precision, and post-processing. A common tolerance for FDM (Fused Deposition Modeling) printers might be 0.1mm to 0.3mm, depending on your printer’s calibration.
Color and Texture: The STL Limitation
One significant limitation of the STL format is that it does not store color or texture information. It only describes the geometry of the object.
- Monochromatic Prints: When you print an STL file, the object will be the color of the filament or resin you use. If you want a multi-color print, you typically need a multi-material printer, or you’ll be painting your prints afterward.
- Emerging Alternatives: This limitation led to the development of newer file formats that do support color, materials, and textures:
OBJ: A widely used format that, when combined with an accompanying MTL (Material) file, can store color and texture maps. AMF (Additive Manufacturing File Format): An XML-based format designed specifically for additive manufacturing, supporting color, materials, and even internal structures. 3MF (3D Manufacturing Format):* A modern, open-source format that aims to be the “JPEG for 3D.” It’s an XML-based package that includes not just the geometry, but also color, textures, material properties, build instructions, and metadata, all in one file. It’s gaining traction and offers significant advantages over STL for complex projects.
Despite these newer formats, STL remains dominant due to its ubiquity and simplicity, especially for single-color, single-material prints.
Version Control for Your Designs
Just like software development, managing different versions of your 3D models is crucial, especially for iterative design.
- Clear Naming Conventions: Use descriptive names for your STL files, including version numbers (e.g., `MyGadgetv1.0.stl`, `MyGadgetv1.1improvedfit.stl`).
- Cloud Storage & Collaboration: Platforms like Google Drive, Dropbox, or dedicated CAD cloud services (e.g., Fusion 360’s cloud projects) allow you to store, track, and collaborate on your designs, ensuring you always have access to the latest (or previous) versions. For any design-focused endeavor, whether it’s 3D printing or broader creative work, good version control is a cornerstone of an effective design system.
Security and Intellectual Property
When sharing your STL files, especially on public repositories or for commercial purposes, consider intellectual property.
- Licensing: Many shared STLs come with licenses (e.g., Creative Commons) that dictate how you can use, modify, and share the design. Always respect these licenses.
- Protection: If you’re designing proprietary products, consider how you protect your STL files. While an STL can be reverse-engineered, it’s generally harder than with native CAD files.
These advanced considerations become more important as you move from simple prints to more ambitious and professional 3D printing projects.
STL Files in the Real World: Practical Applications
The humble STL file might seem like a technical detail, but it’s the gateway to an astonishing array of real-world applications, transforming industries and empowering individuals.
Rapid Prototyping and Product Development
This is arguably where 3D printing (and thus STL files) first made its mark. Companies can quickly create physical prototypes of new product designs, test their fit, form, and function, and iterate rapidly.
- Faster Innovation: Instead of waiting weeks or months for a machined prototype, a 3D-printed version can be ready in hours or days. This drastically speeds up the design cycle and brings products to market faster.
- Cost-Effective Testing: Cheaper to print multiple iterations and test ideas than to invest in expensive tooling for traditional manufacturing. Think of automotive parts, consumer electronics enclosures, or even new tool designs.
Custom Manufacturing and Personalization
3D printing excels at creating unique, one-off items or small batches, making mass customization a reality.
- Medical Field: Dental aligners, custom prosthetics, surgical guides, and even anatomical models for pre-operative planning are all generated from patient-specific data, typically ending up as STL files.
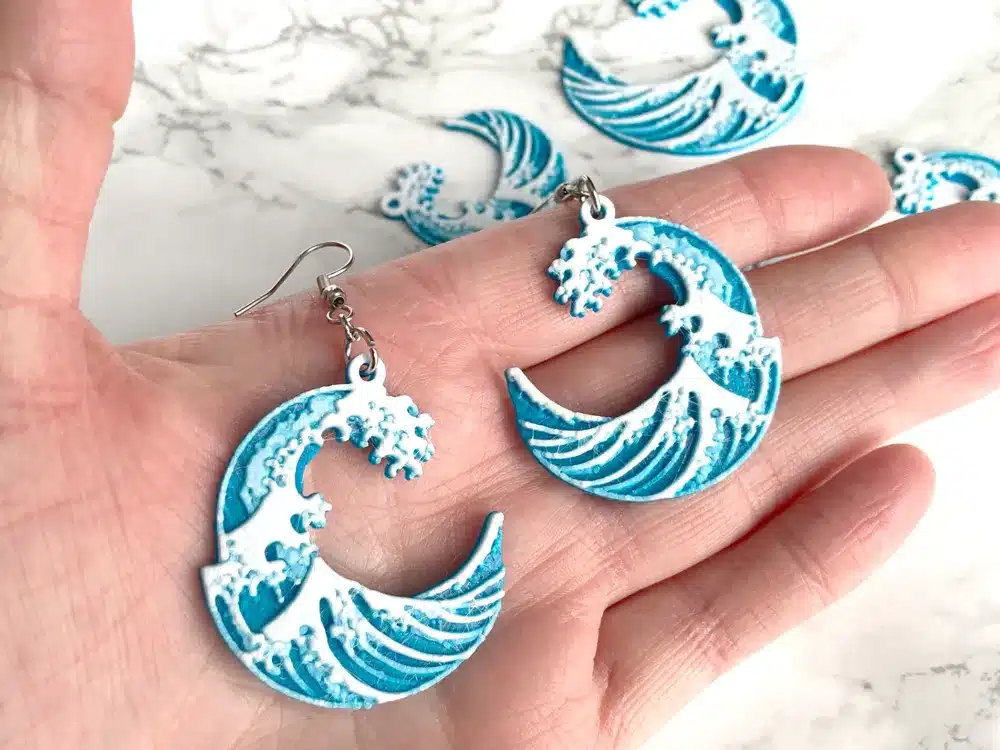
- Fashion and Jewelry: Bespoke jewelry, intricate shoe components, or personalized accessories can be designed digitally and printed directly.
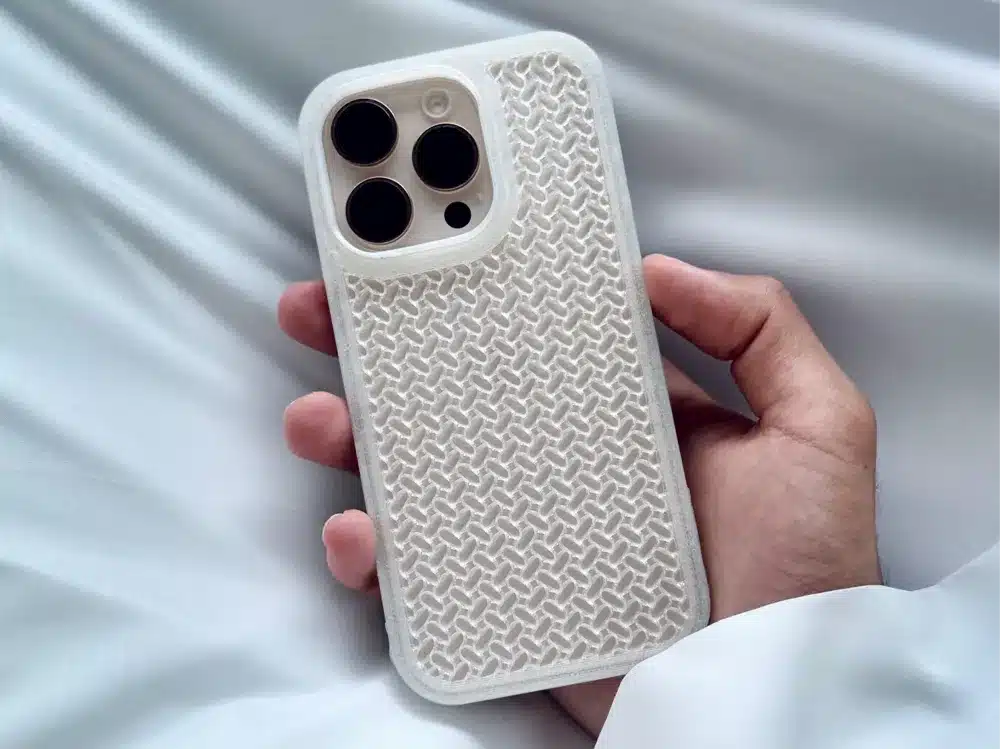
- Consumer Goods: Custom phone cases, personalized gaming accessories, or tailored ergonomic grips.
Art, Architecture, and Design
Artists and designers leverage 3D printing for unparalleled freedom in creating complex geometries and intricate forms.
- Sculptures and Models: Artists can design and print elaborate sculptures that would be difficult or impossible to create with traditional methods. Architects use 3D prints to create detailed physical models of buildings, allowing clients to visualize designs in a tangible way. Imagine creating a miniature cottagecore aesthetic home to see how every cozy detail fits together.
- Film and Entertainment: Props, costumes, and miniature sets for movies and TV shows are frequently 3D printed from STL files.

Education and Research
3D printing is a powerful educational tool, allowing students to visualize complex concepts, build prototypes for science projects, or engage in hands-on STEM learning. Researchers use it to create custom lab equipment, specialized tools, and experimental models.
Home, Hobby, and DIY
Perhaps the most accessible impact of STL files is in the home workshop.
- Functional Prints: Replacement parts for appliances, custom organizers for drawers, cable clips, tool holders – the possibilities for practical household solutions are endless.
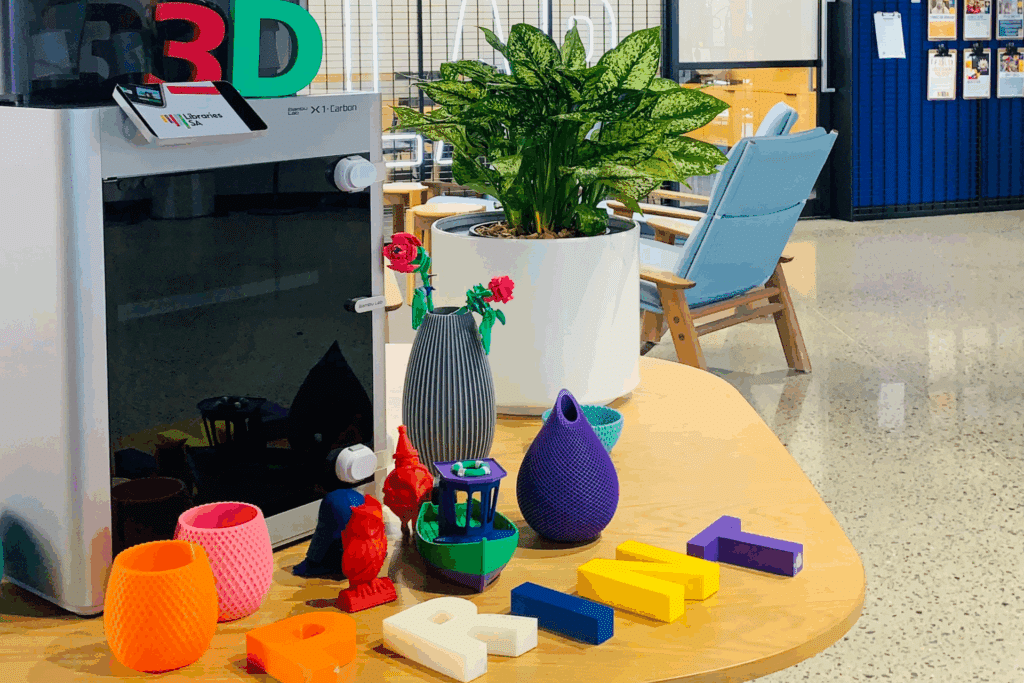
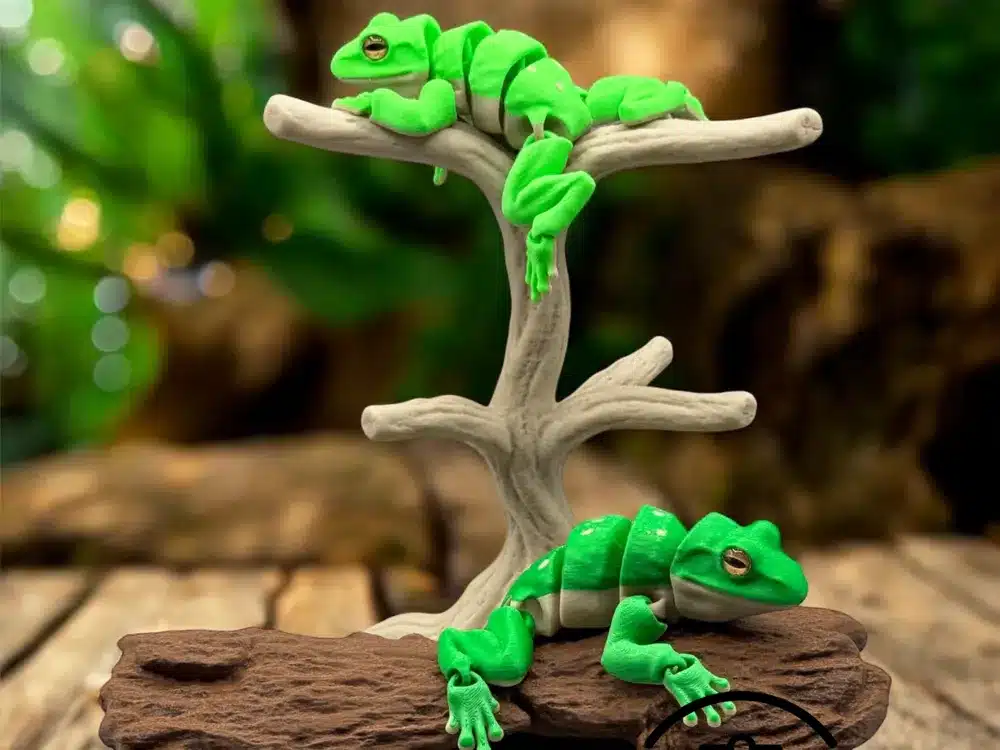
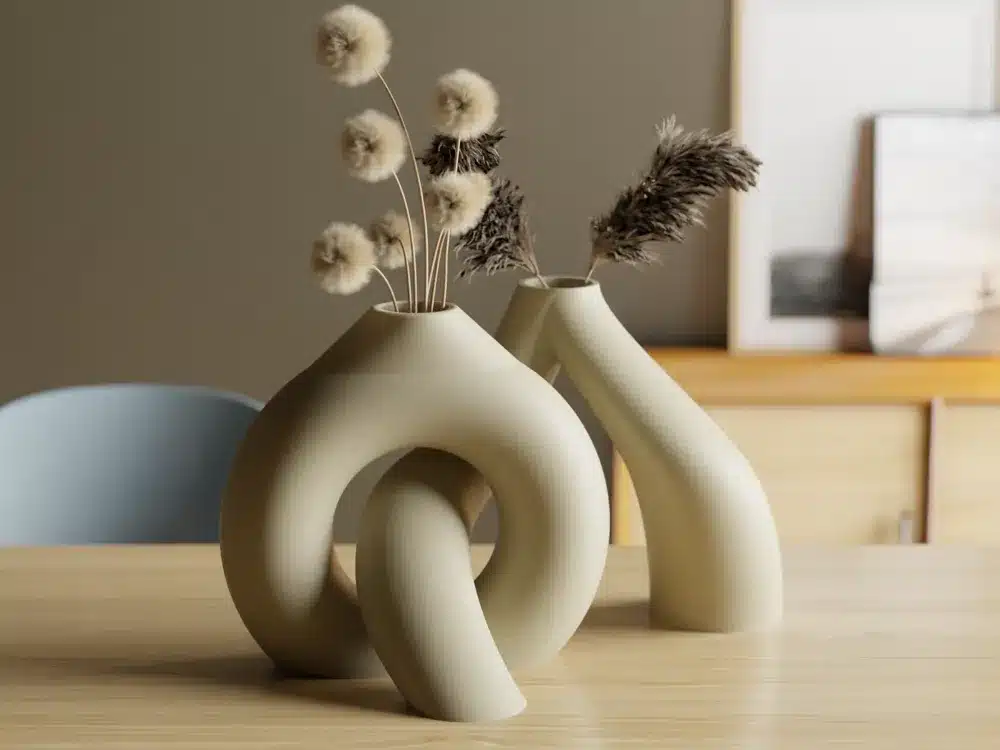
- Decorative Items: Vases, figurines, planters, light fixtures, or unique shelving brackets. For those keen on improving their living spaces, printing decorative elements can be a fun way to enhance home decor. This creativity can be combined with learning about innovative approaches to sustainable land development by printing models of eco-friendly building designs or landscaping features.
Bringing Your Ideas to Life
And there you have it! From its humble beginnings as a descriptor for early stereolithography, the STL file has become the cornerstone of modern 3D printing. It’s the silent workhorse, translating your digital visions into tangible reality, one tiny triangle at a time. While newer, more feature-rich formats are on the horizon, the STL’s simplicity, widespread adoption, and robust ecosystem ensure it will remain an essential part of the 3D printing landscape for years to come.
Understanding what an STL file is, how it’s created, its crucial role in the printing workflow, and how to troubleshoot common issues empowers you to take full control of your 3D printing projects. It demystifies the process, turning potential frustration into confident creation. So, whether you’re designing a complex mechanical part, printing a personalized gift, or simply bringing a cool idea to life, remember that the journey often begins with a well-crafted STL.
So, go ahead! Dive in, experiment with design software, explore the vast libraries of online models, and don’t be afraid to tinker. Your next great creation is just an STL file away.
- 10shares
- Facebook0
- Pinterest10
- Twitter0
- Reddit0

