Making a digital collage means combining different images into one artwork using digital tools. It’s about layering photos, graphics, or drawings with editing software or online apps to create a unique picture. This way, anyone can tell a story or express ideas without needing messy glue or scissors.
People find digital collage fun and easy because many tools offer ready-made layouts and simple drag-and-drop features. Whether using free websites, apps, or professional programs, it lets users mix images quickly and share their creations on any device.
By learning a few basic steps, anyone can start making digital collages that look polished and personal. With just a computer, tablet, or even a phone, the possibilities to get creative and make art are endless.
Essential Tools and Software
Creating digital collages requires specific software and devices that make combining images easy and precise. Different programs offer various features, and the right tools can speed up the creative process. Devices and digital tools also play a key role in helping artists work comfortably and efficiently.
Choosing the Right Graphic Design Programs


Graphic design software is the backbone of digital collage making. Popular choices include Adobe Photoshop, known for its powerful layering and editing features, and GIMP, a free alternative that also supports advanced image manipulation.
Beginners might start with user-friendly apps like Canva or Fotor, which offer drag-and-drop interfaces and pre-made templates. More advanced artists may prefer Affinity Photo for its smooth workflow and pixel-level controls.
When picking a program, it’s important that it supports multiple layers, various file formats, and easy image resizing. These features help artists blend and adjust images without losing quality, saving time and effort.
Best Devices for Creating Digital Collages


The device used can affect how smoothly someone works on a collage. Many artists use desktop computers or laptops with large, high-resolution screens to see details clearly.
Tablets like the iPad Pro, combined with a stylus, provide a natural drawing experience and greater control over the design. This can be especially helpful for fine-tuning parts of the collage or adding digital painting elements.
Key factors when choosing a device include screen size, pressure sensitivity (if drawing), and processing power. A faster computer handles complex edits better and reduces lag, making the process less frustrating.
Key Digital Tools and Their Functions
Certain digital tools make building collages easier and more creative. The lasso tool helps select parts of images precisely, while the clone stamp copies textures or patterns smoothly.
Layer masks allow artists to hide or reveal parts of an image without deleting anything. This keeps the work editable and flexible over time.
Other helpful tools include blending modes, which change how layers mix colors, and filters to adjust brightness, contrast, or add effects. Shortcuts and undo options speed up editing as well.
Using these tools effectively helps artists build detailed and polished digital collages step by step.
Sourcing and Preparing Images
Finding the right images is a key step in making digital collages. It involves choosing visuals that fit the idea and getting them ready for use. This means finding free or legal images, digitizing physical pictures, and keeping everything easy to find during the project.
Finding Royalty-Free Visuals


He or she should look for royalty-free images to avoid copyright problems. Websites like Unsplash, Pixabay, and public domain archives offer many free photos and illustrations. It’s important to check the license on each image to see if it can be used for creative projects without fees.
Using high-resolution images is best because they stay clear when resized or edited. Sorting images by theme or style can help when planning the collage. Keeping a list of sources is also a good habit to credit if needed later.
Scanning and Digitizing Images
When working with physical materials, scanning is necessary. Using a flatbed scanner provides clear, detailed images. Photos, drawings, or textures can be scanned at 300 dpi or higher for good quality.
If a scanner isn’t available, a smartphone camera can work, but good lighting and a steady hand matter. After digitizing, images often need cleaning like cropping, color correction, or removing dust spots. Basic editing tools in photo software can help fix these issues and prepare images for layering.
Organizing Digital Assets
Keeping files organized saves time and stress. Creating folders for different types of images, like backgrounds, textures, and objects, helps find what’s needed quickly. Naming files with clear labels or dates also aids organization.
He or she can use tags or keywords in software to search images by color, style, or theme. Backing up files regularly is important to prevent data loss. A simple chart for organization might look like this:
| Folder Name | Contents | Notes |
|---|---|---|
| Backgrounds | Landscape photos, patterns | Use for collage bases |
| Textures | Paper, fabric scans | Adjust opacity or blend |
| Objects | Cut-out images, icons | Layer for focus points |
Techniques for Crafting Digital Collages
Creating a digital collage involves combining different visual elements thoughtfully. Using various techniques helps balance images, textures, and text to make the artwork interesting and clear. These methods guide artists in blending parts smoothly, creating depth, and adding personal style.
Layering and Composition


Layering is about stacking images or parts of images so each piece fits well with others. The artist can move layers around, resize, or change their order to control what stands out. Good composition means arranging these layers to lead the viewer’s eye through the artwork naturally.
One key method is using the rule of thirds, placing main objects off-center to create balance. Another is focusing on contrast, such as light and dark areas, to highlight certain parts. By adjusting opacity, layers can appear softer or stronger, adding depth.
Using Masks and Blending Modes


Masks let the artist hide or show parts of a layer without deleting any detail. This is useful for merging images smoothly. For example, masking can blend a photo’s edge into the background, avoiding hard lines.
Blending modes control how layers interact with one another. They can lighten, darken, or mix colors between layers. Modes like “Multiply” darken the image, while “Screen” brightens it. Experimenting with these modes helps find the perfect mix that matches the artistic goal.
Incorporating Textures and Effects
Textures add a tactile feel to digital collages, making flat images look more real or aged. Artists can use photos of paper, fabric, or paint as textures. Applying these textures with lower opacity or specific blending modes creates interesting surface effects.
Other effects like shadows, glows, or blurs enhance depth and focus. For example, a shadow can lift a layer off the background, making it pop. Using effects carefully keeps the image clear without overwhelming the viewer.
Integrating Typographic Elements
Adding text to a collage gives meaning or mood to the artwork. This can be simple words, quotes, or decorative fonts. Choosing the right font style and size is important so the text fits naturally with the images.
Text placement matters too. It should not cover important visual details but should help guide the viewer’s eyes. Using different colors or effects on the text, like shadows or textures, can make it blend well or stand out as needed.
Refining and Polishing Your Collage
Once the main elements of the collage are in place, the artist can focus on making the image look balanced and clear. This includes improving colors, adding small details, and saving the file properly for use online or in print. These steps help the collage look professional and polished.
Adjusting Colors and Contrast

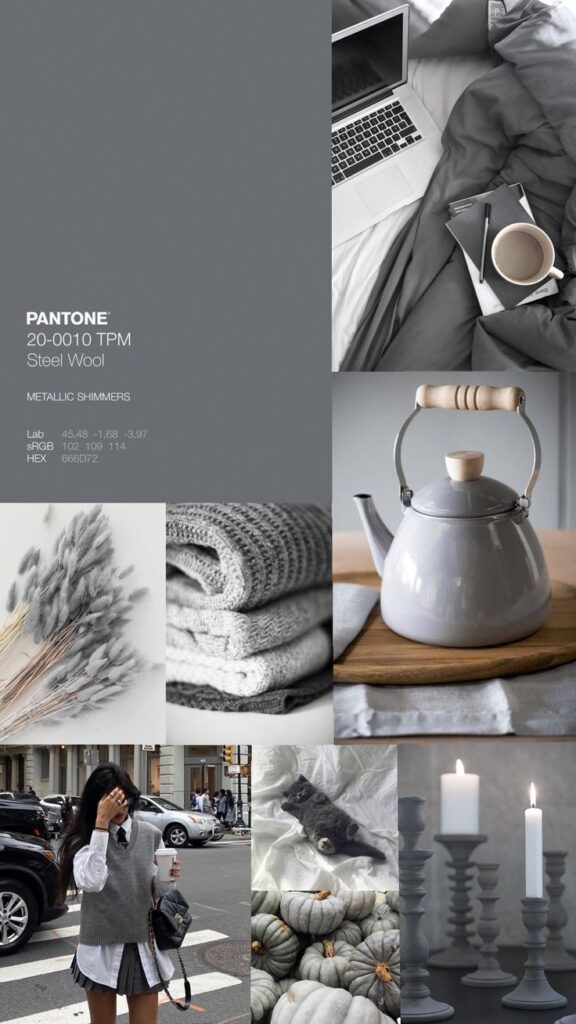
Fine-tuning colors is key to making the collage visually appealing. The artist can use tools to adjust brightness, contrast, and saturation. Increasing contrast helps different pieces stand out, while adjusting colors can create mood or unify the images.
It’s important to check how colors blend where images overlap. Using color balance or selective color tools lets the artist fix any harsh differences. Sometimes applying a subtle filter or gradient over the whole collage can tie the colors together.
Regularly zooming out helps to see the overall effect of these changes. It prevents over-editing while keeping the collage vibrant and easy to view.
Adding Finishing Touches
Small details can make a big difference in a finished collage. The artist may add shadows or highlights to give depth and make images appear more three-dimensional. Softening edges or using blending modes helps images merge naturally.
Text or graphic elements can also be included for extra interest. These additions should support the main idea without cluttering the composition.
Finally, checking alignment and removing any leftover spots or unwanted pixels ensures the collage looks clean.
Exporting for Web and Print
Exporting the collage correctly keeps its quality safe. For web use, saving as a PNG or JPEG with moderate compression keeps the image sharp without making the file too large. Using RGB color mode is standard for screens.
For print, the artist should save the file in CMYK mode at a higher resolution, usually 300 dpi. This prevents colors from printing oddly or looking blurry. Choosing the right size based on the print area is also important.
Naming the files clearly and organizing them makes future editing easier. Keeping an editable version in the original software format is a good practice.
Showcasing and Sharing Digital Collages
Sharing digital collages helps artists connect with others and grow their audience. It involves picking the right places online, putting together a strong collection of work, and joining groups where digital artists meet and support each other.
Choosing Online Platforms
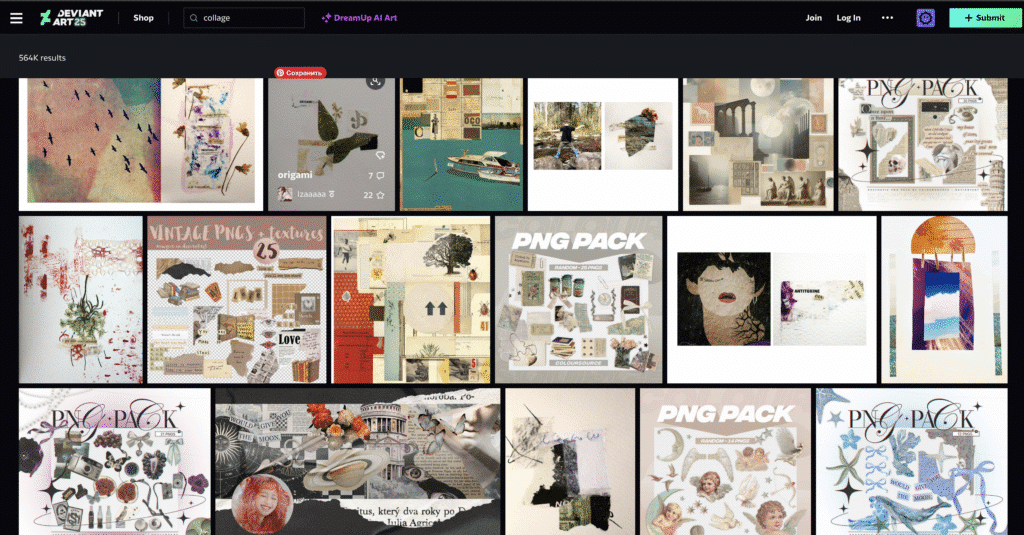
Artists should consider platforms that highlight visual art well. Social media sites like Instagram and Pinterest are popular because they let users post images easily and reach many viewers quickly. Sites like Behance and DeviantArt focus more on creative work and attract people interested in art.
Each platform has different features. For example, Instagram offers hashtags to help others find specific styles, while Behance allows detailed project descriptions that explain the work. Picking platforms based on target audiences matters—for instance, Instagram for casual sharing and Behance for professional exposure.
Artists should also think about file size limits, image quality, and how often they can post. Quality visuals attract more attention, so using platforms that support high-resolution images is best.
Building a Portfolio

A portfolio collects an artist’s best digital collages in one place. It should include a variety of styles and themes to show skill and creativity. Keeping it updated with new work shows growth and keeps viewers interested.
Artists can create portfolios on personal websites or use portfolio sites like Adobe Portfolio or ArtStation. Each collage should have a clear title and short description explaining the idea or technique behind it.
Organizing work by theme or project helps visitors navigate easily. A neat layout with good spacing and consistent image sizes makes the portfolio look professional and appealing.
Joining Digital Art Communities
Being part of online communities connects artists with peers who share feedback and inspiration. Forums, Discord servers, and Facebook groups dedicated to digital art offer places to ask questions, share tips, and show new collages.
Communities often host challenges or contests that motivate artists to create and improve. Engaging regularly helps build relationships and may lead to collaboration or even sales.
Participating respectfully and sharing constructive comments encourages others to respond in the same way. This support sets a positive tone that makes a community more welcoming and helpful.
- 2.0Kshares
- Facebook0
- Pinterest2.0K
- Twitter0
- Reddit0
