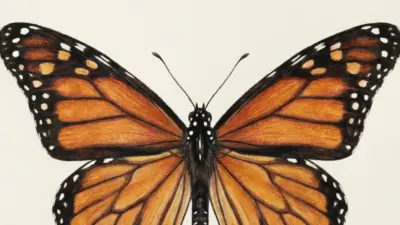
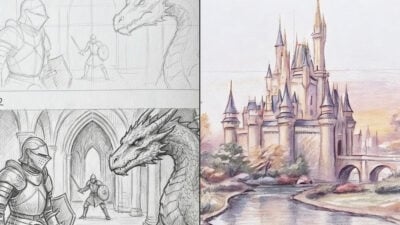
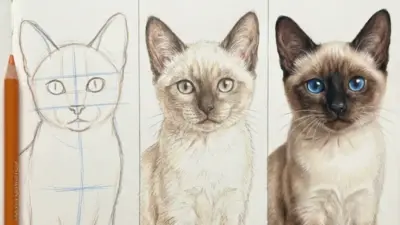
Nature drawing offers endless inspiration for artists at any skill level. From delicate petals to majestic landscapes, there is a rich tapestry of subjects waiting to be captured on paper. Exploring various nature drawing ideas can enhance creativity and deepen an artist’s connection with the environment.
Artists often find that the natural world provides a diverse array of elements to sketch, including plants, animals, and scenic vistas. Beginner sketching ideas can include simple subjects like flowers, trees, or even the intricate patterns found in leaves. Whether seeking to create detailed studies or freeform representations, nature provides ample material for satisfying artistic expression.
For those eager to experiment, drawing from nature fosters not only artistic skills but also mindfulness and appreciation for the surroundings. Engaging with nature’s beauty through sketching can transform routine walks into a source of inspiration. A collection of nature drawing ideas serves as an excellent starting point for anyone looking to enrich their artistic journey.
Essentials of Nature Drawing
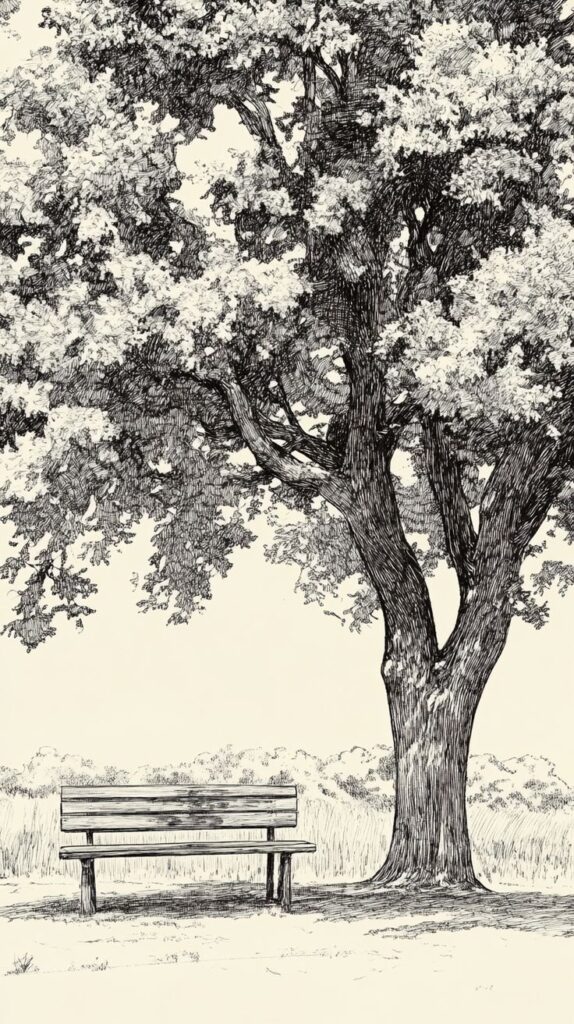
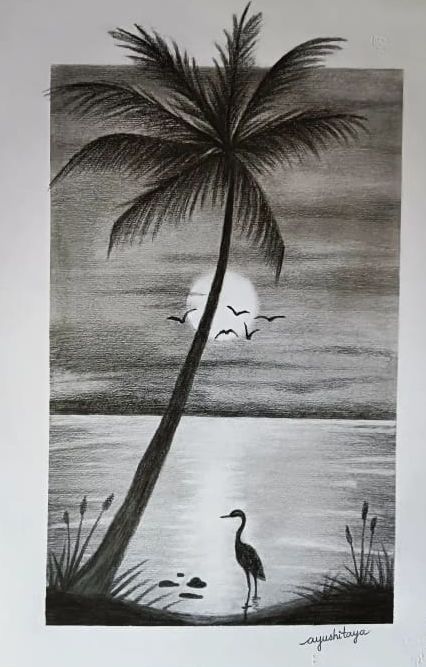
Nature drawing requires an understanding of key elements that enhance the realism and depth of the artwork. This section highlights the importance of light and shadow, texture, and perspective, providing essential techniques to elevate nature sketches.
Understanding Light and Shadow
Light and shadow create the three-dimensional qualities in nature drawings. Artists should study how natural light interacts with various surfaces to accurately depict form.
- Observation is Key: Pay attention to how shadows fall on objects at different times of the day.
- Use Tools: Pencils can be used to create fine lines for shadows, while shading techniques can illustrate depth.
- Contrast Matters: Consider the contrast between light and dark areas to enhance the focal points in the drawing, making them more dynamic.
Incorporating Texture

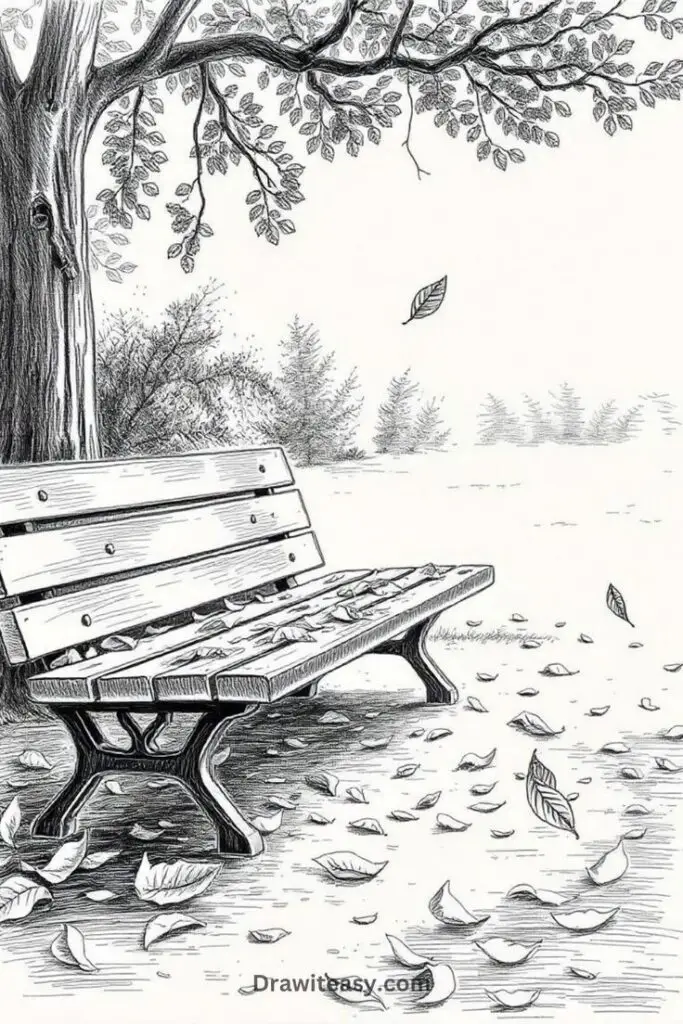
Texture adds realism and appeal to nature sketches. Capturing the surface quality of different elements is essential for convincing representations.
- Variety of Techniques: Artists can utilize stippling, cross-hatching, or blending techniques to create the illusion of texture.
- Focus on Details: Observing small elements—like the rough bark of a tree or the delicate petals of a flower—can enhance the overall drawing.
- Tools for Texture: Different tools like brushes, sponges, or even fingers can produce various textures, giving the artwork a unique touch.
Perspective and Depth
Creating a sense of perspective gives drawings a more realistic look. Understanding the horizon line and vanishing points is crucial in this aspect.
- Horizon Line: Establishing the horizon line helps artists understand the viewer’s eye level and how objects relate to it.
- Overlapping Elements: Placing some objects in front of others can create a sense of depth, making the composition more engaging.
- Scale and Proportion: Varying the size of objects in relation to each other aids in establishing a convincing spatial relationship within the artwork.
Drawing Different Ecosystems
Exploring various ecosystems can enhance nature drawing skills by providing unique subjects and diverse landscapes. Each environment offers distinctive features, colors, and textures that can inspire creativity and improve artistic techniques.
Forest Landscapes
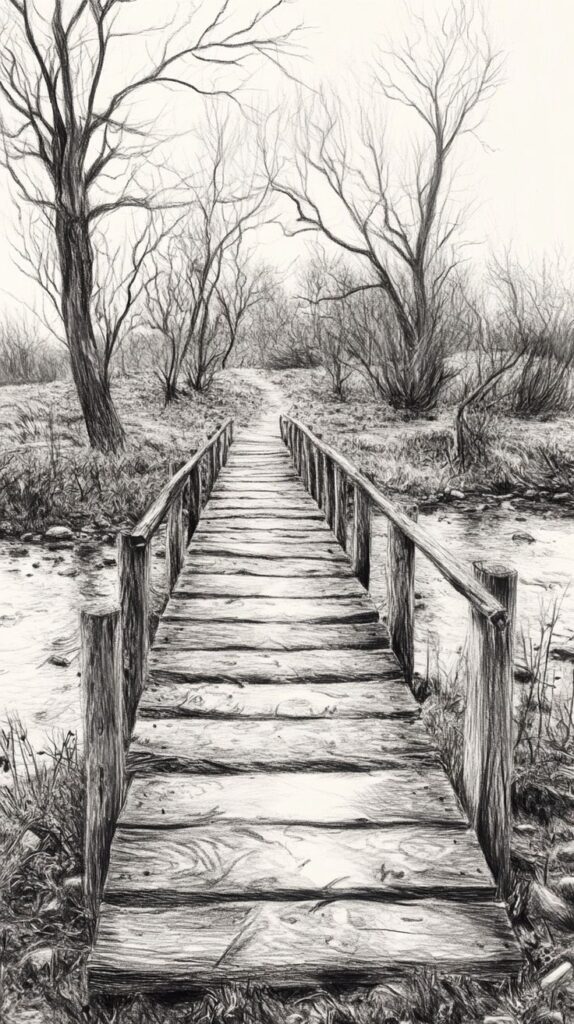
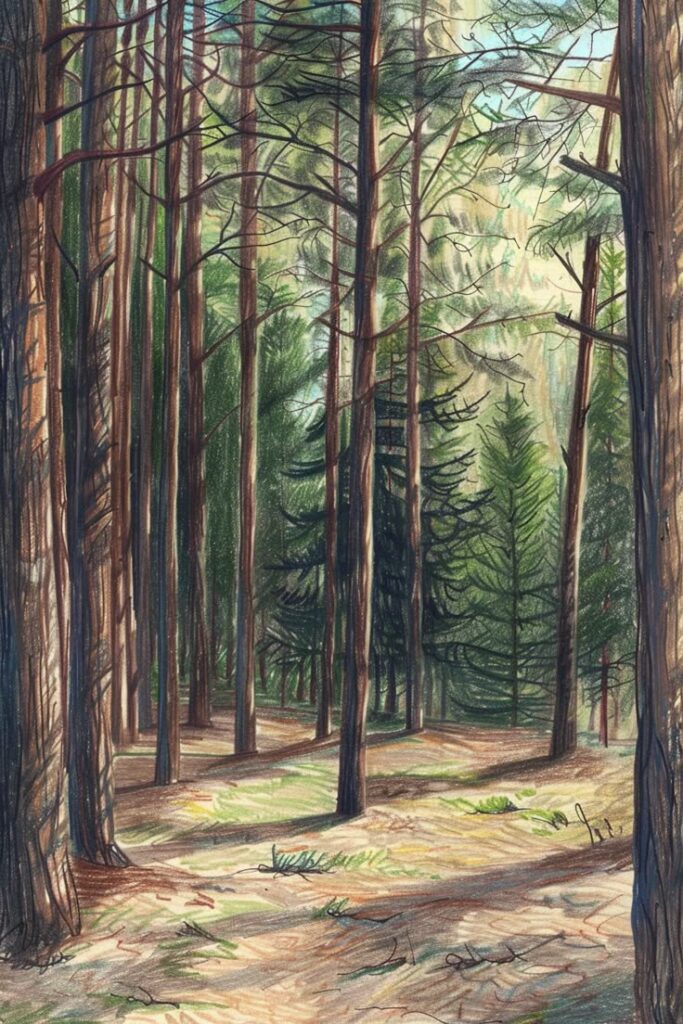
Forest ecosystems are rich with greenery, varied plant life, and intricate details. Artists should focus on the layering of trees, capturing the depth and density of foliage.
- Types of Trees: Different species such as oak, pine, and birch provide unique shapes and colors.
- Understory Vegetation: Adding shrubs, ferns, and wildflowers can enhance realism.
- Lighting Effects: Consider how sunlight filters through leaves, creating patterns of light and shadow.
Incorporating animals like deer or birds can add life, making the scene more engaging. Artists may also want to depict seasonal changes to highlight contrasting colors.
Marine and Water Bodies
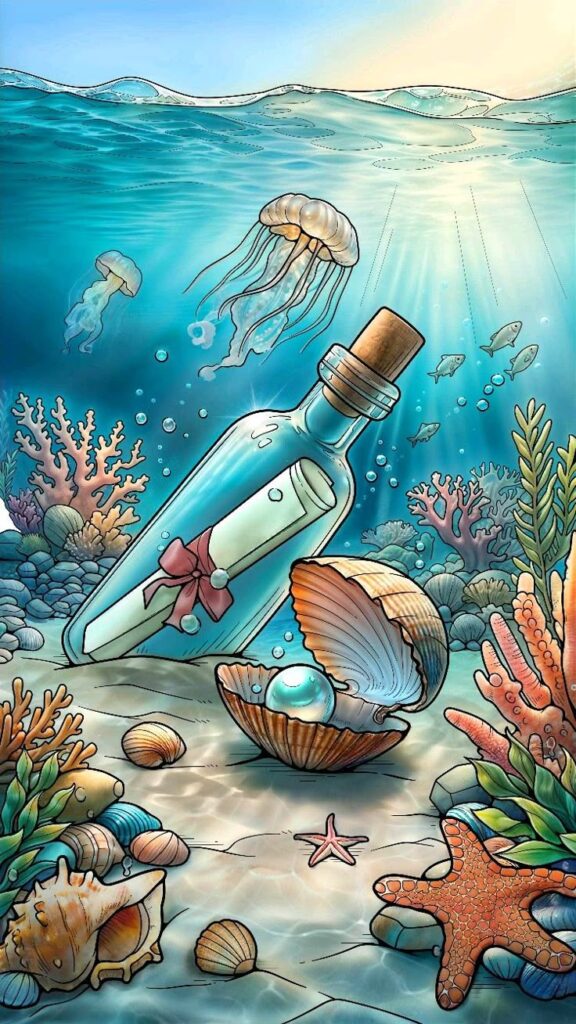
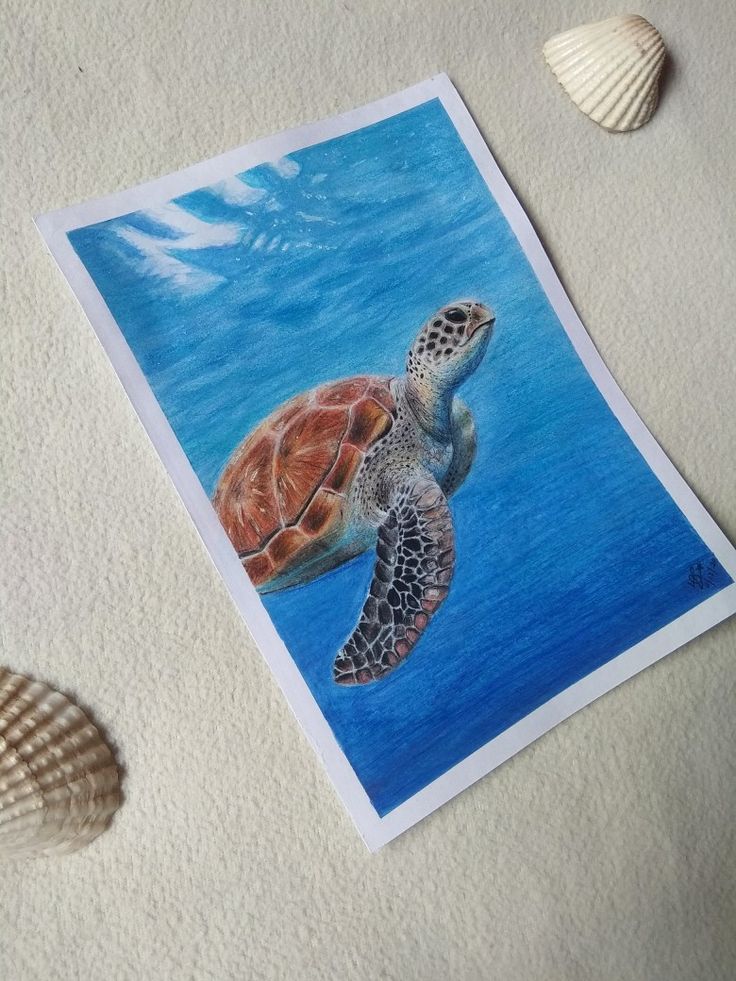
Marine ecosystems present an opportunity to explore the beauty of aquatic life and water dynamics. Artists can depict elements such as waves, reflections, and underwater scenes.
- Water Surface: Capturing ripples and reflections requires attention to light and angle.
- Underwater Flora and Fauna: Including seaweed, corals, and fish showcases biodiversity.
- Coastal Features: Rocks, beaches, and tidal pools can add interest to compositions.
Using a range of blues and greens helps convey the depth of water. Artists can experiment with different techniques to demonstrate movement and fluidity.
Deserts and Arid Regions
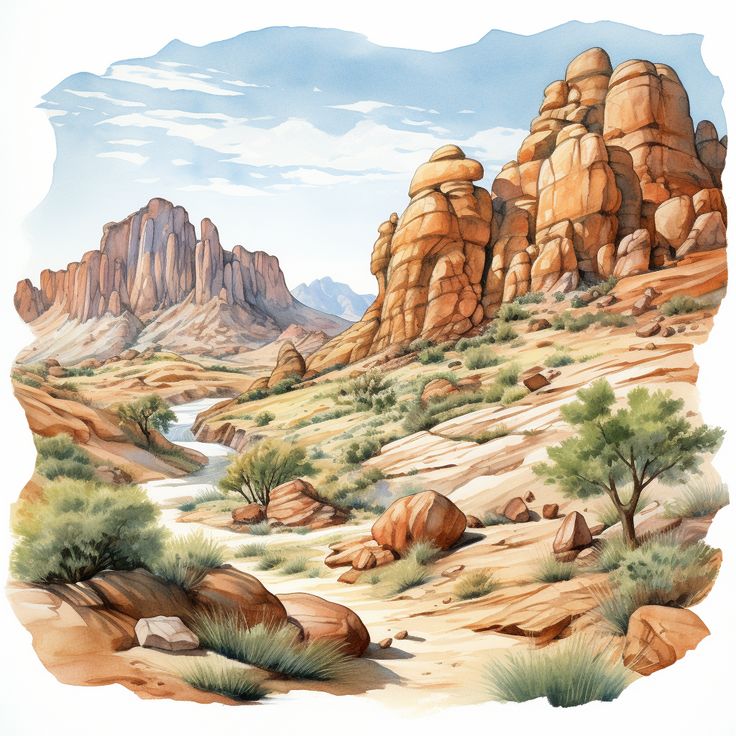
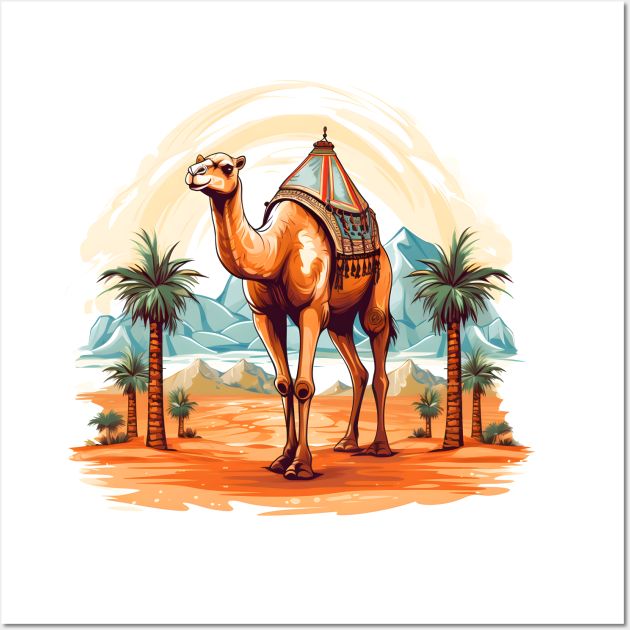
Desert landscapes possess a stark beauty characterized by minimal vegetation and vast open spaces. The focus here is on texture and color variations in sand and rock formations.
- Sandy Dunes: Capture the curves and shapes created by wind patterns.
- Cacti and Succulents: These plants add interest and can be depicted in detail.
- Sky and Light: The intense colors of sunrise and sunset are particularly striking in desert scenes.
Artists may want to explore contrasts, such as the bright colors of flora against muted backgrounds. Textural techniques can bring the sandy and rocky surfaces to life.
Mountainous Terrains
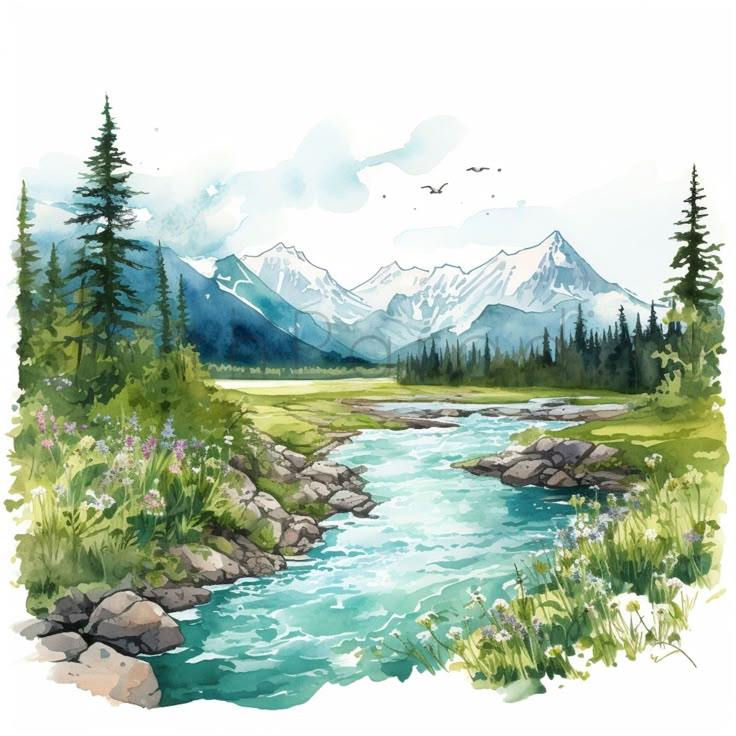
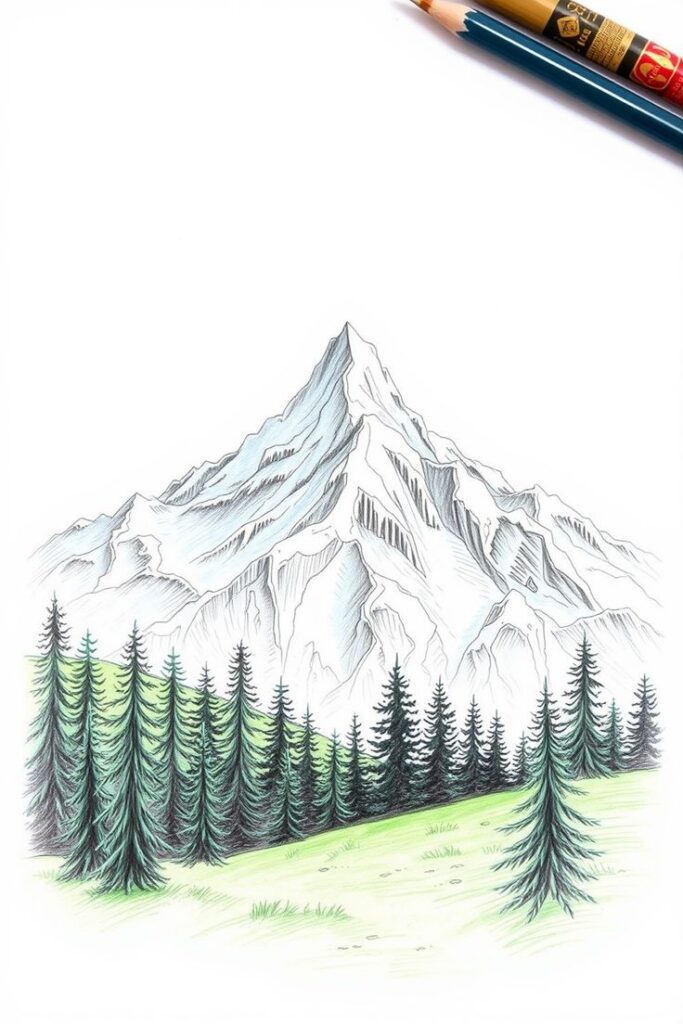
Mountain ecosystems offer dramatic landscapes with towering peaks and lush valleys. Artists can play with scale and perspective to showcase their majesty.
- Mountain Shapes: Different mountains have unique profiles. Understanding the geometric shapes helps in accurate representation.
- Snow and Ice: Highlighting the contrast of white snow on rocky surfaces adds dimension.
- Flora and Fauna: Pines and wildflowers that thrive in alpine regions enrich the composition.
Artists can utilize shading techniques to create depth and portray the ruggedness of the terrain. Atmospheric perspective can enhance the portrayal of distance in mountain scenes.
Capturing Flora and Fauna
Capturing flora and fauna through drawing involves understanding the unique characteristics of plants and wildlife. Focused observation and skillful representation can bring the beauty of nature to life.
Flowers and Plants
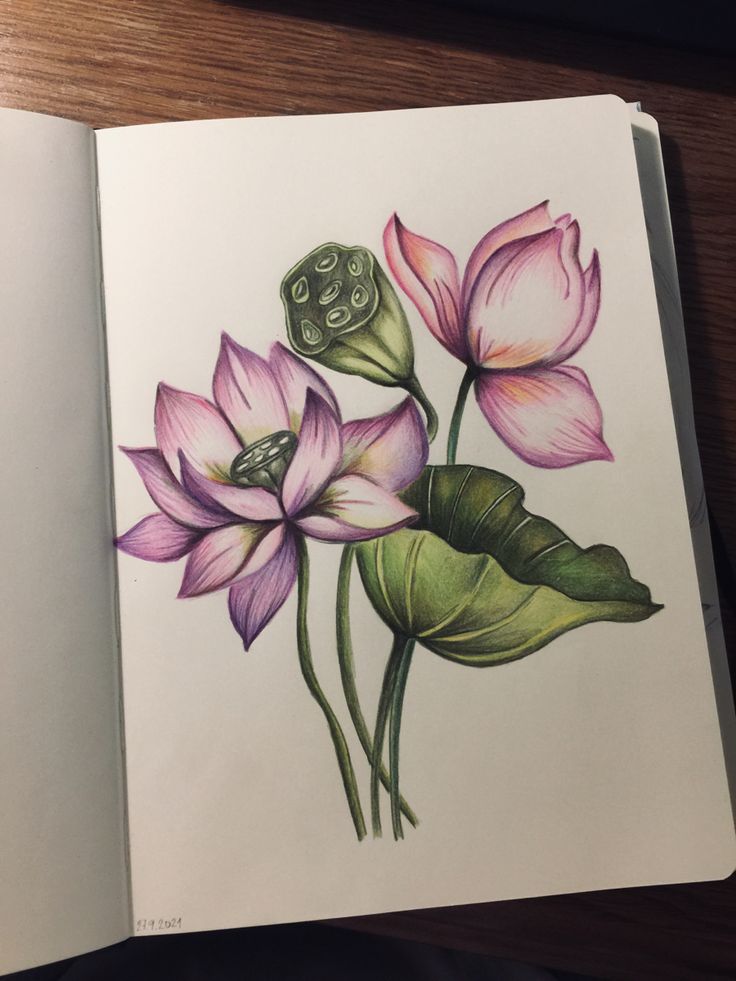
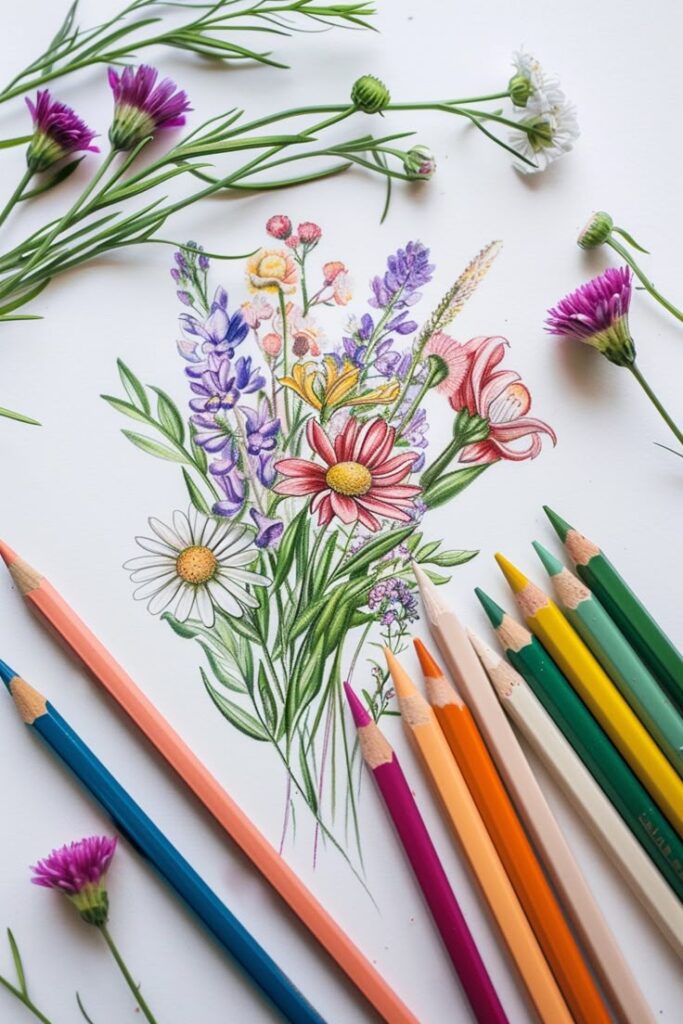
When drawing flowers and plants, attention to detail is essential. Artists should start by observing the structure of the flower, including petals, leaves, and stems.
Key considerations include:
- Shape: Notice the contours and angles of the petals.
- Color: Capture the vibrancy using a range of shades, emphasizing depth.
- Texture: Incorporate line work to reflect the surface of the petals and leaves.
Using a sketchbook dedicated to flora enables artists to practice regularly. Mistakes are part of learning, so experimentation with different techniques is encouraged.
Artists can consider using color pencils, watercolors, or ink to enhance their representations. A variety of tools helps in achieving a lifelike appearance.
Wildlife Sketching
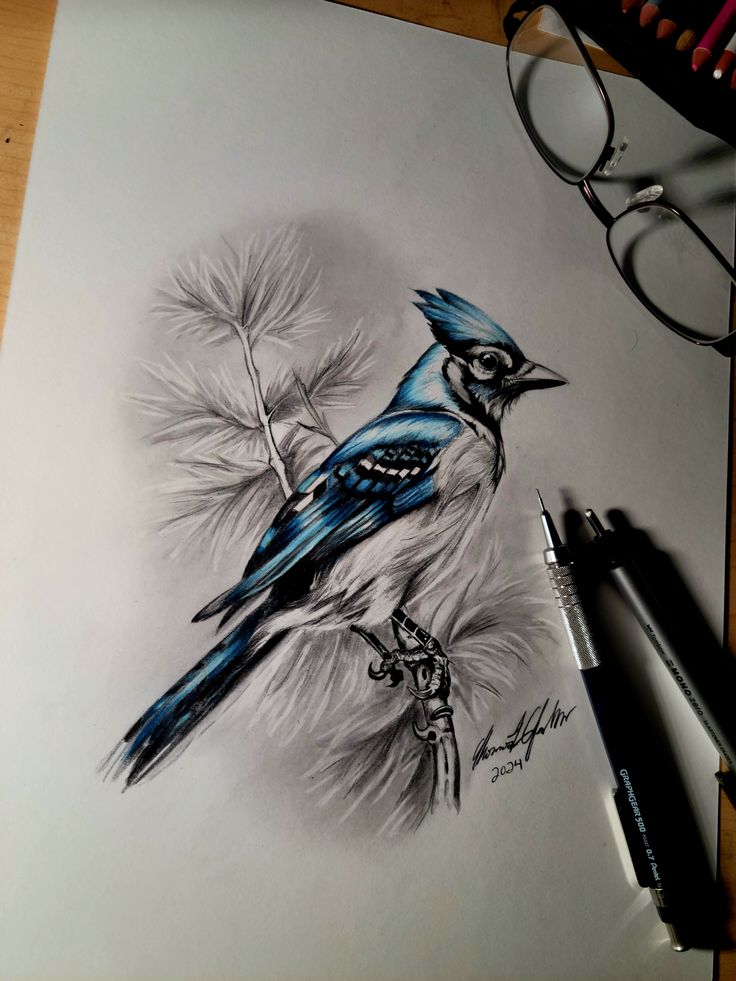
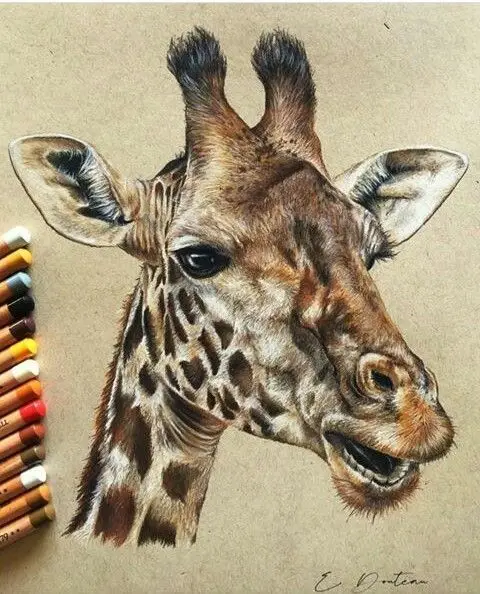
Wildlife sketching requires patience and keen observation. It is important to capture the essence of animals in their natural habitats, paying attention to posture, movement, and expressions.
To enhance wildlife sketches:
- Study Anatomy: Understanding animal proportions aids in accurate depiction.
- Movement: Observing animals in motion helps capture fluid poses.
- Habitat: Including elements from the environment provides context.
Field sketches are invaluable for capturing moments that may be difficult to reproduce later. Artists can use quick gestures to outline the animal, followed by detailed work once the pose is established.
Bird Illustration
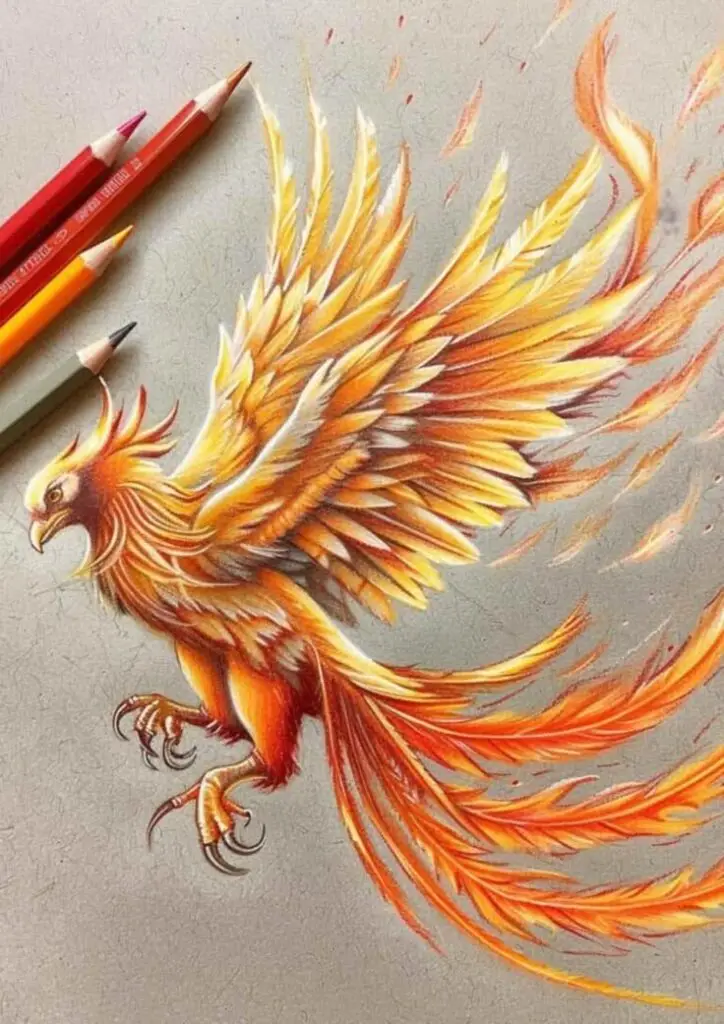
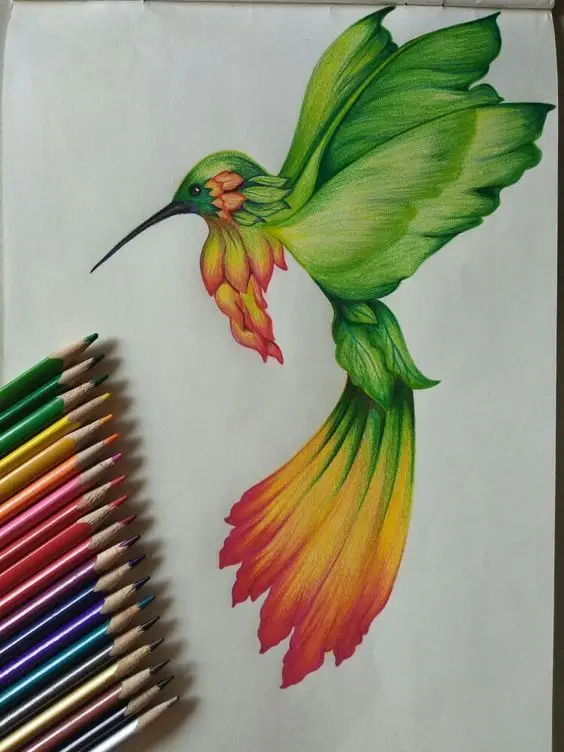
Bird illustration is a unique challenge due to the variety of shapes and colors. Observing different species provides insight into their distinct characteristics.
Important aspects to focus on:
- Feathers: Different patterns and textures can add realism.
- Beaks and Feet: Each bird has unique traits that reflect its behavior and habitat.
- Posture: Birds display various stances, often signaling mood or intent.
Using a mix of pencils and watercolors can help illustrate the delicate beauty of birds. Engaging with birdwatching as part of the process enhances understanding and, ultimately, the quality of the artwork.
Techniques and Styles
Different techniques and styles can greatly enhance nature drawing. Each method offers unique qualities that can bring life to sketches and illustrations. Understanding these techniques can help artists choose the best approach for their nature subjects.
Pencil and Charcoal
Pencil and charcoal are fundamental tools in nature drawing, appreciated for their versatility and range of tonal depth. Pencil allows for fine details and precision. Artists can create delicate lines and subtle shading varying pressure for different effects.
Charcoal, on the other hand, offers a rich, bold aesthetic. It is excellent for capturing the dynamic qualities of natural forms. To work effectively with charcoal, blending with fingers or a stump can create smooth gradients.
Both mediums are ideal for sketching landscapes, flora, and fauna. Details such as textures and shadows can be emphasized. A blend of techniques can enhance a work’s visual interest.
Watercolor Illustration
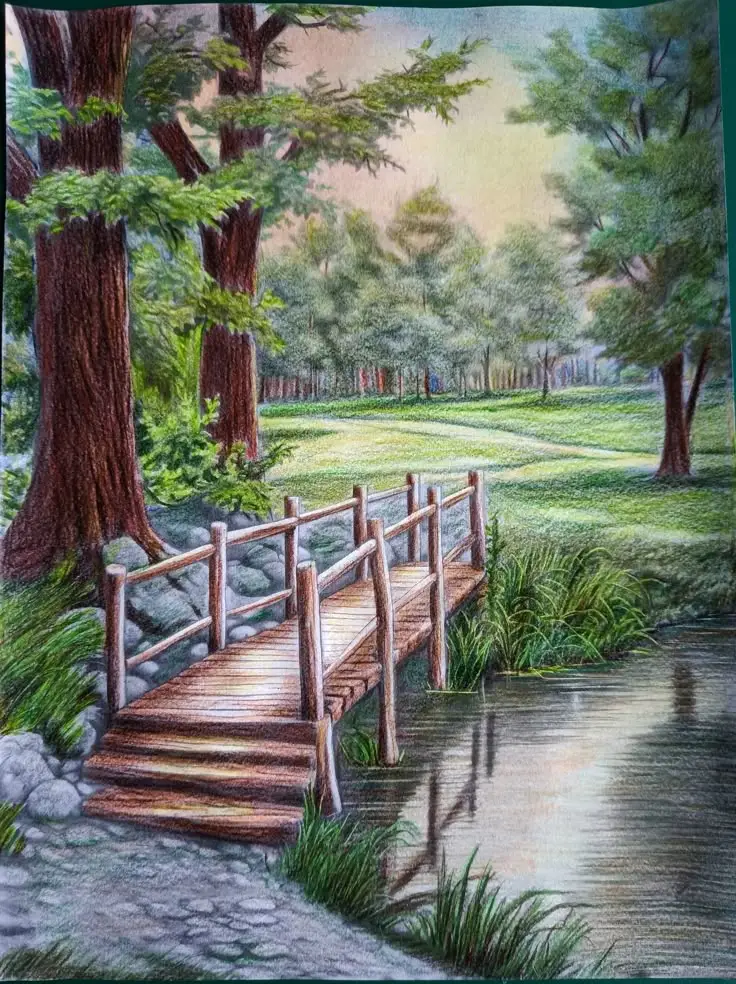
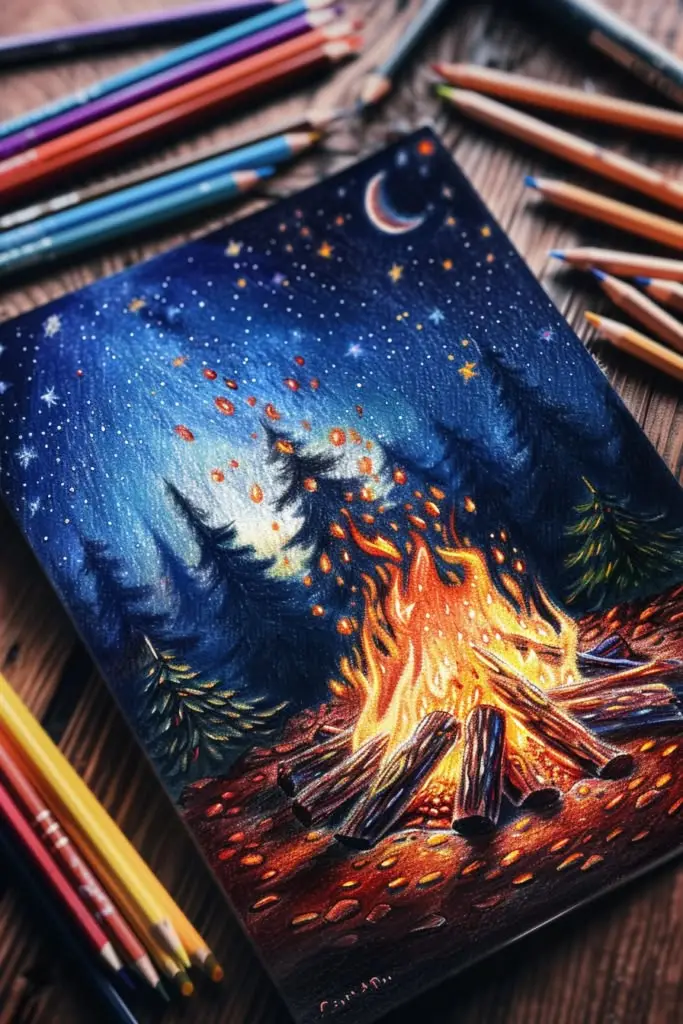
Watercolor is a popular choice for nature illustrations due to its fluidity and vibrant colors. This medium allows artists to capture the essence of natural scenes accurately. Layering transparent washes creates depth and atmospheric effects.
To paint landscapes, starting with a wet-on-dry technique can yield defined edges. For softer transitions, wet-on-wet techniques work well. Artists often use brushes of varying sizes to detail intricate parts, such as leaves or flower petals.
Utilizing techniques like spattering can mimic the appearance of fine foliage or distant flower blooms. This method adds a unique touch and emphasizes natural randomness found in nature. A palette of earth tones can represent realistic settings.
Ink and Pen
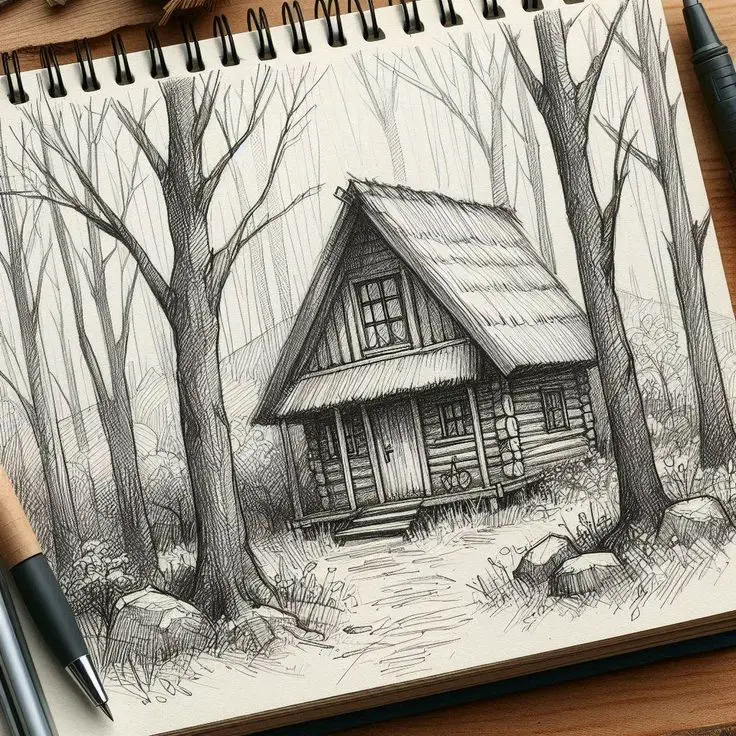

Ink and pen drawing is valued for its precision and ability to create striking contrasts. This technique can capture intricate details, making it suitable for both botanical illustrations and wildlife sketches.
Fine liners and brush pens can produce varying line weights. This variability is essential in conveying depth and texture. In nature drawing, cross-hatching can create shadows, while stippling adds subtle tonal shifts.
Artists might combine ink with watercolor for more dynamic results. Using ink for outlines and watercolor for filling in can lead to vibrant compositions. This approach highlights the distinctiveness of flora and fauna in nature, bringing sketches to life.
- 575shares
- Facebook0
- Pinterest575
- Twitter0
- Reddit0
