Jujutsu Kaisen drawing becomes much more manageable when you separate the character into gesture, construction, silhouette, and finish. Start with a loose pose and simple head shape. Build the large hair and clothing masses next, then add the few details that identify the character: Gojo’s blindfold, Yuji’s cropped spikes and hood, Sukuna’s markings, or Toji’s broad jaw and scar.
This tutorial keeps all 16 visual references and adds a practical note beneath each one. You can work traditionally or digitally; the sequence is the same. Solve proportions first, expression second, costume and effects third, and polish only after the drawing reads clearly at a small size.
- How to draw Jujutsu Kaisen characters step by step
- Build the pose before the costume
- Construct the head and facial angle
- Study the JJK art style without copying line for line
- Drawing Gojo: blindfold, eyes, hair, and expression
- Drawing Sukuna and facial markings
- Drawing Yuji, Yuta, Toji, and group scenes
- Draw anime faces that still look like the character
- Dynamic Jujutsu Kaisen action poses
- Expressions, hands, and readable storytelling
- Pencil, ink, color, and digital workflow
- Common mistakes and practical fixes
- Reference sources and responsible fan-art practice
- Jujutsu Kaisen drawing FAQ
- Q: How do you draw Jujutsu Kaisen characters step by step?
- Q: How do you draw in the JJK art style?
- Q: What is the easiest Jujutsu Kaisen character to draw?
- Q: How do you draw Gojo step by step?
- Q: How do you draw Sukuna's face markings?
- Q: What pencils are best for a Jujutsu Kaisen sketch?
- Q: How can I make Jujutsu Kaisen action poses look dynamic?
- A simple practice plan
How to draw Jujutsu Kaisen characters step by step
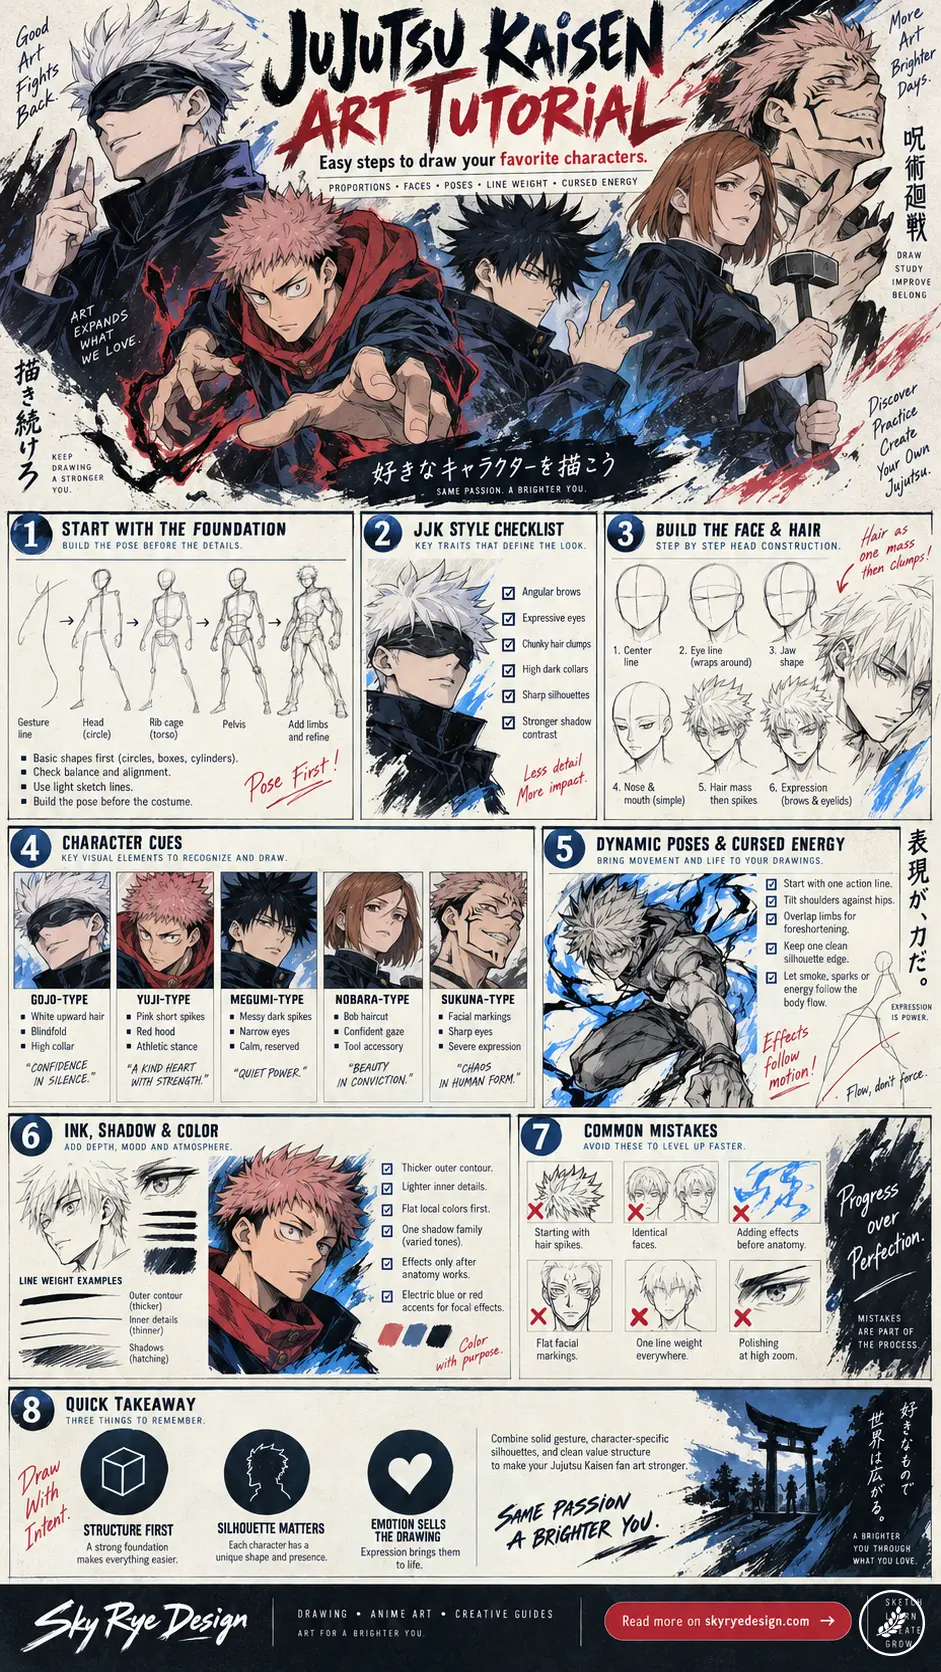
To draw a Jujutsu Kaisen character, begin with a line of action and a lightly constructed head. Mark the brow, eye, nose, and mouth lines so they turn with the face. Add the rib cage, pelvis, and limbs as simple forms, then build the hair in large clumps and the uniform as broad shapes. Refine the character-specific features, clean the silhouette, ink with varied line weight, and finish with two or three clear shadow groups. Do not start with eyelashes, scars, buttons, or cursed-energy texture; those details cannot repair weak construction.
- Choose one clear reference and decide whether the study is a portrait, half-body pose, or full action scene.
- Draw the gesture and simple forms with an HB or 2H pencil, or on a low-opacity digital layer.
- Place facial guidelines and check the head angle before designing the eyes and hair.
- Block the hair, collar, sleeves, and main accessories as large, readable shapes.
- Add the identifying features for the chosen character without tracing every contour.
- Ink the outer silhouette more firmly than the nose, mouth, folds, and interior details.
- Group shadows, add restrained color or effects, then check the drawing at thumbnail size.

This color study works because Gojo’s white hair forms a clean silhouette against the purple clothing. Block the hair as one large shape before cutting in individual spikes.
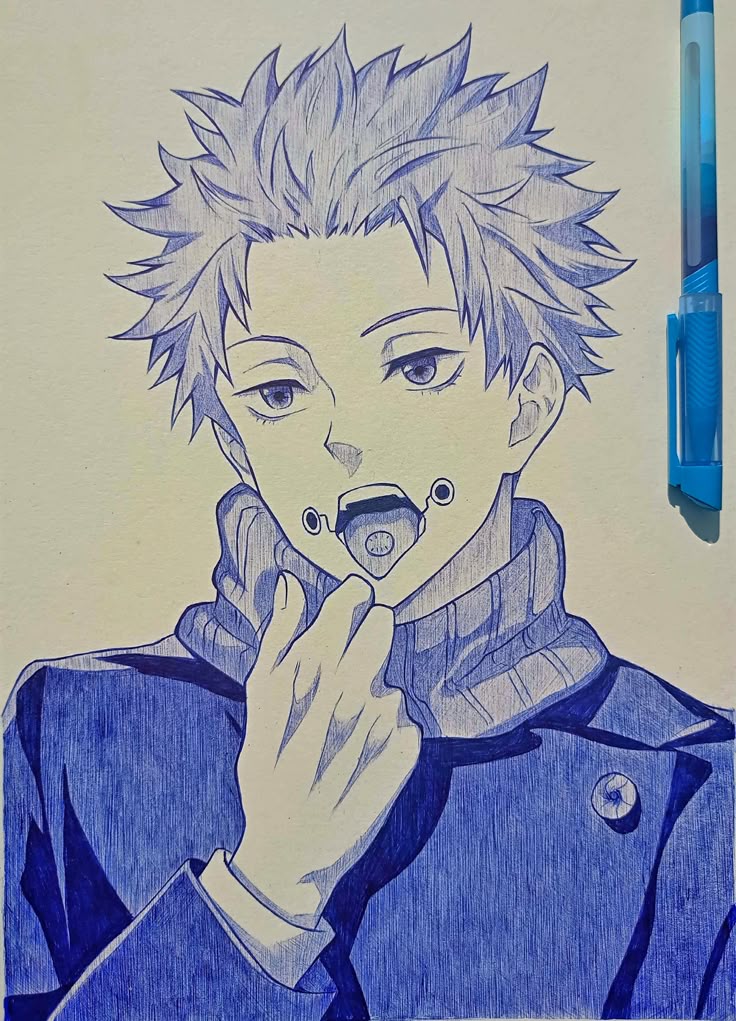
The ballpoint sketch uses a dark collar to frame Toge Inumaki’s face. Keep the collar symmetrical first, then vary the pressure in the hair and facial lines.
Build the pose before the costume
A convincing figure begins with weight. Draw one line through the head, spine, and supporting leg, then set the shoulders and hips at different angles. For a fighting pose, push one hand or foot toward the viewer and overlap the torso with the limbs. A standing portrait still needs balance: the head, rib cage, pelvis, and feet should feel connected rather than stacked like separate symbols.
Test the pose as a plain stick figure. If the action is unclear without hair, fabric, or effects, redraw it now. This takes less time than correcting a finished uniform. Keep the first pass light enough that you can move an elbow, shorten a forearm, or widen the stance without damaging the page.
Construct the head and facial angle
Use an oval or slightly tapered sphere for the skull, then add the jaw. The vertical center line tells you how much of each side of the face is visible; the eye line should curve around the form rather than remain flat. On a three-quarter view, the far eye is narrower and the far cheek turns away sooner. Keep the ear between the brow and nose levels as a useful checkpoint.
JJK faces often feel sharper than very soft anime designs, but the angle comes from structure, not from drawing every jaw as a triangle. Let the cheekbone, jaw corner, and chin change with the character. Gojo can read long and clean, Yuji slightly rounder, Sukuna more severe, and Toji broader through the lower face.
| Stage | What to simplify | What to check |
|---|---|---|
| Gesture | One action line and joint markers | Weight, direction, and balance |
| Construction | Head, rib cage, pelvis, cylinders | Proportion and perspective |
| Character pass | Hair, face, uniform, accessories | Recognizable silhouette |
| Line art | Outer contour and selected interior lines | Line-weight hierarchy |
| Finish | Shadow groups, color, and effects | Clear focal point |
Study the JJK art style without copying line for line
A useful JJK art style study focuses on repeatable decisions: angular brows, expressive eyes, chunky hair groups, dark collars, broken interior lines, and strong black shapes. Pick one trait from a reference, redraw it from memory, and compare the result. That short loop teaches more than tracing a polished image because it forces you to notice why the design works.
Separate manga and anime references when possible. Manga panels may use rougher marks, hatching, and compressed shadows, while animation stills usually simplify line work and color for consistency. Choose one finish for a study instead of mixing every texture on the same face.
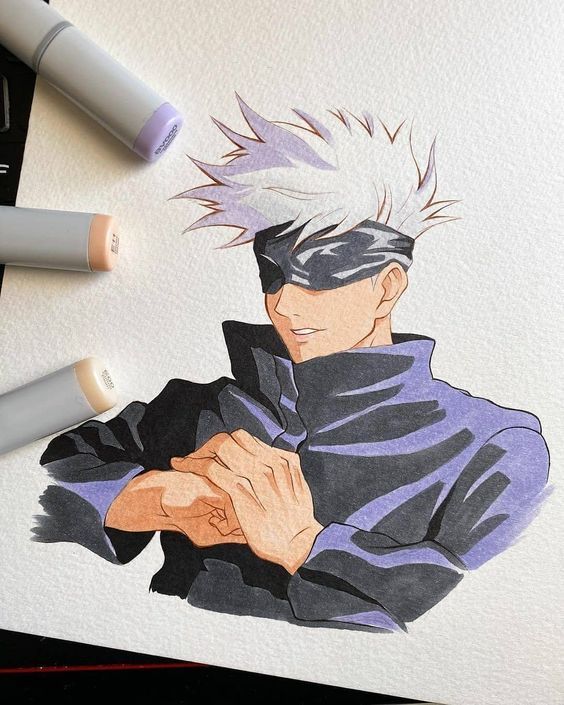
Gojo remains recognizable here through three cues: the blindfold angle, upward hair mass, and high collar. Check those shapes at thumbnail size before adding marker color.

For an unmasked Gojo drawing, place the eyes before the hair crosses the forehead. The blue accents should stay focused in the irises so they do not compete with the face.
Drawing Gojo: blindfold, eyes, hair, and expression
For a Gojo portrait, establish the tall hair mass and slim head before drawing spikes. The blindfold crosses the face on the same perspective as the brow line, while the high collar frames the jaw. When the eyes are visible, place them cleanly and reserve the strongest blue for the irises. The dedicated Gojo drawing guide gives you a longer character study once this basic construction is working.
Gojo’s expression can shift from calm to playful with very small changes. A lifted mouth corner, slightly raised brow, or tilted glasses may be enough. Avoid over-rendering the nose and lips; too many dark facial lines compete with the white hair and distinctive eye area.
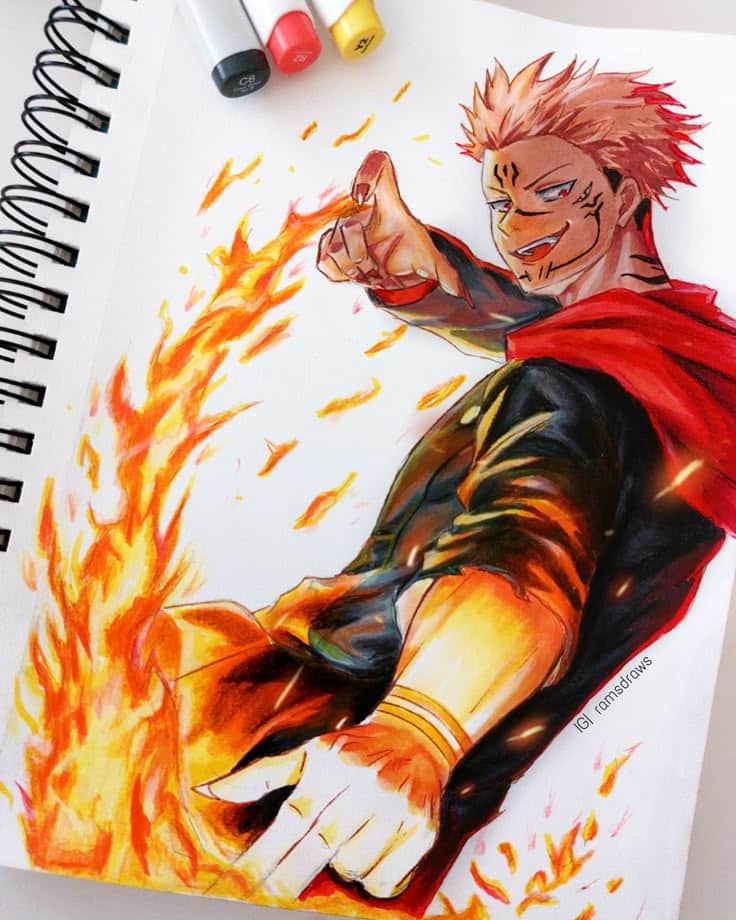
Sukuna’s markings need to follow the planes of the face and body, not sit like flat stickers. Sketch the anatomy first, then wrap each mark around the form.

The playful expression comes from the tilted glasses, lifted mouth corner, and loose hair. Keep the features simple so the pose feels quick rather than overworked.

An expression sheet is useful for a JJK art style study. Hold the head proportions steady while changing brows, eyelids, mouth corners, and the amount of cheek tension.
Drawing Sukuna and facial markings
A Sukuna drawing needs solid anatomy underneath the markings. Construct the head, neck, shoulders, and hands first. Then place the markings along the facial and body planes, curving them around the cheekbones, jaw, nose, and muscles. Paired marks should feel balanced, but tiny differences keep them from looking stamped on.
Use a limited value plan: pale skin, dark marks, a strong hair shape, and one dominant effect color. If the red energy, clothing, background, and markings all receive equal contrast, the face loses its authority. Keep the eyes and central markings as the focal point.
Drawing Yuji, Yuta, Toji, and group scenes
For a Yuji Itadori drawing, start with the short, upward hair silhouette and an open, athletic face. Keep his eyebrows and eyes energetic, then add the dark uniform and red hood as large shapes. Yuta benefits from softer wavy hair, a quieter gaze, and less aggressive line weight. The difference should be visible before color.
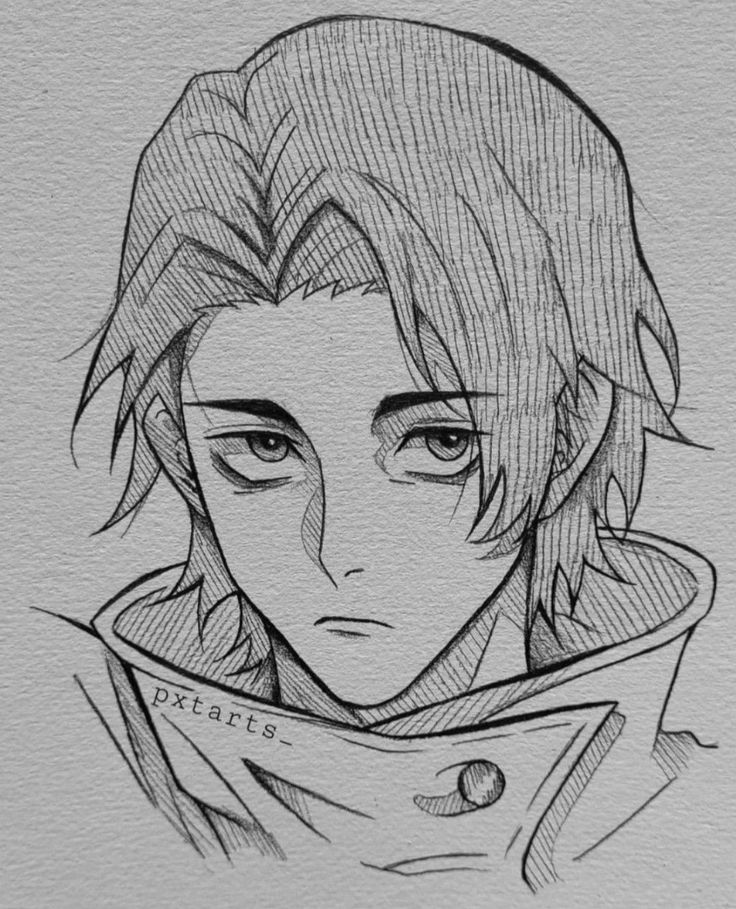
Yuta’s softer hair and tired gaze need quieter lines than Gojo’s design. Use a kneaded eraser to lift highlights instead of outlining every strand.
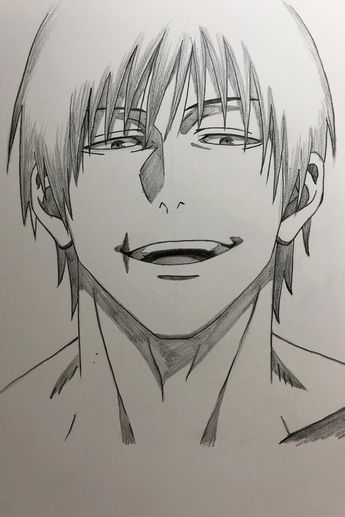
Toji’s portrait reads through the broad jaw, heavy neck, tousled hair, and relaxed smile. Establish that structure before adding small scars or fabric details.
Toji reads through a wider jaw, strong neck, tousled dark hair, and relaxed confidence. The scar is a finishing cue, not the foundation of the portrait. Build the skull and facial planes first, then add the scar so it sits naturally on the skin rather than becoming the only recognizable feature.
Group scenes are harder because each figure needs its own silhouette and value pattern. Thumbnail the arrangement with simple heads and torsos, then compare the spacing with an anime pose reference. Overlap characters deliberately, vary head angles, and leave a few calm areas of paper between dark uniforms and hair.
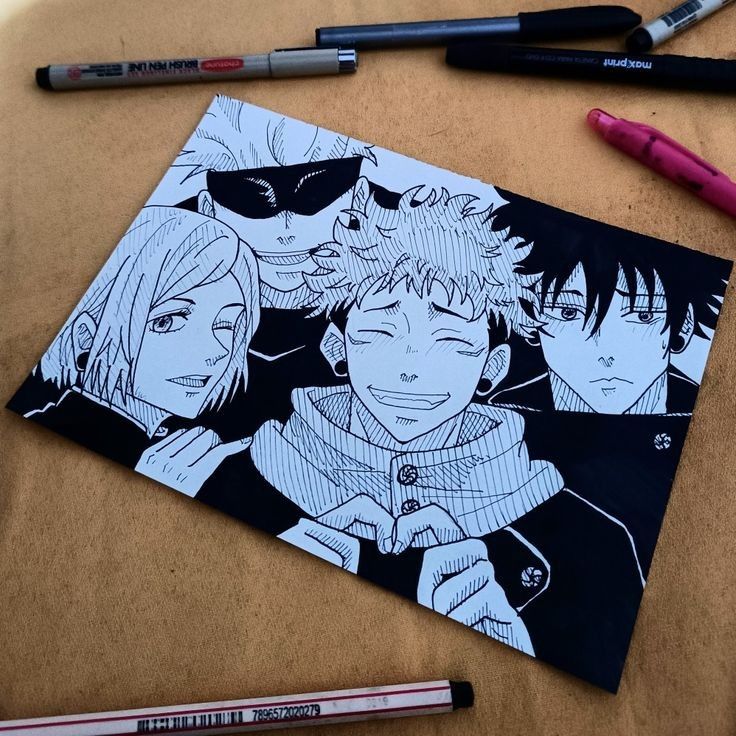
For a group drawing, vary head angles and silhouettes before refining faces. The four characters should remain distinct even when the page is viewed from a distance.
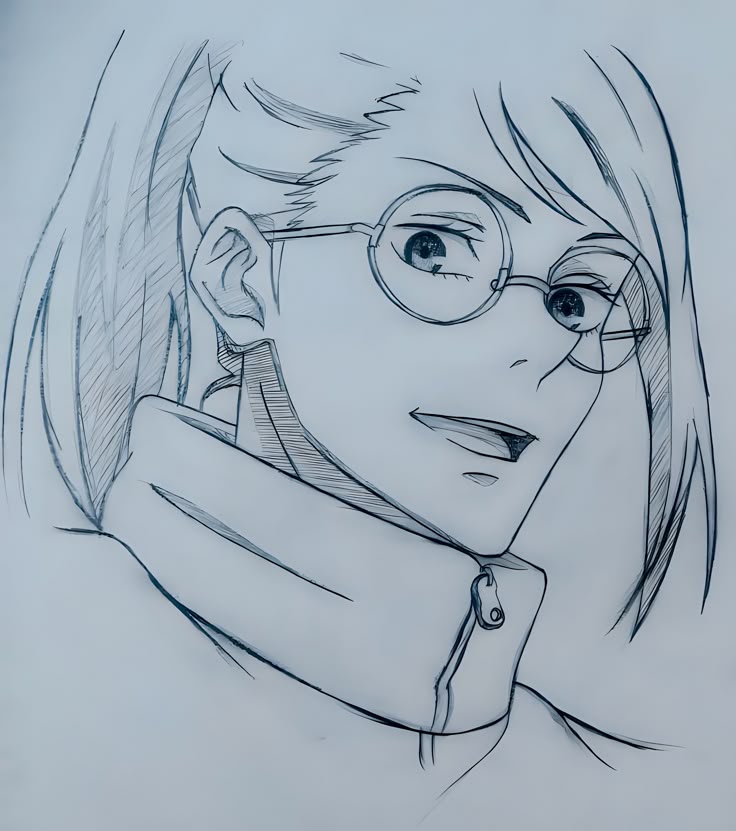
Glasses create strong horizontal landmarks. Draw the bridge and lens angle lightly, then fit the eyes behind them so the face does not drift out of perspective.

The small cat changes the composition, so treat it as a second silhouette rather than decoration. Leave enough breathing room above Gojo’s hair for both shapes to read.
Draw anime faces that still look like the character
Face accuracy depends on relationships more than isolated details. Compare the width between the eyes, the brow-to-nose distance, the mouth placement, and the amount of jaw visible below the lips. The anime head construction guide is useful when a face looks correct in front view but collapses as soon as you turn it.
Eyes carry much of the expression, but they should follow the skull. Use the anime eyes drawing reference to study lid angle, iris exposure, and highlights. For anger, lower the inner brow and reduce the visible upper iris. For surprise, raise the brows and expose more white without simply enlarging the whole eye.
Hair should sit on top of the skull, not replace it. Mark the crown, direction, and large clumps before cutting in spikes. These anime hair drawing techniques help when Gojo’s hair looks flat, Yuji’s spikes feel random, or Yuta’s softer locks turn into separate ribbons.

A busy sketch page stays readable when each head has its own value pattern. Alternate dark hair, pale faces, and open paper rather than filling every gap with lines.
Dynamic Jujutsu Kaisen action poses
Action poses need a clear before-and-after feeling. Bend the torso along one dominant curve, tilt the shoulders against the hips, and compress the side of the body that bends. Foreshortened limbs should overlap and change size as they approach the viewer. Draw through hidden forms so elbows and knees remain connected.
Cursed-energy effects should reinforce that motion. Curve smoke, sparks, speed lines, or shadow shapes around the same directional flow as the body. Keep at least one side of the silhouette clean. Effects become more convincing when they reveal the movement instead of covering uncertain anatomy.
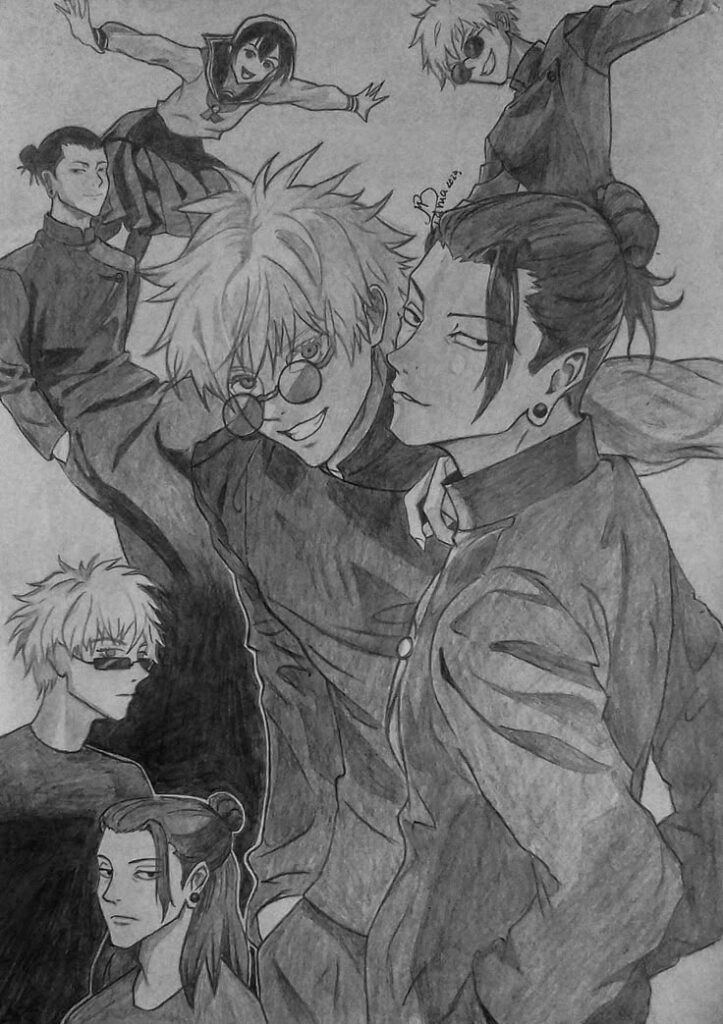
In a multi-character action scene, gesture comes first. Use one sweeping line per figure, overlap the bodies deliberately, and save costume details until the movement is clear.
Expressions, hands, and readable storytelling
Match the mouth, brows, and eyelids to the same emotion. A shouting mouth with relaxed brows feels disconnected; a narrow gaze with a tiny uncertain mouth weakens an aggressive pose. Practice the main cues in this drawing face expressions guide, then redraw the JJK portrait with fewer lines.
Hands are often close to the face in technique poses, which makes scale errors obvious. Start with the palm as a box and fingers as tapered cylinders. Check whether the hand is in front of or beside the face, then use overlap and line weight to show depth. Refine the finger gesture only after the wrist and palm angle make sense.
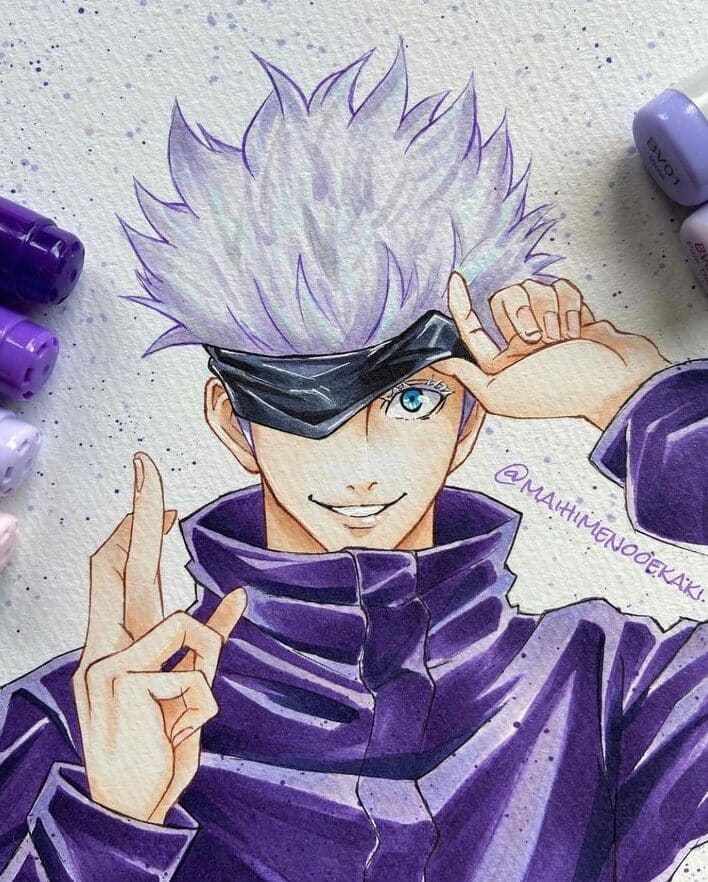
The peace-sign hand sits close to the face, so compare its scale with the head before inking. Purple shadows can unify the hair, skin, and uniform without flattening them.

This lighter scene depends on expression and body language rather than effects. Keep the shirts pale, reserve darker accents for hair and faces, and let the poses carry the relationship.
Pencil, ink, color, and digital workflow
For pencil work, use HB or 2H for construction and 2B or 4B for dark hair, collars, and shadow accents. A kneaded eraser can lift highlights without cutting a hard white hole into the shading. Preserve a few clean paper areas around the face; graphite everywhere makes the focal point feel dull.
When inking, thicken the outer silhouette, shadow-side contours, and overlaps. Keep the nose, lips, eyelids, and small folds lighter. Turn the page as you pull long strokes and let a few sketch lines remain when they add energy. Uniform blackness makes the drawing feel traced even when the construction is good.
For color, begin with flat local colors and one shadow family. Add a second shadow only where the form or dramatic lighting requires it. Digital artists should separate sketch, line art, flats, shadows, and effects onto sensible layers, but avoid building so many layers that simple corrections become slow.
Common mistakes and practical fixes
- Starting with hair spikes. Draw the skull and one hair mass first, then divide it into clumps.
- Using identical faces. Change jaw width, eye angle, brow weight, and hair silhouette for each character.
- Adding effects before anatomy. Hide the effects layer and repair the pose until it works on its own.
- Flat face markings. Curve Sukuna’s marks around the underlying facial planes.
- One line weight. Strengthen silhouettes and overlaps while keeping facial details lighter.
- Too many references at once. Choose one pose reference and one character reference for a focused study.
- Polishing at high zoom. Return to thumbnail size often and repair the largest unclear shape first.
Beginners can use these easy anime drawings as shorter warm-ups before a full JJK illustration. A ten-minute head, hand, or pose study is usually more useful than repeatedly restarting one ambitious group composition.
Reference sources and responsible fan-art practice
For character names, costumes, and current official designs, compare the official Jujutsu Kaisen character guide with the official VIZ Jujutsu Kaisen chapters. Use published art as a study reference, credit the source when sharing studies, and do not present traced or closely copied work as an original commercial design.
For general process, the Clip Studio character art guide explains a structured character workflow, while this Clip Studio drawing tutorial offers another digital drawing reference. These sources are most useful after you have chosen a clear pose and character; software cannot decide the silhouette or expression for you.
Jujutsu Kaisen drawing FAQ
Q: How do you draw Jujutsu Kaisen characters step by step?
A: Start with the gesture and simple head, rib cage, and pelvis shapes. Add face guidelines, build the hair as large clumps, and block the uniform before drawing folds. Refine the character-specific eyes, jaw, hair silhouette, and accessories, then ink with varied line weight and finish with simple shadow groups.
Q: How do you draw in the JJK art style?
A: Study angular facial shapes, expressive brows, chunky hair groups, strong outer contours, and restrained interior lines. Use dark shadow masses around collars, hair, and effects. Copy one design decision at a time from an official reference, then redraw it from memory instead of tracing a finished image.
Q: What is the easiest Jujutsu Kaisen character to draw?
A: A front-facing Yuji Itadori portrait is a friendly starting point because the face is open, the hair silhouette is clear, and the uniform can be simplified. Gojo with a blindfold is also manageable because the blindfold removes detailed eye construction, though his hair needs careful grouping.
Q: How do you draw Gojo step by step?
A: Construct a slim oval head, mark the eye line, and build the white hair as an upward fan of large spikes. Add either the blindfold or narrow eyes, then the high collar and relaxed expression. Keep the jaw clean and use thicker lines around the hair, blindfold, and jacket than around the nose and mouth.
Q: How do you draw Sukuna’s face markings?
A: Draw the face and neck anatomy first. Place the central marks, then curve the side markings around the cheekbones, jaw, and body planes. Keep paired marks balanced without making them mechanically identical, and test the design on a light sketch layer before committing with ink.
Q: What pencils are best for a Jujutsu Kaisen sketch?
A: An HB or 2H pencil is useful for construction, while 2B and 4B pencils give enough range for dark hair, collars, and shadow accents. Add a kneaded eraser for lifted highlights and a fineliner if you want clean manga-style line work. A small tool set is enough for a finished study.
Q: How can I make Jujutsu Kaisen action poses look dynamic?
A: Begin with one clear line of action and place the shoulders and hips at different angles. Push the leading hand, foot, or weapon toward the viewer, overlap forms, and keep the silhouette readable. Add clothing and cursed-energy effects only after the weight and balance work without details.
A simple practice plan
Finish with three small studies instead of one overloaded page: a five-minute silhouette, a fifteen-minute head, and a thirty-minute half-body drawing. On the next session, redraw the weakest one from memory and compare it with the reference. That loop gives you a measurable way to improve Jujutsu Kaisen character drawing without chasing detail for its own sake.
- 1.9Kshares
- Facebook0
- Pinterest1.9K
- Twitter0
- Reddit0