Food drawing is a beautiful, unexpected fusion of art and everyday life – something that takes the ephemeral nature of a meal and turns it into a timeless visual story. It’s a field that’s really going to appeal to all sorts of artists – from the weekend hobbyist who just wants to have some fun to the pro working in the culinary world. And it’s not just because the stuff you’re drawing is so universal – people love food – but also because its got potential galore for learning the basics of being an artist: how to observe, how to put together a composition, how to work with colour theory, and how to get texture just right. This massive guide is going to take you right into the heart of the wonderful world of food drawing and give you a whole lot of ideas, techniques, and inspiration to give your artistry a boost, whether you’ve just started out or have been doing this for years and are looking to shake things up.
From a humble piece of fruit to a massive show-stopping dish, food just lends itself to endless possibilities for experimenting and exploring. The thing is its super accessible – you don’t have to go anywhere special to get the stuff you need to practice and have a go with it.
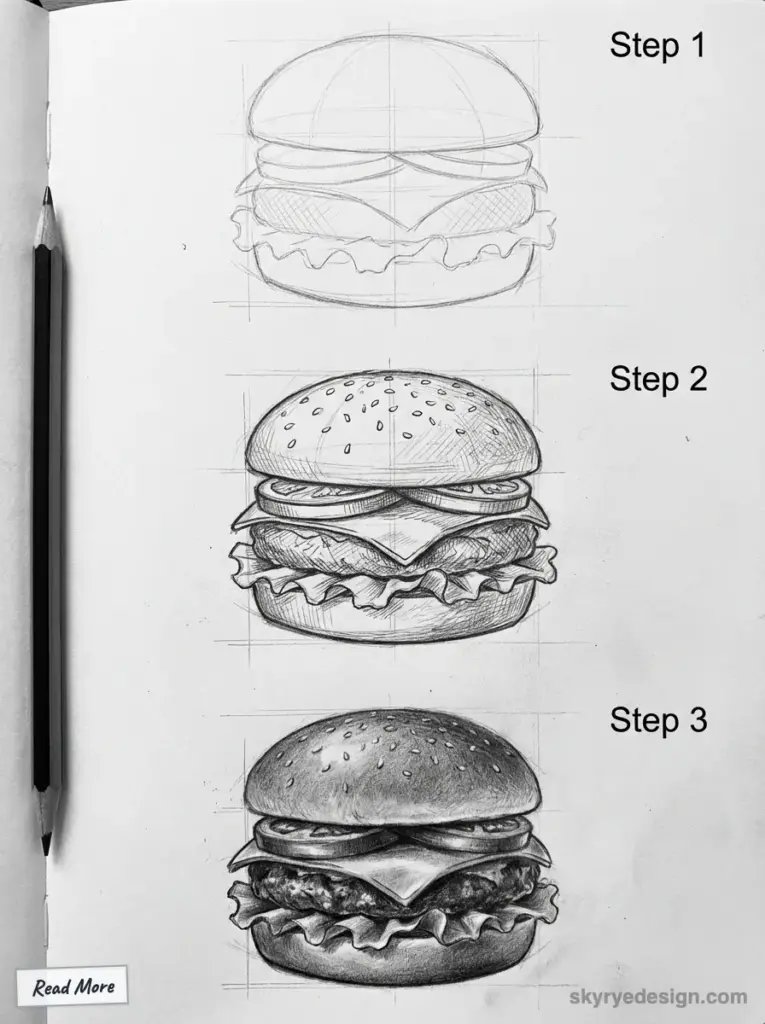
And drawing food isn’t just about copying what you see, its also about trying to capture the actual feeling of what you’re drawing : the smell of something freshly baked, the taste of something tangy, or the cool refreshing sensation of a crunchy salad on a hot day. So come along with us as we go deep into the art of drawing food – looking at various styles, sharing some essential tips and tricks, and loading up on a bunch of great ideas to get your imagination fired up.
The Irresistible Allure of Drawing Food
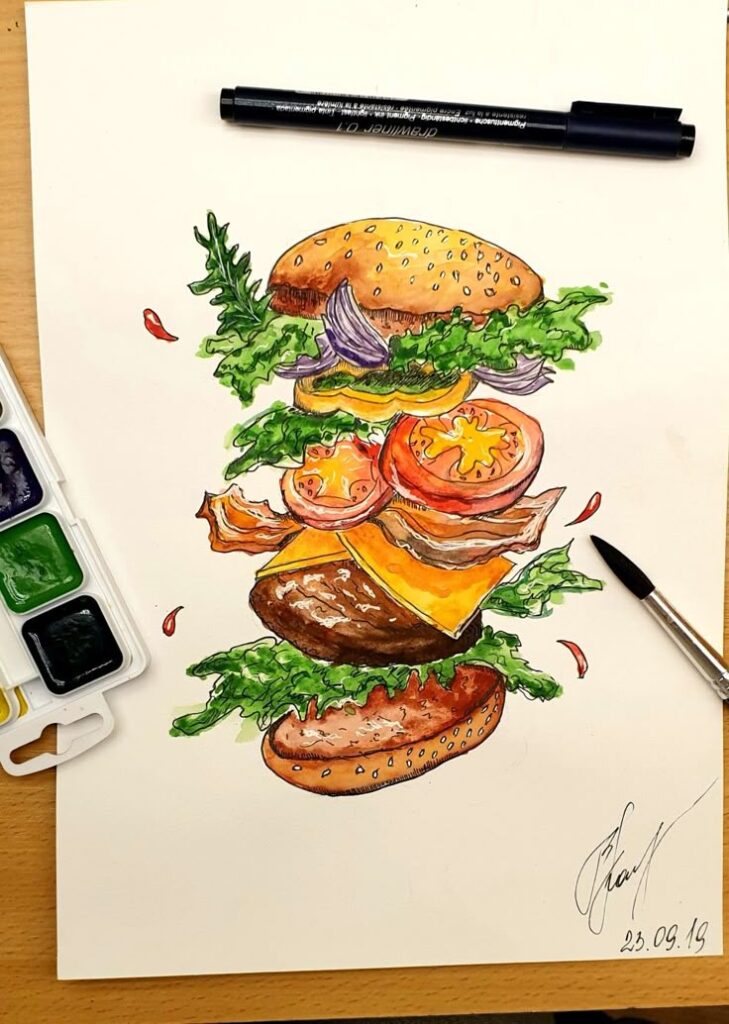
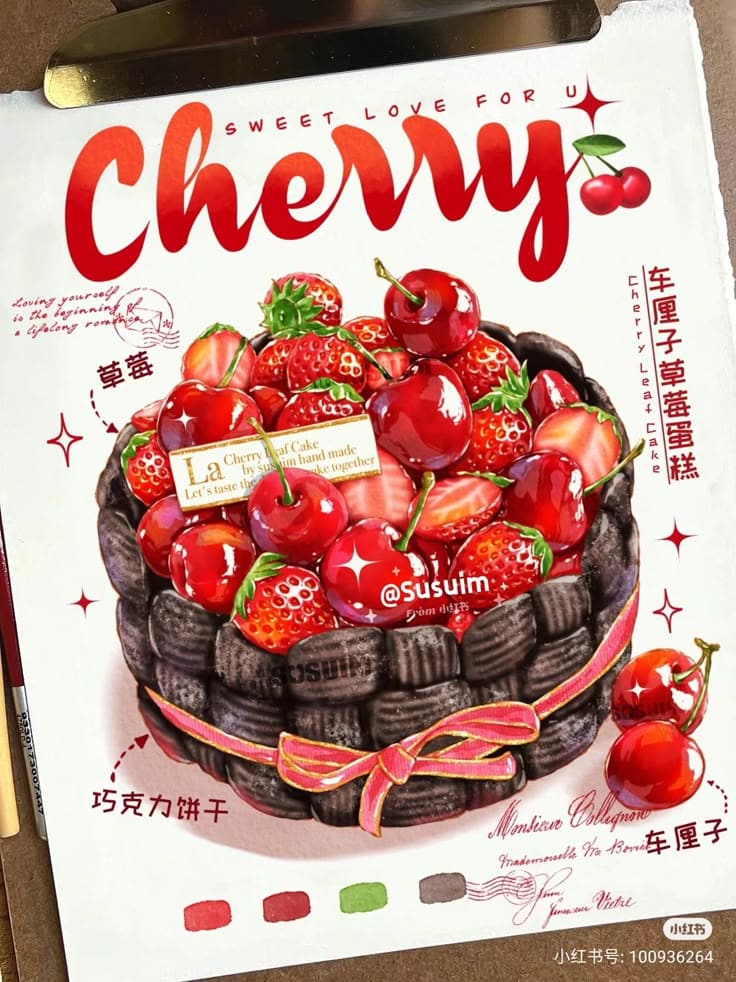
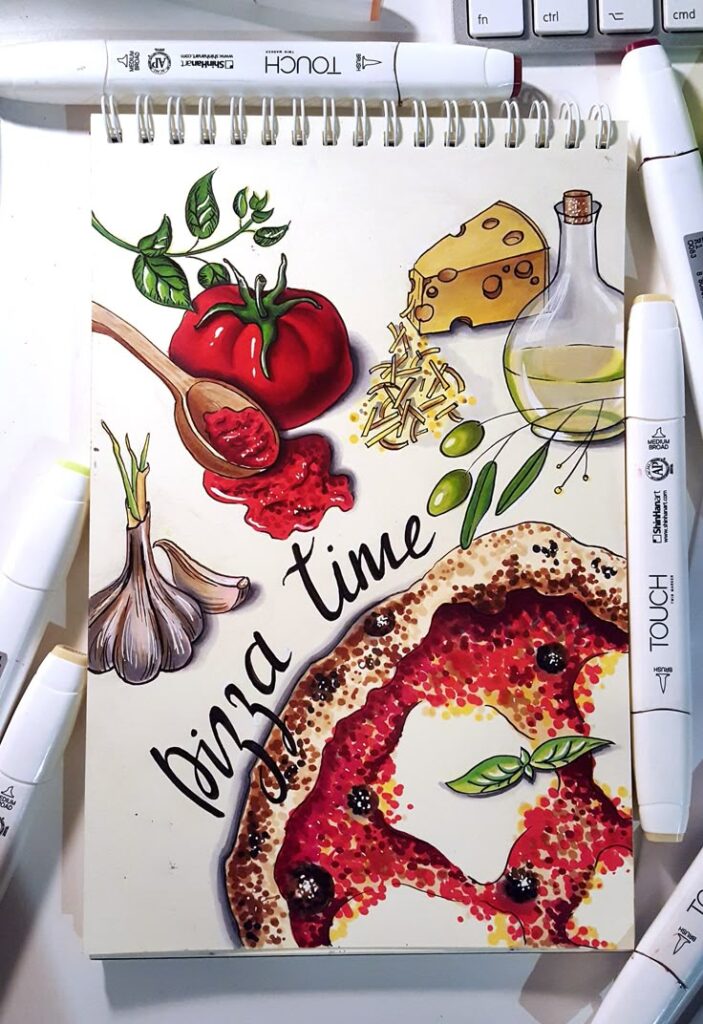
Before we dive into the practicalities, let’s explore why drawing food is such a compelling artistic pursuit. It’s more than just a pretty picture; it’s an engagement with culture, memory, and sensory experience.
Therapeutic and Mindful Practice
Engaging in food drawing can be a profoundly meditative and stress-reducing activity. The act of closely observing an apple, a cup of coffee, or a plate of pasta requires focus, slowing down your perception of time and allowing you to be fully present in the moment. This mindful practice can alleviate anxiety, improve concentration, and provide a much-needed creative escape from daily pressures. It transforms a mundane object into a subject of deep contemplation, fostering a sense of calm and accomplishment.
Sharpening Core Artistic Skills
Food offers an incredible training ground for fundamental art skills. Its diverse forms, textures, and colors present unique challenges and opportunities:
- Observation: Accurately depicting the subtle curves of a banana or the intricate patterns of a leafy green demands keen observation.
- Composition: Arranging multiple food items on a plate or a table setting teaches principles of balance, rhythm, and visual flow.
- Color Theory: Mixing the perfect shade for a ripe strawberry or a golden-brown crust pushes your understanding of hues, saturation, and value.
- Texture Rendering: From the glossy sheen of a cherry to the crumbly texture of a cookie, food provides endless lessons in conveying surface qualities.
- Light and Shadow: Capturing the way light plays on a glass of water or casts shadows on a bowl of fruit is crucial for creating depth and realism.
Regular practice with food subjects will undeniably lead to significant improvements across your entire artistic repertoire.
Documenting Culinary Experiences and Memories
Food is intrinsically linked to memory and culture. Drawing a dish can be a way of documenting a special meal, a favorite recipe, or a culinary adventure from a trip. These drawings become visual journals, preserving moments and flavors long after the actual food has been consumed. Imagine flipping through a sketchbook filled with illustrations of your grandmother’s pie, a memorable dish from a foreign country, or the vibrant produce from a local farmer’s market. Each drawing tells a story, evoking sensory memories and personal connections.
Commercial and Professional Applications
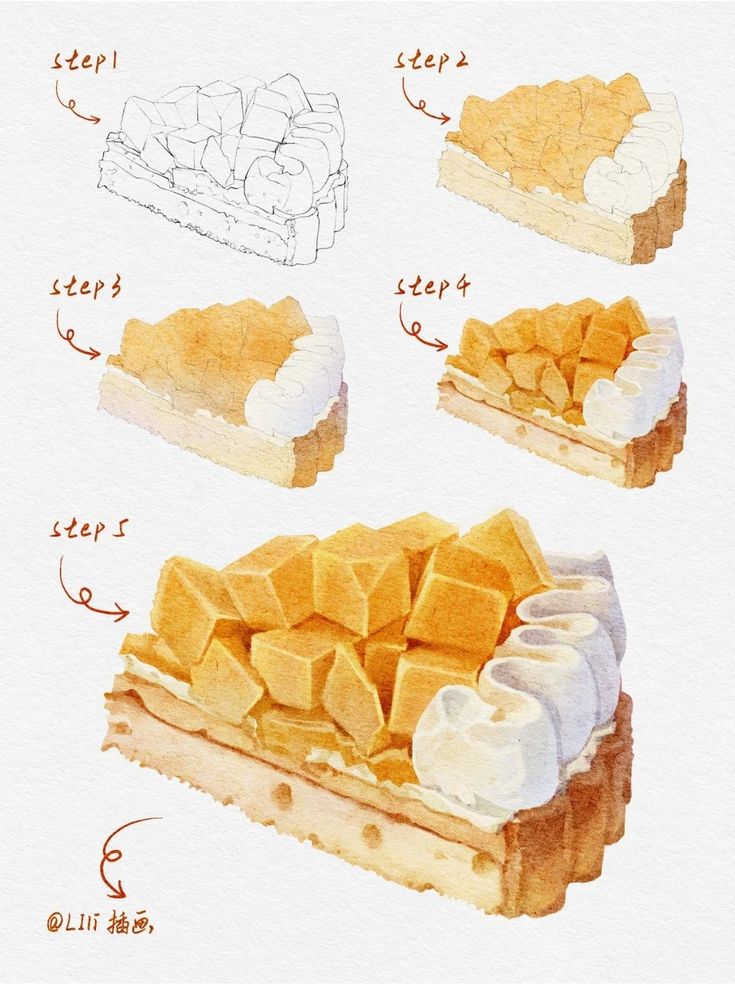
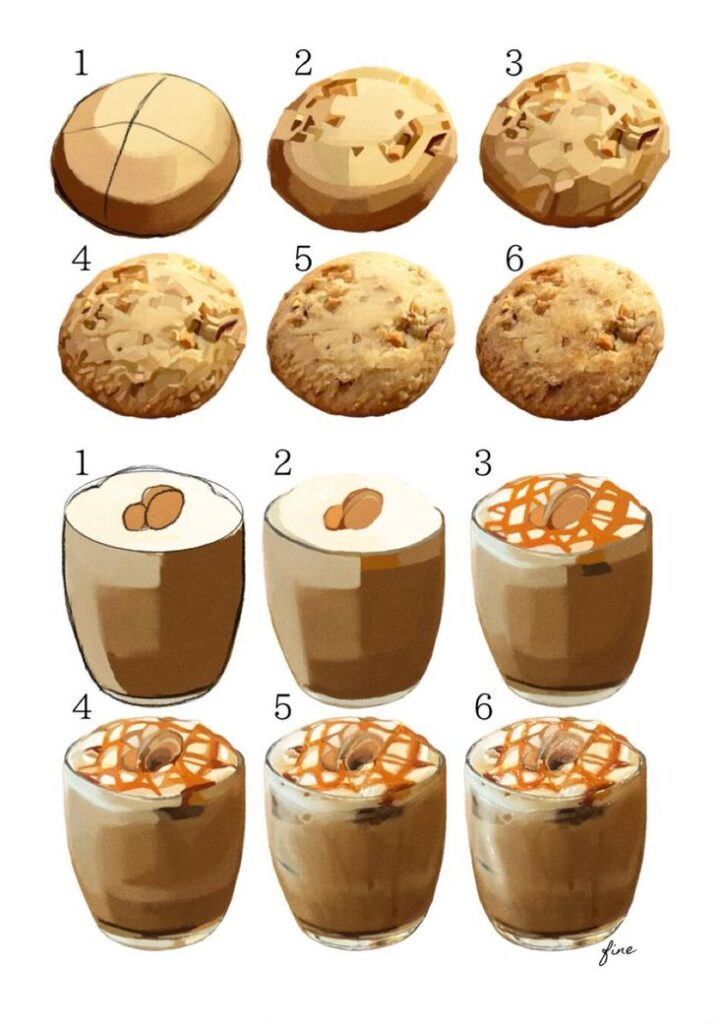
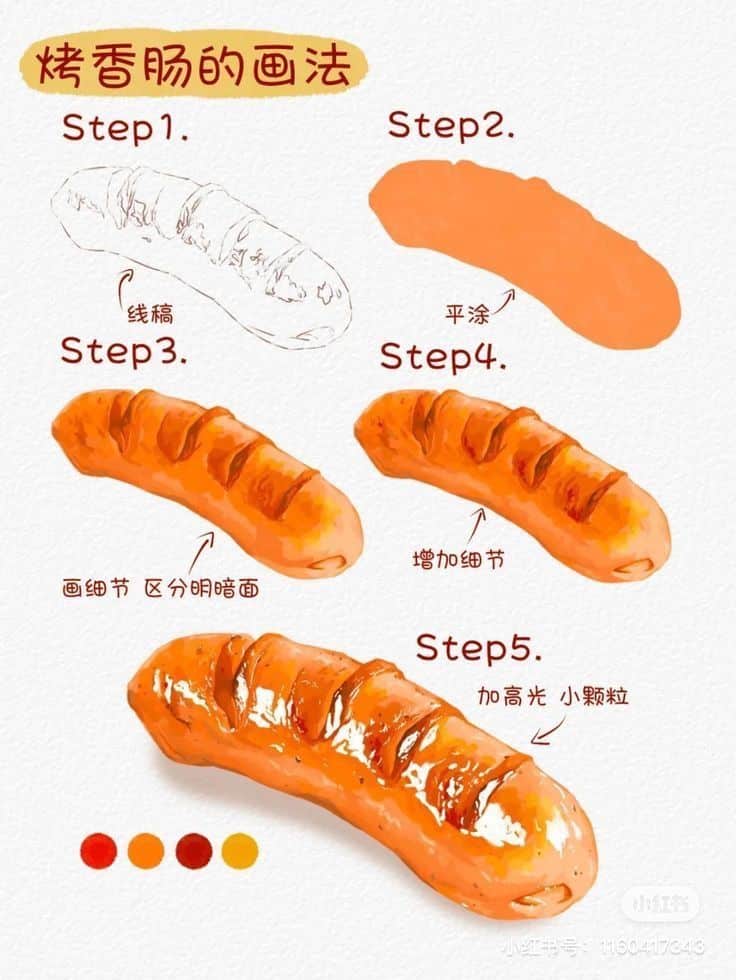
Beyond personal enjoyment, food illustration is a highly sought-after skill in various commercial industries. Food artists contribute to:
- Cookbook and Recipe Illustration: Bringing recipes to life with appetizing visuals.
- Restaurant Menus and Marketing: Creating appealing graphics for dining establishments.
- Product Packaging: Designing labels and packaging for food and beverage products.
- Editorial Content: Illustrating articles for food magazines, blogs, and websites.
- Branding: Developing visual identities for food-related businesses.
For aspiring professional artists, specializing in food drawing can open numerous career doors, allowing them to merge their passion for art with the universal love for food.
Essential Tools for Your Food Drawing Journey
Before you embark on capturing your first culinary masterpiece, gathering the right tools is crucial. The beauty of food drawing is its versatility; you can start with very basic supplies and gradually expand your toolkit as your skills and preferences evolve.
The Foundational Five: Sketching Essentials
- Graphite Pencils: A range of hardness (e.g., 2H, HB, 2B, 4B, 6B) is essential for sketching outlines, adding details, and building tonal values. Harder pencils (H) are great for light, precise lines, while softer pencils (B) produce darker marks and are excellent for shading.
- Sketchbook/Paper: Opt for paper with a good tooth (texture) that can handle multiple layers. For general sketching, a medium-weight drawing paper (60-80lb) is suitable. If you plan to use watercolors or inks, invest in heavier paper (90lb+) or a mixed-media sketchbook.
- Erasers: A kneaded eraser is invaluable for lifting graphite without damaging the paper, allowing for subtle corrections and creating highlights. A vinyl or plastic eraser works well for clean, precise erasures.
- Sharpener: Keep your pencils sharp for crisp lines and fine details. A good quality manual sharpener or a portable electric sharpener will suffice.
- Fineliner Pens: For ink drawings or adding crisp outlines, a set of waterproof fineliner pens in various thicknesses (e.g., 0.1mm, 0.3mm, 0.5mm) is excellent.
Expanding Your Palette: Color Mediums
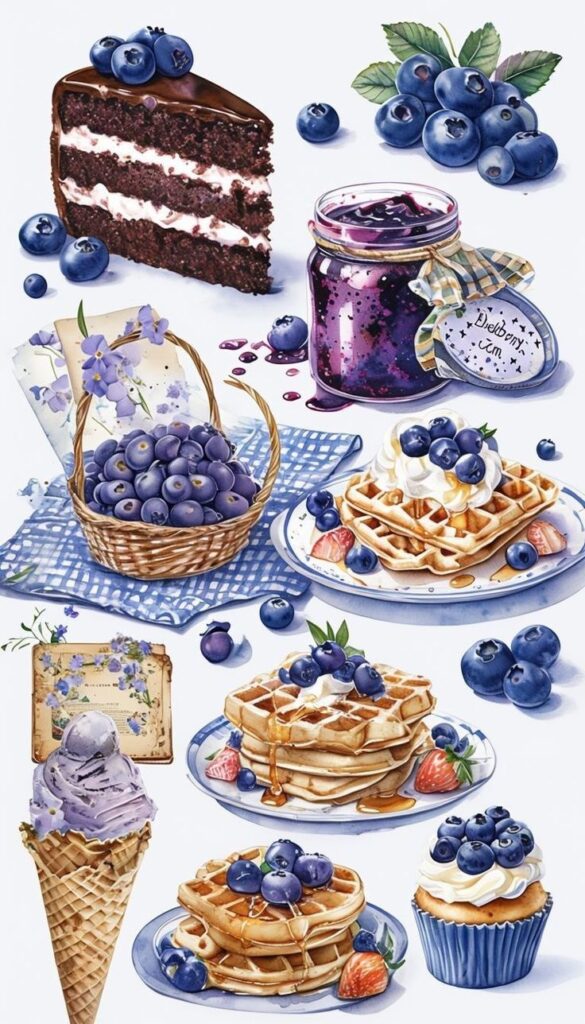
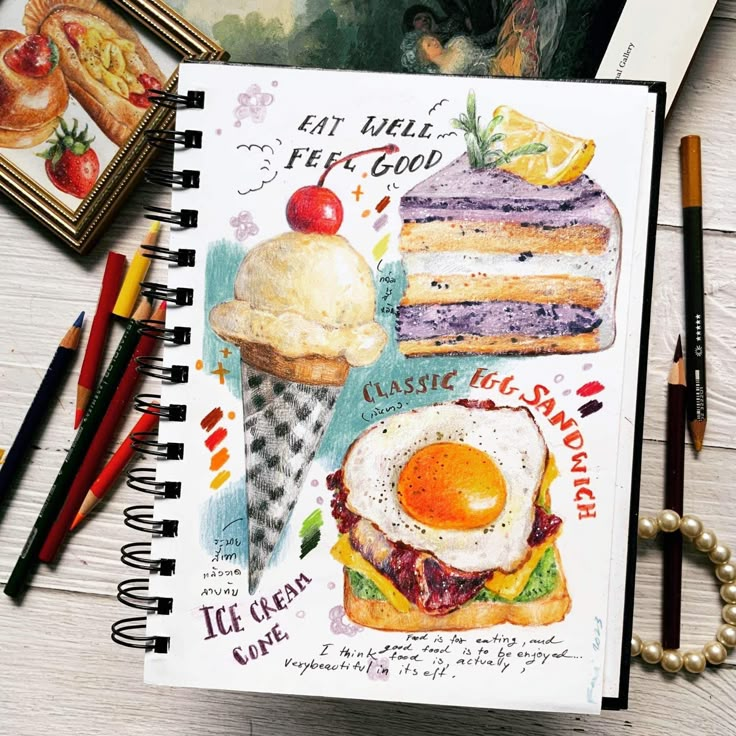
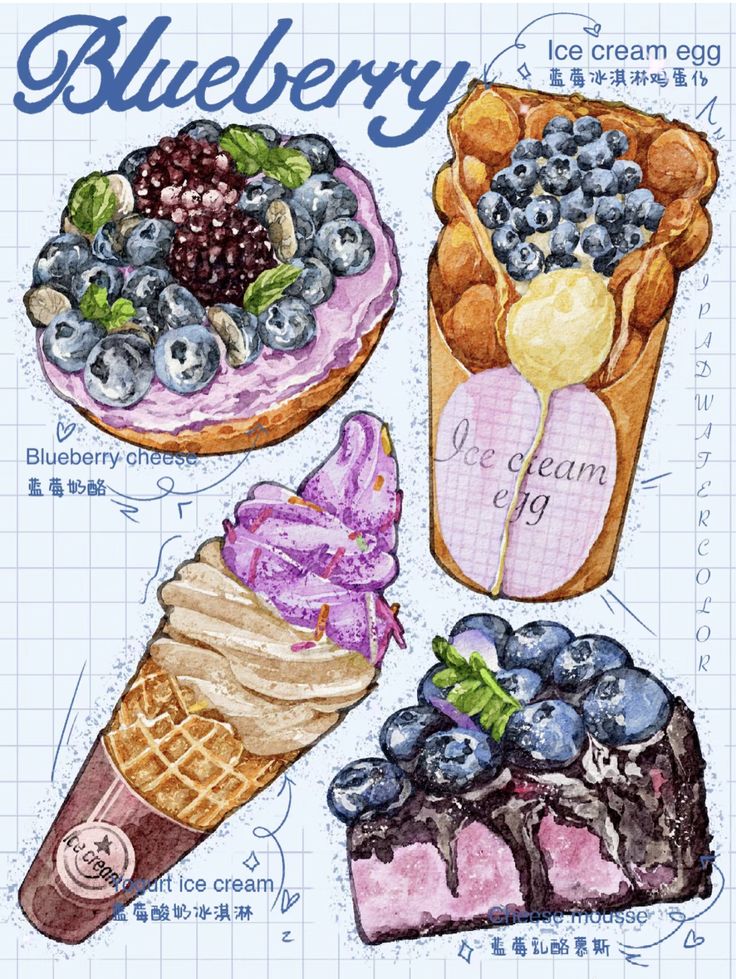
Once comfortable with line and tone, you’ll want to introduce color to your food drawings. Each medium offers a distinct aesthetic:
- Colored Pencils: Excellent for beginners due to their control and blendability. They allow for gradual layering of colors to achieve rich, nuanced tones and detailed textures. Look for artist-grade pencils for vibrant pigments and smooth application.
- Watercolors: Ideal for luminous, transparent washes that capture the freshness and vibrancy of food. They are perfect for achieving soft blends, delicate gradations, and a somewhat whimsical feel. Invest in a basic pan set or a few tubes of primary colors.
- Gouache: An opaque watercolor that dries to a matte finish, offering a graphic and vibrant look. It’s versatile, allowing for both flat color blocks and detailed layering, and can be reactivated with water.
- Markers (Alcohol/Water-based): Great for bold, vibrant colors and quick applications. Alcohol markers blend smoothly and are popular for graphic styles, while water-based markers can offer watercolor-like effects.
- Pastels (Oil/Soft): Provide rich, buttery colors and a painterly texture. They are excellent for capturing soft edges, creamy textures, and vibrant hues, though they can be messy and require a fixative.
Digital Drawing Tools
For those who prefer a digital workflow, an iPad with an Apple Pencil or a drawing tablet (like Wacom) paired with software such as Procreate, Adobe Photoshop, or Clip Studio Paint offers immense flexibility. Digital tools mimic traditional mediums, allow for easy corrections, and open up possibilities for animation and graphic design applications.
Foundational Techniques for Realistic Food Drawing
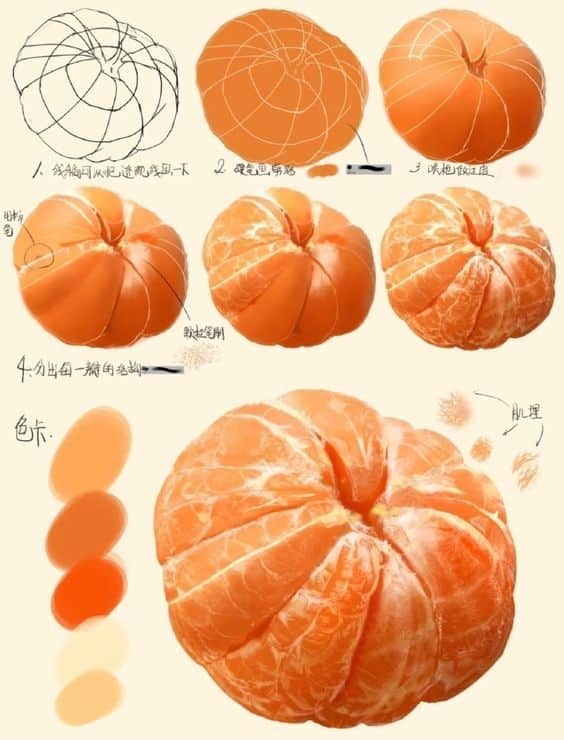

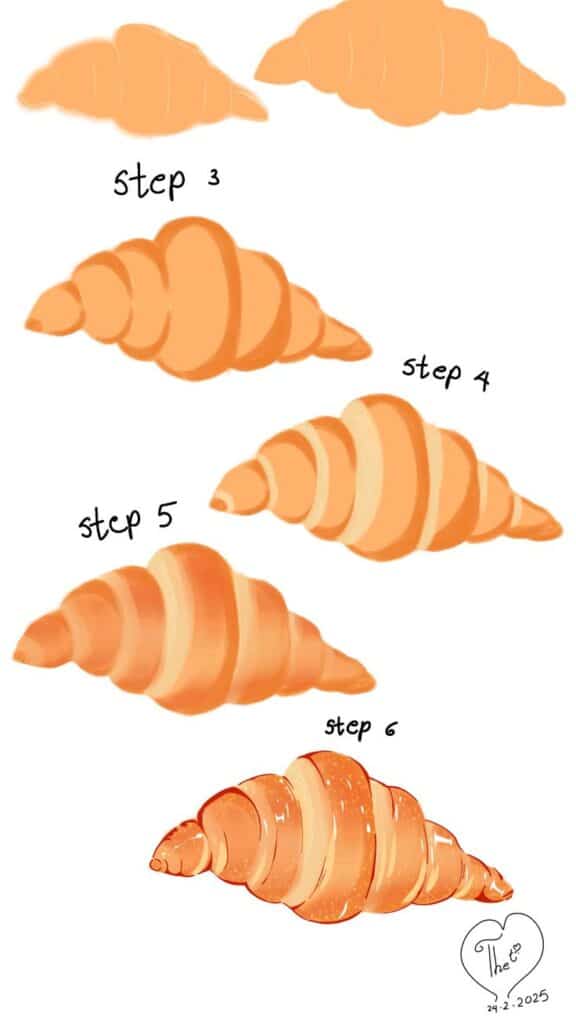
Regardless of the medium you choose, mastering a few core drawing techniques will significantly enhance the realism and appeal of your food illustrations.
1. Observation and Simplification
The first step to drawing anything well, especially food, is careful observation. Don’t just look at the object; see it. Notice its overall shape, its relationship to other objects, and how light interacts with its surfaces. For complex items, simplify them into basic geometric shapes first (circles, squares, cylinders, cones). A bell pepper might start as a sphere, an avocado as an oval, and a slice of cake as a wedge. This helps establish proportions and placement before adding details.
2. Composition: Arranging Your Culinary Scene
Composition is about arranging elements within your drawing space to create a harmonious and visually interesting image. For food drawing, consider:
- Rule of Thirds: Imagine your canvas divided into nine equal parts by two horizontal and two vertical lines. Placing your main subject along these lines or at their intersections often creates a more dynamic composition than simply centering it.
- Leading Lines: Use elements like cutlery, table edges, or even the arrangement of food to guide the viewer’s eye through the drawing.
- Negative Space: Pay attention to the empty spaces around and between your food items. These shapes are just as important as the positive shapes of the food itself.
- Varying Heights and Shapes: Create visual interest by including items of different heights (a tall glass next to a flat plate) and shapes (round berries with angular crackers).
- Cropping: Don’t be afraid to crop your subject to create a more intimate or dramatic view.
3. Mastering Light and Shadow for Depth
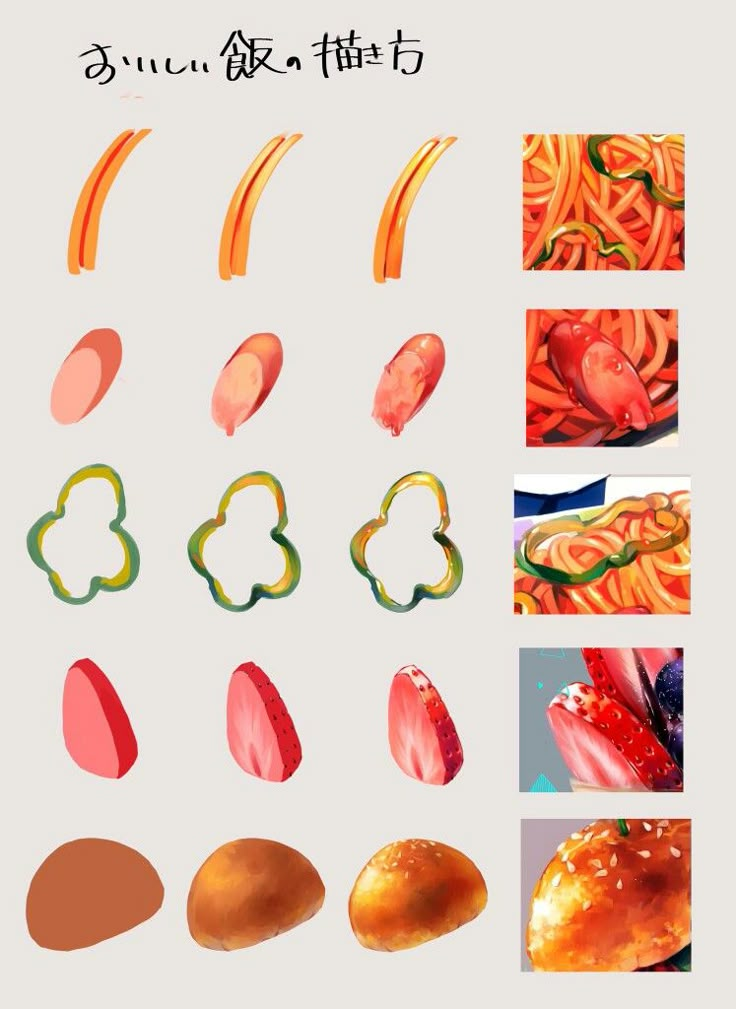
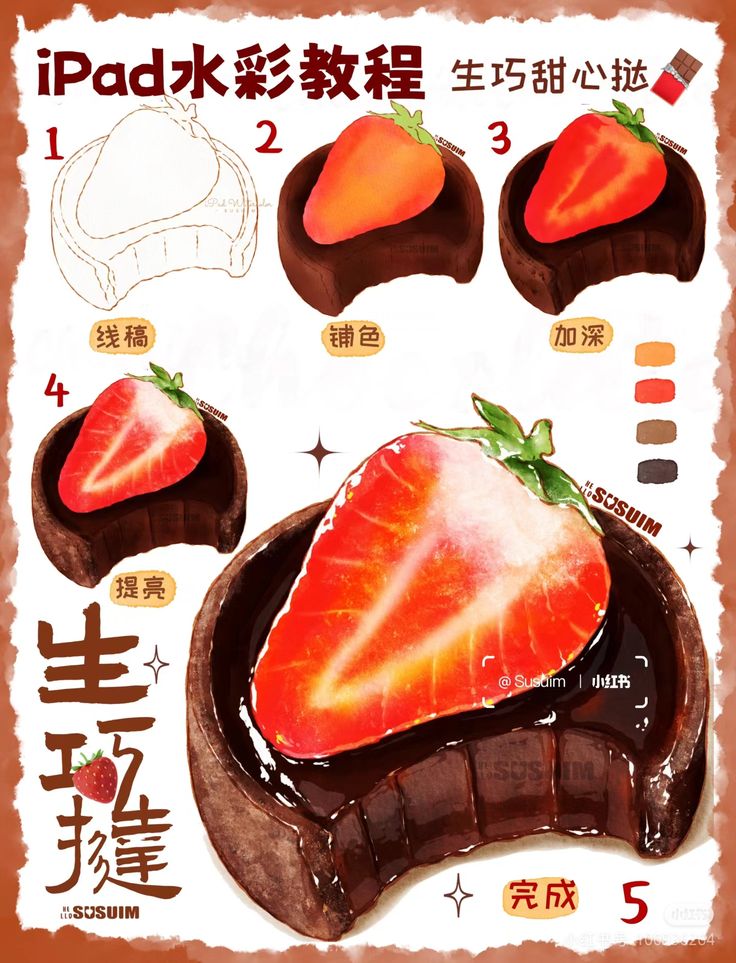
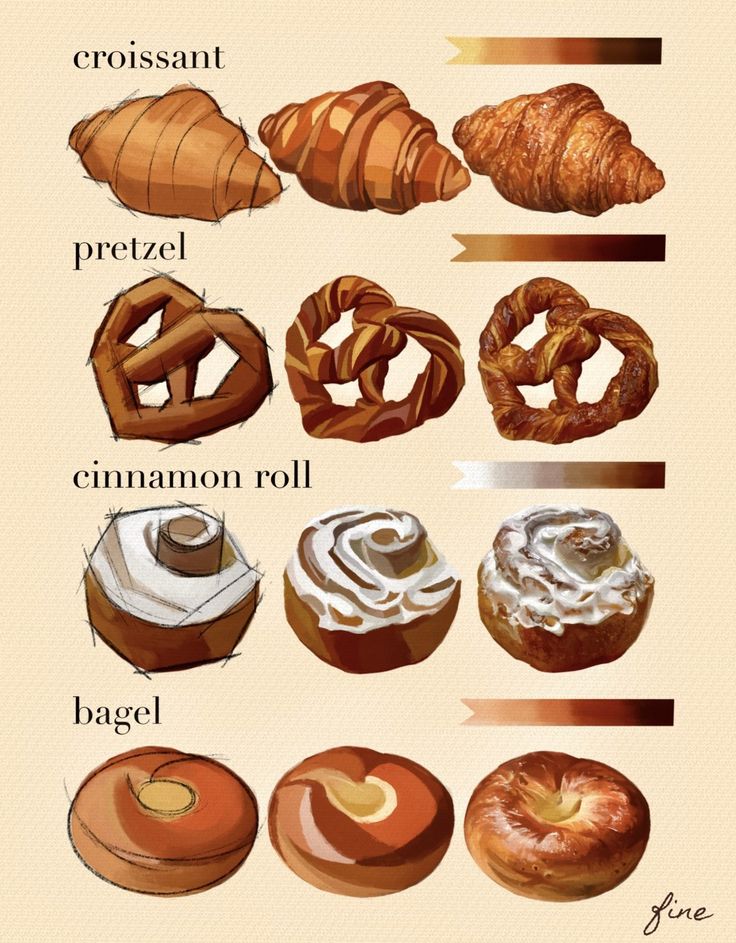
Light and shadow are what give your food drawings three-dimensionality and form. Understanding how light sources affect your subject is critical:
- Highlights: The brightest points where light directly hits the surface. Often sharp and bright on shiny surfaces, softer on matte ones.
- Midtones: The general color of the object, receiving ambient light.
- Core Shadow: The darkest part of the object, where light cannot reach directly.
- Cast Shadow: The shadow an object throws onto the surface it rests on or other objects around it. These shadows ground your subject and provide a sense of depth and realism.
- Reflected Light: A subtle, often lighter area within the core shadow, caused by light bouncing off surrounding surfaces. This prevents shadows from looking flat and adds realism.
Experiment with single light sources to simplify the process and clearly define your shadows.
4. Color Theory and Mixing for Appetizing Tones
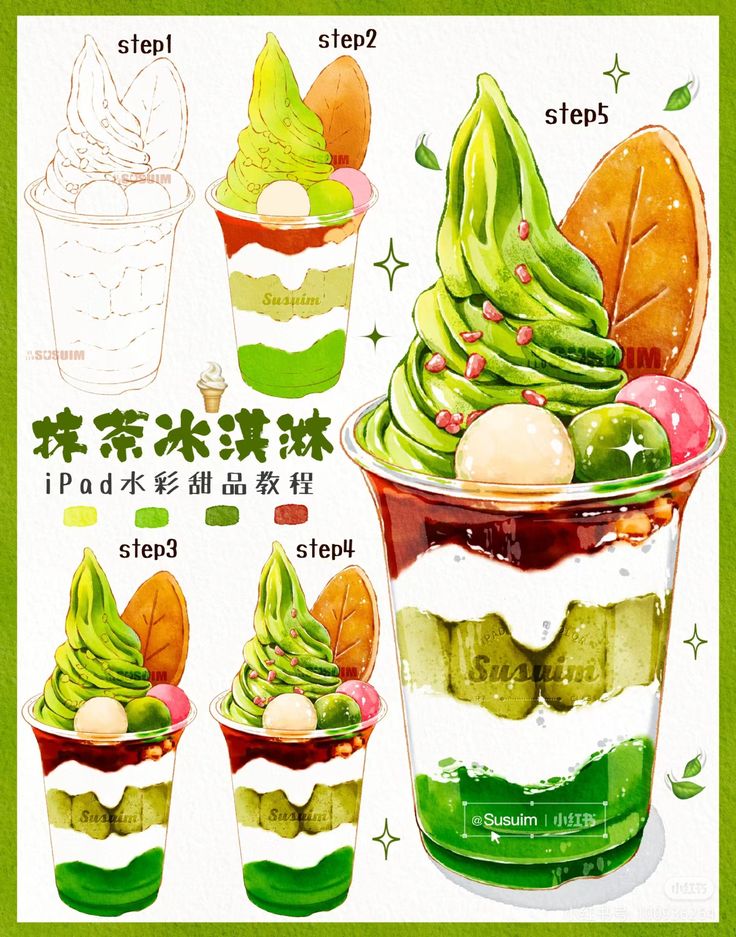
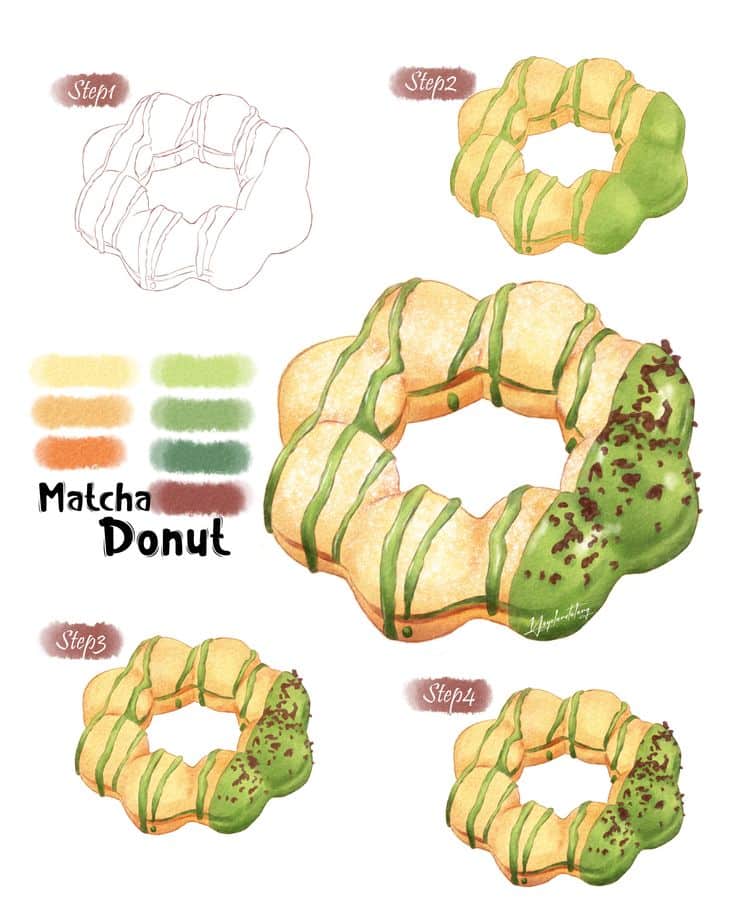
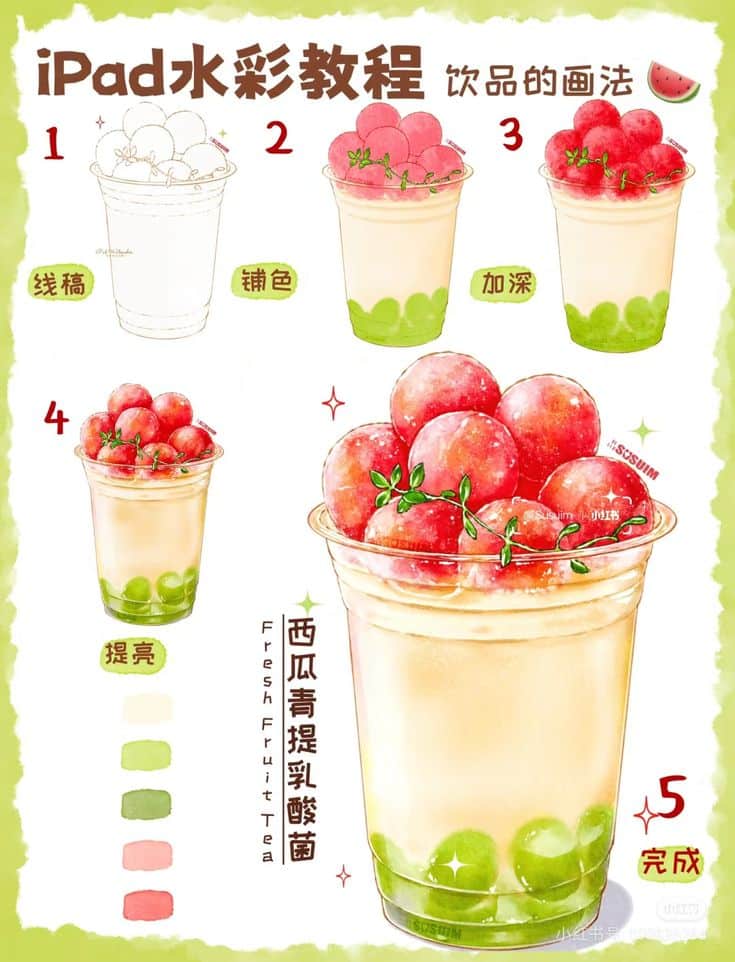
Food is inherently colorful, and accurately capturing its hues is key to making your drawings appetizing. Don’t just pick a color from your palette; observe and mix.
- Primary, Secondary, Tertiary Colors: Understand the basics of the color wheel.
- Warm and Cool Colors: Warm colors (reds, yellows, oranges) tend to advance, while cool colors (blues, greens, purples) tend to recede. Use this to create depth.
- Complementary Colors: Using small touches of a color’s complement (e.g., a hint of green in a red tomato’s shadow) can make colors pop and add vibrancy.
- Layering and Glazing: Especially with colored pencils and watercolors, build up colors in thin layers to achieve rich, complex tones. This allows light to pass through layers, creating luminosity.
- Desaturation for Shadows: Often, shadows aren’t just darker versions of the base color; they might be slightly cooler or more desaturated. Avoid using pure black for shadows; instead, mix a deep, rich dark color using complementary hues.
5. Rendering Texture – The Art of Making it Feel Real
Texture is what brings a drawing to life and gets the viewer’s senses all mixed up – in a good way. Food is a treasure trove of textures – here are a few:
Crispy: Think of a crinkle-cut chip, a bit of fried chicken or a spring roll. Try using sharp, pointy edges, a few different colour tones and maybe a tiny bit of detail to make it look like it’s about to snap in half.
Smooth and Shiny: Think of biting into a perfectly ripe apple or running your hand over a just-applied glaze. Use some sharp little highlights and gentle, flowing transitions between tones to get that glass-like feel.
Rough and Crumbly: Loaves of bread, stale cookies, crumbly cheese – these are perfect examples. Try using a bit of broken line, some stippling, or just general messing about to suggest all the nooks and crannies on those uneven surfaces.
Soft and Fluffy: Imagine cotton candy, fluffy meringue or a big dollop of whipped cream on top of your favourite dessert. To get that look, try using soft edges, gentle merging, and tiny little tonal shifts.
Juicy and Wet: A freshly sliced orange, a just-picked berry or a glass all spattered with condensation – these will make you want to reach in and taste them. Use some bright highlights, transparent colours, and perhaps a few tiny reflections to bring it to life.
Tips for Making Your Food Drawings Come Alive
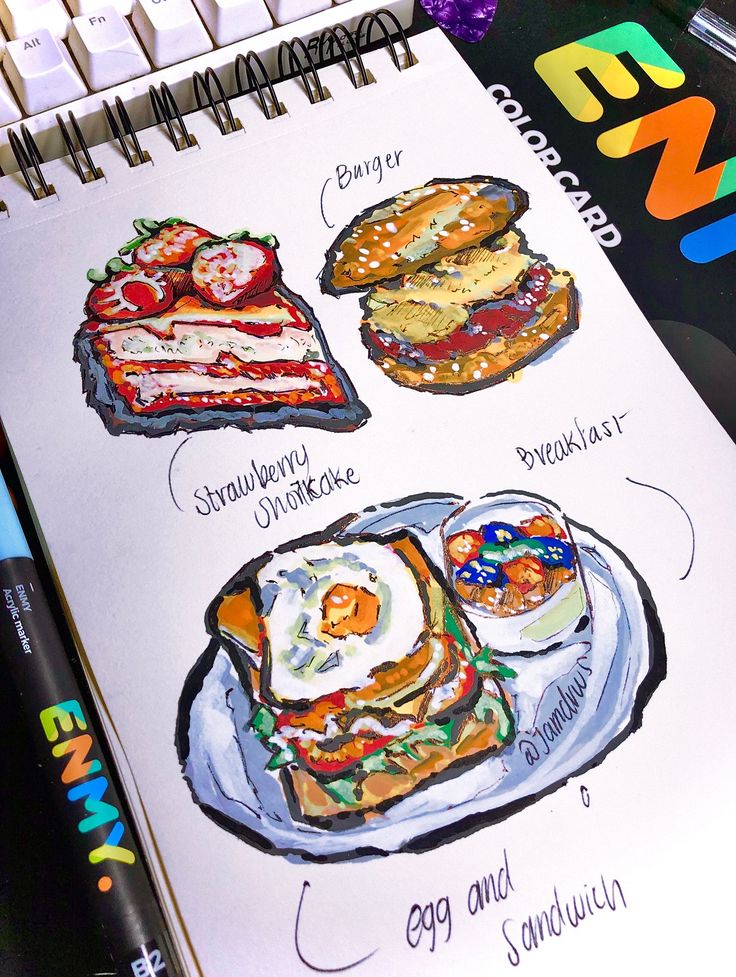
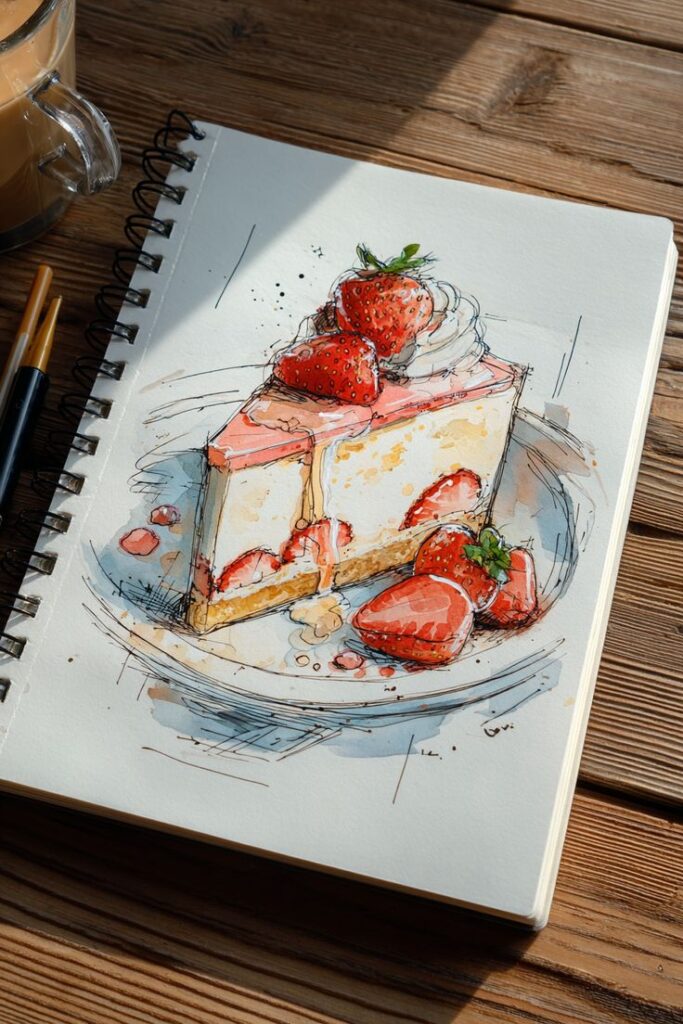
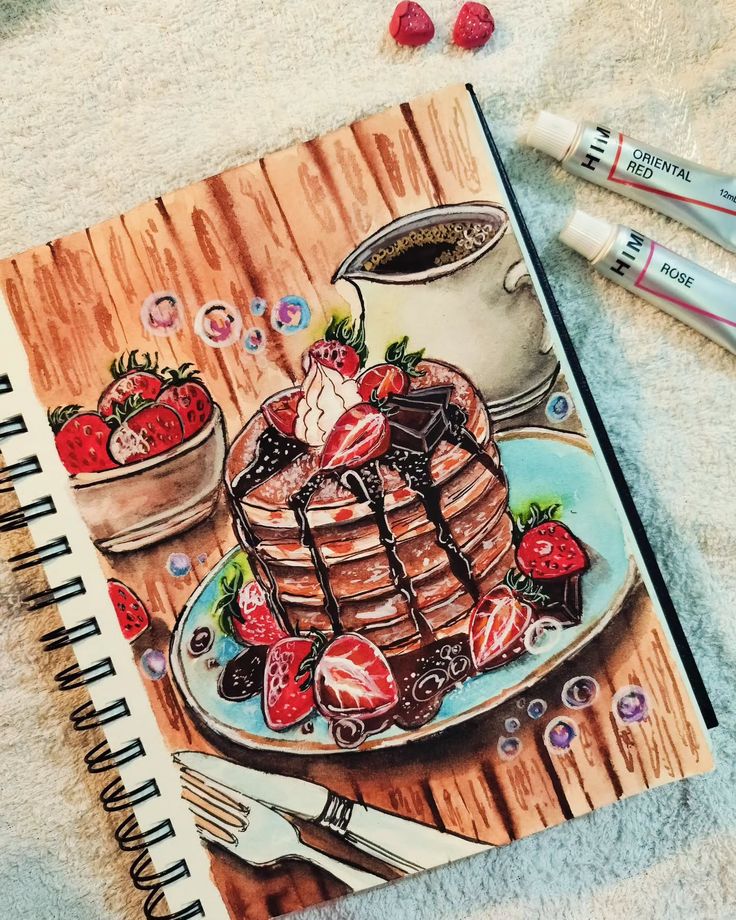
Beyond techniques and ideas, certain practices can dramatically enhance the impact and appeal of your food drawings.
- Start with Fresh, Appealing Subjects: Bruised or wilted produce won’t inspire or look as vibrant. Choose the freshest, most attractive ingredients you can find. Arrange them artfully before you begin sketching.
- Utilize Good Lighting: Natural, diffused light is often best, as it creates soft shadows and reveals true colors. A single, consistent light source is easier to manage than multiple, conflicting ones. Avoid direct, harsh light unless you specifically want dramatic, high-contrast shadows.
- Tell a Story: A drawing of food can be more than just a representation. Think about the narrative: Is it a half-eaten meal? Ingredients waiting to be cooked? A shared plate? Adding context and a hint of human interaction (e.g., a napkin, a scattering of crumbs) can make the drawing more engaging.
- Experiment with Angles and Perspectives: Don’t always draw food straight on. Try a bird’s-eye view looking down on a plate, a worm’s-eye view looking up at a tall cake, or a close-up, intimate shot focusing on a specific detail. Different angles evoke different feelings.
- Consider the Background and Props: The environment around your food can greatly enhance or detract from the drawing. A simple, blurred background can make the food pop, while carefully chosen props (a rustic cutting board, a vintage spoon, a patterned tablecloth) can add character and context without overwhelming the subject.
- Practice Regularly, Even Small Sketches: Consistency is key. Even 15-minute sketches of a single fruit or a quick cup of coffee can significantly improve your observation and speed. Keep a small sketchbook handy.
- Don’t Fear Imperfection: Food in real life isn’t always perfectly symmetrical or blemish-free. Embracing a few natural imperfections can add authenticity and charm to your drawings, preventing them from looking sterile.
- Study Reference Photos, But Draw from Life When Possible: Reference photos are invaluable for inspiration or for drawing perishable items. However, drawing from life allows you to observe true three-dimensionality, subtle color shifts, and the way light behaves in a way a flat photo cannot fully convey.
- Embrace Color Mixing: Resist the urge to use colors straight from the tube or pan. Mixing your own colors, even if just slightly, will result in more nuanced, natural, and harmonious tones, making your food look more appetizing and realistic.
- Add a Touch of Uhmami (Visual Flavor): This is the intangible quality that makes a food drawing truly mouth-watering. It often comes from subtle details: a glistening surface, a tiny crumb, a perfectly rendered drop of condensation, or a hint of steam. These small touches evoke sensory experiences.
Overcoming Common Challenges in Food Drawing
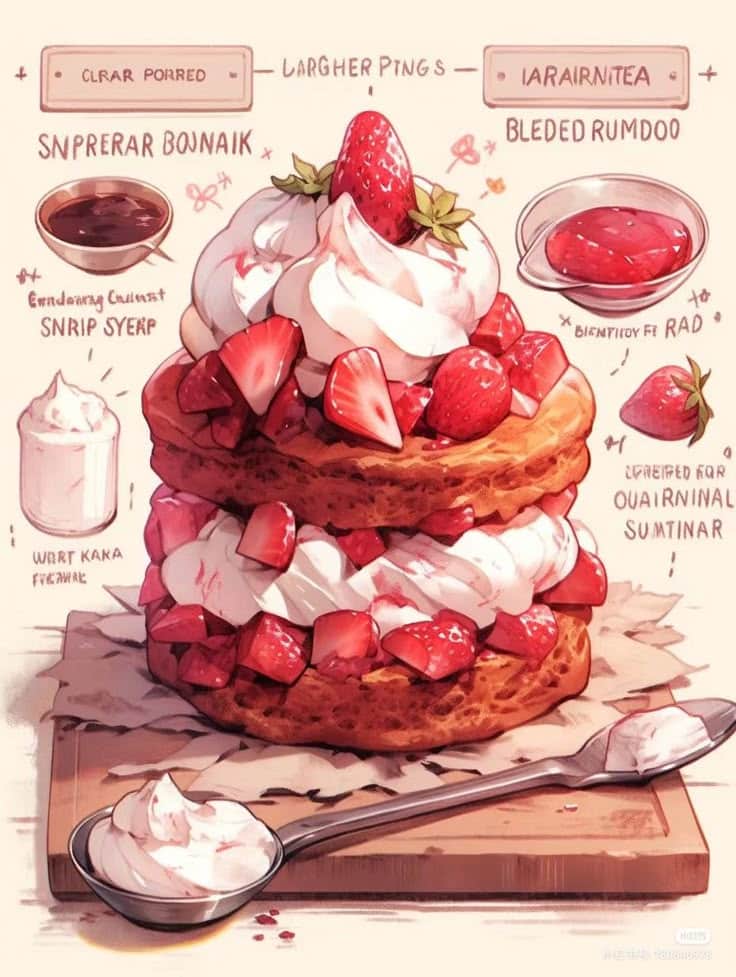
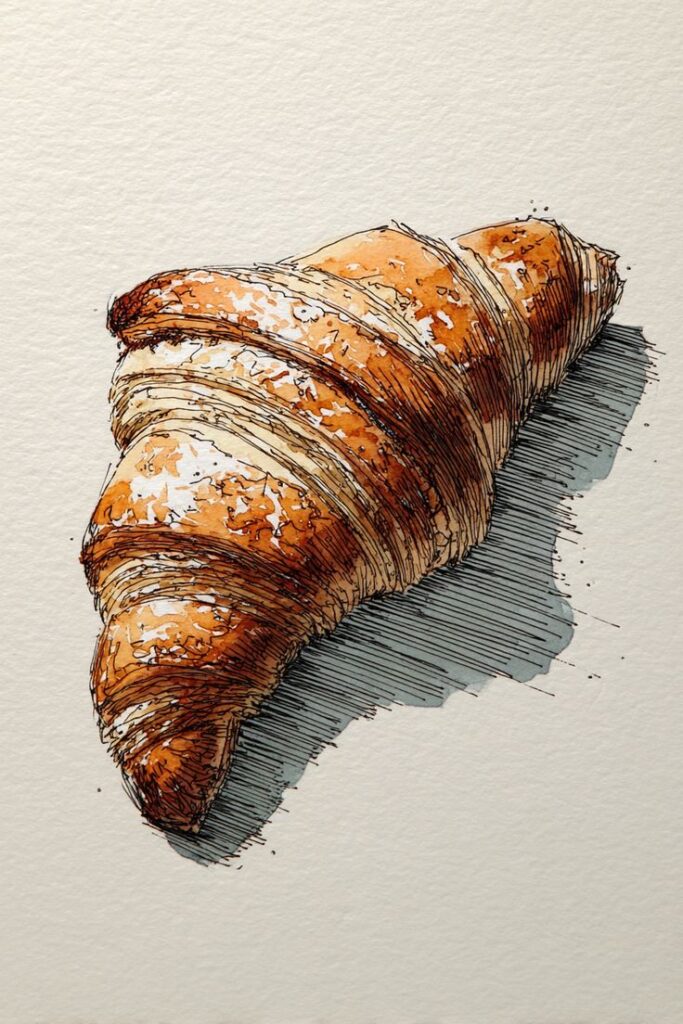
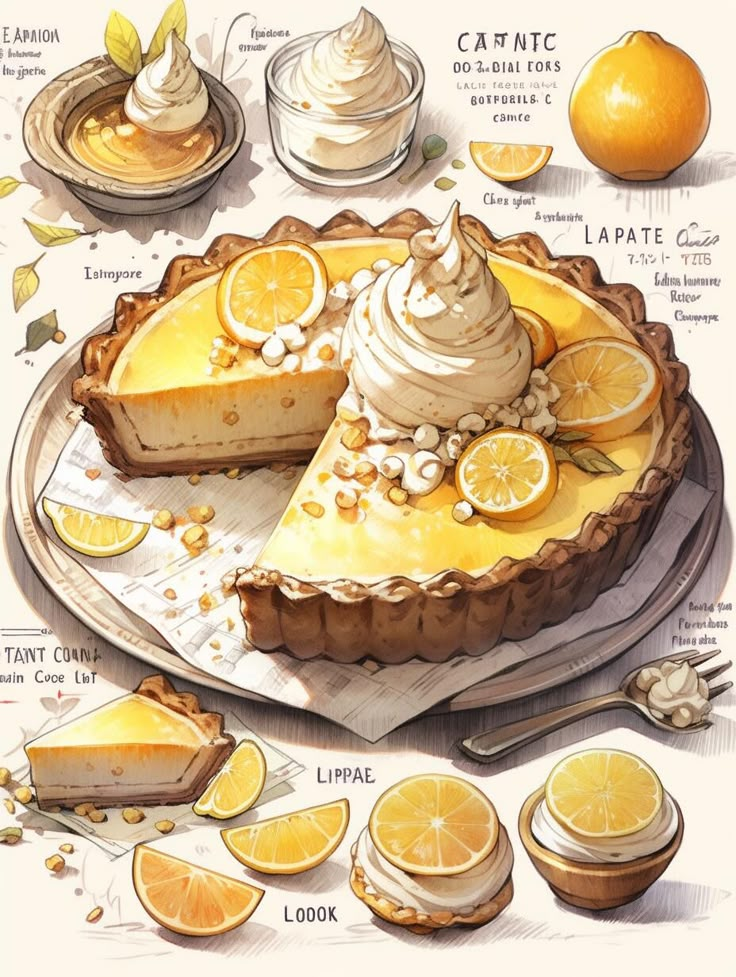
Even experienced artists face hurdles. Here are some common challenges in food drawing and how to approach them:
- Achieving Realism: The food doesn’t look ‘real’ or ‘edible’. This often comes down to insufficient attention to light, shadow, and texture. Go back to basics: identify your light source, map out your highlights and shadows, and meticulously render the specific texture of each item.
- Color Mixing Difficulties: The colors look flat, muddy, or artificial. Spend more time observing the subtle color shifts in your reference. Don’t be afraid to use unexpected colors in shadows (e.g., a hint of blue or purple in the shadow of a yellow banana). Practice color swatches and layering techniques.
- Perishable Subjects: How do you draw a scoop of melting ice cream or a complex dish before it spoils? Work quickly, focus on the most critical details first, and use good quality reference photos taken immediately before or during the setup. You can also sketch the main forms and values, then add color from the photo.
- Lack of Inspiration: Feeling stuck on what to draw. Revisit the diverse food drawing ideas section, browse cookbooks, food blogs, or visit a farmer’s market. Challenge yourself with a new medium or style. Sometimes, simply drawing what’s in your fridge can spark creativity.
- Compositional Issues: The drawing feels unbalanced or uninteresting. Apply the principles of composition (rule of thirds, leading lines, negative space). Try making several thumbnail sketches before committing to a larger drawing to experiment with different arrangements.
Conclusion: Your Culinary Canvas Awaits
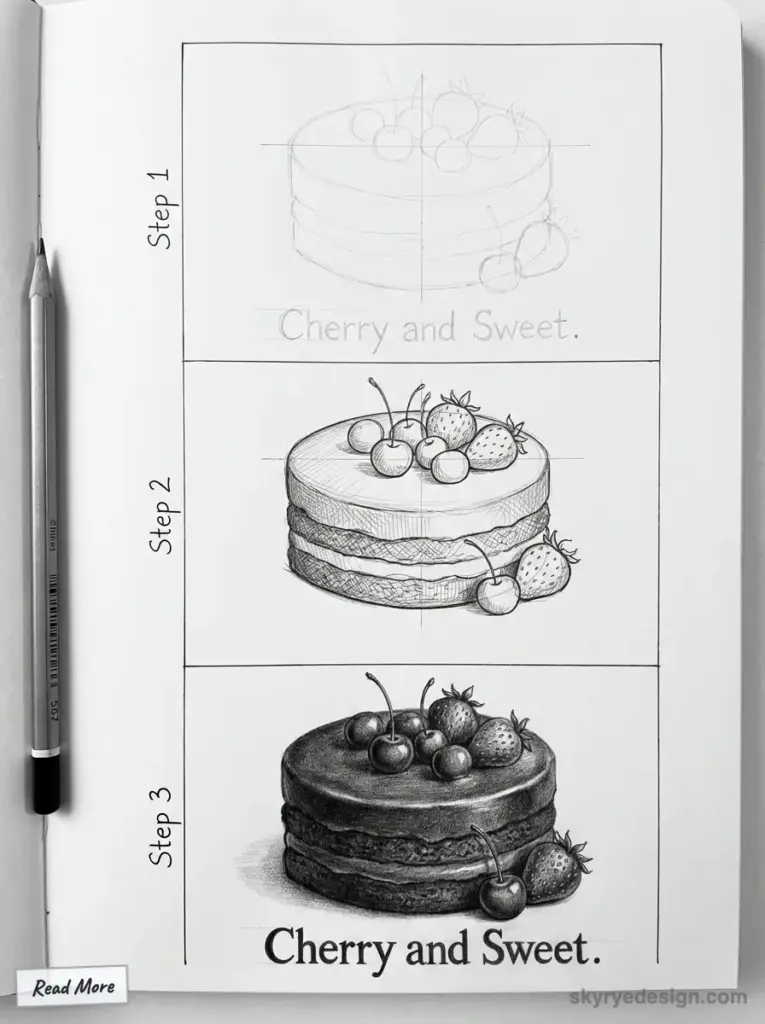
Food drawing is a delightful and rewarding artistic journey, a harmonious blend of observation, technique, and creative expression. From the simple elegance of a lone piece of fruit to the bustling energy of a full culinary spread, the world of food offers an inexhaustible source of inspiration for artists of all levels. By embracing foundational techniques like careful observation, mastering light and shadow, understanding color theory, and meticulously rendering textures, you can transform your sketches into mouth-watering works of art.
We’ve explored a vast array of food drawing ideas, from beginner-friendly exercises to advanced challenges, and delved into various artistic styles that can define your unique voice. Remember, the journey of an artist is one of continuous learning and experimentation. Don’t be afraid to try new mediums, tackle complex subjects, or infuse your personal narrative into your culinary creations. The most appetizing drawings are often those that convey not just what the food looks like, but how it feels, smells, and even tastes.
So, grab your chosen tools, look around your kitchen, or visit your favorite eatery. The next delicious subject is waiting to be immortalized by your hand. Start drawing today, and discover the rich, flavorful world of food artistry that lies within your grasp. Let your creativity simmer, and unleash the culinary artist within!
- 80shares
- Facebook0
- Pinterest80
- Twitter0
- Reddit0
