Drawing characters or girls with markers can be a fun and rewarding way to bring your art to life. Markers offer bright colors and smooth lines that help make your drawings stand out. Using markers allows for bold outlines and easy shading, which can add depth and personality to any character.
The key to drawing girls or characters with markers is practicing simple shapes first and then building up details like facial features and expressions. This approach helps artists create balanced and lively drawings. Markers also work well for blending colors, so artists can experiment with different shades to give their characters more dimension.
People who enjoy anime, cartoons, or portrait art often find markers a great tool to express their style. Whether someone is a beginner or experienced artist, markers can make the process of drawing both simple and exciting. This guide will help anyone learn how to use markers effectively for character drawing.
Choosing the Right Markers
Choosing markers involves looking at the types that suit character drawing, finding quality brands, and picking colors that match skin tones well. Each choice affects the finished look, from smooth lines to vibrant shading.
Types of Markers for Drawing Characters
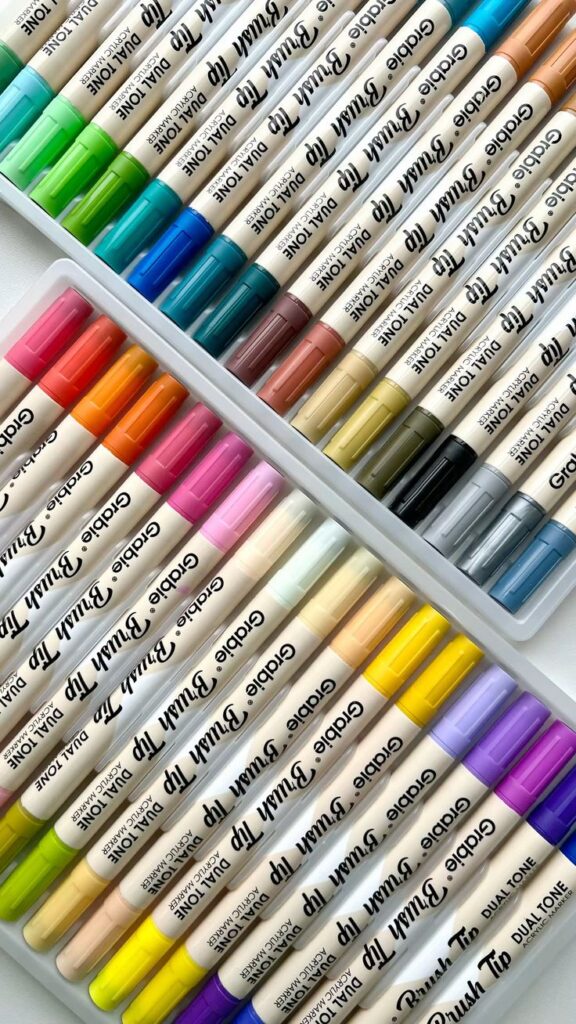

Markers come in many styles. Alcohol-based markers are popular because they blend colors smoothly and dry fast. They also layer well, making shading and highlights easier. Water-based markers are gentle and easy to clean, but they often don’t blend as smoothly. Fine tip markers are great for detail work like facial features, while broad tips cover larger areas faster.
Some markers come with brush tips, giving line variation like a paintbrush. These are useful for hair or fabric textures. Choosing the right tip size and marker type helps artists achieve clean lines and rich color depth in character drawings.
Evaluating Marker Quality and Brands
Marker quality is key for smooth, usable colors. High-quality markers have even ink flow, strong pigmentation, and durable tips. Cheap markers may dry out quickly or produce blotchy lines. Popular brands known for consistency include Copic, Prismacolor, and Ohuhu.
Artists should test markers on similar paper before starting. This helps avoid unexpected smudging or bleeding. A reliable brand saves time and materials while boosting confidence during drawing. Checking user reviews and trying sample packs is also helpful when picking marker sets.
Selecting the Best Colors for Skin Tones
Skin tones vary widely, so a good palette should include multiple shades. Artists often pick light, medium, and dark tones for shading and highlights. Warm undertones like peach and red or cool ones like olive and pink help create realistic skin effects.
Blending these shades smoothly is easier with alcohol-based markers. It’s smart to layer colors lightly and build depth gradually. Adding a tiny bit of white or a peach marker can soften harsh lines and improve the natural look of skin. Having a palette tailored to the character allows more control over their appearance.
Essential Supplies and Workspace Setup
A good setup helps artists work faster and enjoy their drawing time more. The right paper, neat marker storage, and a cozy workspace all play a big role. These details make a big difference when creating characters with markers.
Best Paper for Marker Drawings


Choosing the right paper matters a lot for marker art. Marker paper is smooth and thick, so colors don’t bleed through or feather. It also helps colors blend better. Many artists prefer paper labeled “marker paper” or “bleedproof” for this reason.
A paper weight around 70-100 lb (about 100-150 gsm) is usually thick enough to handle layers of ink without warping. Bristol board is another great option since it’s smooth and holds marker ink well. Avoid thin or rough paper. These can cause uneven lines and mess with the markers.
Smooth surfaces are a godsend when it comes to keeping your marker tips from getting knocked out too quickly. Using a pad with a pretty solid top sheet means less wear and tear and better control over colour – you end up with a lot less feathering and a lot more vibrant lines.
Keeping Your Markers in Order
Keeping your markers tidy and organized really saves you time and stress in the long run. The key is to group your markers by colour families – reds, blues, greens, neutrals and skin tones all in their own little section. That way you can just swoop in and pick the one you need when inspiration strikes.
Stacking them up in clear storage containers or using a marker rack is a good plan. You can then just glance over and see what colours you’ve got to hand. Some artists swear by standing racks for displaying their markers upright – that way you can keep those nibs protected from the air.
Labelling the storage or the markers themselves can be a big help too – say by brand or by colour code. That way you can just zip straight to the right one when you need it. And of course – keeping those caps tightly closed is also going to extend the life of your markers.
Creating a Comfortable Drawing Environment
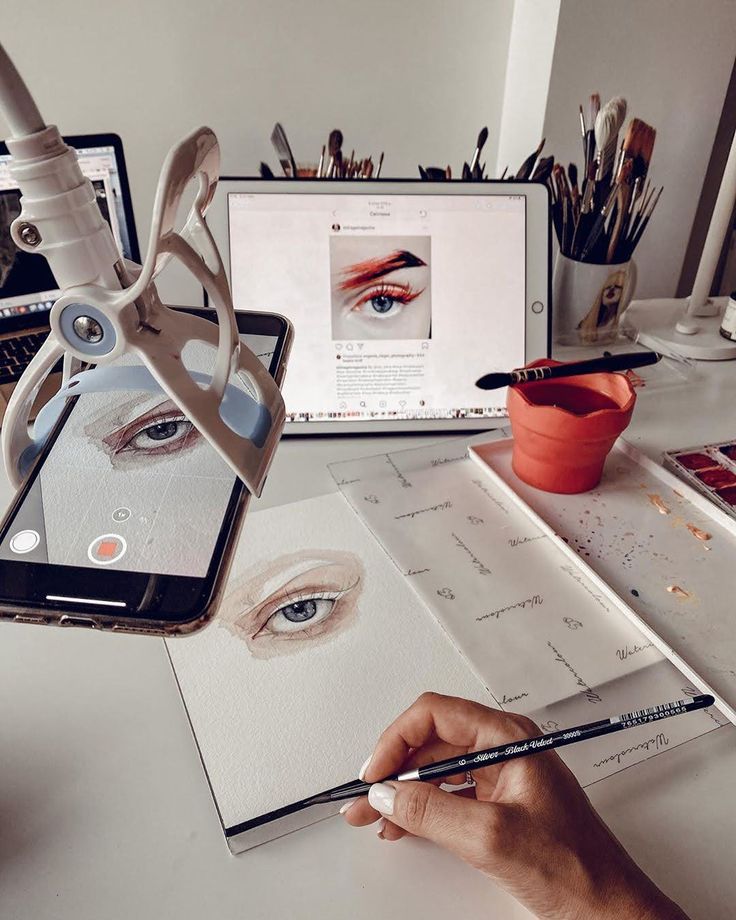
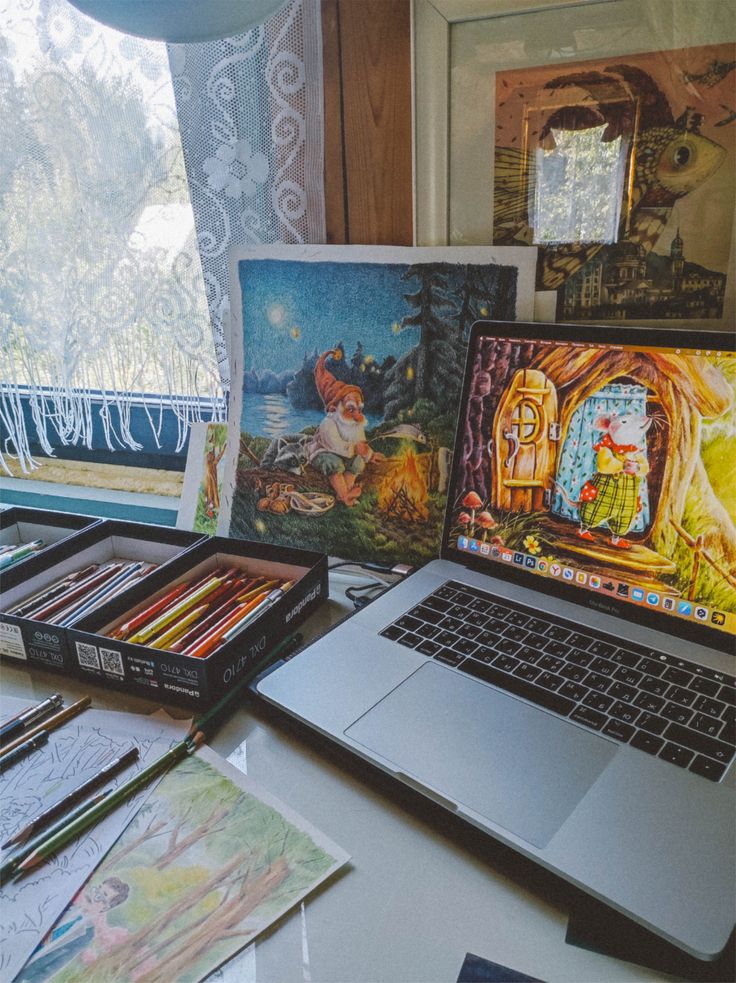
A cozy spot with good light and little clutter boosts focus and skill. Natural daylight is best, but if not available, an adjustable desk lamp with daylight bulbs works well. Bright, even lighting helps avoid eye strain and shows true marker colors.
A sturdy desk or table with enough room for paper, markers, and sketchbooks is important. Comfortable seating that supports good posture can keep long drawing sessions pain-free.
Storing tools within arm’s reach avoids distractions caused by searching for supplies. Some use desk organizers or small drawers nearby for pens, erasers, and paper towels. A clean, well-set area invites more creativity and better results.
Step-by-Step Drawing Process
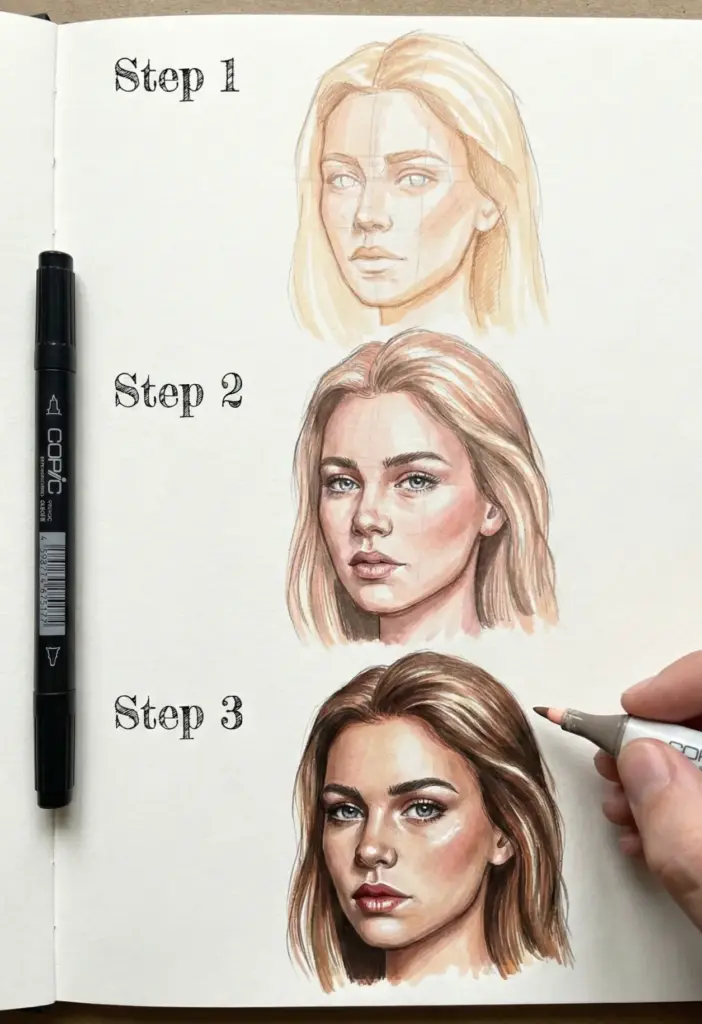
Creating a character with markers involves a clear plan. The artist begins by outlining the shape, then builds up color using layers. Details like facial features and highlights bring life to the drawing. Fixing errors carefully ensures the art looks clean and polished.
Sketching Your Character

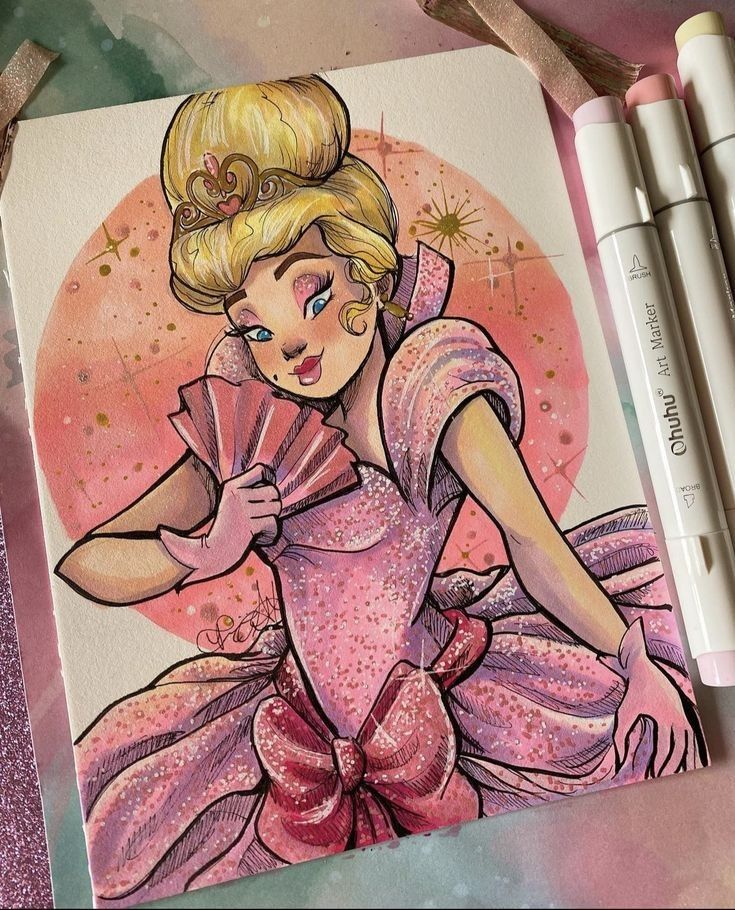

The first step is to lightly sketch the character’s outline using a pencil. This helps plan the pose, proportions, and placement of features like eyes, nose, and mouth. Simple shapes, such as circles and ovals, make it easier to keep the figure balanced.
Using basic guidelines for the head and body helps keep the proportions natural. It’s okay if the sketch is rough because markers cover pencil lines later. The artist should avoid pressing too hard with the pencil to make erasing easy.
Layering and Blending Techniques
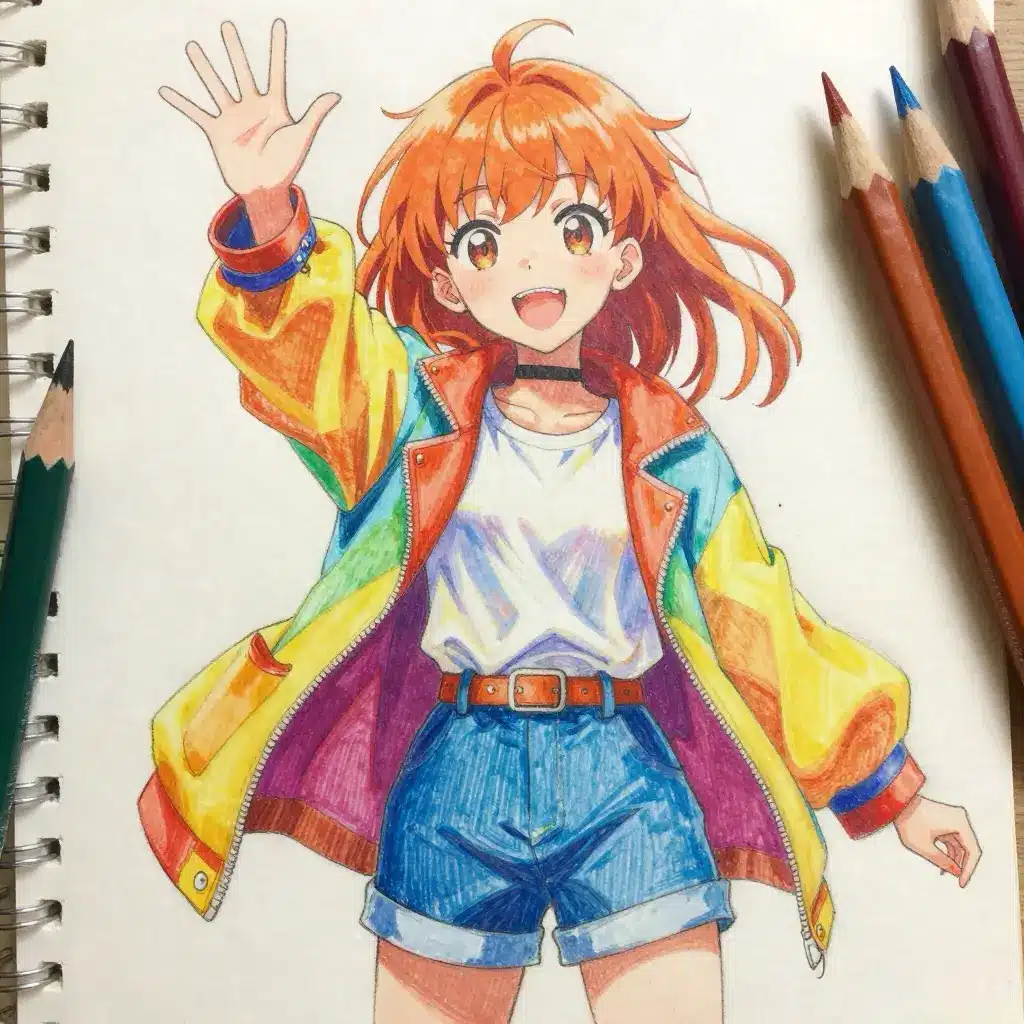
Markers work best with layers. Start with light colors to fill large areas. Adding a second layer with a slightly darker shade creates shadows and depth. The artist should let each layer dry before adding the next to avoid smudging.
Blending happens by overlapping colors while still wet or using a colorless blender marker. This technique helps smooth harsh lines between colors. Using soft strokes and moving in one direction gives a cleaner finish.
Adding Details and Highlights


Details such as eyelashes, eyebrows, and hair strands bring expression to the character. Using fine tip markers allows for precision. Small touches like blush on cheeks or a shine in the eyes add personality.
Highlights can be created by leaving tiny areas white or adding white marker or gel pen on top. This creates the illusion of light reflecting on surfaces like the skin or hair, making the character look more vibrant.
Correcting Mistakes
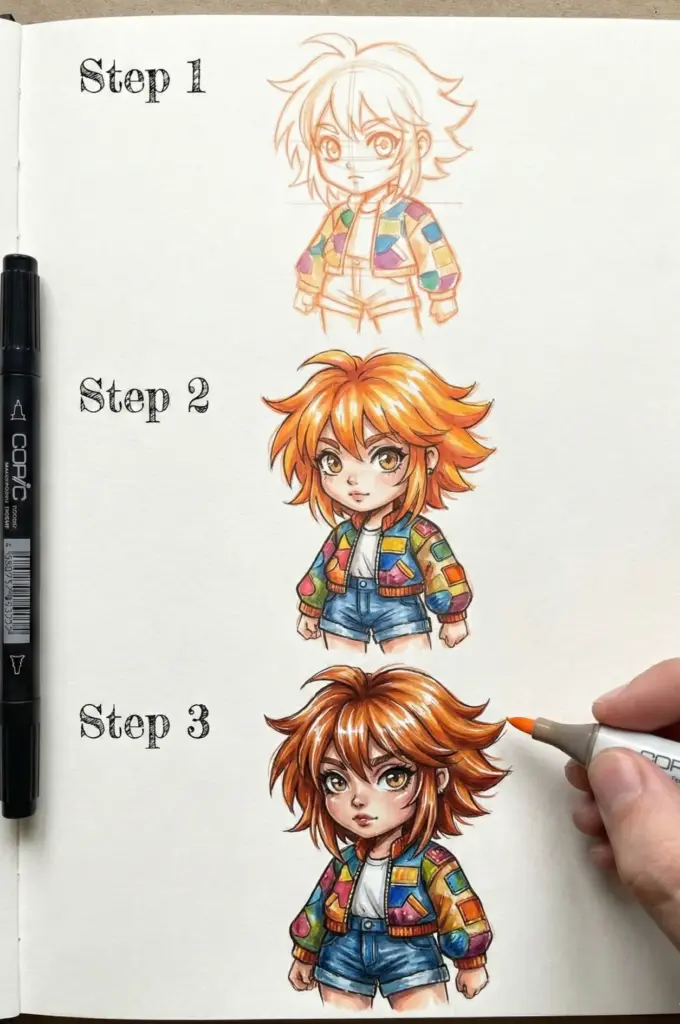
Mistakes with markers are common but fixable. Blotting fresh ink quickly with a paper towel can reduce smudges. For small errors, an alcohol-based marker can sometimes be lightened by layering a pale color or using a blending marker.
White gel pens or correction pens work well to cover unwanted lines or spots. It’s important to wait for corrections to dry before adding more layers. Patience helps keep the drawing neat and professional-looking.
Creative Techniques for Expressive Characters
Bringing characters to life with markers means focusing on details that show personality and emotion. This includes how the face shows feeling, what the character wears, and the way they move or stand. Each of these parts adds to the story the character tells without words.
Rendering Facial Expressions
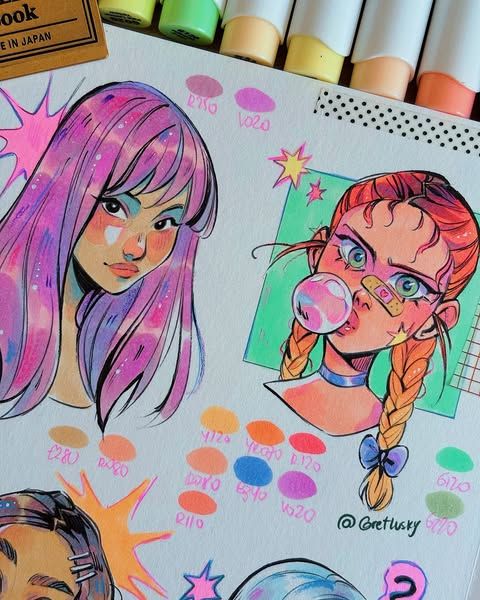
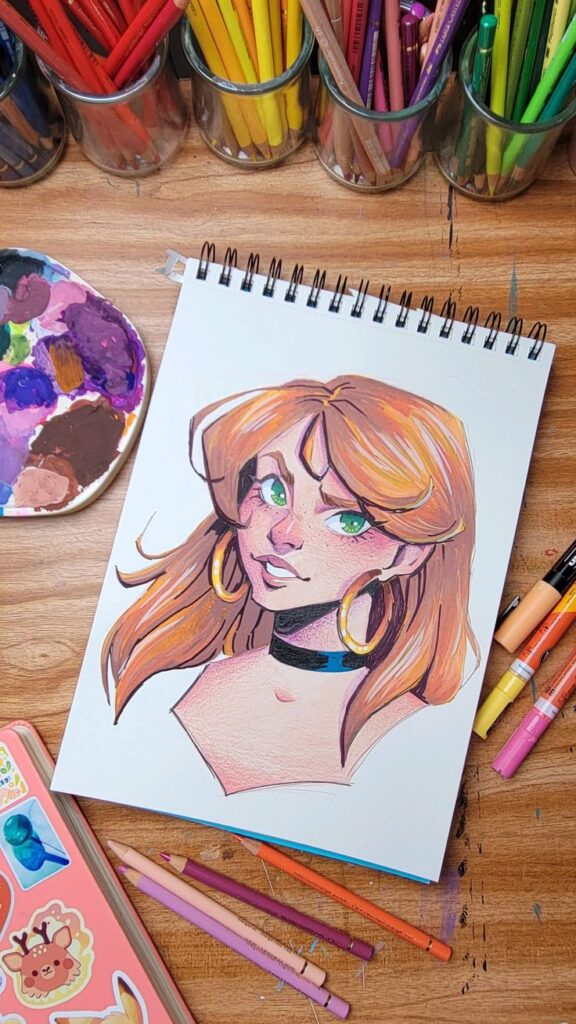
Facial expressions are key to showing what a character feels. Using markers, artists can blend colors smoothly to create soft shadows and highlights on the skin. This helps make the face look round and full of life.
Pay special attention to the eyes and eyebrows, as they carry much of the emotion. Darker, sharper lines on eyelids and pupils can make eyes look alive. Adding lighter tones, like white or pale colors, to the corners of the eyes and on the lower lids gives a reflective effect.
Mouth shape also changes emotion—curved up for happiness, straight or down for sadness or anger. Small details, like slight blush on cheeks, bring warmth to the face. Using fine marker tips for these lines helps keep expressions clear and sharp.
Designing Clothing and Accessories
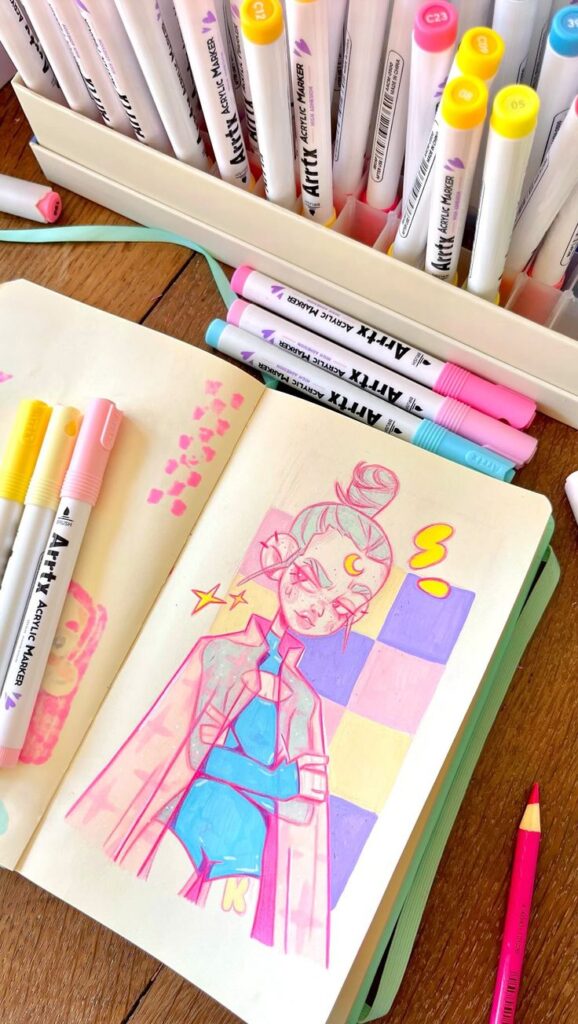

Clothing and accessories tell a lot about a character’s style and story. With markers, layering different shades adds depth to folds and textures, making fabric look real. Start with a light base color for the clothing, then add shadows with darker tones to show shape and creases.
Patterns, like stripes or dots, give personality but should be applied carefully to avoid making the design look messy. Using fine marker tips for small details like buttons, jewelry, or zippers keeps the look clean.
Accessories like hats, scarves, or glasses also add to the character’s identity. Highlights on shiny surfaces or metallic parts make them pop. Color choices can reflect moods—bright colors may show energy, while muted tones suggest calmness.
Dynamic Posing for Girls

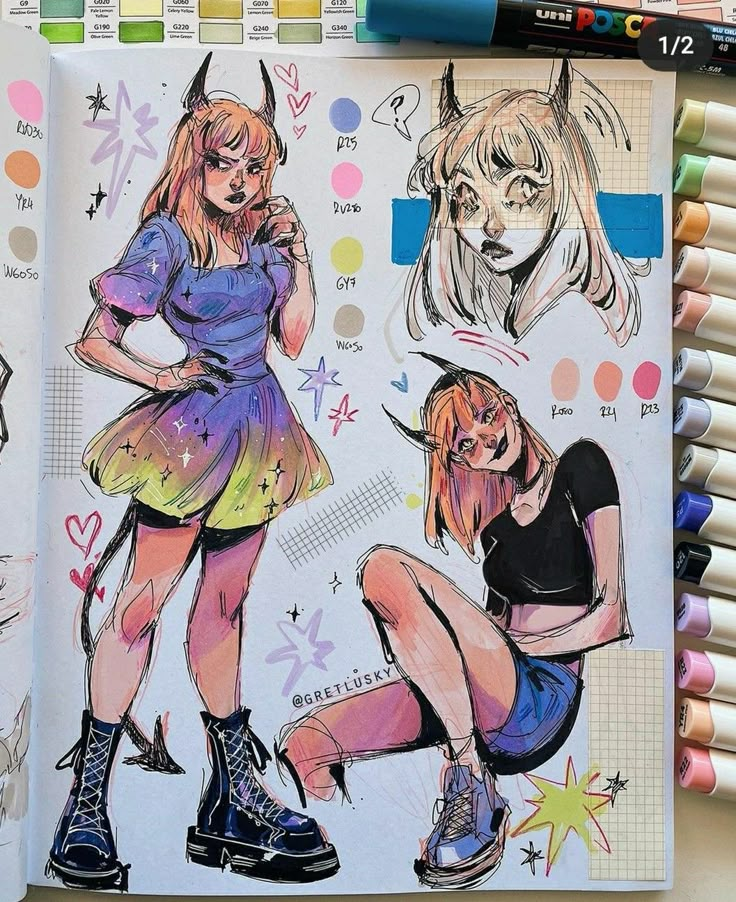
A lively pose helps a character appear natural and full of movement. Using simple lines to sketch the skeleton first makes sure the pose is balanced. Markers work well in this stage for quick shading to test light and shadow.
To make poses dynamic, show different angles of the body and suggest motion with bent limbs or flowing hair. Avoid stiff, straight lines. Adding small touches like a tilted head or bent wrist expresses mood and personality.
Balance between weight and gravity is important. Weight placed on one leg and relaxed arms can show a casual stance. Overlapping parts, like crossed arms or one foot stepping forward, add interest and realism. Quick marker strokes can hint at movement, like flying hair or fabric folds, making the character feel alive.
Care and Maintenance of Marker Art
Taking care of marker drawings and the markers themselves helps keep artwork bright and tools working well. Proper handling, storage, and cleaning can extend both the life of the art and the markers.
How do I choose colors that suit different skin tones?
To create realistic skin tones, select a range of shades including light, medium, and dark tones with warm or cool undertones, and layer them gradually with alcohol-based markers for smooth blending.
What paper is ideal for marker drawings?
Ideal paper for marker art is smooth, thick, and bleedproof, such as marker paper or Bristol board with a weight around 70-100 lb (about 100-150 gsm), which prevents bleeding and feathering.
How can I organize my markers effectively?
Organize your markers by color families in clear containers or racks, label them for quick access, and store caps tightly closed to extend their lifespan.
What’s the best way to fix mistakes made with markers?
To fix marker mistakes, blot fresh ink immediately with a paper towel, use a white gel pen or correction pen for small errors, and layer pale colors or use a blending marker to lighten unwanted areas.
What are the best markers to use for drawing characters?
The best markers for drawing characters are high-quality, alcohol-based markers like Copic, Prismacolor, and Ohuhu, which blend colors smoothly and layer well.
Preserving Your Marker Drawings
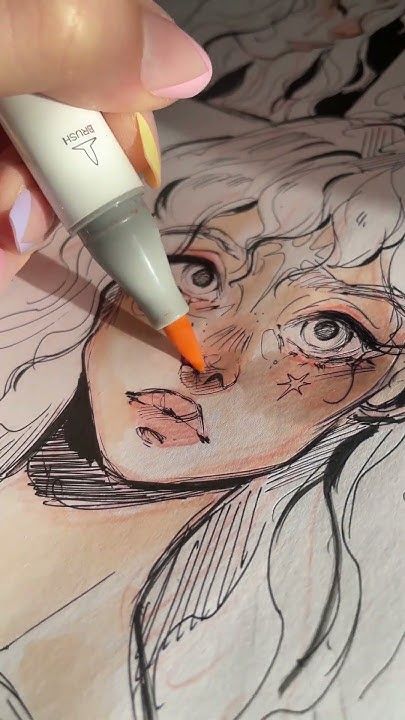
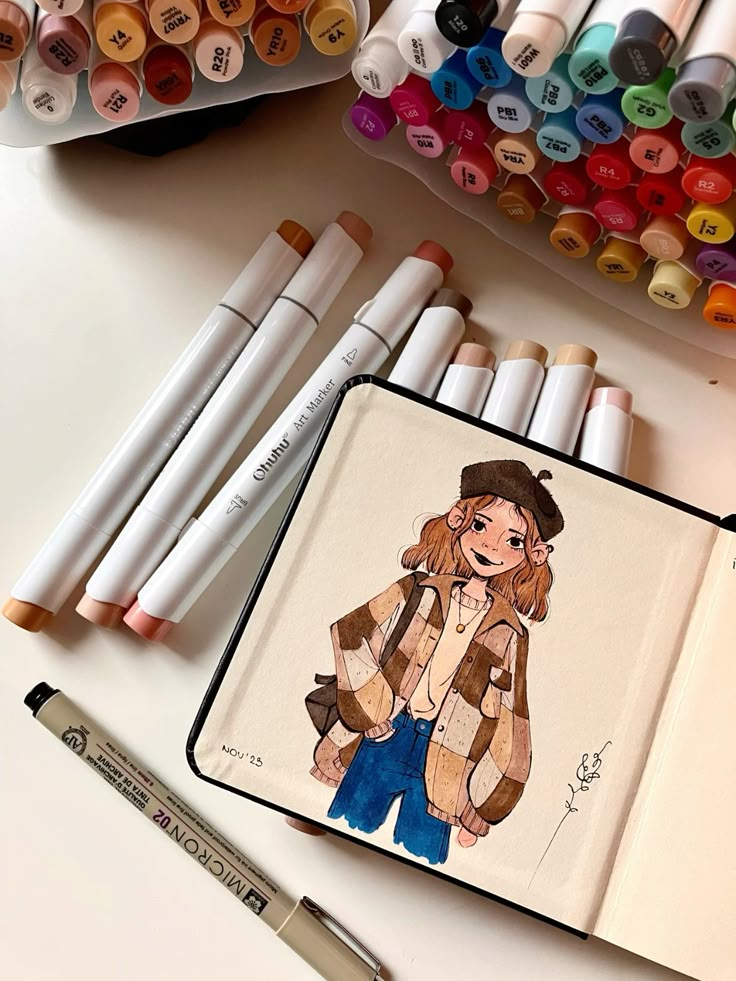
To protect marker art from fading or smudging, it’s important to keep the drawing away from direct sunlight and moisture. Using a fixative spray designed for markers can help seal the colors and prevent them from bleeding.
Avoid touching the surface of the drawing too much, since oils from hands can cause damage. If framing the artwork, use glass or acrylic with UV protection to block harmful light.
For paper choice, using a thicker, marker-friendly paper cuts the risk of the ink seeping through. Keeping your finished artwork in acid-free folders or portfolios will also help stop it turning yellow or getting damaged over time.
cleaning & storing Markers
To keep your markers in good nick they need a bit of TLC. Gently wiping the tips with a damp cloth to get rid of any excess ink and stop it building up is a good place to start. And dont even think about using harsh chemicals or submerging the markers in water.
When you’re not using them markers are best stored with the tip facing upwards, that way the ink keeps flowing smoothly. Make sure the caps are tightened up nice and snug to stop the tips drying out.
If a marker’s tip gets a bit frayed or the ink starts to fade its probably time to get a new one. But if you store the markers away from the heat and sunlight they will keep their colour for longer. Looking after your markers the right way will not only make them last longer but they’ll also perform better.
- 13shares
- Facebook0
- Pinterest13
- Twitter0
- Reddit0


