Halloween is just around the corner, and what better way to get into the spooky spirit than by creating your very own ghoulish gourds on paper? Forget about perfect, symmetrical carvings – we’re diving into the wonderfully weird world of spooky Halloween pumpkin drawing! Whether you’re a seasoned artist or just doodling for fun, this guide will walk you through everything you need to know to bring a frightfully fantastic pumpkin to life with your pencil. Get ready to unleash your inner Halloween artist – it’s going to be a blast!
Gathering Your Ghoulish Gear: What You’ll Need
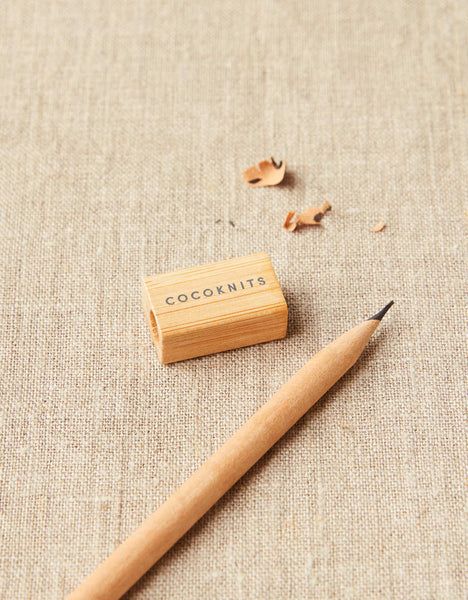
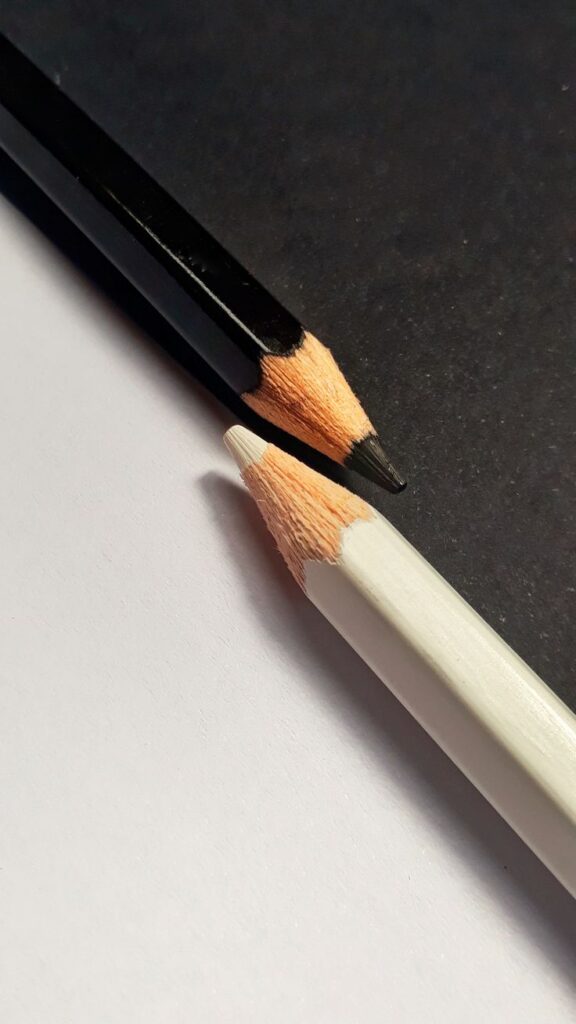
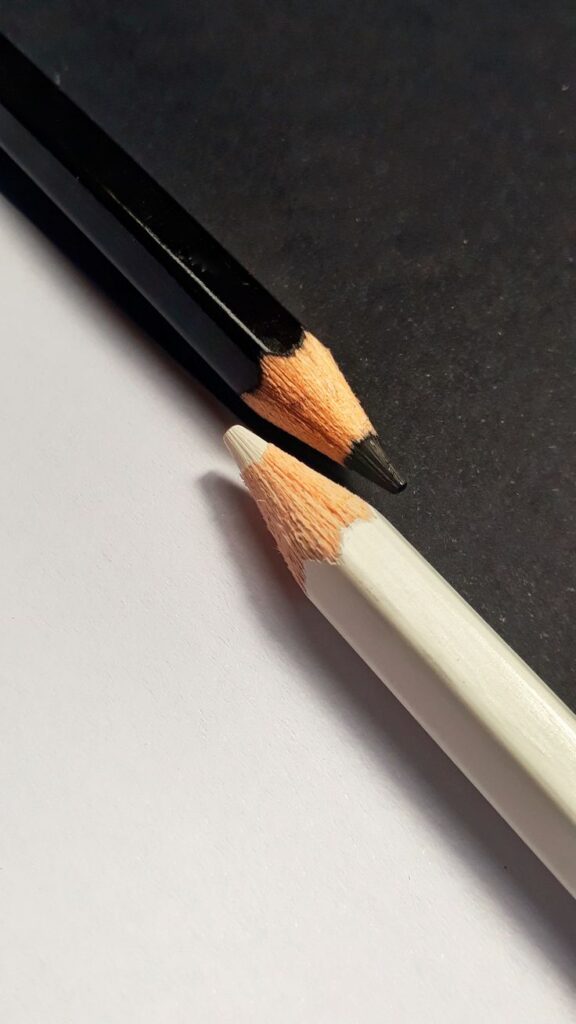
Before we embark on our artistic adventure, let’s make sure you have the right tools. Don’t worry, you don’t need anything fancy. Basic art supplies are more than enough to get started.
- Pencils: A few different lead types can be helpful. An H or 2H for light initial sketches, and a B or 2B for darker lines and shading. If you only have one, a standard HB will do just fine!
- Eraser: A good quality eraser is your best friend for fixing mistakes and cleaning up lines. A kneaded eraser is fantastic for lifting graphite without smudging.
- Paper: Any drawing paper will work. If you plan to add color later, something a bit thicker (like Bristol paper or cardstock) might be beneficial.
- Optional – Blending Tools: Cotton swabs, a tortillon, or even your finger can help create smooth shading effects.
- Optional – Reference Images: A quick search online for “spooky pumpkin faces” or “carved pumpkins” can give you a ton of inspiration for unique expressions and details.
Understanding the Pumpkin’s Basic Shape
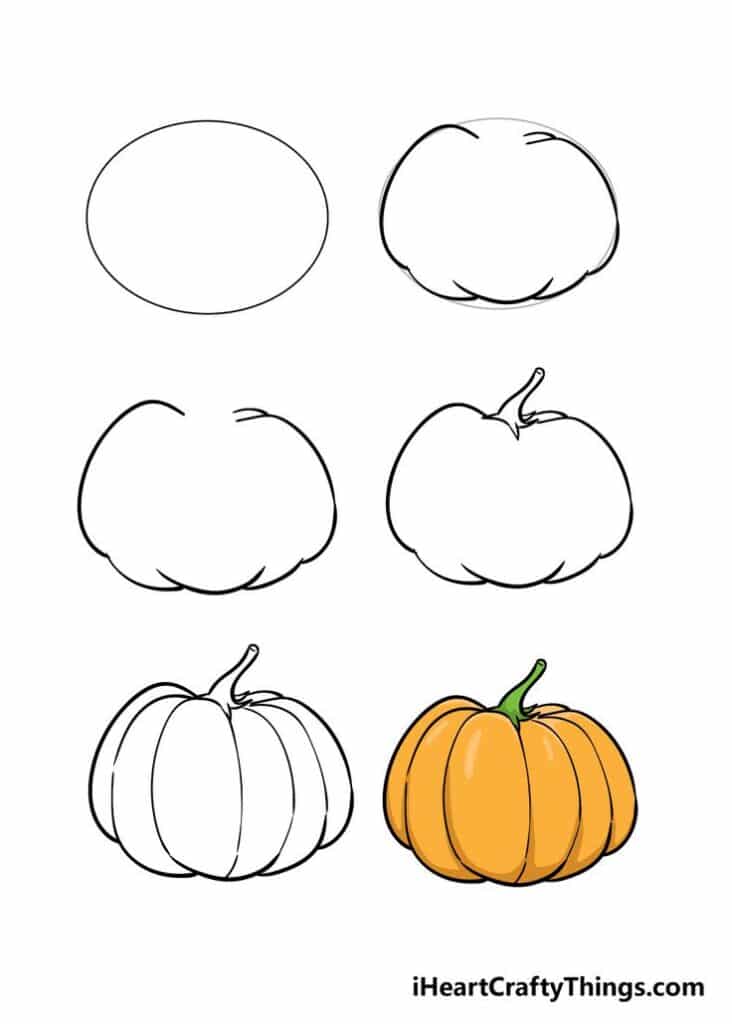
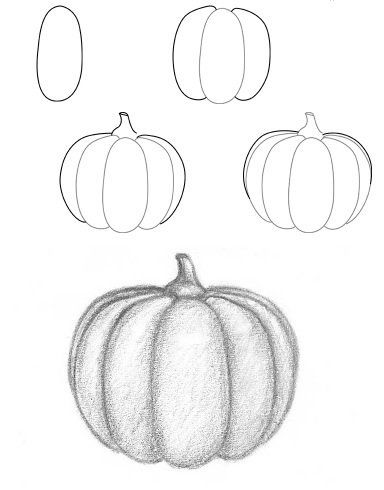
Even a spooky pumpkin needs to look like, well, a pumpkin! Before we dive into the terrifying details, let’s master the basic form. Think of it as giving your monster a solid foundation.
The Core Form: Circles and Ovals
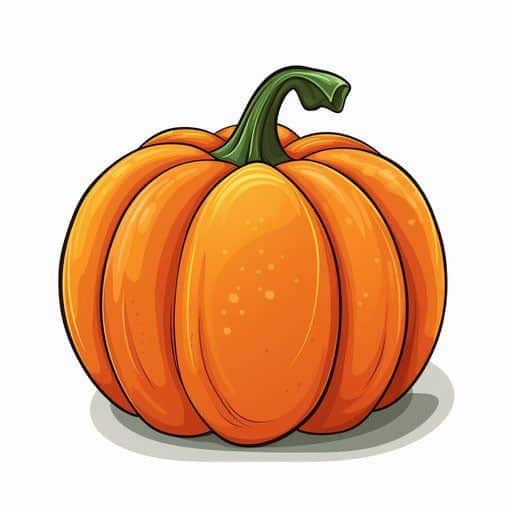
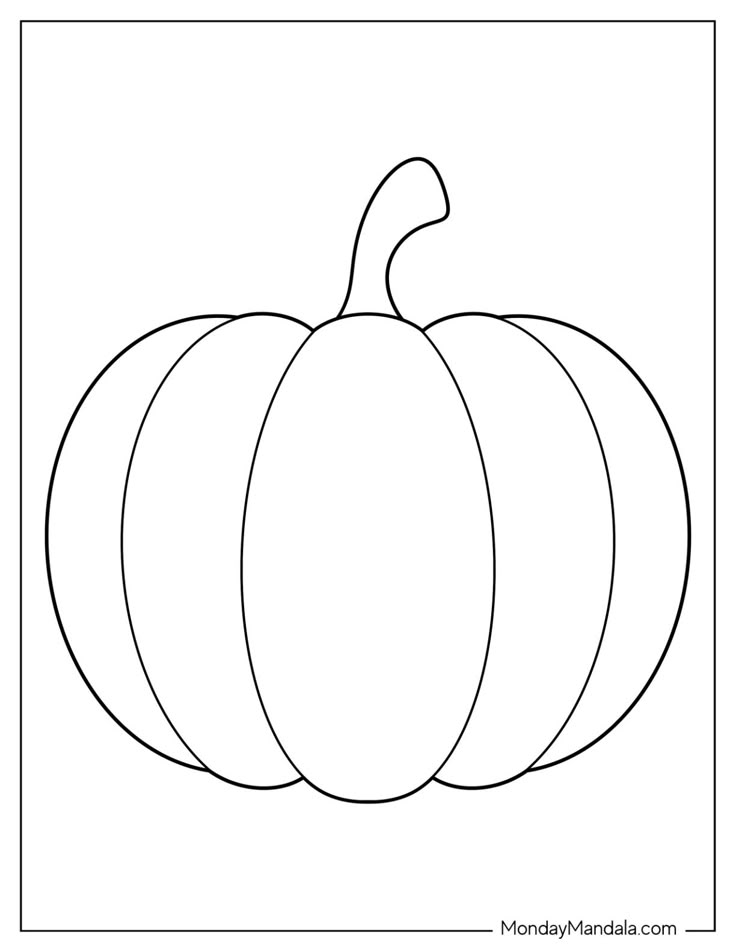
Almost all pumpkins start with a basic circle or oval.
- For a rounder pumpkin: Start with a perfect circle.
- For a taller, more elongated pumpkin: Go with an oval.
- Lightly sketch this initial shape. This is your “blueprint” and can be erased later, so don’t press too hard. Think of it as the pumpkin’s overall silhouette.
Adding the Classic Pumpkin Ridges
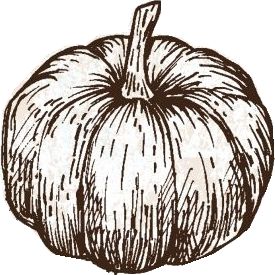
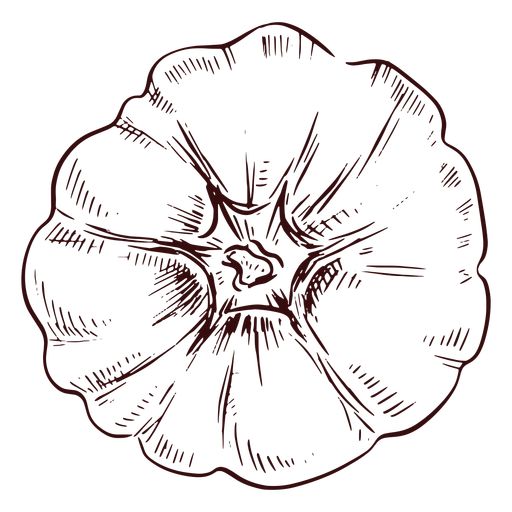
What makes a pumpkin distinctly a pumpkin are those lovely, rounded ridges. These aren’t harsh lines but gentle curves that define its segmented structure.
- Imagine your circle or oval as a balloon. Now, draw curved lines from the top (where the stem will be) to the bottom, following the contour of your main shape.
- These lines should bow outwards slightly, making the pumpkin appear plump and round. Think of orange slices joined together.
- Make some ridges wider than others for a more organic, natural look. Pumpkins aren’t perfectly symmetrical, and that’s part of their charm – especially spooky ones!
The Stem and Base
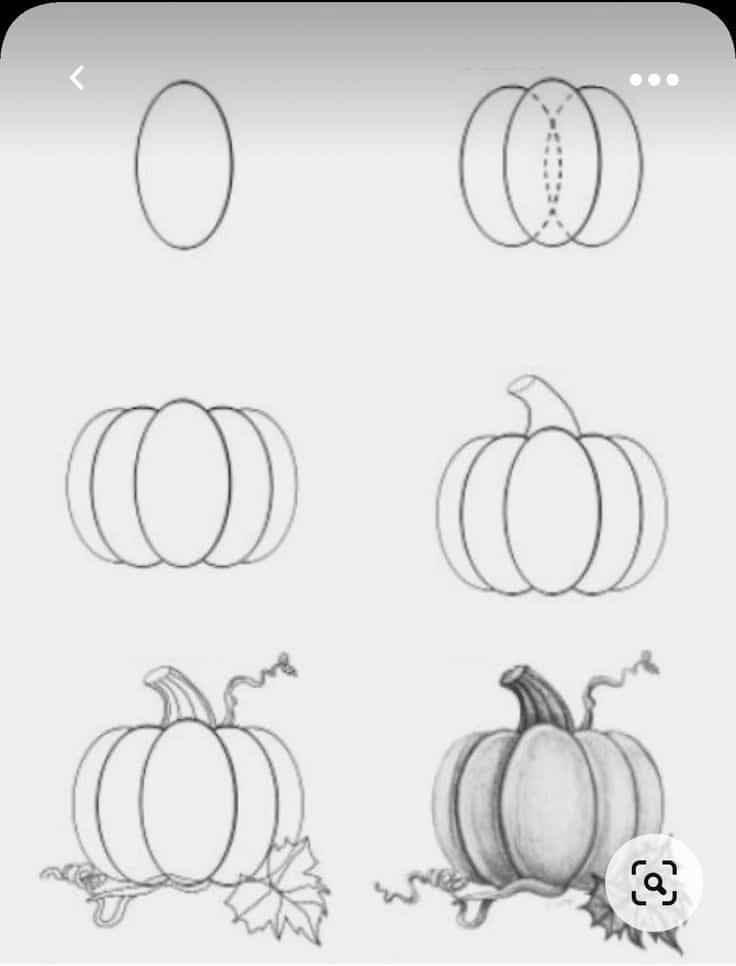
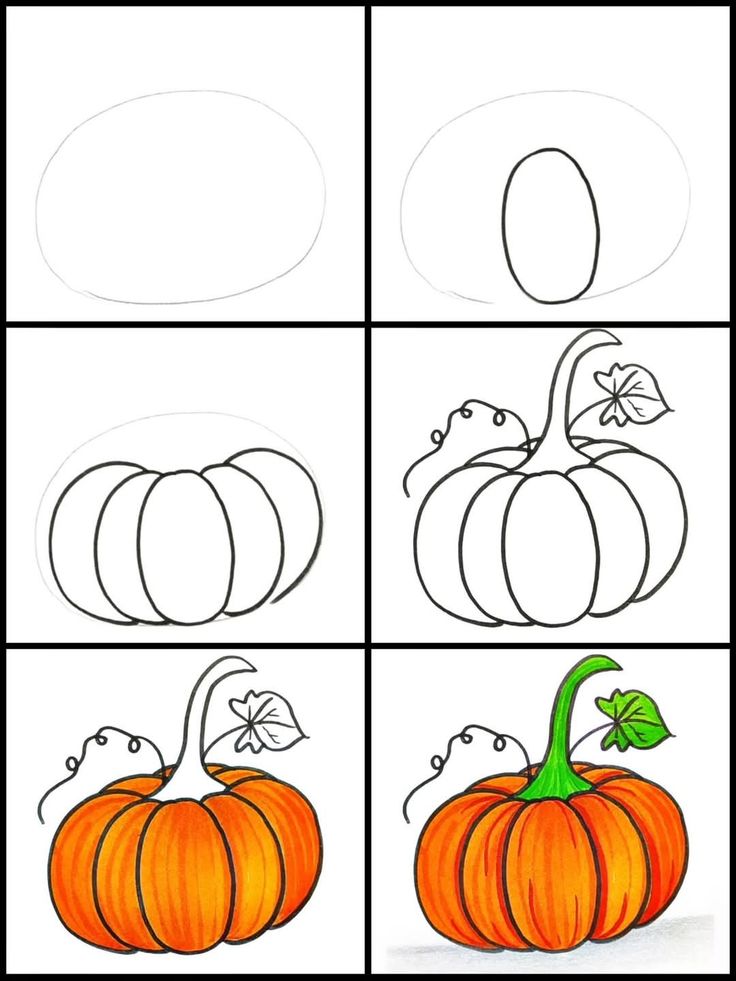
Every pumpkin needs a good stem!
- The Stem: This usually grows out of the top, slightly off-center. It’s often knobby, twisted, and a bit irregular. Draw a couple of curved lines that narrow as they go up, then cap it off with a smaller, rounded top. You can add a small, curling vine or some leaves for extra character, if you like.
- The Base: Pumpkins don’t just float! They sit on a surface. Draw a slightly flattened curve at the very bottom of your pumpkin, suggesting it’s resting on the ground. This also helps give it weight and anchors it to your drawing.
Unleashing the Spooky: Crafting the Frightening Features
Now for the fun part: making your pumpkin spooky! This is where you get to let your imagination run wild. The key to a truly terrifying pumpkin face is to exaggerate and embrace asymmetry.
Eyes That Pierce Your Soul
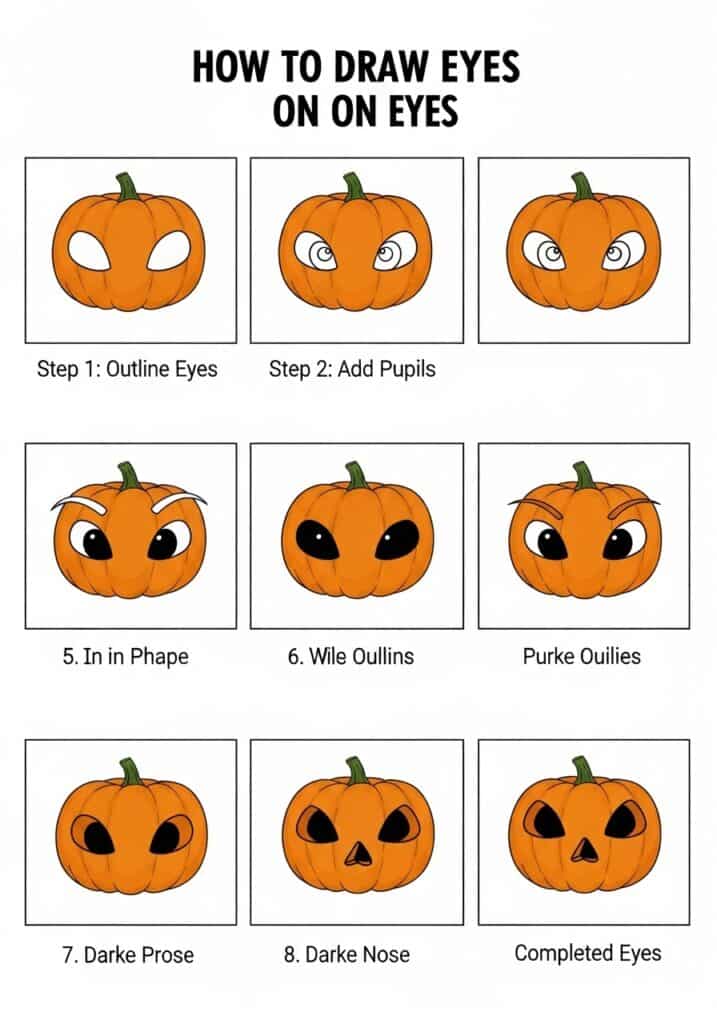
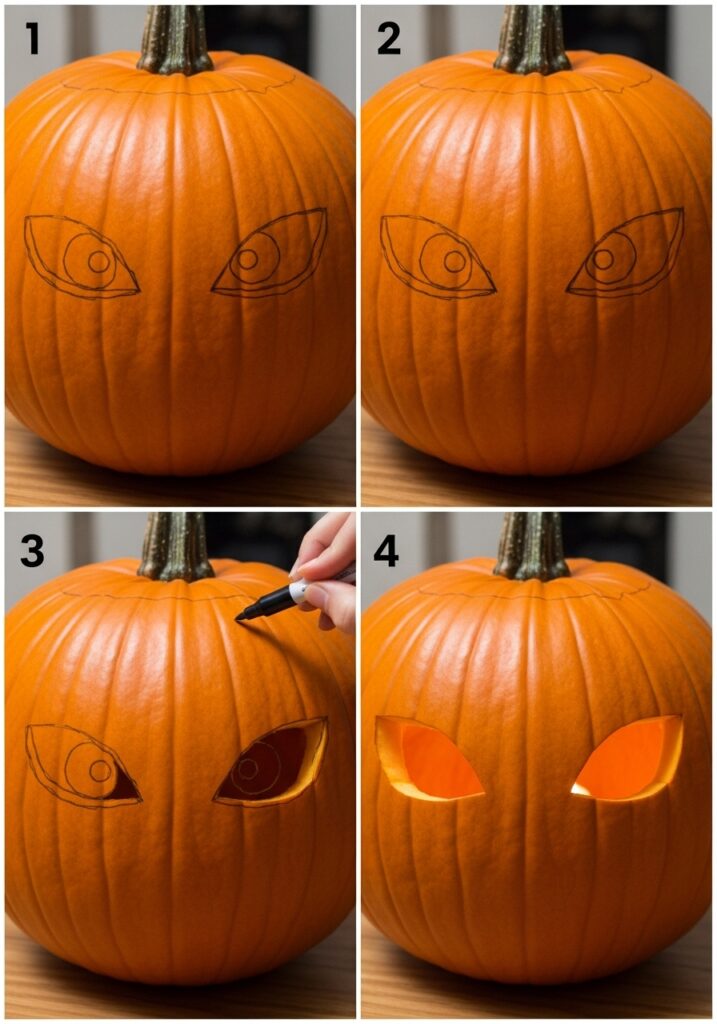
The eyes are often the first thing people notice, and they set the tone for your pumpkin’s personality.
- Classic Triangles with a Twist: Instead of perfectly even triangles, make them jagged, uneven, or even slanting dramatically. One eye could be larger or higher than the other.
- Menacing Slits: Thin, angry-looking slits can give a very sinister, watchful feel.
- Empty Sockets: Just dark, cavernous holes, hinting at an endless void within.
- Glowing Effect: If you plan to color, think about adding a glow around the eyes. For pencil, you can achieve this with stark contrast: leaving the “eyes” completely white and shading heavily around them.
- Pupils (Optional): If you want a more creature-like pumpkin, add small, piercing pupils or even cross-hatched lines within the eye shape for texture.
Noses That Sniff Out Fear
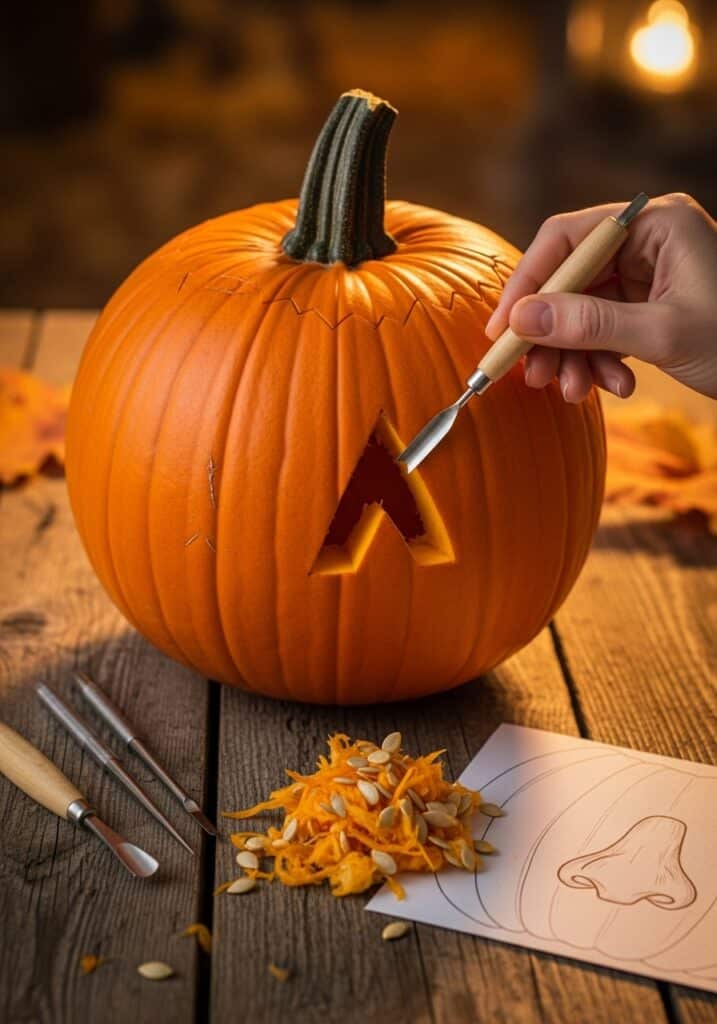
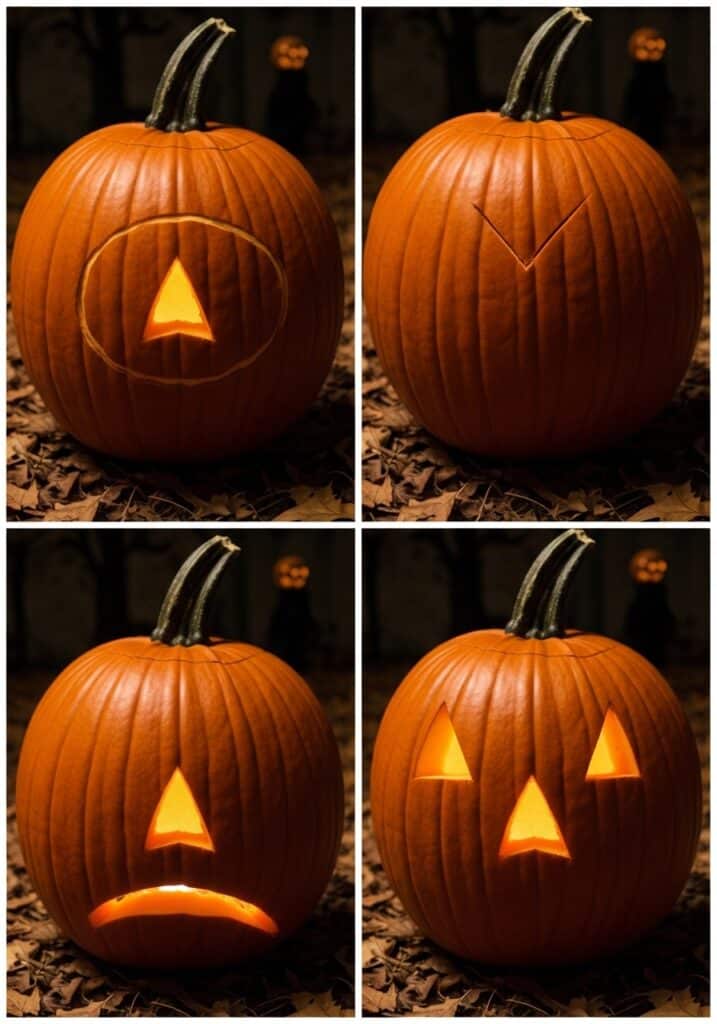
The nose is usually smaller but can add to the overall creep factor.
- Inverted Triangle: The most common pumpkin nose. Again, make it uneven or stretched.
- Jagged Hole: A rough, irregular hole can look like a decaying or damaged nose.
- No Nose At All: Sometimes, leaving out a nose entirely makes the mouth and eyes even more prominent and unsettling.
The Mouth: The Epicenter of Terror
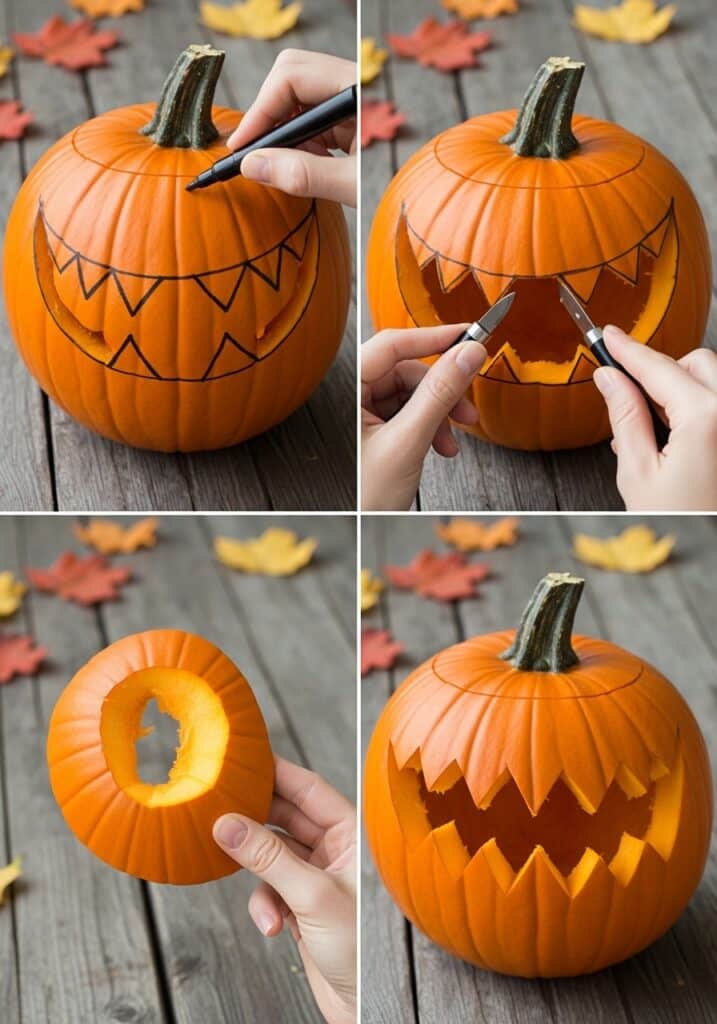
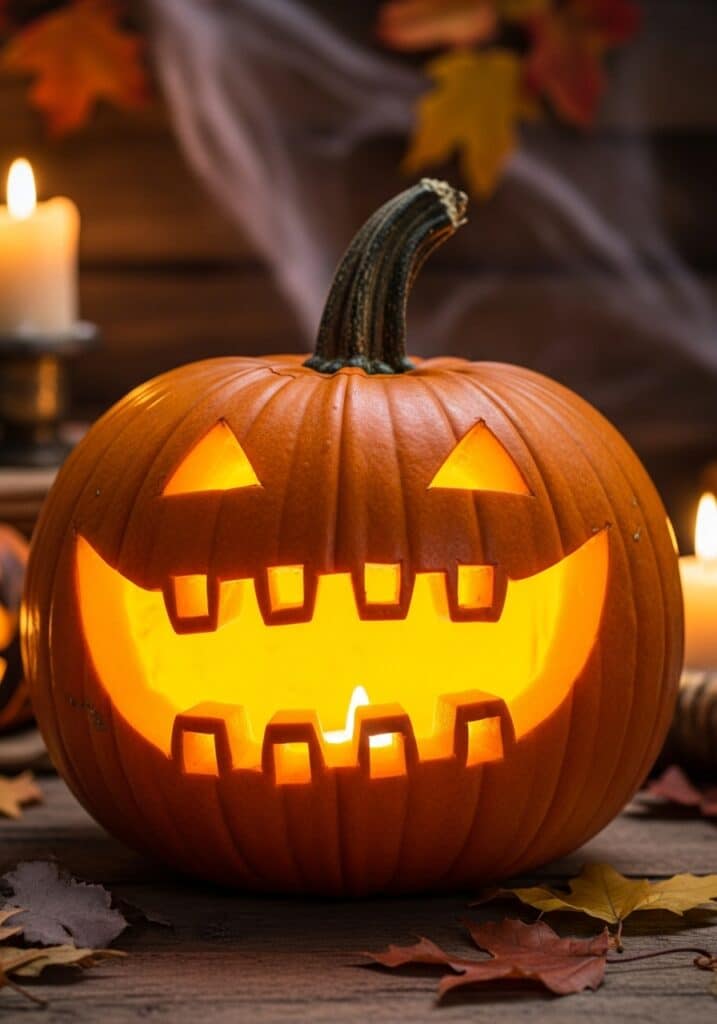
This is where your spooky pumpkin truly comes alive. A good mouth can transform a simple gourd into a cackling demon or a hungry beast.
- Jagged Grin: The most iconic spooky pumpkin mouth. Draw a wide, curving line, then add sharp, uneven teeth. Some teeth can be broken, missing, or extra-long.
- Sinister Smile: A thin, stretched smile with just a few sharp fangs at the corners can be incredibly unnerving.
- Open Scream: A wide-open, circular or oval mouth with no teeth, suggesting a silent scream. Add some internal texture or shadows to make it look like a deep void.
- Stitched Mouth: Imagine the pumpkin’s mouth has been crudely sewn shut, with visible “stitches” across it.
- Drooping/Slanting: Make one side of the mouth droop more than the other for a lopsided, deranged look.
Adding Texture and Details: The Devil’s in the Details
These elements make your pumpkin look more real and even more terrifying.
- Scars and Cracks: Draw thin, irregular lines across the pumpkin’s surface, suggesting old wounds or deep cracks. These often radiate from the eyes or mouth.
- Rot Spots: Dark, irregular patches can indicate decay. Lightly shade these areas and perhaps add some tiny “mold” dots.
- Wrinkles/Folds: Around the eyes and mouth, add small creases or folds to show expression – a furrowed brow, a tensed cheek.
- Rough Skin: Use short, sketchy lines or stippling to suggest a bumpy, uneven skin texture.
Your Step-by-Step Spooky Pumpkin Drawing Guide
Let’s put it all together! Follow these steps to create your masterpiece. Remember, light strokes first!
Step 1: The Basic Shape – Your Pumpkin’s Foundation
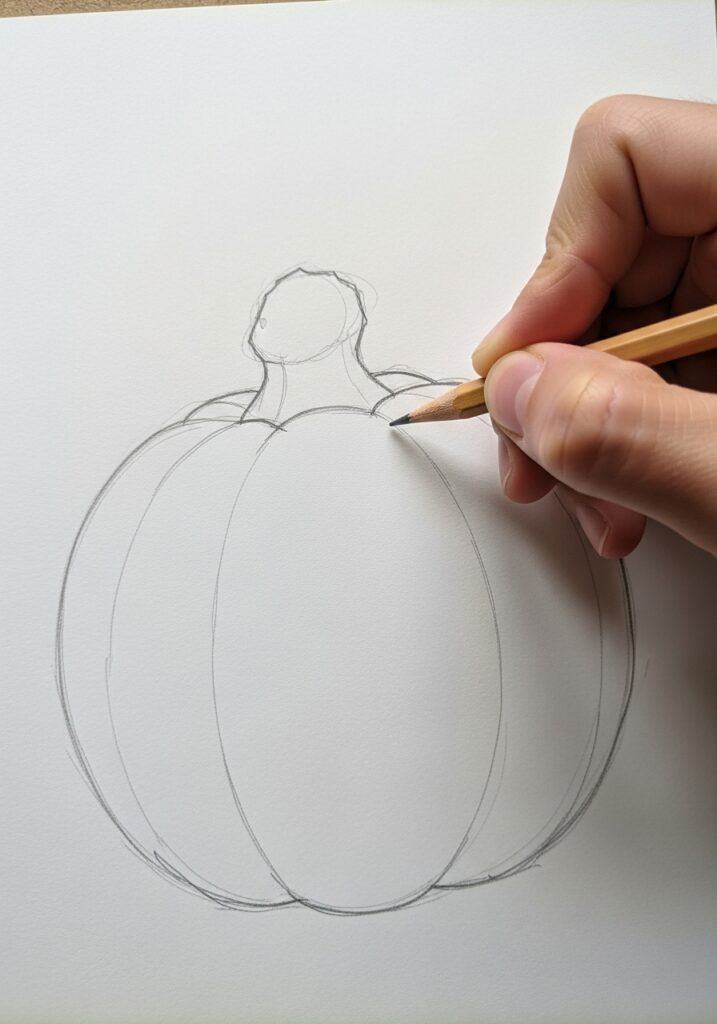
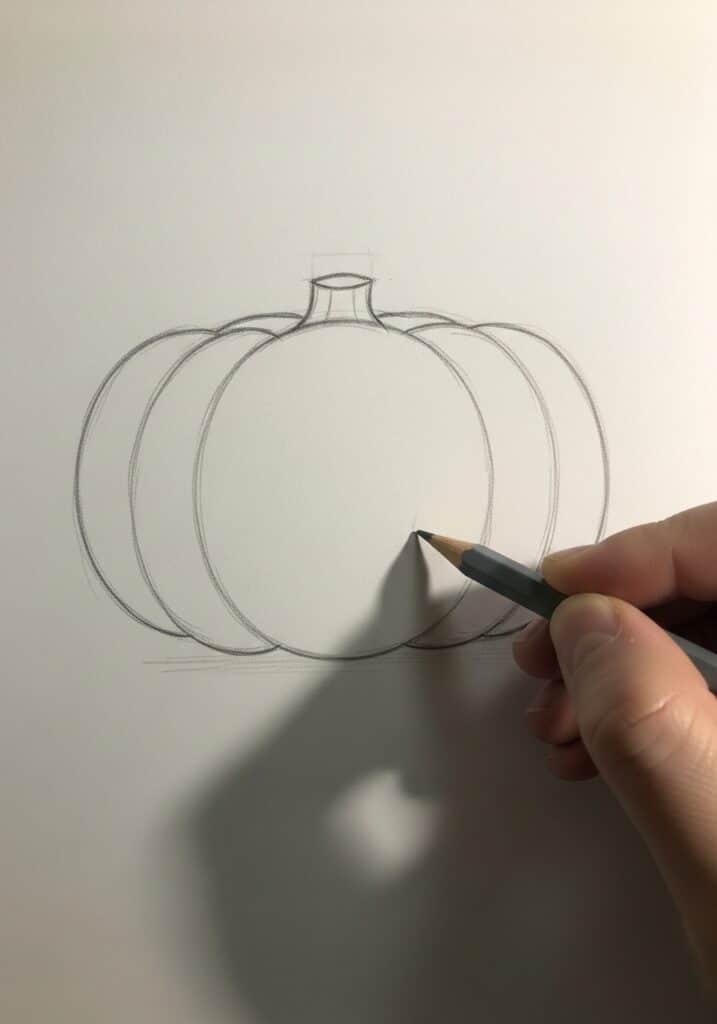
Start by lightly sketching the fundamental form of your pumpkin.
- Draw a large, slightly squashed circle or an oval. Don’t worry about making it perfect. This is just your guide. Aim for a shape that feels right for the kind of pumpkin you envision – wide and squat, or tall and skinny.
Step 2: Define the Pumpkin Body – Adding Volume
Now, we’ll give your pumpkin its characteristic rounded shape and distinct segments.
- Draw several curved lines from the top of your initial shape down to the bottom, following the contour you established in Step 1. These lines should bulge outwards, giving the pumpkin a 3D effect.
- Make these lines irregular – some closer together, some further apart – to avoid a too-perfect, unnatural look. Overlap them slightly to convey depth.
Step 3: Draw the Stem and Base – Grounding Your Gourd
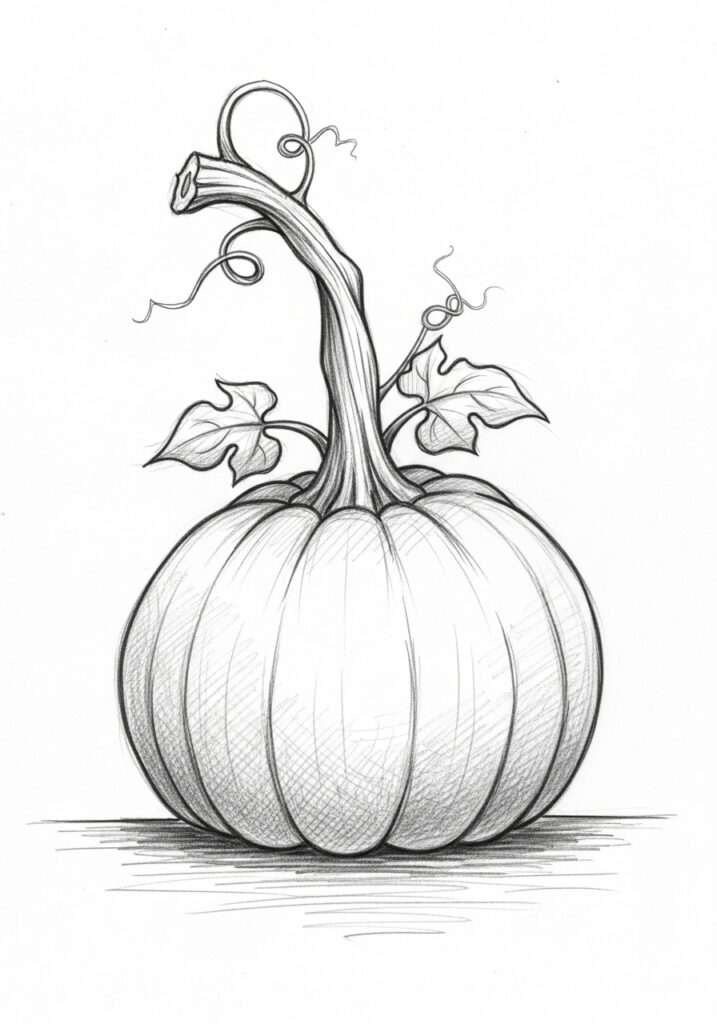
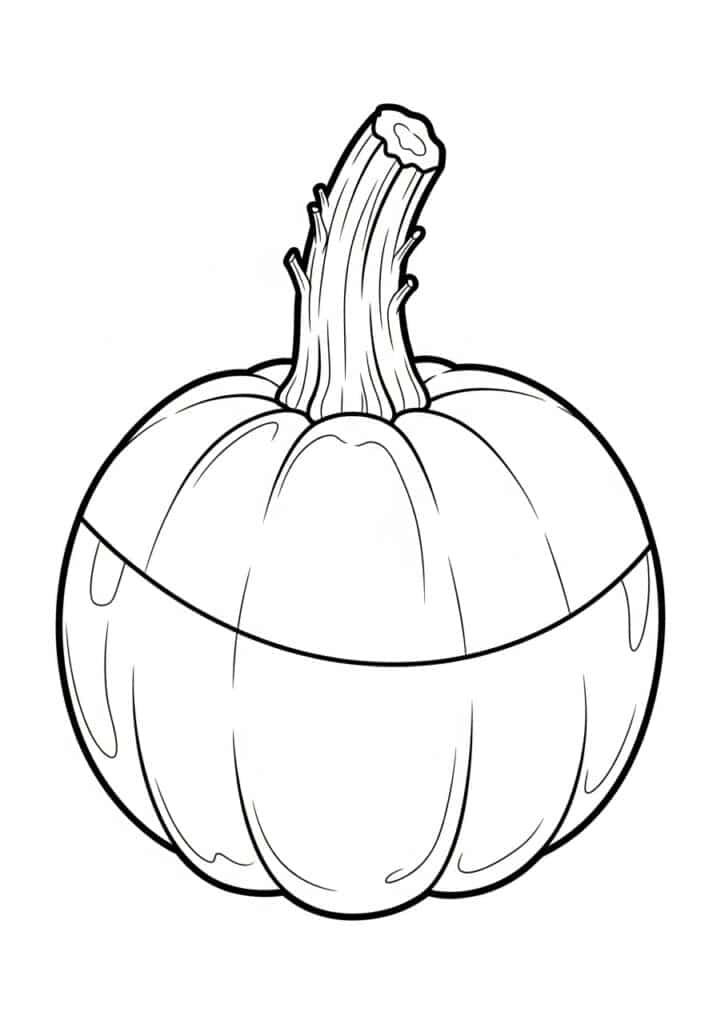
Time to add the essential top and bottom parts.
- For the Stem: At the very top, slightly off-center, draw two irregular, curved lines extending upwards and converging, then cap it with a knobby top. Think of a gnarled branch. You can add a little curl or two for a vine if you want.
- For the Base: Lightly draw a flattened curve at the very bottom of your pumpkin. This creates the illusion that it’s sitting on a surface and gives it weight.
Step 4: Sketching the Face – The Blueprint of Fear
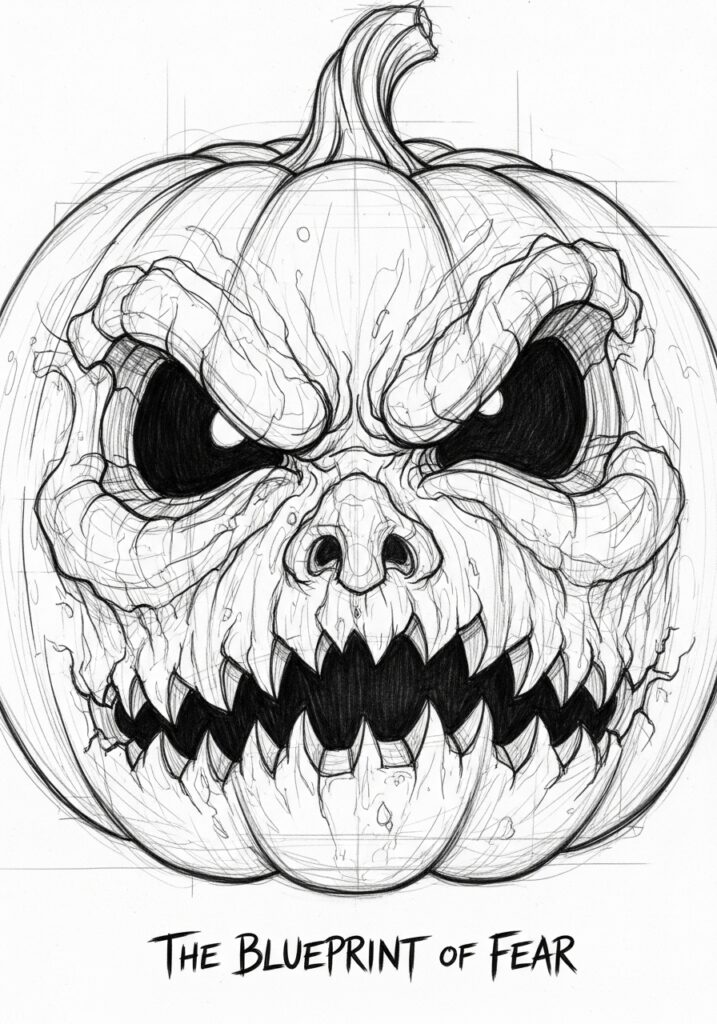
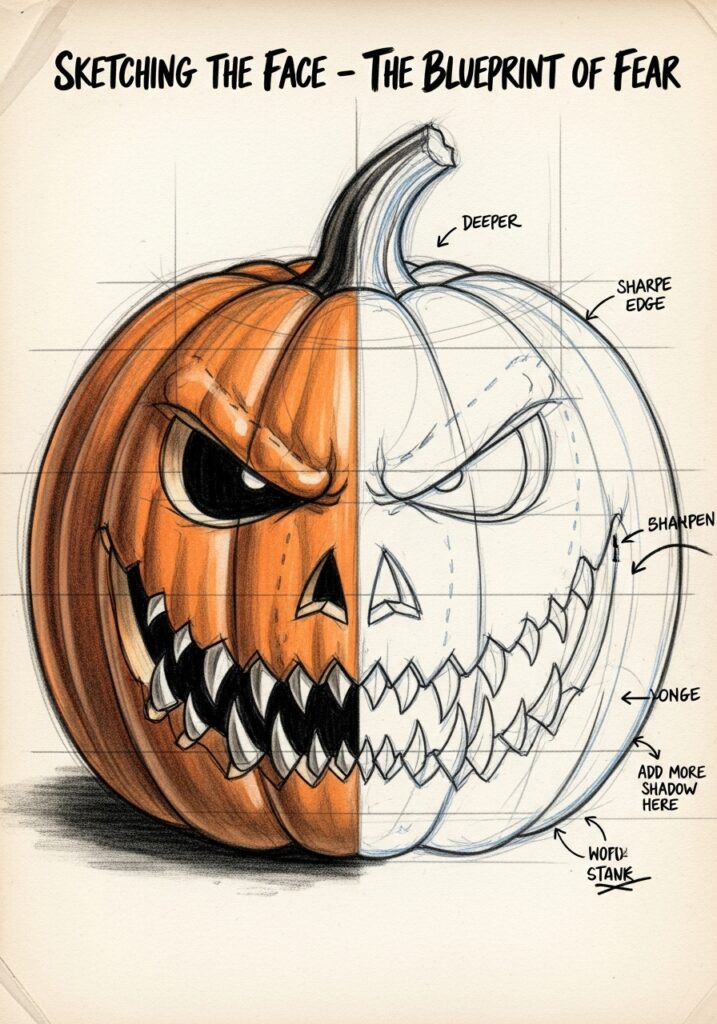
Now for the fun part: sketching out those spooky features! Remember to keep your lines very light here. You’re just placing everything. This stage is all about experimenting with different expressions before committing. Don’t be afraid to try a few variations! If you’re looking for more general inspiration to get your artistic juices flowing, check out these drawing ideas for portfolios to broaden your creative horizons.
- Eyes: Sketch out your desired eye shapes. Will they be jagged triangles, angry slits, or hollow circles? Make them uneven for a truly creepy effect.
- Nose: Add a small, inverted triangle or an irregular hole for the nose.
- Mouth: Sketch the outline of your pumpkin’s mouth. Will it be a wide, jagged grin, a sinister smile, or an open scream? Don’t add teeth yet, just the overall shape.
Step 5: Sharpening the Spooky Details – Bringing Terror to Life
Once you’re happy with your light sketches, it’s time to commit and make those features pop.
- Go over your light facial sketches with a slightly darker pencil (like a B or 2B).
- Add jagged edges to the eyes, nose, and mouth. Make those teeth sharp and uneven!
- Refine the lines of your pumpkin’s body, making them a bit darker and more confident.
- Erase any unnecessary sketch lines from Step 1 and 2.
Step 6: Adding Depth and Dimension – Shading for Spookiness
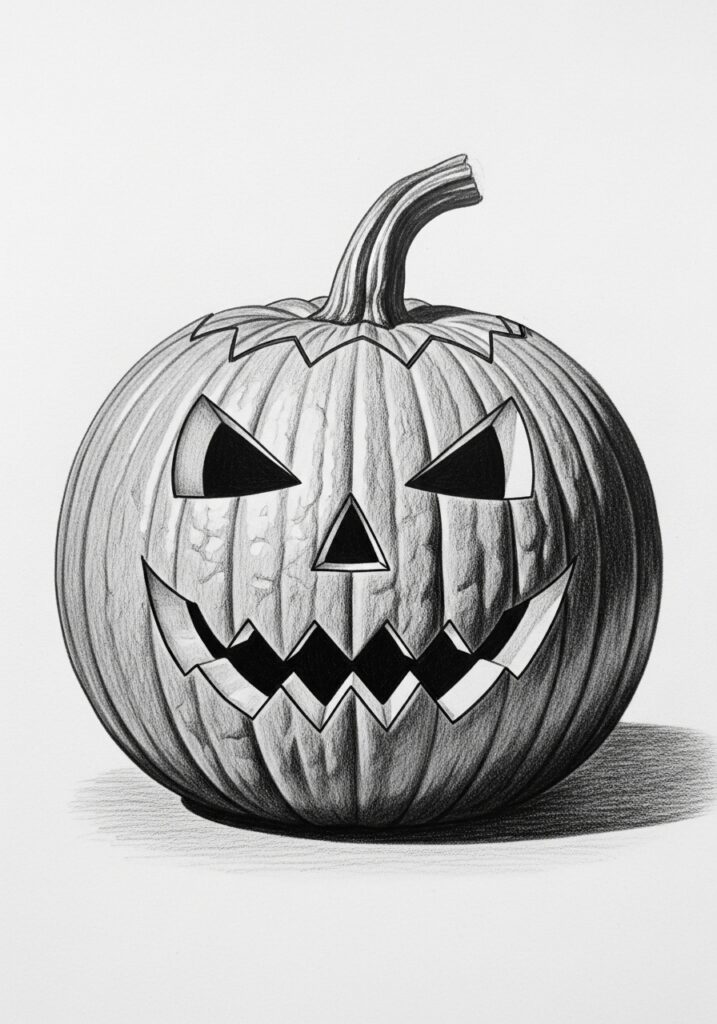
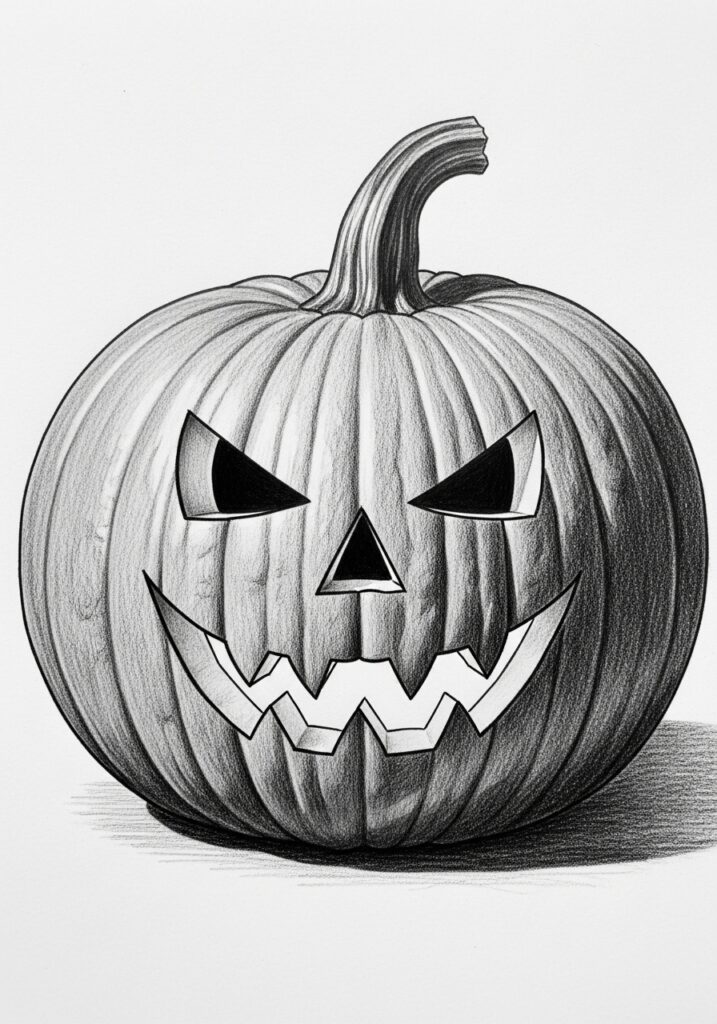
Shading is what turns a flat drawing into a three-dimensional object. It’s crucial for making your pumpkin look real and truly menacing.
- Shadows: Determine where your light source is coming from. Areas opposite the light source will be darker. Lightly shade the edges of the pumpkin segments, especially where they curve inwards.
- Inside the Features: The insides of the carved eyes, nose, and mouth should be the darkest areas. Shade them heavily to create a sense of deep, empty space. This stark contrast really enhances the spooky factor.
- Blending: Use a blending stump, cotton swab, or your finger to smooth out the graphite. This creates a softer, more realistic shadow gradient.
- Cast Shadows: Don’t forget the shadow your pumpkin casts on the ground beneath it. This helps ground the pumpkin in its environment. Sometimes, looking for coolest drawing ideas can even offer unexpected insights into effective shading techniques you can adapt.
Step 7: The Finishing Touches – Final Frights
These small details will elevate your spooky pumpkin from good to gloriously gruesome.
- Highlights: Use your eraser to carefully lift small areas of graphite on the most prominent parts of the pumpkin (e.g., the center of the rounded segments) to create highlights. This makes the pumpkin look shiny and round.
- Texture: Use short, uneven lines, stippling (dots), or cross-hatching to add texture to the pumpkin’s skin, making it look bumpy, weathered, or even rotten.
- Cracks and Scars: Add thin, irregular lines across the pumpkin surface to represent cracks or old damage. These can add a lot of character.
- Background Elements: Consider adding a simple background element, like a silhouette of a bare tree, a spooky fence, or a few bats flying in the distance, to complete the Halloween scene. If you’re thinking about how to stage your drawing in a broader context, similar to how one might consider how to decorate outdoor spaces for impact, a simple background can dramatically enhance your pumpkin’s presence.
Tips for Unleashing Your Inner Pumpkin Artist
Even the most talented artists started somewhere! Here are some pointers to help you along your creative journey.
- Practice, Practice, Practice: The more you draw, the better you’ll become. Don’t expect perfection on your first try. Every drawing is a step forward.
- Use Reference Images: Don’t feel like you have to invent everything from scratch. Look at photos of real pumpkins, carved pumpkins, or other artists’ illustrations for inspiration.
- Don’t Be Afraid to Experiment: Try different eye shapes, mouth styles, and textures. Mix and match elements until you find a look you love. What’s the worst that can happen? You just erase it!
- Start Light, Build Up Dark: This is a golden rule in drawing. Your initial sketches should be almost invisible. As you gain confidence, you can press harder and add darker lines and shading.
- Embrace Imperfection: Spooky pumpkins aren’t supposed to be perfect! Asymmetry and irregularities often make them even scarier and more characterful.
- Take Breaks: If you get frustrated, step away for a bit. Fresh eyes can often spot solutions or new ideas.
- Set the Mood: Put on some spooky music, grab a cozy drink, and let the Halloween vibes flow. A good atmosphere can really spark your creativity! If you’re interested in cultivating a more consistent creative environment, exploring routines like those discussed in 5 morning routines that spark creativity could be beneficial.
Common Mistakes to Avoid (and How to Fix Them)
Nobody’s perfect, especially when drawing spooky stuff! Here are some common pitfalls and how to sidestep them.
- Over-Symmetry: A common mistake is trying to make everything perfectly balanced. Remember, spooky pumpkins thrive on unevenness and irregularity. If your pumpkin looks too “neat,” mess it up a bit! Make one eye bigger, or one side of the mouth droop.
- Forgetting Depth: A flat drawing lacks impact. Ensure you’re shading the insides of the carved features deeply and adding shadows to the pumpkin’s segments and beneath the pumpkin itself.
- Too Much Detail Too Soon: Don’t start with the tiny teeth before you have the overall mouth shape down. Work from general shapes to specific details. This saves you from having to erase intricate parts if the main structure is off.
- Ignoring the Pumpkin’s Form: Even with a scary face, your drawing should still look like a pumpkin. Ensure your ridges and overall shape convey a plump, rounded gourd, not just a flat circle with a face.
- Lack of Contrast: Spooky drawings often benefit from strong contrast between light and dark. Don’t be shy with your darks, especially in the carved areas and deep shadows.
Conclusion: Your Spooktacular Pumpkin Awaits!
Congratulations, aspiring Halloween artist! You’ve journeyed through the steps of drawing a truly spooky Halloween pumpkin, from understanding its basic anatomy to crafting chilling features and adding depth with shading. Remember, art is all about expression and having fun. There’s no single “right” way to draw a spooky pumpkin – the scarier and more unique, the better!
So grab your pencils, embrace the spirit of Halloween, and let your imagination conjure the most frightfully fantastic pumpkin faces. Share your creations, experiment with new ideas, and most importantly, enjoy the process. Happy drawing, and Happy Halloween!
- 102shares
- Facebook0
- Pinterest102
- Twitter0
- Reddit0
