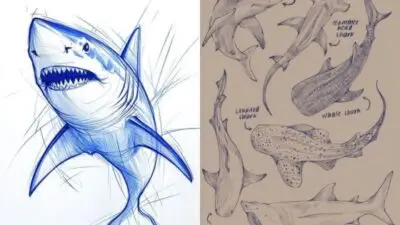
Capturing the intricate beauty and unique character of animals in your drawings can be a rewarding pursuit. By understanding animal anatomy and proportions, you can achieve more realistic results that truly reflect the essence of your subject. Whether you are a beginner or an experienced artist, there are techniques and tips that will enhance your skills and make your illustrations stand out.
Using the right materials and techniques is essential for bringing texture and depth to your artwork. Observing real animals and utilizing references will give you the insights needed to create lifelike representations. Through practice, you can hone your abilities and explore the diverse forms found in the animal kingdom, enriching your artistic journey.
Key Takeaways
- Learn about animal anatomy for accurate proportions in your drawings.
- Use appropriate materials and techniques to enhance texture and depth.
- Practice consistently with references to improve your illustration skills.
Understanding Animal Anatomy and Proportions
A strong grasp of animal anatomy and proportions is essential for creating realistic drawings. Focusing on the skeletal structure and musculature allows you to accurately represent different species and their movements. This knowledge will enhance your sketching techniques and improve the overall quality of your work.
The Importance of Skeletal Structure
The skeletal structure serves as the framework for any animal. Understanding the bones and joints enables you to depict accurate proportions.
- Key Bones: Familiarize yourself with major bones such as the skull, spine, and limbs.
- Joints: Recognize how joints function and how they affect movement.
Each species has unique skeletal variations. For example, the way a dog’s leg is structured differs significantly from that of a bird. Accurate skeletal representation creates a foundation for realism in your drawings.
Musculature and Movement
Muscles overlay the skeletal system and dictate an animal’s movement. To capture this accurately, you should study how muscles connect to bones.
- Muscle Groups: Focus on major muscle groups and their roles in movement.
- Motion: Observe how posture affects muscle tone and appearance during different actions.
Different species exhibit diverse movement patterns. For instance, a cheetah’s muscles allow for incredible speed, while an elephant’s musculature supports its weight and strength. Recognizing these elements will dramatically enhance your ability to portray animals in motion.
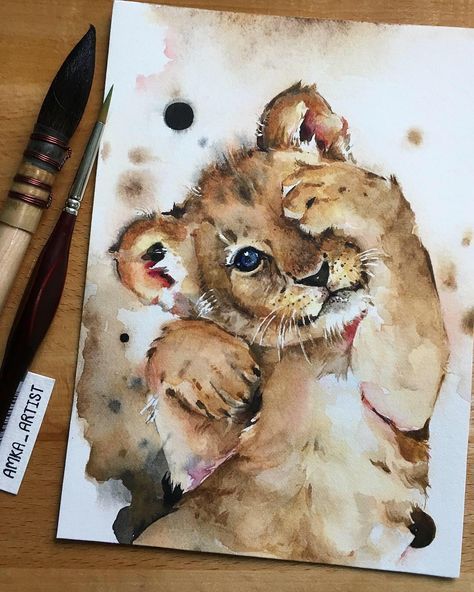
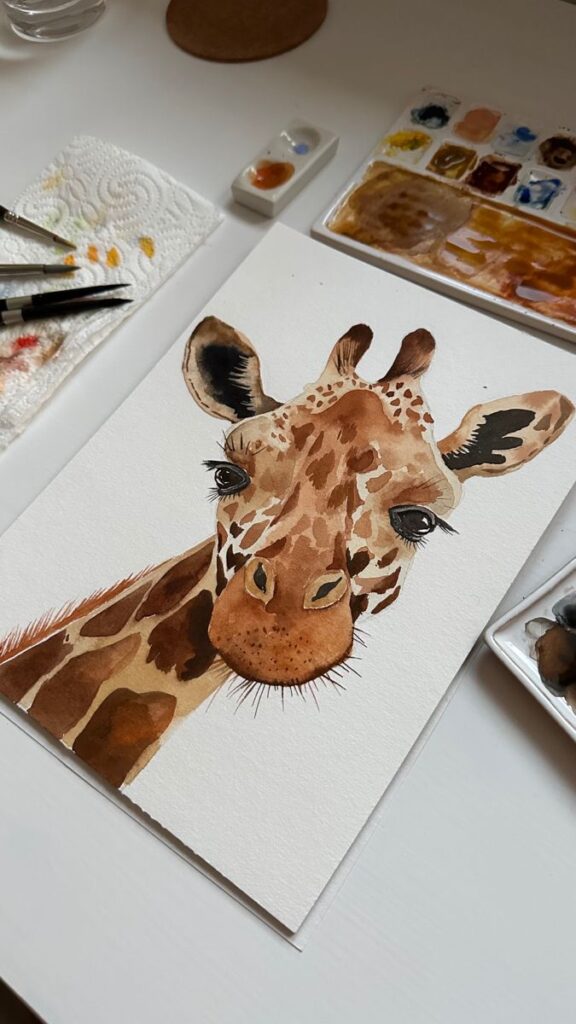
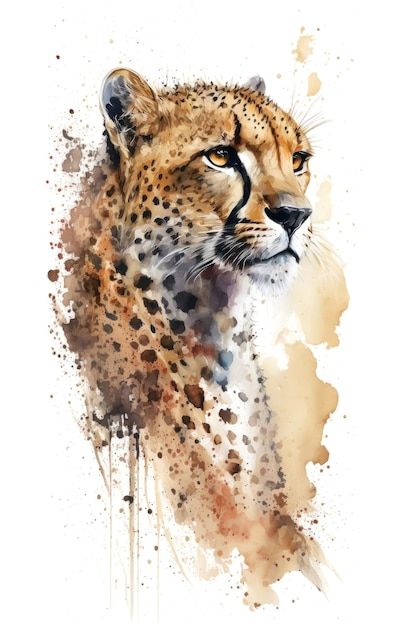
Materials and Techniques for Capturing Texture and Depth
To capture the intricate textures and depth in your drawings of animals, selecting the right tools and mastering specific techniques is essential. Focus on using quality materials and practicing shading methods, as these will significantly enhance the realism of your artwork.
Choosing the Right Tools
Selecting the right drawing tools is crucial for creating detail and texture. Graphite pencils offer a range of hardness, from 2H (light, fine lines) to 6B (dark, soft strokes).
- Graphite Pencils: Use a medium pencil (HB) for sketching and softer pencils (2B, 4B) for shading.
- Colored Pencils: Choose high-quality colored pencils that allow layering; they can enhance the vibrancy of your textures.
- Erasers: A kneaded eraser can delicately lift graphite without damaging the paper, useful for highlights.
Experiment with different tools to find what works for you.
Mastering Shading Techniques
Shading is fundamental to conveying depth and dimension. Here are some techniques to enhance your drawings:
- Hatching and Cross-Hatching: Use parallel lines to create shadow. Adjust spacing for varying intensity.
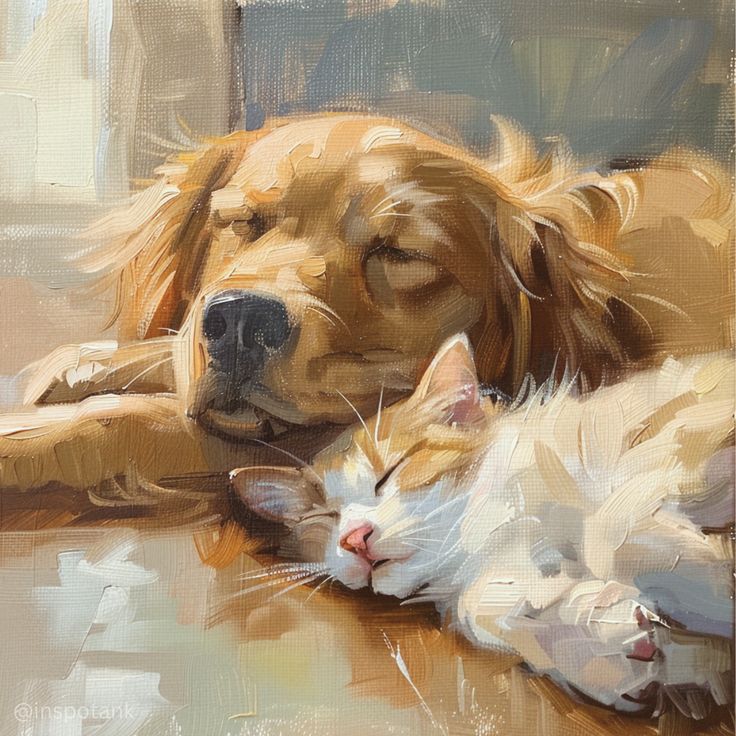
- Blending: Smooth transitions can be achieved with a blending stump or your fingers. This method works well for soft textures like fur.
- Stippling: Ink dots can create rich textural effects; this technique is effective for animal skin and feather patterns.
Practice these methods to see how they can transform your drawings.
Creating Realistic Fur and Feathers
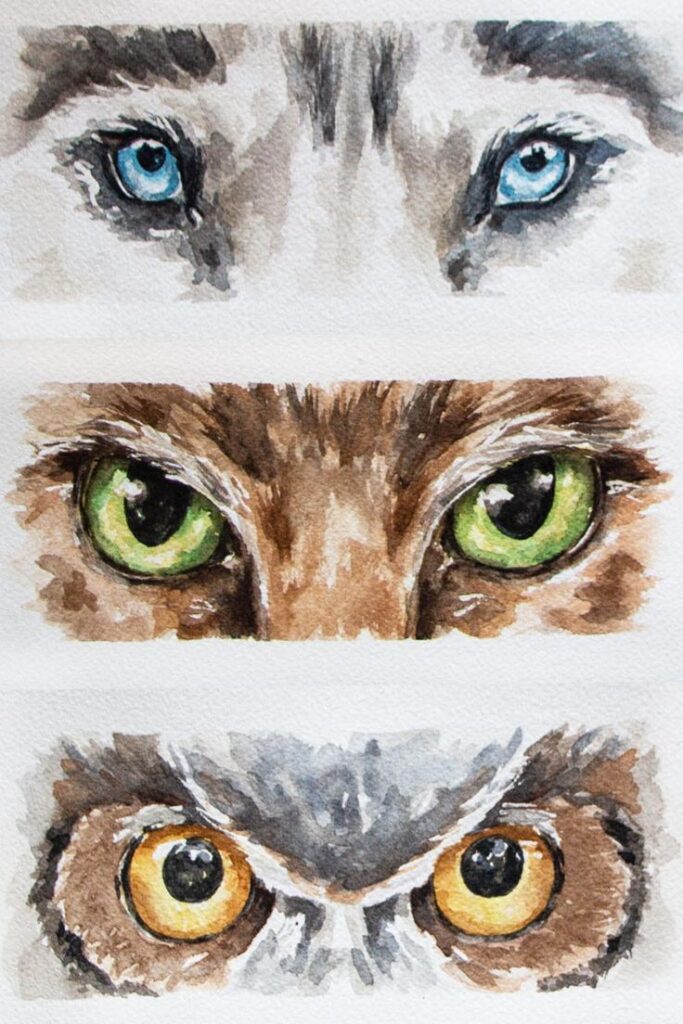
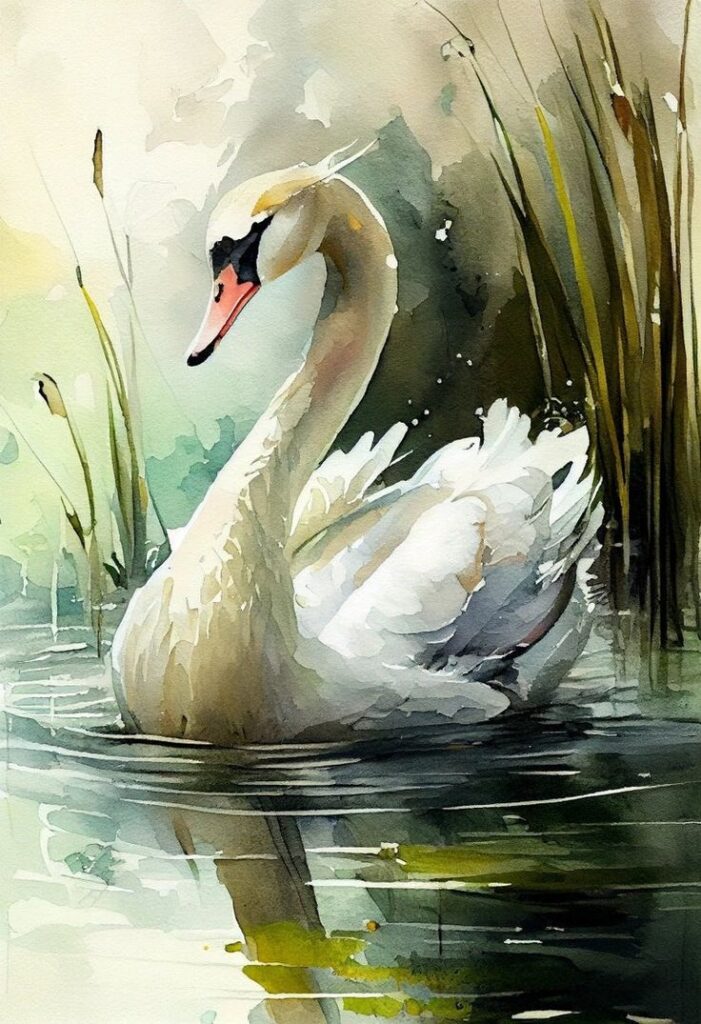
To depict realistic fur and feathers, attention to detail is vital. Different techniques can help simulate these textures.
- Fur: Use short, quick strokes with your pencil to imitate the direction and length of hair. Layer different shades of pencil to create depth.
- Feathers: Draw individual feathers and emphasize their contour. Utilize layering with colored pencils to capture iridescence and detail.
- Highlights: Leaving spaces unshaded can suggest shine. Use a kneaded eraser to pull out highlights effectively.
Combining these techniques will greatly enhance your ability to draw lifelike animals.
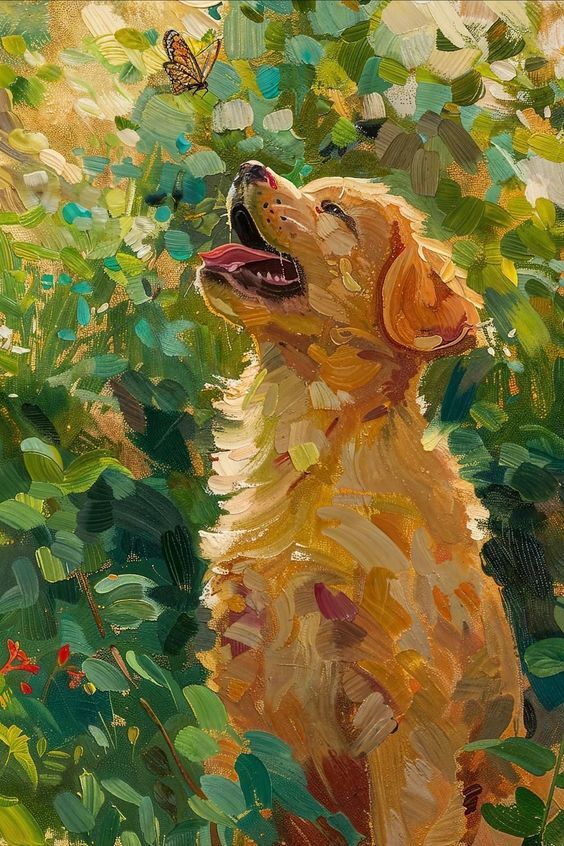
The Process of Sketching Animals
Sketching animals requires a structured approach to capture their unique features and personality. By breaking down the process into manageable steps, you can gradually develop a realistic illustration that reflects the true essence of the animals you are drawing.
Starting with Simple Shapes
Begin your sketch by using simple shapes to outline the animal’s basic form. Start with circles for the head and joints, and use ovals for the body and limbs. This foundational layer helps establish proportions and allows flexibility for adjustments.
For instance, a circle for the head and an oval for the body create a framework. You can add smaller shapes, like rectangles for legs, to refine the positioning. Visualize the animal’s stance and movement to build accuracy. This technique is crucial for beginners, making it easier to create a balanced sketch.
Refining with a Basic Outline
Once the simple shapes are in place, transition to a more defined outline. Connect the shapes, refining the overall silhouette of the animal. Focus on the key features, such as the ears, snout, and tail.
Use smooth lines to create a more cohesive look. Pay attention to the proportion of each part; you may need to adjust the shapes based on your initial observations. For instance, if drawing a dog, ensure the legs are angled correctly for a natural stance. This outline will serve as the skeleton of your drawing.
Adding Details and Final Touches
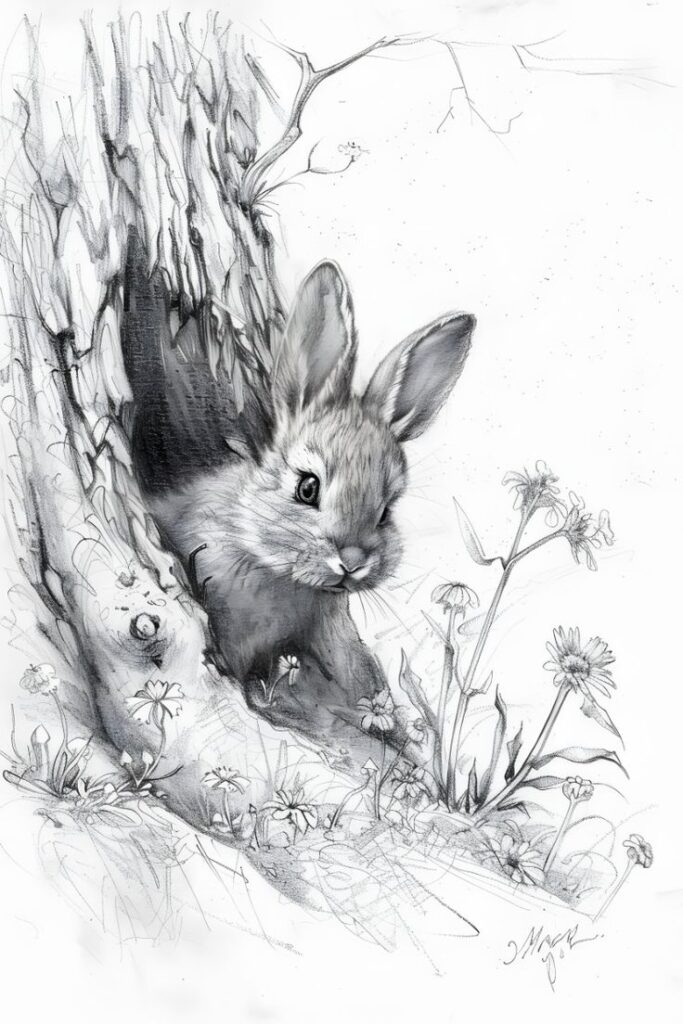
With the basic outline established, it’s time to introduce details that bring the sketch to life. Start with the animal’s features, like the eyes, fur texture, and distinctive markings. Use short, varied strokes for fur to create depth.
Consider the light source in your drawing. Adding shadows can enhance dimensionality and realism. Don’t hesitate to seek feedback from peers or reference images to ensure accuracy. Small touches, like whiskers or patterns, can significantly elevate your illustration, making it not just a drawing but a captivating representation of the animal.
Utilizing References for Accurate Illustrations
Using reference photos is essential for drawing animals accurately. These images provide a clear view of anatomy, fur texture, and proportions.
Gather a Variety: Collect multiple reference photos of the same animal. Different angles will help capture its essence.
Study Details: Pay attention to features like eyes, ears, and paws. Small details make a big difference in realism.
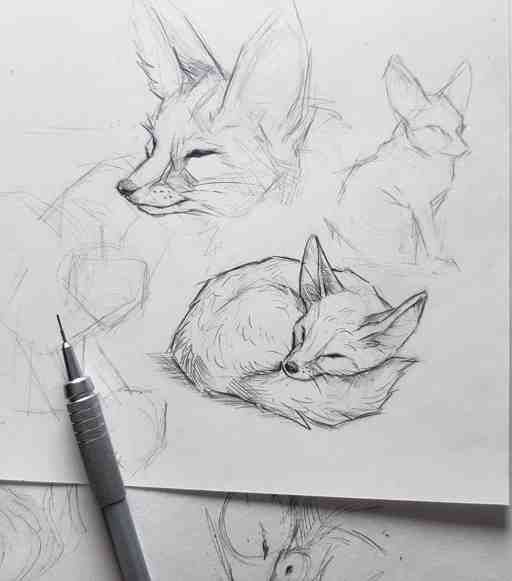
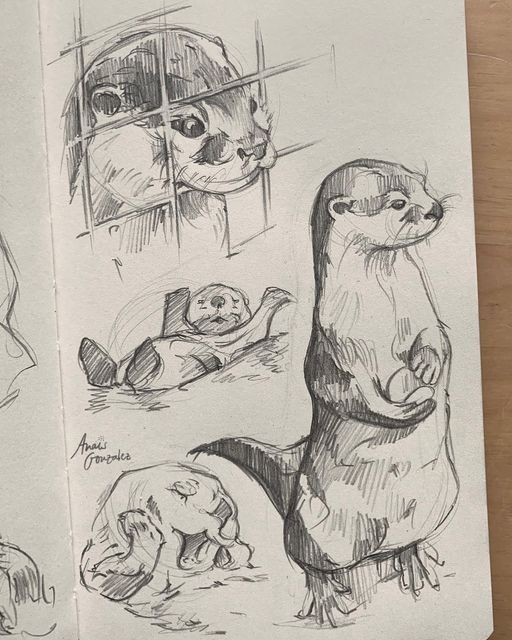
A sketchbook is a valuable tool for practice. You can try different poses and expressions based on your references.
Quick Sketches: Create loose sketches to explore various positions. This helps you understand movement and anatomy better.
Detailed Studies: Take time to render specific features from your reference photos. Focus on the fur direction and patterns.
Lighting is another important aspect. Observe how light affects the subject in your reference images.
- Observe Shadows: Look for shadows and highlights in your photos. This will enhance the three-dimensionality of your drawings.
Using references doesn’t limit creativity; it enhances it. They’ll guide your choices and help you translate what you see into your artwork. Embrace references as tools to improve your skills and accuracy when capturing animals in your drawings.
- 2.3Kshares
- Facebook0
- Pinterest2.3K
- Twitter0
- Reddit0
