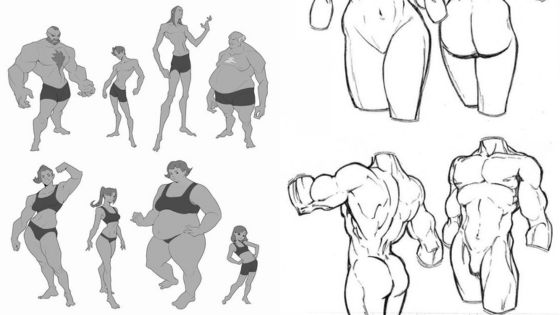
Drawing the female body can seem challenging, but it is an essential skill for any artist. Understanding proportions and basic shapes is crucial for creating accurate and beautiful representations. Whether one is a beginner or more experienced, mastering the fundamentals of female anatomy makes a significant difference in the quality of their drawings.
Artists can benefit from exploring various aspects of the female form, including the upper and lower body, as well as facial features. Learning to depict movement and dynamic poses adds life to the artwork. With practice and attention to detail, artists can create captivating drawings that truly reflect the essence of the subject.
Drawing is more than just lines on paper; it is about bringing a subject to life. With the right techniques and knowledge, anyone can improve their skill in capturing the female body and express their artistic vision effectively.
Key Takeaways
- Understanding basic shapes helps in drawing the female body accurately.
- Mastering proportions is key to creating realistic figures.
- Learning to depict movement enhances the overall artwork.
Fundamentals of Drawing the Female Body
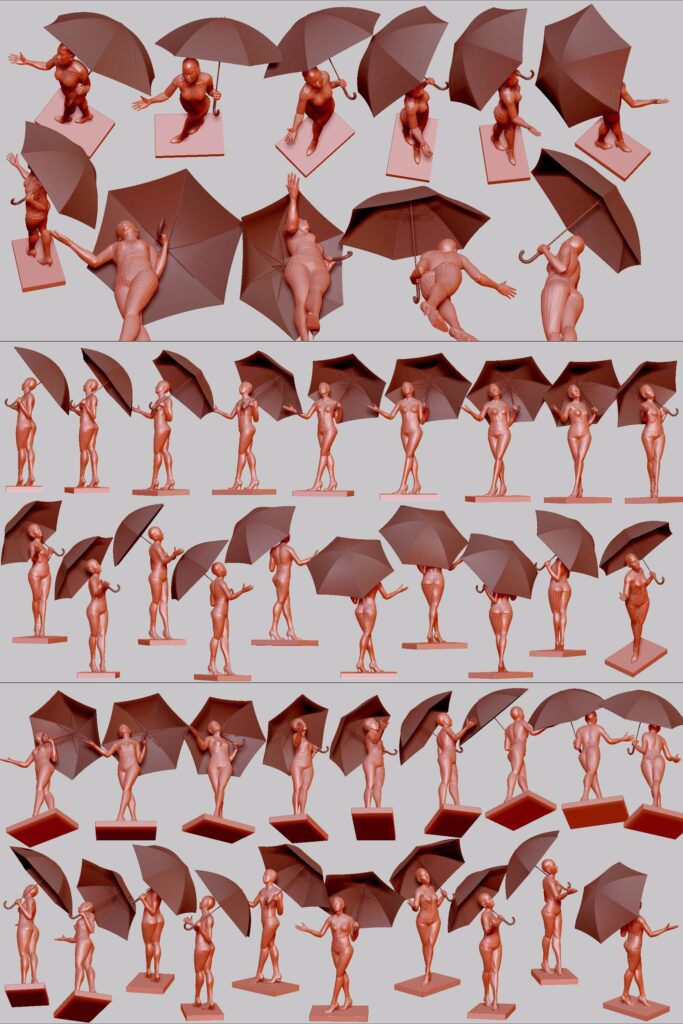
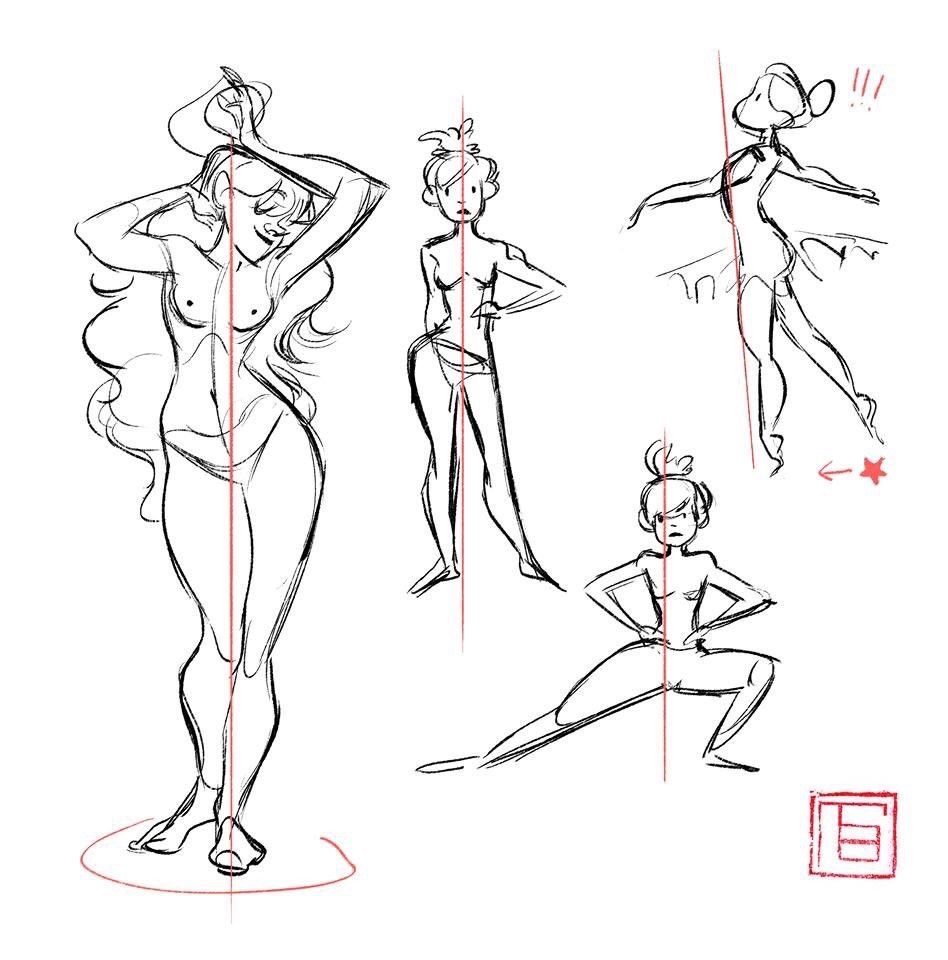
Drawing the female body requires understanding key elements like anatomy and proportions. Artists often begin with basic shapes to create a solid foundation. Common shapes include:
- Circles for the head and joints
- Ovals for the torso and limbs
- Triangles for the hips and shoulders
Knowing the typical body proportions is also essential. Generally, the female figure can be divided into 8 head lengths from head to toe. This helps in achieving realistic height and size. The following proportions are common:
- Shoulder width: about 1.5 heads wide
- Waist: roughly 3-4 heads down
- Hips: about 1-2 heads wider than the waist
Attention to anatomy is crucial. Muscles and bone structure play a role in how the body looks. For example, the curve of the hips and the softness of the waist add to femininity.
Artists can refer to tutorials that focus on sketching the female form. These often break down each part of the body, explaining how different angles affect appearance.
Understanding these fundamentals enables artists to create more accurate and expressive drawings. With practice, they can enhance their skills and develop their unique style.
Understanding Female Anatomy for Artists
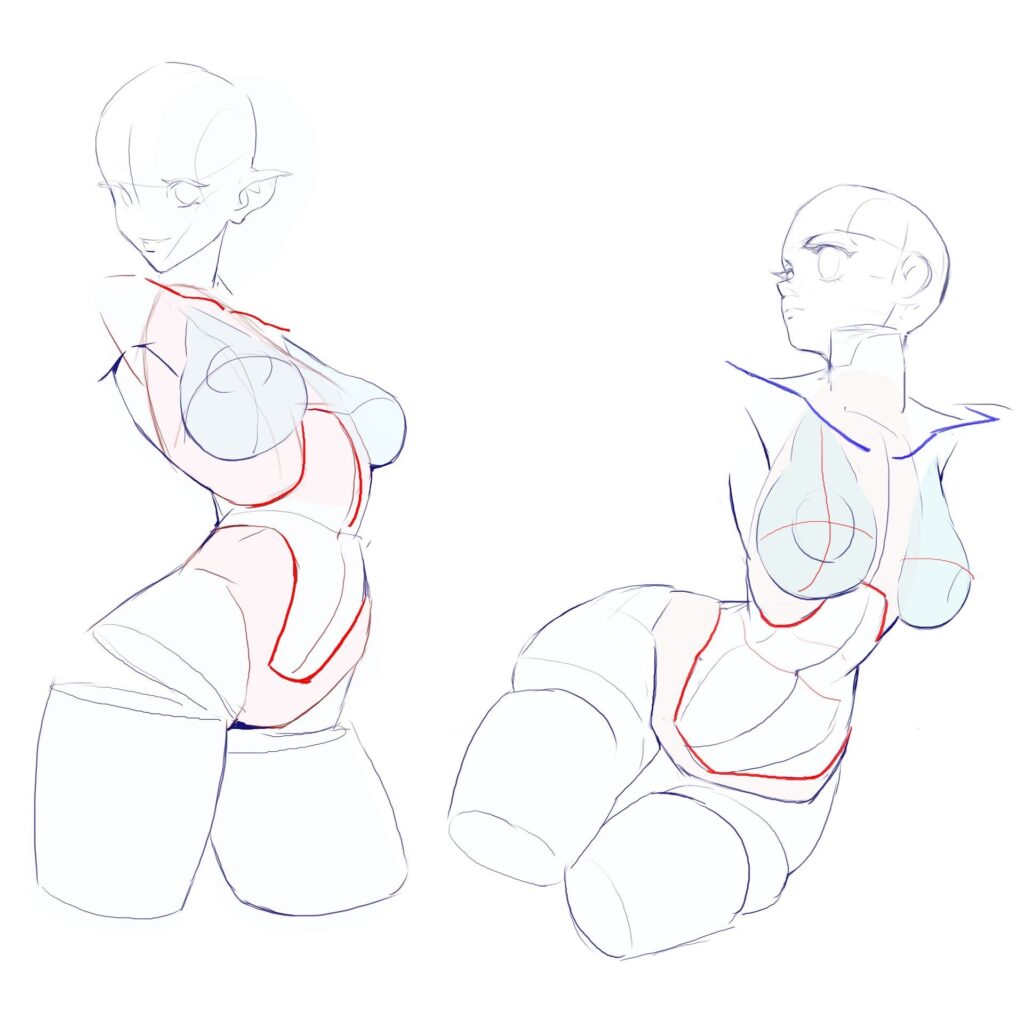
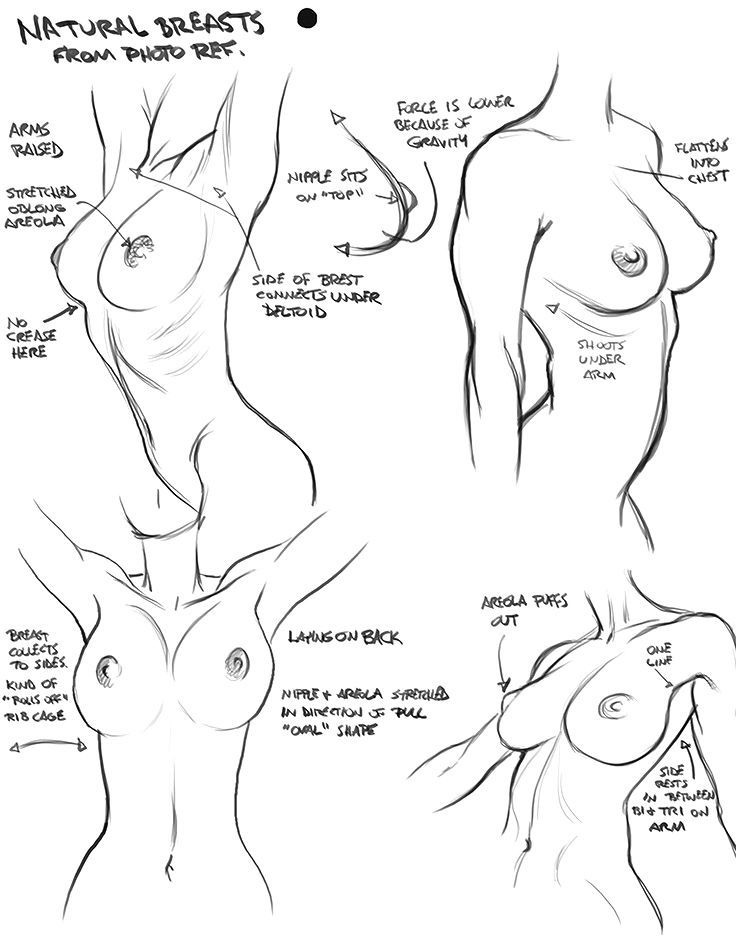
Artists benefit from a clear grasp of female anatomy. Key elements include musculature, movement, and bone structure. Recognizing these details supports accurate and lifelike representations.
Musculature and Movement
The female body has distinct muscles that give it shape and allow for movement. Important muscle groups include the pectorals, deltoids, abdominals, and glutes. Understanding how these muscles work together helps artists show movement and posture.
For example, pectorals create the shape of the chest, while deltoids define the shoulders. Abdominal muscles offer support for the torso. The gluteal muscles affect the hips and legs. Artists should note how these muscles change when a person moves.
When drawing, consider how muscles might flex or stretch. This awareness helps create realistic poses, whether in action or at rest.
Bone Structure and Joints


The bone structure of the female body shapes its overall form. Key components include the rib cage, pelvis, and long bones of the limbs. Each plays a significant role in body mechanics.
The rib cage protects vital organs and gives the upper body its curvature. The pelvis is wider in females, influencing walking, running, and other movements. Joints, such as the knees and shoulders, allow flexibility and range of motion.
Understanding these structures helps artists depict proportion and balance. For instance, the angle of the knees can change the position of the legs. Recognizing how bones and joints interact can enhance the accuracy of drawings.
Starting with Proportions and Basic Shapes
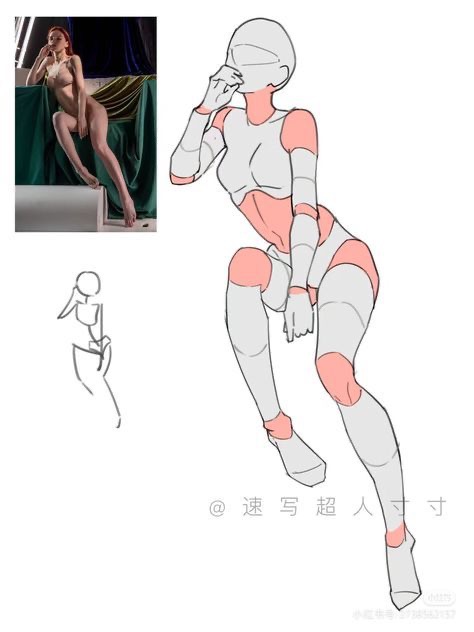
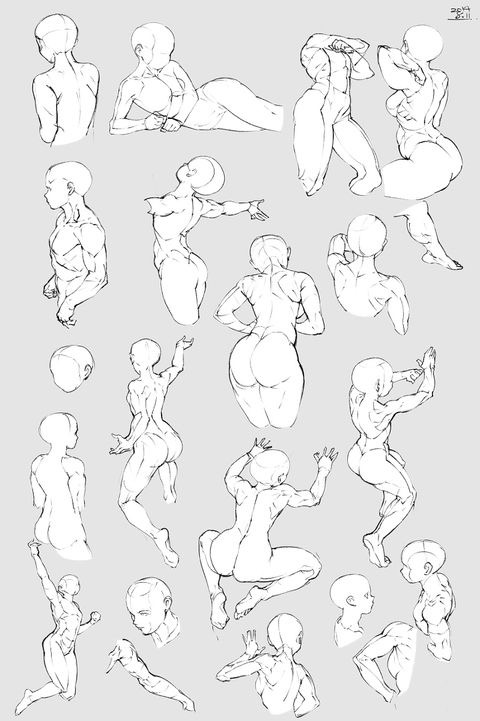
Proportions and basic shapes are essential when drawing the woman’s body. Understanding how to establish the correct lines and shapes helps create a more accurate figure. This process begins with setting the shoulder line and determining the waistline and pelvis.
Establishing the Shoulder Line
To draw the shoulder line, start with a horizontal line across the top of the shape. This line should be slightly wider than the head to allow for natural shoulder width.
Next, add circles or ovals at each end of the line to represent the shoulders. This helps visualize the body’s width and balance.
Ensure the shoulder line maintains proportion with the head and the rest of the body. Generally, women’s shoulders are narrower compared to their hips, which is an important detail to keep in mind.
Determining the Waistline and Pelvis
The waistline is typically positioned between the ribcage and the hips. To mark it, draw a horizontal line that curves gently. This line should not be too long; it usually measures about a third of the shoulder line.
Following that, create a basic shape for the pelvis. This can be represented with a wider oval or rectangle beneath the waistline.
It is important that the pelvis aligns with the hips. Women often have a more pronounced curve from the waist to the hips. Paying attention to these curves will enhance the figure’s accuracy and realism.
Facial Features and Head Shape
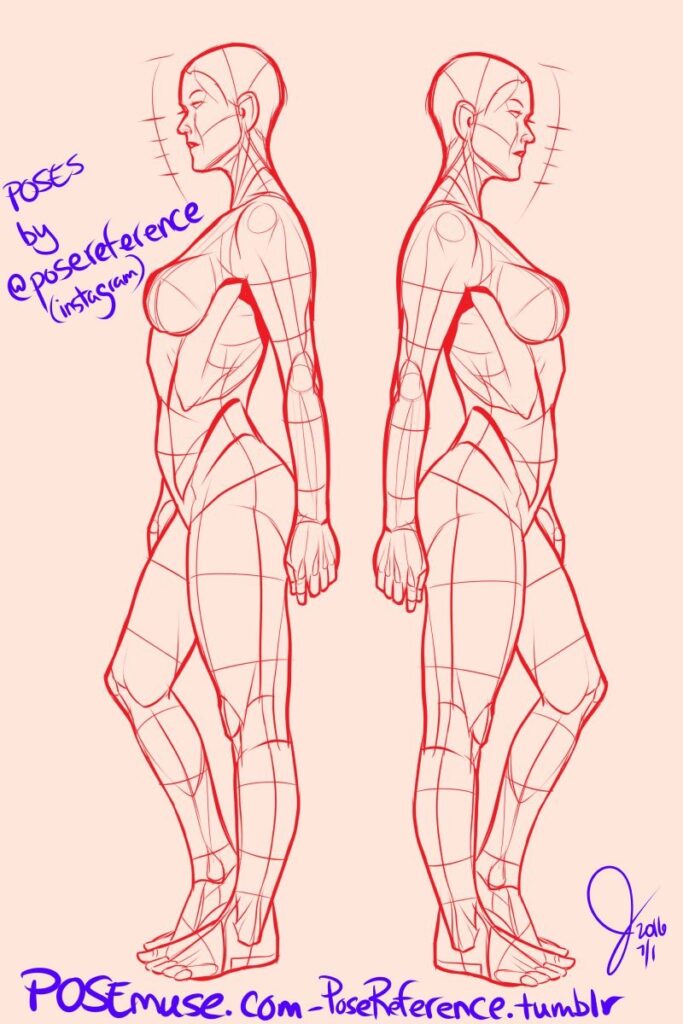
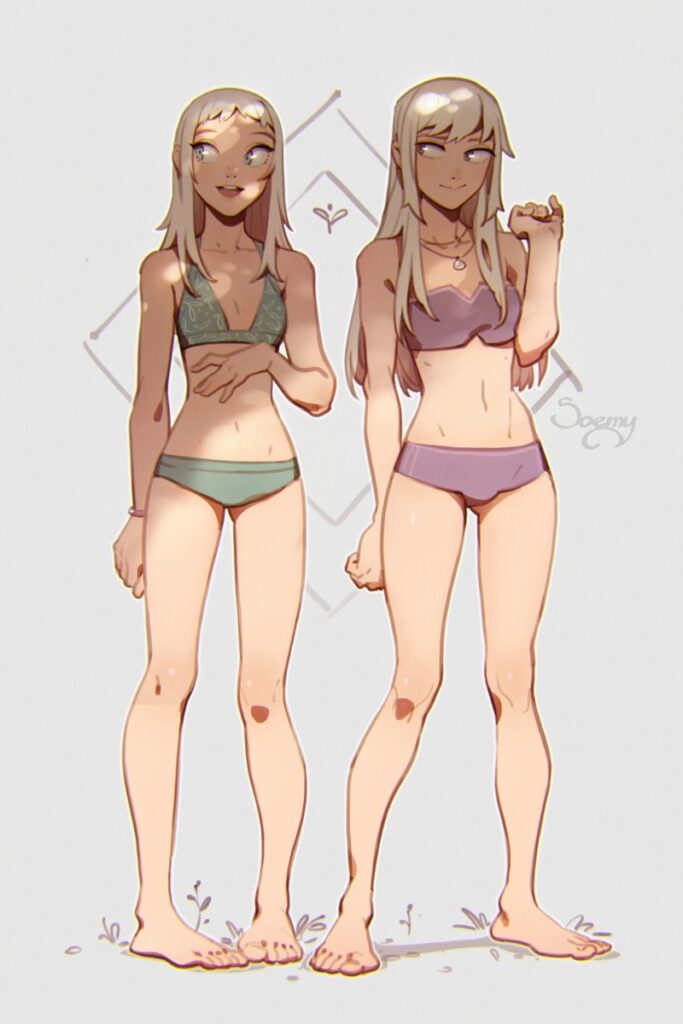
Facial features and head shape are essential elements in drawing the human figure. Getting these aspects right helps create realistic representations. Attention to detail can enhance the overall likeness.
Drawing the Eyes
Eyes are often considered the most expressive part of the face. They can vary significantly based on the individual. When drawing eyes, it’s important to start with the basic shapes: almonds, circles, or ovals.
Key points to focus on:
- Placement: The eyes should generally be about one eye’s width apart.
- Details: Adding eyelids and eyelashes enhances realism. Remember to show reflection to convey depth.
- Pupil Size: Adjust the pupils according to lighting conditions for a lifelike look.
Shaping the Mouth and Nose
The mouth and nose significantly shape the character of the face. Both come in various forms, so studying references can be beneficial.
Mouth:
- Shape: The mouth can be drawn as a simple line or with more detail to capture the curvature.
- Expression: Different shapes portray various emotions, so consider the character’s mood.
Nose:
- Basic Forms: Noses can be straight, curved, or wide. Start with basic shapes before adding details.
- Nostrils and Bridge: The shape of the nostrils and the bridge’s width can impact the overall expression.
Defining the Ear Placement
Ears often get less attention but play an important role in balancing facial features. The proper placement and shape of the ears can ground the face in proportion.
Important points to remember:
- Location: Ears typically align with the eyes and the base of the nose.
- Shape: Ears are not merely flat; they have curves and folds. Capturing these details adds realism.
- Size Matters: Ears can vary in size, so adjust according to the character’s age and proportion to the head.
Depicting the Upper Body


Drawing the upper body requires attention to key shapes and proportions. It involves understanding the torso, arms, and hands, each having unique characteristics.
Drawing the Torso
The torso forms the central part of the upper body. It includes the shoulder line, rib cage, and the area where breasts may be found. Start by sketching an oval shape for the rib cage, keeping in mind the rib structure.
The shoulder line should be wide and balanced. It helps define the body’s posture. Breasts can be represented by gentle curves, ensuring they are proportionate to the torso. Always consider the body’s angle, as this affects the look and feel of the torso. Using light lines can help adjust shapes as needed.
Sketching the Arms and Hands
When sketching arms, consider their placement and position. The shoulder joint connects the arms to the torso. Draw the upper arm as a simple cylinder shape, tapering toward the elbow.
For the forearm, continue the cylinder down to the wrist. Pay attention to how arms can bend and move. The positioning of the arms can change the expression of the entire pose.
Hands are complex and deserve focus. Use basic shapes to create fingers, palms, and thumbs. Different positions will change how the hand looks. Practice drawing hands from various angles to better capture their form.
Detailing the Lower Body

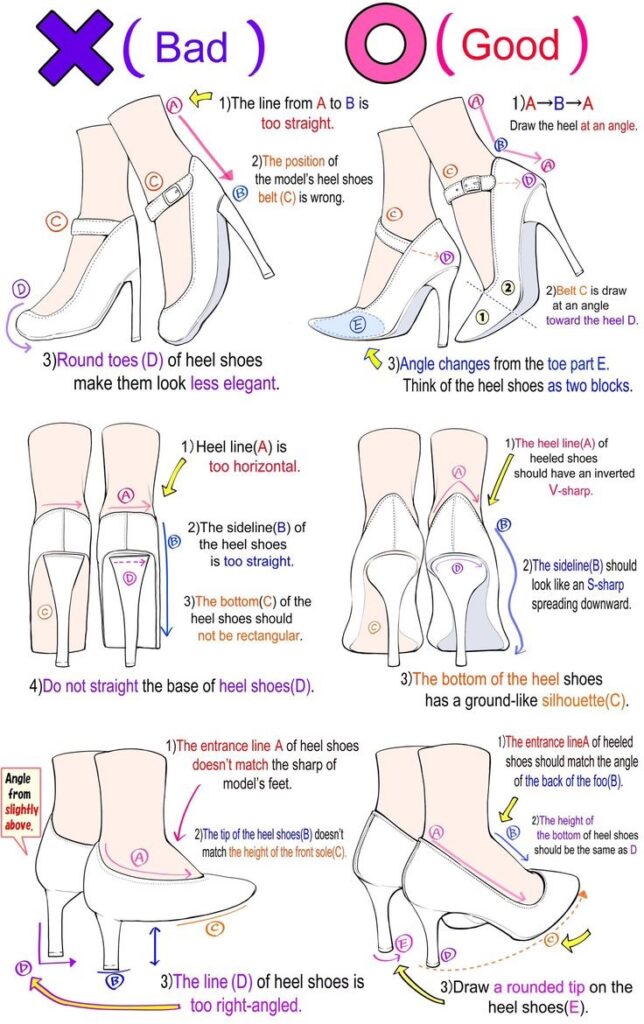
This section focuses on the important aspects of sketching the lower body, including the legs, feet, and knees. Attention to detail in these areas enhances the overall appearance of the drawing.
Sketching the Legs
When drawing legs, it is essential to capture their shape and proportion. Start by outlining the general structure, keeping the pelvis in mind.
Use simple shapes to represent the thighs, calves, and ankles. Thighs are generally larger, tapering down toward the calves. Pay attention to the position of the legs. They can convey movement or rest.
Adding curves will make the legs look more natural. Observe how the muscles create a slight bulge at the thighs and calves. Use lines to indicate the flow from the hip to the foot. This technique will give the legs a more realistic feel.
Drawing Feet and Toes
Feet play a crucial role in drawing the lower body. Begin with an outline of the foot shape. It varies based on the position.
The toes should be sketched as simple shapes. Start with a rough outline showing the big toe and the smaller ones next to it. Keep them proportionate.
Details like the arch, ankle, and heel add realism. Observe how the foot rests on the ground. Add shading to show depth and curvature. This will help define its structure.
Defining the Knee Area
Knees are pivotal joints that add realism to the lower body. They can be tricky, as they create bends that show movement. Start with the outline of the knee, ensuring it connects seamlessly to the thighs and calves.
Make slight indentations to represent the knee cap. Note how the knee changes shape when the leg is bent or straightened. The area around the knee should be shaded to show depth.
Look at how the skin folds near the joint. This adds detail and makes the drawing more dynamic. Observing real-life knee movements can improve accuracy in sketches.
Shading Techniques and Textures


Shading and textures add depth and realism to drawings of the female form. By mastering shadows and highlights, along with the surfaces of clothing, artists can create dynamic and lifelike images.
Creating Shadows and Highlights
To create realistic shadows and highlights, an artist should understand light sources. Identifying the direction of light helps in placing shadows accurately.
Key Techniques:
- Hatching: Using parallel lines to build shadow gradually.
- Cross-hatching: Layering sets of lines to deepen shadows further.
- Blending: Smudging or using tools like blending stumps can soften harsh lines.
Shadows should be darker in areas where bodies curve or recede from light. Highlights should reflect light on rounded surfaces, such as shoulders or breasts. This contrast adds dimension and makes the figure more lifelike.
Rendering Textures of Clothing
Clothing textures bring drawings to life, showing fabric types like cotton or silk. Different techniques can illustrate how fabric falls and folds.
Important Techniques:
- Lines and Patterns: Adding detailed lines can mimic the weave of a t-shirt or other fabrics.
- Shading: Similar techniques used for body shading apply here.
Folds and creases in clothing should match the body’s form. For a t-shirt, short, soft curves can suggest a loose fit. For tighter clothing, sharper lines show the fabric hugging the shape. Properly capturing these details enhances the overall realism of the drawing.
Dynamic Poses and Movement
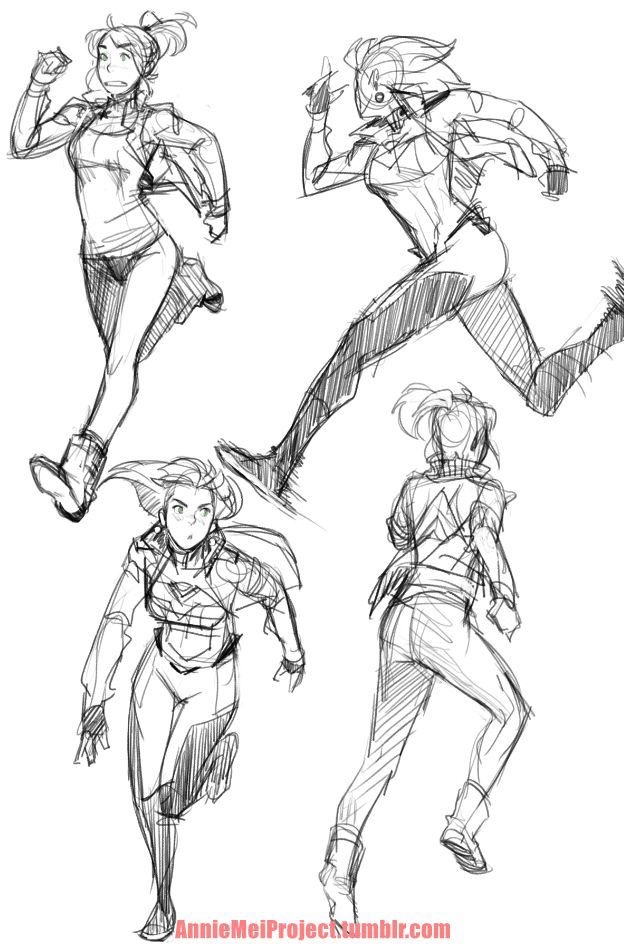

When drawing the woman’s body, capturing dynamic poses and movement is essential. It adds life and energy to the artwork. Pay attention to weight distribution and practice gesture drawing to improve these skills.
Achieving Weight Distribution
Weight distribution refers to how a figure’s weight is spread across its body. In dynamic poses, weight often shifts between limbs.
To show this effectively:
- Use lines: Draw lines from the head to the feet to visualize the balance.
- Identify the center of gravity: This is typically around the waist or hips. Understanding this helps create a realistic pose.
- Highlight shifts: If a figure leans forward, the weight is on the front leg. The back leg may be relaxed or lifted slightly.
Paying attention to these details results in more believable movement in the figure.
Gesture Drawing for Dynamic Poses
Gesture drawing focuses on capturing the essence of a pose quickly. It helps artists understand movement and flow.
To practice gesture drawing:
- Set a timer: Spend 1 to 5 minutes on each pose to focus on the overall shape.
- Use quick strokes: Capture the lines and angles without worrying about detail.
- Emphasize rhythm: Look for curves and lines that show body movement.
Gesture drawing can significantly enhance understanding of how the body moves. It allows an artist to grasp the energy of a pose and helps in creating more lively and engaging artwork.
Perspective and Depth in Drawings


Perspective is key to adding depth to any drawing. It helps create a sense of three-dimensional space on a flat surface.
Types of Perspective:
- One-Point Perspective: Uses a single vanishing point. Lines converge toward this point to show depth.
- Two-Point Perspective: Features two vanishing points on the horizon. It works well for drawing objects at an angle.
Using horizontal lines is essential in both types. These lines often represent the horizon. They help establish the viewer’s eye level.
When drawing the female body, consider how perspective alters its appearance. For instance, certain angles can make parts appear larger or smaller.
Artists often use techniques such as foreshortening. This technique shortens the view of an object to create depth.
Tips for Adding Depth:
- Use overlapping shapes. It helps to show which parts are in front.
- Adjust line thickness. Thicker lines can suggest closer objects.
- Incorporate shading. This adds volume and dimension.
Practicing these techniques can improve the realism of body drawings. By mastering perspective, artists can make their work more dynamic and engaging.
Drawing Hair and Fashion Elements


This section looks at important techniques for sketching hair and illustrating clothing that enhance a woman’s body drawing. Focusing on detail will help create realistic and styled representations.
Sketching Hairstyles
When sketching hair, consider its texture, volume, and flow. Start with basic shapes to create the hair’s overall silhouette. Use light lines to outline the general direction of the hair.
Next, add details like waves, curls, or straight strands. Vary the thickness of lines for depth. For example:
- Curly hair: Use spirals and loops.
- Straight hair: Draw smooth, long lines.
Remember to indicate light and shadow. This can be done by hatching or shading. Use a soft pencil for blending to make the hair look more realistic.
Illustrating Clothing and Accessories
Clothing can define a character’s personality. Start by outlining the basic shape of the body. Then, layer in clothing details.
For tops, focus on how the fabric drapes over the body. Different materials behave differently. Use smooth lines for silk and more jagged lines for thicker fabrics.
When adding accessories, like jewelry or hats, think about their placement and size. Use light lines to suggest motion in accessories. Incorporate patterns and textures into clothing to add interest, such as:
- Stripes: Vertical or horizontal can change the look.
- Floral patterns: Great for dresses.
Accuracy in these details can significantly enhance the final drawing.
Supplemental Resources for Artists


Artists can enhance their skills by using a variety of resources. Reference books and online tutorials provide valuable information and practical techniques for drawing the female body.
Reference Books and Guides
There are many excellent books focused on anatomy and figure drawing. These texts help artists understand proportions and body structure. Consider the following:
- “Anatomy for Sculptors” by Uldis Zarins: This book offers 3D anatomy visuals and explanations to aid in understanding form.
- “Figure Drawing: Design and Invention” by Michael Hampton: This book focuses on the basics of figure drawing with clear illustrations and exercises.
- “Drawing the Head and Hands” by Andrew Loomis: A classic that provides detailed instructions on drawing the head and hands clearly.
These resources help artists of all levels improve their understanding and skills.
Online Tutorials and Projects


Many online platforms host tutorials and projects dedicated to figure drawing. These resources offer step-by-step guidance and interactive learning. Recommended sites include:
- YouTube: Channels such as Proko and New Master Academy provide free tutorials on anatomy and figure drawing.
- Skillshare: This platform offers various courses for drawing anatomy, each with projects for practice.
- DeviantArt: Artists often share tutorials and tips here, including specific guidance on drawing female figures and manga styles.
Using these online resources allows artists to learn at their own pace and explore new styles and techniques.
- 2.6Kshares
- Facebook0
- Pinterest2.6K
- Twitter0
- Reddit0

