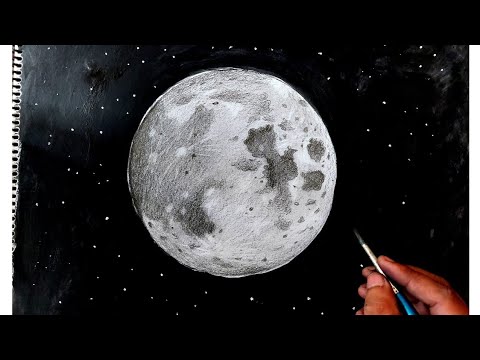
Ever stopped to look up at the night sky & felt a little spark of inspiration while thinking to yourself “man, I wish I could put down on paper just how beautiful the moon is”? Don’t be surprised – the moon has been captivating artists & dreamers for thousands of years with its silent, cosmic presence. The constant change in its phases, its craters which seem full of mystery and that soft glow – all of it adds up to a pretty enchanting subject. If you’ve ever found yourself wondering how to get a moon drawn onto paper that looks like it’s actually shining, then you’re in luck – this guide is here to help get you started on your lunar artistic journey & bring that celestial wonder to life somehow.
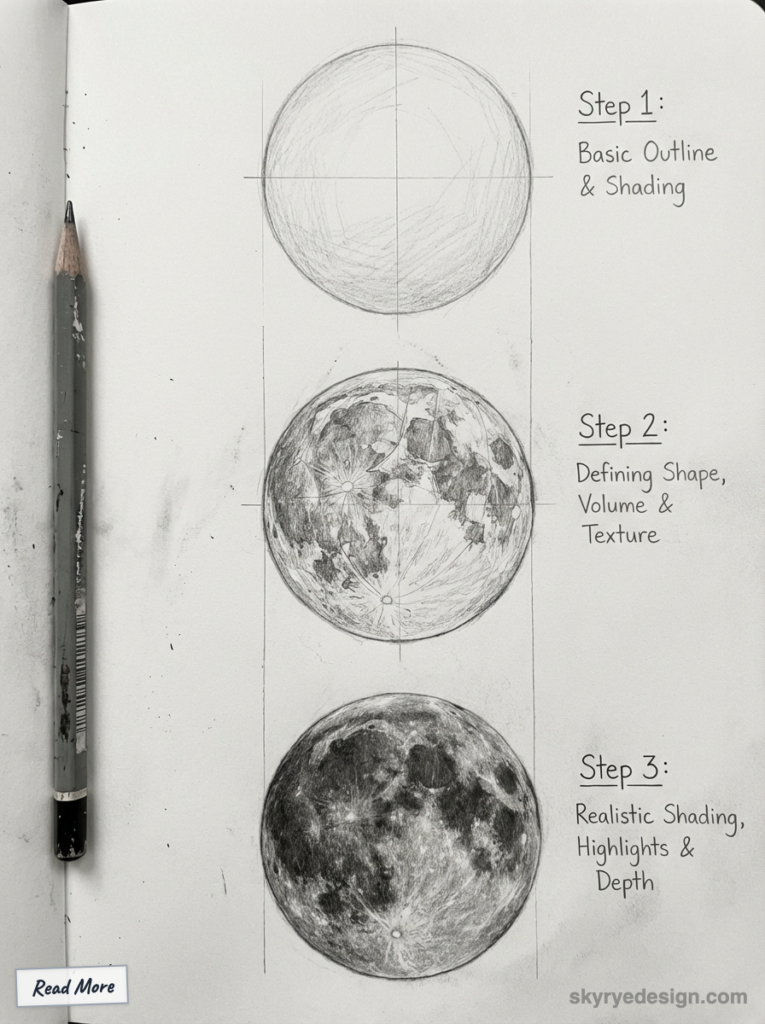
Drawing the moon might look like a daunting task at first glance – I mean, it’s a huge, textured ball of light! But don’t worry, it’s not impossible. With the right techniques and a bit of patience to go along with a healthy dose of artistic curiosity, you’ll be sketching some really stunning moons in no time. We’re going to cover everything from what the basic tools are to some of the more advanced shading techniques – so you’ll have all the tools at your disposal to create a moon that’s uniquely yours. Get ready to set off on some fun, creative adventures that’ll take your blank page & turn it into a window into the cosmos!
Pros and Cons
| Pros | Cons |
|---|---|
| – Boosts creativity and observation skills | – Initial frustration with realism (e.g., craters) |
| – Teaches fundamental shading and texture techniques | – Requires patience and practice to master |
| – Creates a calming, meditative artistic experience | – Can be challenging to achieve a spherical effect |
| – Opens doors to other astronomical or nature drawing | – Requires specific tools for best results (though adaptable) |
| – Achievable with basic drawing supplies | – Risk of repetitive outcomes without variation |
Gearing Up: Essential Tools for Your Lunar Art Journey
Before we dive into the nitty-gritty of strokes and shadows, let’s talk about your arsenal. You don’t need a fancy art studio, but having the right tools makes a world of difference. Think of it as preparing for a cosmic expedition – you want the best gear for the journey!
Pencils: The Foundation
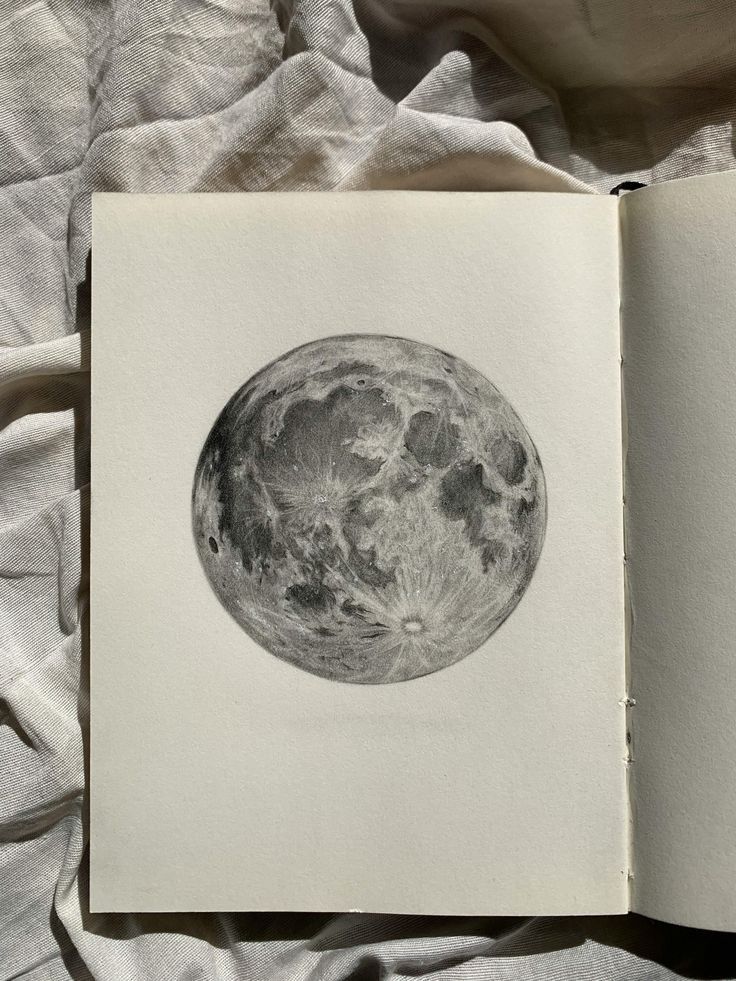
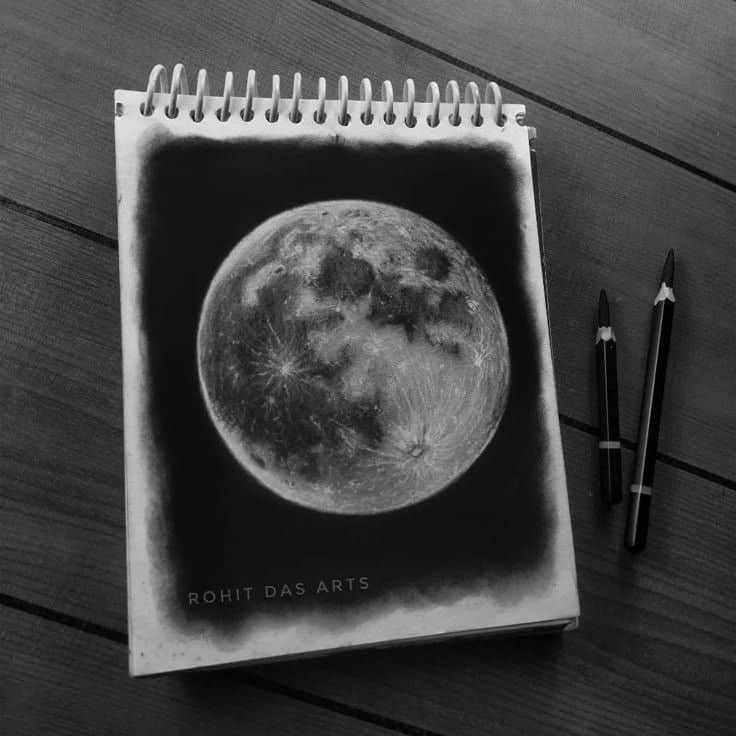
Your pencils are the heart of your drawing kit. They come in various “grades,” from hard (H) to black (B), each offering different properties.
- H Pencils (e.g., 2H, 4H): These are harder, leave lighter marks, and are great for initial sketches and fine details. They don’t smudge easily. Think of them for outlining craters or light guidelines.
- HB Pencil: This is your everyday pencil, a perfect balance between hard and soft. It’s versatile for general drawing and light shading.
- B Pencils (e.g., 2B, 4B, 6B, 8B): These are softer, leave darker, richer marks, and are ideal for deep shadows, building up tone, and adding dramatic contrast. A 6B or 8B can give you those velvety blacks that make the moon pop.
For drawing a moon, having a range from 2H to 6B will cover all your bases, allowing you to create subtle textures and striking contrasts.
Paper: Your Canvas
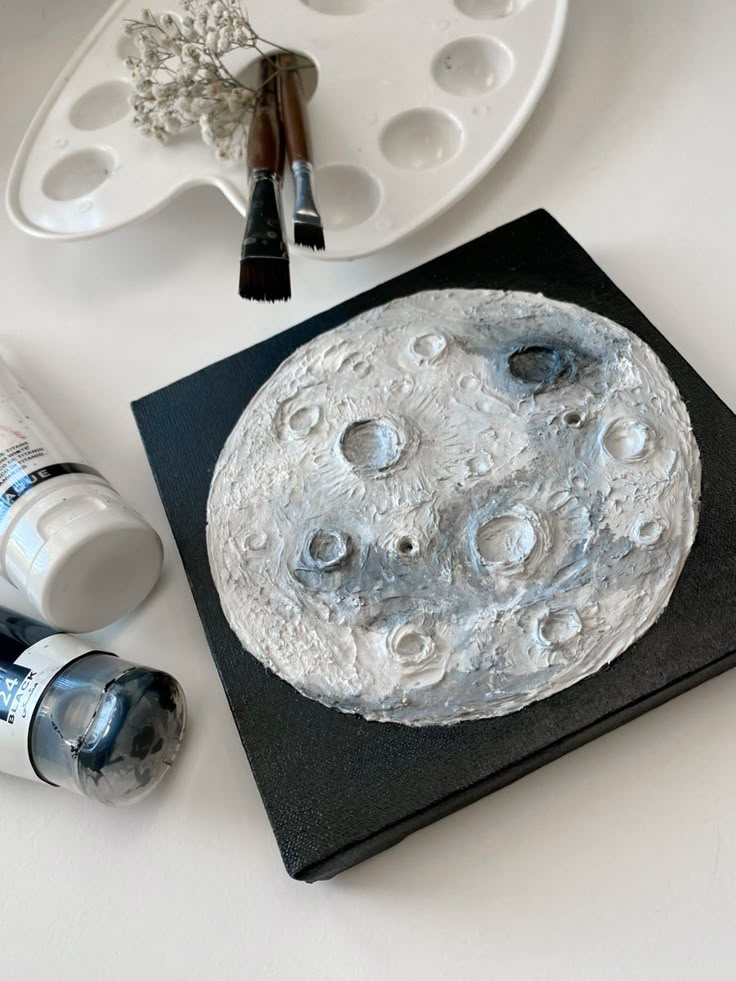
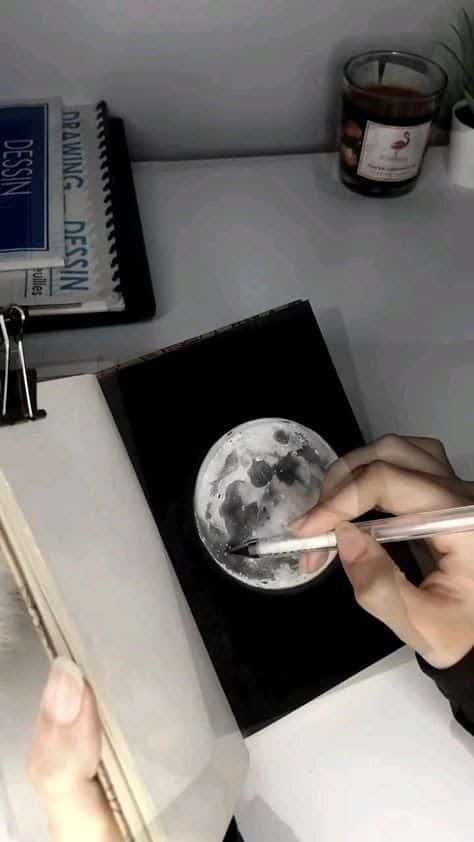
The surface you draw on matters more than you might think.
- Smooth Sketch Paper: Good for precise lines and detailed work, but can make blending a bit trickier.
- Medium-Tooth Paper: This is often the best choice for pencil drawing. It has a slight texture (or “tooth”) that helps the graphite adhere, making blending smoother and allowing for richer layers of tone. Look for paper labeled “drawing paper” or “sketchbook” with a grammage of 90-120gsm (grams per square meter).
Avoid very rough paper for fine moon details, but don’t go too smooth, or your shading will look patchy.
Erasers: Your Best Friend
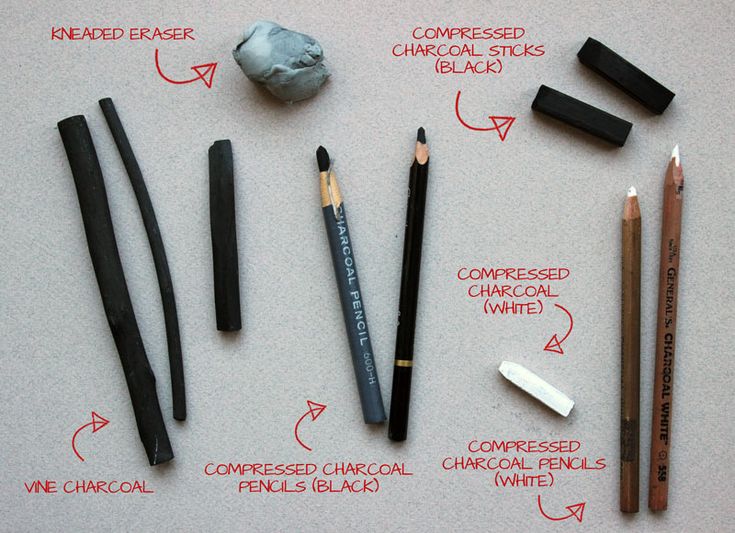
Erasers aren’t just for fixing mistakes; they’re powerful drawing tools!
- Kneaded Eraser: This soft, pliable eraser can be molded into any shape. It’s fantastic for lifting graphite subtly, creating highlights, or softening edges without smudging your work. It “kneads” the graphite away rather than rubbing.
- Plastic/Vinyl Eraser: A standard white block eraser is excellent for clean, precise corrections and completely removing pencil lines. Use it for sharp highlights or cleaning up stray marks around your moon.
Blenders: Adding Smoothness
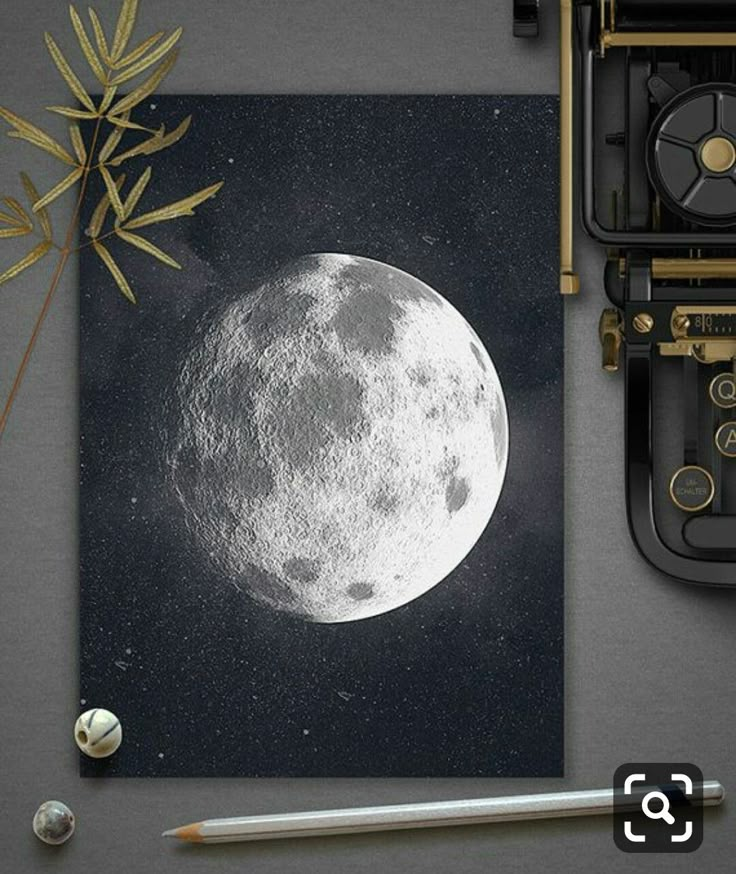
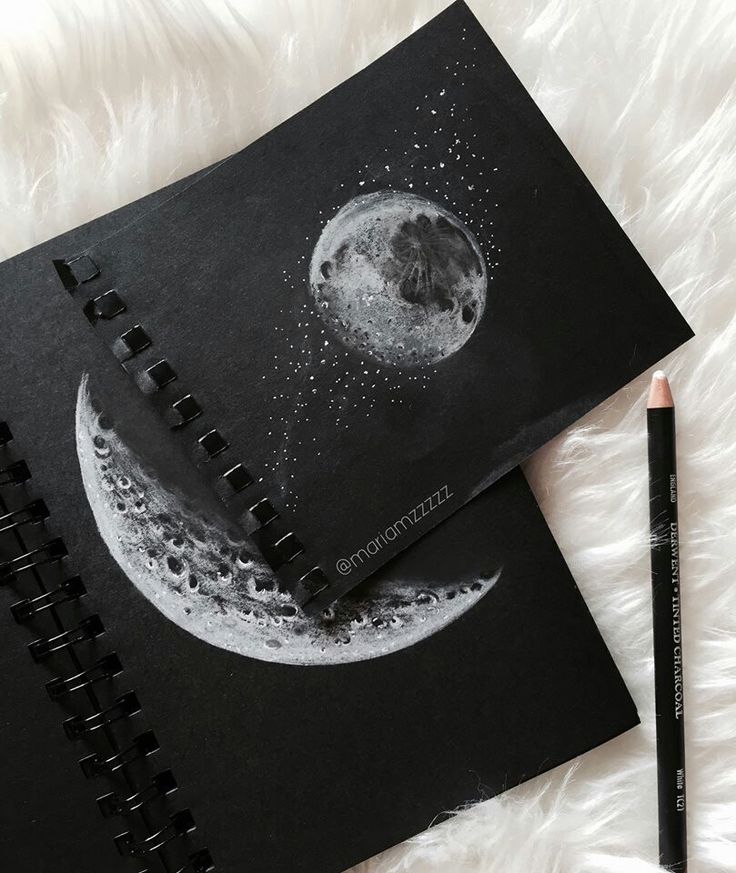
To achieve that smooth, ethereal lunar surface and avoid a scratchy look, blenders are indispensable.
- Blending Stumps (Tortillons): These are tightly rolled paper tools with pointed ends. They allow you to smooth out graphite, blend tones seamlessly, and reach small areas. They’re great for creating the soft transitions on the moon’s surface.
- Cotton Swabs or Cotton Balls: A more accessible alternative for larger areas, these can create soft, diffused blending effects. Just be careful not to over-blend, as it can make your drawing look muddy.
- Tissue Paper: A very soft tissue can also be used for extremely subtle blending over broad areas.
Optional Extras: Elevating Your Moon
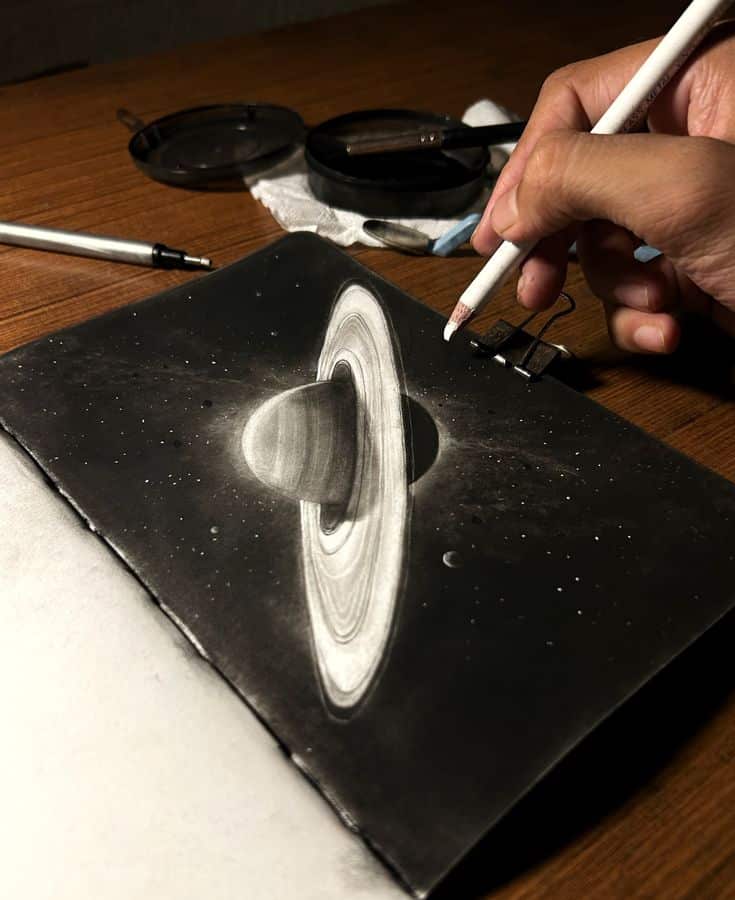
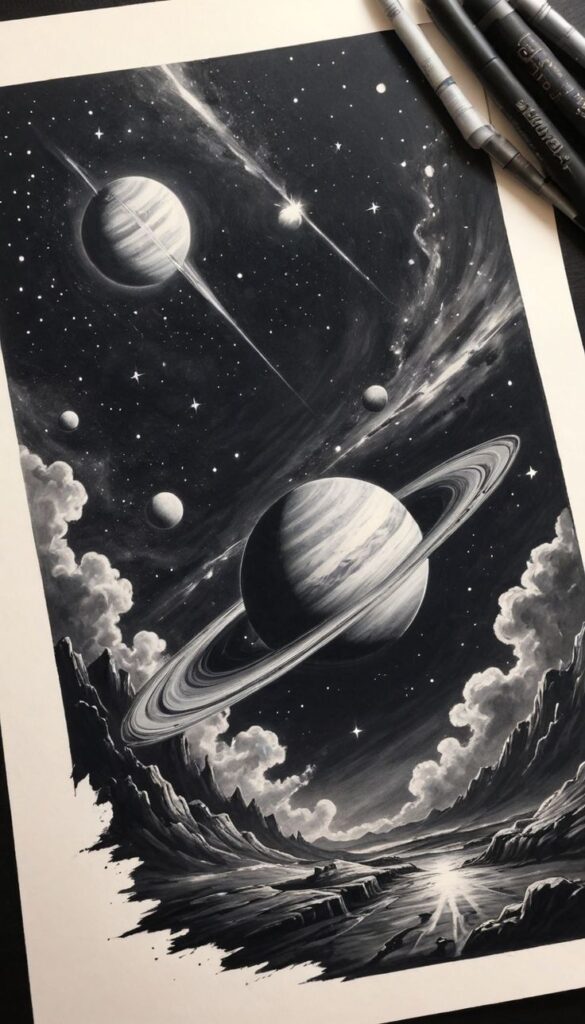
For an extra touch of realism and flair, consider these additions:
- Charcoal Pencils or Sticks: If you want really deep, dramatic blacks for the shadows in craters or the surrounding night sky, charcoal is your go-to. It creates intense, velvety darks that graphite can’t quite match.
- White Gel Pen or White Charcoal Pencil: Perfect for adding tiny, sparkling highlights, like the glint of light on a crater rim or subtle stars around your moon.
- Fixative Spray: Once your drawing is complete, a light spray of fixative (available at art stores) will prevent smudging and preserve your masterpiece.
With these tools at your disposal, you’re well-equipped to capture the moon’s captivating beauty.
Understanding the Moon: More Than Just a Circle
Before you even touch pencil to paper, taking a moment to understand what you’re drawing will dramatically improve your results. The moon isn’t just a flat, glowing disc; it’s a dynamic, spherical body with incredible textures and a constantly changing appearance.
Phases of the Moon: A Shifting Beauty
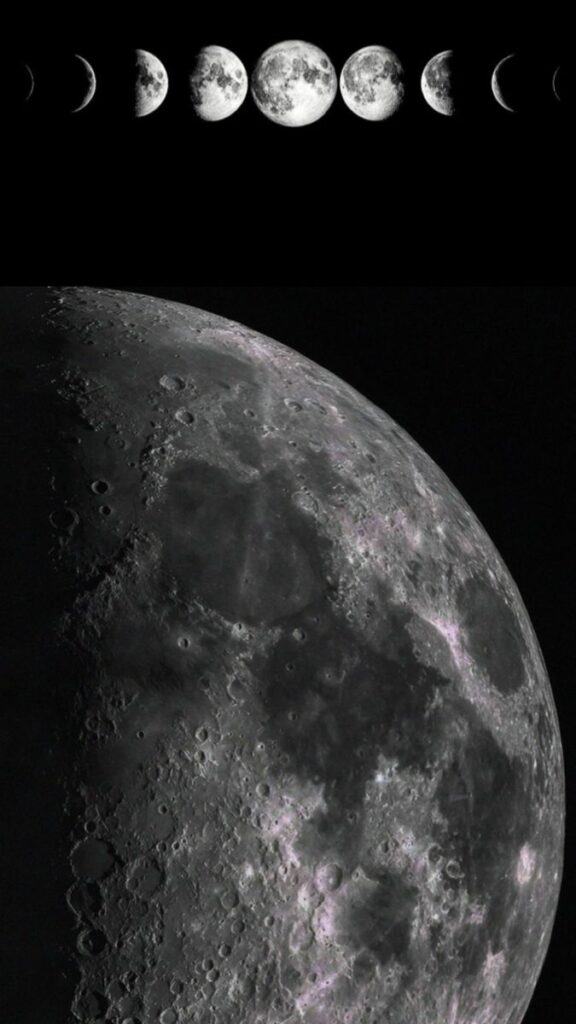
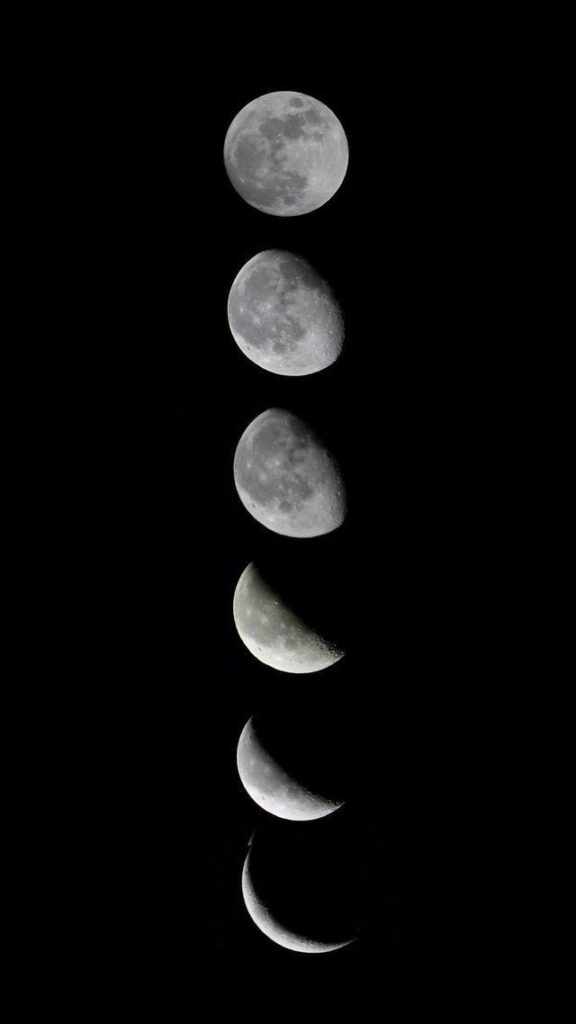
The moon’s phases are probably its most famous characteristic. While a full moon is often the first thing people think of drawing, understanding the different phases helps you appreciate the complexities of light and shadow.
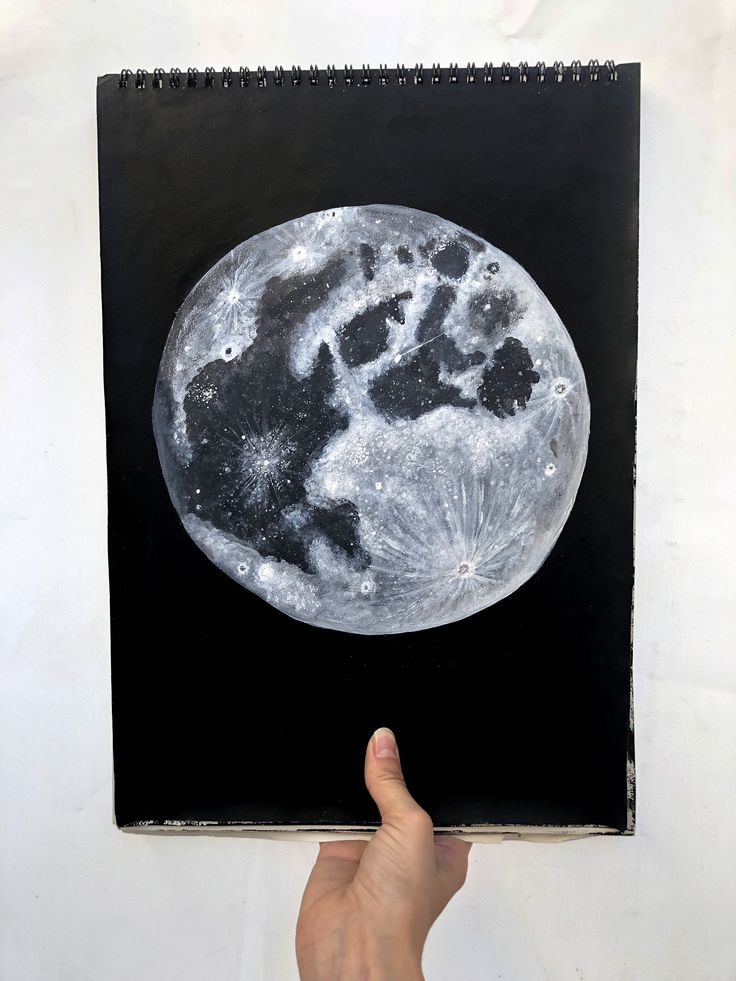
- Full Moon: Fully illuminated, showing its entire face. This is where you get to explore maximum crater detail and surface textures.
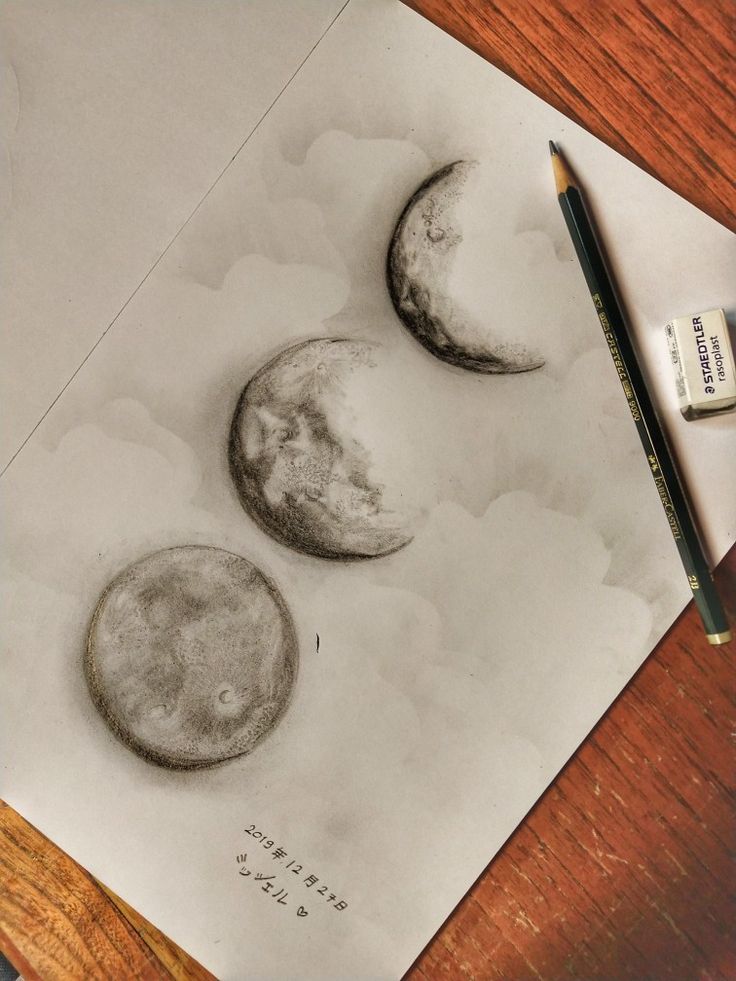
- Crescent Moon: Only a sliver of the moon is lit, presenting a beautiful, dramatic curve. The challenge here is defining the sharp line between light and shadow.
- Gibbous Moon: More than half-lit but not yet full. These phases offer interesting opportunities for asymmetric lighting and subtle shading variations across a large surface.
- New Moon: Barely visible, or not at all. While not a drawing subject in itself, it completes the cycle and emphasizes the importance of understanding the moon’s orbital journey.
Knowing which phase you want to draw will dictate your approach to lighting and composition.
Lunar Surface: Craters, Maria, and Highlands
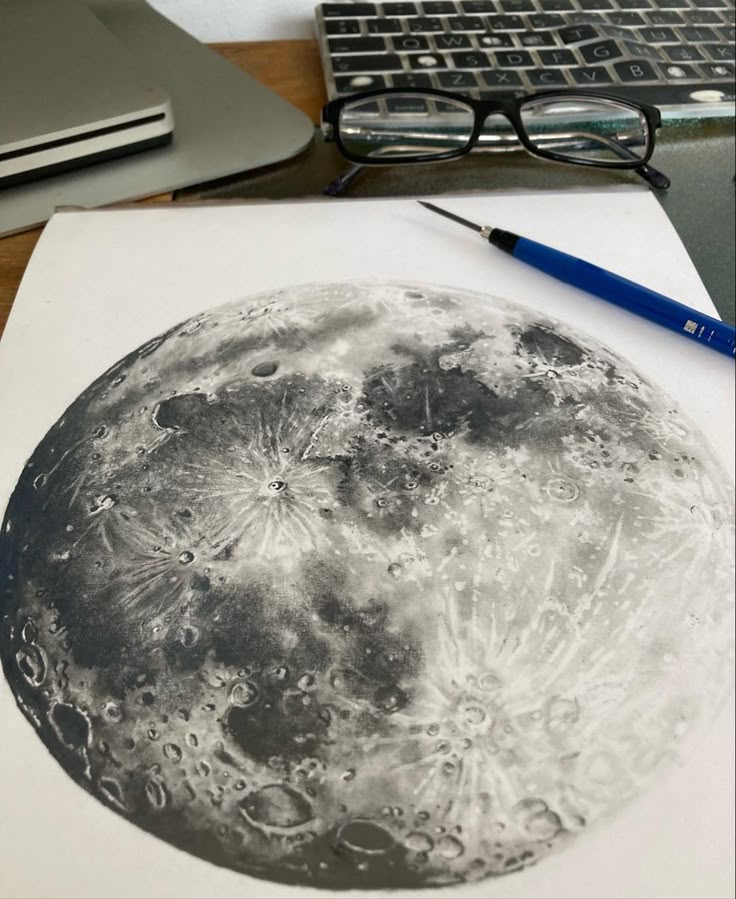
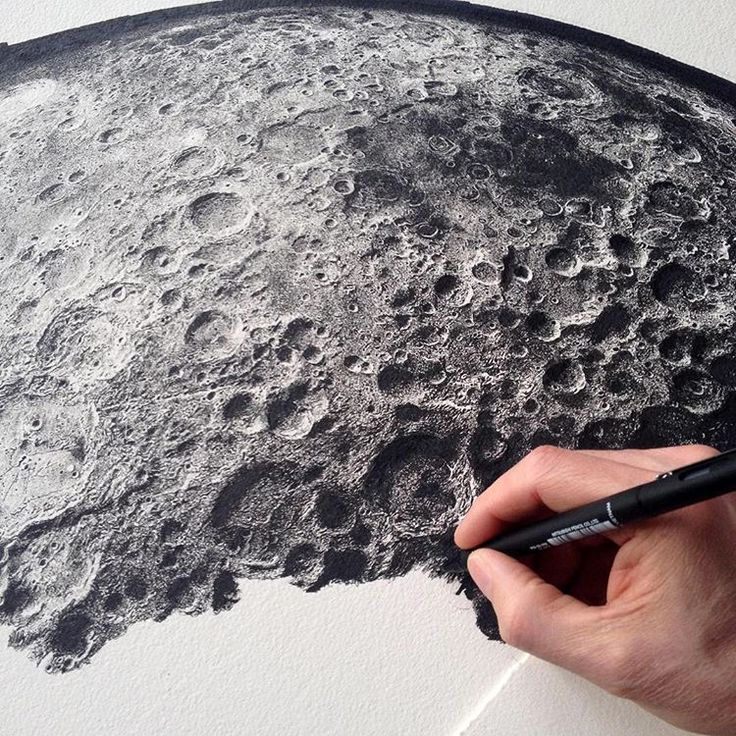
The moon’s surface is its most distinguishing feature. It’s not smooth; it’s a scarred, ancient landscape.
- Craters: These are impact scars from asteroids and comets. They vary greatly in size and depth, and their appearance changes dramatically with the angle of light. Think about their shadowed interiors, their raised rims, and the bright ejecta blankets around them.
- Maria (pronounced MAH-ree-uh): These are the darker, smoother plains, often visible as the “man in the moon” patterns. They are ancient basaltic lava flows that filled enormous impact basins. They appear darker because the volcanic rock is less reflective than the surrounding highlands.
- Highlands: These are the brighter, heavily cratered areas, representing the moon’s original crust.
Observing reference photos of the moon, paying attention to the distribution and interaction of these features, will make your drawing far more convincing. Don’t just draw random circles; try to map out the prominent maria and larger craters first.
Light and Shadow: The Key to Dimension
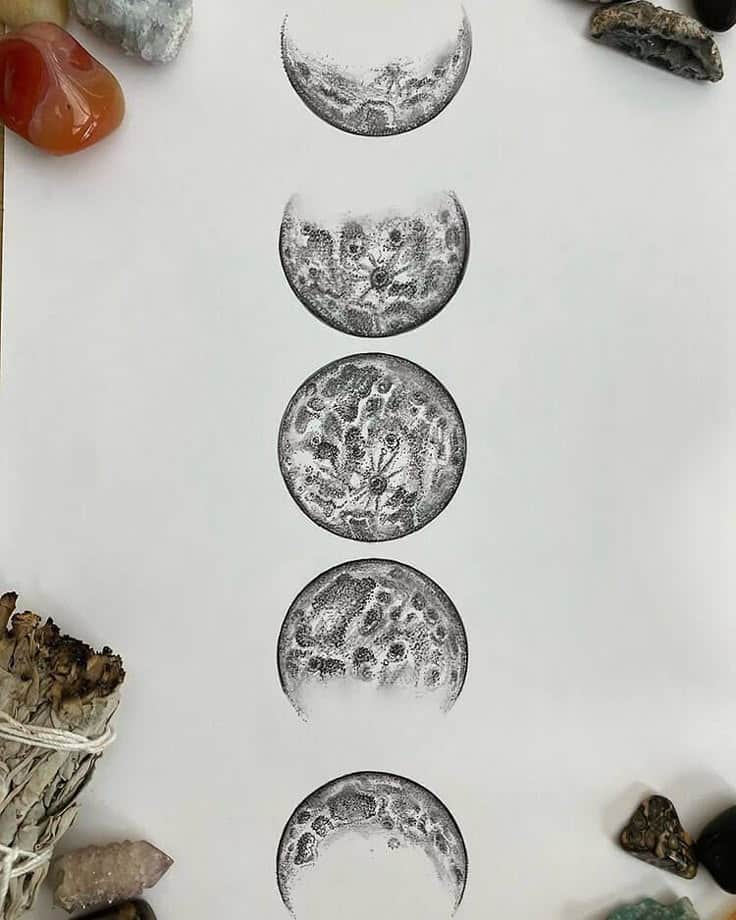
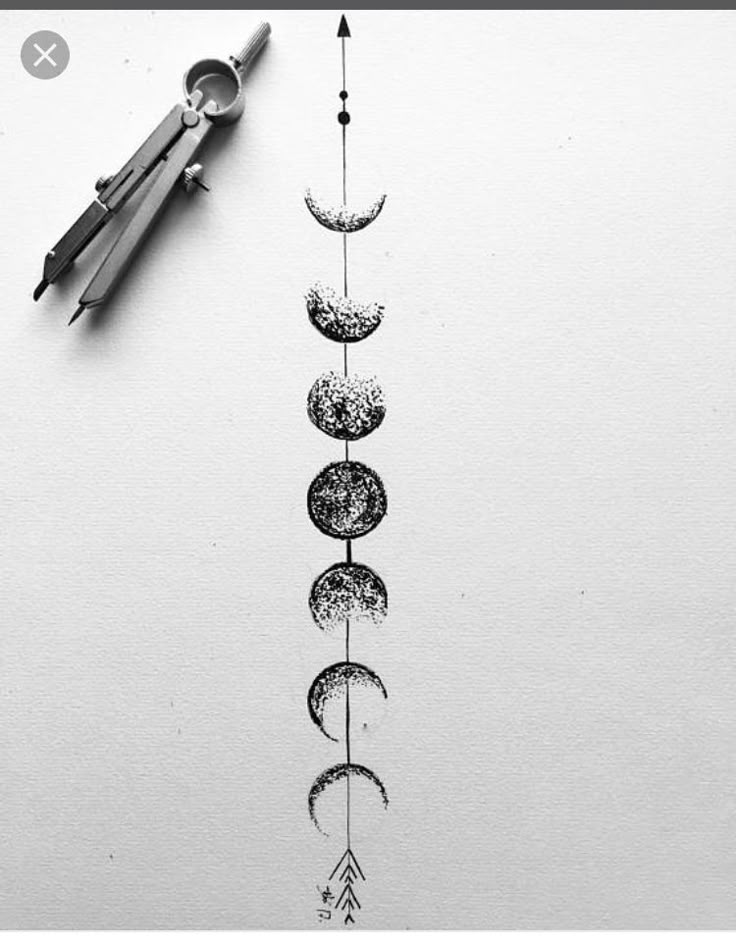
This is perhaps the most crucial element in making your moon drawing look three-dimensional. The moon is a sphere, and like any sphere, it catches light in a specific way.
- Light Source: Imagine where the sun is relative to your moon. This determines which part is lit and which is in shadow. For a full moon, the light source is directly behind you, shining fully on its face. For a crescent, the light hits it from the side.
- Terminator Line: This is the line separating the illuminated part of the moon from the shadowed part. It’s often where the most dramatic shadows and highlights occur, revealing intricate crater details. This line isn’t always sharp; sometimes it’s a gradual transition, especially if the light source isn’t directly perpendicular.
- Shadows and Highlights: Areas facing the light source will be brightest, while areas furthest away or obscured by craters will be darkest. Don’t forget subtle cast shadows within craters, which give them depth.
Atmosphere and Color: Subtle Nuances
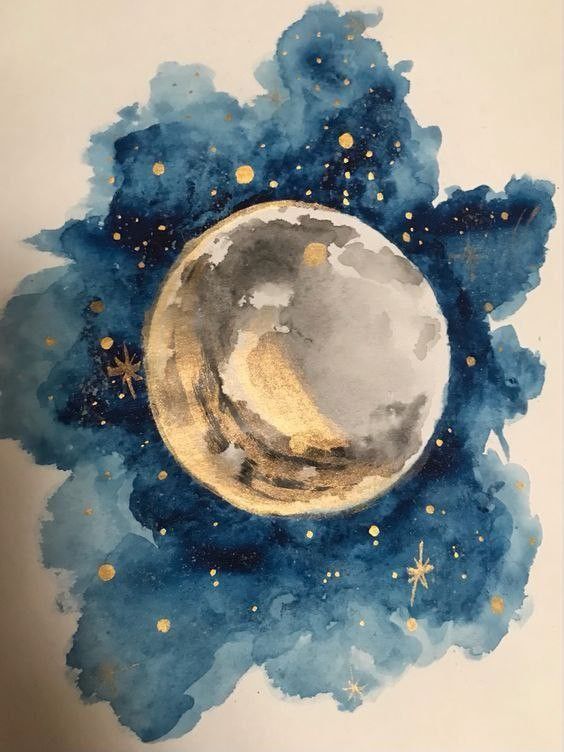
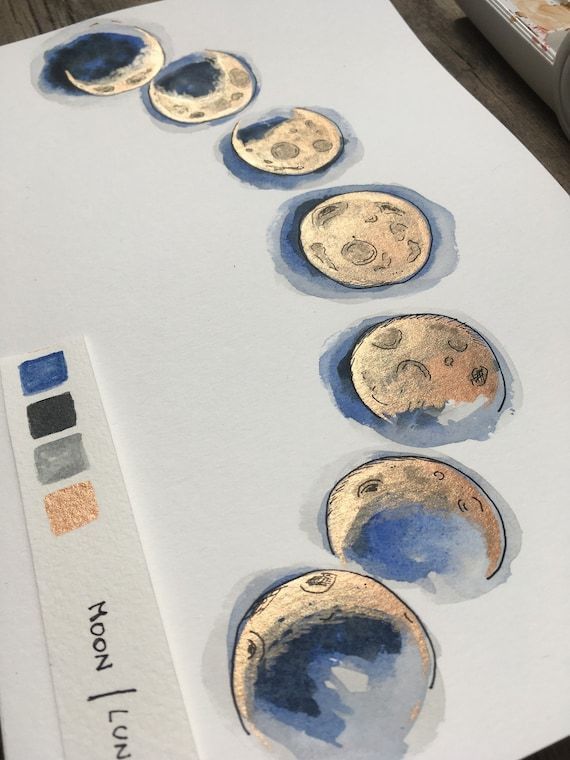
While the moon itself has no atmosphere (meaning sharp shadows without diffusion), its appearance can be influenced by Earth’s atmosphere.
- Earthy Glow: When the moon is low on the horizon, Earth’s atmosphere can scatter blue light, making the moon appear yellow, orange, or even red (like a “blood moon” during an eclipse). While we’ll focus mostly on graphite, understanding this adds to the moon’s mystique.
- Surrounding Sky: The night sky isn’t just black. It has subtle gradients, especially near the moon, where a slight atmospheric glow might be present.
By considering these aspects, you’re not just copying a picture; you’re understanding the science and artistry behind the celestial object. This deeper understanding will translate into a more informed and realistic drawing.
The Basic Steps: Drawing a Full Moon (Step-by-Step)
Let’s get down to business and start sketching! We’ll begin with a full moon, as it allows us to explore a wide range of surface details and shading techniques.
Step 1: The Perfect Circle
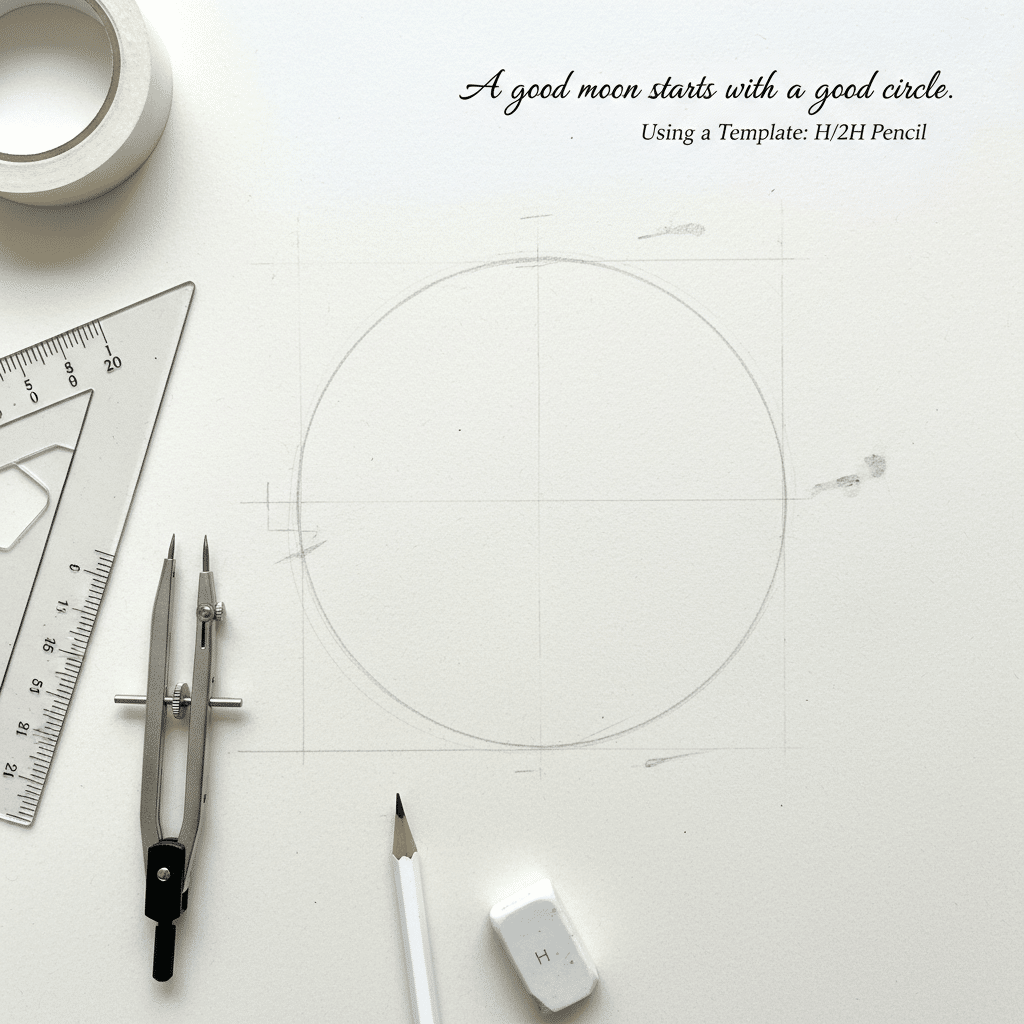
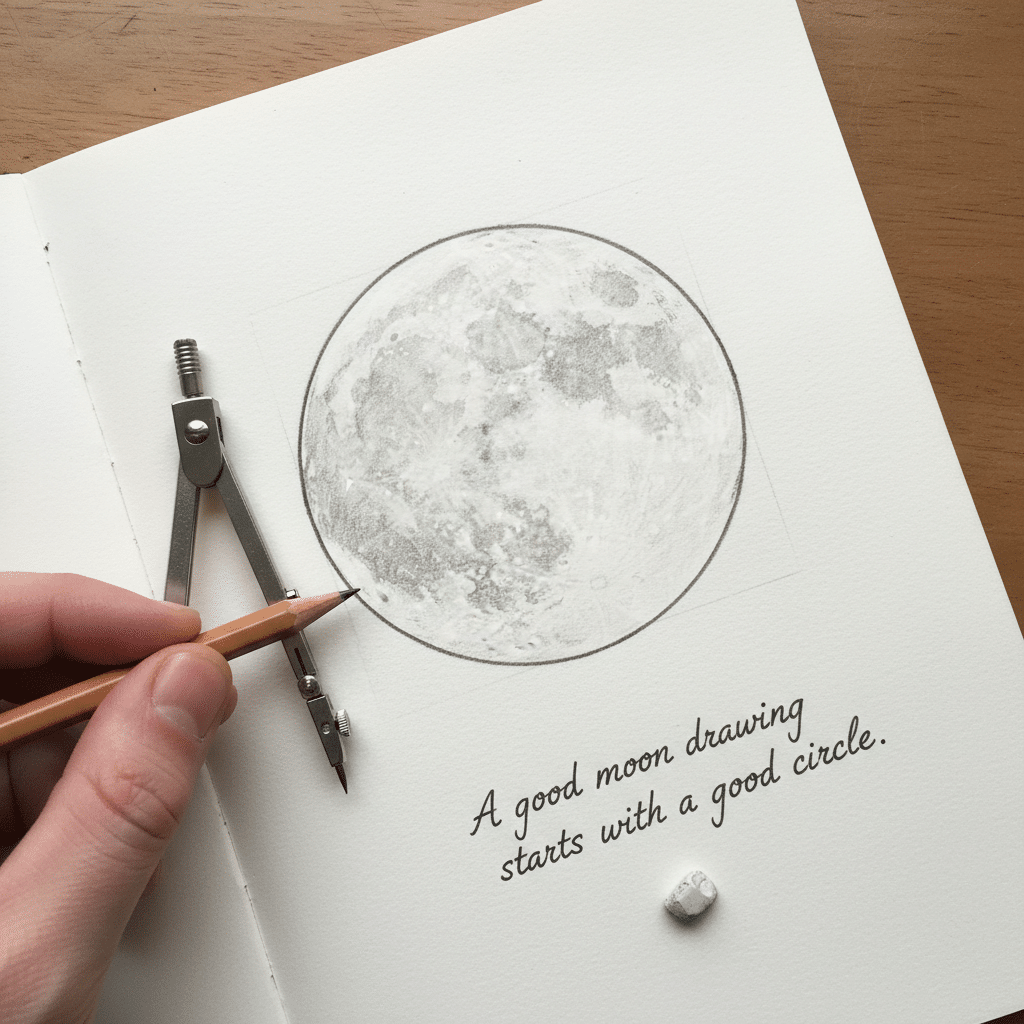
A good moon drawing starts with a good circle. Don’t just freehand it and hope for the best – unless you’re aiming for a super stylized, imperfect moon.
- Freehand (with practice): If you’re confident, try drawing a light circle with your wrist, not your fingers. Make several light, overlapping circles until you find one that’s pleasingly round.
- Using a Template: For accuracy, grab a compass, a protractor, or a circular object (like a roll of tape, a cup, or a coin). Lightly trace around it with an H or 2H pencil. This ensures your moon has a solid, symmetrical base.
- Lightness is Key: No matter your method, keep this initial circle very light. It’s a guideline, not a definitive outline. You’ll refine the edge later.
Step 2: Mapping the Main Features
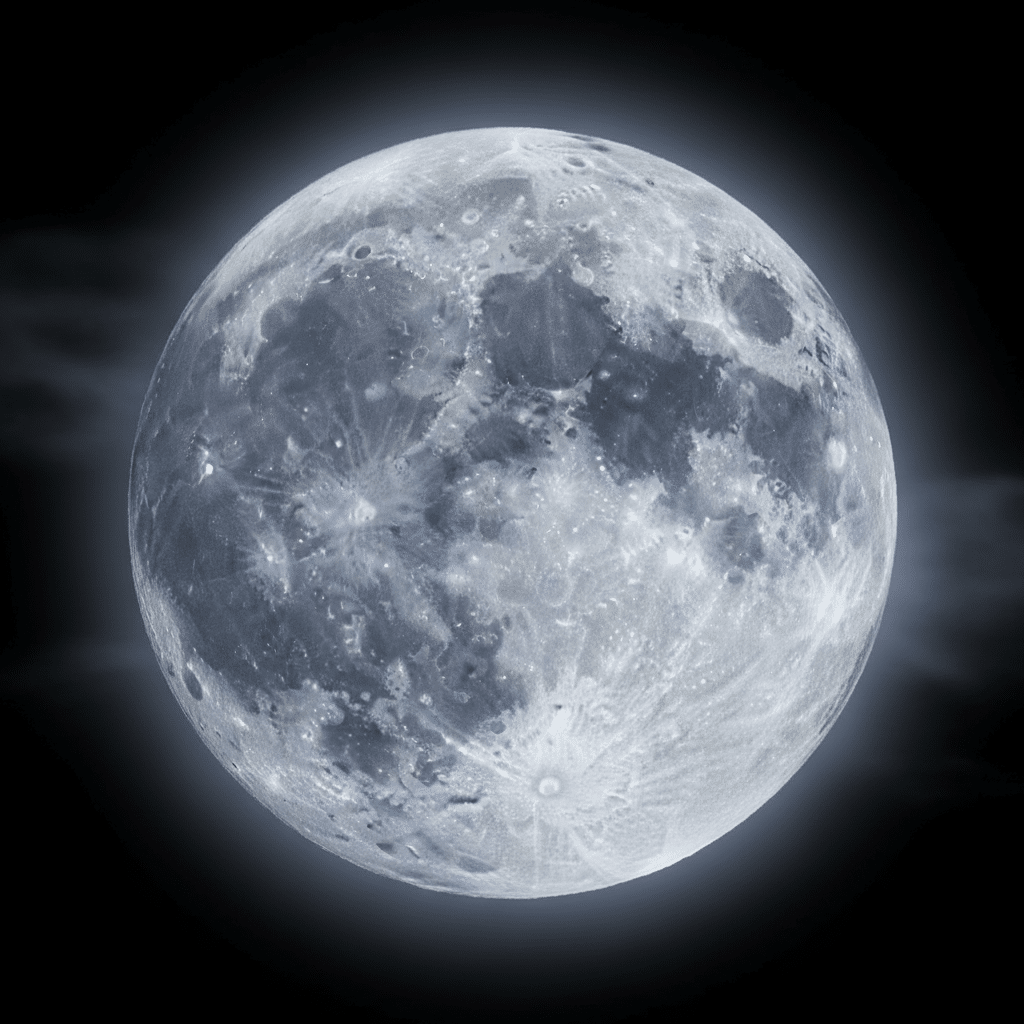
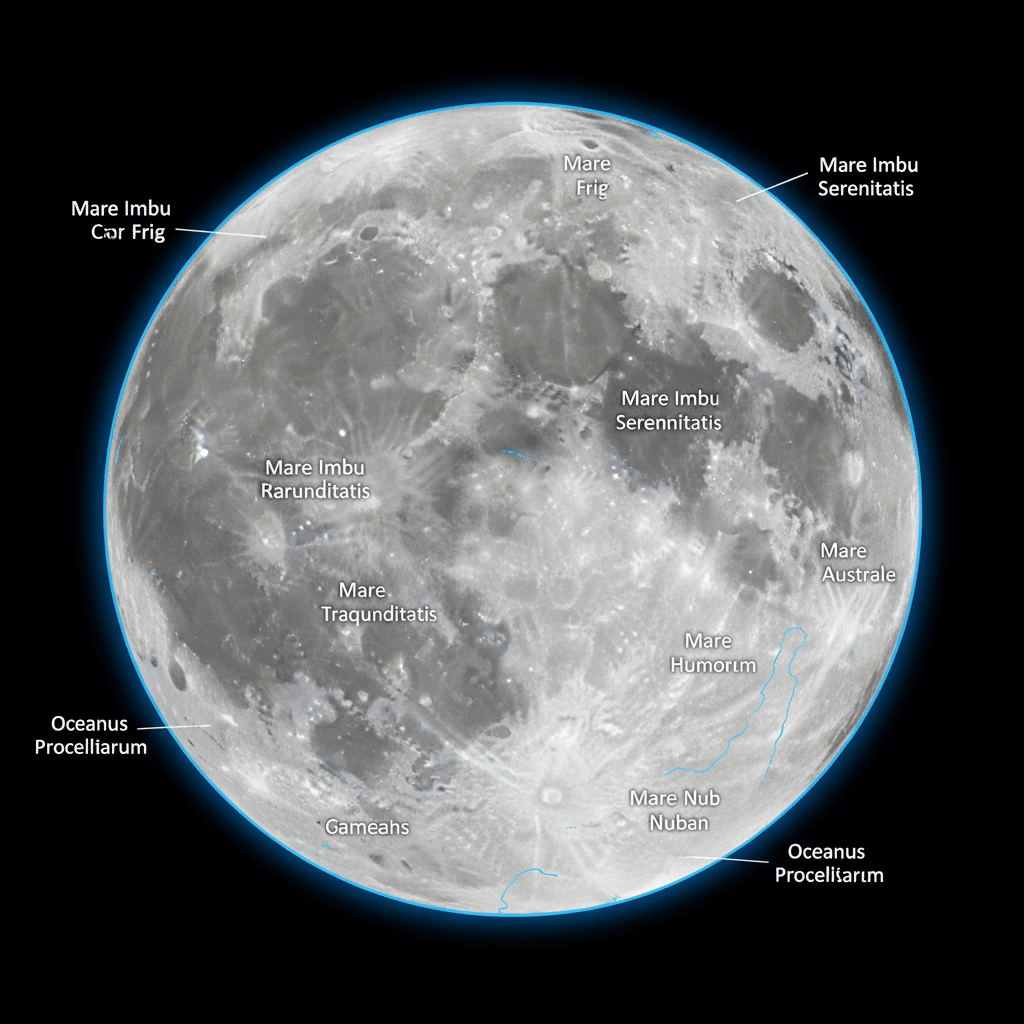
Now that you have your circle, it’s time to give your moon its identity. This is where you block in the major topographical features.
- Reference Image: Always, always use a good reference image. Find a high-resolution photo of a full moon. This is crucial for accuracy and realism. You can find inspiration and guidance on developing your artistic skills with general drawing resources, for instance, by exploring ideas like drawing aesthetic.
- Outline Maria (Darker Plains): Lightly sketch the shapes of the prominent maria – those large, darker, relatively smooth areas. Think of them as the moon’s “face” or large splotches. They often form recognizable patterns.
- Position Major Craters: Identify some of the largest, most distinct craters on your reference image. Lightly mark their positions and approximate sizes within your circle. Don’t add too many at this stage; focus on the dominant ones.
- Keep it Loose: These are just placeholders. Don’t press hard, and don’t worry about perfection. You’re simply mapping out the general composition of the lunar surface.
Step 3: Building Up Tone and Texture
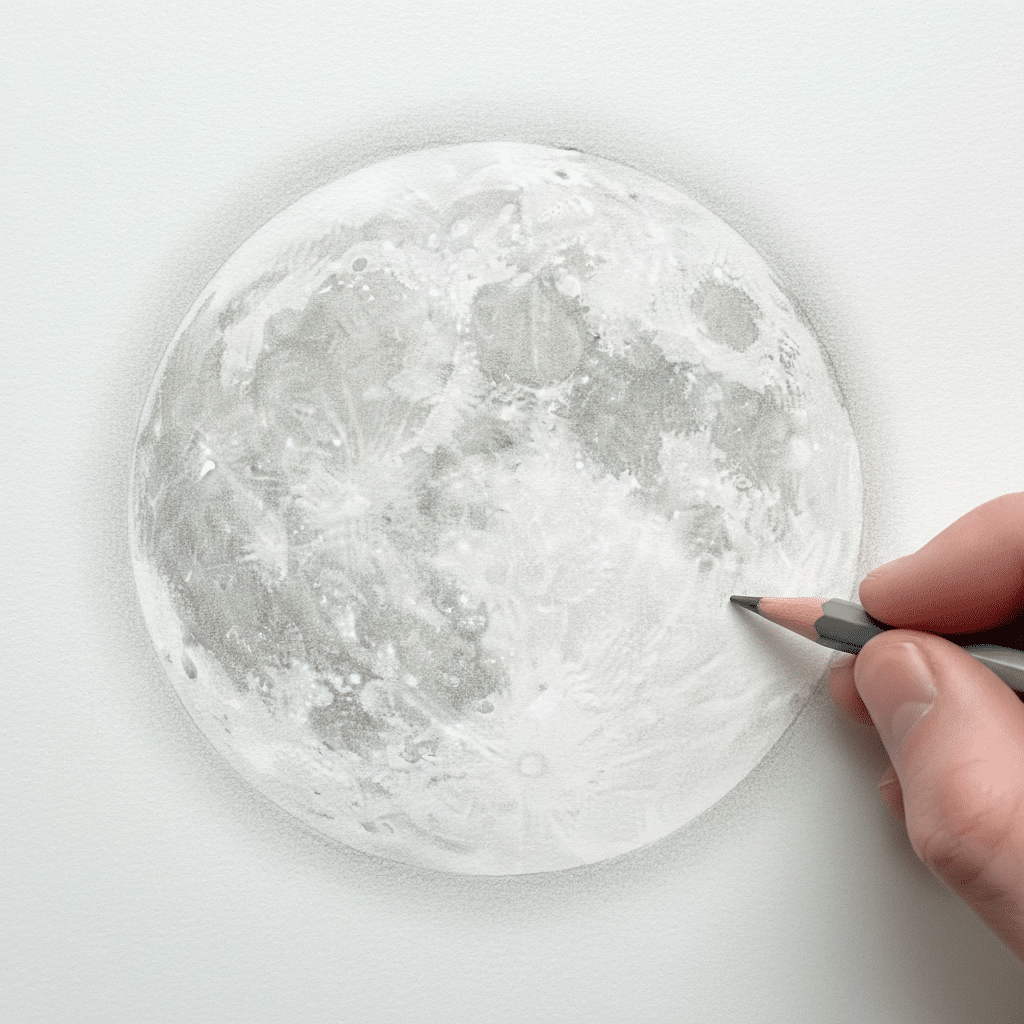
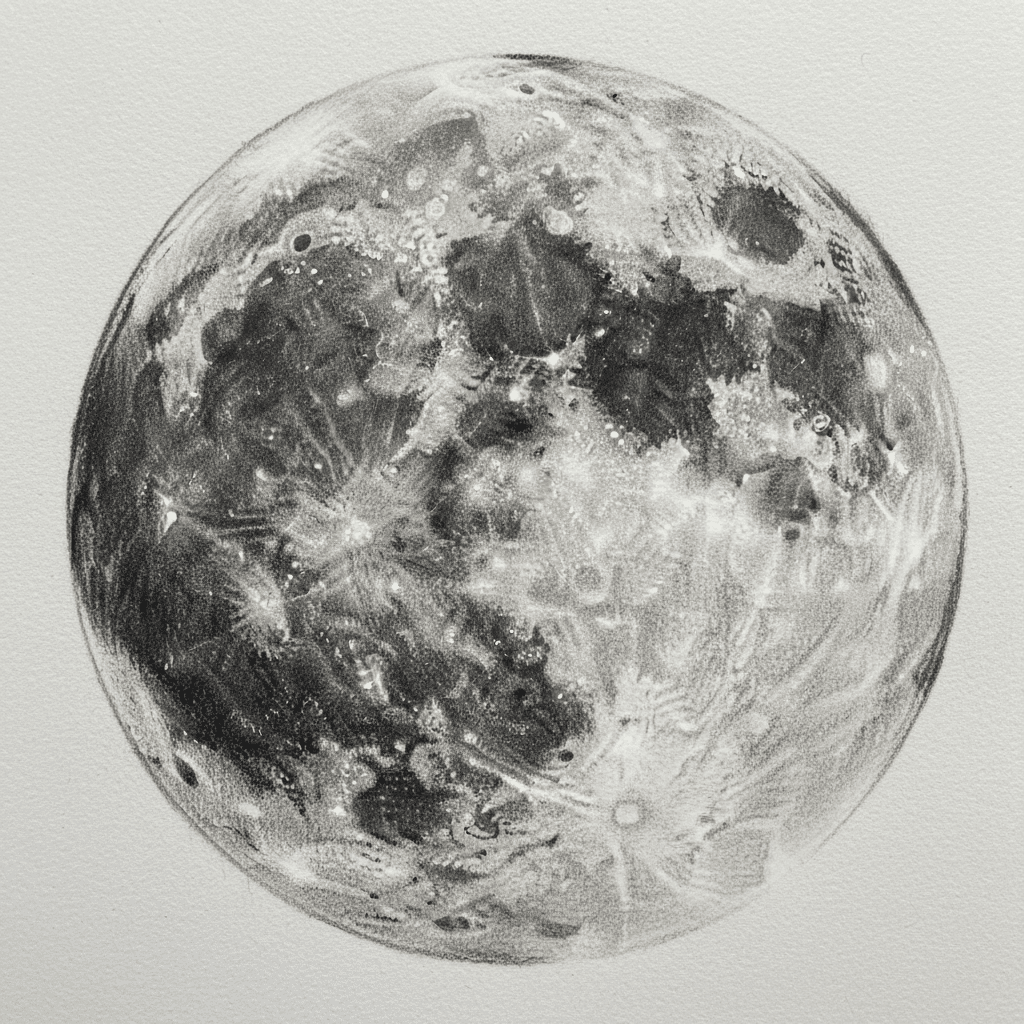
This is where your moon starts to gain dimension. We’ll work from light to dark, building layers of graphite.
- Light Base Layer: Using an HB or 2B pencil, apply a very light, even layer of graphite over the entire moon surface, avoiding the brightest highlights. Use a circular shading motion for smoothness.
- Start Shading Maria: Begin to fill in the maria with a slightly darker tone using your 2B or 4B pencil. Pay attention to the subtle variations in darkness within these areas. They aren’t uniformly dark.
- Introduce General Shadows: Look at your reference for the overall light and shadow patterns. Even on a full moon, there are slight variations. Gently begin to shade areas that appear a bit darker, often around crater rims or within deeper depressions.
- Blending (Optional but Recommended): Use your blending stump or cotton swab to gently smooth out these initial layers of graphite. This creates soft transitions and a more ethereal look. Be careful not to blend away all the texture.
Step 4: Adding Craters and Details
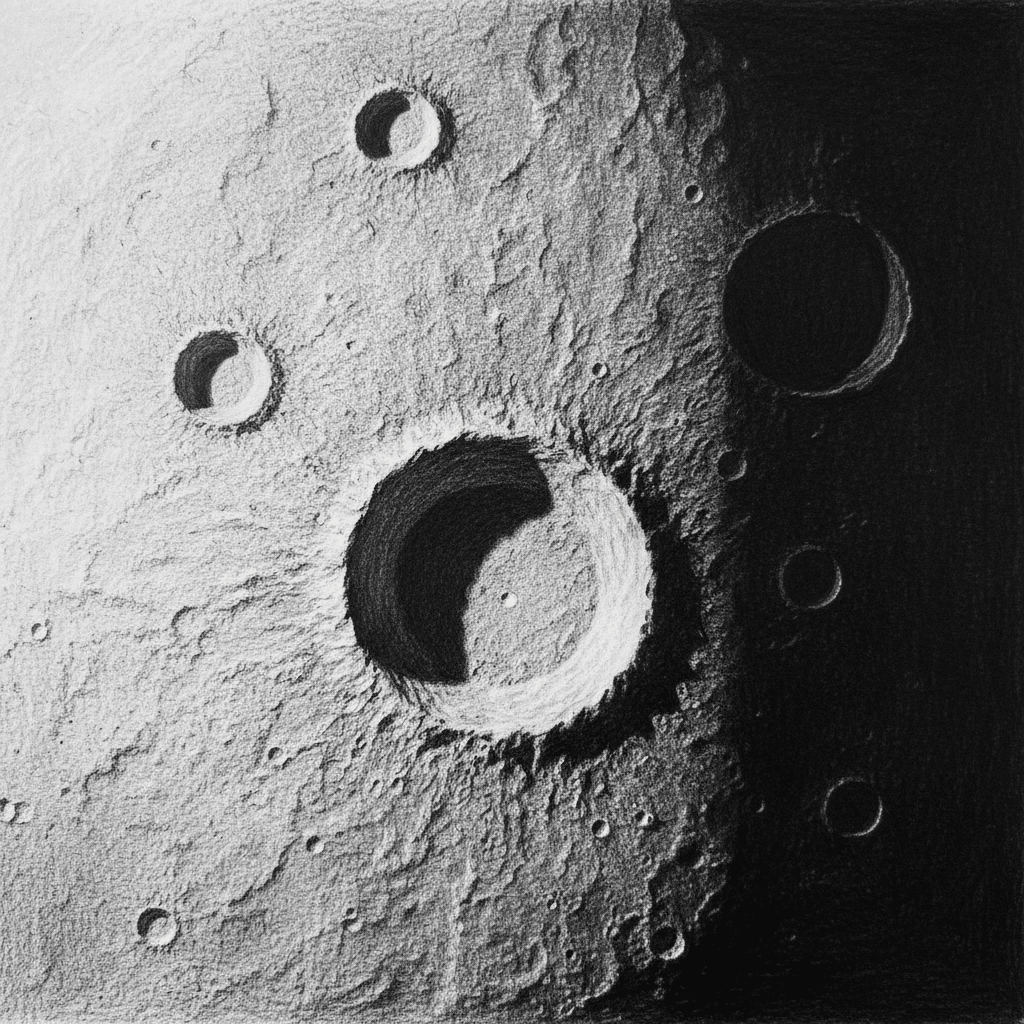
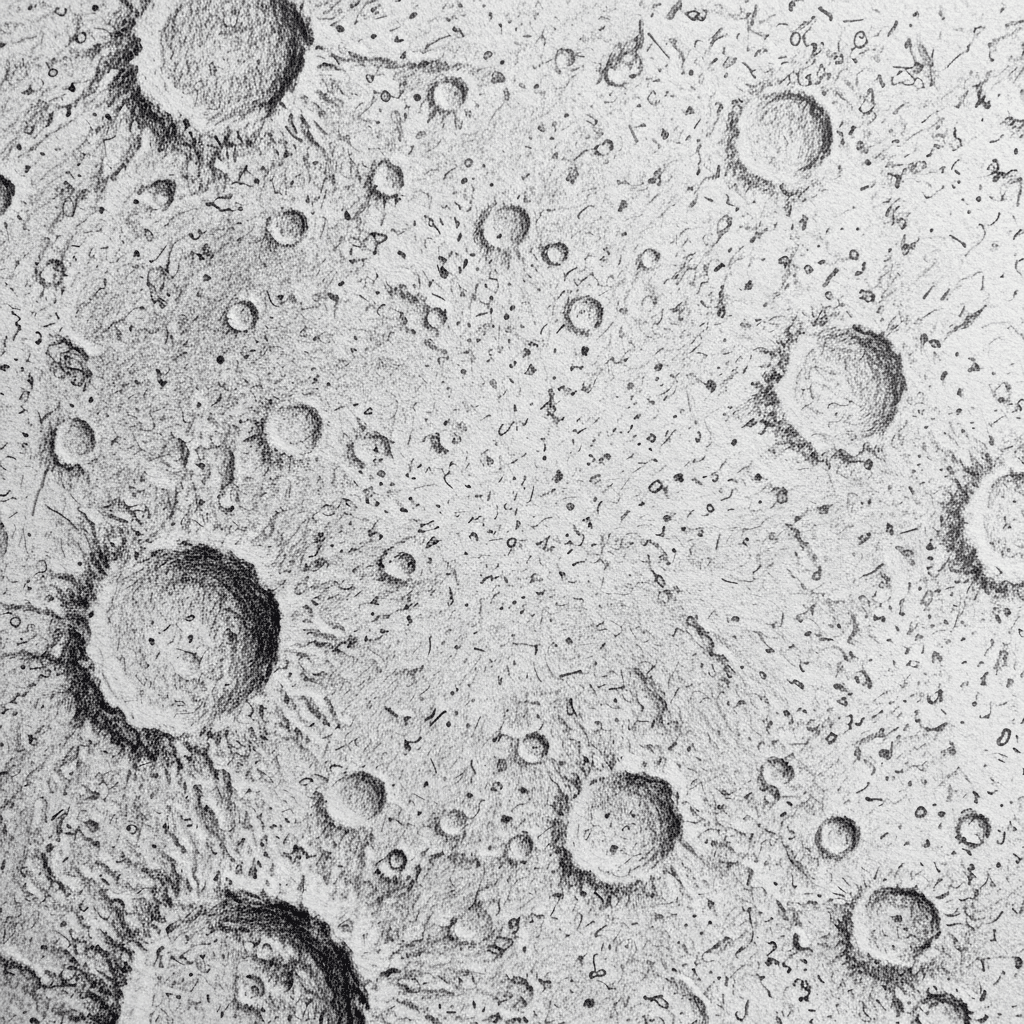
Now for the fun, intricate part – bringing those craters to life!
- Crater Shadows: This is key to depth. For craters facing the light source, the inner rim opposite the light will be in shadow, while the rim facing the light will be brighter. For craters on the terminator line, one side will be dramatically darker. Use your 4B or 6B pencil to carefully shade the shadowed interiors of the craters.
- Crater Rims: Lightly define the raised rims of the craters. Where the light hits them, they might be brighter. Where they cast a shadow, they’ll be darker.
- Texture of Highlands: Use small, subtle scribbles, dots (stippling), or very short, broken lines with an HB or 2B pencil to create the rough, heavily cratered texture of the lunar highlands. These areas are not smooth!
- Smaller Details: Add some of the smaller, less prominent craters and features you see in your reference. Don’t try to draw every single one; select a few key ones to enhance realism. Remember, a good practice for drawing intricate details is to develop strong foundational skills, as you might find in tutorials like basic sketching of the human figure: where to start. The principles of observation and rendering apply across subjects.
Step 5: Refining the Edges and Glow
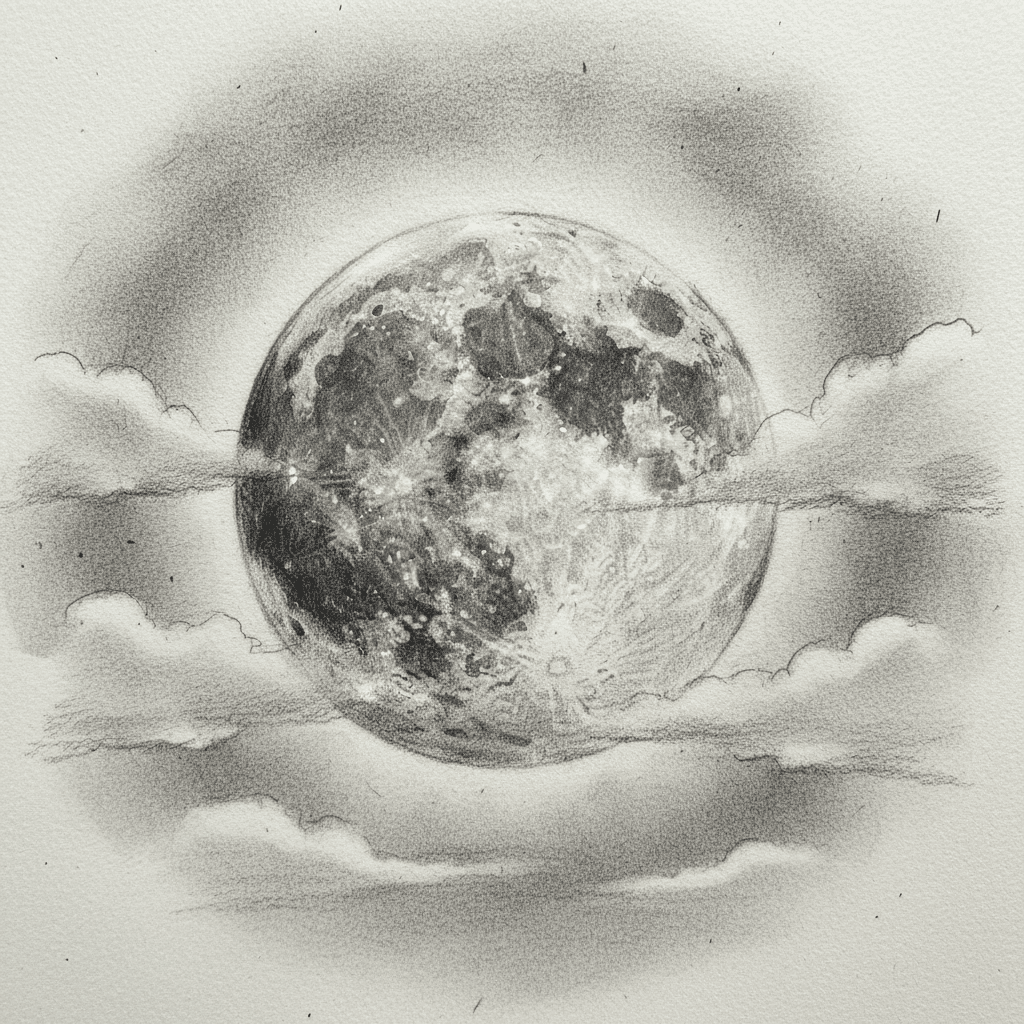
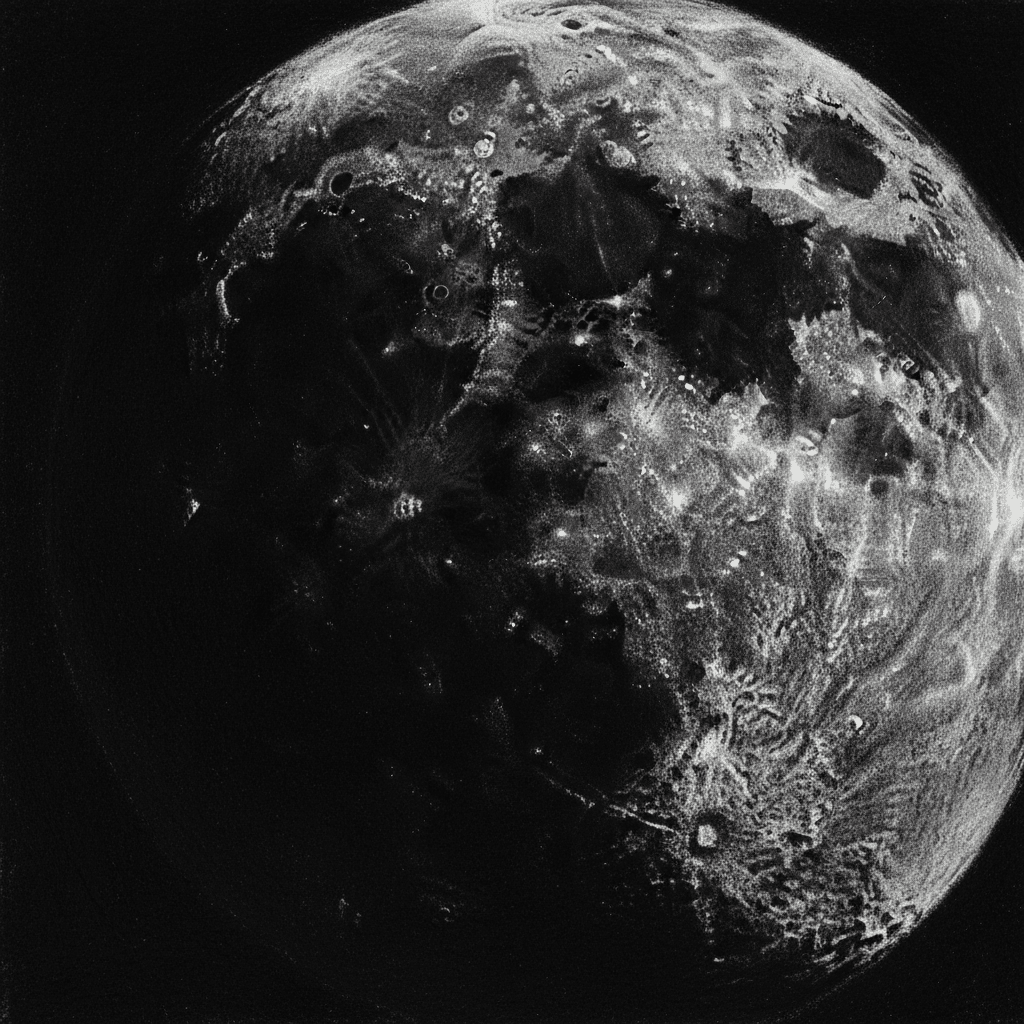
The final touches make all the difference.
- Softening the Edge: The moon’s edge often appears slightly blurred or glowing against the dark sky. Don’t make your outline too sharp. Gently blend the outer edge of the moon into the surrounding paper, or use your kneaded eraser to slightly lift graphite from the very edge, creating a subtle halo effect.
- Deepening Darkest Shadows: Go back with your 6B or 8B pencil (or charcoal if you’re using it) and intensify the darkest shadows within the deepest craters and the darkest parts of the maria. This adds contrast and drama.
- Highlighting: Use your kneaded eraser, molded to a point, to carefully lift graphite from the brightest parts of the moon – the very top of certain crater rims, or the most illuminated parts of the highlands. A white gel pen or white charcoal can add tiny, sharp glints of light.
- Adding the Sky (Optional): Gently shade the area immediately around the moon with a light, even tone (perhaps 2B), gradually fading it out. This helps the moon pop. For a more dramatic effect, use darker graphite or charcoal for a deep space look.
Step back often and compare your drawing to your reference. Look for areas that need more contrast, softer blending, or finer details.
Mastering Moonlight: Shading Techniques for Depth and Realism
Shading is the magic ingredient that transforms a flat circle into a glowing sphere. It’s how you convey depth, texture, and the play of light. Let’s explore some essential techniques.
Hatching and Cross-Hatching: Building Up Shadows
These are fundamental techniques for creating tone and texture.
- Hatching: Draw parallel lines close together. The closer the lines, the darker the tone.
- Cross-Hatching: Lay down one set of parallel lines, then draw another set crossing over the first at an angle (often 90 degrees). This builds up darker tones much faster and adds a rich texture.
- Application for Moon: Use hatching for subtle shadows within craters, or for building up general tone in the maria. Cross-hatching can create a rougher, more textured appearance in the highlands or for very dark crater interiors where you want some visible stroke work.
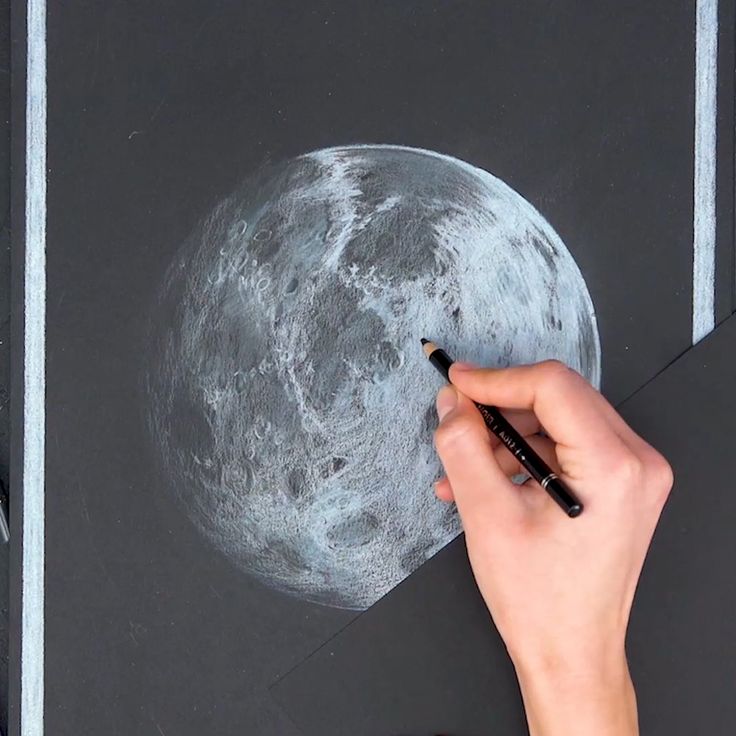
Stippling: Texture Through Dots
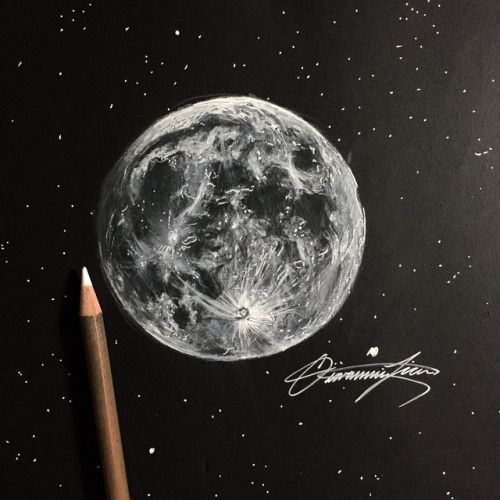
Stippling involves creating tone and texture using tiny dots. The more dots, and the closer they are, the darker the area appears.
- Application for Moon: Stippling is fantastic for mimicking the granular, pockmarked surface of the moon, especially in the brighter highland areas. It creates a believable, subtle texture that’s hard to achieve with other methods. Use a sharp pencil (HB or 2B) and vary the pressure for different dot sizes and intensities.
Circular Shading: Smooth Gradients
This is probably the most common technique for smooth, even tones, especially when drawing spherical objects.
- How-to: Apply graphite using small, overlapping circular motions. Keep your pressure consistent for even tone, or vary it to create gradients.
- Application for Moon: Ideal for the broader areas of the moon where you want a smooth, gradual transition from light to shadow, like the general surface of the maria or the subtle curvature of the moon’s overall form. This helps achieve that spherical illusion.
Blending and Smudging: Creating Soft Transitions
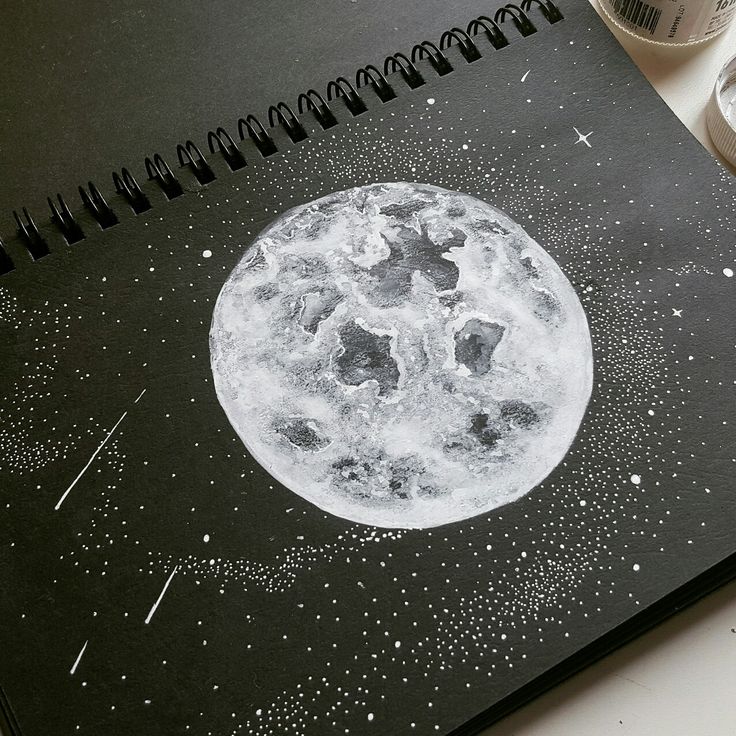
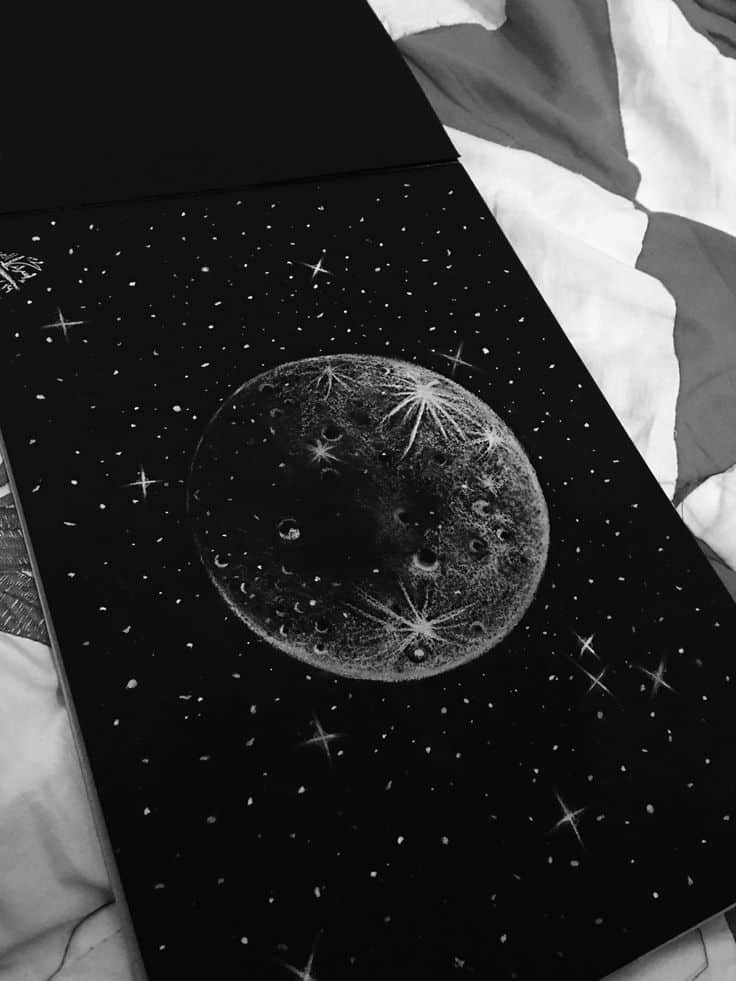
Blending is about smoothing out your pencil marks to create seamless transitions and soft gradients.
- Tools: Blending stumps, tortillons, cotton swabs, or even your finger (though be careful, finger oils can make areas muddy).
- Technique: Gently rub your blending tool over shaded areas. Start with light pressure and build up.
- Application for Moon: Essential for the soft edges of the moon against the sky, the gradual fade from light to shadow on its spherical surface, and the smooth appearance of the maria. Don’t over-blend, or you’ll lose texture. Often, blend the first few layers, then add sharper details on top.
Negative Space: Defining the Undrawn
Negative space is the space around your subject. Thinking about it helps define the positive space (your moon) more accurately.
- Application for Moon: For a crescent moon, consider the dark, unlit portion that completes the circle. By carefully shaping the surrounding darkness, you can make the lit crescent feel more integrated and three-dimensional, even though you’re not drawing the dark side directly. Similarly, the shape of the sky around your moon helps define its edges.
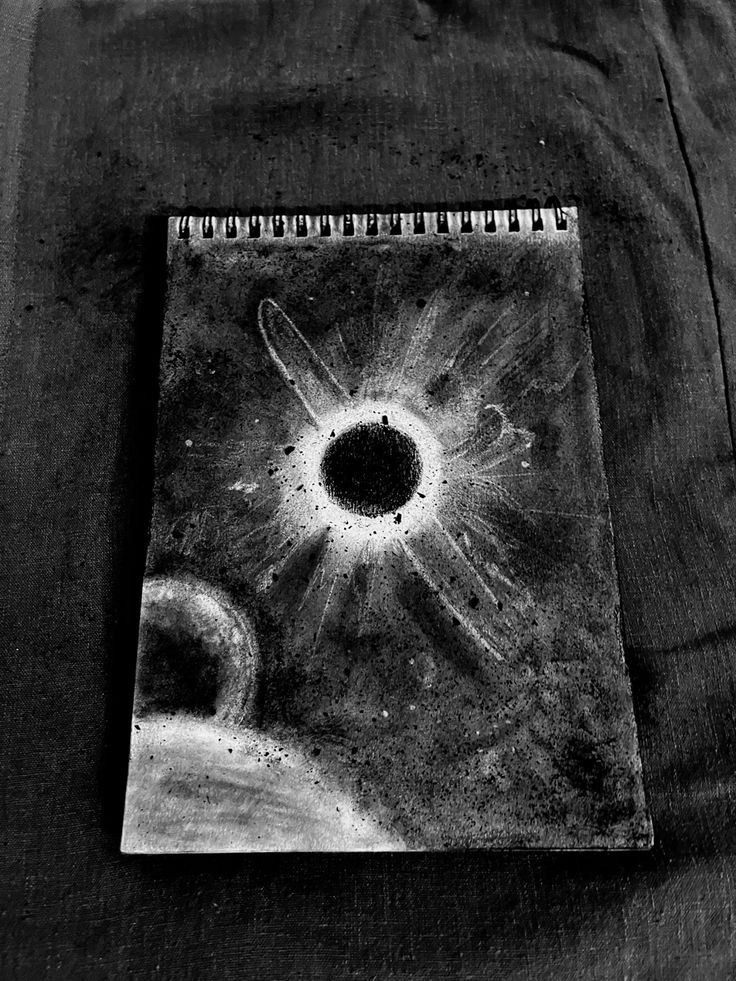
Highlighting: Bringing the Light
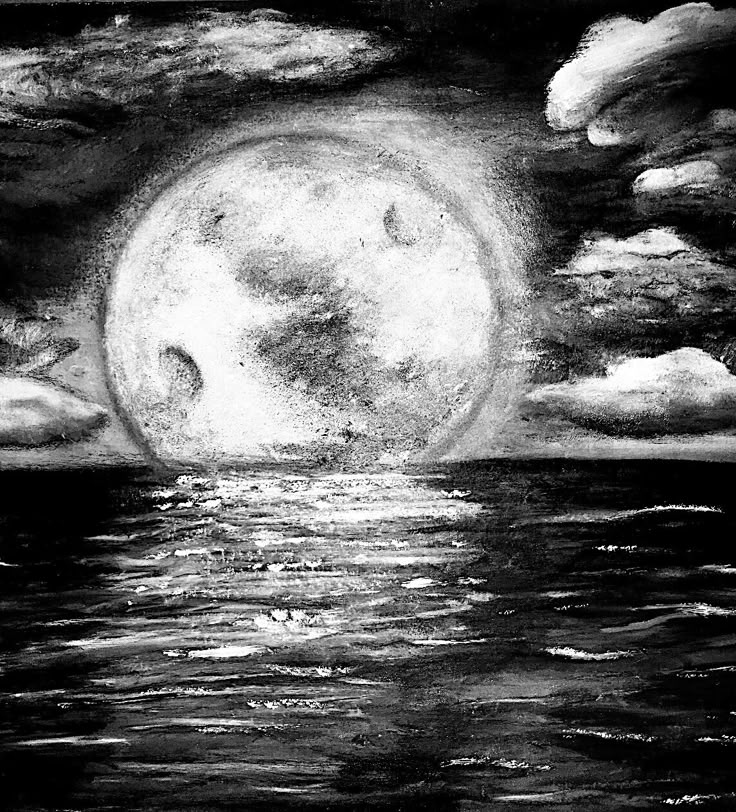
Highlights are where the light source directly hits and reflects most strongly. They are crucial for making your moon appear radiant and spherical.
- Using Erasers: A kneaded eraser, molded to a point, is excellent for lifting graphite from already shaded areas to create soft highlights. A plastic eraser can create sharper, more defined highlights.
- White Media: For truly bright, crisp highlights, especially on very dark backgrounds or for sparkling details, a white gel pen or white charcoal pencil can be applied on top of your graphite.
- Application for Moon: Use highlights on the very tips of illuminated crater rims, the brightest parts of the lunar highlands facing the sun, and the sharp edge of a crescent moon facing the light. These small bright spots will make your moon ‘pop’ and feel truly lit.
By combining these shading techniques, you’ll be able to create a moon drawing that’s rich in texture, depth, and luminosity. Practice each technique individually before integrating them into your lunar masterpiece.
Beyond the Full Moon: Drawing Different Phases and Moods
Once you’ve nailed the full moon, you’ll want to explore the moon’s many other personas. Each phase presents unique artistic opportunities and challenges.
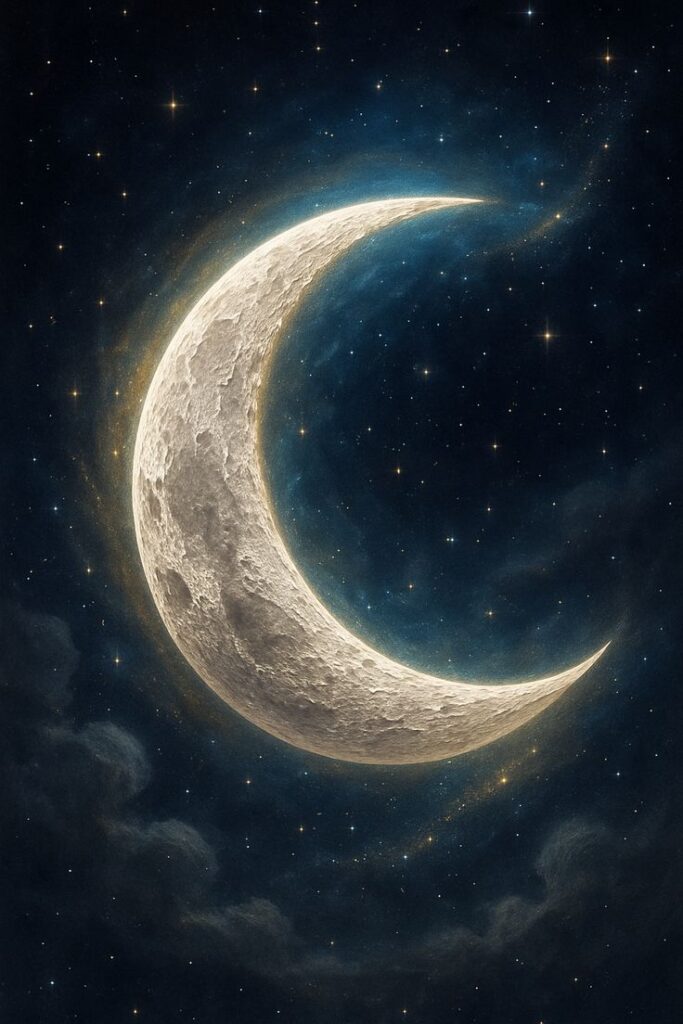
The Crescent Moon: A Delicate Curve
The crescent moon is all about defining that dramatic curve and the sharp contrast between light and shadow.
- Start with a Full Circle: Even for a crescent, it’s often easiest to start by lightly drawing the full circle of the moon.
- Define the Terminator: This is the crucial step. Carefully draw the curved line that separates the lit crescent from the unlit portion. This line should feel organic, not perfectly smooth, as it follows lunar topography.
- Shade the Crescent: Apply your shading techniques to the illuminated crescent, building up tones and textures just as you would for a full moon, paying attention to any visible craters or maria.
- Darken the Background/Unlit Portion: The unlit part of the moon needs to be as dark as the surrounding night sky, if not darker, to create the illusion of absence. Alternatively, you can hint at the “dark side” with a very faint, almost imperceptible grey tone, making it just slightly lighter than the true black of space – this is sometimes called “Earthshine” where sunlight reflects off Earth onto the dark side of the moon. This creates a beautifully subtle effect.

Gibbous Moon: Almost Full, Almost There
The gibbous moon is essentially a full moon with a significant portion of shadow creeping in.
- The Key is Gradual Transition: The challenge here is the soft, gradual transition along the terminator line. It’s not a sharp edge like a crescent, but a curved area where light slowly gives way to shadow.
- Focus on Depth: Use your blending stumps to create smooth gradients. The parts closest to the full illumination will be brighter, and the shadows will deepen as you move toward the unlit side.
- Crater Play: Notice how craters along the gibbous terminator are especially dramatic, with deep shadows emphasizing their three-dimensional form. This is prime real estate for showcasing your detailed crater shading.
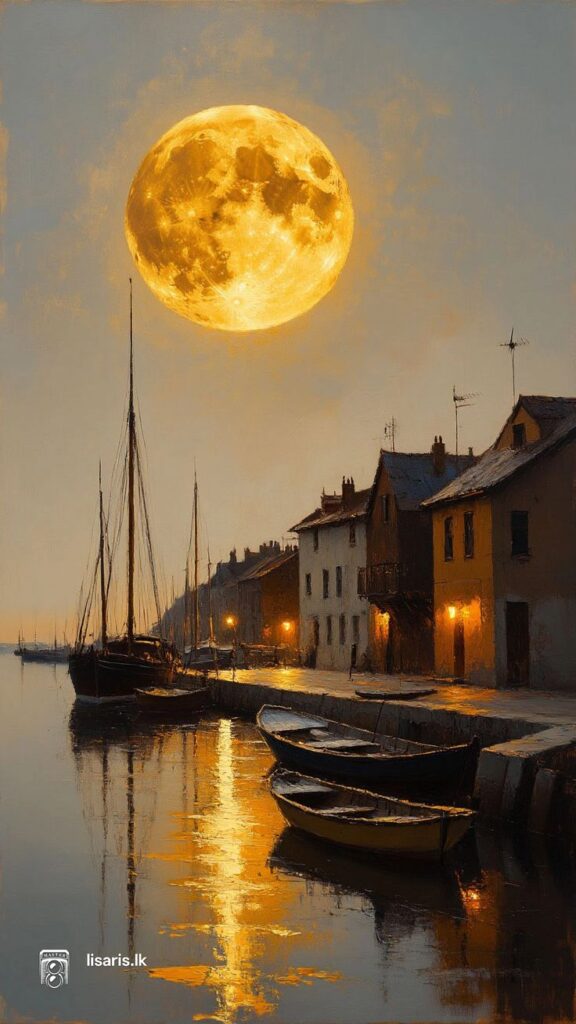
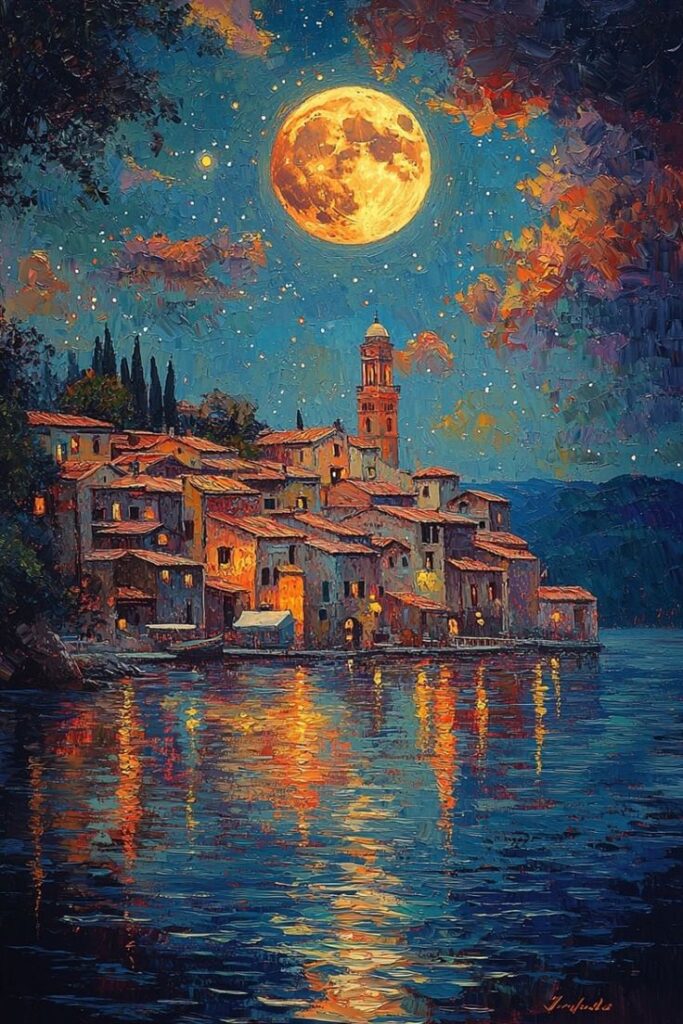
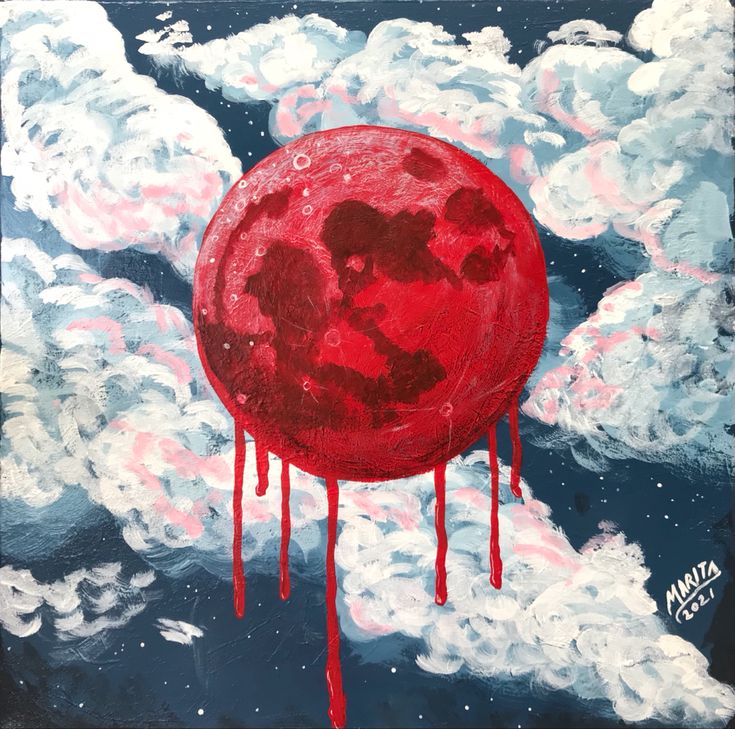
Blood Moon or Harvest Moon: Playing with Color
While our guide focuses on graphite, understanding how to apply these principles to color can be inspiring.
- Warm Tones: For a blood moon (during a lunar eclipse) or a harvest moon (low on the horizon), the moon appears in shades of orange, red, or deep yellow. This is due to Earth’s atmosphere scattering light.
- Medium Choice: If you want to try this, consider colored pencils, pastels, or even watercolors. You’d still use the same principles of light, shadow, and texture, but with a different palette.
- Subtle Glow: The warmer colors can often come with a more noticeable atmospheric glow around the moon.

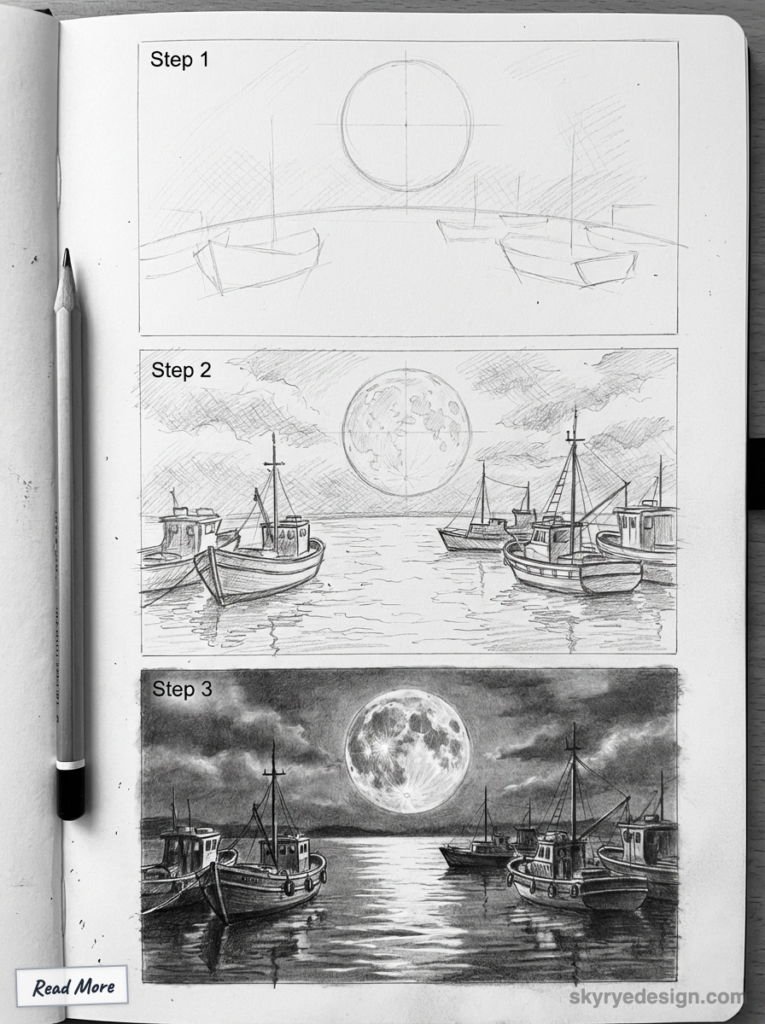
Moon in a Scene: Adding Context
Your moon doesn’t have to float in isolation. Placing it within a scene adds narrative and atmosphere.
- Silhouettes: A classic approach is to draw the moon casting its light on a silhouetted foreground – trees, a distant cityscape, mountains, or even a person. This creates dramatic contrast and emphasizes the moon’s luminosity. When considering how architectural elements interact with natural light, you might find inspiration in modern patio decor ideas using outdoor sandstone paving.
- Clouds: Wispy, transparent clouds partially obscuring the moon can add mystery and depth. Experiment with drawing the moon’s glow through the clouds.
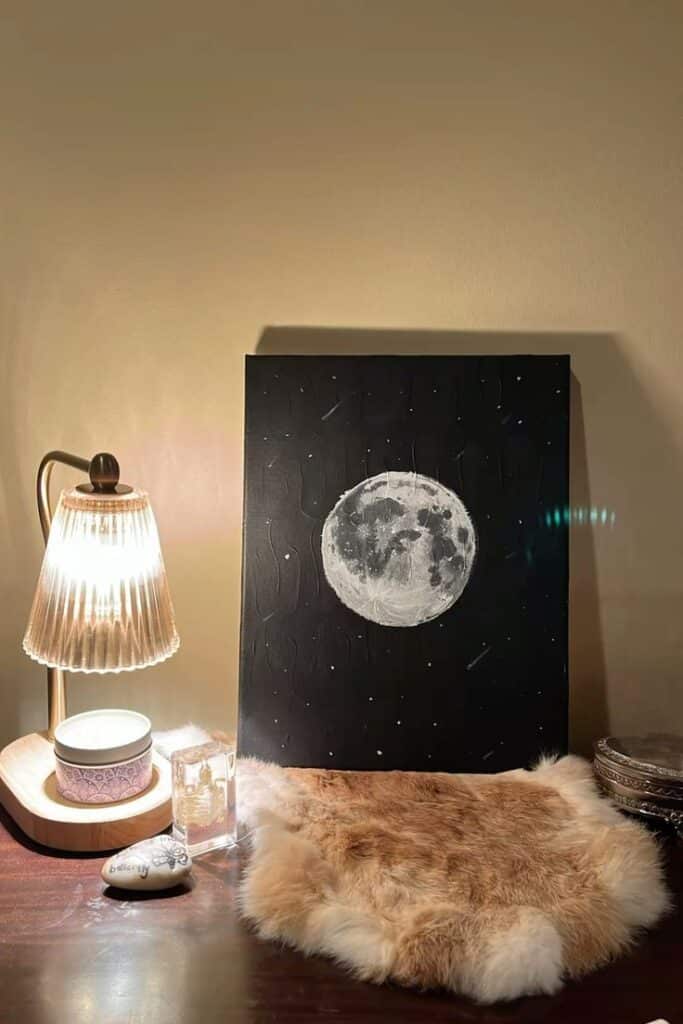
- Stars: A sparse scattering of tiny, sharp white dots (using a white gel pen) can depict stars, making your moon feel part of a vast cosmos. Be careful not to overdo it; less is often more.
- Perspective: Think about how large or small you want your moon to appear in relation to the foreground elements. This plays a role in the overall composition.
By experimenting with different phases and incorporating your moon into various settings, you’ll discover endless possibilities for expressing its beauty.
Common Pitfalls and How to Avoid Them
Even seasoned artists face challenges, and drawing the moon has its own set of common traps. Knowing what they are can help you avoid frustration and improve your outcomes.
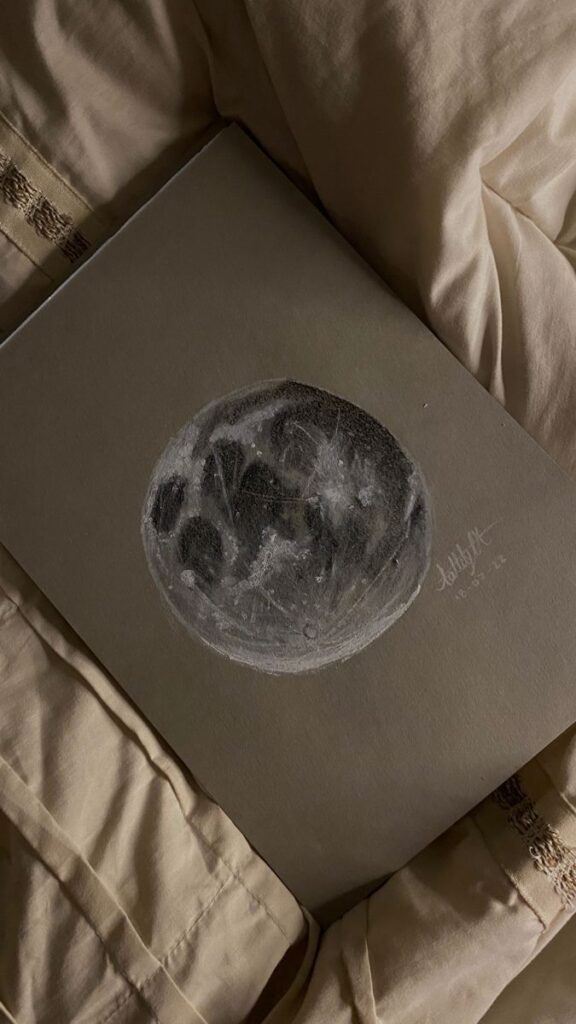
Flatness: The Lack of Sphere
This is probably the most common issue. Your moon looks like a disc, not a ball.
- The Fix: Revisit your shading. A sphere needs a gradual transition from its brightest point (where light hits directly) to its darkest (where it recedes into shadow). Use circular shading and blending to create smooth gradients across the surface. Ensure your darkest darks and brightest brights aren’t just in craters, but also define the moon’s overall curvature. Remember, the edges of a sphere are often slightly darker or have less direct light than the center.
Over-detailing: Less is Often More
You might be tempted to draw every single crater and feature you see in a reference photo.
- The Fix: Selectivity is key. Identify the most prominent maria and a few key craters that give the moon its characteristic look. Suggest texture in the highlands rather than drawing every tiny bump. Your brain will fill in the rest. Over-detailing can make your drawing look busy and lose its overall impact.
Ignoring Light Source: Inconsistent Shadows
Without a consistent light source, your craters will look illogical, and your moon will lack cohesion.
- The Fix: Before you start, decide where your light source is coming from (e.g., top-right, directly ahead). Then, all shadows – within craters, along the terminator, and on the overall sphere – must align with that single light source. If the light is from the top-right, the bottom-left inner rims of craters will be shadowed.
Rushed Blending: Patchy Results
Quick, aggressive blending can create smudges, uneven tones, and destroy delicate textures.
- The Fix: Blend gently and incrementally. Use light pressure with your blending tool, building up smoothness slowly. If you’ve laid down too much graphite, it’s harder to blend smoothly. Start with lighter layers and blend them before adding darker ones.
Fear of Eraser: Embrace Mistakes
Many beginners see the eraser as a sign of failure.
- The Fix: Change your mindset! The eraser is a powerful drawing tool. Use your kneaded eraser to lift highlights, soften edges, and create subtle textures. Use your plastic eraser for clean, sharp corrections. Don’t be afraid to adjust or even completely restart an area if it’s not working. Embracing the eraser is part of the artistic process. When engaging in any kind of artistic endeavor, it’s helpful to remember that tools are there to serve your creativity. Sometimes even fundamental aspects of design, such as how to build an effective design system, emphasize iteration and flexibility.
Practice Makes Perfect: Tips for Continuous Improvement
Drawing, like any skill, thrives on consistent practice and a curious mind. The more you engage with it, the better you’ll become, and the more joy you’ll find in the process.
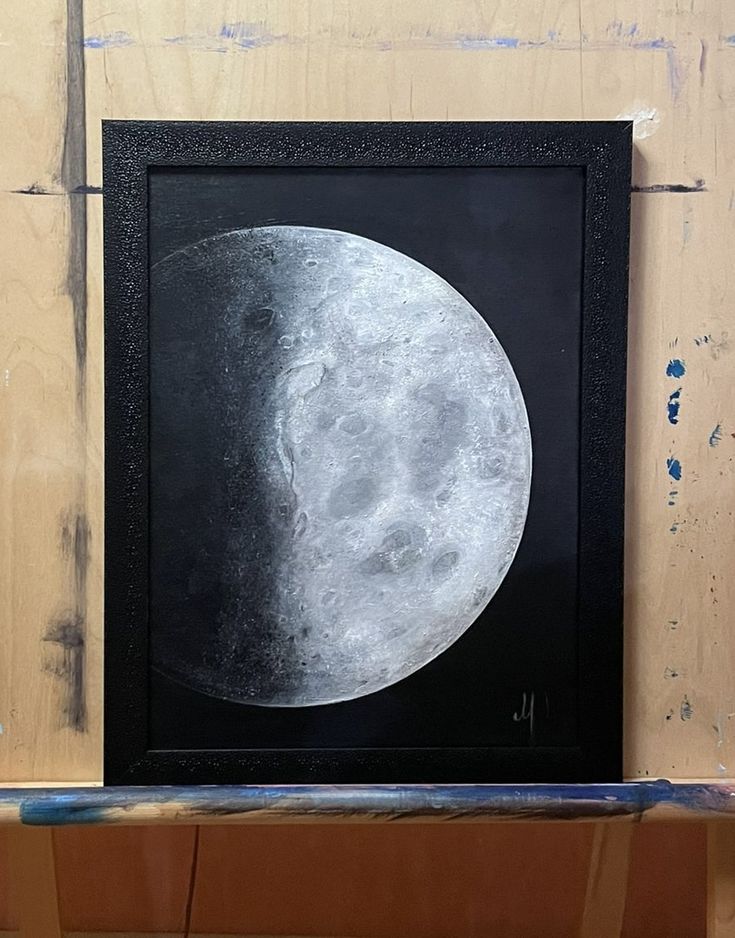
Observe Real Life (or Photos): Reference is Key
You wouldn’t try to build a house without blueprints, right? Treat reference images the same way for drawing.
- Gather References: Collect high-quality photos of the moon in various phases, lighting conditions, and even different colors (like a harvest moon). Look at images from NASA or astrophotography sites.
- Analyze: Don’t just copy. Analyze your references. Where is the light coming from? How do shadows define craters? What textures do you see in the maria versus the highlands? How does the terminator line curve? This analytical observation is crucial for understanding.
- Go Outside! If you have a clear night, step outside and truly look at the moon. Even though it’s distant, you can still observe its glow, its perceived texture, and how it interacts with the clouds. This kind of outdoor drawing can be incredibly inspiring, connecting you directly with your subject.
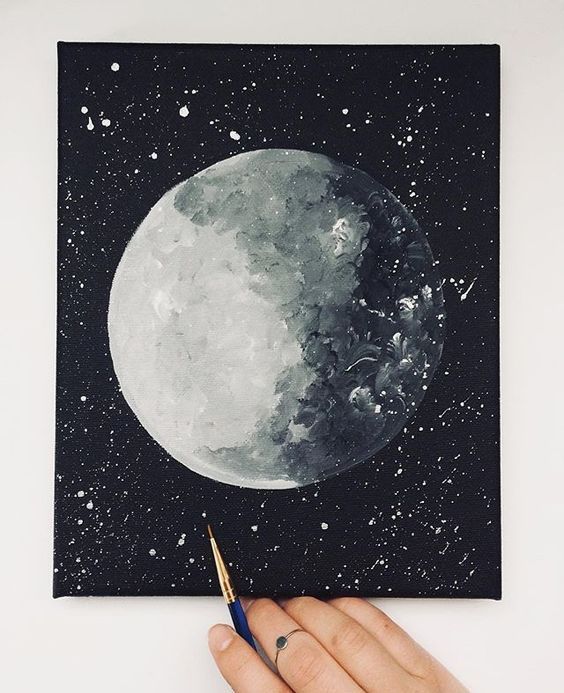
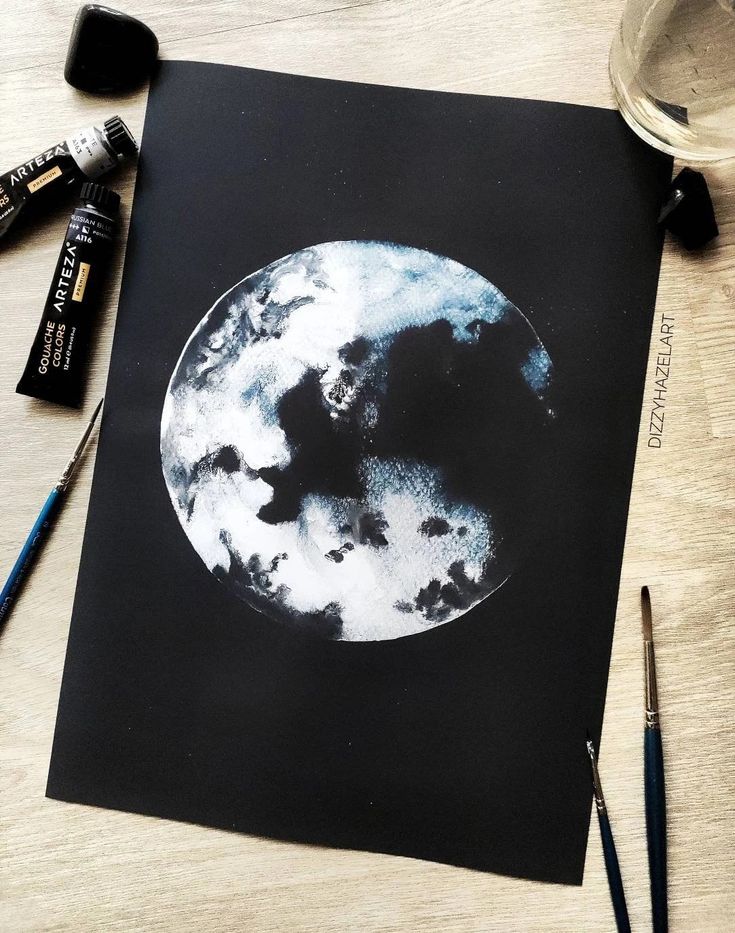
Experiment with Different Media
While we focused on graphite, don’t limit yourself!
- Charcoal: As mentioned, charcoal provides deeper blacks and a different texture.
- Pastels: Soft pastels can create wonderfully ethereal, colored moons with beautiful blending capabilities.
- Ink: Fine-liner pens can be used for stippling or hatching a highly stylized moon.
- Digital: If you have a tablet and drawing software, explore digital moon drawing, which offers endless layers and blending options. Trying new tools keeps your artistic journey fresh and helps you discover new strengths.
Don’t Be Afraid to Fail
Every artist, from beginner to master, creates “bad” drawings. These aren’t failures; they’re learning opportunities.
- Embrace Imperfection: Your first moon won’t be perfect, and that’s okay. Focus on learning something new with each attempt. Maybe one drawing teaches you about crater shadows, another about smooth blending.
- Keep a Sketchbook: Use a dedicated sketchbook for your moon studies. It becomes a visual diary of your progress and a safe space to experiment without pressure. You might even find inspiration in book art drawings that push the boundaries of what a sketchbook can be.
Set Small Goals
Instead of aiming for a masterpiece every time, break it down.
- Focus on One Element: One day, practice drawing perfect circles. Another day, focus only on shading craters. A third day, work on blending techniques.
- Time Limits: Set a timer for 15-30 minutes for a quick sketch. This encourages you to capture the essence without getting bogged down in perfection.
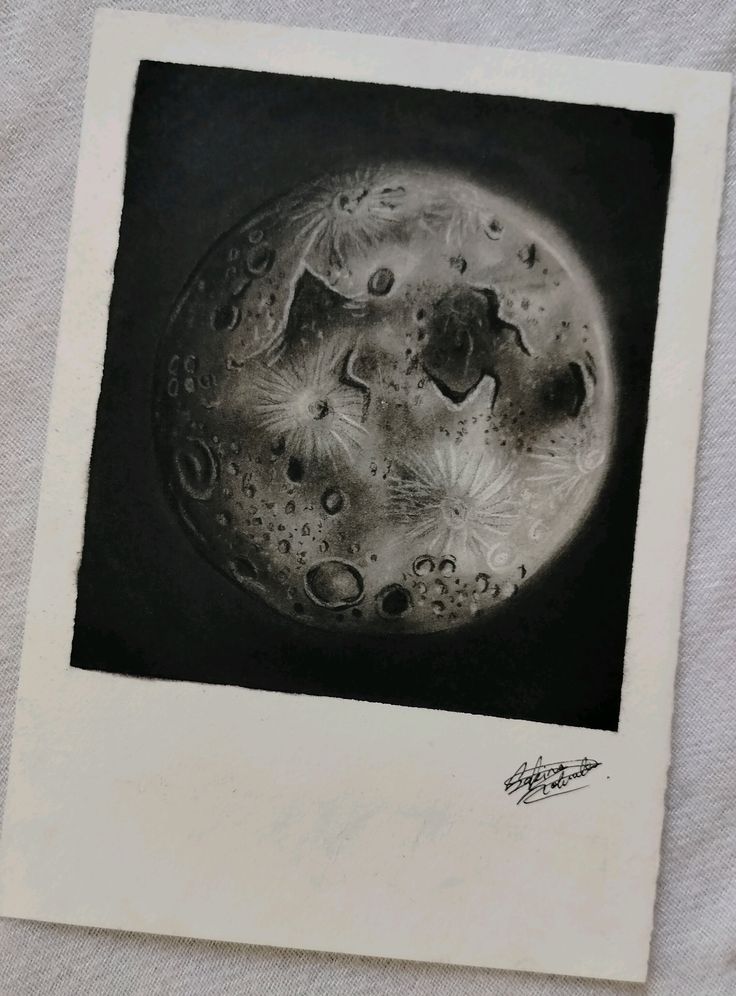
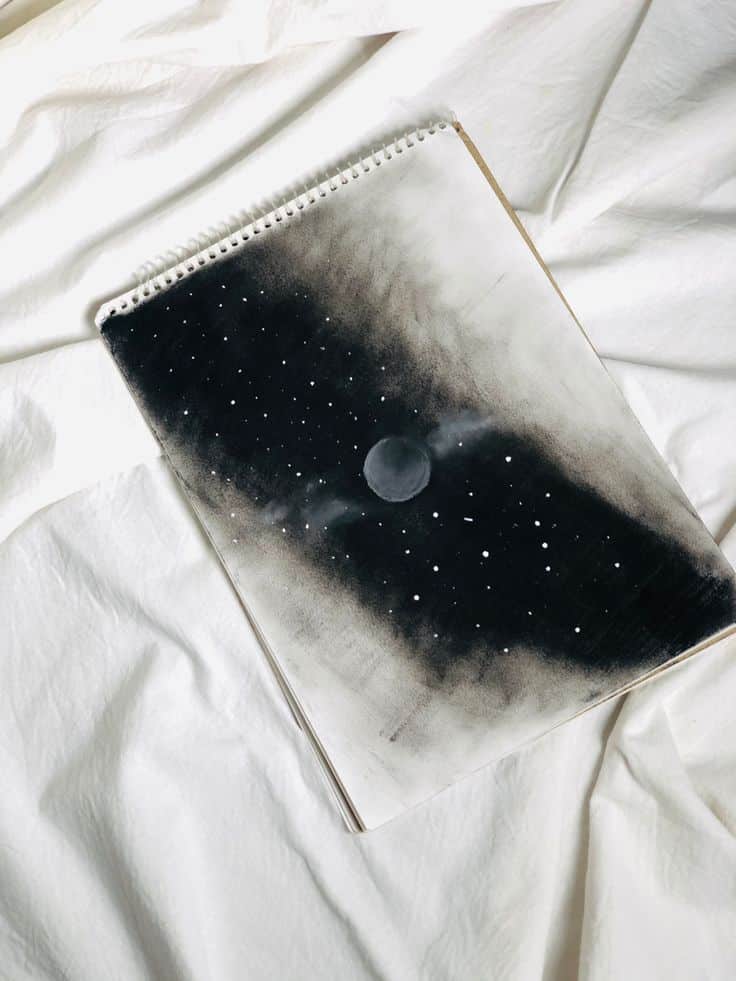
Find Inspiration
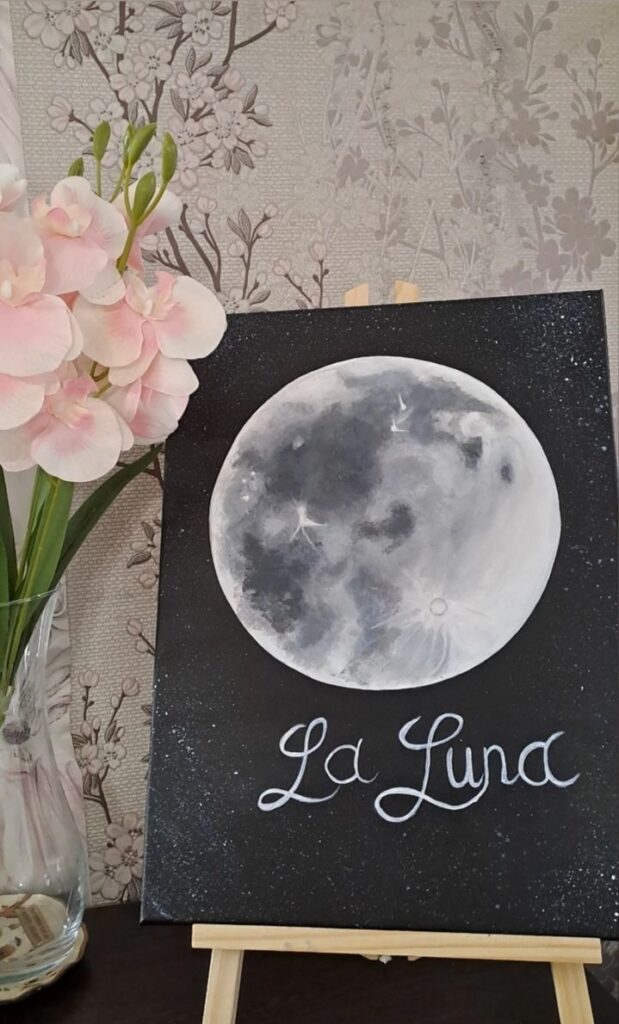
Look at how other artists depict the moon. Visit art galleries, browse online art platforms, or even look at different iPhone Hello Kitty wallpaper designs to see how a simple circle can be transformed with creative additions. You’ll be amazed at the variety of styles and interpretations. Inspiration isn’t about copying; it’s about seeing what’s possible and sparking your own unique vision.
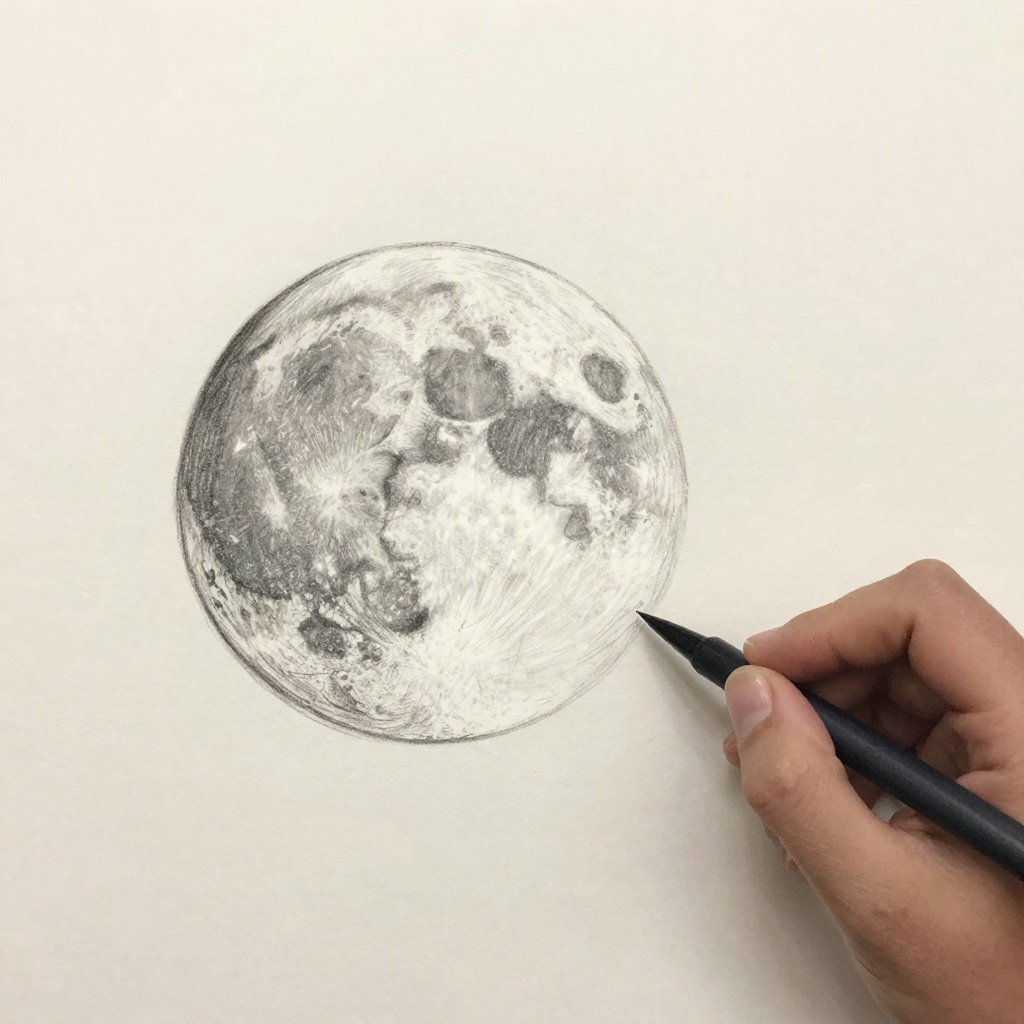
Conclusion
By now you’ve had a go at venturing into the vast world of lunar art – the knowledge you’ve picked up, techniques you’ve tried, and the bits of inspiration you’ve snaffled should all help you draw a moon that’s in some way worthy of its mighty celestial status. From getting the basics of a pencil down to working out how to get those tricky textures and shadows right, you’ve learned that drawing a moon is much more than just doodling a circle – its about keeping your eyes peeled, taking the time to really look, and letting your imagination run wild.
You see, every mark you make is a step forward – don’t be scared to give things a go, make a few mistakes and figure out what works for you. The moon – that iconic, glowing orb – is a symbol of change and transformation, so why shouldnt your artistic journey be just as unpredictable? Grab a pencil, pick a reference, and let the soft gentle light of the moon guide your hand across the page. The time for hiding your light is over – its time to let your inner artist shine. So pick up your pencils and start drawing that moon of yours, and watch how your skills and your love of art grow in tandem with the changing moon phases.
- 181shares
- Facebook0
- Pinterest181
- Twitter0
- Reddit0
