Ever dreamed of sketching those classic tales of heroism and romance? Want to bring a valiant knight and a graceful princess to life with your own hands? You’re in the right place! Learning how to draw a princess and knight isn’t just a fun artistic challenge; it’s a fantastic way to explore character design, anatomy, costume details, and storytelling through your art. Whether you’re a complete beginner or looking to brush up on your skills, this guide will walk you through all the steps, from basic shapes to intricate details, helping you create stunning characters that leap off the page. Get ready to embark on your own artistic quest!
Setting Up Your Drawing Adventure
Before we dive into the magical world of princesses and knights, let’s make sure you’ve got your artistic arsenal ready. You don’t need fancy equipment to get started, but having a few key items will make your journey much smoother and more enjoyable. Think of these as your trusty sword and shield in the realm of drawing!
Essential Tools for Every Aspiring Artist
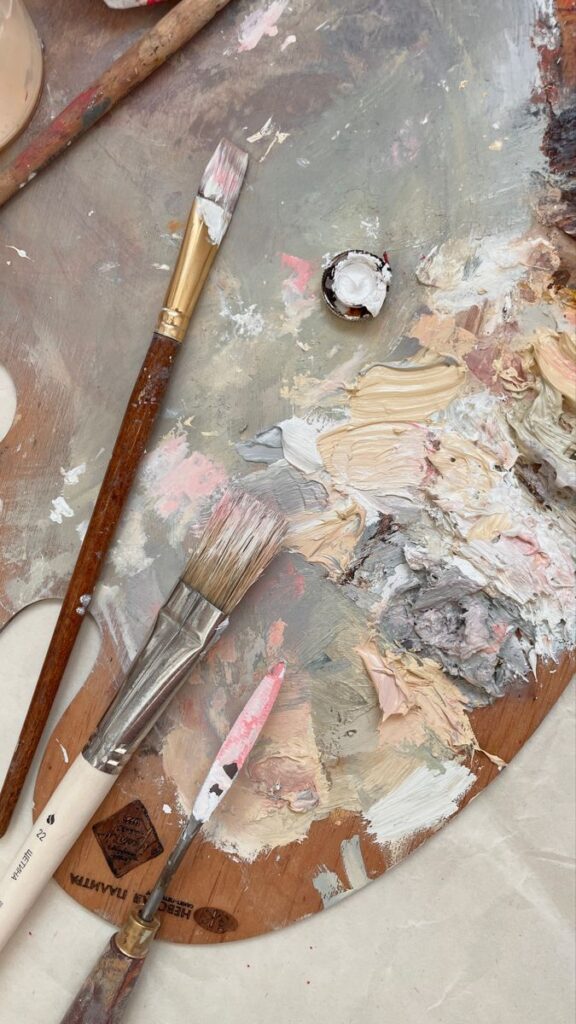
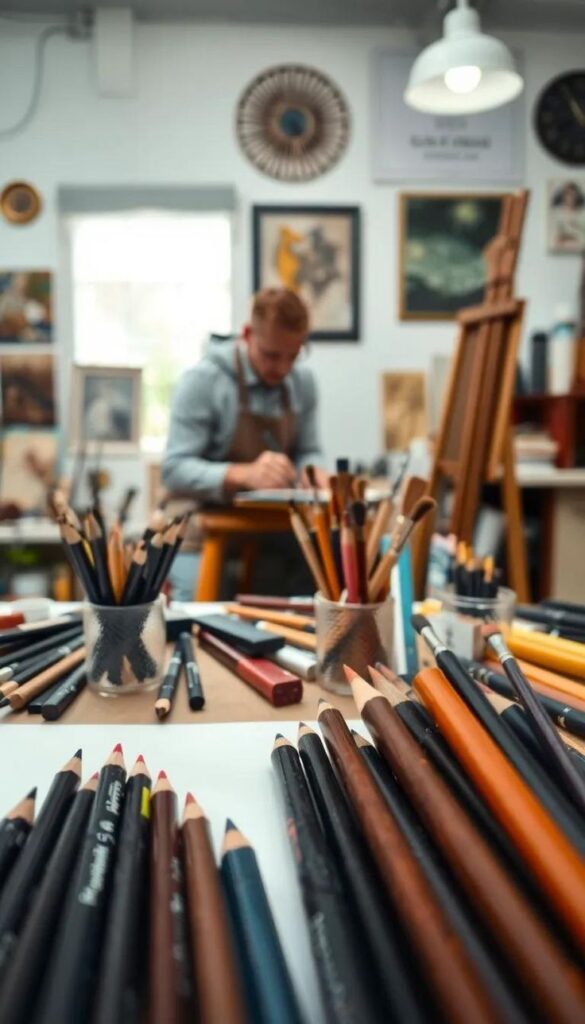
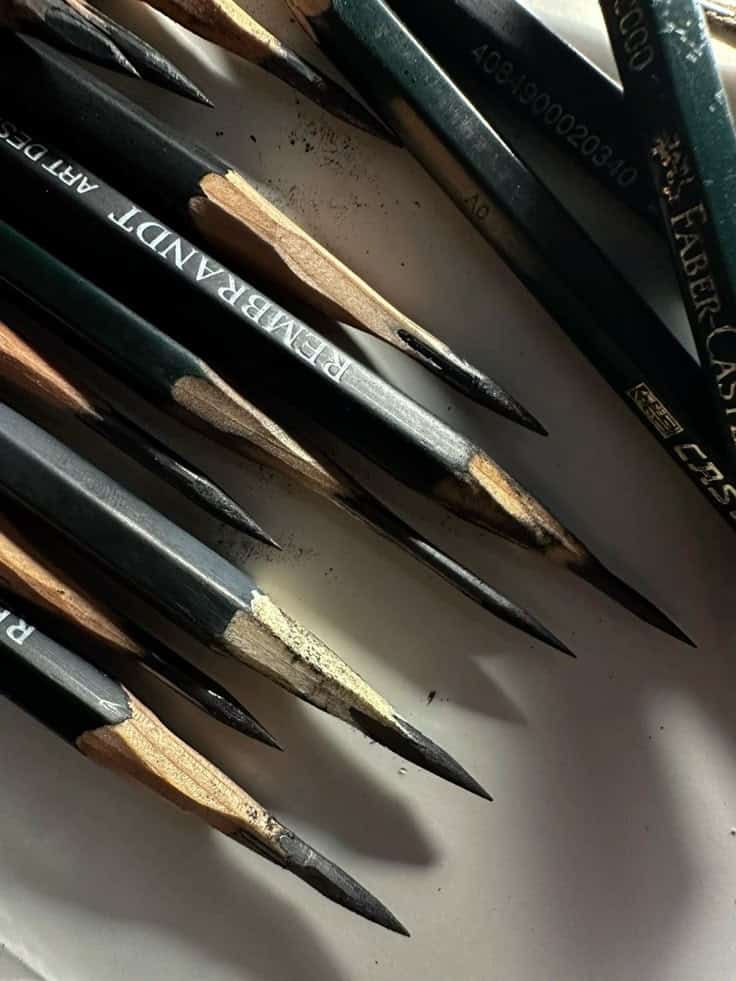
First things first, gather your supplies. Here’s what you’ll want to have on hand:
- Pencils: Start with a couple of different hardnesses. An HB pencil is great for general sketching, while a 2H or 4H is perfect for light construction lines that are easy to erase. For darker lines and shading, an H or 2B will do the trick.
- Eraser: A good quality kneaded eraser or a plastic eraser will be your best friend. They can lift graphite without damaging the paper or leaving smudges.
- Paper: Any drawing paper will work, but a smooth, medium-weight paper (around 60-80 lb or 100-130 gsm) is ideal. Sketchbooks are great for keeping all your drawings in one place.
- Ruler (Optional but Helpful): Useful for establishing initial guidelines or creating straight lines for architectural elements if you decide to draw a background.
- Reference Images: Don’t be afraid to use references! Look up pictures of real armor, historical clothing, different facial expressions, and various body poses. This isn’t cheating; it’s learning. Understanding how things look in reality helps you draw them more convincingly. You can even explore general art reference poses to get started with dynamic figures.
Once you have your tools, find a comfortable, well-lit space. A clear mind and a relaxed posture are just as important as your pencils!
Building Blocks: Starting with Basic Shapes
Every complex drawing, no matter how intricate, starts with simple shapes. Think of circles, squares, and triangles as the foundational framework for your characters. This approach helps you get the proportions right before you get lost in the details. It’s like building the frame of a house before adding the walls and windows.
The Head and Face: Crafting Expressive Features
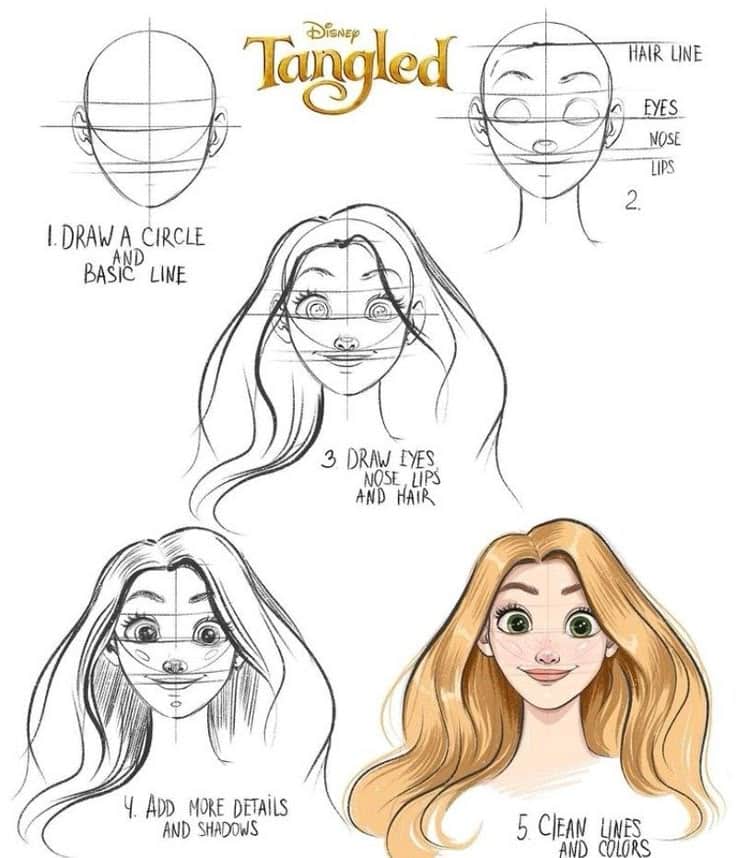
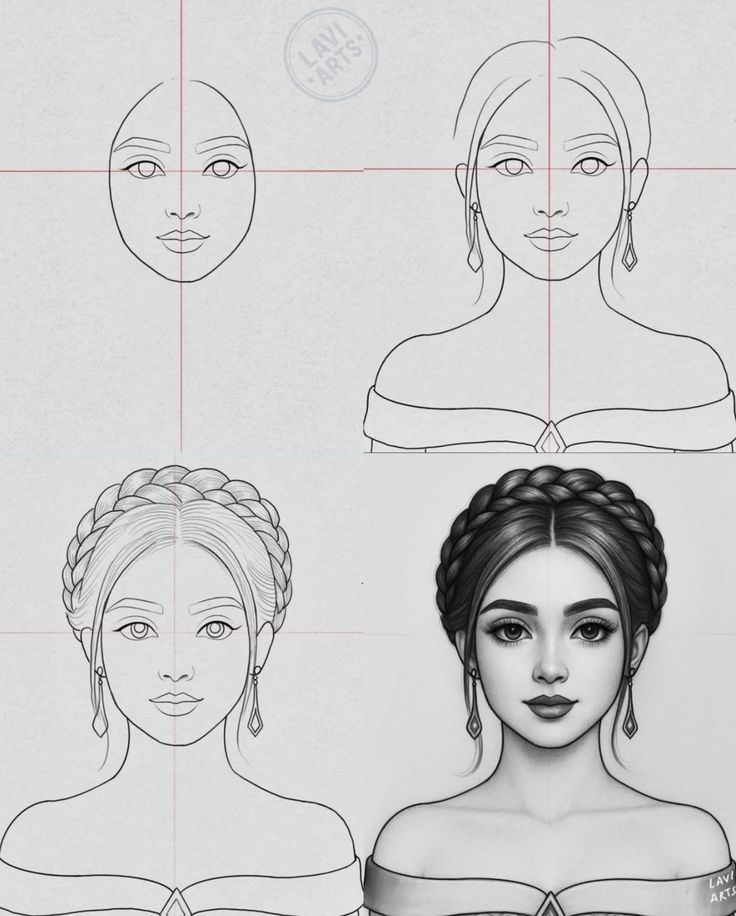
The head is often the focal point of a character, conveying emotion and personality.
- Start with a Circle: Lightly draw a circle for the cranium.
- Add the Jawline: Extend lines downwards from the sides of the circle, meeting at a point or a slightly rounded line for the chin. This creates the basic egg-like shape of the head.
- Establish Guidelines: Draw a vertical line down the center of the face (for symmetry) and a horizontal line across the middle for the eye level. Another line halfway between the eye line and the chin will mark the bottom of the nose, and a final line halfway between the nose and chin will be for the mouth.
- Eyes, Nose, and Mouth:
- Eyes: Place the eyes along the eye line, keeping one eye-width space between them. For a princess, aim for larger, more expressive eyes. For a knight, perhaps more narrowed or determined.
- Nose: The nose generally sits between the eye line and the nose line.
- Mouth: The mouth is typically centered below the nose, within its designated guideline.
- Ears: The top of the ears usually aligns with the brow line, and the bottom with the nose line.
- Hairline: Determine where the hair begins on the forehead.
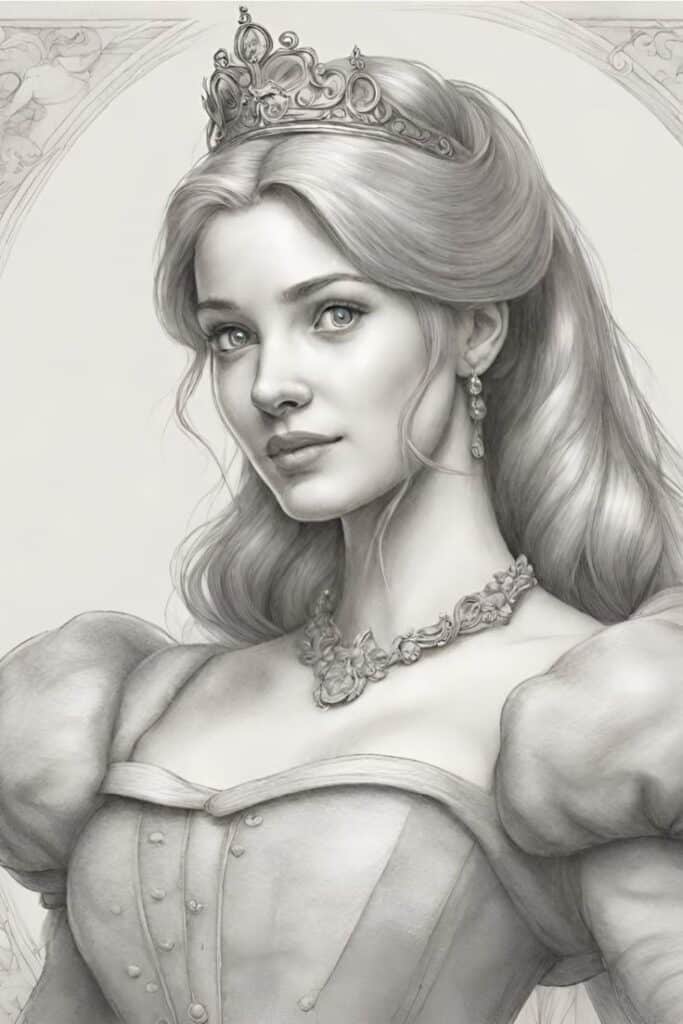
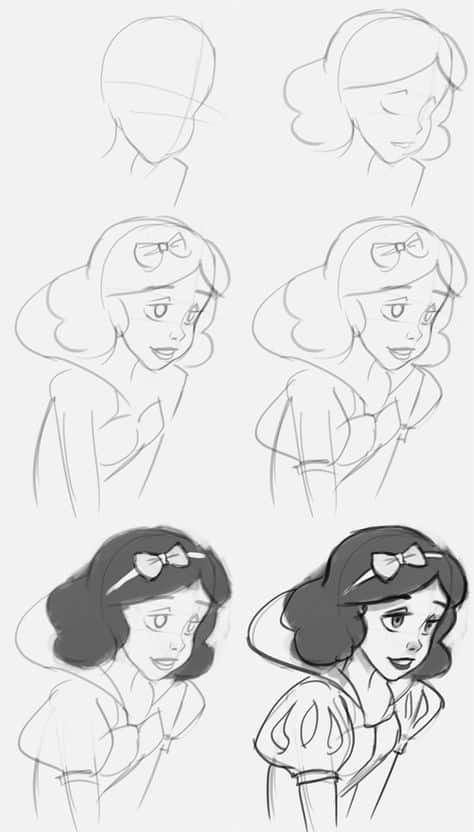
Remember, every face is unique. Practice drawing different facial structures and expressions. If you want to dive deeper into specific features, learning how to draw lips can add a lot of character to your princess or knight.
The Body and Proportions: Giving Them Form
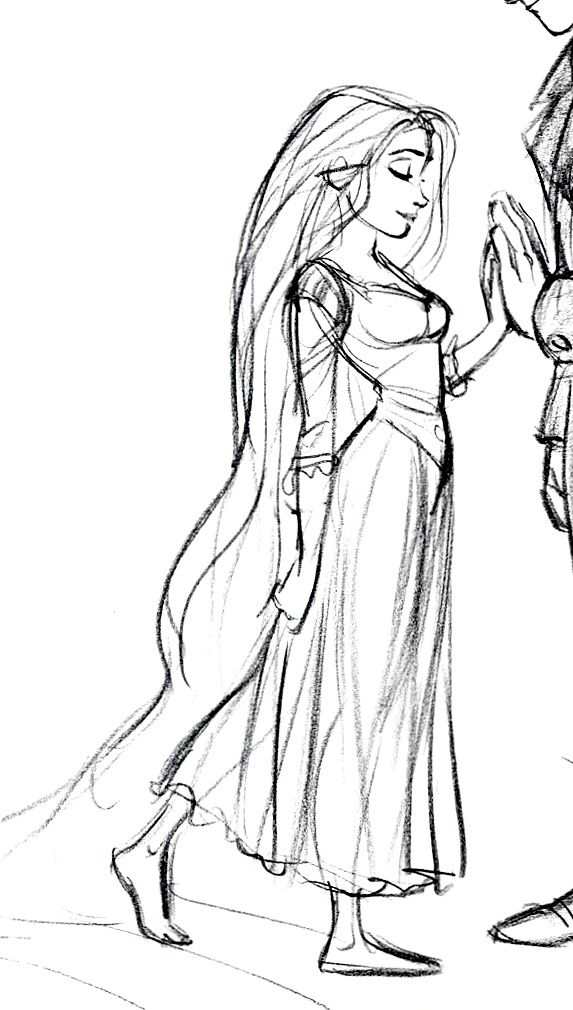
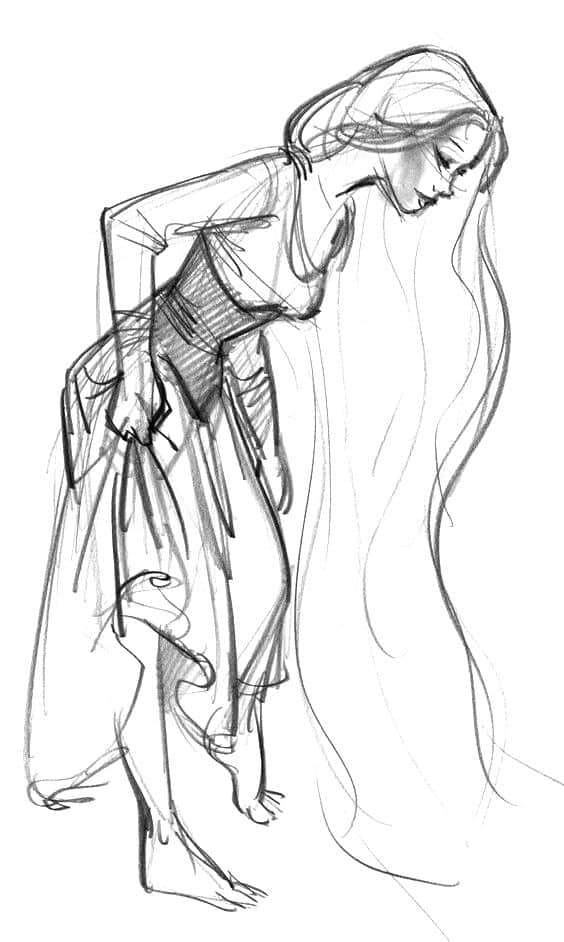
Getting proportions right is crucial for believable characters. While there are standard guidelines, feel free to exaggerate or modify them for stylistic purposes. For realistic figures, the “8-head rule” is a common starting point, where a full adult figure is roughly eight heads tall.
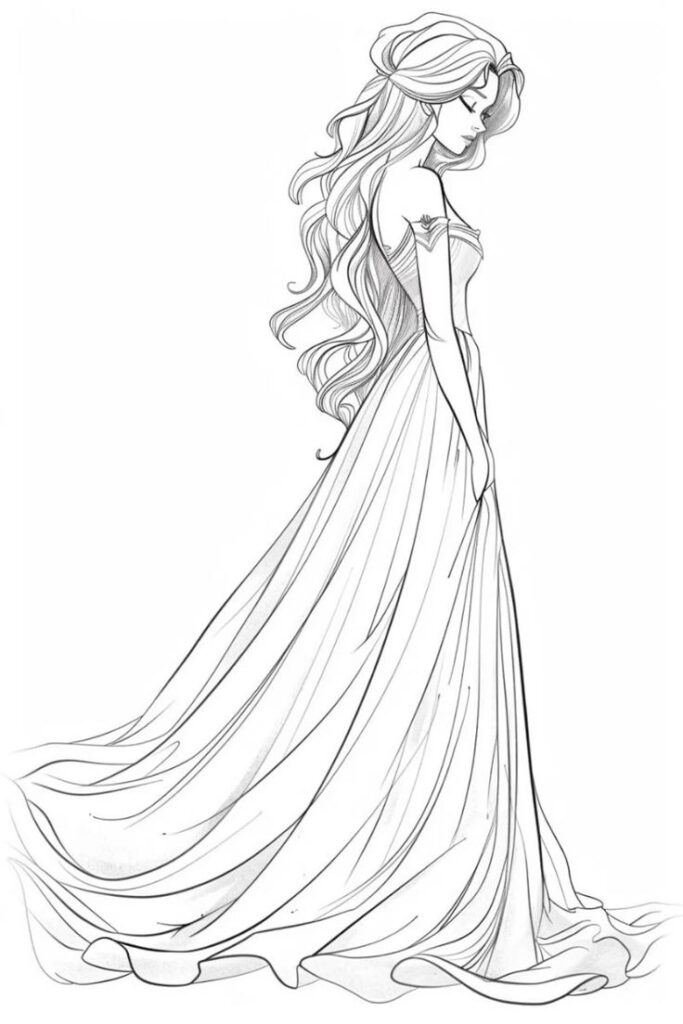
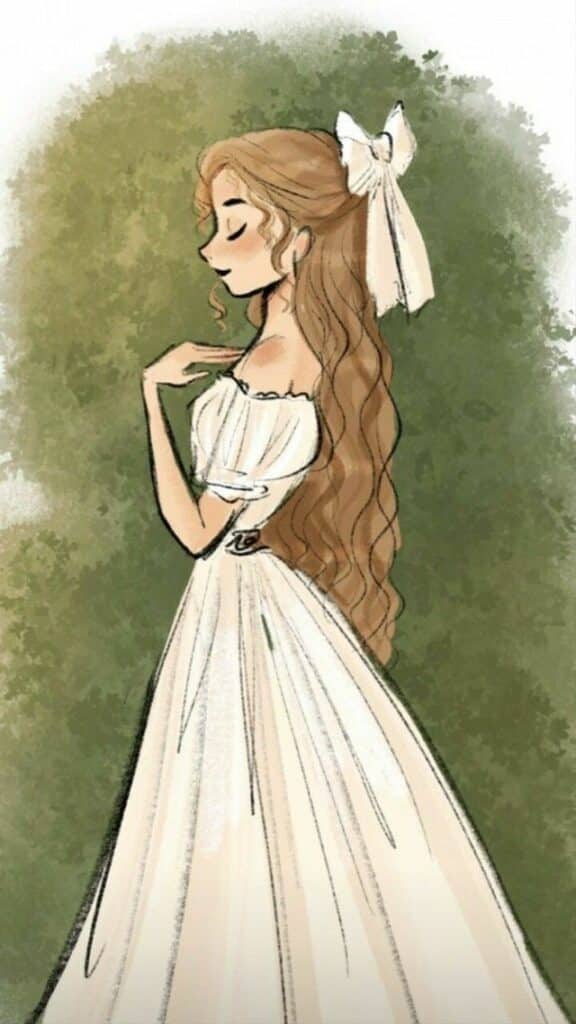
- The Torso: Start with a simple oval or a slightly tapered rectangle for the torso. This will be the chest and ribcage area.
- The Pelvis: Below the torso, draw another, slightly wider oval or rectangle for the pelvis.
- Connecting the Core: Use a gently curving line to connect the torso and pelvis, forming the waist.
- Limbs as Cylinders:
- Arms: Begin with circles for the shoulders. Then, draw cylinders for the upper arms, smaller circles for the elbows, and more cylinders for the forearms, ending with simple shapes for the hands.
- Legs: Use cylinders for the thighs, circles for the knees, and more cylinders for the shins, finishing with simple block shapes for the feet.
- Joints: Always mark the joints (shoulders, elbows, wrists, hips, knees, ankles) with circles. These act as pivot points and help with posing your characters dynamically.
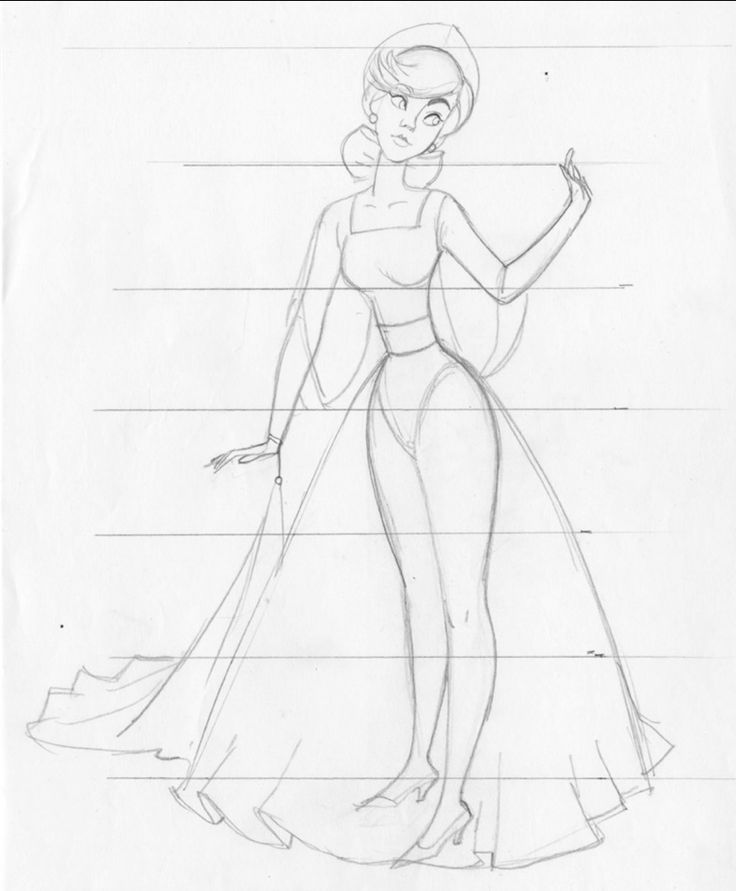
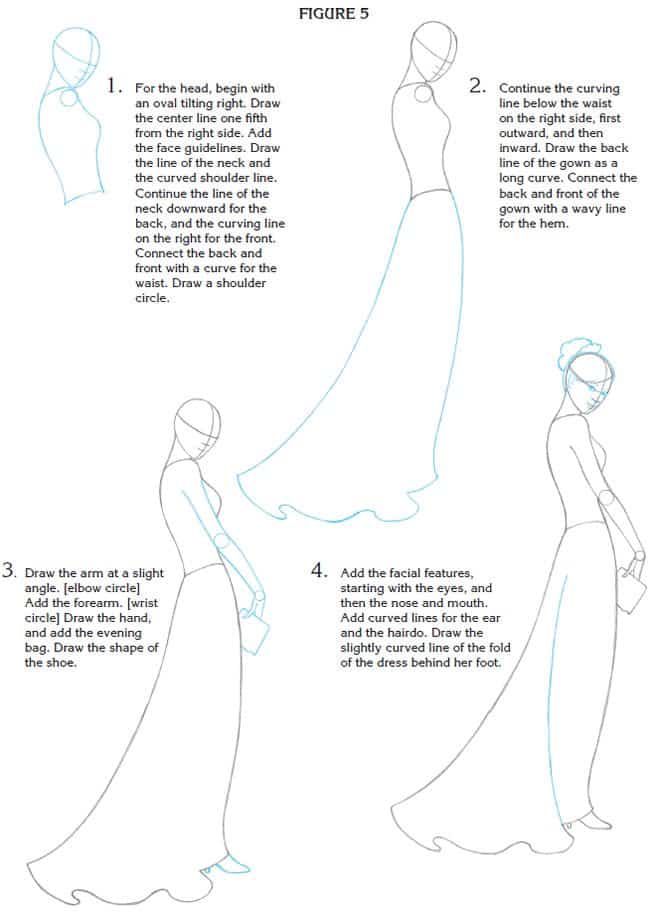
Don’t press too hard with your initial construction lines. These are just guides, meant to be refined and erased later. For a more in-depth understanding of the human form, checking out body drawing fundamentals can be incredibly beneficial.
Drawing a Princess: Grace and Elegance
Now for the fun part! Let’s bring our royal lady to life, focusing on elegant poses, flowing gowns, and delicate features.
Step-by-Step Princess Creation
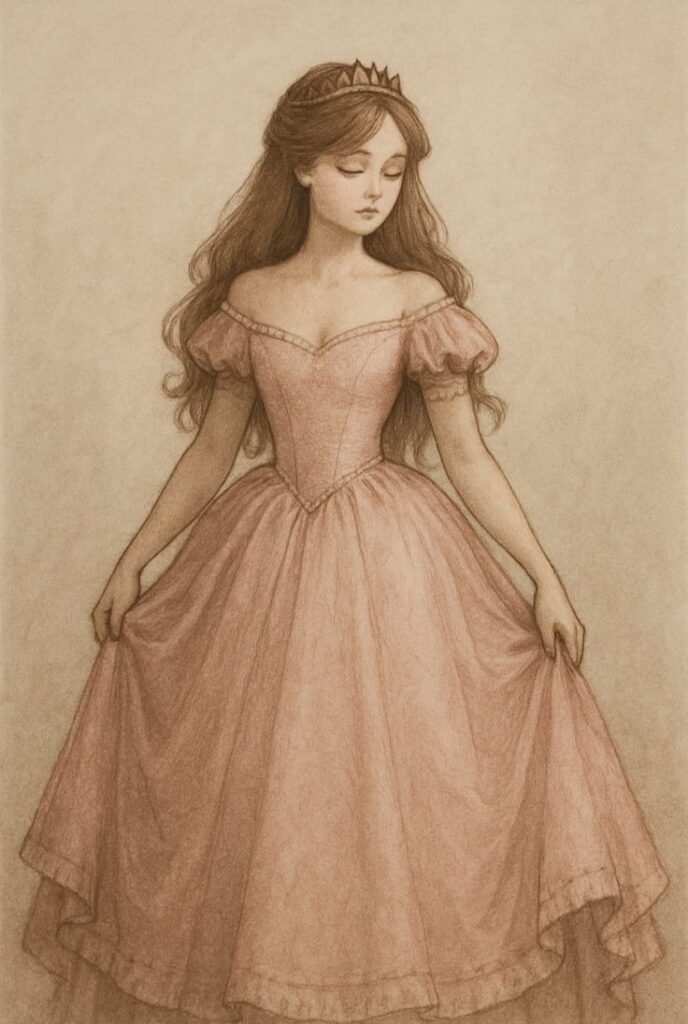
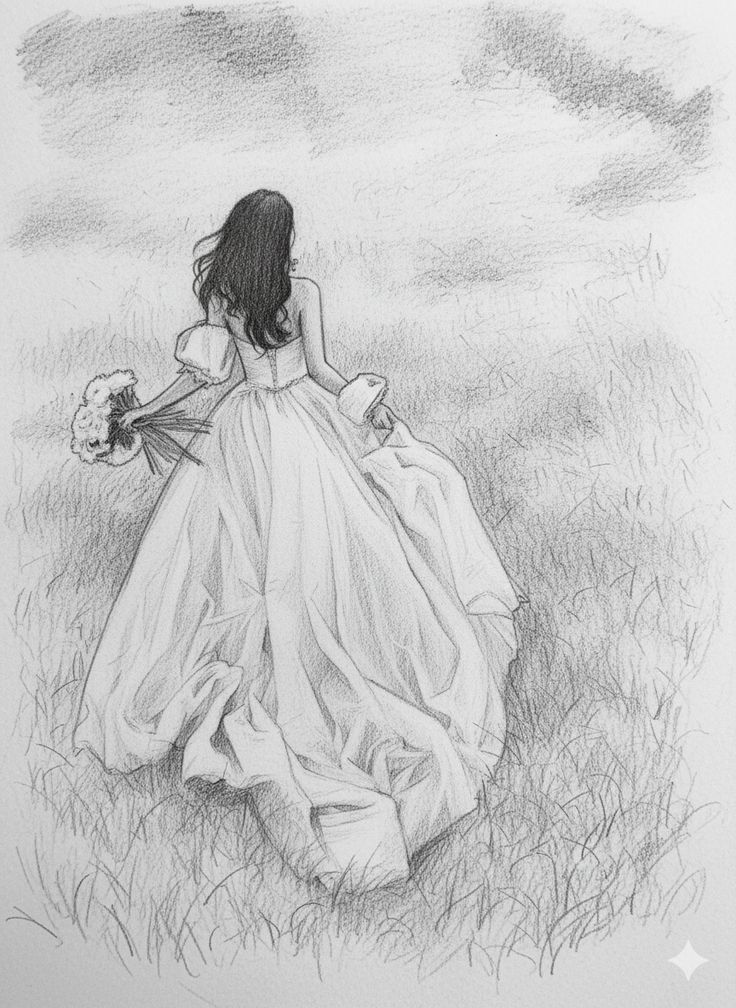
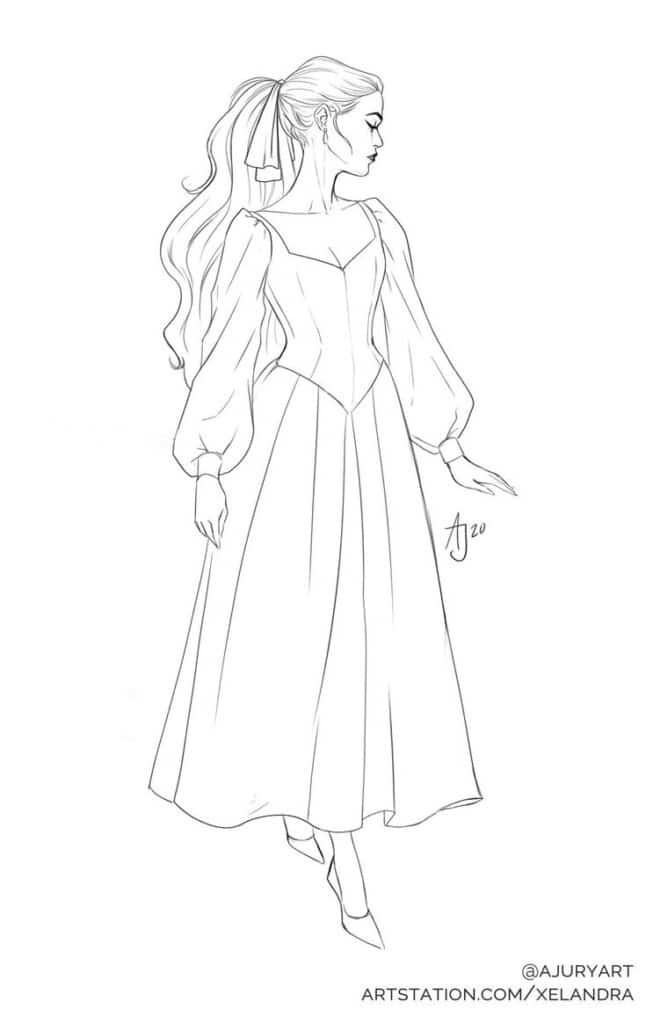
- Basic Pose and Proportions: Start with your light construction lines. Decide on a pose – standing gracefully, perhaps holding a flower, or looking over her shoulder. Use the head-and-body basic shapes to lay down her figure. Keep her posture upright and elongated to convey elegance.
- Refine the Body: Once you’re happy with the basic pose, start refining the contours of her body. Smooth out the lines of her arms, legs, and torso. Give her a slender waist and gentle curves.
- The Gown: Flow and Volume: This is where the princess truly shines!
- Bodice: Draw a fitted bodice that accentuates her form. It can be strapless, have thin straps, or feature sleeves.
- Skirt: The skirt is crucial. Think about gravity and movement. It could be a grand, bell-shaped gown, a flowing A-line, or something more fitted. Start with a large, light outline of the skirt’s shape, then add folds and drapes. Fabric tends to gather at the waist and fall in graceful curves.
- Sleeves: Consider different sleeve types: puffy, fitted, long and flowing, or sleeveless.
- Hair: Character and Style: Princess hair is often elaborate!
- Outline the shape: Don’t draw individual strands initially. Block out the overall shape and volume of her hairstyle – long and wavy, an elegant updo, braids, etc.
- Add details: Once the general shape is down, add some flowing lines to suggest strands and texture.
- Facial Features and Expression: Go back to the face guidelines.
- Eyes: Make them large and expressive, perhaps with long lashes.
- Eyebrows: Shape them to match her emotion – gentle, surprised, or thoughtful.
- Nose and Mouth: Keep them delicate. A small, slightly upturned nose and a gentle smile often suit a princess.
- Accessories: The Royal Touch:
- Crown/Tiara: A must-have! Place it carefully on her head, considering its perspective.
- Jewelry: Necklaces, earrings, bracelets can add sparkle.
- Gloves: Long, elegant gloves can add a touch of sophistication.
- Shoes: Often hidden by the gown, but if visible, ensure they match her regal style.
- Finishing Touches: Once you have all the elements in place, gently erase your construction lines. Darken your final lines, adding weight to where shadows would naturally fall or where lines overlap.

Drawing a Knight: Strength and Valor
Now, let’s turn our attention to the protector of the realm! Drawing a knight involves understanding structure, weight, and the intricacies of armor.
Step-by-Step Knight Creation
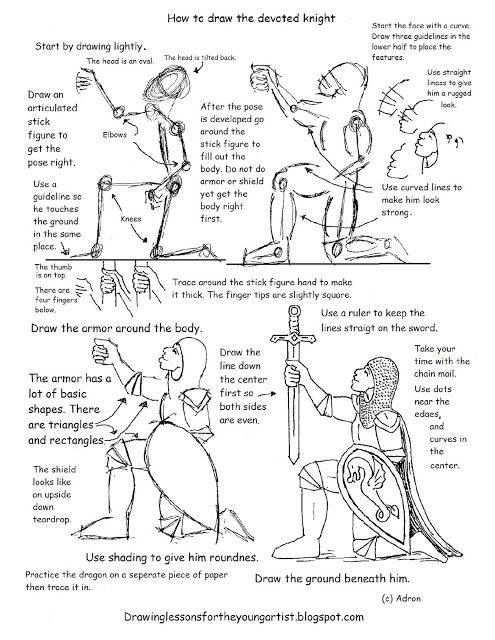
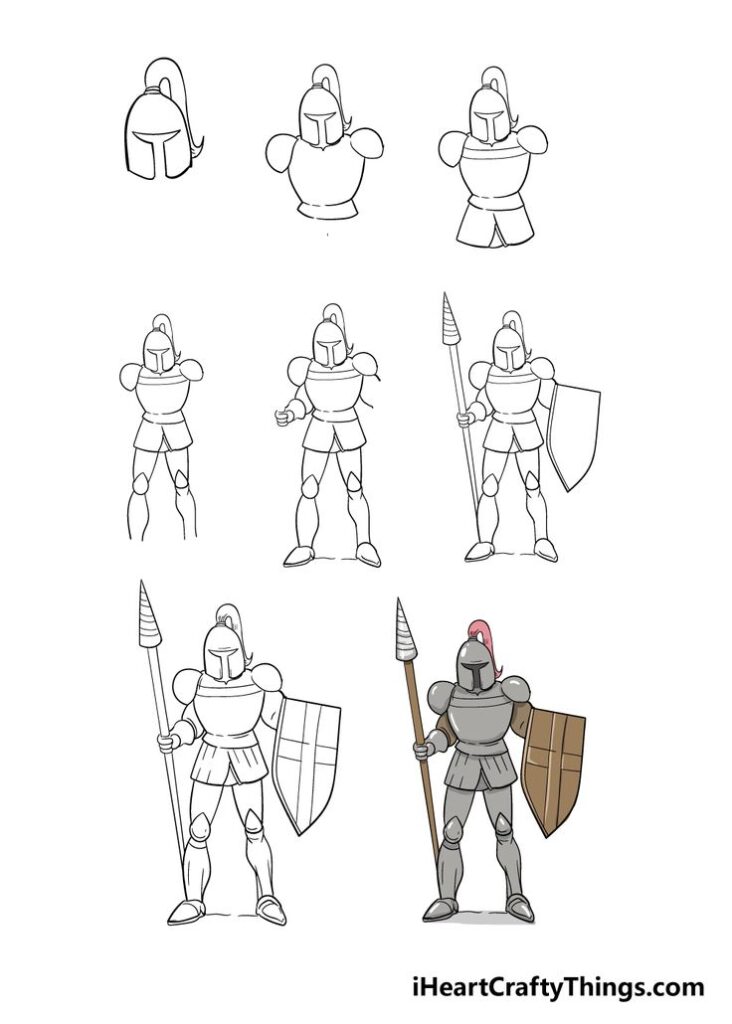
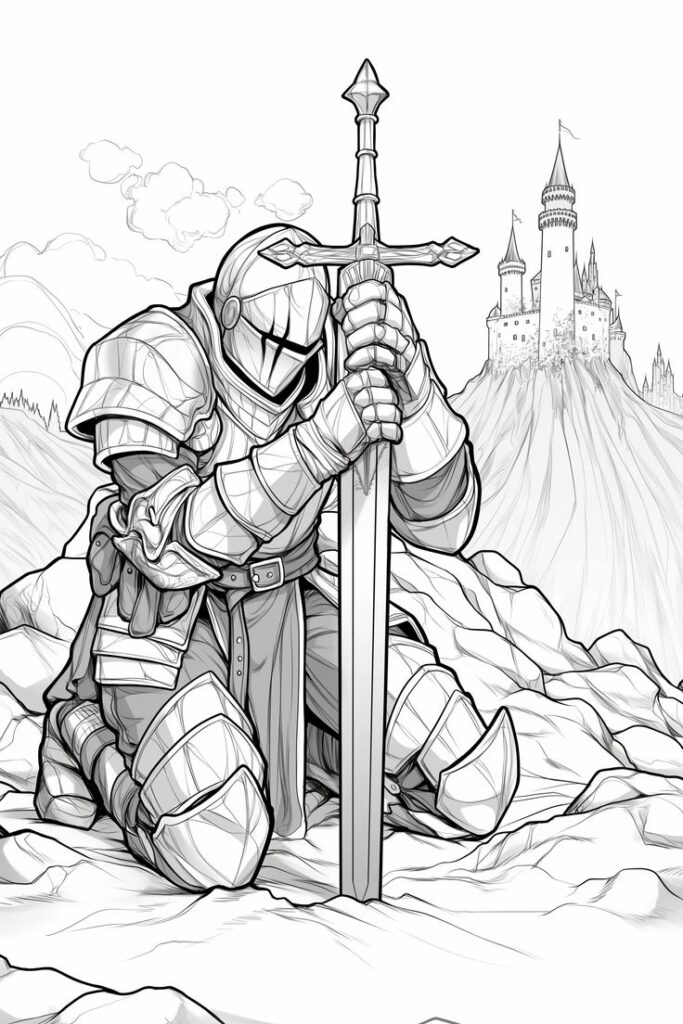
- Basic Pose and Robust Proportions: Start with a strong, imposing pose. A knight might be standing tall, ready for battle, or resting with his sword. Use slightly broader shapes for the torso and limbs compared to the princess, emphasizing strength and bulk. Think of squares and sturdy cylinders.
- Refine the Body: Once the basic pose is established, refine the underlying body shape. Even with armor, there’s a human form beneath it. Focus on broad shoulders and a strong stance.
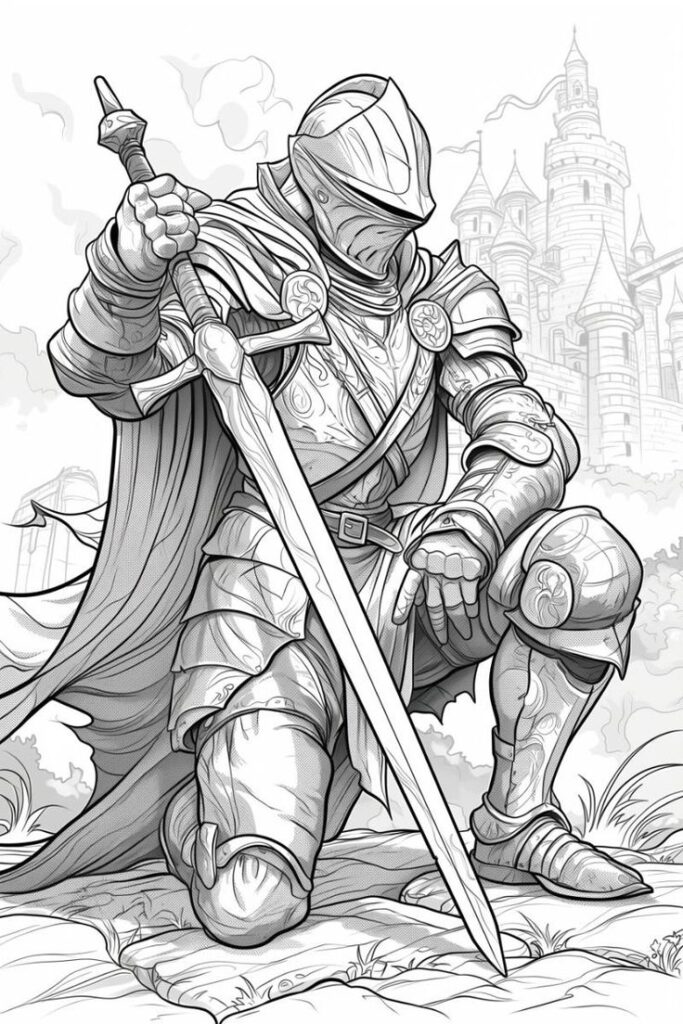
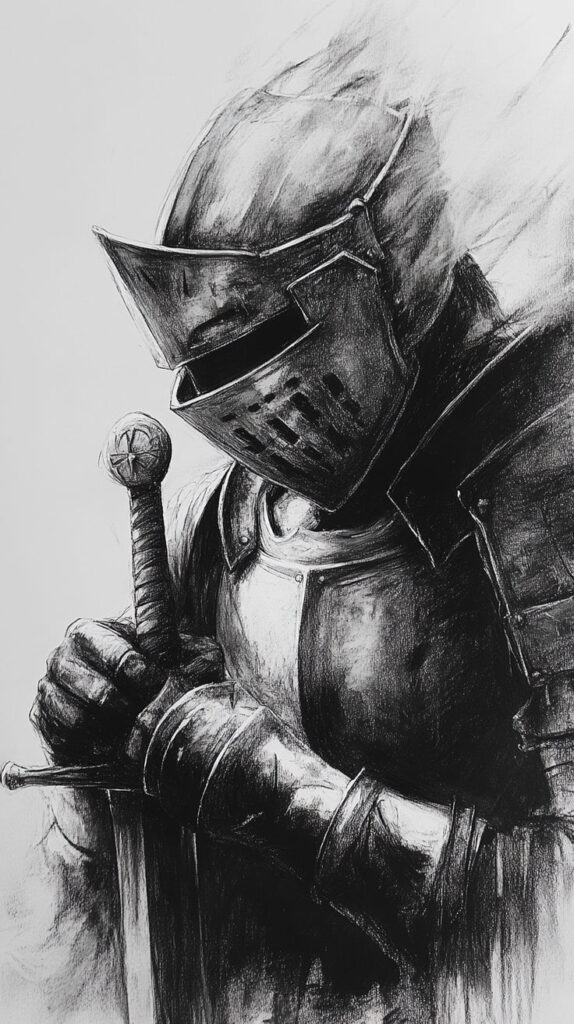
- The Armor: Layers of Protection: This is the most defining feature of a knight.
- Underlying Garments: Often, knights wear padded tunics or chainmail beneath their plate armor. Suggest these layers peeking out at joints or the neck.
- Plate Armor Sections: Draw the armor in sections, thinking about how it moves and protects.
- Torso: A chest plate (cuirass) and backplate.
- Shoulders: Large pauldrons.
- Arms: Rerebraces (upper arm), couters (elbows), vambraces (forearms).
- Legs: Cuisses (thighs), poleyns (knees), greaves (shins).
- Hands: Gauntlets.
- Joints and Articulation: Pay close attention to how the armor pieces connect. They often overlap or are joined by straps to allow for movement. Don’t draw it as a single, rigid shell.
- Helmet: Choose a style: a visored great helm, a closed helm, or an open-faced bascinet. Make sure it looks secure on his head.
- Weapons and Shield: Tools of Heroism:
- Sword: Draw a straight sword (longsword, arming sword) or a larger greatsword. Ensure the hilt and crossguard are visible.
- Shield: A classic kite shield or a heater shield. Consider adding a crest or emblem.
- Other Gear: Dagger, scabbard, belt, or even a cloak draped over his shoulders can add character.
- Details and Texture:
- Metal Texture: Suggest the sheen of metal with subtle highlights and shadows. Add lines to indicate rivets or plate edges.
- Fabric: If parts of his tunic or a cape are visible, draw them with appropriate folds.
- Scars/Wear (Optional): A seasoned knight might have dents or scratches on his armor, telling a story of past battles.
- Finishing Touches: Erase construction lines. Darken the outlines of the armor, adding depth and weight. Focus on making the armor look solid and functional.

Bringing Them Together: Interaction and Composition
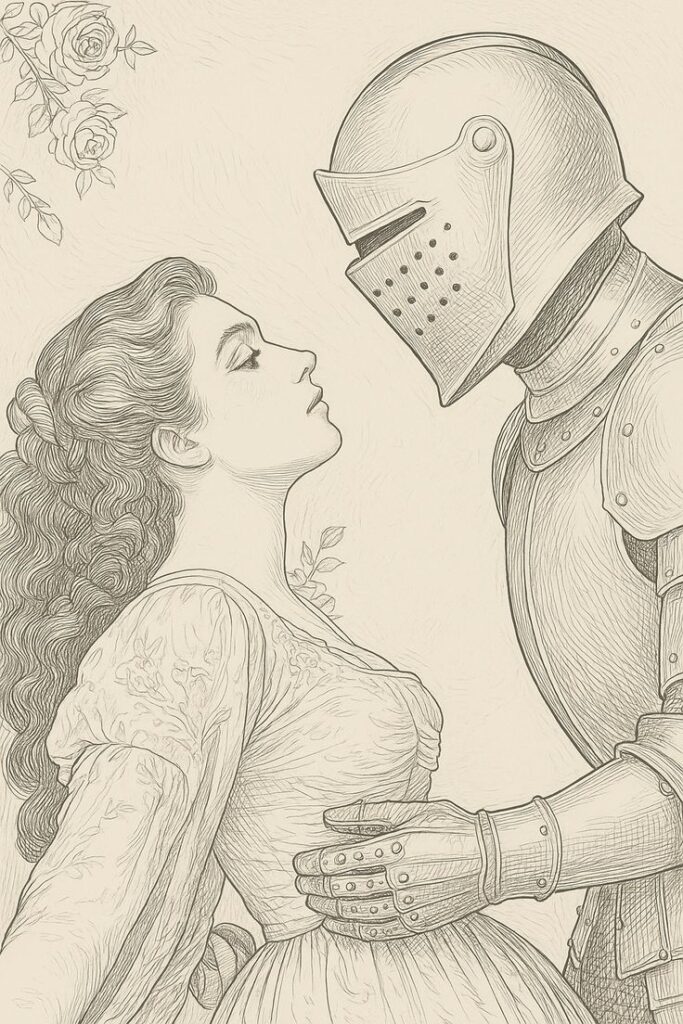
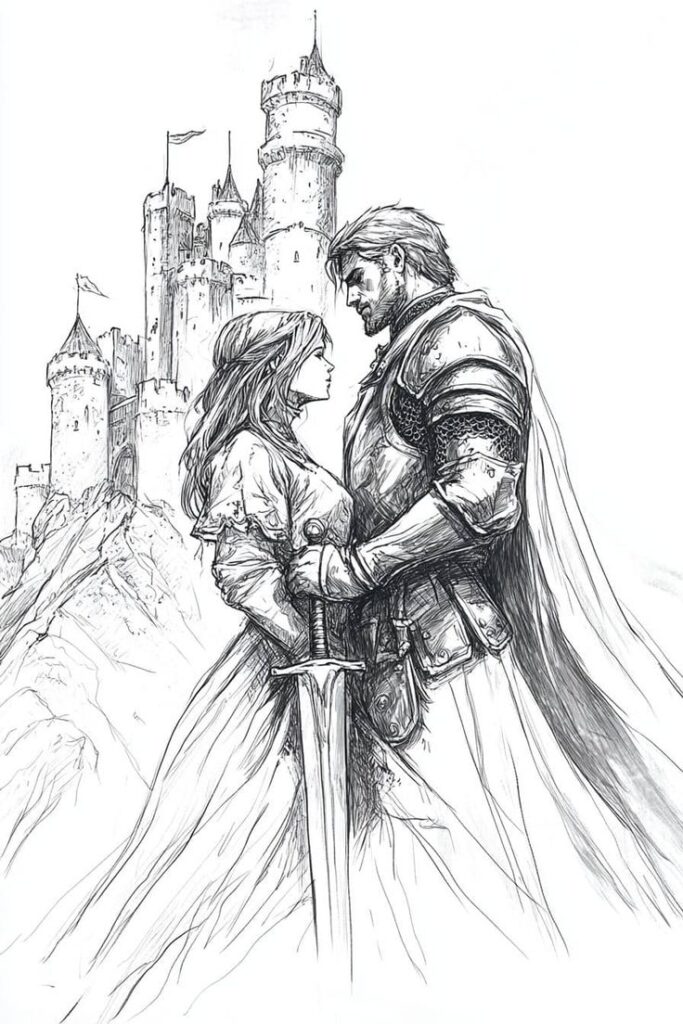
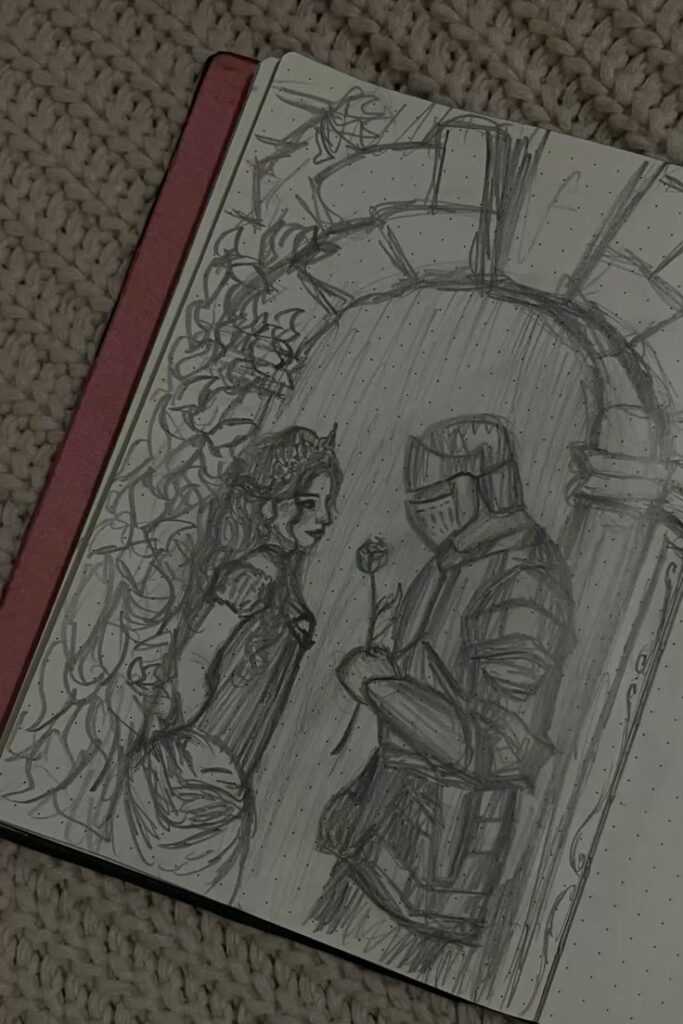
Once you’re comfortable drawing individual characters, the real magic happens when you bring them together. How do they interact? What story are they telling?
Posing for a Narrative
- Interaction: Are they standing side-by-side, holding hands, or is the knight kneeling to the princess? Consider their gaze – are they looking at each other, or outward at the viewer?
- Balance: When drawing two characters, ensure the composition feels balanced. One shouldn’t overwhelm the other unless that’s your specific intention.
- Space: Think about the space between them. Are they close for intimacy or distanced to show formality?
- Background (Optional): A simple background can enhance the narrative. Are they in a castle courtyard, a royal garden, or a mystical forest? A cozy reading nook might not be their typical setting, but for a lighter, more domestic scene, it could offer a charming contrast! Even subtle hints of a setting can make a big difference.

Adding Detail and Personality: The Spark of Life
This is where your characters truly come alive. Details transform basic figures into memorable individuals.
Expressions and Emotions
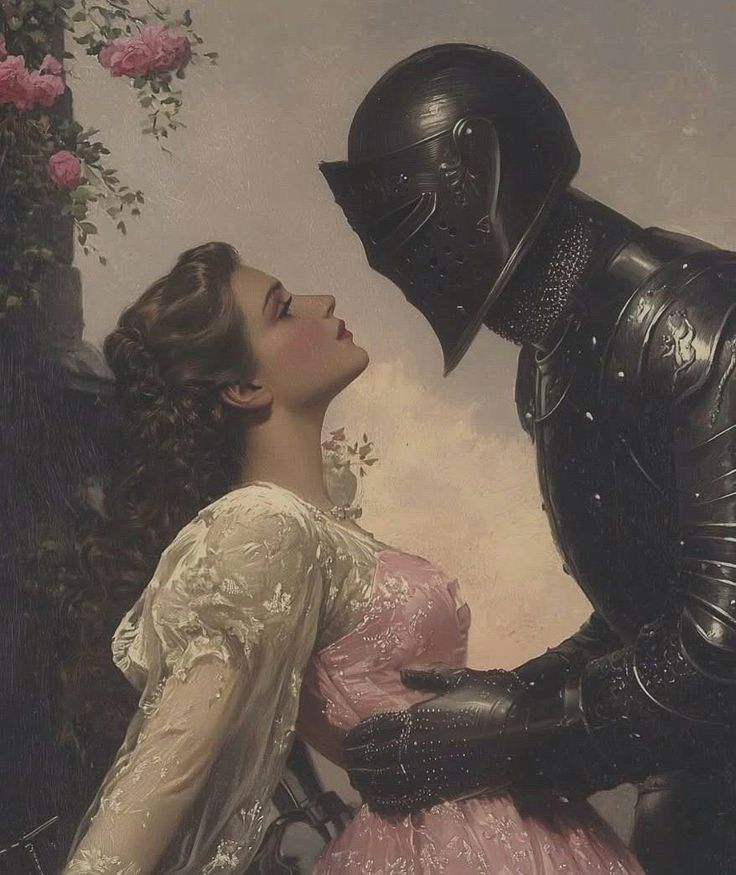
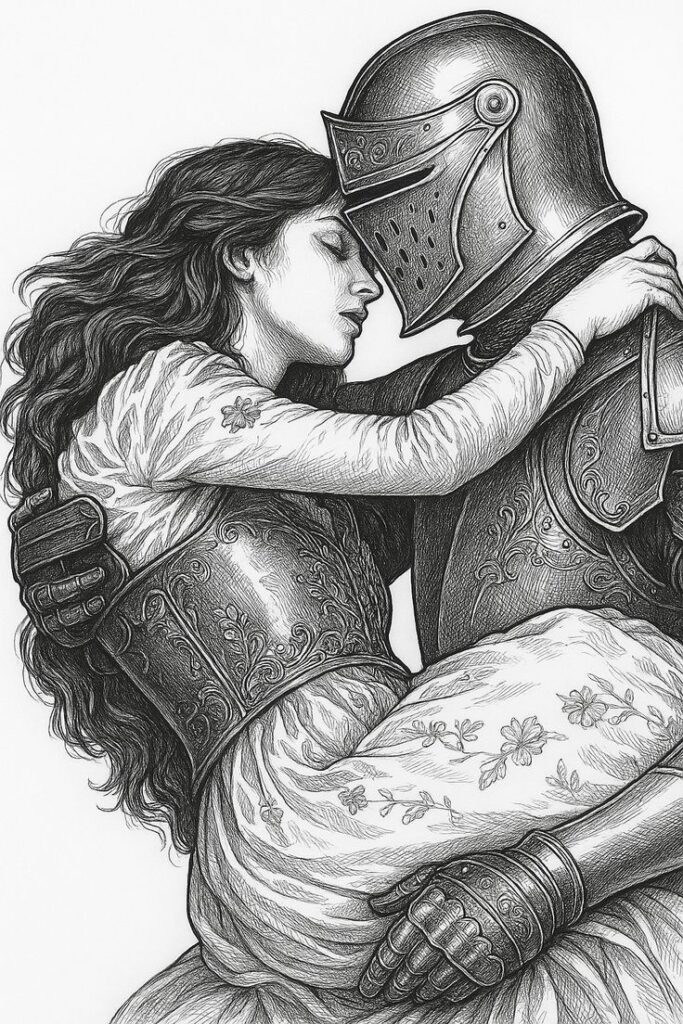
Don’t just draw neutral faces. What are your characters feeling?
- Princess: Is she happy, worried, regal, or compassionate? Slight changes in eyebrow angle, eye shape, and mouth curve can convey a world of emotion.
- Knight: Is he determined, weary, loyal, or protective? A furrowed brow, a firm jawline, or a subtle gaze can show his inner state.
Fabrics and Textures
Pay attention to how different materials behave.
- Princess’s Gown: Silk will fall differently than velvet or cotton. Consider gathers, folds, and how light reflects off the fabric.
- Knight’s Tunic/Cape: Wool or linen will have heavier, sharper folds than a lighter material.
- Armor: As mentioned, think about the sheen of polished metal, or the rougher texture of worn steel.
Shading and Lighting: Creating Depth
Shading gives your drawing three-dimensionality.
- Light Source: Decide where your light is coming from. This will dictate where highlights and shadows fall.
- Form Shadows: These are the shadows that define the shape of your characters (e.g., under the chin, inside folds of fabric, on the underside of armor).
- Cast Shadows: These are shadows cast by one object onto another (e.g., a hand casting a shadow on a dress, a helmet casting a shadow on the neck armor).
- Values: Use a range of values (light to dark) to make your drawing pop. Don’t be afraid to go dark in some areas to create contrast.
Background Elements: Enhancing the Story
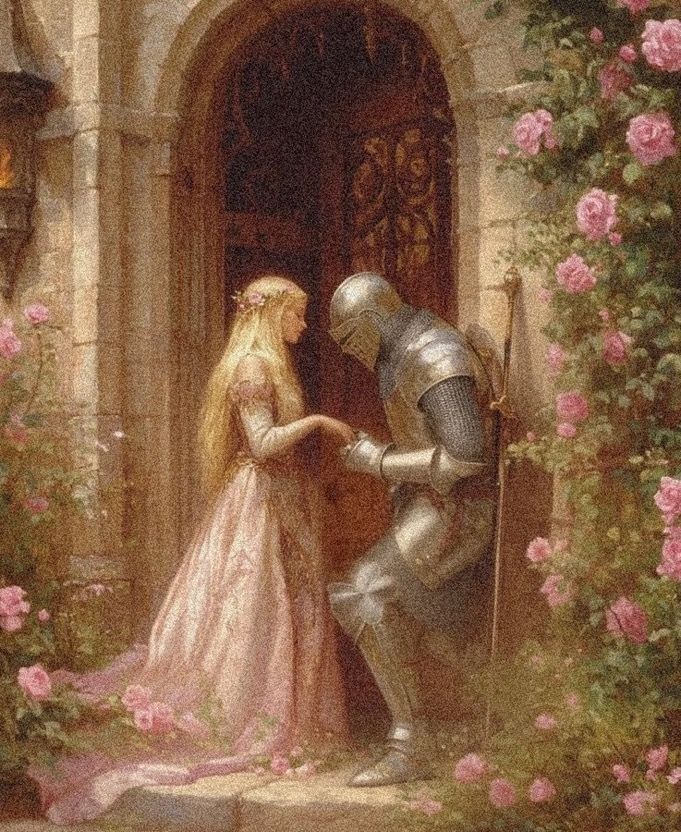
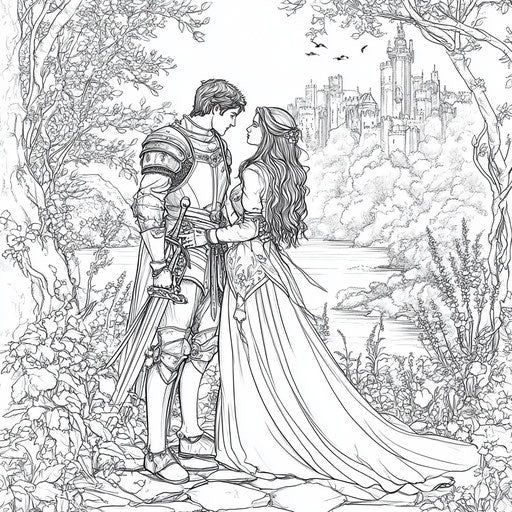
Even a simple background can add context and depth.
- Castle Features: Stone walls, archways, banners, or even a distant tower.
- Nature Elements: Trees, flowers, a mountain range, or a starlit sky.
- Props: A horse, a royal standard, a small animal, or a fallen shield.
- Consider using elements that reflect their personalities or the story you want to tell. Are they in a grand hall with fireplaces or an open field?
Practice Makes Perfect (and Fun!)
Drawing is a skill that improves with consistent practice. Don’t get discouraged if your first few attempts aren’t exactly what you envisioned. Every line is a learning experience!
Embrace the Journey
- Sketch Regularly: Dedicate time each day or week to draw. Even quick 10-minute sketches can help build muscle memory and observational skills.
- Experiment with Styles: Don’t feel confined to one look. Try different drawing styles, from realistic to more cartoony or stylized. You might discover a unique personal style along the way.
- Study and Learn: Look at the work of other artists. Analyze how they draw clothing, anatomy, and expressions. Take inspiration from various sources, and remember that finding top 10 sources of inspiration for designers and artists can be incredibly helpful for your creative journey.
- Don’t Be Afraid to Fail: Mistakes are part of the learning process. Embrace them as opportunities to improve.
- Have Fun! Most importantly, enjoy the process. Drawing should be a joyous and creative outlet.
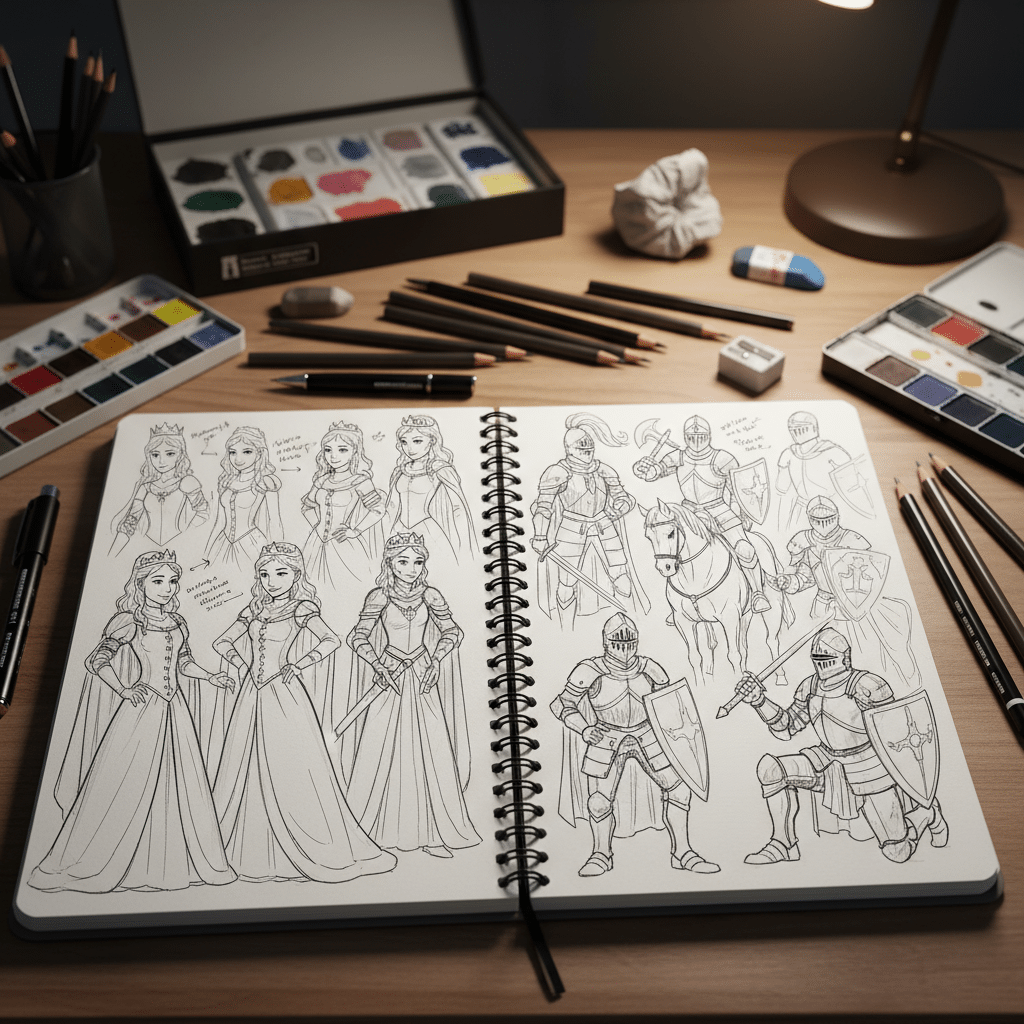
By breaking down the process into manageable steps, focusing on foundational skills, and dedicating time to practice, you’ll soon be able to draw captivating princesses and valiant knights with confidence and flair.
Your Artistic Quest Awaits!
Congratulations, aspiring artist! You’ve journeyed through the steps of learning how to draw a princess and knight. From understanding basic proportions to adding intricate armor and flowing gowns, you now have the tools and knowledge to bring these iconic characters to life. Remember, art is a journey, not a destination. Each stroke of your pencil is a step forward, a chance to express your unique vision. Don’t be afraid to experiment, to deviate from the guide, and to infuse your drawings with your own personal flair.
Pick up your pencil, open your sketchbook, and let your imagination soar. The realms of fantasy are waiting for you to fill them with your magnificent creations. Who knows what other incredible characters and stories you’ll bring forth? Happy drawing!
How should I begin drawing a character like a princess or knight?
Begin with simple shapes like circles and rectangles to establish the basic pose and proportions of your character. Use these as a framework before adding more detailed features.
How do I make my characters look believable and proportionate?
Use the ‘8-head rule’ for realistic figures, and sketch the body with cylinders and circles for joints, connecting them with guidelines. Pay attention to symmetry and relative sizes.
How can I add life and personality to my characters?
Focus on drawing expressive eyes, facial details, clothing textures, and shading. Experiment with different poses, expressions, and background elements to tell a story and give your characters personality.
What are some tips for drawing realistic faces and expressions?
Start with guidelines for the face, placing the eyes, nose, and mouth in correct positions. Practice drawing different facial features and expressions to convey the character’s personality and emotions.
What basic tools do I need to start drawing a princess and knight?
To start drawing, you need a few basic tools including pencils of different hardnesses, an eraser, good quality drawing paper or a sketchbook, a ruler if you want to make guidelines, and reference images to inspire your work.
- 33shares
- Facebook0
- Pinterest33
- Twitter0
- Reddit0
