Hey there, aspiring artists and seasoned sketchers! Ever found yourself staring at a figure drawing, scratching your head, and thinking, “Something just isn’t right”? You’re definitely not alone. Figure drawing is one of the most fundamental yet challenging aspects of art. It’s where the rubber meets the road, testing your observation skills, anatomical knowledge, and understanding of form and movement. It’s also where many artists, both beginners and even those with some experience, tend to stumble. But don’t sweat it! Learning from mistakes is a crucial part of growth. In this comprehensive guide, we’re going to dive deep into 10 common figure drawing mistakes that often trip up artists, and more importantly, show you how to identify and correct them. Get ready to level up your art and bring your figures to life with newfound confidence and skill!
Why Figure Drawing Matters
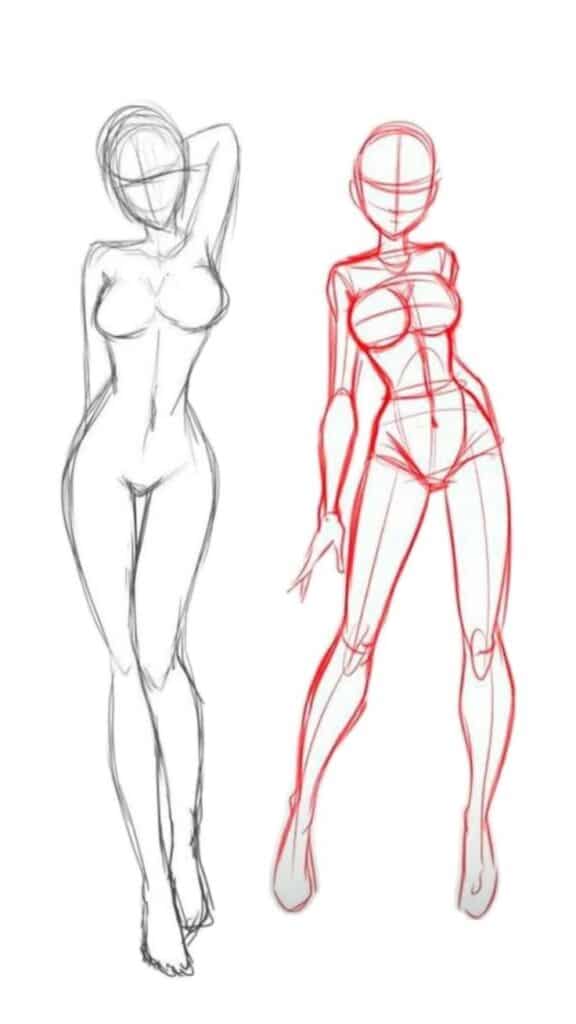
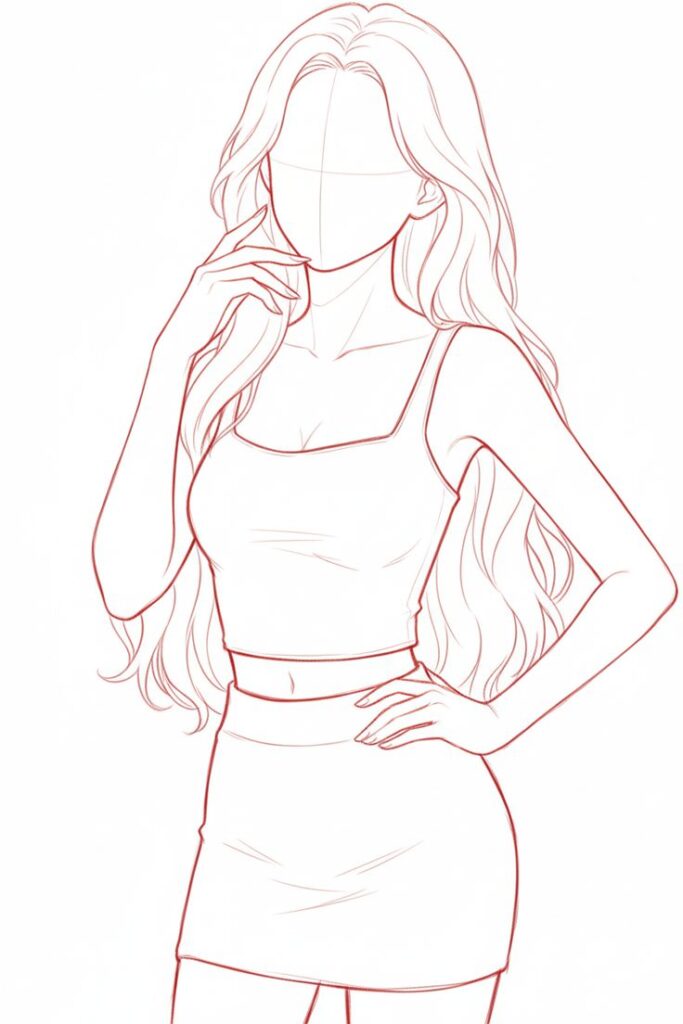
Before we jump into the common pitfalls, let’s quickly touch on why figure drawing is such a cornerstone skill. It’s not just about drawing people; it’s about understanding three-dimensional forms in space, light, shadow, balance, rhythm, and emotion. Mastering the human form equips you with foundational knowledge applicable to almost any artistic discipline, from character design to animation to portraiture. It teaches you to see, truly see, and translate that complex visual information onto a two-dimensional surface. It hones your observational skills in a way few other subjects can.
The journey of an artist is one of continuous learning and refinement. Just like designers constantly refine top 7 website footer designs or CTA button design for optimal user experience, artists must continually evaluate and improve their techniques.
1. Ignoring Basic Proportions
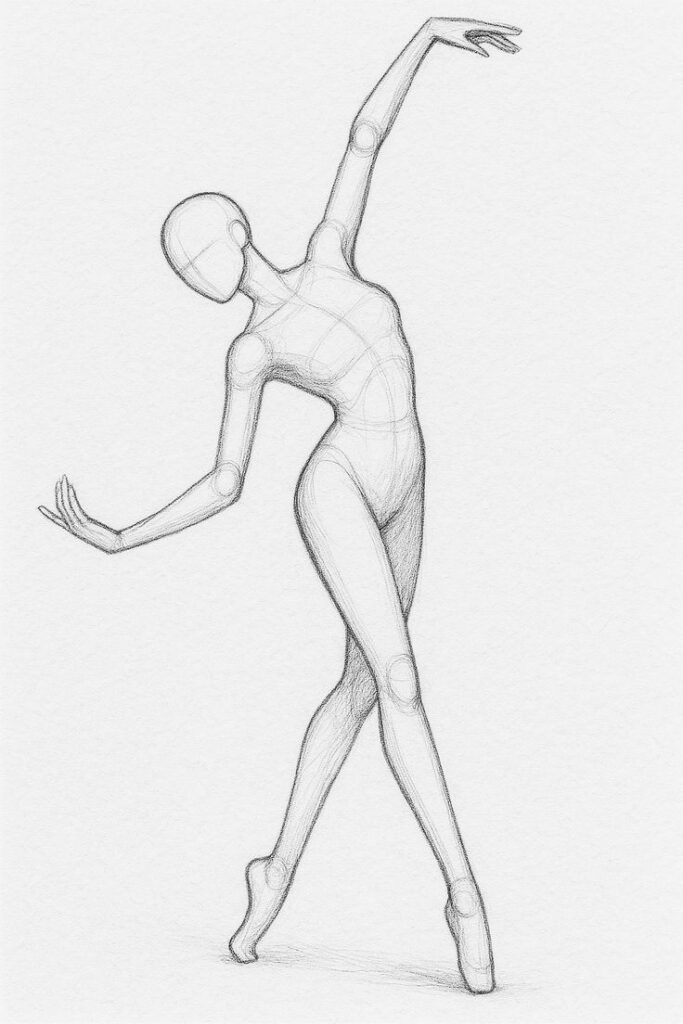
This is arguably the grandaddy of all figure drawing mistakes. You know the drill: arms too long, legs too short, head too big, or tiny hands that look like they belong to a doll. When your proportions are off, no amount of shading or detail can save the drawing from looking “wrong.” The human body has relatively consistent proportional relationships, and understanding these is your first step to creating believable figures.
The Problem
Often, artists jump straight into drawing details without establishing the overall framework. They might focus on an eye, then a nose, then a mouth, only to realize the head is disproportionate to the body. Or they’ll start with the torso and then “add on” limbs, leading to a distorted figure. This usually stems from impatience or a lack of initial planning.
The Fix
Think in units. The most common unit of measurement in figure drawing is the head. An average adult figure is roughly 7.5 to 8 heads tall.
- Establish a Baseline: Before you draw anything else, lightly sketch the top of the head and the bottom of the feet. This immediately sets the overall height.
- Measure with Your Head Unit: Divide that height into 7.5 or 8 equal sections. Mark these off lightly.
- Key Landmarks:
- Head: 1 head unit.
- Nipples/Pectorals: Around 2 heads down.
- Navel: Around 3 heads down.
- Pubic Bone: Around 4 heads down (halfway mark of the body).
- Knees: Around 6 heads down.
- Elbows: Roughly align with the navel.
- Wrist: Roughly align with the crotch/pubic bone.
- Comparative Measurement: Use your pencil as a measuring tool. Hold it out straight, arm locked, and measure the length of a head on your reference. Then compare that unit to other body parts (e.g., “the torso is about 2.5 heads long”).
- Practice with Skeletons and Mannequins: Before drawing musculature, practice drawing basic skeletal forms or articulated mannequins to internalize these proportional rules.
Consistently applying these simple measuring techniques will dramatically improve the believability and balance of your figures. It’s a foundational step that builds confidence for more complex tasks, much like understanding the basics of how to draw an eye before tackling a full portrait.
2. Stiff, Lifeless Poses
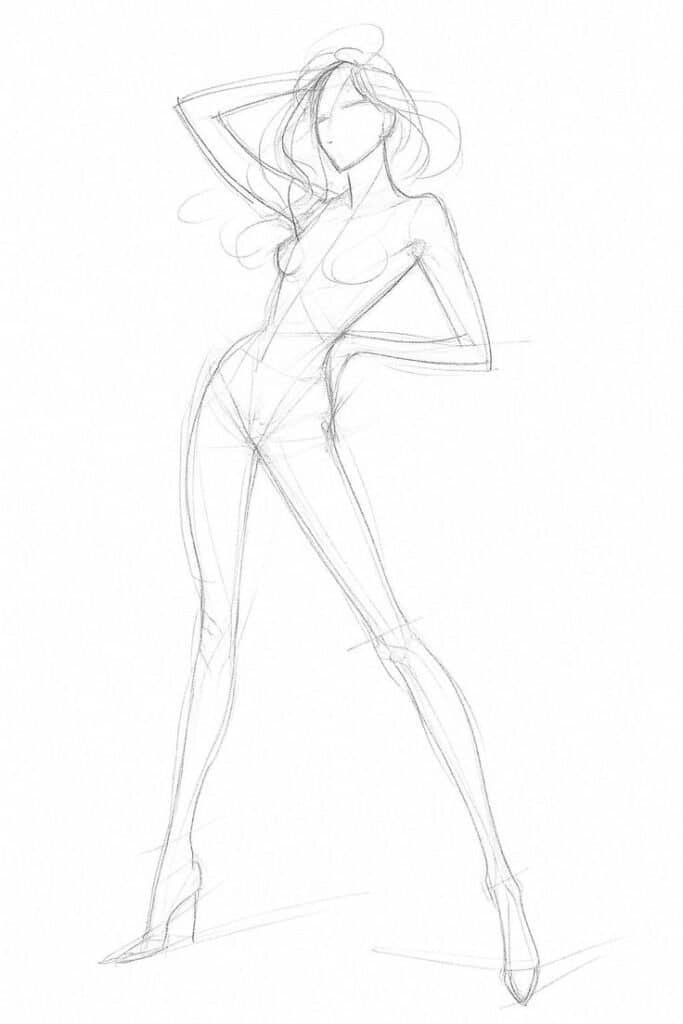
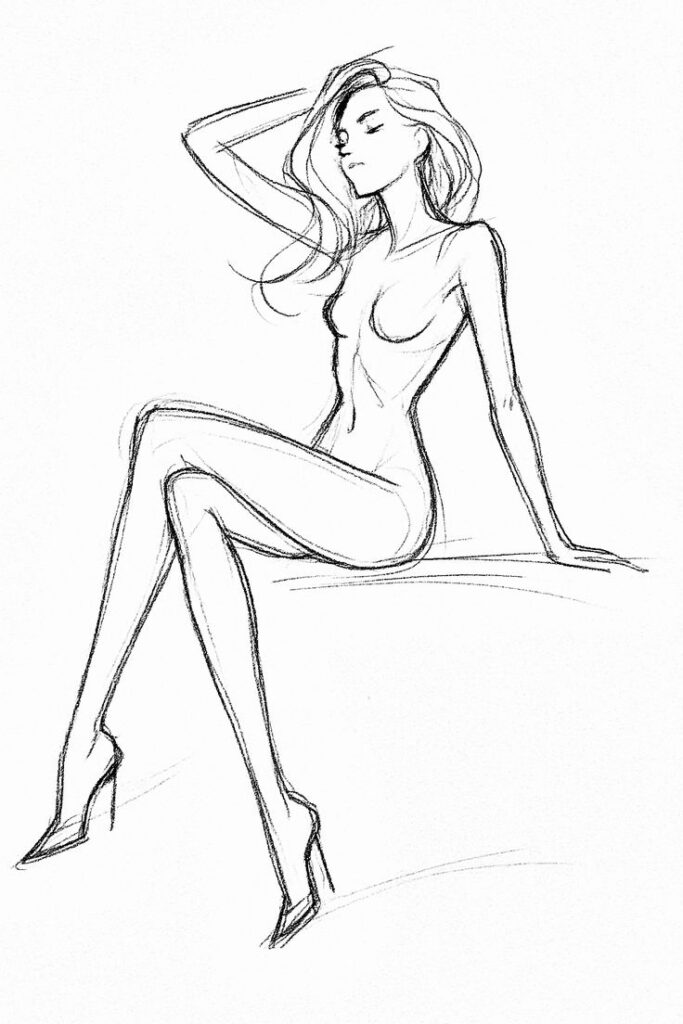
Ever seen a figure drawing that looks like a mannequin that just froze mid-movement? That’s the hallmark of a stiff, lifeless pose. The human body is incredibly dynamic, constantly shifting weight, balancing, and expressing through movement. Ignoring this fluidity makes your drawings feel static and unnatural.
The Problem
Artists often draw figures symmetrically, rigidly upright, or with limbs sticking out at awkward, unbent angles. They might focus too much on anatomical accuracy in isolation, forgetting that anatomy works in concert with gravity, balance, and the intention of the pose. This can happen when artists copy lines rather than understanding the underlying structure and flow.
The Fix
Embrace the “Line of Action.” This is a fundamental concept.
- The S-Curve: Think of an imaginary line that flows through the dominant action of the figure. It’s often an S-curve or a C-curve, indicating the spine’s natural curvature or the overall thrust of the pose. This single line captures the energy and direction.
- Counter-Pose/Contrapposto: Notice how the body naturally counter-balances itself. If one hip is up, the opposite shoulder usually drops. This creates a subtle S-curve in the torso and a sense of relaxed, natural weight distribution.
- Flowing Gestures: Don’t just draw straight lines. Think about the arc and flow of limbs. The arm isn’t a stiff rod; it bends at the elbow and wrist, creating a natural curve. Legs have knees and ankles that allow for dynamic poses.
- Exaggerate (Slightly): Sometimes, a slight exaggeration of the line of action can make a pose feel even more dynamic and expressive. Anime artists, for instance, are masters of this.
Start every figure drawing with a very light, flowing line of action before adding any mass or detail. It’s like mapping out the photoshoot ideas before you even touch the camera – you get the overall vibe down first. This will instantly inject energy and naturalism into your figures, even in static poses.
3. Over-Relying on Outlines

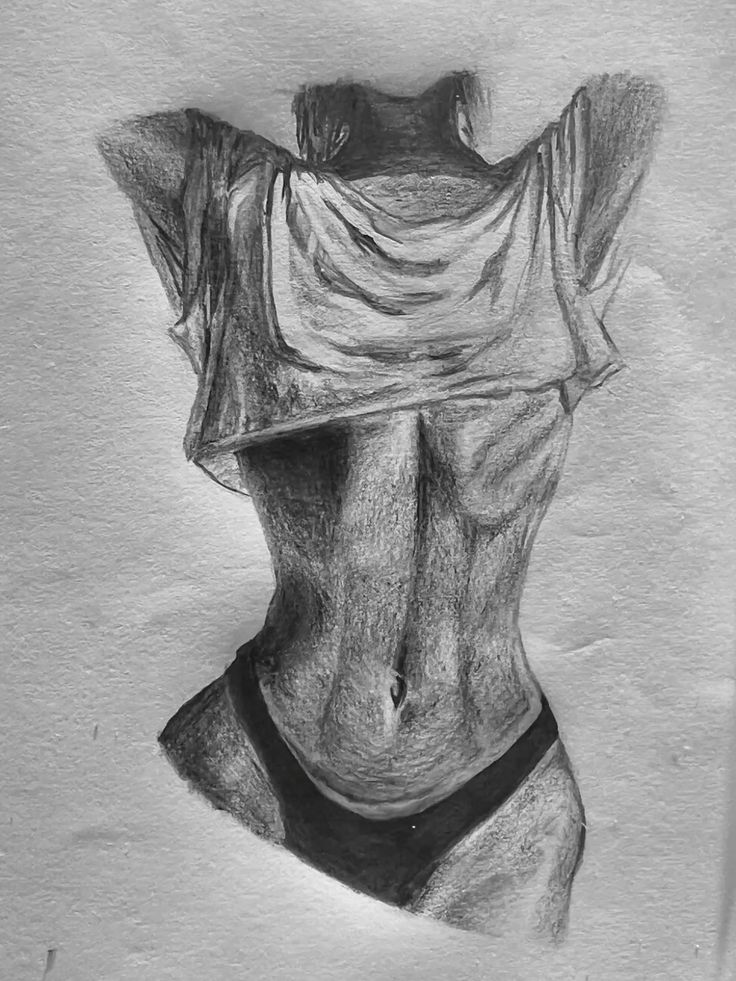
Many beginners mistakenly believe that drawing is all about drawing a perfect outline. They meticulously trace the contour of the figure, focusing solely on the edges, and then feel lost when it comes to making the figure look three-dimensional. This results in flat, two-dimensional drawings that lack volume and form.
The Problem
An outline-centric approach often ignores the fact that forms exist in three dimensions. The body isn’t a flat shape with a line around it; it’s a collection of overlapping, curving, and receding masses. Focusing on a single, continuous outline fails to convey depth, weight, or the way light interacts with surfaces. It’s like trying to describe a house by just drawing its perimeter on a piece of paper – you miss all the architectural details and sense of space.
The Fix
Think in Terms of Forms and Planes.
- Gesture First, Not Outline: Start with light, sweeping gestures that indicate the overall volume and movement, not just the edges. Think of drawing through the form, as if it were transparent.
- Use Construction Shapes: Break the body down into simple 3D shapes: cylinders for limbs, spheres for joints, boxes for the rib cage and pelvis. These underlying geometric forms help you understand the volume and how different parts connect and overlap.
- Draw “Through” the Form: Imagine you can see through the figure. Draw the lines that define the back of the form, even if they’re hidden from view. This helps you understand how the form occupies space and prevents you from thinking of it as a flat cutout.
- Vary Line Weight and Implied Lines: Instead of a uniform outline, use varied line weights. Heavier lines for forms closer or in shadow, lighter lines for receding forms or highlights. Use implied lines where the form turns away from the viewer, letting the viewer’s eye complete the shape rather than drawing a continuous boundary.
- Focus on Mass and Volume: Before you even think about the contour, think about the mass of the head, the mass of the torso, the mass of the limbs. How do these masses interact and overlap?
By shifting your focus from outlining to constructing forms in space, your drawings will gain a powerful sense of three-dimensionality and weight. This approach is similar to how artists explore art ideas with gouache, building up layers of color and form rather than relying on strict outlines.
4. Neglecting Foreshortening
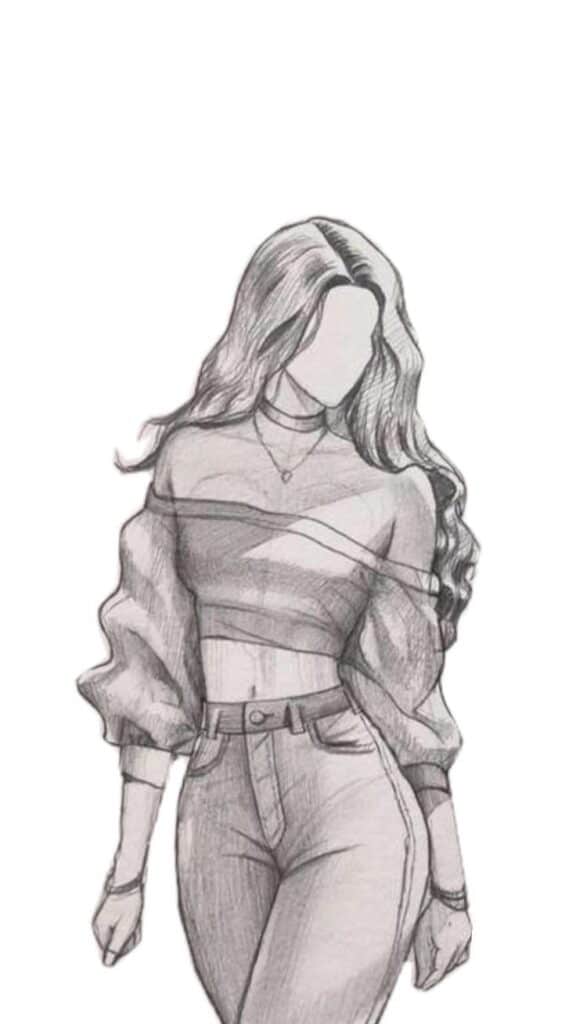
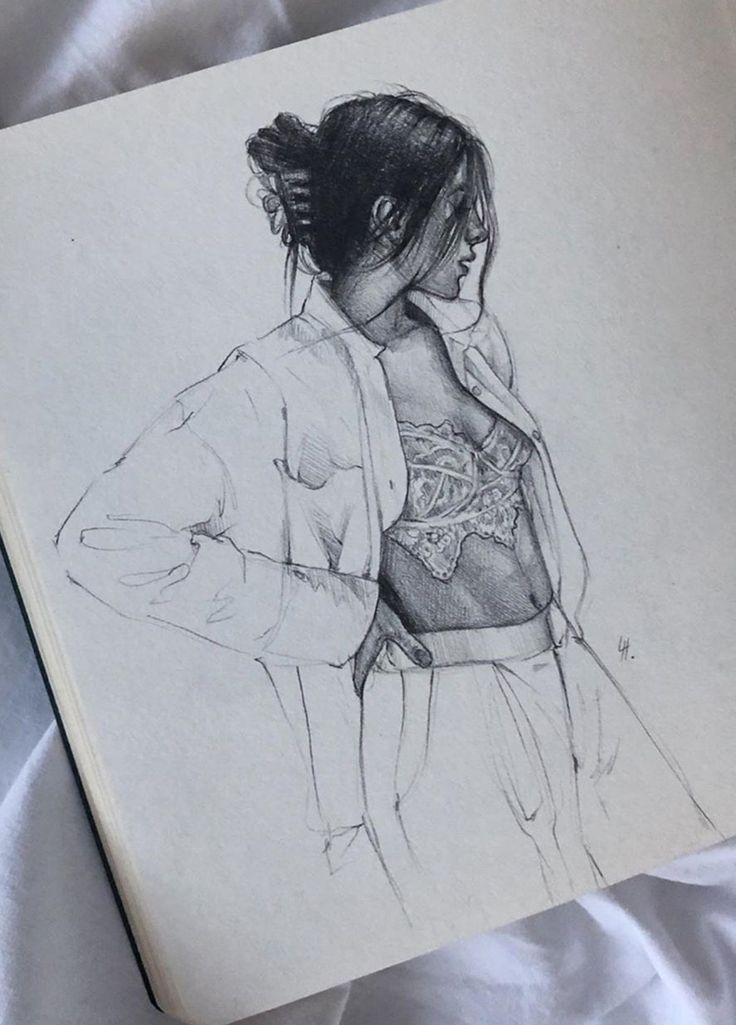
Foreshortening is one of those words that can send shivers down an artist’s spine. It’s the visual effect or optical illusion that causes an object or distance to appear shorter than it actually is because it is angled towards the viewer. In figure drawing, this happens all the time: an arm reaching forward, a leg extending towards you, or a body twisting in space. Failing to tackle foreshortening makes limbs look stubby, misplaced, or like they’re floating awkwardly in space.
The Problem
Many artists avoid foreshortened views because they’re tricky. They might flatten the perspective, making the limb look like it’s seen from the side rather than head-on, or they might draw the full length of the limb, causing it to distort the rest of the figure. This often comes from drawing what you know an arm looks like, rather than what you see when it’s foreshortened.
The Fix
Embrace Overlap and Volume.
- Overlap is Key: The most crucial element of foreshortening is overlap. When a limb is foreshortened, parts of it will overlap other parts, or it will overlap the torso. These overlaps create the illusion of depth.
- Think in Cylinders: Revert to your construction shapes. A foreshortened arm is a cylinder seen at an angle. The ends of the cylinder (the circles of the upper arm and forearm) will appear as ellipses. The degree of squishiness of the ellipse tells you how much the limb is angled towards or away from you.
- Diminution: Objects or parts of objects closer to the viewer will appear larger and more detailed, while those further away will appear smaller and less distinct. Apply this principle to individual body parts.
- Negative Space (Again!): Observe the shapes around the foreshortened limb. These negative spaces can often give you more accurate information about the angles and proportions than trying to draw the limb itself.
- Practice with Extreme Poses: Actively seek out references with strong foreshortening. Draw arms reaching, legs kicking, figures reclining. Start with simple shapes and gradually add detail. Don’t be afraid to make mistakes; it’s the only way to learn.
Mastering foreshortening adds incredible dynamism and realism to your figure drawings. It takes practice, but it’s a skill that truly elevates your art.
5. Poor Understanding of Anatomy
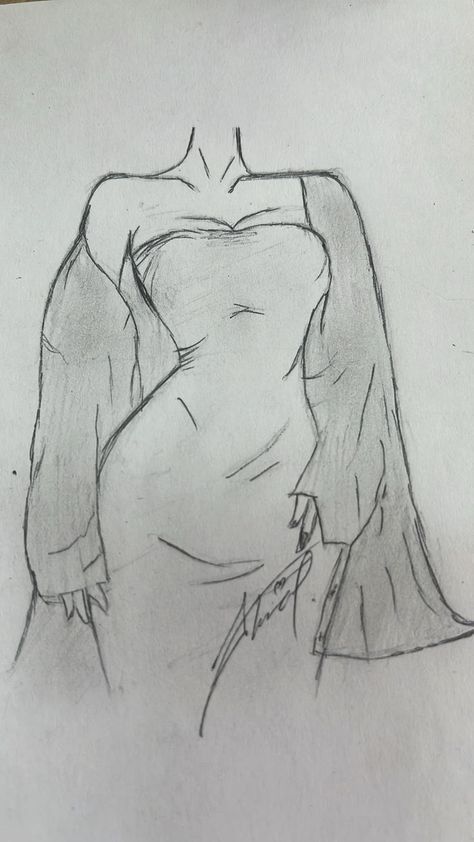
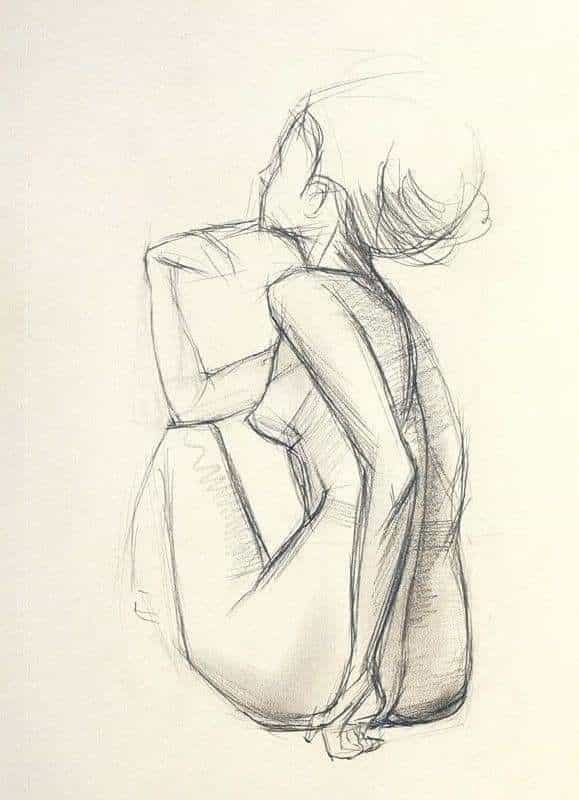
You don’t need to be a doctor to draw the human body, but a basic understanding of anatomy is absolutely essential. Without it, your figures will lack structure, appear lumpy, or have muscles that don’t quite make sense. It’s the difference between drawing a bag of potatoes and a finely sculpted statue.
The Problem
Artists often try to draw muscles and bones based on surface appearance alone, without knowing what’s underneath. This leads to arbitrary bumps and hollows, or an inability to convincingly render a figure from different angles or in different poses. They might draw lines where muscles connect but not understand why those lines are there or what function the muscle performs.
The Fix
Study the Underlying Structure.
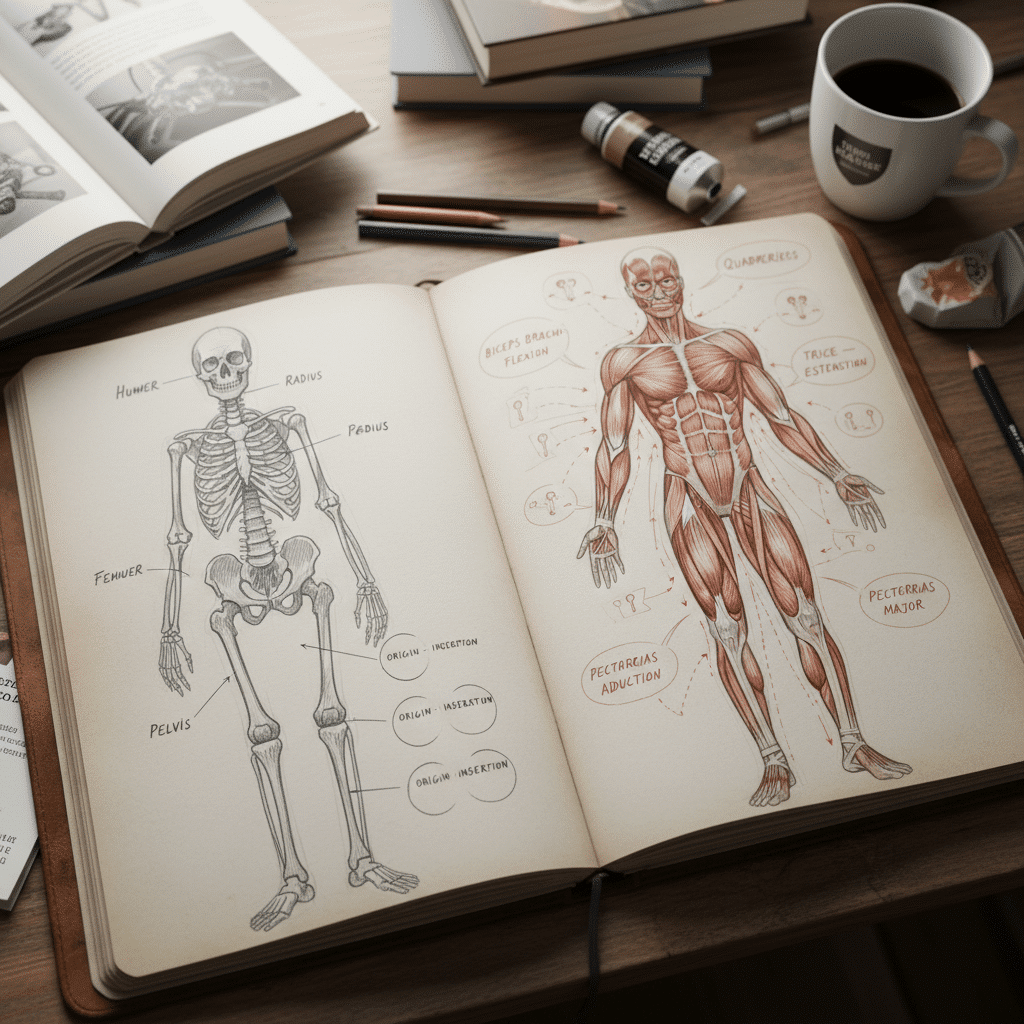
- Skeletal System First: Start with the skeleton. Understand the major bones: the skull, rib cage, pelvis, femur, tibia, fibula, humerus, radius, ulna. Know their general shapes, how they connect at joints, and how they dictate the range of motion. Think of the skeleton as the internal armature of your figure.
- Major Muscle Groups: Once you grasp the skeleton, move to the major muscle groups. You don’t need to memorize every single tiny muscle, but focus on the “big hitters” – pectorals, deltoids, biceps, triceps, abdominals, quadriceps, hamstrings, glutes, trapezius, latissimus dorsi.
- Origin and Insertion: Understand where muscles originate and where they insert. This knowledge explains why a muscle bulges in a certain way when flexed or why certain lines appear on the surface of the skin.
- Function and Movement: How do these muscles move the skeleton? How do they interact with each other? Practice drawing figures in action to see how muscles stretch and contract.
- Use Resources: Invest in good anatomical drawing books (e.g., Loomis, Hogarth, Bridgman). Watch anatomy videos for artists. Take a life drawing class, as drawing from a live model is invaluable for observing anatomy in action.
Even if you’re drawing a stylized figure, a solid foundation in anatomy will make your artistic choices more intentional and believable. It’s about understanding the engine under the hood, not just the car’s paint job.
6. Rushing the Gesture Drawing
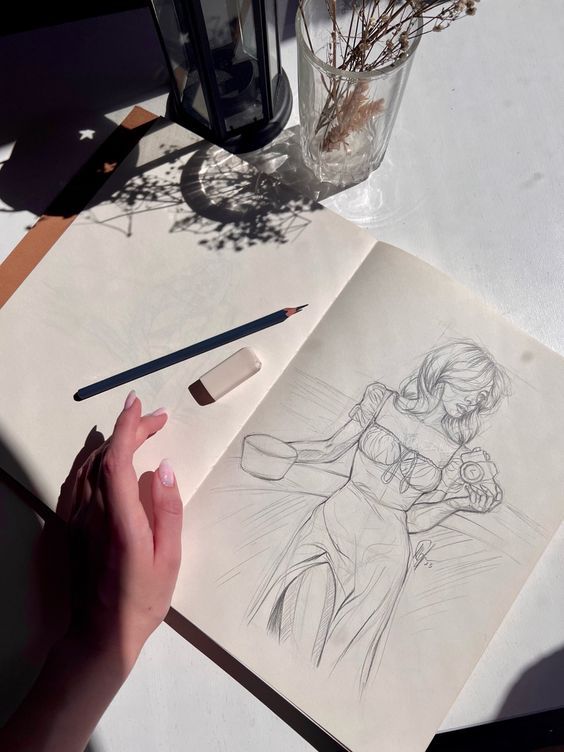
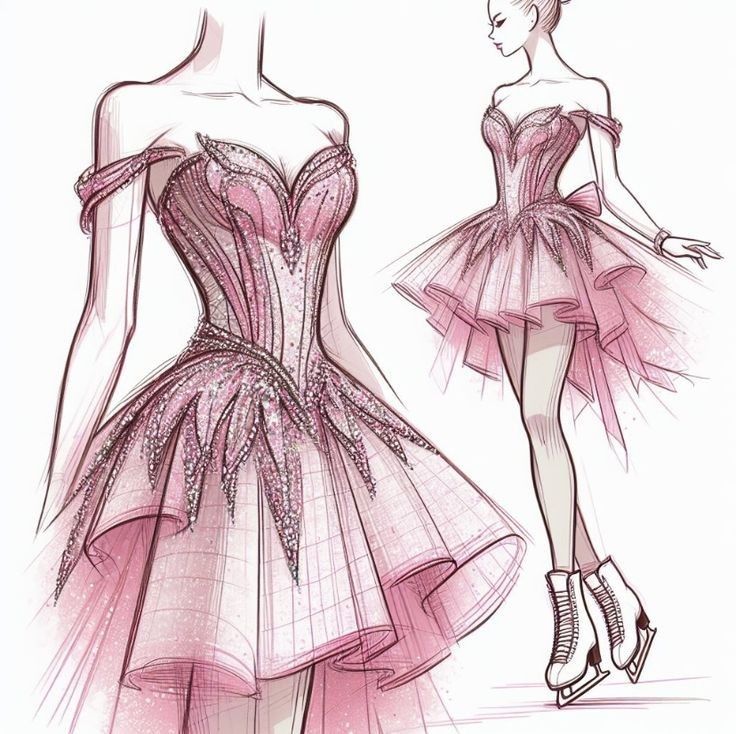
Gesture drawing is often misunderstood and, consequently, rushed. Many artists see it as just a quick sketch to get the pose down, but it’s much more. It’s the lifeblood of your drawing, the essence of movement and form captured in a few swift strokes. Rushing it or skipping it entirely often leads to all the problems we’ve already discussed: stiffness, poor proportions, and a lack of dynamism.
The Problem
Artists tend to immediately jump into “drawing” details like fingers, facial features, or muscle outlines, even in a short pose. They treat gesture like a preliminary outline, rather than an active process of understanding and expressing the body’s energy and volume. This often happens because they’re afraid of “messing up” or they feel pressure to produce a “finished” drawing quickly.
The Fix

Embrace Speed, Energy, and Imperfection.
- Focus on the “Big Picture”: Gesture drawing is about capturing the entire figure’s action and rhythm, not individual parts. Start with the line of action.
- Use Your Whole Arm: Don’t just draw with your wrist. Use your shoulder and elbow to make broad, sweeping strokes. This promotes fluidity and confidence.
- Think of Weight and Force: Where is the weight distributed? What is the strongest point of tension or compression? How does the force flow through the body?
- Time Limits are Your Friend: Practice gesture drawing with strict time limits: 30 seconds, 1 minute, 2 minutes, 5 minutes. This forces you to prioritize and simplify. You won’t have time for details; you’ll have to focus on the essential movement and mass.
- No Erasers (for a while): Try doing gesture drawings without an eraser. This encourages confidence and reduces overthinking. You’re not aiming for perfection, but for expression.
- It’s About Seeing, Not Finishing: The goal of gesture isn’t a finished drawing; it’s to train your eye to quickly perceive and translate complex forms and movements. It’s an active meditation, a dialogue between your eye and hand.
A well-executed gesture drawing is the strong foundation upon which a successful figure drawing is built. It’s akin to having a strong understanding of contemporary art trends – it informs your approach and gives your work a modern edge, even if your style is classical. Take your time, paradoxically, by working fast!
7. Drawing What You Think You See, Not What’s There

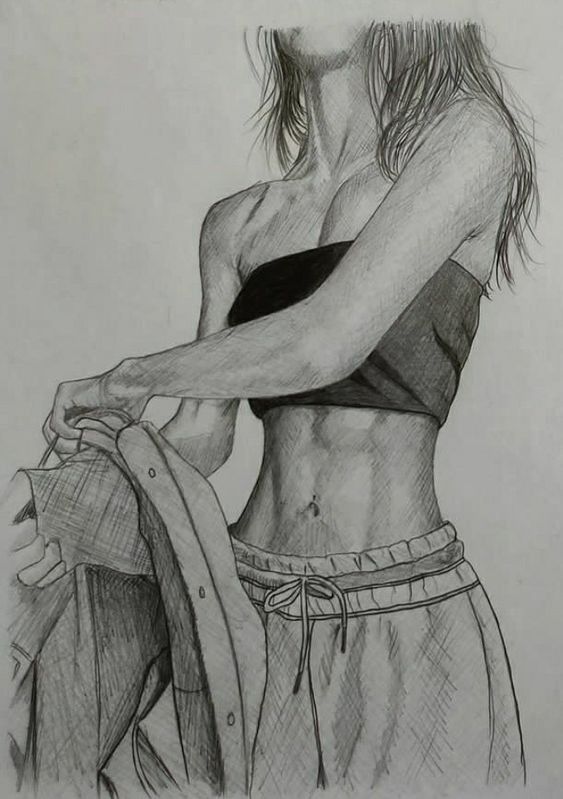
This is a cognitive trap that every artist falls into at some point. Our brains are incredibly efficient at recognizing patterns and making assumptions. When we look at a human figure, our brain immediately labels it “hand,” “nose,” “leg,” and provides us with a pre-conceived idea of what those things should look like. The problem is, this preconceived idea often overrides what’s actually in front of us, leading to generic, inaccurate, and uninspired drawings.
The Problem
Instead of carefully observing the unique angles, shapes, and relationships in a particular pose or individual, artists revert to drawing symbols or clichés of body parts. They draw “a hand” rather than that specific hand in that specific position. This results in drawings that lack individuality, specific character, and often contain subtle distortions that betray a lack of direct observation.
The Fix
Turn Off Your Brain’s Labels and Engage Pure Observation.
- Focus on Shapes, Not Objects: Try to see the figure as an abstract collection of shapes, lines, and values. Ignore what your brain tells you it is. Is that a hand, or is it a series of interlocking geometric forms? Is that an arm, or is it a large, tapering cylinder with various bumps and hollows?
- Look for Negative Space: This is incredibly powerful. The empty space around and between the figure’s forms can often be easier to draw accurately than the figure itself. If the negative space looks right, the positive space (your figure) will often fall into place.
- Measure Angles and Distances: Use your pencil to measure angles and distances on your reference. Compare the angle of a forearm to the angle of the torso. How far is the elbow from the hip? These objective measurements bypass your brain’s assumptions.
- Flip Your Reference (and Drawing): Sometimes, flipping your reference photo upside down or rotating your drawing 90 degrees can help you see it with fresh eyes, forcing you to look at shapes and lines rather than recognizable body parts.
- Practice Blind Contour Drawing: Draw without looking at your paper, keeping your eye glued to the contours of your subject. This forces intense observation and a direct connection between your eye and hand.
- Draw Imperfections: Real people have moles, scars, wrinkles, asymmetrical features. Embrace these unique details rather than smoothing them away.
Training yourself to truly see rather than assume is an ongoing practice, but it’s perhaps the most critical skill for any observational artist. It’s about being present and attentive, just like finding unique nature drawing ideas requires you to truly observe your surroundings.
8. Inconsistent Lighting and Shadows
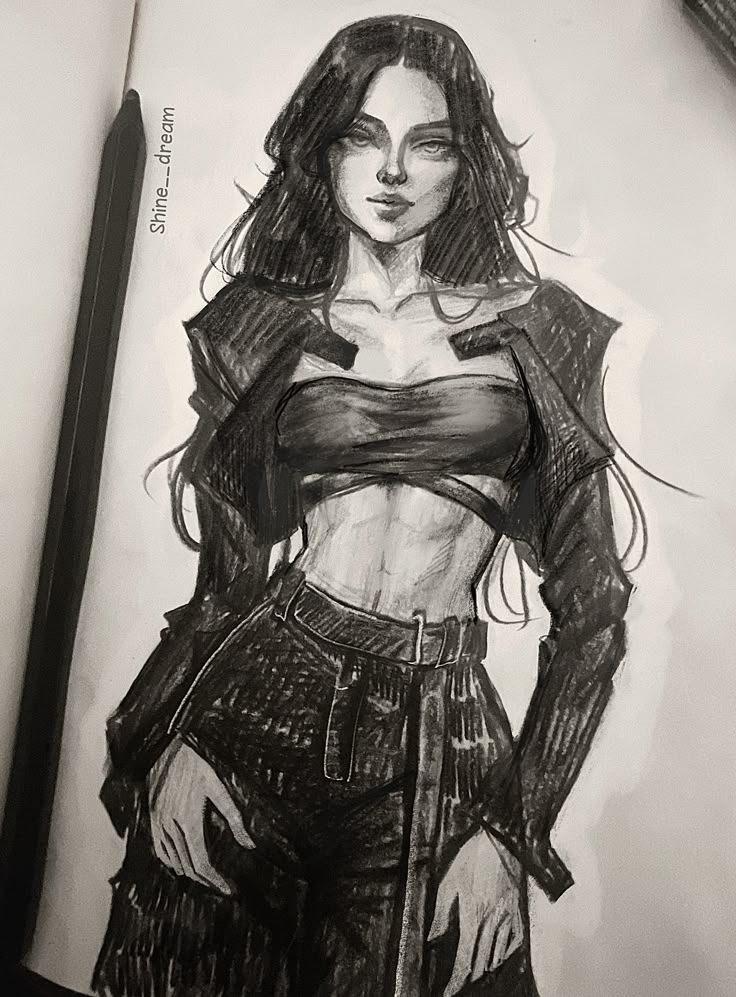
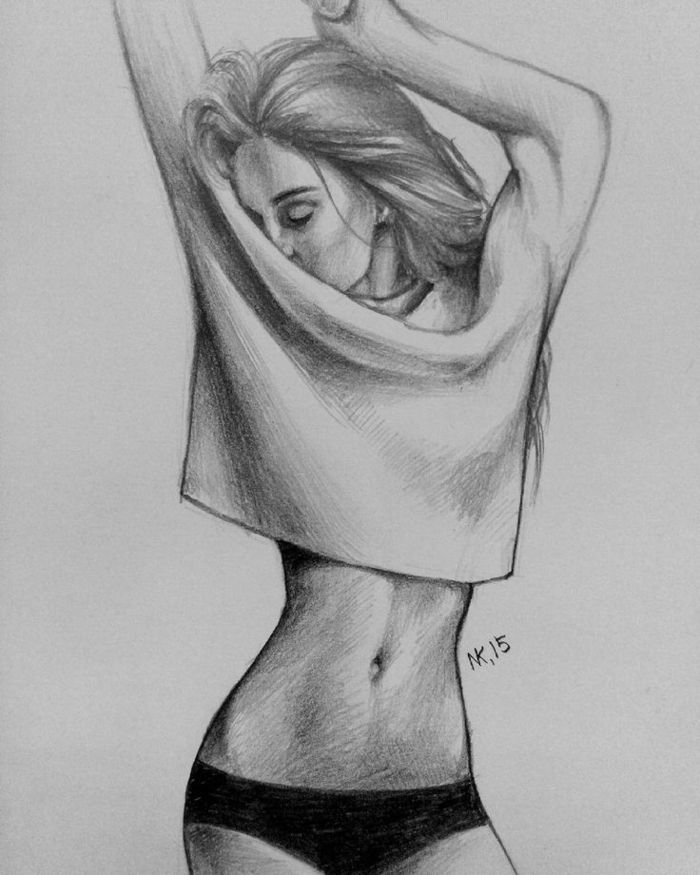
Light and shadow are what give forms their three-dimensional presence. Without a consistent light source and properly rendered shadows, your figure drawings will look flat, like they’re pasted onto the page, lacking depth and volume. Inconsistent lighting can also make a figure appear disjointed or like different parts are under different light conditions.
The Problem
Artists often add shadows haphazardly, without a clear understanding of the light source’s direction or intensity. They might shade an area because they know it “should be dark” rather than because it’s genuinely in shadow. This leads to shadows that don’t make sense, highlights that appear randomly, and ultimately, a loss of form and realism.
The Fix
Establish Your Light Source Early and Stick With It.
- Identify the Light Source: Before you even begin shading, mentally (or physically with an arrow) mark where the light is coming from. Is it from the top, side, front, back? How strong is it? Is it a single source or multiple?
- Think in Terms of Planes: Remember those construction shapes? Imagine how light hits each plane of those shapes. Planes facing the light will be lighter, planes turning away will be darker.
- Core Shadows and Cast Shadows:
- Core Shadow: The dark band on the form itself, opposite the light source, where the surface turns away from the light. This defines the form.
- Cast Shadow: The shadow an object casts onto another surface or onto itself. These often have sharper edges closer to the object and soften as they move away. Cast shadows anchor your figure to its environment and help define its relationship to other forms.
- Reflected Light: Don’t forget reflected light! Areas in shadow are rarely completely black. Light bounces off surrounding surfaces and subtly illuminates the shadow areas, giving them depth and nuance.
- Value Scale Practice: Practice shading a sphere, cube, and cylinder to understand how light falls on basic forms. This exercise is foundational for understanding light and shadow on the complex forms of the human body.
- Squint Your Eyes: When you squint, you simplify the values. You’ll see the dominant light and shadow patterns more clearly, helping you block in the major value masses correctly.
Consistent and thoughtful application of light and shadow breathes life into your figure drawings, giving them a tangible presence and depth.
9. Forgetting the Importance of Negative Space
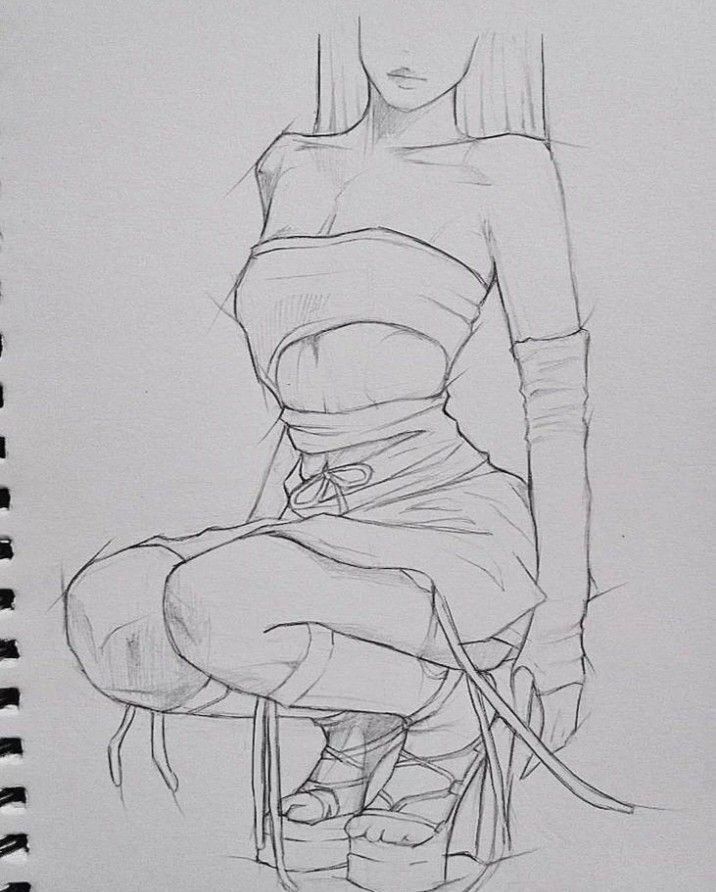

Negative space refers to the empty areas around and between the forms in your drawing. It’s the “air” that surrounds your figure. Many artists focus so intensely on the figure itself that they completely ignore these crucial spaces, missing out on a powerful tool for accuracy and composition.
The Problem
When you only focus on the positive space (the figure), you tend to distort proportions, angles, and relationships without realizing it. Your brain, again, tricks you into drawing the “thing” rather than observing the precise shapes it creates with its surroundings. This can lead to figures that look cramped, unbalanced, or inaccurately placed within their environment.
The Fix
Treat Negative Space as an Equal Partner.
- Draw the Gaps: Actively observe and draw the shapes of the spaces between limbs, between the figure and the background, or even within the figure’s own form (e.g., the space between an arm and the torso).
- Compare and Contrast: Use negative spaces to verify the accuracy of your positive forms. If the negative space shape is correct, the positive shape it defines is likely correct too. For example, if you’re drawing a figure with an arm bent at the elbow, carefully draw the shape of the empty space created by the bend of the arm.
- Compositional Balance: Negative space isn’t just for accuracy; it’s vital for composition. Well-managed negative spaces can create tension, harmony, or direct the viewer’s eye. Think about how the figure interacts with the space it occupies.
- Simplified Shapes: Break down complex negative spaces into simpler geometric forms initially. This makes them easier to perceive and draw accurately.
- Framing: Consider the edges of your drawing paper. The relationship between the figure and these edges also falls under negative space and significantly impacts the overall composition.
Incorporating negative space into your drawing process isn’t just a “trick”; it’s a fundamental shift in perception that will dramatically improve your ability to see and represent forms accurately and effectively.
10. Giving Up Too Soon / Lack of Consistent Practice
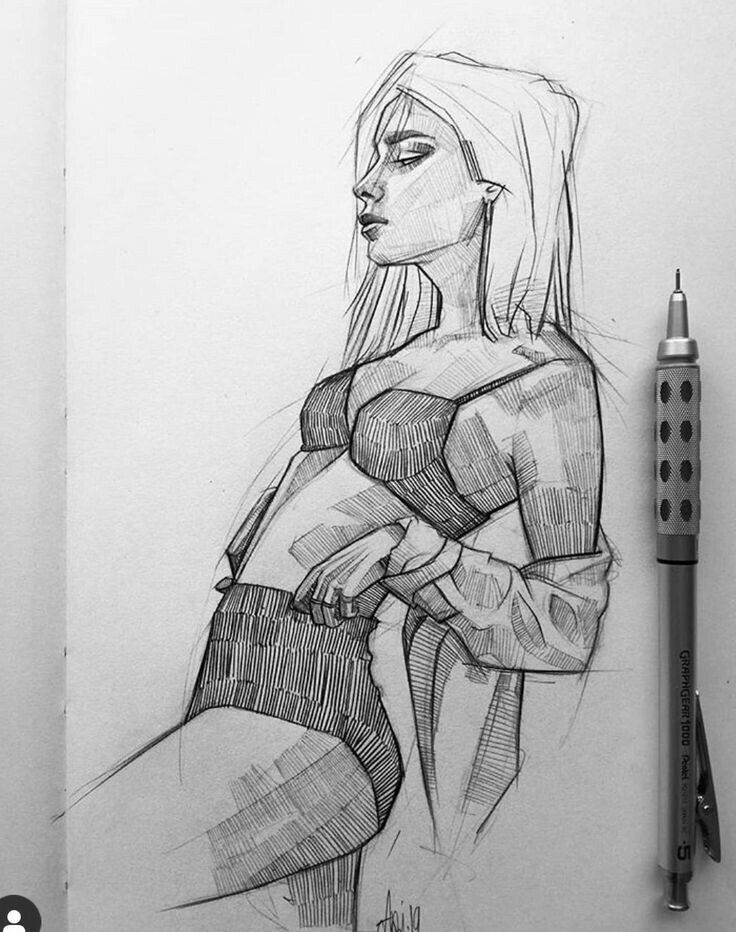
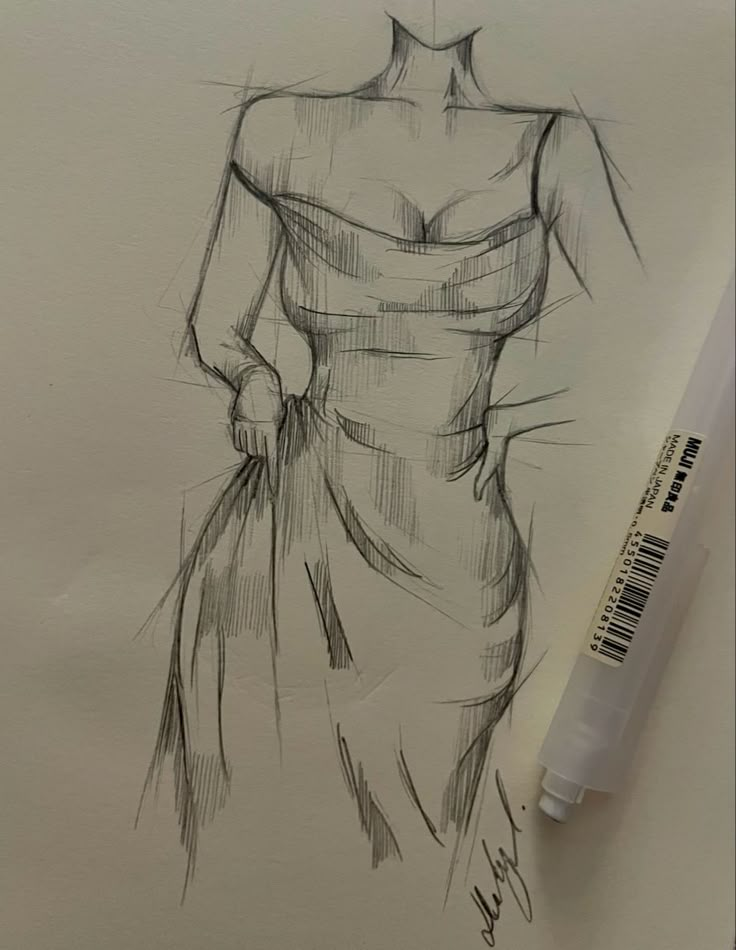
This isn’t a technical mistake, but it’s perhaps the biggest blocker to progress. Figure drawing is hard. It’s complex, frustrating, and often makes you feel like you’re not getting anywhere. Many aspiring artists hit this wall and simply stop, believing they “don’t have talent” or “can’t draw people.” But talent is often just sustained passion and consistent effort.
The Problem
The expectation of immediate perfection or rapid improvement leads to discouragement. Artists compare their early attempts to masterpieces and feel inadequate. They might practice sporadically, jump between different techniques without giving any a real chance, or avoid drawing what they find difficult (like hands or feet). This inconsistent effort means skills don’t cement, and old habits persist.
The Fix
Embrace the Journey and Consistency.
- Regular Practice is Non-Negotiable: Aim for short, regular drawing sessions rather than infrequent, long ones. Even 15-30 minutes of focused gesture drawing every day is more beneficial than a 4-hour session once a month.
- Focus on Process, Not Product: Understand that every drawing, even a “bad” one, is a learning opportunity. The goal isn’t always a masterpiece; it’s to improve your observation, your understanding, and your hand-eye coordination.
- Learn from Mistakes: Instead of seeing mistakes as failures, see them as diagnostic tools. “Why does this look wrong?” “What can I do differently next time?” This reflective practice is crucial.
- Seek Constructive Feedback: Share your work with trusted mentors, art communities, or fellow students. Be open to criticism and use it to grow.
- Set Small, Achievable Goals: Instead of “draw a perfect figure,” try “do 20 one-minute gestures focusing only on the line of action” or “spend 30 minutes studying the anatomy of the hand.”
- Keep a Sketchbook: This is your personal laboratory. Don’t worry about filling it with masterpieces; fill it with experiments, studies, and observations.
- Stay Inspired: Look at the work of artists you admire. Read art books. Attend workshops. Engage with the broader art community. Staying inspired fuels your motivation.
- Patience and Persistence: Remember that mastery takes time, often years. Celebrate small victories and be kind to yourself on the journey. Just as 15 morning habits of highly creative people emphasize consistency, so does the path to mastering figure drawing.
Ready to Bring Your Figures to Life?
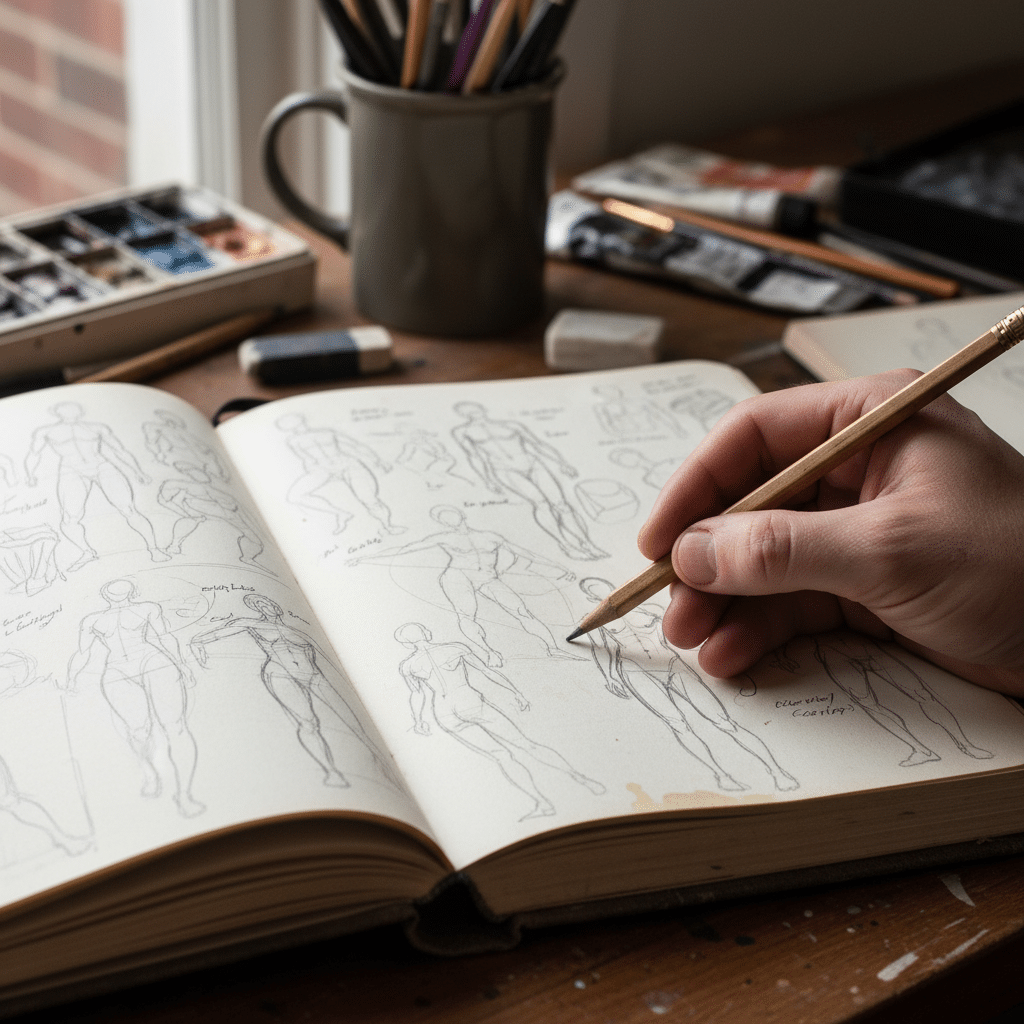
There you have it – the top 10 common figure drawing mistakes that can hold you back, along with practical, actionable advice to overcome them. From nailing proportions and capturing dynamic poses to understanding anatomy and embracing consistent practice, each point is a stepping stone on your artistic journey.
Remember, every great artist started somewhere, and their sketchbooks were probably filled with as many “mistakes” as masterpieces. The key isn’t to avoid mistakes, but to learn from them, understand why they happen, and apply that knowledge to your next drawing.
So, grab your sketchbook, sharpen your pencils, and dive in! Challenge yourself to look at the human form with fresh eyes. Observe, analyze, experiment, and most importantly, enjoy the process. Your figures are waiting to come alive on the page. Happy drawing!
- 4.3Kshares
- Facebook0
- Pinterest4.3K
- Twitter0
- Reddit0


Hello 🙂 I just wanted to say that I found this article very interesting and well explained — thank you for sharing it!
I also wanted to mention that one of the images used (the drawing of the boy leaning against a wall with a book and a bouquet of flowers) is my own artwork.
I don’t mind if you use it in the blog, but I would really appreciate it if you could add the proper credit for my work. And, if possible, please consider giving credit to the other artists whose images appear in the post as well.
Thank you in advance, and best wishes!