Have you ever looked up at the night sky, mesmerized by the twinkling celestial bodies, and wished you could capture that magic on paper? Drawing a star, at first glance, might seem like a simple task. Yet, many budding artists find themselves frustrated, creating lopsided or uneven shapes instead of the perfect, radiant symbol they envisioned. Fear not, aspiring creators! This comprehensive guide is your passport to mastering how to draw a star with ease, precision, and a whole lot of fun.
Drawing is an incredible way to express creativity, de-stress, and bring imagination to life. A star, with its universal appeal and symbolic richness, is a fantastic subject to start with or to refine your skills. From childhood doodles to intricate cosmic scenes, the ability to draw a beautiful star opens up a universe of artistic possibilities. We’re going to explore several methods, from the tried-and-true classic to more whimsical variations, ensuring you’ll find a technique that clicks with your style. Get ready to unleash your inner artist and make your drawings shine!
The Enduring Allure of the Star: More Than Just a Shape
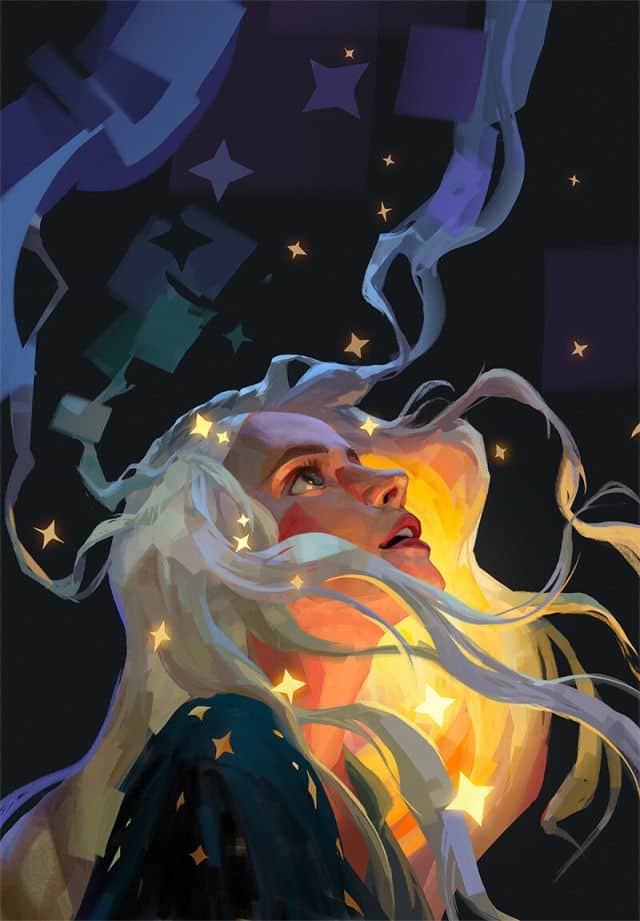
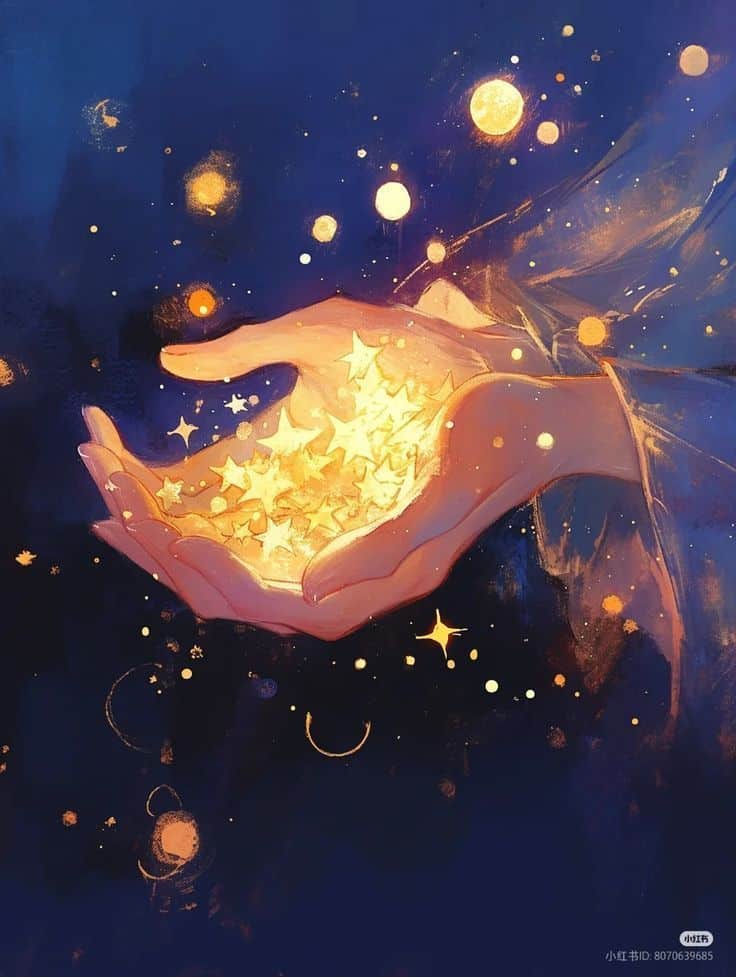
Before we dive into the nitty-gritty of lines and angles, let’s take a moment to appreciate why the star is such a beloved motif. Stars symbolize hope, guidance, magic, dreams, and achievement across countless cultures. They adorn flags, represent military honors, illuminate holiday seasons, and even guide sailors. In art, a star can convey anything from a simple doodle of success to a complex celestial map.
Understanding this background can add a layer of intention to your drawing. Are you sketching a cheerful cartoon star for a birthday card, or a sharp, iconic star for a superhero emblem? The context can subtly influence your approach. While we often think of a five-pointed star, the world of stars in art is vast and varied, including four-pointed, six-pointed, or even abstract “burst” stars. This guide will focus primarily on the universally recognized five-pointed star, but remember that these techniques can be adapted and experimented with to create all sorts of stellar shapes.
Method 1: The Classic Five-Pointed Star (The “A” Method)
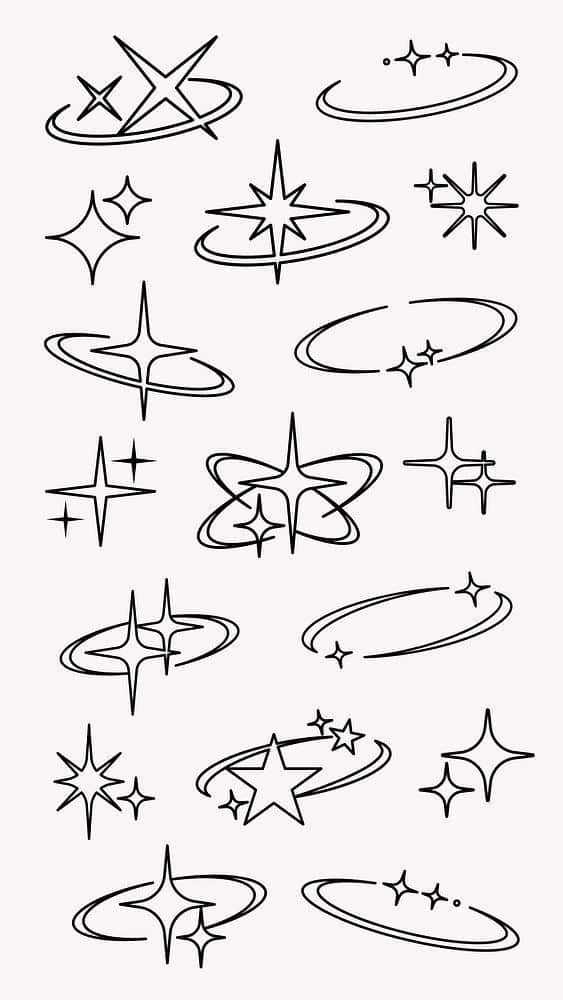
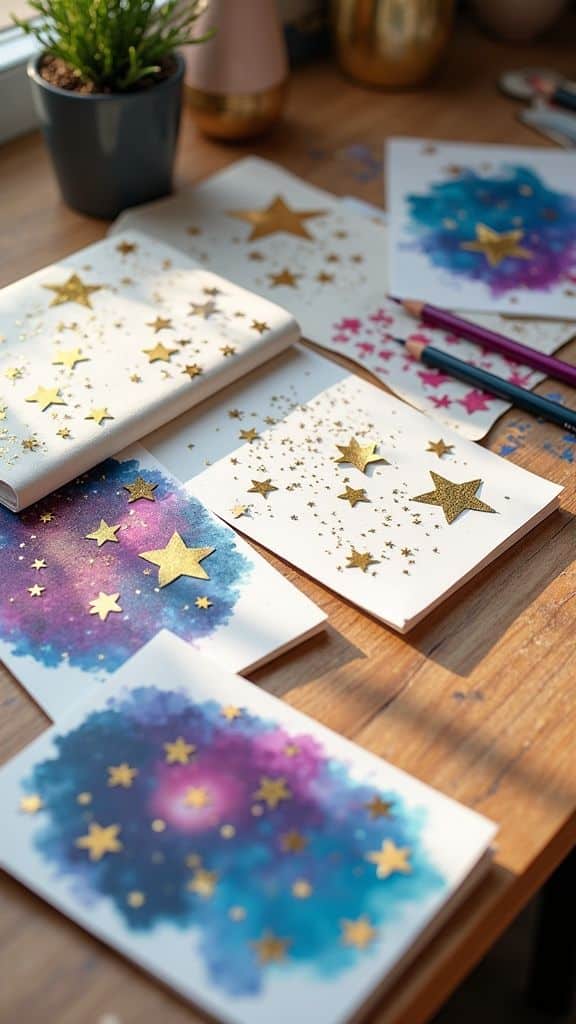
This is probably the most common and accessible way to draw a star. It’s often taught in schools and is fantastic for quick, freehand sketches. Think of it as drawing an uppercase “A” with a few extra lines. It might sound too simple, but the trick is in the connecting strokes.

Step-by-Step Guide:
- Start with an Inverted “V”: Lightly sketch an inverted “V” shape. Imagine the bottom point of your star. This “V” forms the two bottom-most points of your star and gives you a good starting angle. Don’t press too hard, as these initial lines are guides.
- Add a Horizontal Line (Almost!): From the top-left point of your inverted “V,” draw a diagonal line angling slightly upwards and to the right. Stop when you estimate it’s roughly level with where the top-right point of your star will be. This will eventually become the top-left arm of your star.
- Mirror the Line: Now, from the top-right point of your inverted “V,” draw another diagonal line, angling slightly upwards and to the left. This line should meet your previous line, creating the top point of your star. You now have a rough triangular top to your star, with two points still missing.
- Connect the Gaps: Look at the shape you have. You should have five potential points emerging. The final step is to connect the remaining open ends. From the end of your first diagonal line (the top-left arm), draw a line straight down to connect with the very bottom point of your initial inverted “V.”
- Complete the Star: Finally, from the end of your second diagonal line (the top-right arm), draw a line straight down to connect with the remaining open bottom point of your inverted “V.”
And there you have it! A classic five-pointed star. Go over your desired lines with a darker pencil or pen, then erase any guide lines. The beauty of this method lies in its organic feel. Each star you draw might be slightly different, giving it character.
Method 2: The Continuous Line Star (No Lifting Your Pen!)
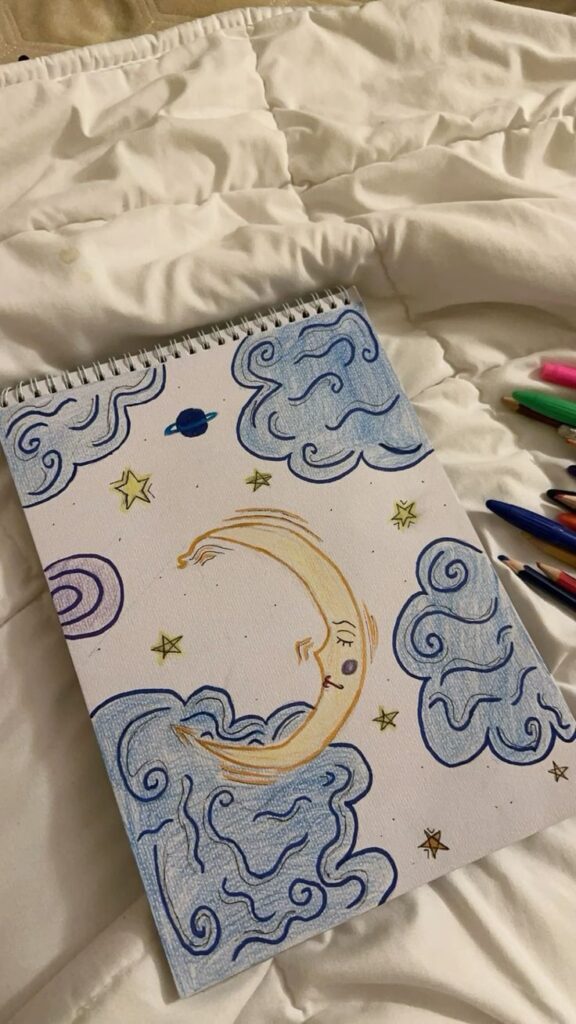
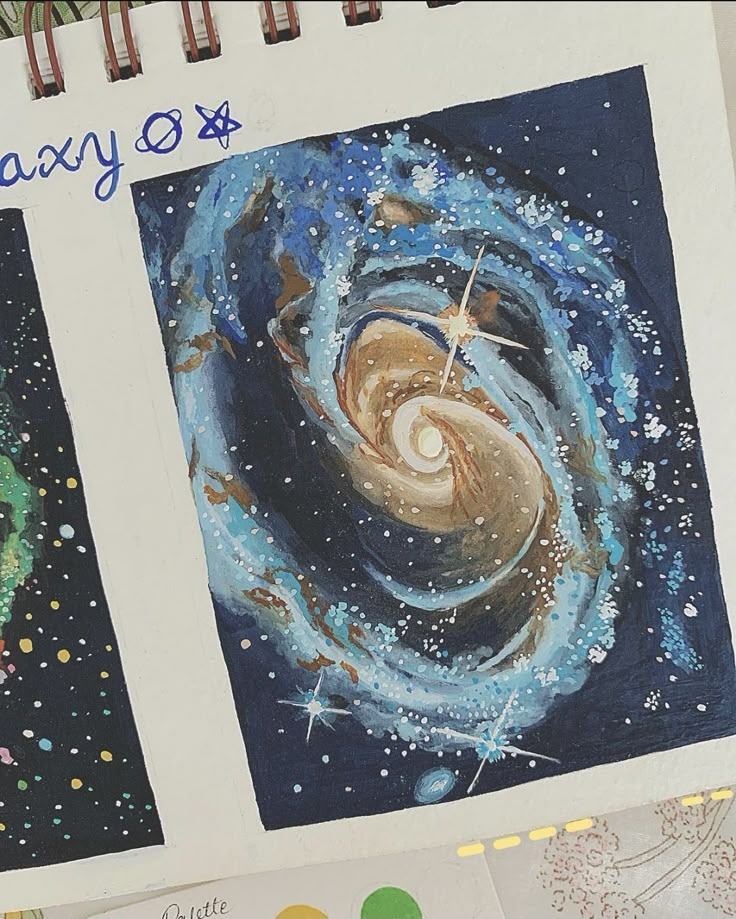
This method is super satisfying and perfect for quick doodles or adding a playful touch to your artwork. It’s often how children learn to draw stars, and it’s surprisingly effective for creating a symmetrical shape without needing to lift your pen or pencil from the paper. It’s a fantastic technique to master for things like one-line drawing ideas where fluidity is key.
Step-by-Step Guide:
- Pick Your Starting Point: Imagine where the top point of your star will be. This is where you’ll begin your journey.
- First Stroke (Top-Left): From your starting point, draw a straight line diagonally downwards to the bottom-left. This forms the first side of your star.
- Second Stroke (Across): Without lifting your pen, draw a line horizontally (or slightly angled up) across to the right, aiming for what will be the rightmost point of your star. You’re effectively crossing over the middle of your star.
- Third Stroke (Down-Left): Again, without lifting, draw a line diagonally downwards and to the left. This line will connect to the bottom-left point, completing one “valley” of the star.
- Fourth Stroke (Up-Right): Now, draw a line diagonally upwards and to the right, aiming for what will be the top-right point of your star. You’re creating another “valley.”
- Final Stroke (Home): From this point, draw a final line diagonally downwards and to the left, connecting back to your original starting point.
You should now have a perfectly formed five-pointed star, drawn with a single, unbroken line. Practice makes perfect with this method, helping you gauge the angles and lengths of your lines for a more balanced result. It’s a wonderfully meditative way to draw!
Method 3: The Geometric Star (Using a Protractor and Ruler)
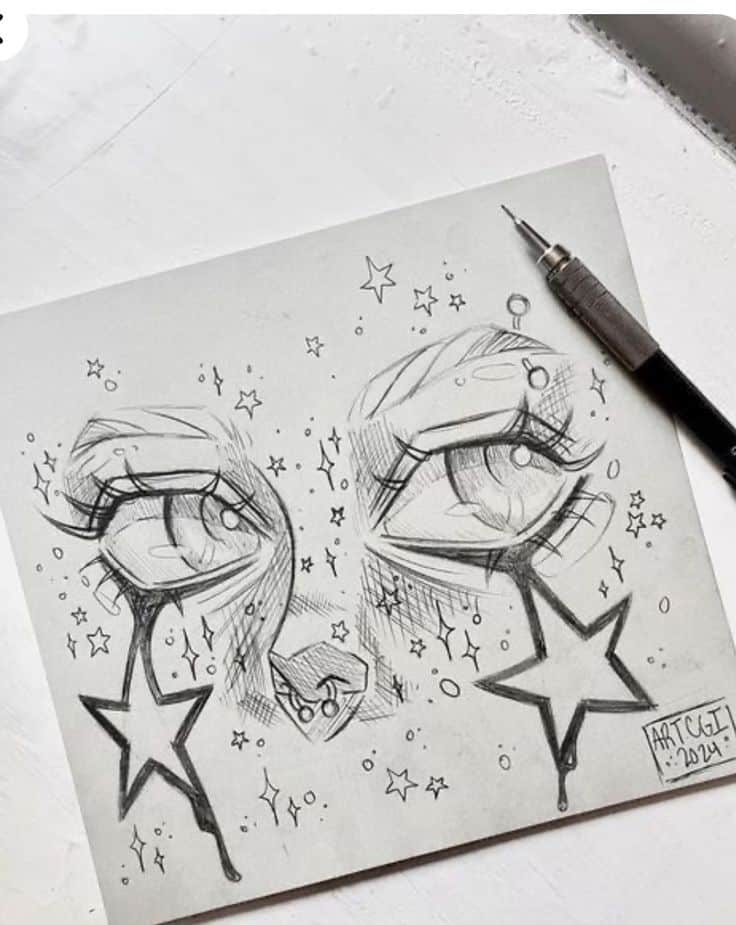
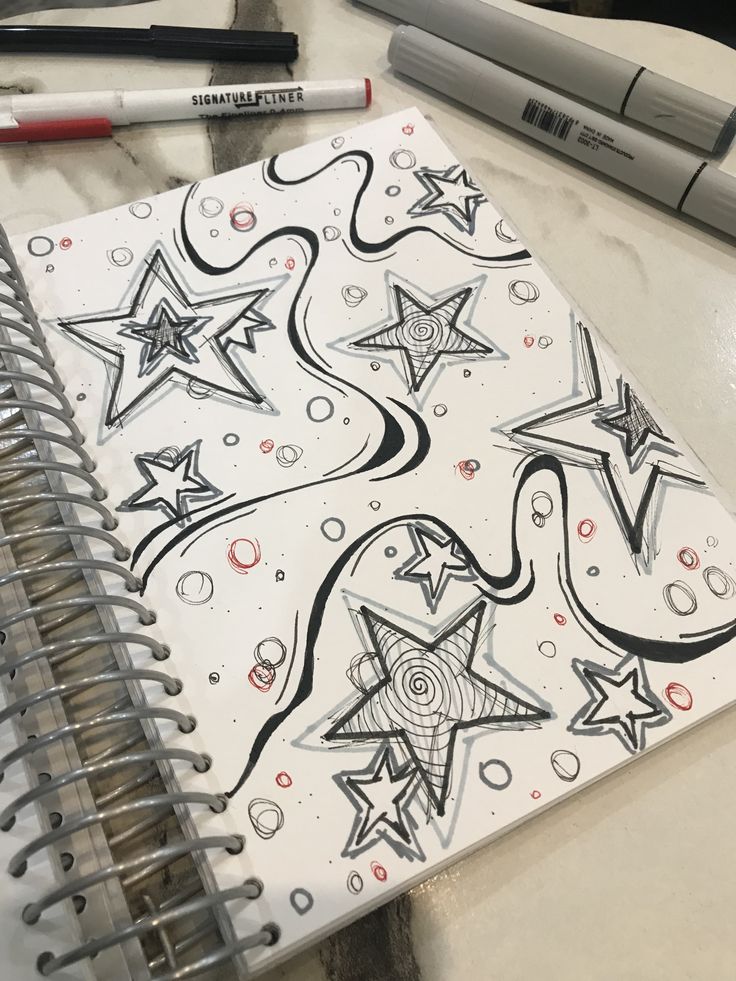
If precision is your priority, or if you’re working on a design that demands perfect symmetry, the geometric method is for you. This technique relies on basic geometry and will give you a flawless, balanced star every time. It’s especially useful in graphic design, architectural sketches, or when you need a crisp, clean star shape.
What You’ll Need:
- Pencil
- Paper
- Ruler
- Protractor
- Compass (optional, but highly recommended for a perfect circle)

Step-by-Step Guide:
- Draw a Circle: Use your compass to draw a perfect circle. The size of this circle will determine the overall size of your star. If you don’t have a compass, you can carefully trace a circular object, but a compass ensures perfect accuracy. Lightly draw this circle, as it will be erased later.
- Find the Center: Mark the exact center of your circle. This is crucial for accurate measurements.
- Mark Your First Point: Draw a vertical line from the center point straight up to the top edge of the circle. This point will be the very top point of your star.
- Divide the Circle: A circle has 360 degrees. To create a five-pointed star, you need five equally spaced points. Divide 360 by 5, which gives you 72 degrees.
- Mark the Remaining Points: Place your protractor’s center on the center of the circle, aligning the 0-degree mark with your first point (the top). Mark points around the circle every 72 degrees (72°, 144°, 216°, 288°). You should now have five evenly spaced marks on the circumference of your circle.
- Connect the Dots (Skipping One!): This is the key step. Instead of connecting adjacent points, you’re going to connect points that are two spaces apart.
- Starting from your first top point, draw a straight line with your ruler to the point that is two marks away (e.g., if you numbered your points 1 to 5 clockwise, connect point 1 to point 3).
- From point 3, draw a line to point 5.
- From point 5, draw a line to point 2.
- From point 2, draw a line to point 4.
- Finally, from point 4, draw a line back to your original point 1.
- Refine and Erase: Once all lines are connected, you’ll see your perfect, symmetrical five-pointed star. Go over the star’s outline with a darker pencil or pen, then carefully erase your initial circle and any construction lines.
This method might take a little more time and effort, but the result is a star of unparalleled precision. It’s a great exercise in combining art with fundamental geometry, and the principles can be applied to create stars with any number of points! For designers, understanding these geometric principles can also be really useful when creating things like brand mark ideas where accuracy and scale are important.
Method 4: The Bursting Star (Dynamic and Energetic)
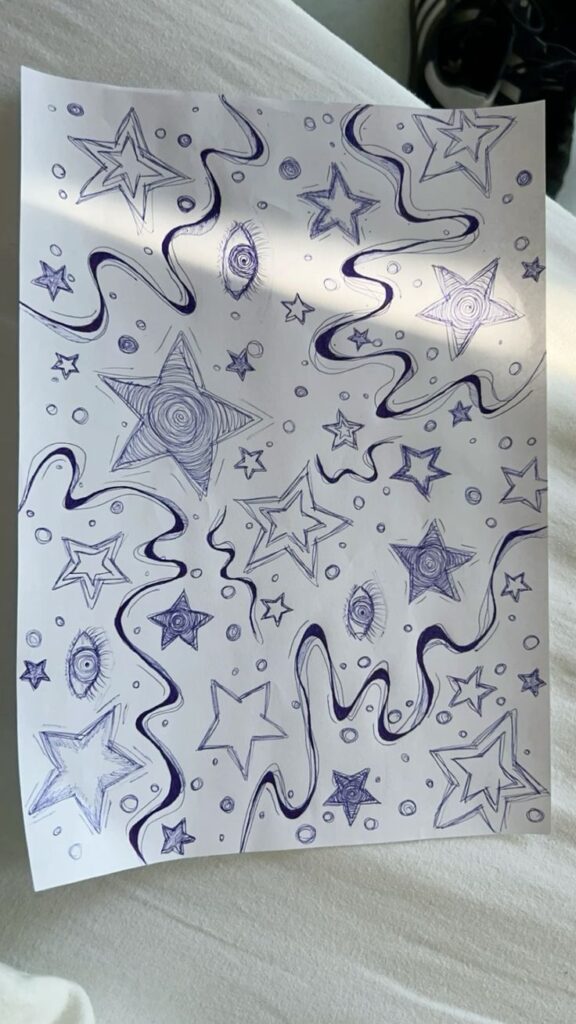
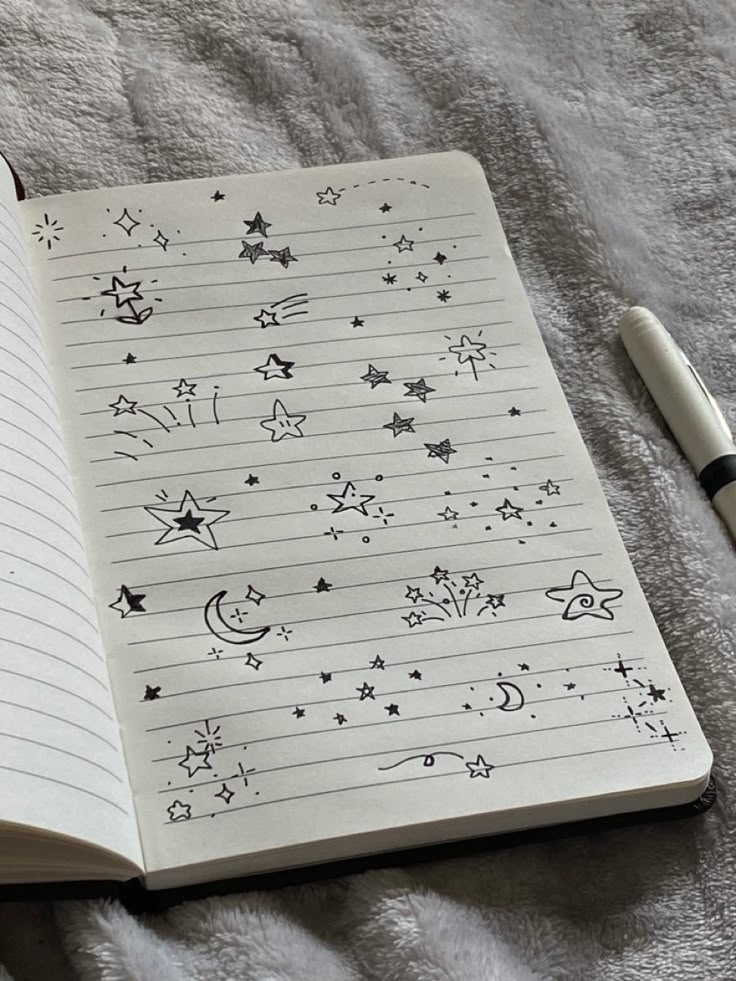
Not all stars are about perfect symmetry. Sometimes, you want to capture the energy of a starburst, a twinkle, or an explosion. This method is all about dynamism and movement, perfect for comics, celebratory designs, or anything that needs a bit of a “pop.”
Step-by-Step Guide:
- Start with a Central Core: Instead of focusing on points, begin by drawing a small, irregular shape in the center of your page. This can be a small circle, an oval, or even a squiggly blob. This will be the “body” of your bursting star.
- Add Radiating Spikes: From the edges of your central core, draw lines radiating outwards in all directions. Think of them as jagged rays of light.
- Vary the length and thickness of these spikes. Some can be long and thin, others short and stubby.
- Make some of them perfectly straight, and others slightly curved or zig-zagged to create a more organic, energetic feel.
- Don’t be afraid to overlap some lines or have them crisscross slightly.
- Exaggerate the Jaggedness: To enhance the “bursting” effect, add smaller, sharper points or triangles along the main spikes. Imagine the light splintering outwards.
- Add “Sparkles” (Optional): Around the main starburst, you can draw tiny dots, small “+” shapes, or miniature four-pointed stars to give the impression of glimmering light or debris from the explosion.
This method is incredibly forgiving and encourages improvisation. There’s no “wrong” way to draw a bursting star; it’s all about conveying energy. It’s perfect for adding excitement to a drawing without needing to be too precise.
Method 5: The Cartoon Star (Cute and Whimsical)
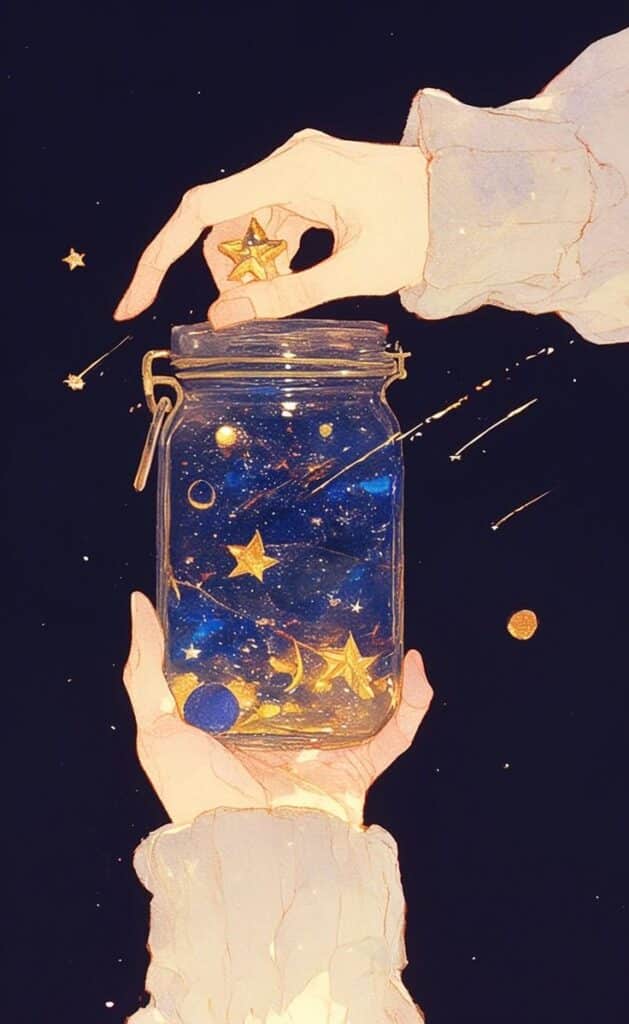
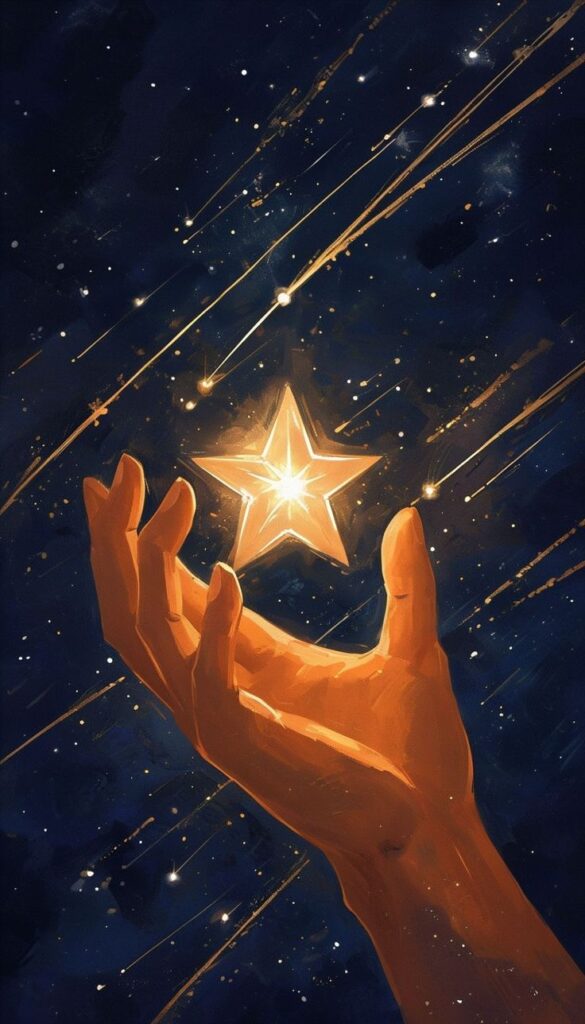
Sometimes, you don’t need a majestic, shimmering star from a galaxy far away. You need a friendly, approachable star that looks like it belongs in a children’s book or a fun animation. Cartoon stars are all about rounded edges, expressive features, and a generally soft, inviting feel. If you enjoy drawing cute things, this method will be right up your alley, much like learning how to draw a cupcake with cherry or drawing cats easy.
Step-by-Step Guide:
- Start with a Rounded Cross: Lightly draw a cross shape (+). Make sure the lines are slightly curved rather than perfectly straight, and the ends are rounded. This will be the underlying structure for your soft star.
- Connect with Soft Curves: Now, starting from one of the “points” of your rounded cross, draw a gentle, concave curve to connect it to the next point, skipping one. For example, if you start at the top, curve down and to the right, aiming for the bottom-right point.
- Continue the Curves: Keep drawing these gentle, concave curves, skipping a point each time, until all points are connected. The goal is to avoid sharp angles and create a pillowy, soft appearance.
- Erase Guides and Refine: Once you have the basic shape, erase your initial cross. You should have a star with five distinct, rounded points and soft, inward-curving valleys.
- Add Character (Optional but Recommended!):
- Eyes: Give your star two simple, oval-shaped eyes, perhaps with small pupils looking in one direction.
- Mouth: A little curved line for a smile or a small “O” for surprise.
- Cheeks: A couple of small ovals or circles below the eyes can add a blush.
- Sparkles: You can add tiny “glimmer” lines or small circles on the star’s body to suggest it’s shining.
The cartoon star is incredibly versatile. You can make it plump, skinny, happy, sleepy, or anything your imagination conjures. It’s a great way to infuse personality into your drawings!
Adding Flair: Embellishing Your Stars
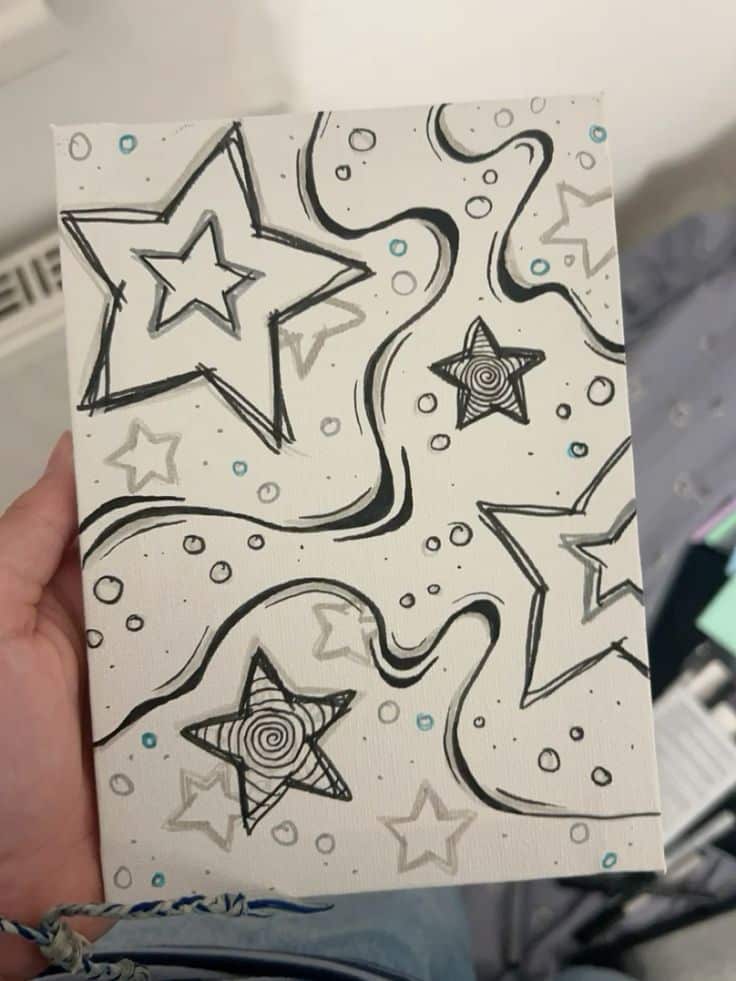
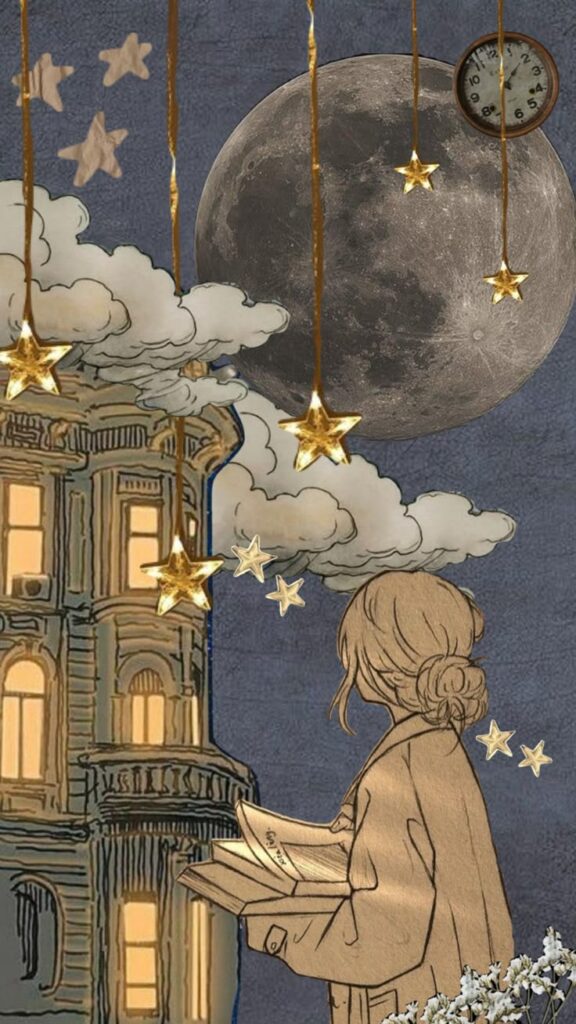
Once you’ve mastered the basic shapes, it’s time to make your stars truly spectacular. Embellishment can transform a simple sketch into a dazzling piece of art.
Shading and Dimension
- Flat Shading: Pick one side of each point to shade lightly, giving the star a subtle sense of depth. Imagine a light source coming from one direction.
- Dimensionality: To make your star look 3D, think of it as a prism. Draw an inner line parallel to one of the star’s edges, then connect the corners to create a receding plane. This technique can make your star look like a solid object with facets.
- Gradient: Use colored pencils or soft pastels to create a smooth transition of color, making the star appear to glow from its center outwards, or to have a subtle shift in tone on its surfaces.
Sparkles and Glimmer
- Aura: Draw a faint, irregular outline just outside your star to give it a soft, glowing aura.
- Reflective Lines: Add small, short lines radiating from the points or along the edges to suggest light reflecting off its surface.
- Dots: Tiny dots around the star can create a magical, twinkling effect, especially when paired with a darker background.
- Overlapping Stars: Draw smaller, faint stars around your main star to create a “constellation” effect.
Color and Texture
- Vibrant Hues: Don’t limit yourself to yellow! Stars can be red, blue, purple, or even rainbow-colored. Experiment with different color palettes to evoke different moods.
- Patterns: Fill your star with patterns – stripes, polka dots, checkerboards, or even intricate mandala-like designs. This is a great way to personalize your star.
- Mixed Media: Don’t be afraid to use different art supplies. Combine pencil outlines with watercolor washes, or add glitter glue for a truly sparkling finish.
Beyond the Page: Creative Uses for Your Stars

The ability to draw a star isn’t just about filling sketchbook pages. It’s a versatile skill that can enhance a multitude of creative projects.
Doodling and Journaling
Stars are perfect for adorning your bullet journal, personal diary, or note-taking. Use them to highlight important points, mark accomplishments, or simply to add a decorative touch. They can be a key element in creating beautiful Pinterest aesthetic boards for inspiration.
Art Projects and Crafts
Incorporate stars into larger art pieces. They can be part of a night sky landscape, a whimsical backdrop for characters, or cut out and used in collages. For crafts, think about making star-shaped ornaments, greeting cards, bookmarks, or even stencils for fabric painting.
Personalizing Gifts and Cards
A hand-drawn star adds a personal touch to any card or gift. Whether it’s a simple sketch on a birthday card or a meticulously crafted star on a handmade present, it shows you’ve put thought and effort into your creation.
Tattoo Designs
Stars are incredibly popular in tattoo art, symbolizing everything from guidance and protection to personal milestones. If you’re exploring tattoo outlines or considering a moon tattoo that often features stars, practicing drawing them can help you visualize your design before making a permanent commitment.
Graphic Design and Illustration
From logos to website icons, stars are a fundamental element in graphic design. Understanding how to draw symmetrical, clean stars can be invaluable if you’re venturing into digital art or illustration. They’re often used in creating things like emblems or brand mark ideas for businesses.
Tips for Mastering Your Star Drawing Skills

Drawing, like any skill, improves with practice and a few smart strategies.
- Start Simple: Don’t try to draw a super intricate star on your first attempt. Begin with the basic classic or continuous line methods to get a feel for the shape.
- Practice Regularly: A few minutes of drawing each day is far more effective than one long session once a month. Consistency builds muscle memory and confidence.
- Use Light Lines First: Always start with very light pencil lines that can be easily erased. This allows you to correct mistakes without leaving marks.
- Rotate Your Paper: Don’t feel obligated to keep your paper in one fixed position. Rotate it as you draw to make it easier to reach different angles and achieve smoother lines.
- Experiment with Tools: Try drawing stars with different pencils (H for light sketches, B for darker lines), pens, markers, or even digital drawing tablets. Each tool offers a unique feel and effect.
- Look at References: Observe how other artists draw stars. Look at photos of real stars, constellations, or even star-themed illustrations. This can spark new ideas and help you refine your technique.
- Don’t Fear Mistakes: Every artist makes mistakes. View them as learning opportunities, not failures. Embrace the imperfections – they often lead to unique stylistic discoveries.
- Break It Down: If a particular method feels daunting, break it down into even smaller, simpler steps. Focus on mastering one line or curve at a time.
- Have Fun! Drawing should be an enjoyable experience. If you find yourself getting frustrated, take a break. Come back to it with a fresh perspective and a playful attitude.
Conclusion: Your Stars, Your Canvas
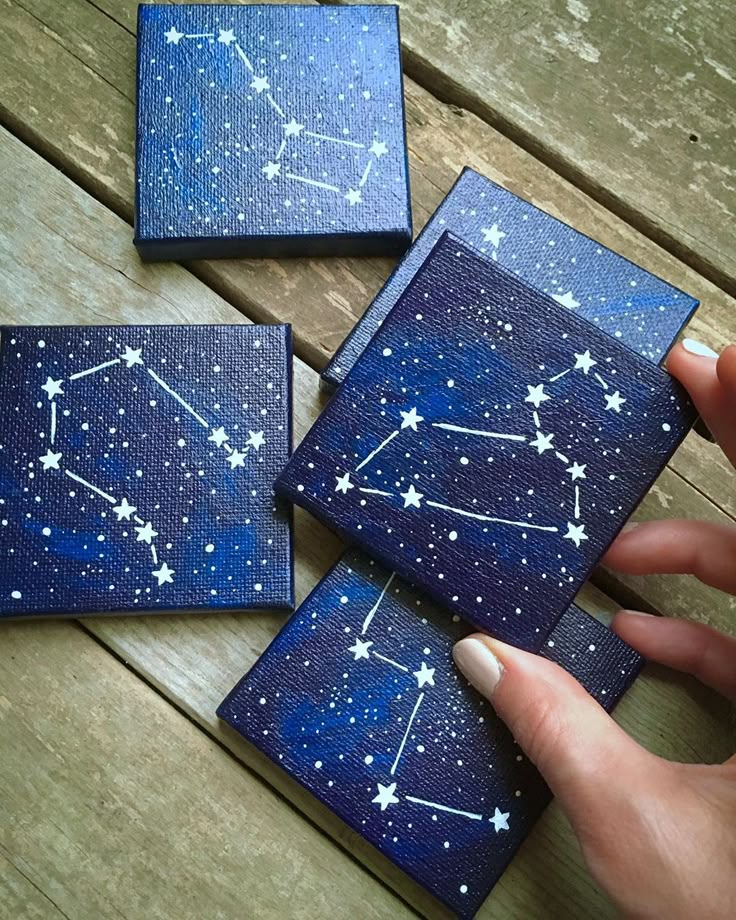
Learning how to draw a star is a rewarding journey that opens up a universe of creative possibilities. We’ve explored five distinct methods, from the classic five-point to the whimsical cartoon star, and discussed how to add flair through shading, sparkle, and color. Remember, there’s no single “right” way to draw a star. The best method is the one that feels most comfortable and enjoyable for you, and that helps you achieve the artistic vision you have in mind.
Whether you’re sketching a quick doodle to pass the time, designing an intricate piece of art, or personalizing a gift, the ability to draw a beautiful star is a fantastic addition to your creative toolkit. So grab your pencil, find a quiet spot, and start drawing! Experiment with different techniques, blend methods, and don’t be afraid to let your imagination guide you. Every stroke is a step towards unlocking your artistic potential.
Now it’s your turn! Pick up your drawing tool of choice and try out these methods. Which one works best for you? How will you embellish your stars? Share your stellar creations and keep exploring the wonderful world of drawing! The sky’s the limit when you’re an artist.
- 117shares
- Facebook0
- Pinterest117
- Twitter0
- Reddit0
