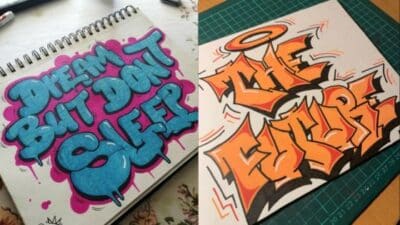
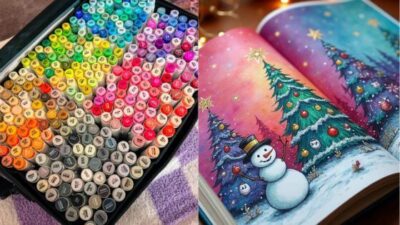
The festive season is upon us, bringing with it a unique kind of magic and a perfect opportunity to unleash your inner artist. You don’t need to be a seasoned pro with years of art school under your belt to create beautiful, heartfelt Christmas drawings. In fact, some of the most charming holiday art comes from simple, joyful strokes! If you’ve ever felt a tug to pick up a pencil and sketch out some holiday cheer but didn’t know where to start, you’re in the right place. This guide is packed with Easy Christmas Drawing Ideas for Beginners, designed to make your artistic journey fun, accessible, and incredibly rewarding. Get ready to unwrap your creativity and fill your season with handmade charm!
Why Drawing for Christmas is a Fantastic Idea
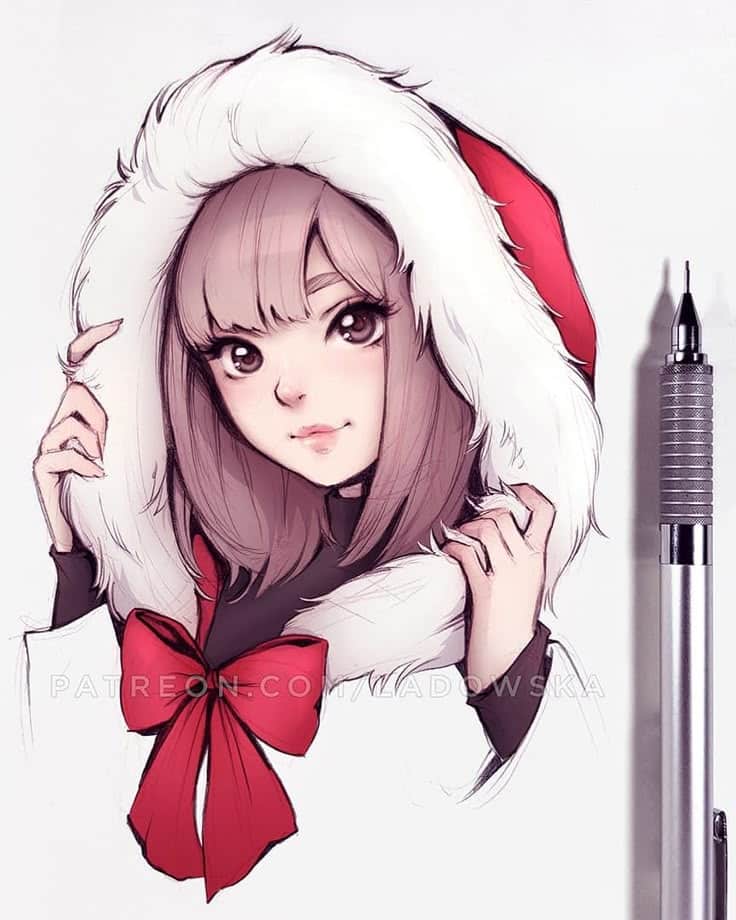
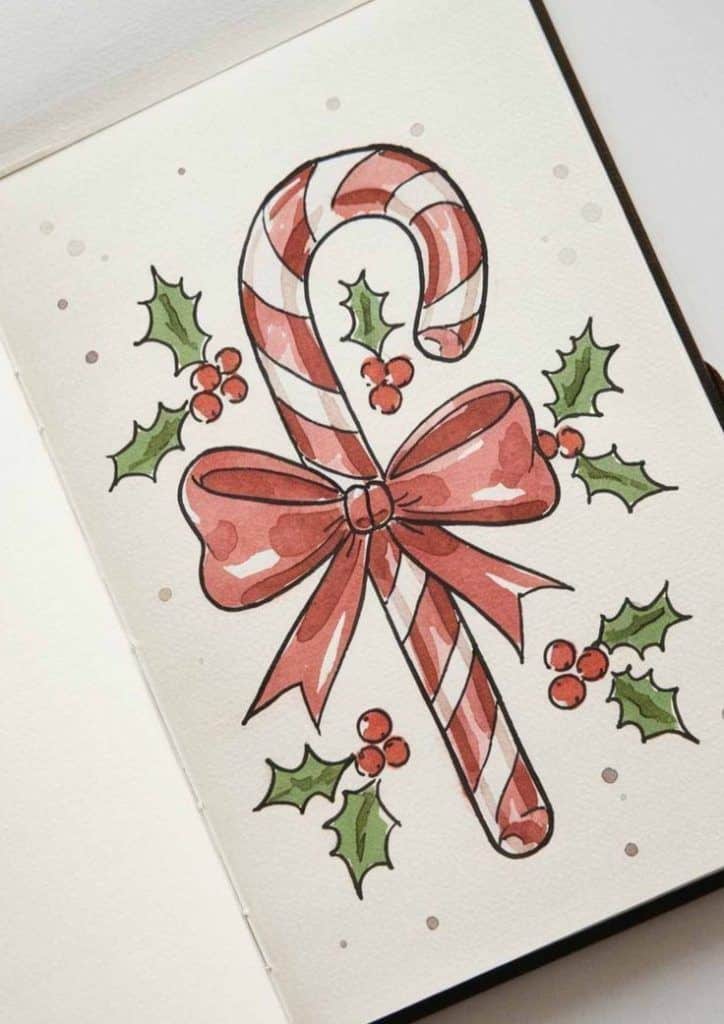

Before we dive into the how-to, let’s talk about why embracing Christmas drawing is such a brilliant idea, especially for beginners. It’s more than just putting pen to paper; it’s a doorway to stress relief, a boost to your creative confidence, and a chance to make something truly unique.
First, drawing is an incredible stress-buster. The focused act of creating can be a meditative experience, allowing you to switch off from the holiday hustle and bustle and simply enjoy the moment. There’s no pressure for perfection, just the quiet satisfaction of bringing an image to life.
Secondly, drawing provides a wonderful outlet for self-expression. Christmas is full of iconic imagery, but your personal touch makes each drawing uniquely yours. Imagine gifting a handmade card adorned with your own festive doodle – it carries so much more meaning than a store-bought one. These personalized touches are what truly make a house a home, similar to how transforming your living space with custom interior design can reflect your unique style.
Lastly, it’s a fantastic way to engage with the holiday spirit. From sketching twinkling lights to cheerful snowmen, drawing immerses you in the festive atmosphere, making the season feel even more special. It’s an activity the whole family can enjoy, creating cherished memories alongside beautiful artwork.
Getting Started: Your Essential Drawing Kit


Fear not, aspiring artists! You don’t need an expensive art studio to begin your Christmas drawing adventure. A few basic, affordable supplies are all it takes. Think of it as your cozy, creative starter pack.
Here’s what you’ll need:
- Pencils: Start with a standard HB pencil for general sketching. If you want a bit more range, grab a 2B for darker lines and shading. Mechanical pencils are great for consistent line thickness, too!
- Eraser: A good quality white vinyl eraser will be your best friend, allowing you to correct mistakes without smudging or damaging your paper. A kneaded eraser is also excellent for lifting graphite gently.
- Paper: Any paper will do for practice – printer paper, a plain notebook, or even the back of an old envelope. For slightly better results, a simple sketchbook with decent drawing paper will feel more satisfying.
- Coloring Tools (Optional but Recommended): Once you have your basic outlines, adding color brings your drawings to life. Consider:
- Colored Pencils: Great for layering and precise details.
- Crayons: Simple, vibrant, and nostalgic.
- Markers: Offer bold, strong colors.
- Watercolors: If you’re feeling a bit more adventurous, a basic watercolor set can create beautiful, soft effects. If you get hooked, there are plenty of watercolor ideas to explore beyond Christmas!
That’s it! Seriously, don’t let a lack of fancy supplies hold you back. The most important tool you have is your imagination.
Core Techniques for Absolute Beginners
Every masterpiece, no matter how complex, starts with simple foundations. Think of these techniques as your artistic building blocks. Mastering them will give you the confidence to tackle any Christmas drawing idea.
Shapes as Foundations
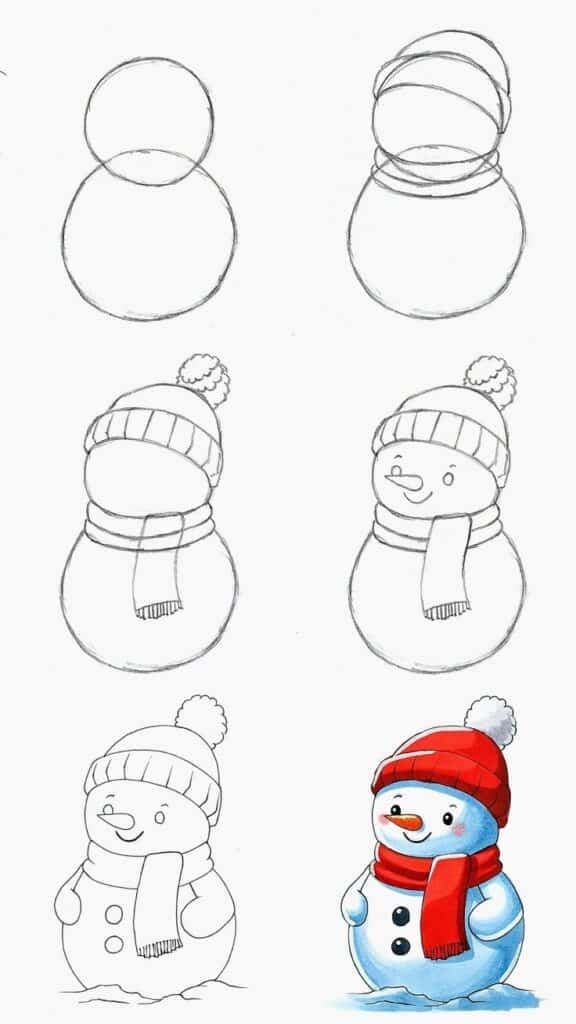
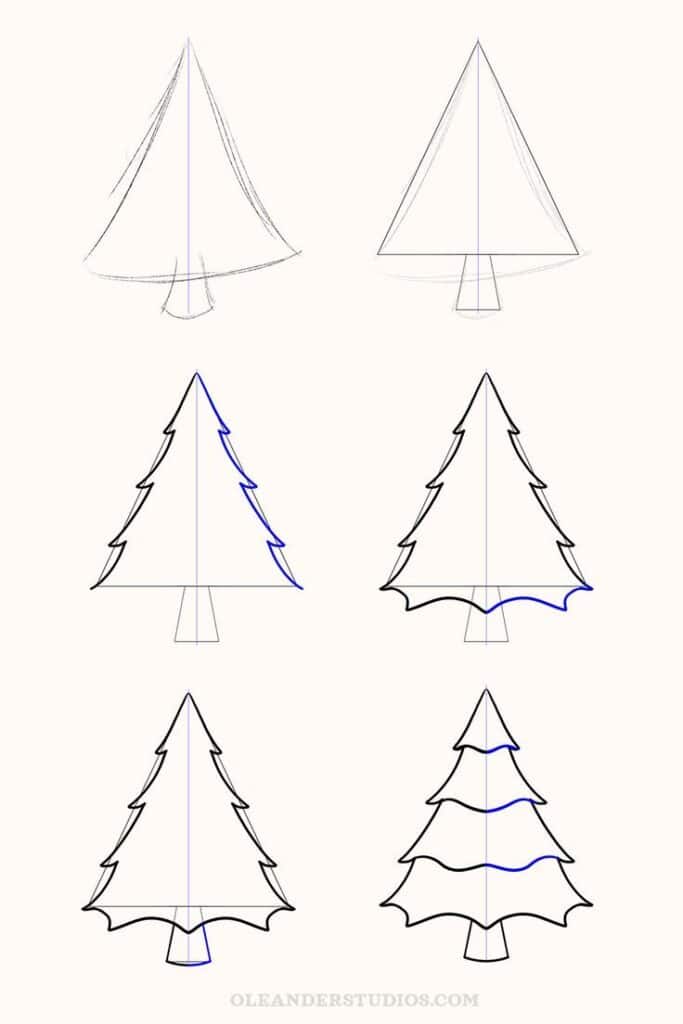
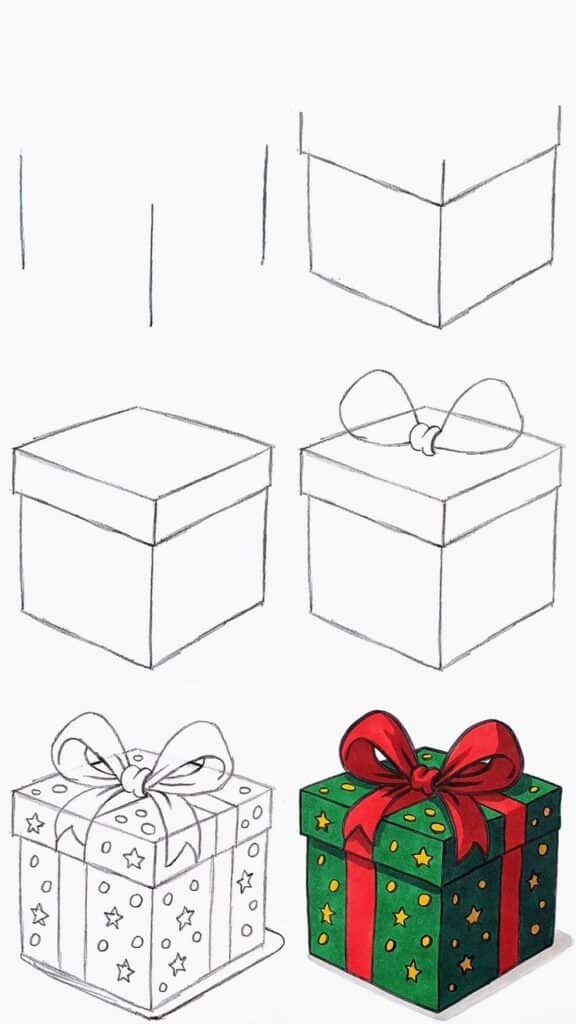
This is the golden rule for beginners: everything can be broken down into basic shapes. A snowman? Three circles. A Christmas tree? A series of triangles stacked on a rectangle. A gift box? A square or rectangle.
- Circles: Perfect for ornaments, snowballs, Santa’s belly, and berries.
- Squares/Rectangles: Great for gift boxes, chimneys, and building simple houses.
- Triangles: Ideal for Christmas trees, stars, and Santa’s hat.
- Ovals: Excellent for reindeer bodies, bells, and elongated ornaments.
Start by lightly sketching these fundamental shapes. Don’t press too hard. These are your guides, not your final lines.
Line Quality
Your pencil lines can convey a lot.
- Light Lines: Use a light touch for initial sketches and guidelines. These are easy to erase or draw over.
- Dark Lines: Press a bit harder for final outlines, creating crisp, defined edges.
- Varying Pressure: Experiment with changing pressure within a single line to add character. A softer line for the fuzzy edge of Santa’s beard, a harder line for the shiny surface of an ornament.
Shading Basics
Adding a little shading gives your drawing depth and makes it less flat. For beginners, keep it super simple:
- Direction of Light: Imagine where your light source is coming from. The side of the object facing away from the light will be darker.
- Simple Blending: Use the side of your pencil to create a smooth, even tone. You can also use your finger or a paper stump to gently smudge graphite for a softer look.
- Cross-hatching: For a more textured look, draw parallel lines, then draw another set of parallel lines crossing the first. The closer the lines, the darker the area.
Observation is Key
The more you look at something, the better you can draw it. Before you draw a Christmas ornament, really look at one. Notice its shape, how light reflects off it, where the shadows fall. Even for simple cartoonish drawings, a little observation goes a long way.
Classic Christmas Characters & Symbols (Easy Peasy!)
Now for the fun part! Let’s get sketching some iconic Christmas imagery. Remember the “shapes as foundations” rule, and don’t be afraid to make your drawings your own.
The Jolly Snowman
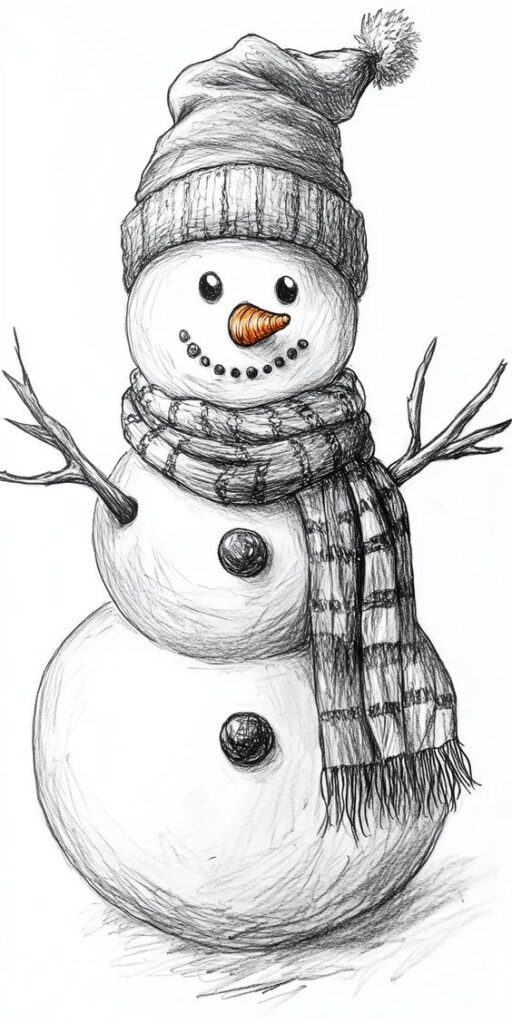

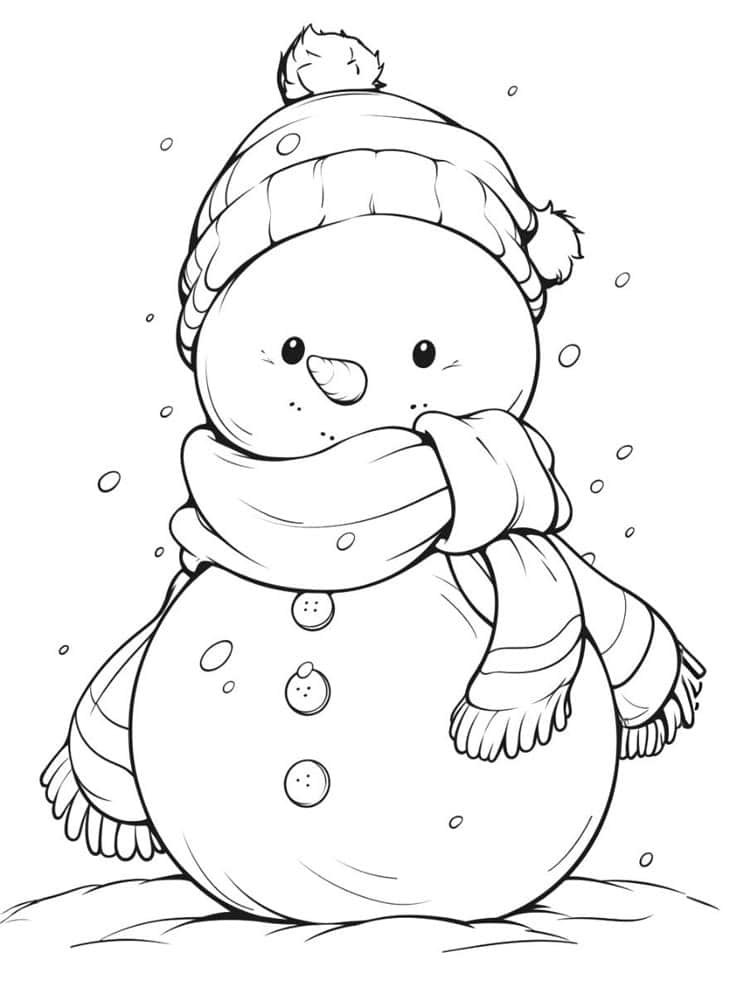
- Start with Circles: Lightly sketch three circles, stacked one on top of the other, decreasing in size from bottom to top. Overlap them slightly.
- Define the Form: Smooth out the overlapping lines to create the snowman’s body.
- Add Features:
- Head: Two dots for eyes, a carrot shape for a nose, and a simple curve for a smile.
- Arms: Two stick lines extending from the middle circle.
- Accessories: A small rectangle for a hat with a band, a couple of circles for buttons, and a simple scarf around its neck.
- Erase & Refine: Erase your initial guide circles and darken your final lines.
Santa Claus’s Friendly Face
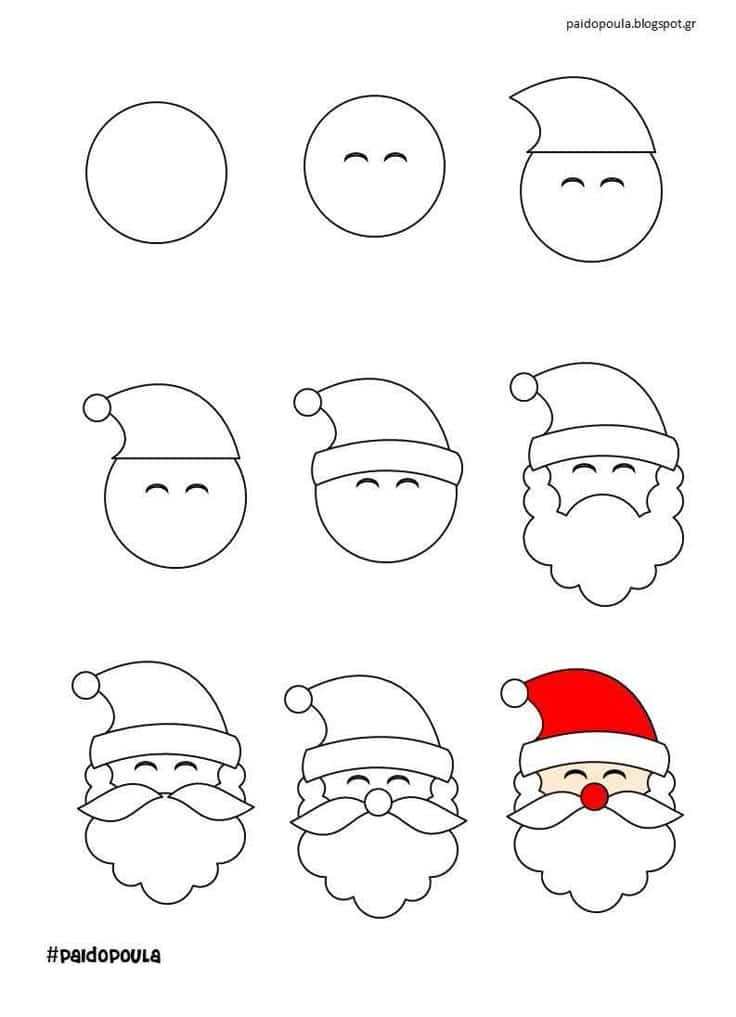


Drawing Santa can seem daunting, but we’ll focus on his recognizable features.
- Head Shape: Start with an oval for the head.
- Hat: Draw a large, curved triangle on top of the head, letting it droop to one side. Add a circle at the tip for the pom-pom.
- Beard: This is Santa’s signature! Draw a large, fluffy cloud-like shape extending from below the chin and upwards towards the cheeks, leaving space for the nose and eyes.
- Features: Two small ovals for eyes, a larger oval for his nose right above the beard. You can add a simple curved line for a smile hidden in the beard.
- Refine: Erase extra lines, and add some wobbly lines for the fur trim on his hat and the fluff of his beard.
Reindeer with Antlers
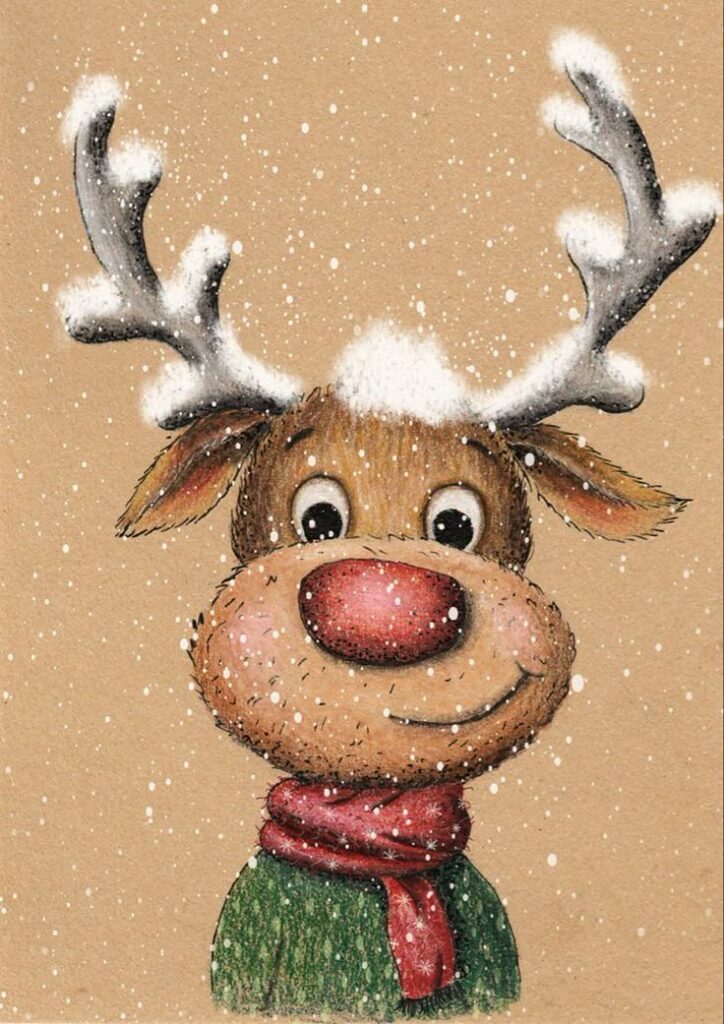

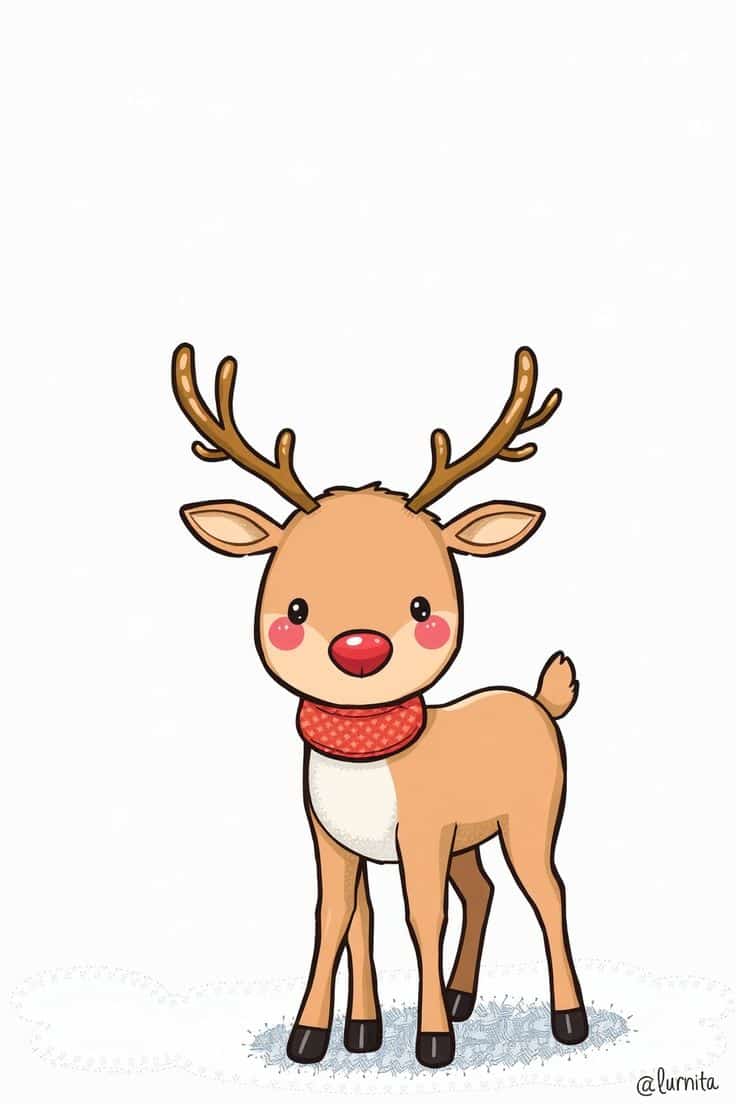
- Body & Head: Start with a large oval for the body and a smaller oval for the head, connected by a curved line for the neck.
- Legs: Four simple stick lines for legs, with small ovals for hooves.
- Antlers: Draw two ‘Y’ shapes or branched lines extending from the top of the head. Keep them symmetrical.
- Face: Two small circles for eyes, a larger oval for the snout, and a small circle at the end for the nose (make it red for Rudolph!). Two small leaf-like shapes for ears.
- Tail: A small, fluffy oval at the back.
The Classic Christmas Tree
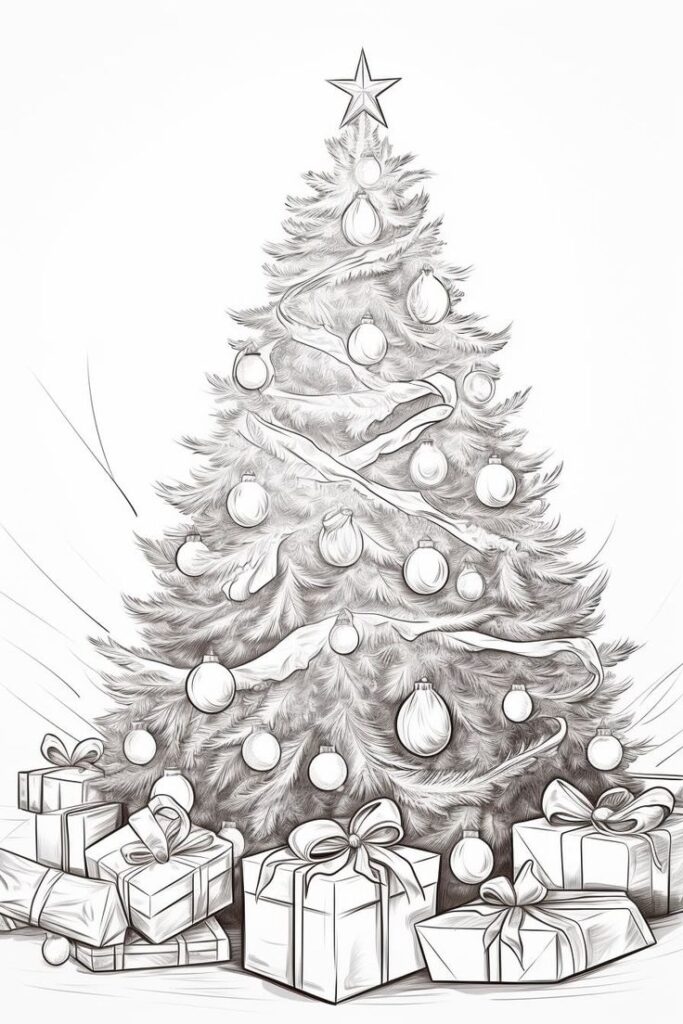

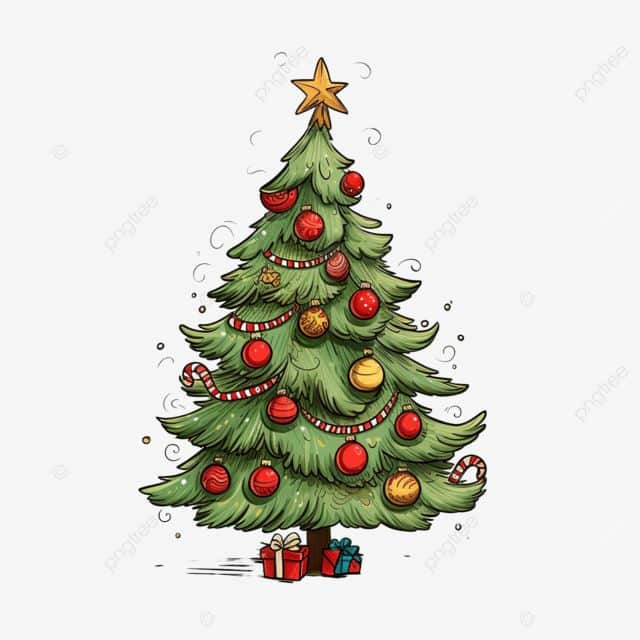
This is one of the easiest!
- Trunk: Start with a small rectangle at the bottom for the tree trunk.
- Triangles: Above the trunk, draw a series of three or four slightly overlapping triangles, widest at the bottom and narrower at the top. The edges can be slightly wavy or jagged to suggest branches.
- Star: A simple five-point star on top.
- Decorate: Add small circles for ornaments, lines for garland, and a few small vertical lines for strands of lights.

Festive Objects & Decorations You Can Draw
Let’s move on to the glittering details that make Christmas so special. These are fantastic for adding to cards, gift tags, or creating a festive collage.
Shimmering Ornaments
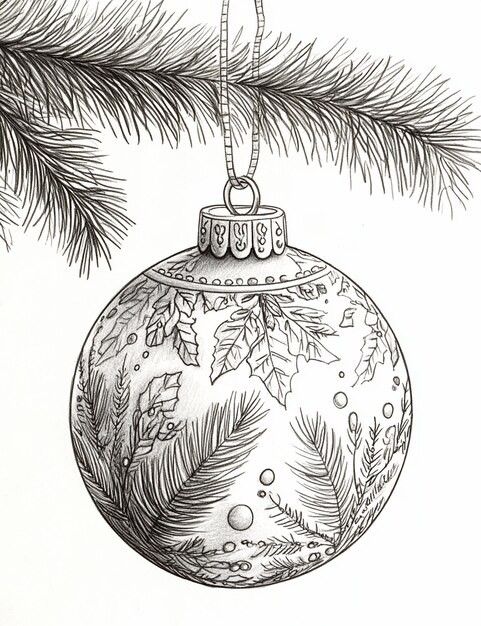
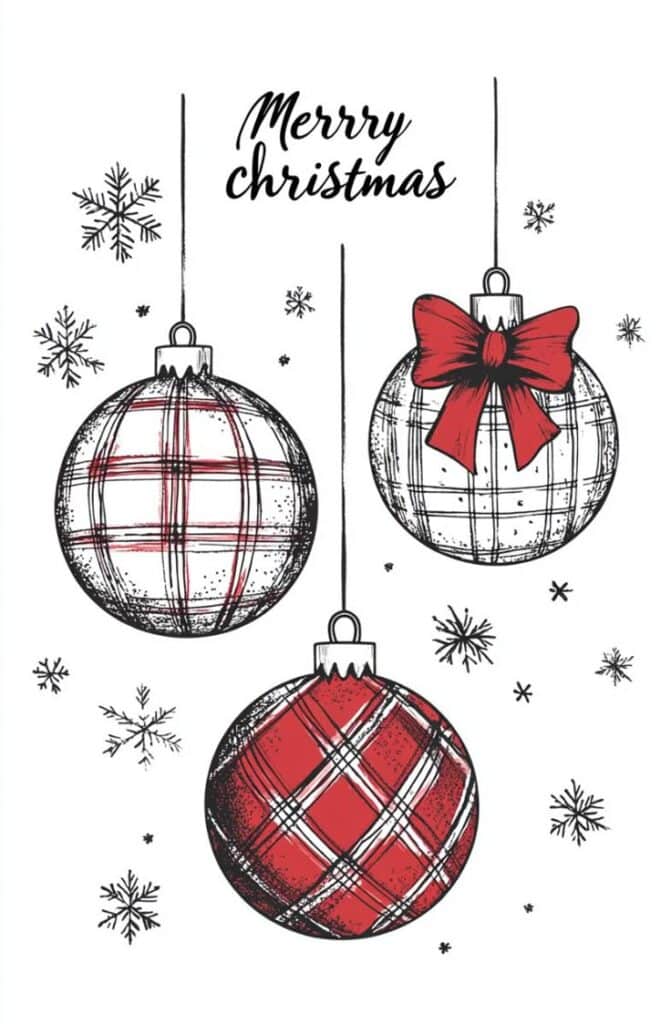
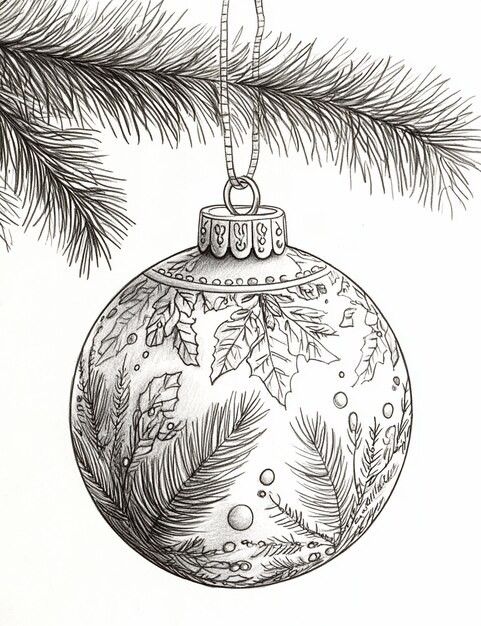
- Base Shape: Start with a circle or an oval for the main body of the ornament.
- Cap: Draw a small rectangle or cylinder on top of the circle/oval, then a tiny loop on top of that for the hanger.
- Details: Add stripes, polka dots, swirls, or a simple snowflake pattern. Imagine how essential online resources for stylish home design might inspire detailed patterns in real-life decor.
Holly & Berries
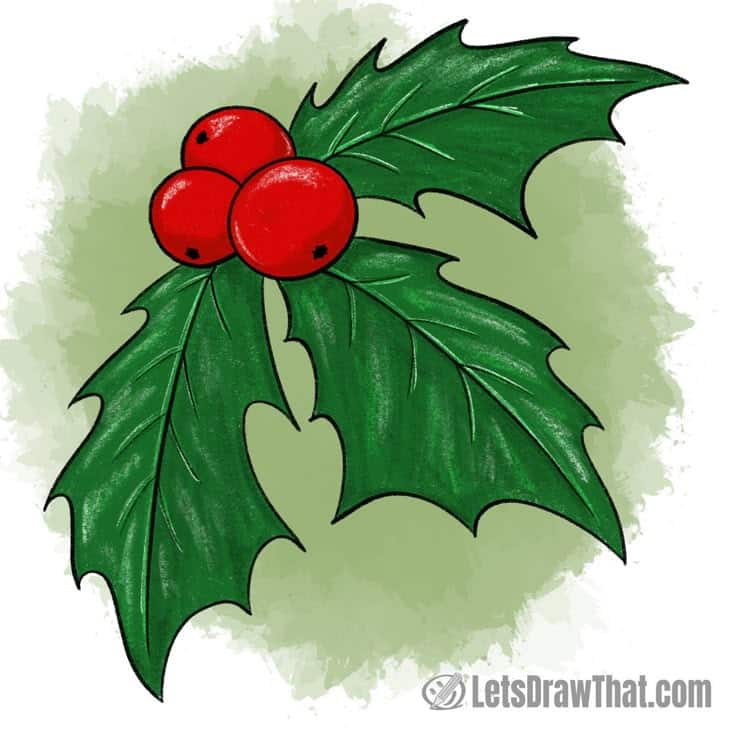
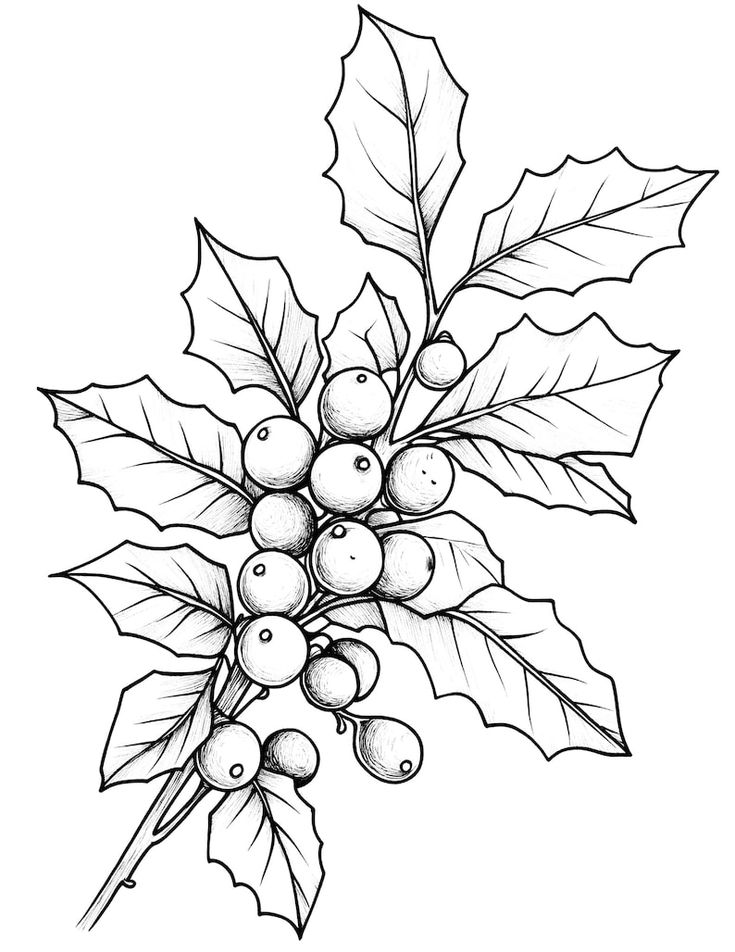
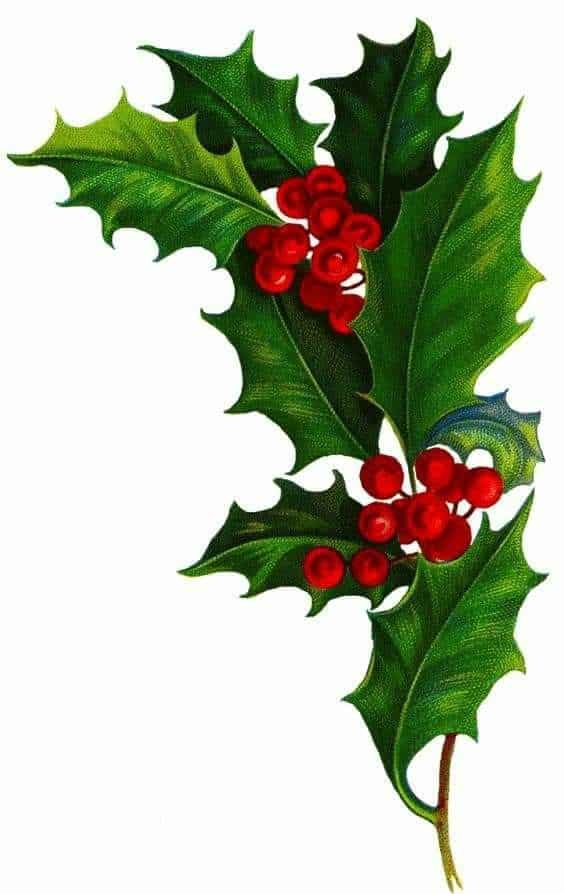
- Holly Leaves: Draw a few slightly wavy, pointed leaf shapes. They typically have 3-5 points per leaf.
- Berries: Add clusters of small circles (3-5) nestled among the leaves.
- Detail: A simple vein line down the center of each leaf adds a nice touch.
The Welcoming Wreath
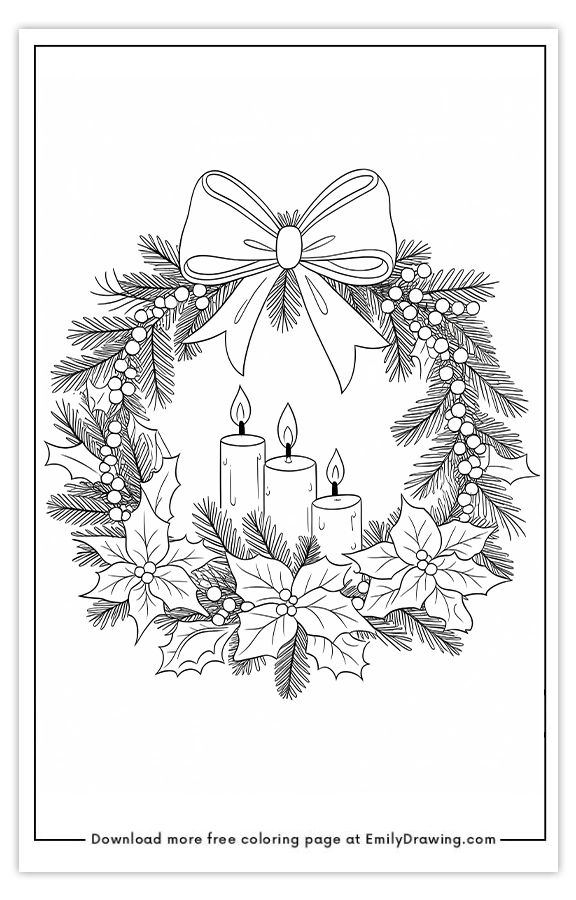
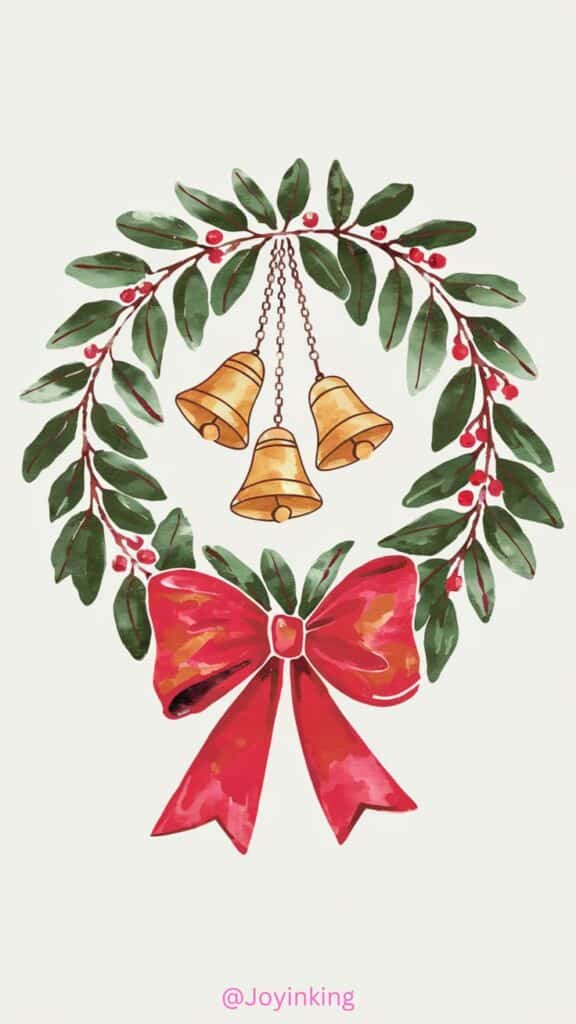
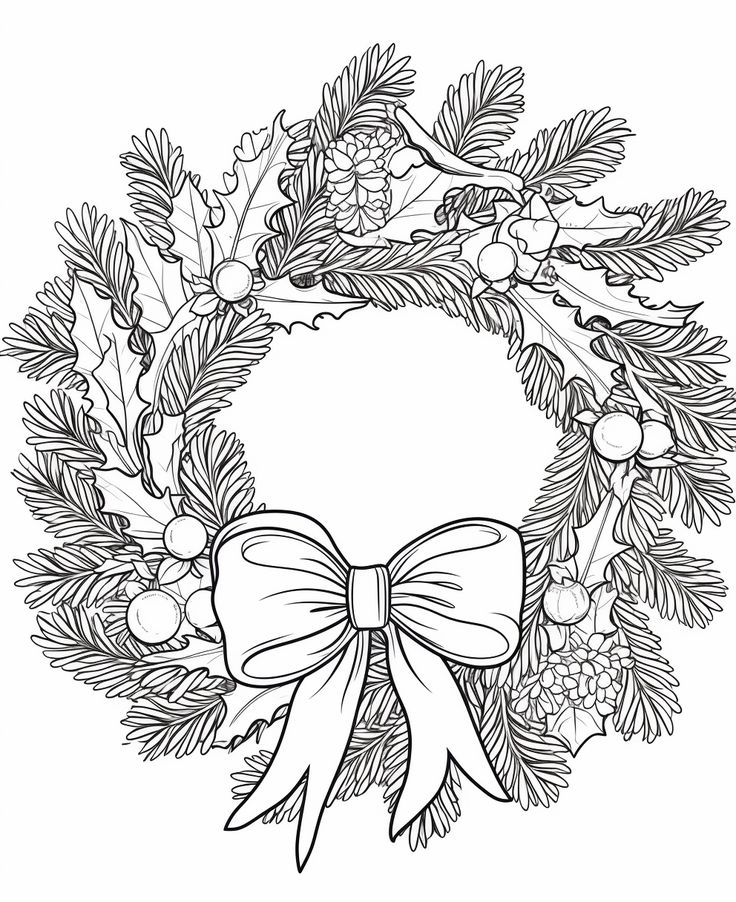
- Base Circle: Lightly draw a large circle for the outer edge and a smaller, concentric circle inside it for the inner edge.
- Foliage: Draw small, wavy lines or leaf shapes around the entire circle to create the bushy look of the wreath. Overlap them to make it look full.
- Bow: Add a simple bow at the bottom or top. This can be two loops and two trailing ribbons.
Cozy Christmas Stocking

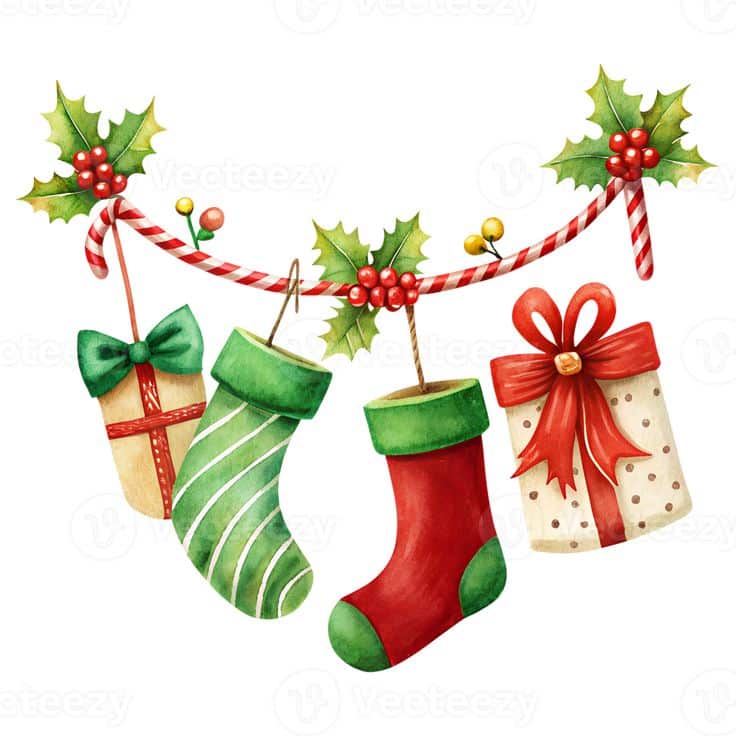

- Shape: Sketch a basic sock shape, wider at the top, narrowing slightly, and then bulging out for the foot before curling up for the heel.
- Cuff: Add a fluffy cuff at the top with a wavy line.
- Details: Draw patterns (stripes, snowflakes), a name, or a hanging loop.
Glowing Candle
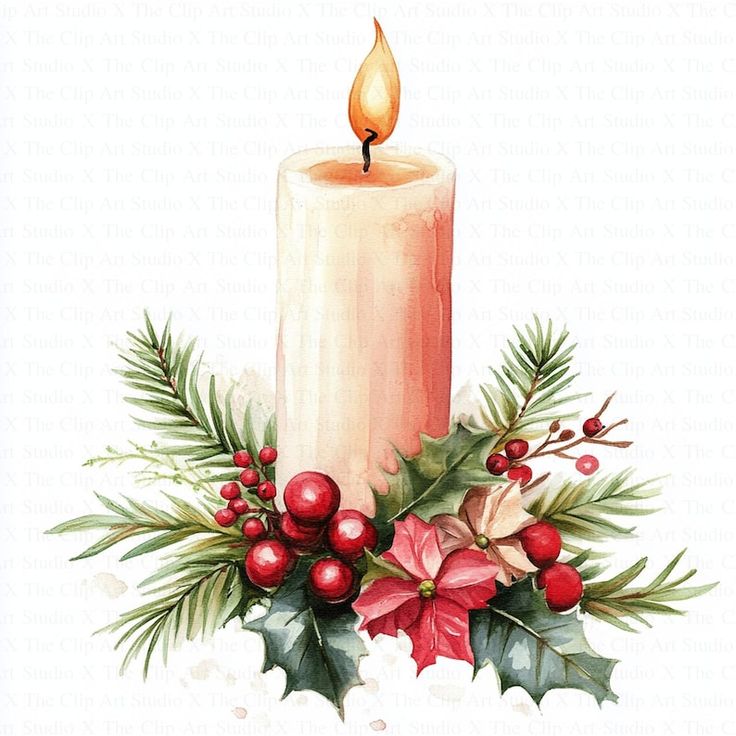
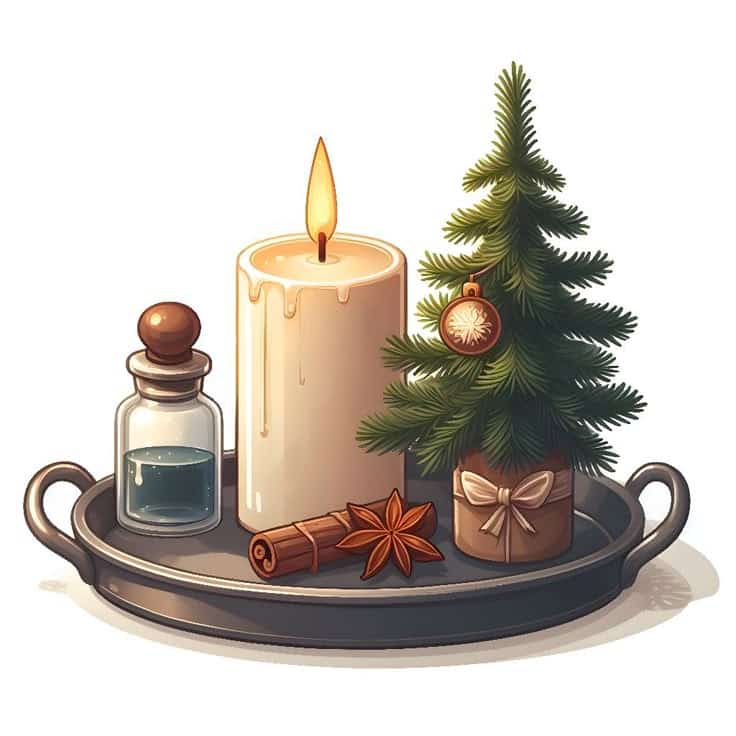
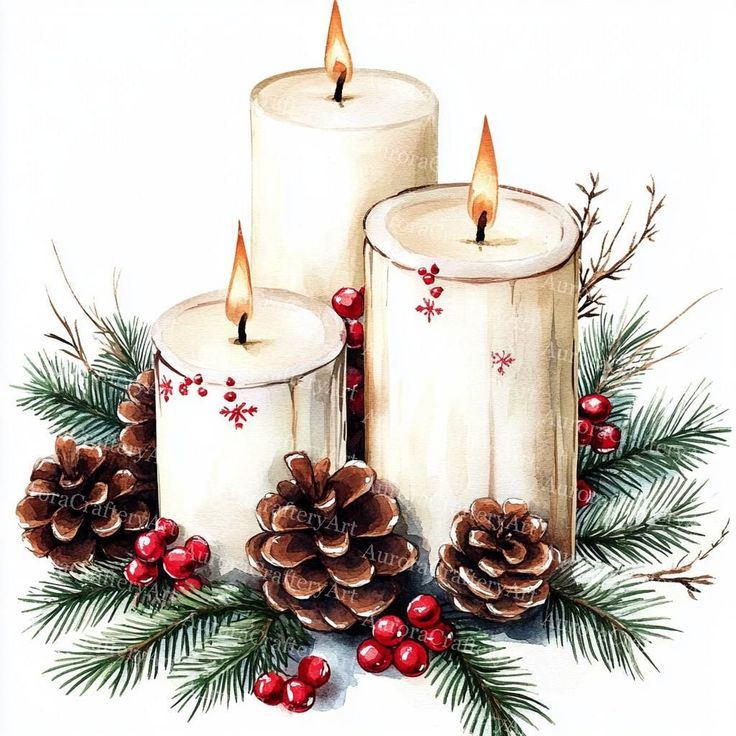
- Body: Draw a long, thin rectangle for the candle body.
- Flame: At the top, add a small, teardrop or almond shape for the flame. You can add a tiny wick line just below it.
- Melted Wax (Optional): Draw a few wavy lines dripping down the sides to show melted wax.
Gingerbread Man/Woman
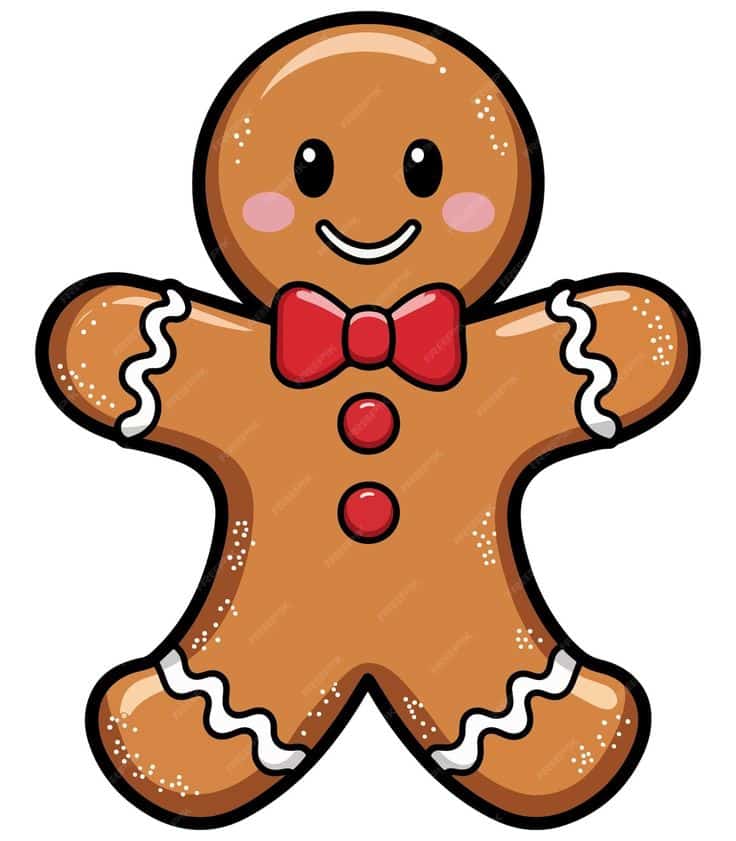

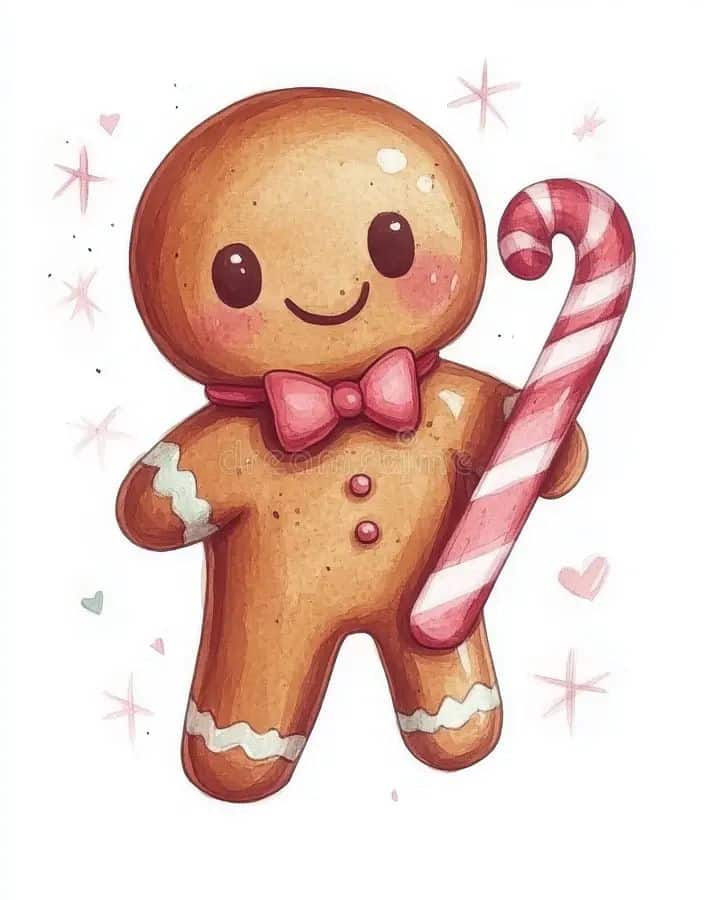
- Outline: Start with a simple gingerbread man outline – a head, a rounded body, two stick arms, and two stick legs.
- Details: Add two dots for eyes, a smile, and zigzag or wavy lines for icing on the arms, legs, and body. You can add a couple of circles for buttons.
Twinkling Christmas Lights
- String: Draw a wavy horizontal line for the light string.
- Bulbs: Along the string, draw a series of elongated ovals (like lightbulbs).
- Cap: Add a small rectangle connecting each bulb to the string.
- Glow (Optional): For color, make them bright!
Transforming Your Drawings into Gifts & Decor
Your simple sketches aren’t just practice; they’re potential keepsakes! One of the most satisfying parts of drawing for Christmas is seeing your creations become part of the festivities.
Handmade Cards
This is a classic for a reason. Fold a piece of cardstock, draw your favorite Christmas scene or character on the front, and write a heartfelt message inside. A handmade card feels personal and shows you put in effort.
Unique Gift Tags
Instead of store-bought tags, draw small festive images on plain cardstock, punch a hole, and tie them onto your gifts with ribbon or twine. Imagine a tiny, hand-drawn snowman peeking out from under the bow!
DIY Ornaments
Draw your designs on sturdy paper or thin cardstock. Color them in, then carefully cut them out. Punch a small hole at the top, thread a ribbon or string through, and hang them on your tree. This is a lovely way to make your own heirloom decorations.
Festive Bookmarks
Draw a tall, narrow Christmas scene on a strip of cardstock – maybe a stack of gifts or a mini Christmas tree. Laminate it (or cover it with clear packing tape) for durability. These make fantastic small gifts.
Framed Mini Art
A simple, charming drawing of a cozy fireplace or a single perfect snowflake can be incredibly impactful when placed in a small frame. Group a few together for a gallery wall effect that rivals even the most sophisticated home entryway styling ideas.

Overcoming Common Beginner Hurdles
Every artist, from beginner to master, faces challenges. Don’t let these common stumbling blocks discourage you. Think of them as part of your creative journey, a chance to apply a little self-discipline and patience.
The Dreaded Blank Page
The blank page can feel intimidating. The trick? Just start! Don’t aim for perfection on your first stroke. Start with light lines, basic shapes, and remember it’s just paper. You can always erase, or even better, embrace imperfections as part of the unique charm of handmade art. A quick scribble to warm up your hand can also help.
The Perfectionism Trap
“It doesn’t look like the picture!” or “My lines aren’t straight.” Sound familiar? The beauty of beginner art, especially for Christmas, is its charm. Focus on the joy of creating, not on making a flawless replica. Your wobbly lines and slightly asymmetrical snowman have character! Embrace the process, not just the outcome.
Comparing Yourself to Others
It’s easy to scroll through social media and see incredible artwork, then feel discouraged. Remember that everyone started somewhere. That amazing artist you admire has likely put in countless hours of practice. Your journey is yours alone. Celebrate your progress, no matter how small, and draw for your enjoyment.
Practice Makes Progress, Not Perfection
Consistency is key. You don’t need to spend hours every day. Even 15-20 minutes a few times a week can make a huge difference. The more you draw, the more comfortable you’ll become with your tools and techniques. Don’t see it as “practice,” see it as “playtime” with your pencils!

Fun Drawing Challenges & Prompts
To keep your inspiration flowing and make drawing a regular, enjoyable habit, try some festive challenges! These are great for exploring creative art ideas without feeling overwhelmed.
- The 12 Days of Christmas Drawing: Pick one Christmas-related item for each of the 12 days leading up to Christmas and draw it. (e.g., day 1: candy cane, day 2: snowflake, day 3: reindeer, etc.)
- Theme Challenge: “Draw a Christmas scene using only circles and squares.” This forces you to be creative with basic shapes.
- Design an Ornament: Imagine you’re designing a brand new Christmas ornament. What would it look like? What patterns would it have?
- Christmas Memory: Think of your favorite Christmas memory and try to draw a simple representation of it. Was it opening a specific gift? A family meal? Sledding in the snow?
- Perspective Play: Draw the same Christmas object (e.g., a present) from three different angles: top-down, eye-level, and looking up.
- Color Moods: Draw the same basic object (like a Christmas tree) but color it in two different palettes – one using warm, cozy colors, and one using cool, icy colors.
- Christmas Story: Pick a line from a Christmas carol or story and try to illustrate it simply.
These prompts are designed to spark your imagination and make drawing a playful exploration rather than a rigid task. Remember, there’s no right or wrong way to interpret them!

Conclusion
You’ve now got a treasure trove of easy Christmas drawing ideas for beginners, along with the foundational knowledge to bring them to life. Remember, the true spirit of art, especially during the holidays, isn’t about perfection; it’s about the joy of creation, the act of giving, and the personal touch that only handmade items can provide.
So, grab your pencil, choose an idea that sparks your festive spirit, and just start sketching. Whether you’re drawing a simple star, a cozy snowman, or a festive gift box, every line you make is a step towards unlocking your creative potential. Don’t worry about mistakes; they’re just part of the journey. Embrace the process, enjoy the festive cheer, and most importantly, have fun creating your very own Christmas magic on paper. Happy drawing, and Happy Holidays!
What basic supplies do I need to start drawing Christmas scenes?
To start drawing Christmas scenes, all you need are basic supplies like pencils, erasers, simple paper such as printer paper or a sketchbook, and optional coloring tools like colored pencils, crayons, markers, or watercolors.
Why is drawing for Christmas a great activity for beginners?
Drawing for Christmas is a fantastic activity for beginners because it helps reduce stress, boosts creative confidence, and allows you to express your unique holiday spirit through simple, joyful art.
What are some beginner techniques for drawing holiday images?
Beginner techniques include breaking down objects into simple shapes like circles, squares, and triangles, practicing line quality with light and dark strokes, and adding simple shading by imagining light sources and blending graphite for depth.
Can I draw festive Christmas symbols even if I have no experience?
Absolutely! You can start with simple shapes and follow easy step-by-step guides to draw iconic Christmas symbols like snowmen, Santa, reindeer, or Christmas trees, adding your personal touches along the way.
How can I make my Christmas drawings more special and personalized?
You can personalize your drawings by adding details like glitter, patterns, backgrounds, hand-lettered messages, or turning your sketches into handmade cards, gift tags, ornaments, or framed mini art pieces for a meaningful holiday touch.
- 2.2Kshares
- Facebook0
- Pinterest2.2K
- Twitter0
- Reddit0
