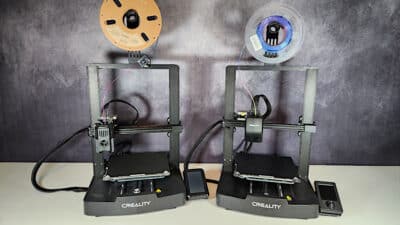
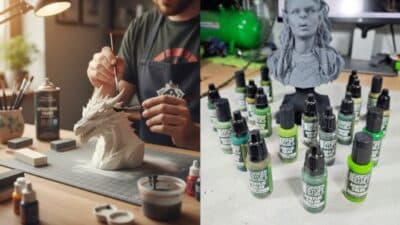
Ever thought about bringing your digital ideas into the real world, holding them in your hands? What if you could conjure up anything from a personalized board game piece to a custom-fit phone stand, right there on your desk? Welcome to the thrilling universe of 3d printing for hobbyists, a world that’s no longer exclusive to engineers or large corporations. It’s now incredibly accessible, affordable, and, most importantly, unbelievably fun for anyone with a spark of creativity and a desire to make. This isn’t just about printing plastic trinkets; it’s about unlocking a new dimension of creativity, problem-solving, and personal expression. If you’ve ever dreamt of designing, iterating, and producing physical objects from the comfort of your home, then you’re in the right place. Let’s dive in and discover how 3D printing can revolutionize your hobbies and unleash your inner maker!

What is 3D Printing and Why Should Hobbyists Care?
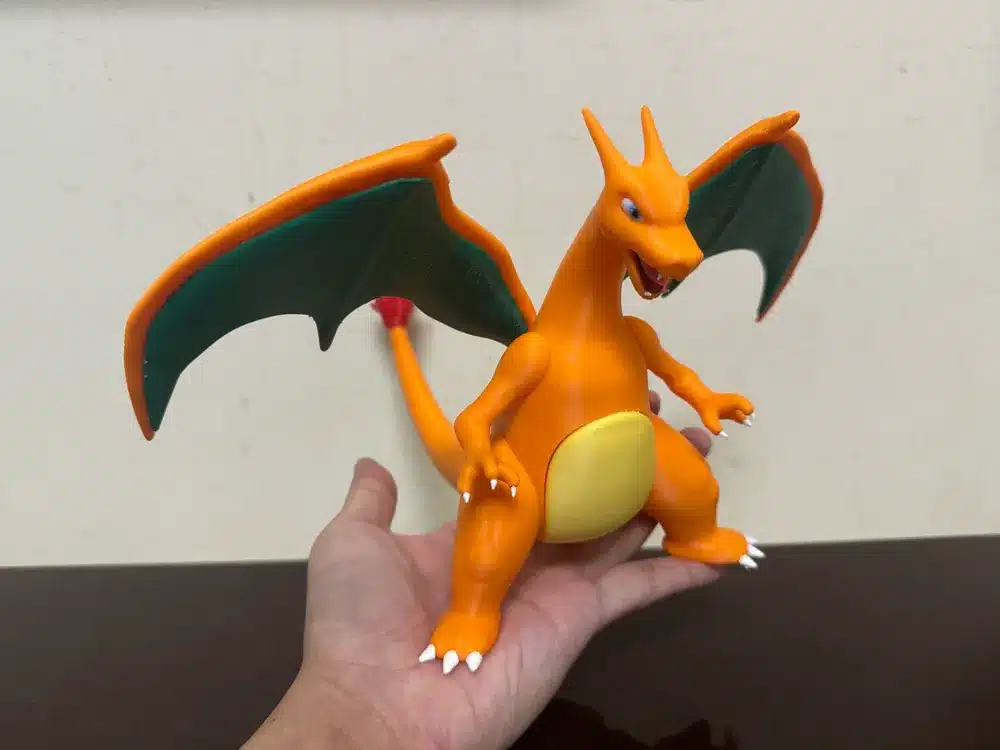
At its core, 3D printing, also known as additive manufacturing, is a process of creating a three-dimensional object from a digital design. Instead of carving or molding, a 3D printer builds an object layer by painstaking layer, adding material bit by bit until the final product takes shape. Think of it like a hot glue gun that moves with incredible precision, controlled by a computer. It’s a fundamental shift in how we create, moving from subtractive (removing material) to additive (adding material).
So, why should this excite you, the casual hobbyist? Simple: boundless possibilities. Traditional crafting often involves specialized tools, extensive manual labor, and sometimes, a hefty price tag for custom parts. 3D printing bypasses many of these hurdles. Need a specific size bracket for your DIY electronics project? Print it. Want a unique miniature for your tabletop RPG that doesn’t exist anywhere else? Design it, print it. Dreaming of custom organization solutions for your craft room? You get the idea. The barrier to entry for making bespoke items has never been lower. It empowers you to become a designer, an engineer, and a manufacturer all rolled into one, right from your kitchen table.
Getting Started: Choosing Your First 3D Printer
Stepping into the world of 3D printing can feel a bit overwhelming, especially with the array of printers available. But don’t fret; for hobbyists, the choice often boils down to two main types: FDM and Resin printers.
FDM (Fused Deposition Modeling) Printers
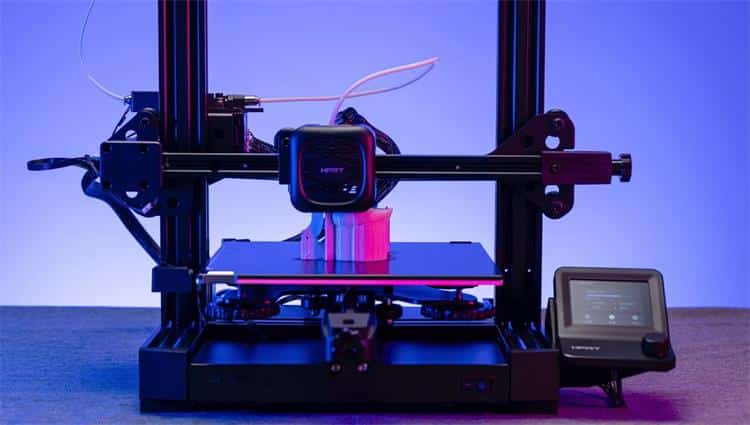
FDM printers are the workhorses of the hobbyist world. They work by extruding a thermoplastic filament (a fancy word for plastic string) through a heated nozzle, depositing it onto a build plate layer by layer.
- Pros: Generally more affordable, easier to maintain, use less toxic materials (filaments), and produce strong, functional parts. They’re excellent for larger objects, prototypes, and prints where extreme detail isn’t the absolute top priority.
- Cons: Visible layer lines, can be slower for very detailed objects, and sometimes require more calibration.
Resin (SLA/DLP) Printers
Resin printers use a liquid resin that’s cured (hardened) by UV light, often from an LCD screen. This method allows for incredible detail and smooth surfaces.
- Pros: Unrivaled detail, smooth finishes, perfect for miniatures, jewelry, and artistic models where aesthetics are key.
- Cons: More expensive, materials (resins) are often more costly and require careful handling (gloves, ventilation), and post-processing involves washing and UV curing. Prints can be more brittle.
Key Features to Look For
When you’re ready to pick your first printer, consider these points:
- Build Volume: This is the maximum size of an object your printer can create. A standard size like 220x220x250mm is great for most hobby projects. Bigger isn’t always better if it means a larger footprint or higher cost for unused space.
- Auto-Leveling: Trust us on this one. Manually leveling a print bed can be a chore. Auto-leveling sensors take the guesswork out of it, ensuring your first layer sticks perfectly.
- Ease of Use: Look for printers with good user interfaces, straightforward assembly, and a strong online community for support. Brands like Creality (Ender series), Prusa, and Anycubic are popular for good reason.
- Open Source vs. Proprietary: Many FDM printers are open source, meaning you can easily find upgrades, modifications, and community-driven solutions. This is a huge plus for hobbyists who love to tinker.
- Budget: You can find decent FDM printers for under $200, while good resin printers usually start around $250-$300. Remember to factor in the cost of filament/resin and any necessary accessories.
Think about your primary hobby. If you’re into prop-making or functional prints, an FDM printer is a fantastic starting point. If miniature painting or highly detailed models are your passion, a resin printer might be more up your alley. Many hobbyists eventually get both!
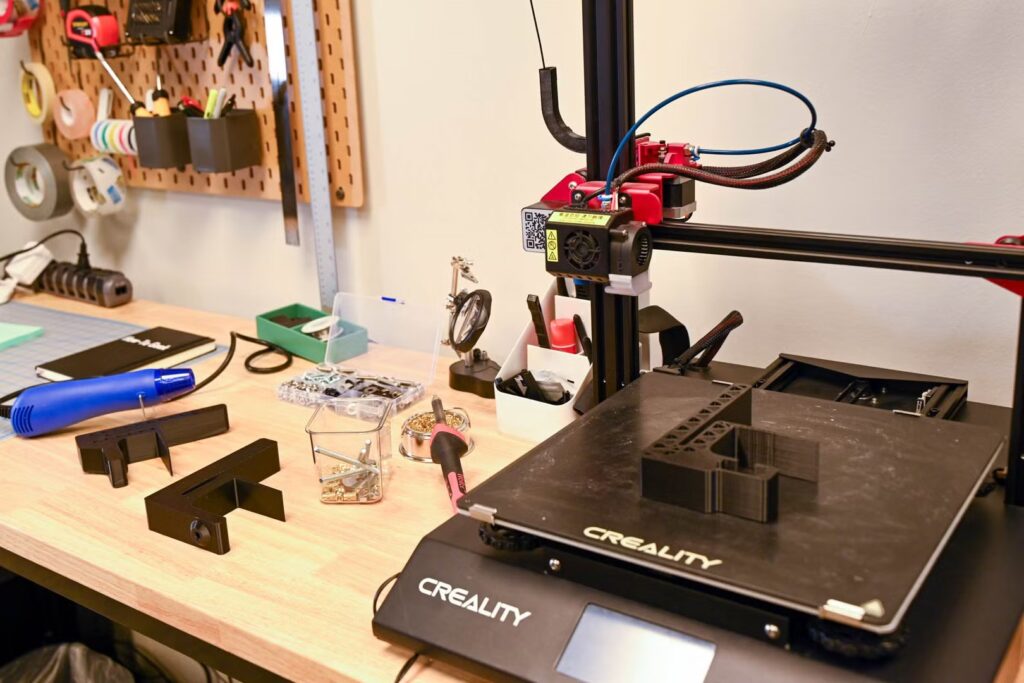
The Essentials: Filaments, Resins, and Accessories
Once you have your printer, you’ll need the fuel for your creative fire: materials!
Filaments for FDM Printers
The world of filaments is vast, but a few stand out for hobbyists:
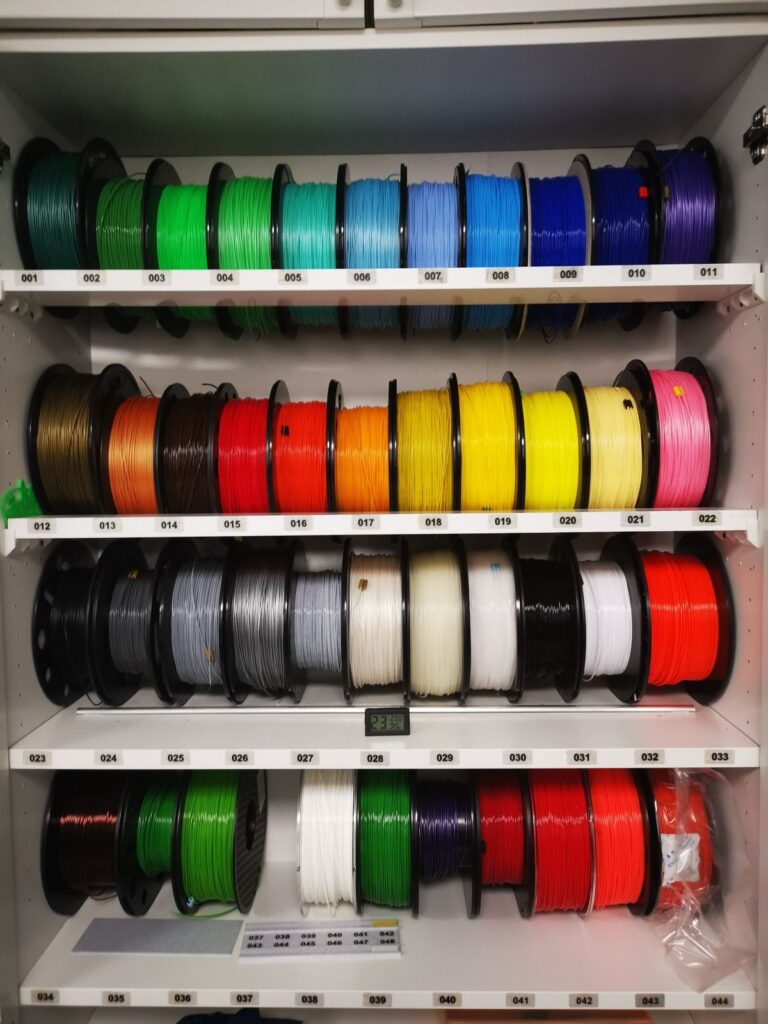
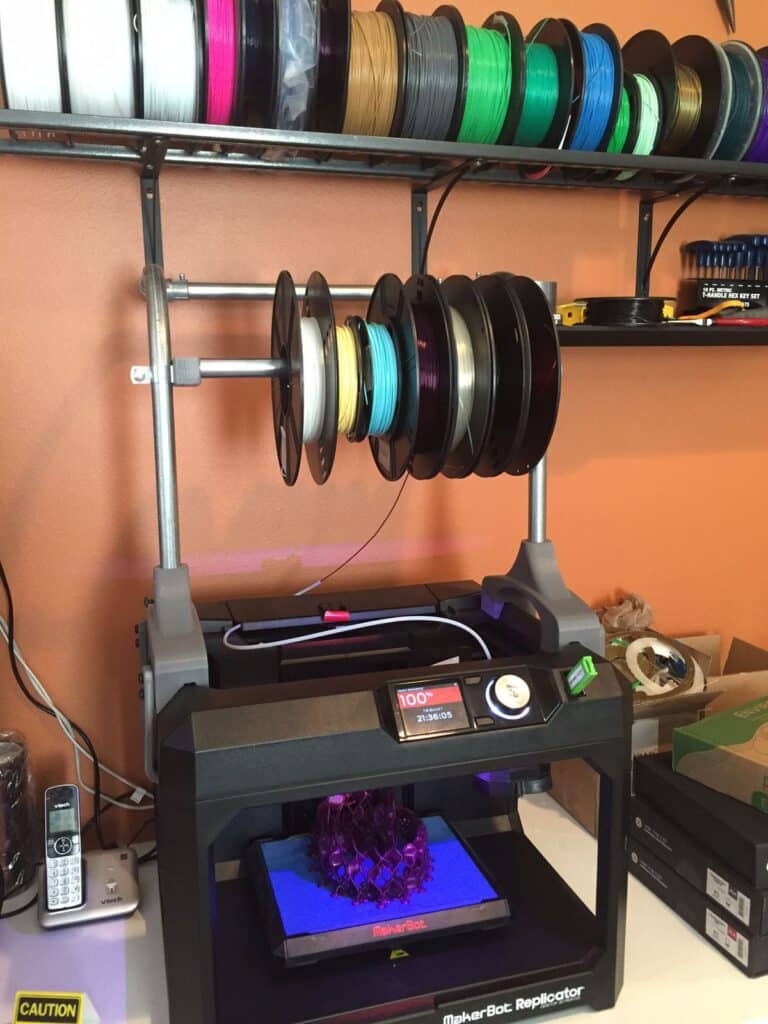
- PLA (Polylactic Acid): Your best friend for FDM printing. It’s easy to print, derived from renewable resources (like cornstarch), and comes in a huge variety of colors. Perfect for most everyday prints, prototypes, and decorative items.
- PETG (Polyethylene Terephthalate Glycol): A step up from PLA, offering more strength, flexibility, and heat resistance. It’s great for functional parts that might see a bit more wear and tear, like a custom holder for your gardening tools or a unique item for your home, aligning with ideas for unique home decor. It can be a little trickier to print than PLA.
- ABS (Acrylonitrile Butadiene Styrene): Very strong and heat resistant, often used in things like LEGO bricks. However, it’s known for warping during printing and emits fumes, requiring good ventilation. Generally not recommended for beginners.
- Specialty Filaments: Beyond these, you’ll find exciting options like wood-filled, metal-filled, glow-in-the-dark, flexible (TPU), and carbon fiber reinforced filaments. These add fantastic visual and tactile properties to your prints.
Resins for Resin Printers
Resins come in various formulations, each with specific properties:
- Standard Resin: The most common and affordable. Great for general detailed models.
- Water Washable Resin: A fantastic option for beginners as it doesn’t require isopropyl alcohol for cleaning, making post-processing simpler and less messy.
- Tough/Strong Resin: Designed for parts that need more durability and impact resistance.
- Flexible Resin: As the name suggests, it allows for prints that can bend without breaking.
- Clear Resin: Can be polished to a transparent finish, perfect for lenses or light-up projects.
Essential Accessories
Don’t forget these handy tools:
- Scraper/Spatula: For removing prints from the build plate.
- Flush Cutters: To snip off supports cleanly.
- Safety Gear: Gloves, safety glasses, and potentially a respirator, especially when working with resin.
- Isopropyl Alcohol (IPA) / Cleaning Solution: For washing resin prints.
- UV Curing Station: Essential for properly curing resin prints to achieve maximum strength.
- Adhesive: For post-processing multiple parts or adding extra stick to your FDM print bed.
- Digital Calipers: For accurate measurements when designing or checking prints.
- Tool Kit: A basic set of pliers, screwdrivers, and Allen wrenches will be invaluable for maintenance and minor repairs.
[GENERATE_IMAGE: A tidy workstation featuring spools of colorful PLA filament, bottles of different colored resins, and various 3D printing tools like a scraper, flush cutters, and safety gloves.]
Unlocking Your Imagination: What Can You Actually Print?
This is where the magic truly happens! Your 3D printer isn’t just a gadget; it’s a creative powerhouse waiting for your ideas. The possibilities are genuinely endless, limited only by your imagination and the printer’s build volume.
- Gaming Miniatures & Terrain: This is a huge one! Print custom characters, monsters, dungeon tiles, or battlefield terrain for Dungeons & Dragons, Warhammer, or any tabletop game. You can even design your own board game pieces.
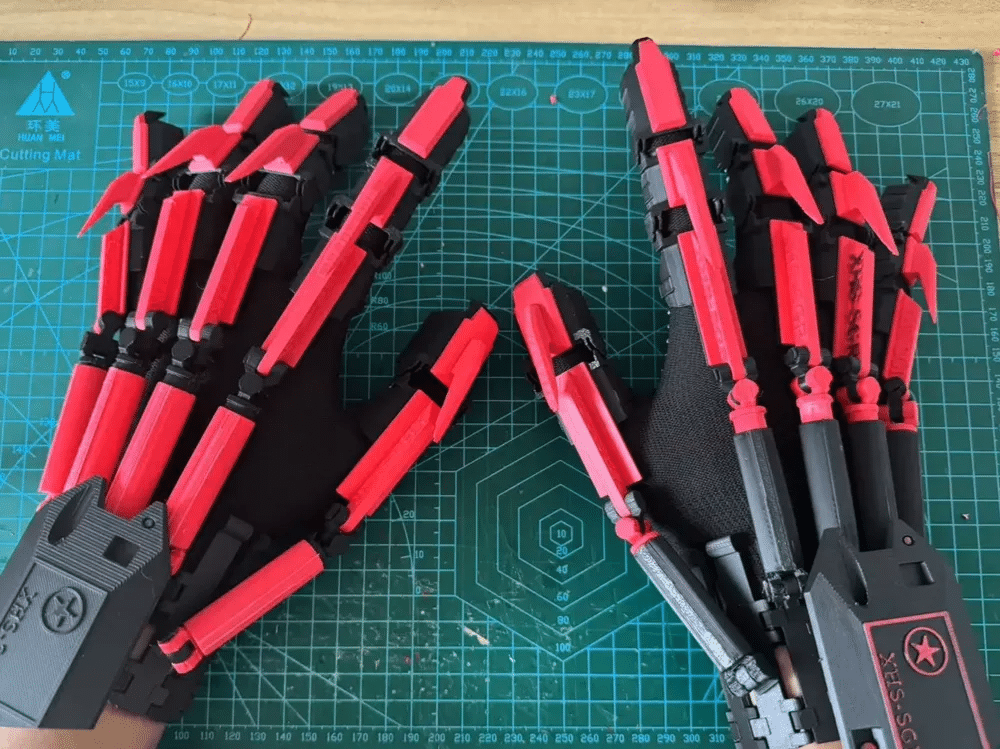
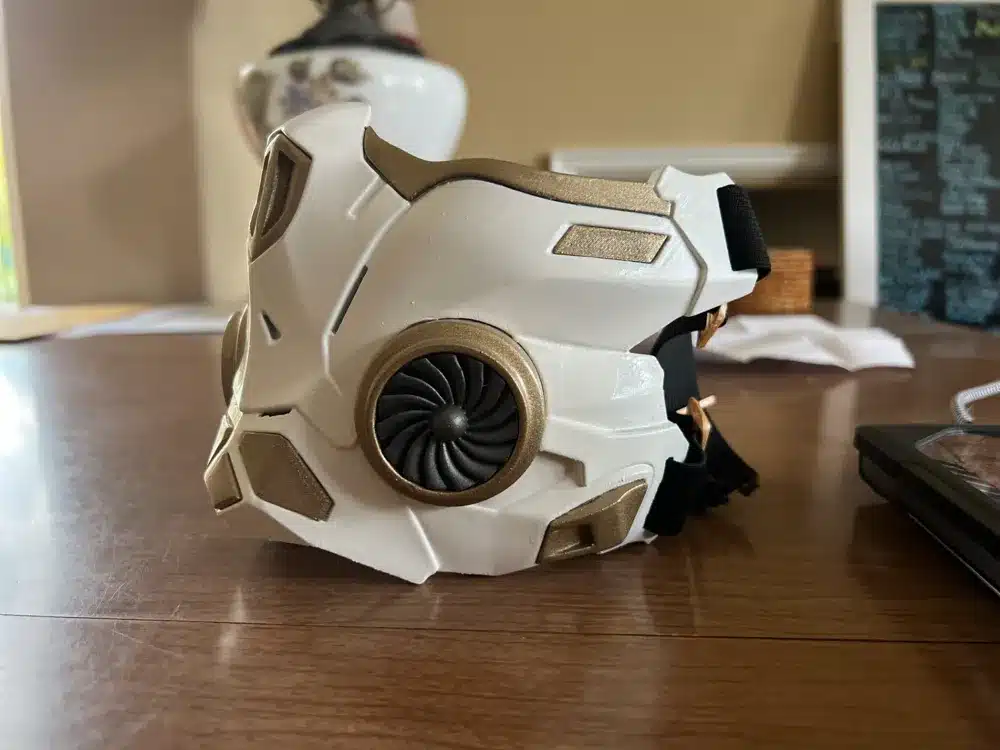
- Cosplay Props & Accessories: Ever wanted to wield a specific weapon from your favorite video game or wear a unique piece of armor? 3D printing makes it achievable. Helmets, masks, costume details – the fidelity can be incredible.
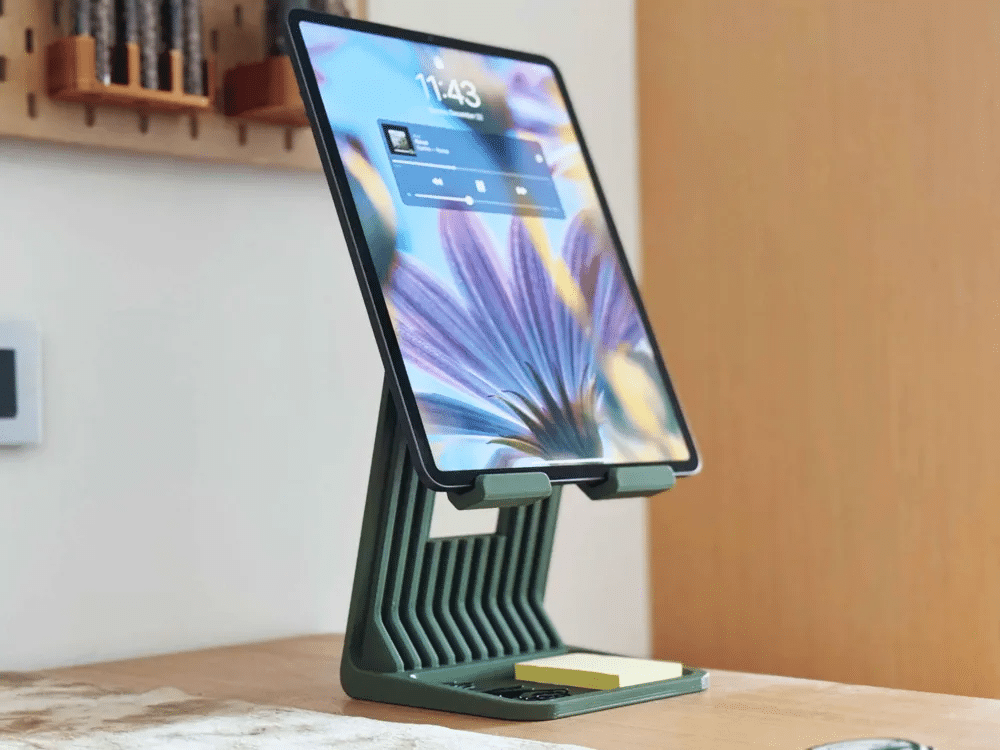
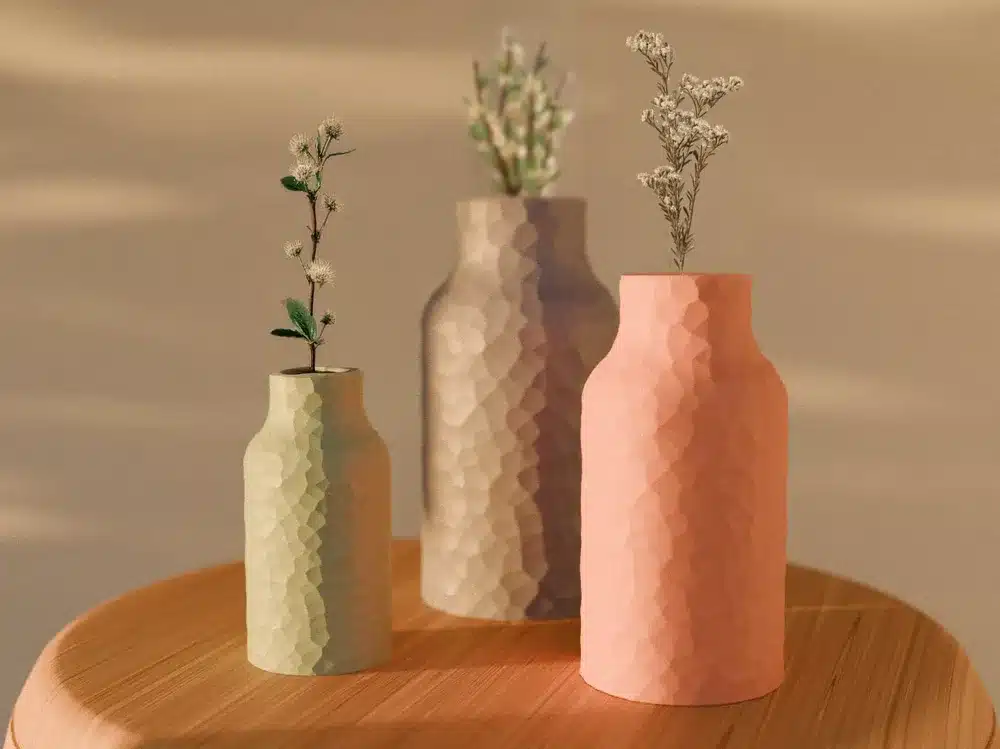
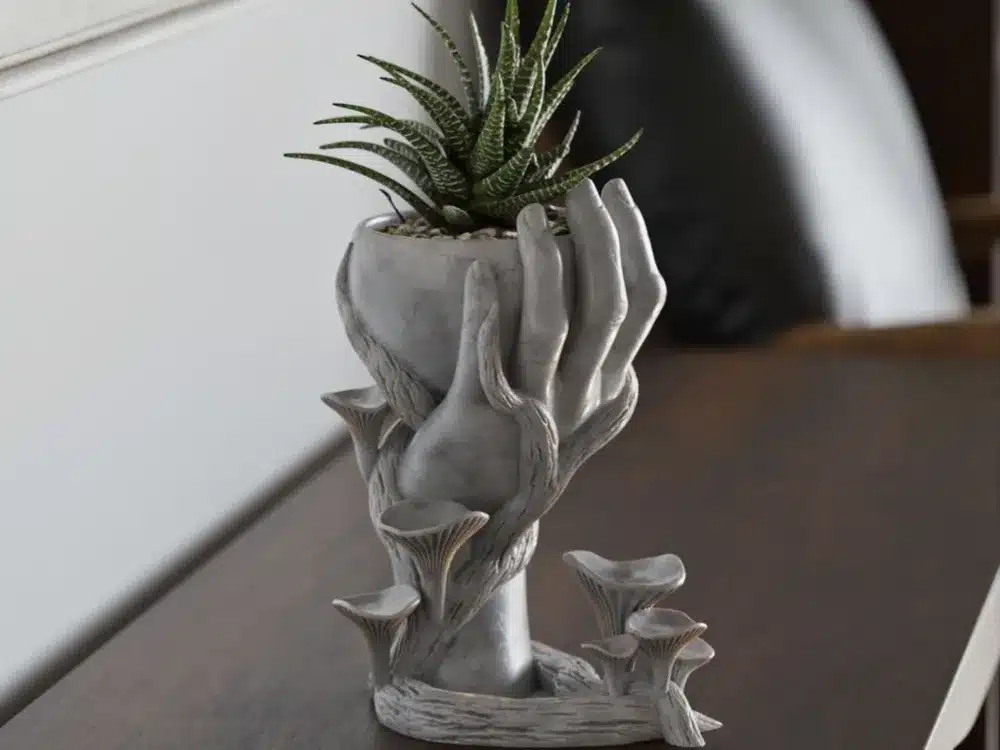
- Home Decor & Organization: From custom planters and vases to unique bookends and intricate wall art, your printer can add a personalized touch to your living space. Organize your craft supplies with custom bins, create a unique desk tidy, or design a custom phone stand. Think about how you could transform your creative workspace at home with custom-printed organizers.
- Tools and Functional Prints: Need a specific wrench size? A custom mount for your camera? A replacement knob for an old appliance? 3D printing excels at creating functional tools and spare parts. This can save you money and headaches!
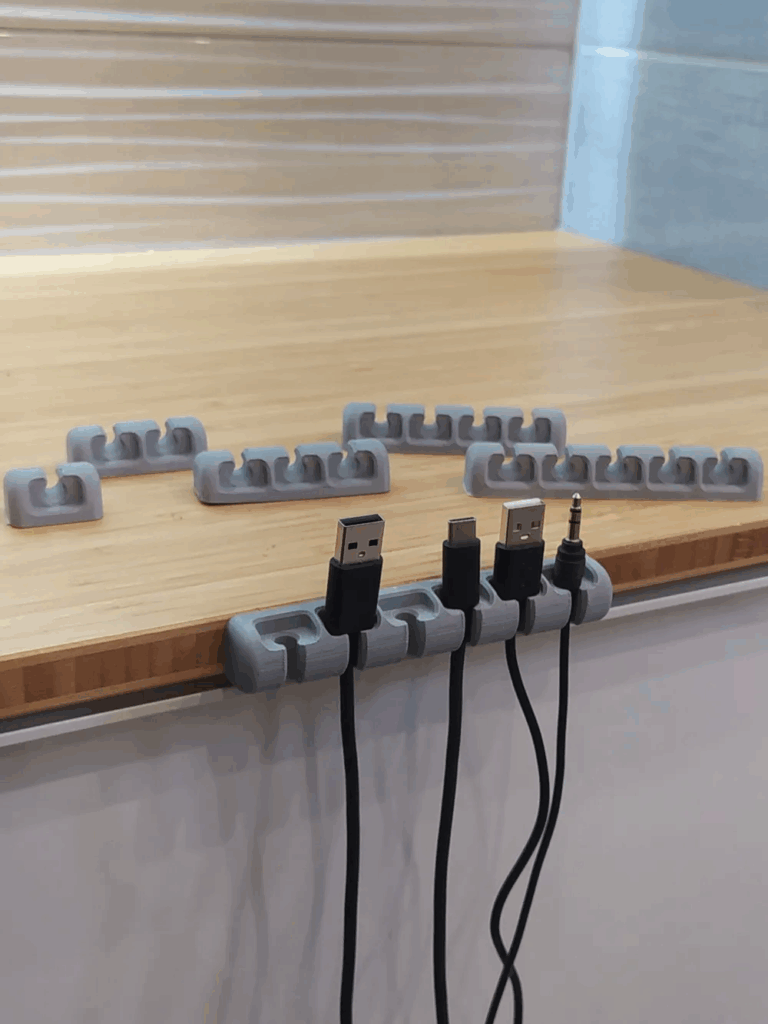
- Gadget Enhancements: Custom cases for Raspberry Pis, mounts for smart home devices, cable organizers, or unique docking stations for your electronics.
- Educational Projects: Create anatomical models, geometric shapes, or interactive puzzles for learning.
- Artistic Creations: Sculpture, abstract forms, intricate jewelry designs – 3D printing offers a new medium for artistic expression.
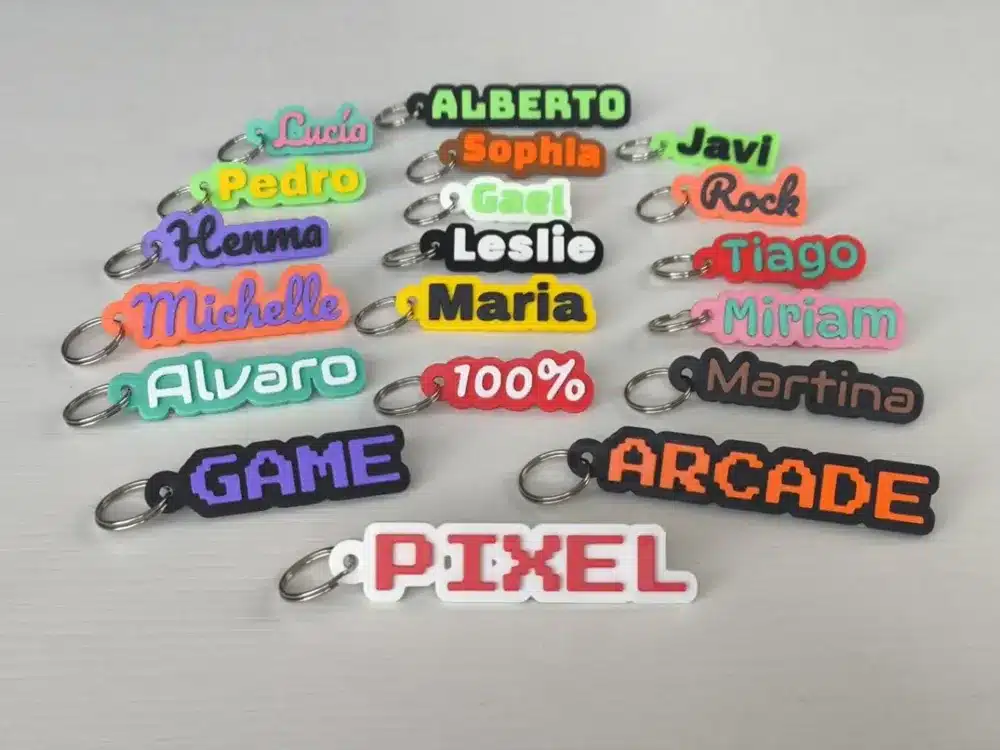
- Gifts: Nothing says “I thought of you” like a custom-designed and printed gift! Personalized keychains, figurines, or even a bust of a friend’s pet.
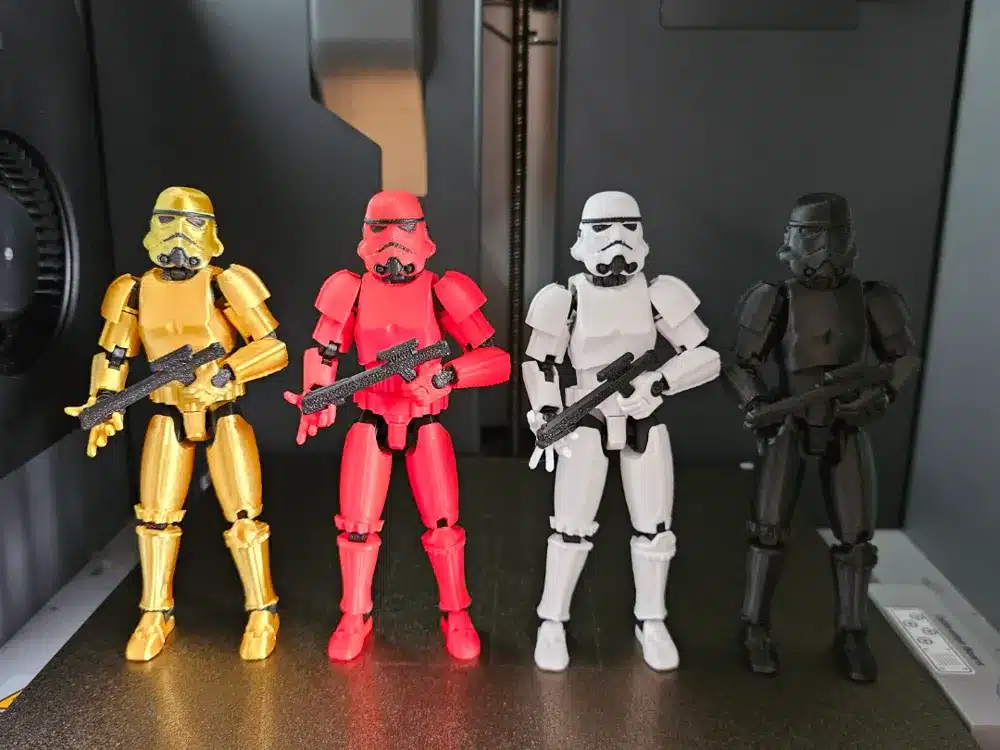
The beauty is that if you can dream it, you can probably design or find a design for it, and then print it. It’s an incredible way to bring your unique vision to life. [GENERATE_IMAGE: A collage of various 3D printed objects: a detailed fantasy miniature, a functional custom phone holder, an intricate geometric planter, and a component for a DIY electronics project.]
From Idea to Object: The 3D Printing Workflow
So, you’ve got your printer and some material. Now what? Let’s walk through the basic steps of turning a digital idea into a physical object.
1. Finding or Creating 3D Models
This is where your object’s journey begins.
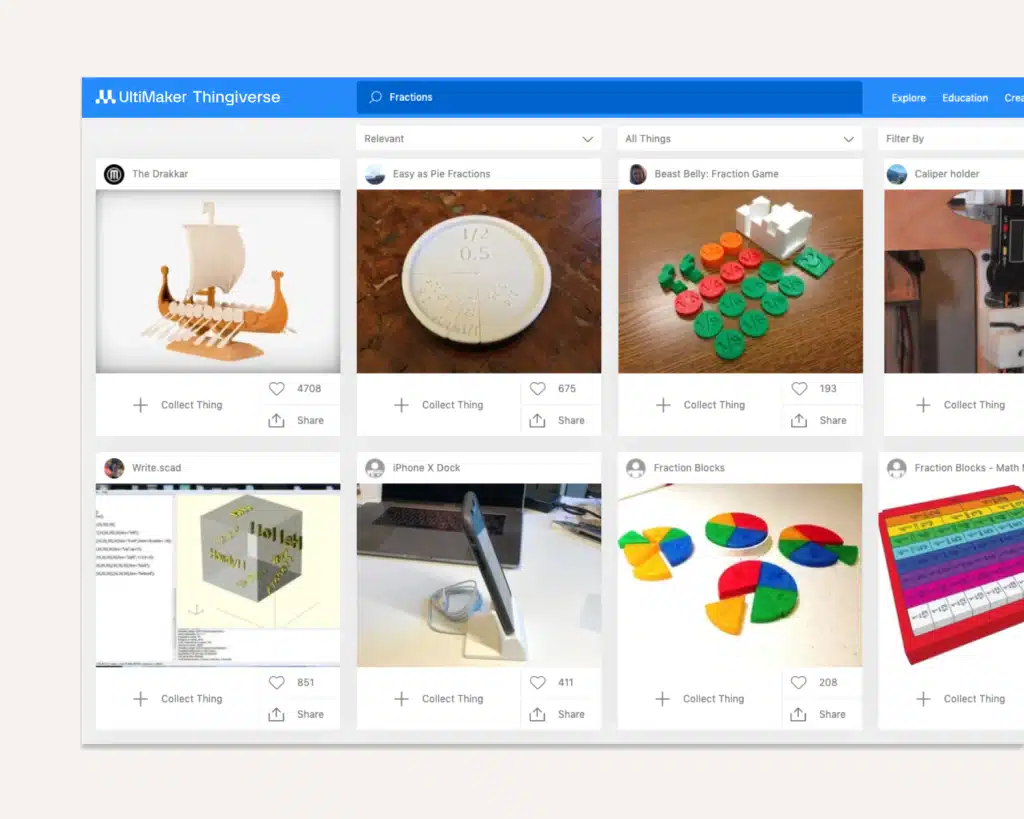
- Finding Models: For beginners, sites like Thingiverse, Cults3D, MyMiniFactory, and Printables.com are treasure troves of free and paid 3D models (files typically in `.STL` or `.OBJ` format). You can search for almost anything you can imagine!
- Creating Models: If you’re feeling adventurous, you can design your own.
Tinkercad: An excellent, free, browser-based tool perfect for absolute beginners. It uses simple shapes to build more complex objects. Fusion 360: A more powerful, professional CAD (Computer-Aided Design) software that offers a free hobbyist license. It has a steeper learning curve but allows for incredibly precise and complex designs. Blender:* A free and open-source 3D modeling software, powerful for artistic and organic shapes, though also quite complex for newcomers. Learning to create models is a whole hobby in itself, similar to exploring digital art ideas or graphic design.
2. Slicing Software
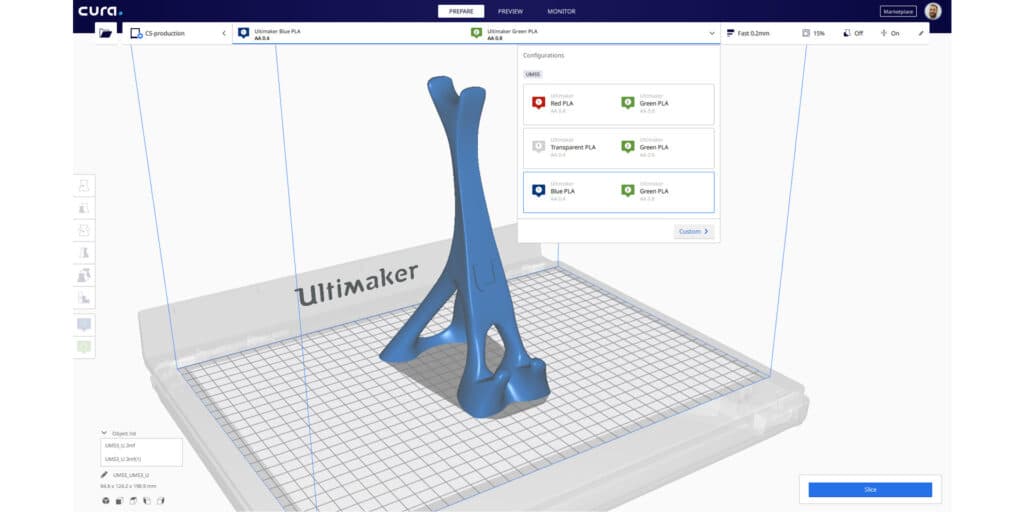
Once you have your 3D model, you need to “slice” it. Slicing software (like Cura, PrusaSlicer, or Chitubox for resin printers) takes your 3D model and translates it into a series of thin layers. It generates a `.GCODE` file, which is essentially a set of instructions for your printer: “move here, heat to this temperature, extrude this much plastic, etc.”
- Key Settings: In the slicer, you’ll adjust critical parameters:
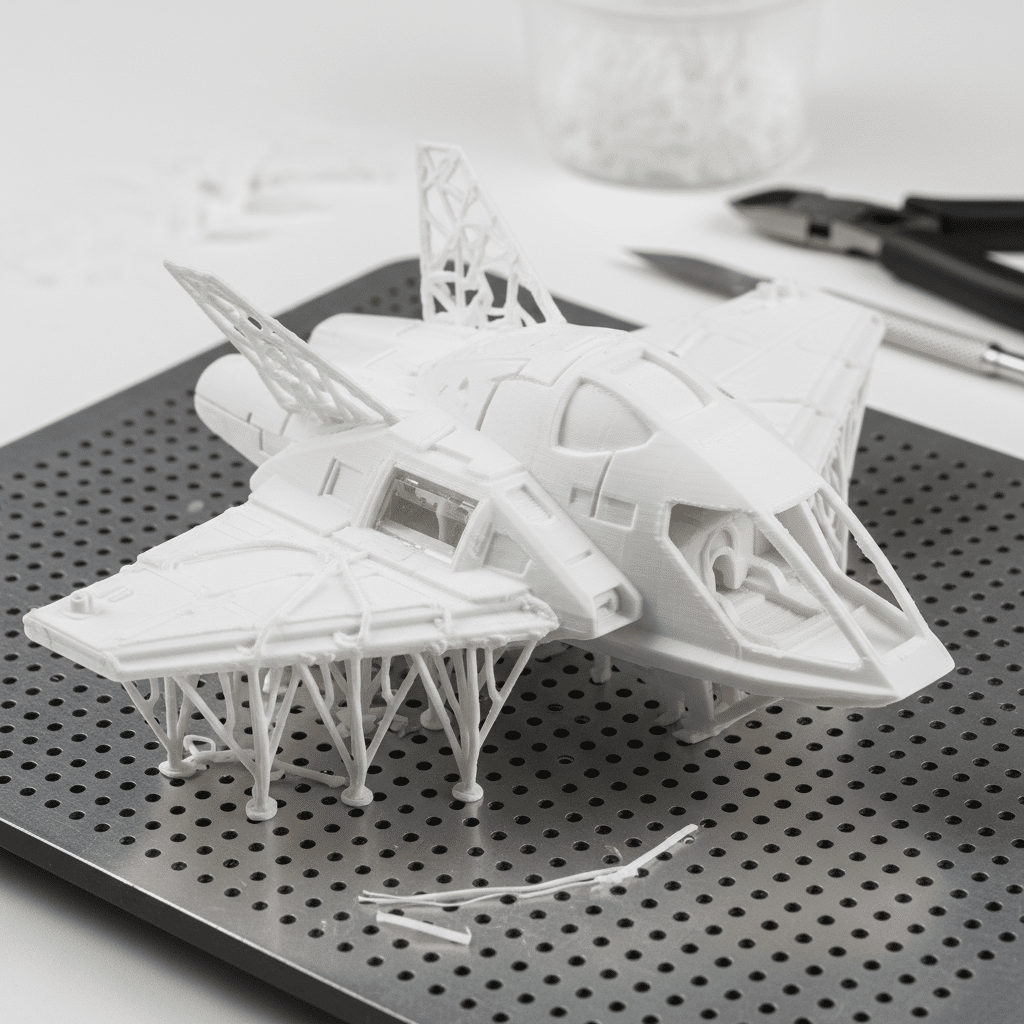
Layer Height: Thinner layers mean more detail but longer print times. Infill: The internal structure of your print. Higher infill means stronger but heavier and slower prints. Supports: If your model has overhangs that the printer can’t build in mid-air, supports will be generated to hold them up. These are removed after printing. Brims/Rafts/Skirts: These are features that help the first layer stick to the build plate. Temperature:* Nozzle and bed temperatures for FDM, or exposure times for resin.
3. The Printing Process
Load your filament or resin, ensure your bed is level, transfer the GCODE file (usually via SD card or USB), and hit print! Modern printers often have screens that show progress, temperature, and estimated time. It’s mesmerizing to watch your creation slowly materialize.
4. Post-Processing
Once the print is finished:
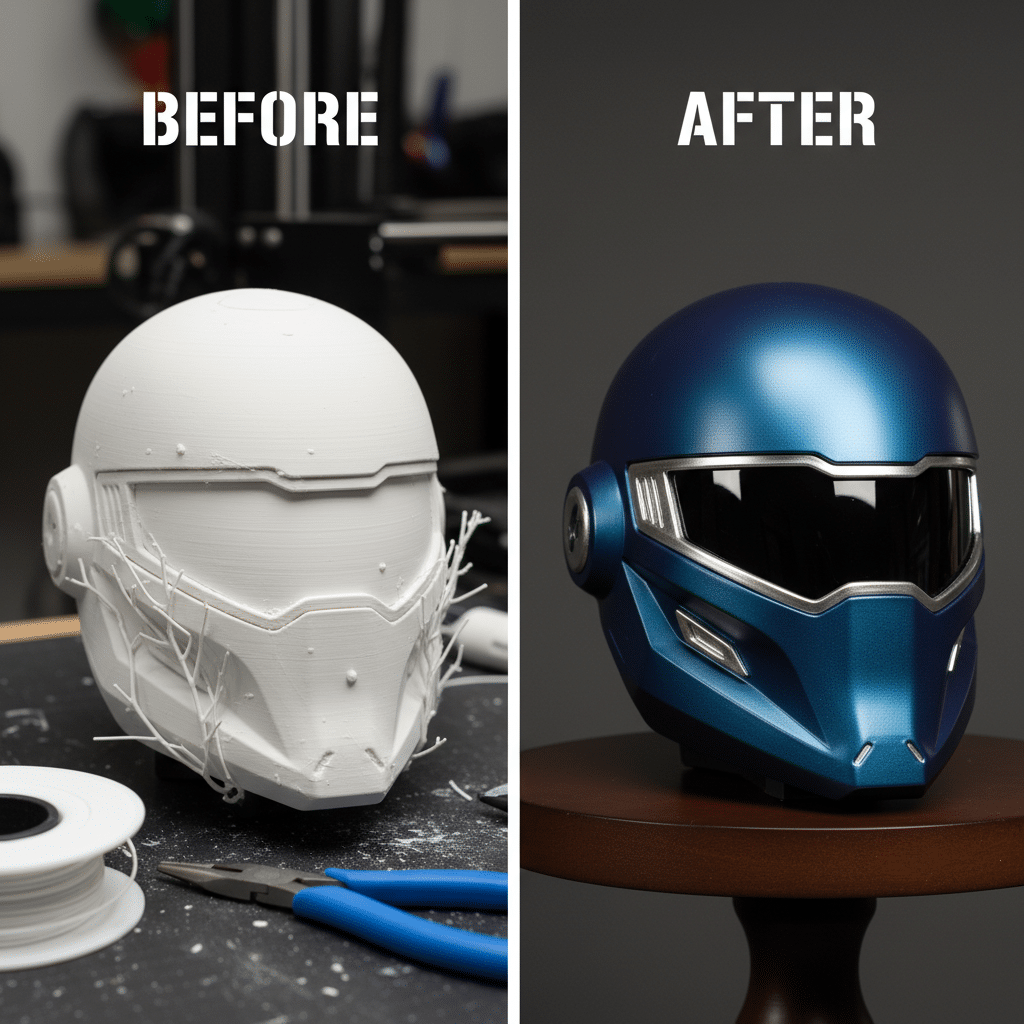
- FDM: Carefully remove the print from the build plate. Use flush cutters to snip off any supports. You can sand, paint, or glue parts together for a finished look.
- Resin: This is a bit more involved. First, remove the print from the build plate. Then, wash the print in isopropyl alcohol or a special resin cleaner to remove uncured resin. Finally, cure the print using a UV light source (a dedicated curing station, a nail lamp, or even direct sunlight) to fully harden it. After curing, supports can be removed, and the print can be sanded and painted.
This entire process, from finding a model to post-processing, becomes second nature surprisingly quickly.
Troubleshooting Common Issues: A Hobbyist’s Lifeline
Even seasoned pros encounter hiccups. Don’t be discouraged if your first few prints aren’t perfect. Troubleshooting is part of the learning curve, much like diagnosing issues in your home or repairing windows. Here are some common problems and their usual culprits:
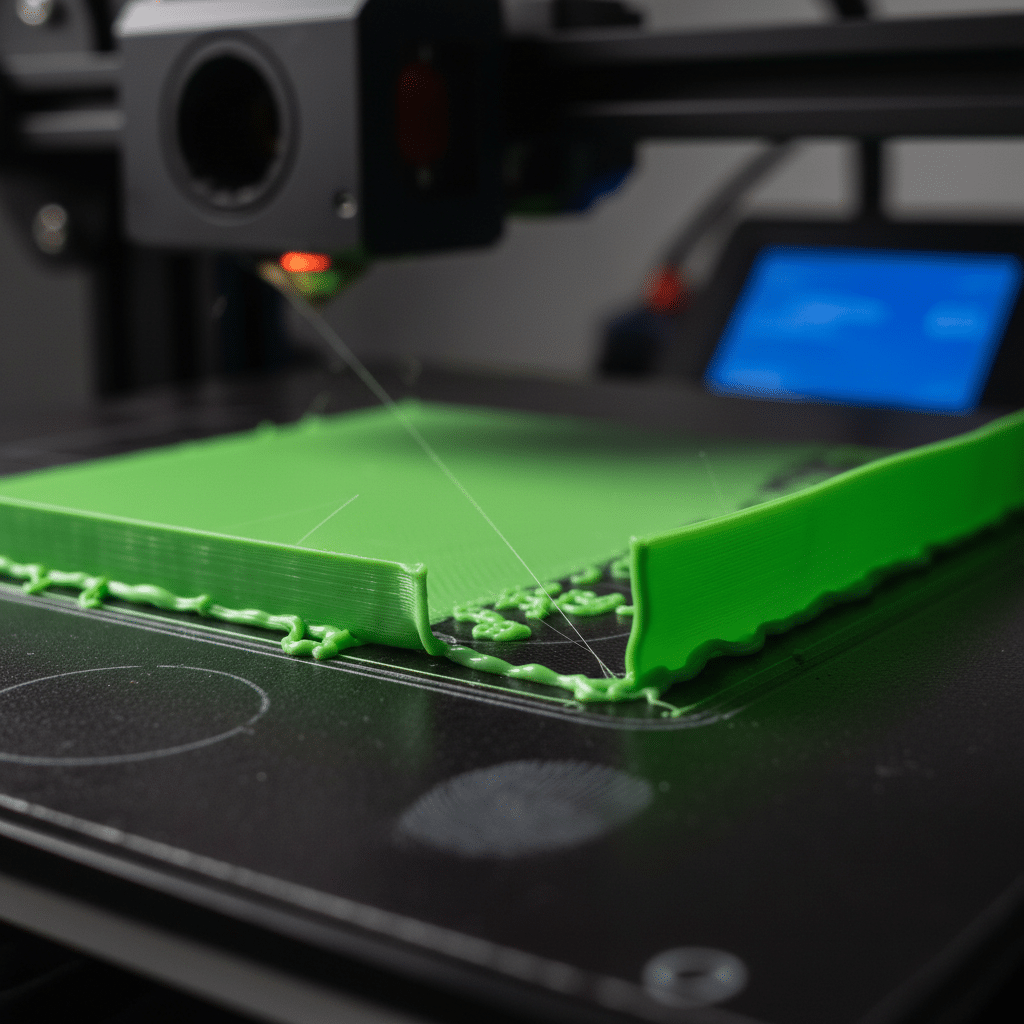
- Print Won’t Stick to the Bed (Bed Adhesion Issues): This is probably the most common beginner frustration.
Solution:* Ensure your print bed is clean (use IPA or soap and water). Check that the bed is perfectly level – the nozzle should be just the right distance from the plate. Increase bed temperature slightly. Use adhesion aids like gluestick, hairspray, or special build plate surfaces.
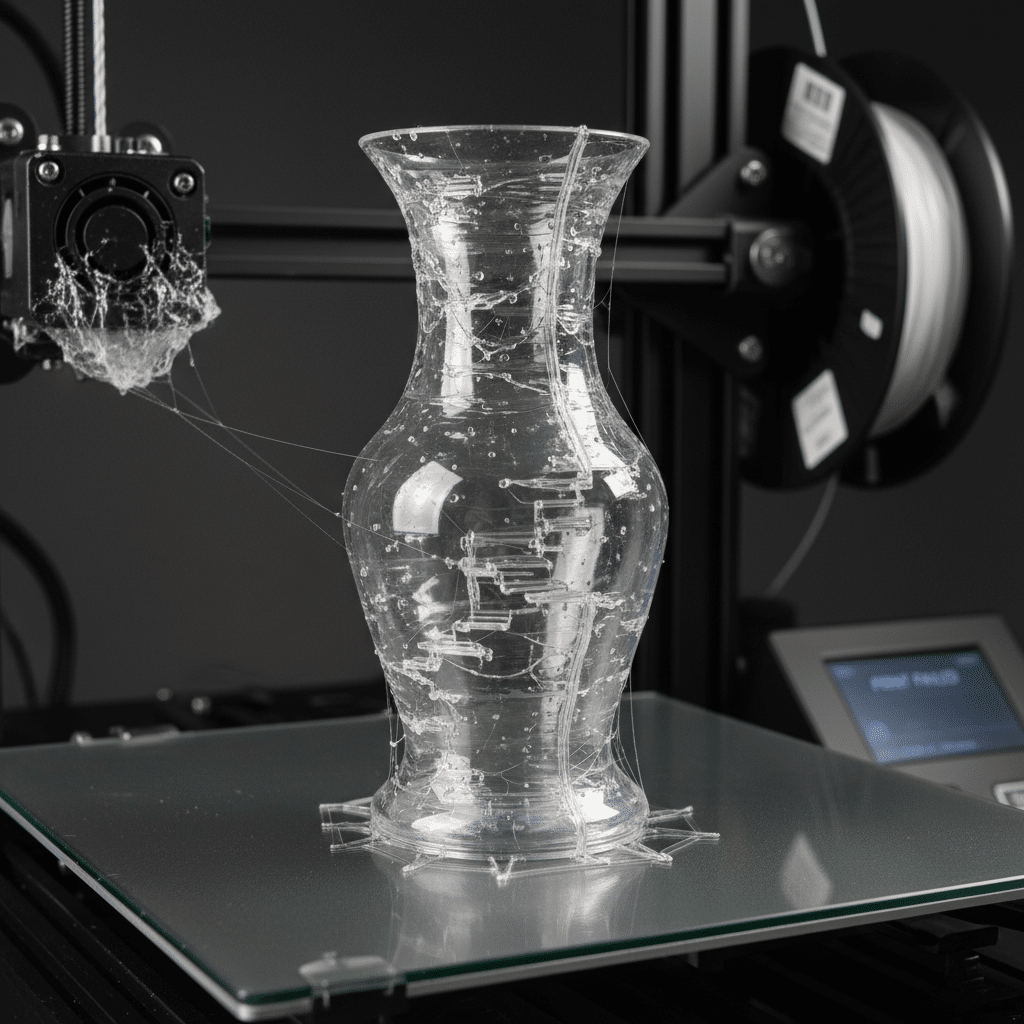
- Stringing/Oozing: Fine strands of plastic appear between parts of your print.
Solution:* Your printer is probably extruding plastic when it shouldn’t be. Adjust retraction settings (how much the filament is pulled back into the nozzle when moving). Lower your print temperature slightly.
- Layer Shifts: The layers of your print suddenly shift horizontally, creating a stepped appearance.
Solution:* This often means a motor is skipping steps. Check that your belts are tight and not too loose. Ensure nothing is obstructing the print head’s movement. Lower print speed.
- Clogged Nozzle: No filament comes out, or it comes out very thinly.
Solution:* Your nozzle might be blocked. Try a “cold pull” (heating the nozzle, then letting it cool slightly before pulling the filament out) or use a tiny needle to clear the blockage. Prevent clogs by ensuring filament is dry and dust-free.
- Warping (Corners Lifting Off Bed): Especially common with ABS, but can happen with PLA. The print cools unevenly and contracts, lifting off the bed.
Solution:* Ensure good bed adhesion. Use a heated bed (if your printer has one). Print with a “brim” in your slicer. Consider enclosing your printer to maintain a stable ambient temperature.
- Poor Print Quality (Rough Surfaces, Gaps):
Solution:* Check filament diameter in your slicer settings. Ensure consistent extrusion. Calibrate your E-steps (extruder steps) for accurate filament delivery. Slow down your print speed.
The key to troubleshooting is patience and making one change at a time. The 3D printing community is incredibly helpful; a quick search for your specific issue and printer model will often yield solutions on forums, Reddit, or YouTube.
Taking Your Skills to the Next Level: Advanced Tips & Tricks
Once you’ve mastered the basics, there’s a whole new world of advanced techniques to explore.
- Multi-Material/Multi-Color Printing: Some advanced FDM printers can print with multiple colors or different types of filament in a single print. Even with a single-extruder printer, you can achieve multi-color prints by pausing the print at specific layers and swapping filament.
- Advanced Design Software: Move beyond Tinkercad to professional tools like Fusion 360, SolidWorks, or even ZBrush for organic sculpting. These open up possibilities for complex engineering, intricate artistic designs, and precise fitting parts.
- Customizing Printer Firmware: For the truly adventurous, modifying your printer’s firmware (like Marlin or Klipper) can unlock advanced features, improve performance, and give you granular control over every aspect of your printing process.
- Finishing Techniques: Beyond basic sanding and painting, explore techniques like vapor smoothing (for ABS), clear coating for glossy finishes, hydro-dipping, or electroplating for metal-like effects. The right finish can elevate a plastic print into a stunning, professional-looking piece.
- Print Farms & Automation: While a bit beyond a casual hobbyist, some advanced users set up multiple printers to run continuously, producing batches of items. You can learn about basic automation principles by using OctoPrint on a Raspberry Pi to monitor and control your printer remotely.
The journey of 3D printing is one of continuous learning. Each new material, each advanced setting, and each complex design offers a fresh challenge and a rewarding outcome.
The Future is Now: Joining the 3D Printing Community
One of the most enriching aspects of 3D printing is the vibrant, passionate global community that surrounds it. You’re not alone in this adventure!
- Online Communities: Websites like Reddit (r/3Dprinting, r/ender3, r/resinprinting), Facebook groups, and specialized forums are bustling hubs of knowledge. People share their amazing prints, ask for help, offer advice, and celebrate successes. It’s an invaluable resource for learning and inspiration.
- Local Maker Spaces: Many cities have “maker spaces” or “hackerspaces” equipped with various tools, including multiple 3D printers, laser cutters, CNC machines, and electronics labs. These are fantastic places to meet like-minded individuals, learn from experienced makers, and even try out different types of equipment before investing yourself.
- Sharing Your Creations: Don’t be shy! Share your prints on social media, Thingiverse, or other platforms. The feedback and encouragement from the community can be incredibly motivating. It’s a fantastic way to showcase your progress and inspire others.
- The Broader Impact: As you delve deeper, you’ll also become aware of the broader implications of 3D printing. It’s changing industries from medicine to automotive, enabling rapid prototyping, custom manufacturing, and even sustainable solutions for recycling plastics. It makes you rethink the very process of making things, and you might find it aligns with fascinating discussions about when plastic becomes power: rethinking the future of making things. Your little home setup is part of a much larger, transformative movement.
[GENERATE_IMAGE: A diverse group of hobbyists gathered in a bustling maker space, actively engaged in 3D printing, laser cutting, and other craft projects, fostering a sense of community.]
Conclusion
Stepping into the world of 3D printing for hobbyists is more than just acquiring a new gadget; it’s about embracing a new way to create, innovate, and personalize your passions. From bringing your favorite game characters to life to designing practical solutions for your home, the journey is filled with discovery and immense satisfaction. It empowers you to move beyond being a consumer and become a maker, shaping the physical world around you with your own hands and ideas.
While there’s a learning curve, the rewards far outweigh the initial challenges. The vibrant community, the endless resources, and the sheer joy of seeing your digital designs materialize into tangible objects make it an incredibly rewarding hobby. So, if you’ve been on the fence, now is the time to jump in. Grab a beginner-friendly printer, pick up some filament, and start printing. Unleash your creativity, solve problems, and make something truly unique today. The future of making is here, and it’s waiting for you to join!
- 13shares
- Facebook0
- Pinterest13
- Twitter0
- Reddit0
