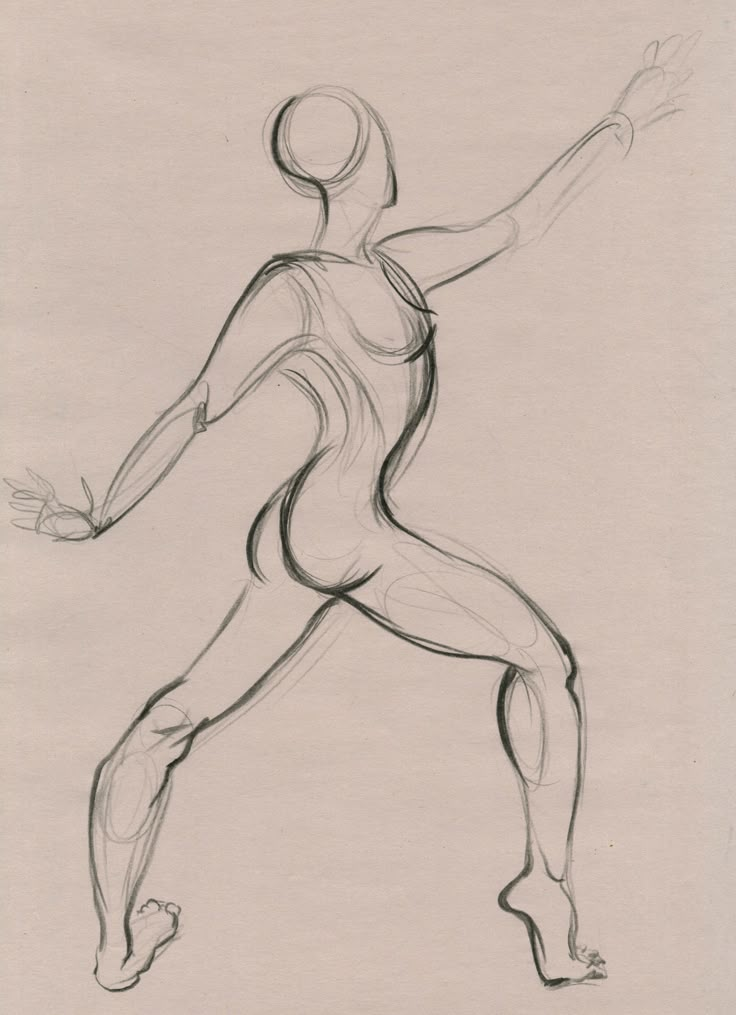
Advanced figure drawing pushes artists beyond simple outlines and into the study of movement, anatomy, and light. It challenges them to see the human form as a living structure—balanced, dynamic, and full of subtle rhythm. Mastering advanced figure drawing techniques allows artists to create figures that feel real, expressive, and grounded in solid structure.
This approach blends observation with technical skill. Artists learn to capture gesture and proportion, apply chiaroscuro for depth, and use perspective to show figures in motion or space. Lessons in anatomy and shading refine precision, while composition and media choices expand creativity and style.
By exploring methods such as dynamic posing, controlled mark-making, and innovative materials, artists develop confidence and control in their work. Each technique builds on the last, leading to drawings that not only look accurate but also communicate energy and intent.
Core Principles of Advanced Figure Drawing
Advanced figure drawing builds on strong drawing skills, refined techniques, and consistent life drawing practice. Artists strengthen their ability to observe, measure, and represent the human form with accuracy, structure, and depth.
Understanding Drawing Skills
Strong drawing skills form the foundation of advanced figure drawing. Artists develop control over line, proportion, and value through steady practice and observation. They learn to see shapes and angles as relationships rather than isolated parts.
A skilled artist studies anatomy to understand how bones and muscles create movement. Recognizing how light interacts with form helps them create volume and depth.
Common skills include:
- Gesture drawing for capturing motion
- Contour drawing for defining edges
- Value studies for showing light and shadow
These skills allow artists to move beyond copying and instead interpret the figure with confidence and precision.
Key Drawing Techniques
Advanced artists apply techniques that improve realism and composition. Shading and rendering are essential for creating three-dimensional effects. Understanding light and shadow helps define structure and mood, as explained in Advanced Methods for Elevating Your Figure Drawing Practice.
They also use chiaroscuro, a method that contrasts light and dark to model form. Artists study proportion systems and perspective to ensure figures fit naturally in space.
| Technique | Purpose |
| Gesture Drawing | Expresses movement and rhythm |
| Shading | Builds depth and form |
| Foreshortening | Creates realistic perspective |
Mastering these techniques helps artists produce drawings that balance structure with expression.
Life Drawing Foundations
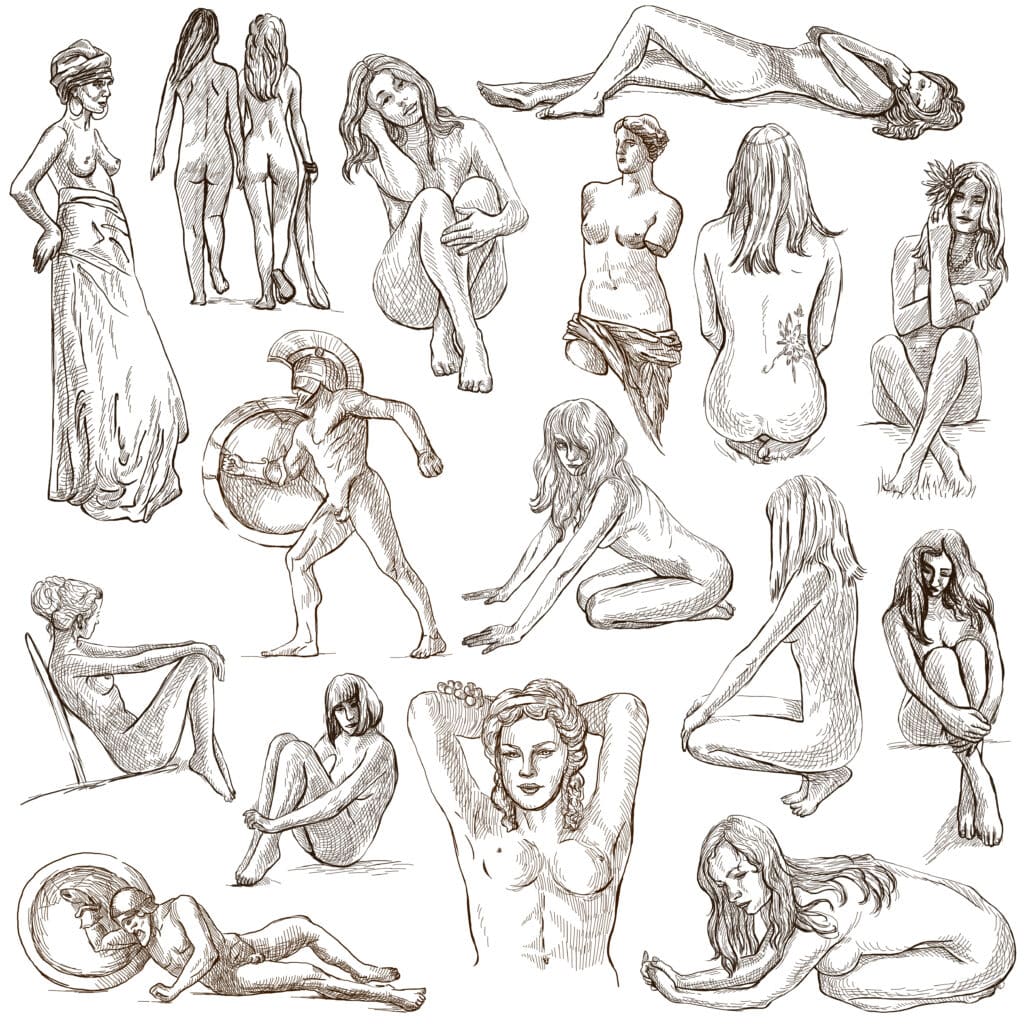
Life drawing trains the eye to see real human proportions and subtle posture changes. Working from live models teaches artists to analyze anatomy and capture natural gestures quickly. According to Figure Drawing: A Complete Guide, drawing from life builds observation accuracy that photos cannot replace.
Artists often start with short gesture sessions before moving to longer studies. This practice improves timing, focus, and confidence.
Life drawing also teaches patience and discipline. Over time, artists learn to simplify complex forms and apply consistent proportions, leading to stronger and more believable figure drawings.
Gesture Drawing and Dynamic Movement
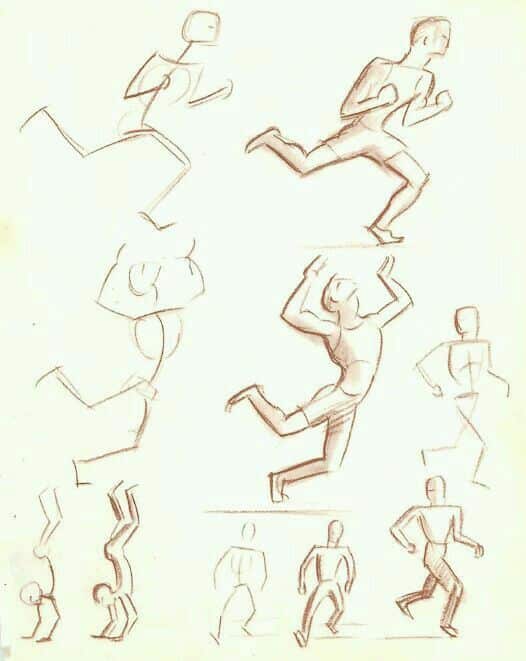
Gesture drawing helps artists study how the body moves, balances, and shifts weight. It trains them to see rhythm and proportion quickly, creating expressive figures that feel alive and natural.

Gesture Drawing Essentials
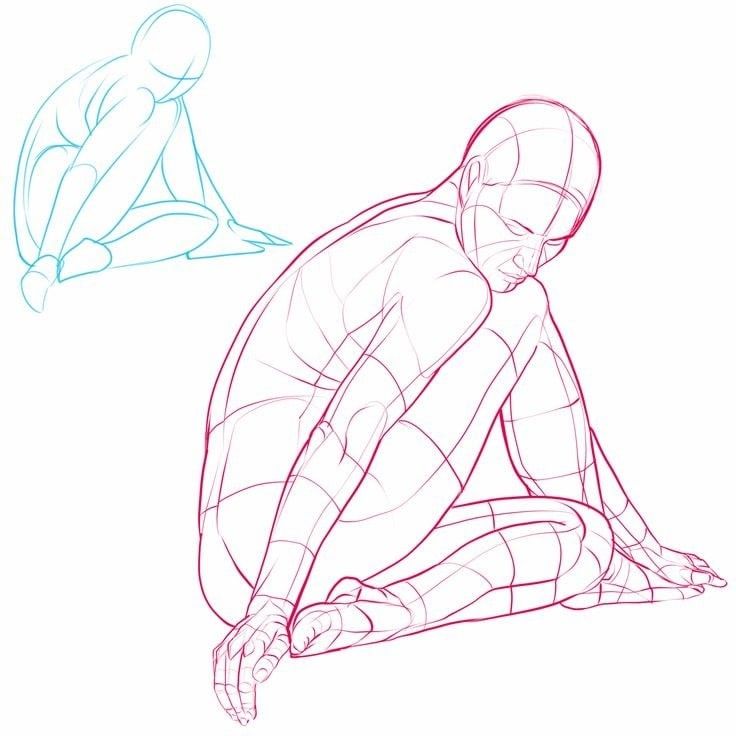
Gesture drawing focuses on capturing the essence of a pose rather than detailed anatomy. Artists make quick sketches—often lasting 30 seconds to 5 minutes—to record the subject’s motion and energy. This approach emphasizes flow and proportion over accuracy.A good gesture drawing uses loose, confident lines that show direction and weight. According to Art in Context, understanding the body’s eight equal segments helps maintain
correct scale while staying expressive. Artists build figures from simple shapes and refine them later.
Common tools include charcoal, graphite, or brush pens, which allow smooth, continuous lines. These materials help artists stay fluid and avoid stiffness. Practicing daily improves observation and speed, both essential for figure drawing.
| Time Limit | Focus | Goal |
| 30 seconds | Overall pose | Capture motion and balance |
| 1–2 minutes | Main forms | Define rhythm and proportion |
| 5 minutes | Refinement | Add light and shadow cues |
Capturing Movement
Capturing movement means recording how the body shifts through space. Artists look for action lines and the center of gravity to show motion clearly. They avoid outlining the body and instead use sweeping curves to represent direction and force.
The Sketchbooks.org guide explains that gesture drawing teaches rhythm and helps artists understand how muscles stretch and contract during motion. This awareness makes the figure appear dynamic instead of static.
Artists often exaggerate motion slightly to emphasize energy. They study live models or timed photo poses to train their eye for balance, weight, and flow. Quick repetition builds confidence and helps translate real movement into expressive drawings.
Using the Line of Action
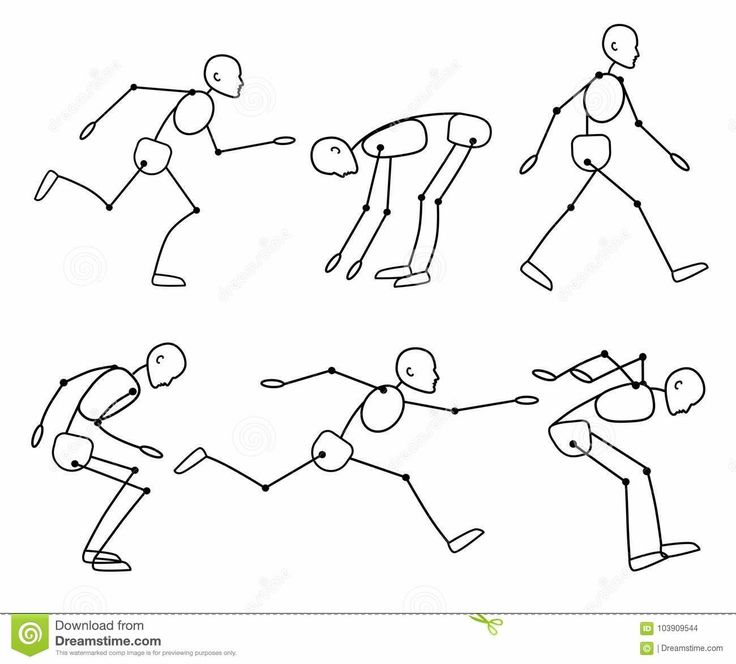
The line of action is the foundation of every strong gesture drawing. It’s a single sweeping curve that defines the figure’s main direction and energy. This line runs through the spine or body’s center, guiding the rest of the pose.
As described in Advanced Gesture Drawing: Dynamic Poses in Seconds, the line of action unifies separate body parts into one continuous motion. It helps artists simplify complex poses and maintain fluidity.
Artists often draw this line first, then build secondary shapes around it. A clear line of action improves composition and makes even simple sketches feel alive. Consistent practice with this method strengthens understanding of balance, rhythm, and motion in figure drawing.
Anatomy, Proportion, and Structure
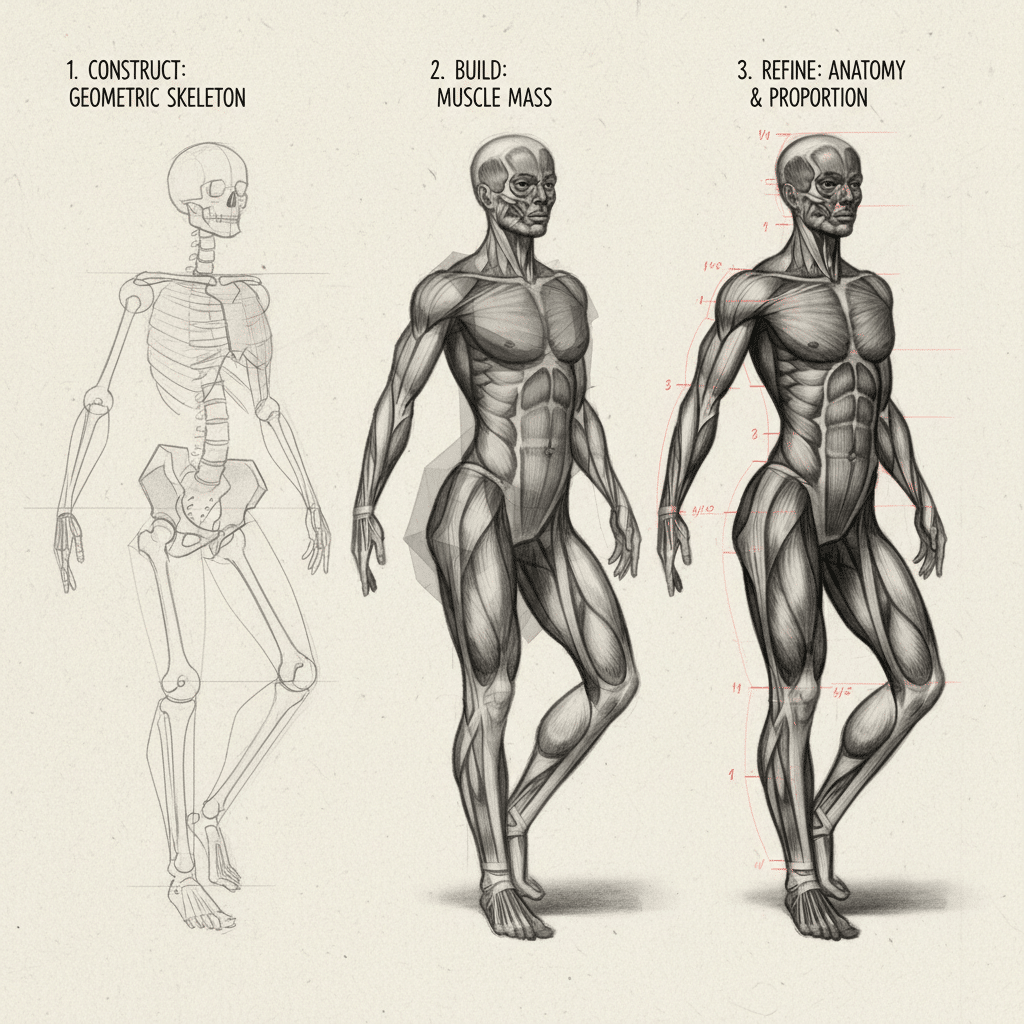

Strong figure drawing depends on understanding how bones, muscles, and proportions work together to create balance and realism. Artists refine their drawing skills by studying anatomy, measuring relationships between body parts, and constructing the figure from simple geometric shapes before adding detail.
Advanced Anatomy for Artists
Anatomy gives artists the foundation to draw figures that look natural and believable. Knowing how the skeletal system supports the body helps define posture and gesture. The muscular system adds volume and movement, showing how tension and relaxation affect form.
Artists study major muscle groups such as the deltoids, pectorals, and quadriceps to understand how they shift during motion. Learning how these muscles connect to bones improves accuracy when sketching limbs and joints.
Observation and practice are essential. Many artists use anatomical references or life models to see how light changes the appearance of muscles. Resources like Human Anatomy for Artists: Guide to Accurate Figure Drawing explain how structure beneath the skin influences surface form.
Mastering Proportions
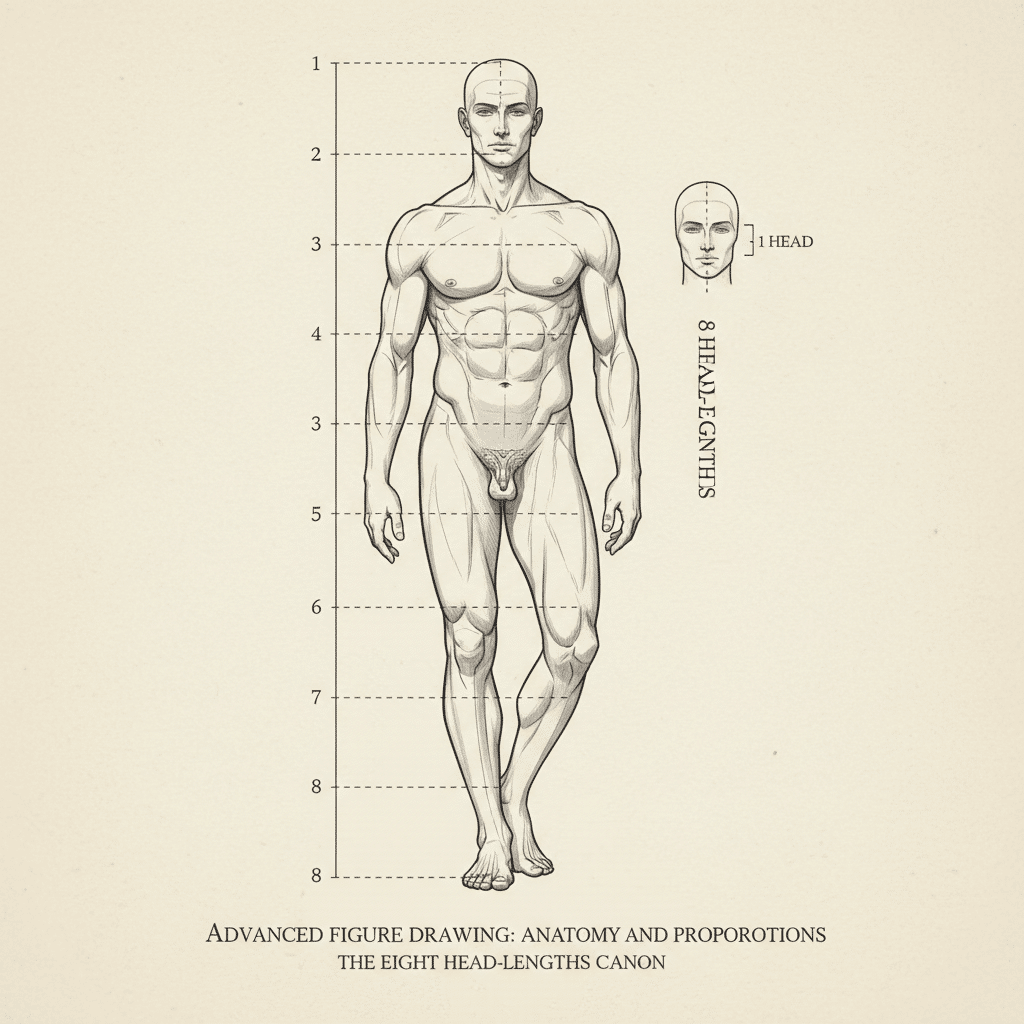
Proportion ensures that each part of the body relates correctly to the whole. A common guide divides the human body into eight head-lengths, a method often used in Advanced Figure Drawing: Anatomy and Proportions for Skilled Artists.
Artists compare features such as shoulder width, torso length, and limb ratios to maintain balance. For instance, the elbows often align with the waist, and the wrists fall near the hips.
Table: Basic Adult Proportions
| Feature | Measurement (Heads) |
| Head to chin | 1 |
| Shoulders | 2 heads wide |
| Waist | 3 heads down |
| Knees | 6 heads down |
| Feet | 8 heads down |
Practicing proportion exercises, such as measuring with a pencil or using a plumb line, helps artists correct distortions and strengthen their sense of scale.
Building the Figure’s Structure
Structure transforms flat sketches into solid, three-dimensional forms. Artists often begin with simple shapes—spheres for joints, cylinders for limbs, and boxes for the torso—to build the figure’s framework.
This method, sometimes called construction drawing, helps maintain correct perspective and depth. It allows artists to adjust poses before refining details.
Understanding how to connect these shapes creates a believable sense of weight and alignment. Lessons from Figure Drawing Mastery: Proportions, Anatomy, and Gesture Techniques highlight the importance of using structure to support gesture and movement.
By combining anatomy, proportion, and structure, artists develop figures that feel grounded, balanced, and lifelike.
Light, Shadow, and Chiaroscuro Techniques
Understanding how light interacts with form helps artists create believable figures. Controlling brightness, contrast, and value adds structure, mood, and focus to a drawing. These skills turn flat sketches into dimensional and expressive works.
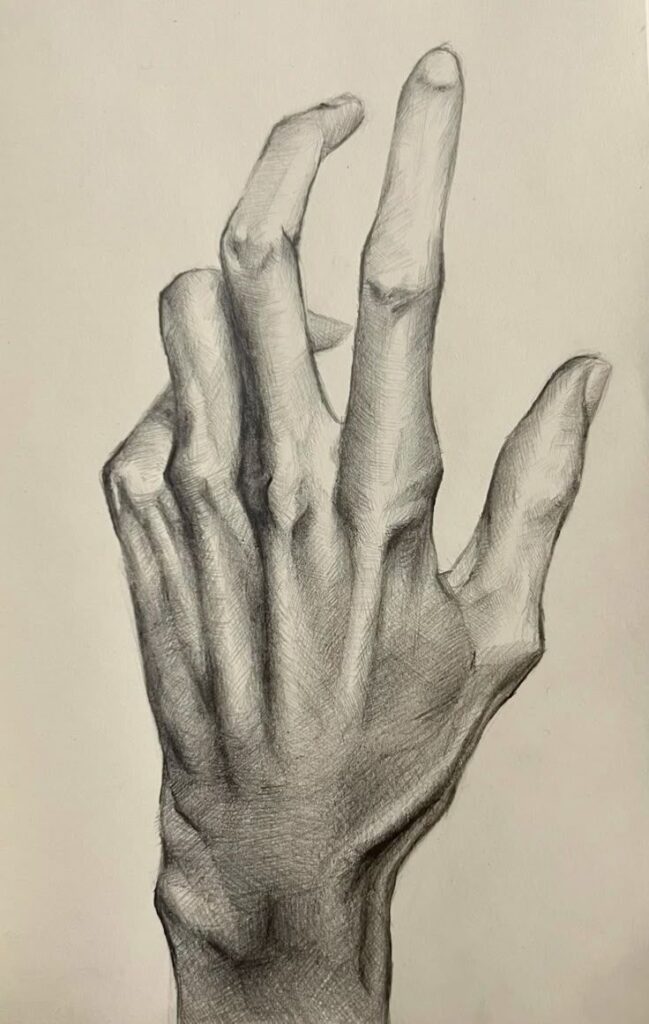
Exploring Chiaroscuro
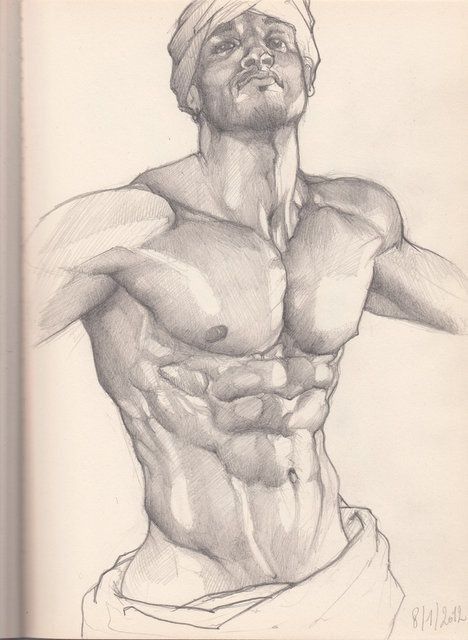
Chiaroscuro, from the Italian for “light-dark,” uses strong contrasts to model form and create depth. Artists like Leonardo da Vinci and Caravaggio used this approach to make figures appear solid and lifelike. It remains essential in both traditional and digital art.
Effective chiaroscuro relies on balancing highlights, mid-tones, and shadows. Highlights show where light hits directly. Mid-tones transition between light and dark. Shadows define edges and give weight to forms.
Artists can study chiaroscuro through value studies or monochrome sketches. Practicing with charcoal or graphite helps control tonal range. For more structured guidance, the article on mastering chiaroscuro techniques explains how contrast and nuance shape visual impact.
| Element | Role in Chiaroscuro |
| Highlight | Defines direct light |
| Mid-tone | Connects light and dark areas |
| Shadow | Adds depth and dimension |
Controlling Light and Shadow
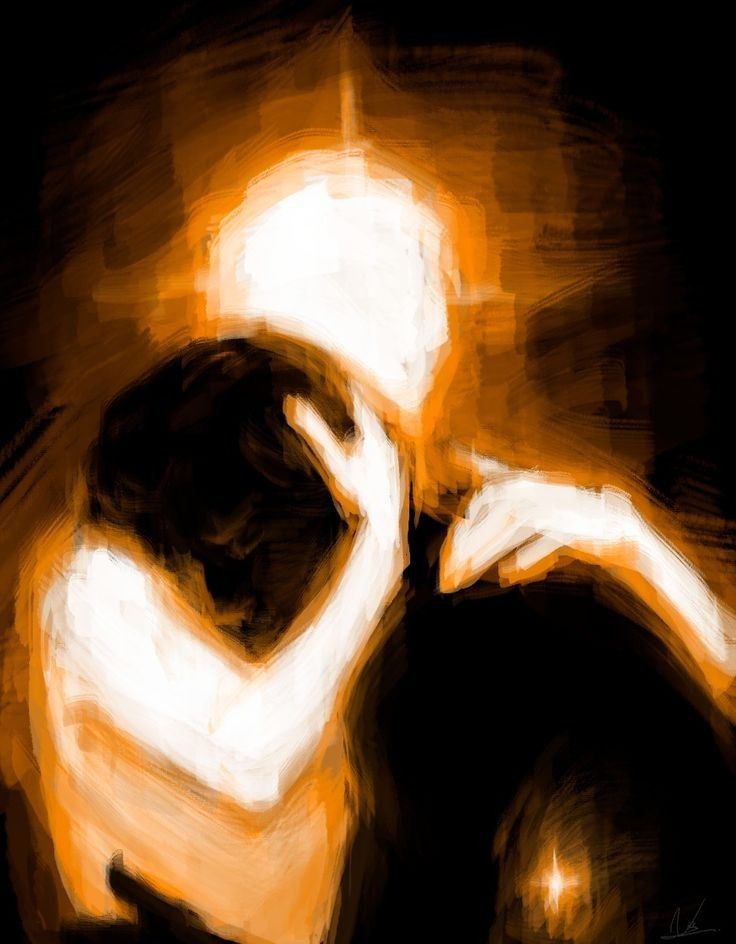
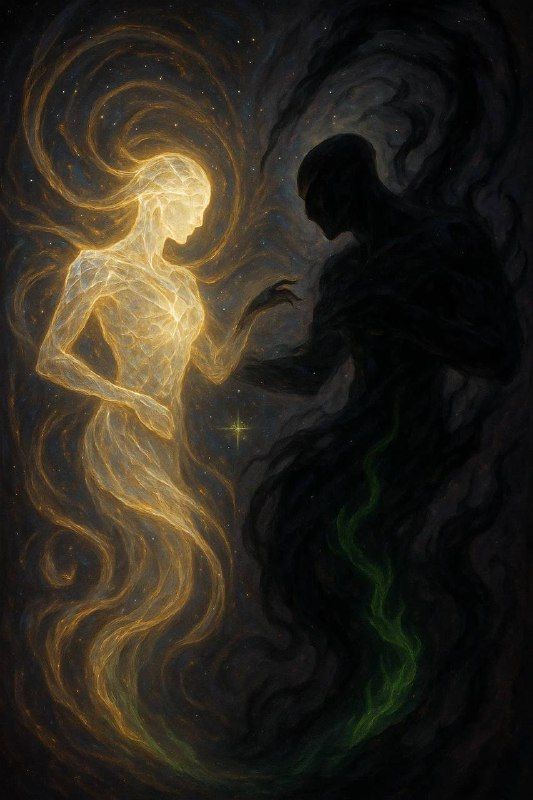
Light direction and intensity determine how a figure appears in space. A directional light creates sharp shadows and strong highlights, while diffuse light softens transitions. Artists adjust both to set the mood and focus of a composition.
When drawing, they observe how light wraps around forms. Using a single, consistent light source prevents confusion. A small shift in angle can change how muscles, folds, or facial planes read.
To improve control, artists can study the effects of different setups. Chiaroscuro shading shows how dramatic lighting emphasizes volume and structure. Comparing natural and artificial light also reveals how shadow edges and tones vary across materials.
Creating Depth with Value
Value refers to how light or dark an area appears. Managing value contrast helps separate the figure from the background and create spatial depth. A full range—from lightest highlight to darkest shadow—builds a convincing three-dimensional effect.
Artists often map values before adding detail. This step ensures balance and readability. Using a five-step value scale (white, light gray, mid-gray, dark gray, black) keeps tones consistent.
Layering graphite or charcoal gradually builds tone and texture. Blending tools like stumps or tissues soften transitions, while erasers lift highlights. As explained in Chiaroscuro Techniques for Painting, Drawing, and Printmaking, mastering tonal range is key to realistic and expressive figure drawing.
Perspective and Foreshortening in Figure Drawing
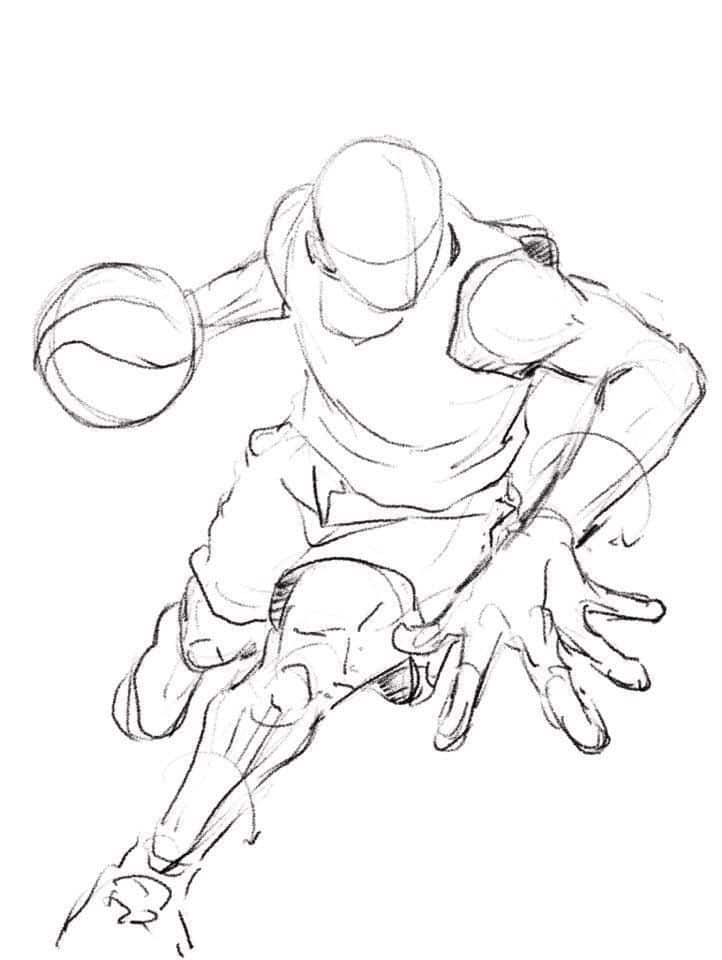
Artists use perspective and foreshortening to make figures appear natural within three-dimensional space. These methods help them control proportions, angles, and depth so that the viewer sees believable forms instead of flat outlines.
Perspective Principles
Perspective defines how objects appear smaller as they move farther away from the viewer. In figure drawing, this principle helps place the body accurately in space. Artists rely on horizon lines and vanishing points to guide how limbs and features align.
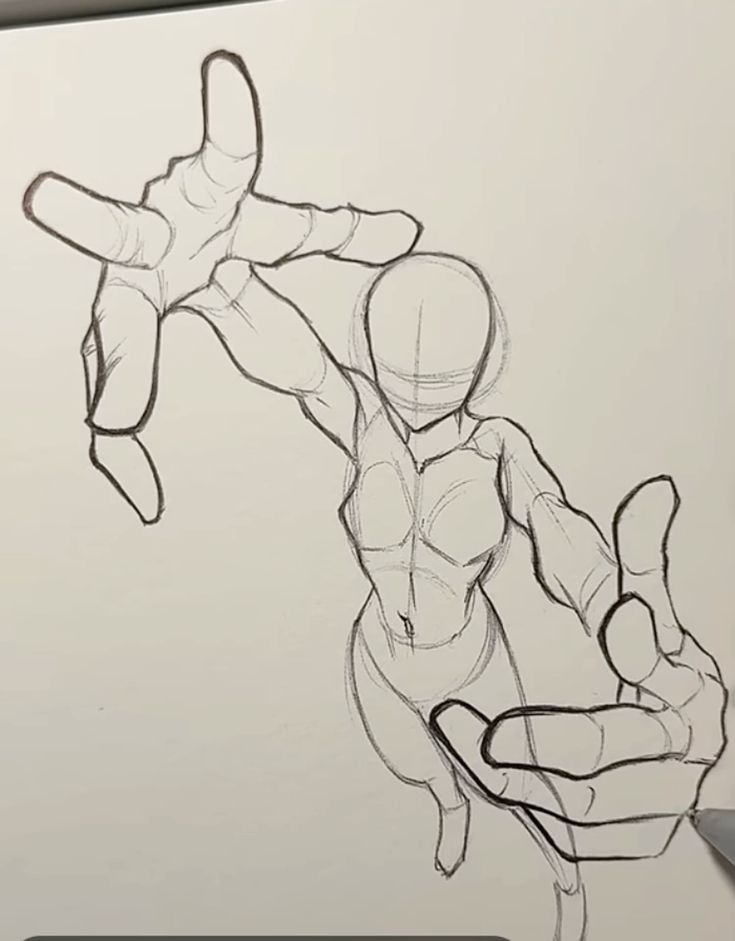
In one-point perspective, all lines converge toward a single point on the horizon, while two-point perspective uses two vanishing points to show different angles of the body. Complex scenes may use three-point perspective to capture extreme viewpoints, such as looking up at a standing figure or down from above.
Understanding spatial relationships improves accuracy. Artists often sketch basic boxes or cylinders to represent body parts before refining contours. This helps maintain consistent proportions across the page. Learning from examples such as advanced perspective drawing techniques can strengthen spatial awareness and control.
Techniques for Foreshortening
Foreshortening shows how parts of the body appear compressed when viewed from certain angles. It creates the illusion that one part of the figure is closer to the viewer. For instance, an arm extending forward will look shorter but wider.
To achieve this effect, artists compare relative lengths and overlaps between body parts. They measure angles carefully and use contour lines to show volume. Practicing with reference photos or live models helps train the eye to see these distortions accurately.
A helpful method is to block in the figure using simple geometric shapes before adding detail. Tutorials such as How to Draw a Figure in Perspective – Foreshortening demonstrate how to adjust proportions and align forms to maintain realism when drawing figures in perspective.
Advanced Shading and Mark-Making Methods
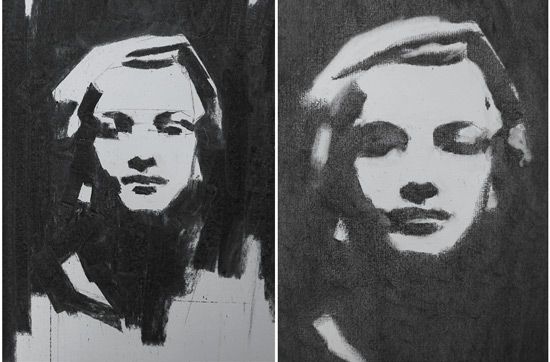
Artists refine their control of light, texture, and tone by combining structured line work with smooth tonal transitions. These methods help create realistic forms, subtle shadows, and a sense of depth that enhances figure drawings.
Hatching and Cross-Hatching
Hatching uses parallel lines to build tone. The spacing, length, and direction of each line affect how light or dark an area appears. Tighter spacing and heavier pressure produce darker values, while wider spacing creates lighter tones.
Cross-hatching layers a second set of lines over the first, often at a different angle. This technique increases tonal range and texture. Artists can vary the angle or density of the lines to model complex surfaces such as skin folds or muscles.
Famous artists like Rembrandt and Leonardo da Vinci used these techniques to show form and light variation. Modern guides, such as the Fine Art Tutorials explanation of hatching and cross-hatching, note that following the contours of the figure helps reinforce its three-dimensional shape.
| Technique | Key Feature | Best For |
| Hatching | Single-direction lines | Subtle shadows and clean texture |
| Cross-Hatching | Overlapping line sets | Deep shadows and tonal contrast |
Blending and Smudging
Blending softens transitions between light and dark areas. Artists often use tools like blending stumps, tissue, or fingers to smooth graphite or charcoal. This creates gradual value shifts that mimic natural light on curved forms.
Smudging is similar but less controlled. It can produce atmospheric effects or soft shadows, especially in portrait and figure drawing. When used carefully, it enhances the sense of volume and skin texture.
According to Ms. Trujillo’s guide on mark making and blending, adjusting grip and pressure allows for greater control over tone. Artists often combine blending with hatching to balance sharp detail and smooth gradients.
Composition and Dynamic Arrangements


Strong figure drawings rely on thoughtful composition and balanced visual structure. Artists use spatial planning, focal points, and directional flow to create movement and visual interest that guide the viewer’s eye naturally through the artwork.
Compositional Strategies
Effective composition organizes shapes, values, and lines to form a clear visual hierarchy. Artists often begin with thumbnail sketches to test arrangements before committing to a final layout.
Common strategies include:
- Rule of Thirds – placing the figure off-center for a more engaging balance.
- Leading Lines – using limbs or drapery to direct attention toward the focal area.
- Negative Space – shaping the background to enhance the figure’s form and rhythm.
Using contrast in value and edge sharpness also strengthens focus. As discussed in The Art of Composition in Figure Drawing, careful alignment of visual elements helps maintain clarity while supporting the emotional tone of the piece.
Designing Dynamic Compositions
A dynamic composition conveys action and energy through deliberate placement and gesture. Artists may tilt the horizon line or exaggerate perspective to create tension and motion.
They often use diagonal arrangements to suggest movement, while overlapping forms add depth and spatial layering. Gesture drawing plays a role here, helping capture the “line of action” that defines flow and direction.
According to Tips for Drawing Figures in Dynamic and Interesting Poses, experimenting with varied angles and viewpoints enhances storytelling. Adjusting lighting and contrast can further emphasize movement and balance within the frame, resulting in compositions that feel both structured and alive.
Mixed Media and Innovative Drawing Approaches
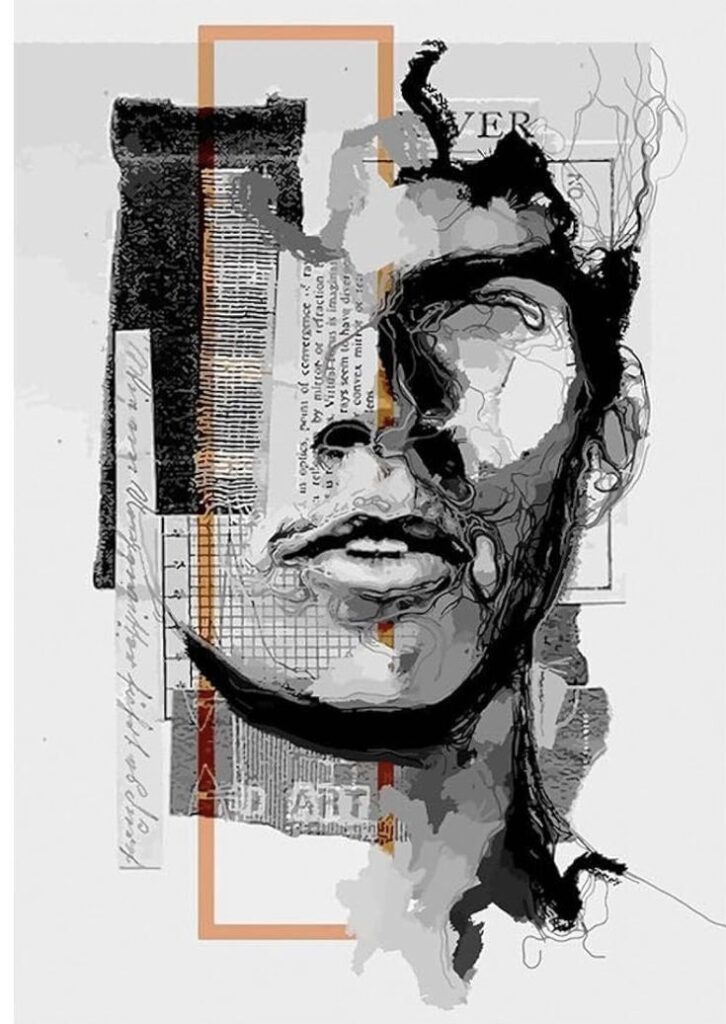

Artists expand their figure drawing skills by combining materials, layering textures, and experimenting with new tools. These methods encourage precision, adaptability, and creative problem-solving while maintaining control over composition and form.
Integrating Mixed Media
Mixed media techniques allow artists to merge materials like pencil, ink, watercolor, and collage to create depth and contrast. By layering and blending, they can achieve complex textures and tones that enhance anatomical accuracy and visual interest.
Common materials include:
- Graphite and charcoal for structure
- Acrylics or watercolors for color depth
- Paper, fabric, or found objects for added texture
Artists can follow a process similar to that outlined in Mastering Mixed Media Techniques, where layering and blending are used to build tonal variation and texture. Testing material compatibility—such as ensuring water-based paints don’t react with wax-based media—helps maintain surface stability.
A simple workflow might include:
- Sketching the figure with graphite
- Applying a thin acrylic wash
- Adding collage or textured paper for dimension
- Refining highlights with pastel or ink
This structured approach balances experimentation with technical control.
Experimental Advanced Drawing Techniques
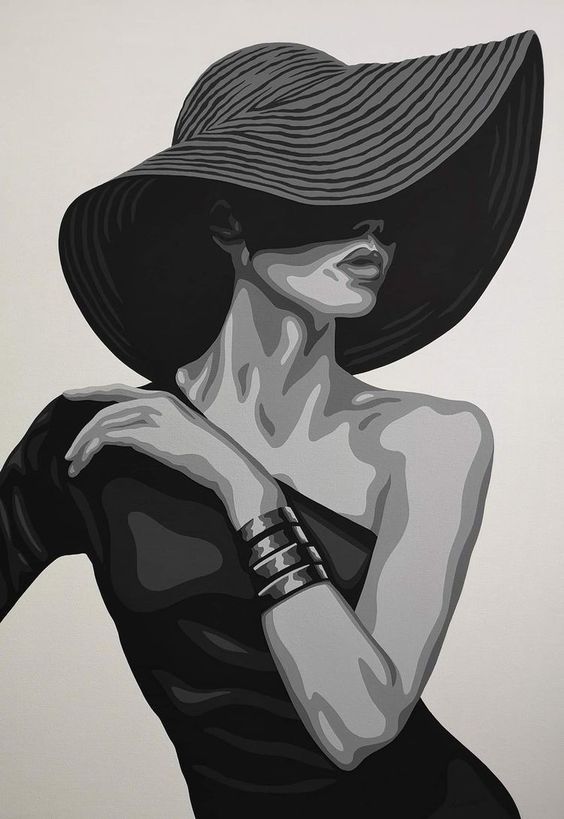
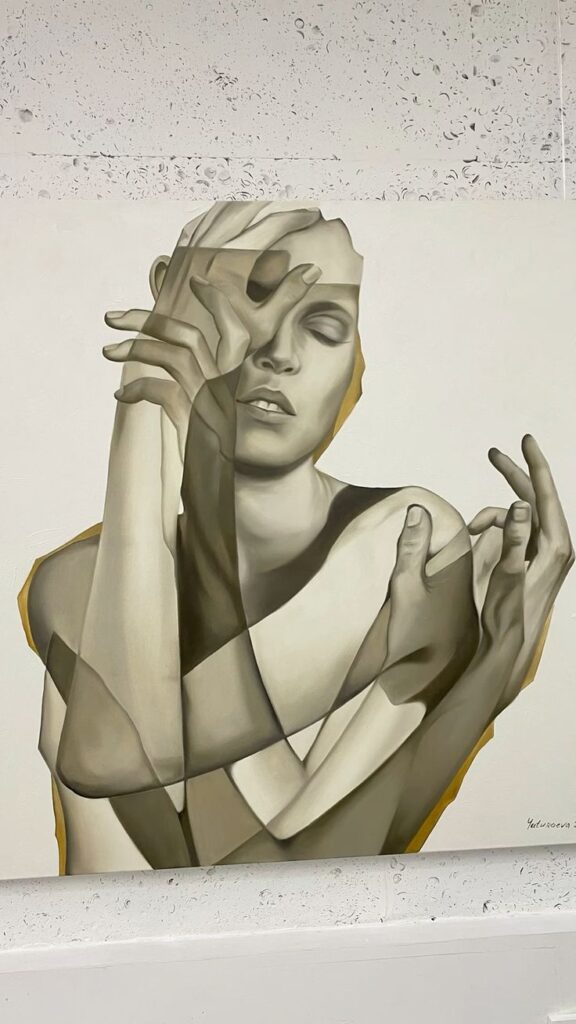
Artists use experimental methods to push beyond traditional figure drawing. These advanced drawing techniques often combine unconventional tools or processes to explore gesture, proportion, and movement.
Examples include:
- Using nontraditional tools like sticks or sponges for expressive line work
- Employing layered transparency to reveal multiple poses
- Mixing digital and analog processes for hybrid compositions
According to Professional Mastery: 3 Advanced Drawing Techniques, combining multiple mediums and perspectives helps refine observation and strengthen visual storytelling. Controlled experimentation, such as altering scale or perspective distortion, allows artists to study anatomy while maintaining creative flexibility.
These methods encourage artists to observe form analytically while adapting to evolving materials and technologies.
- 352shares
- Facebook0
- Pinterest352
- Twitter0
