Ever wonder where brilliant ideas for the next big thing truly begin? Before sleek prototypes or polished CAD models, there’s often a humble, powerful tool at play: the sketch. We’re not talking about just any doodle; we’re diving into the exciting world of smart product design sketches. These aren’t just lines on paper; they’re the foundational blueprints, the first breath of innovation that can shape how we interact with the world. Think of sketching as your design superpower, a quick, intuitive way to bring abstract thoughts into tangible form, ready to be questioned, refined, and ultimately, realized.
In the fast-paced realm of product development, smart sketches are invaluable. They act as a visual language, allowing designers, engineers, and stakeholders to communicate complex ideas with clarity and speed. They help troubleshoot problems before they even become expensive headaches. If you’ve ever dreamed of creating something new, solving a nagging problem, or simply want to understand the magic behind great products, mastering the art of the smart design sketch is your ticket. It’s fun, it’s practical, and it unlocks a whole new dimension of creative possibility.
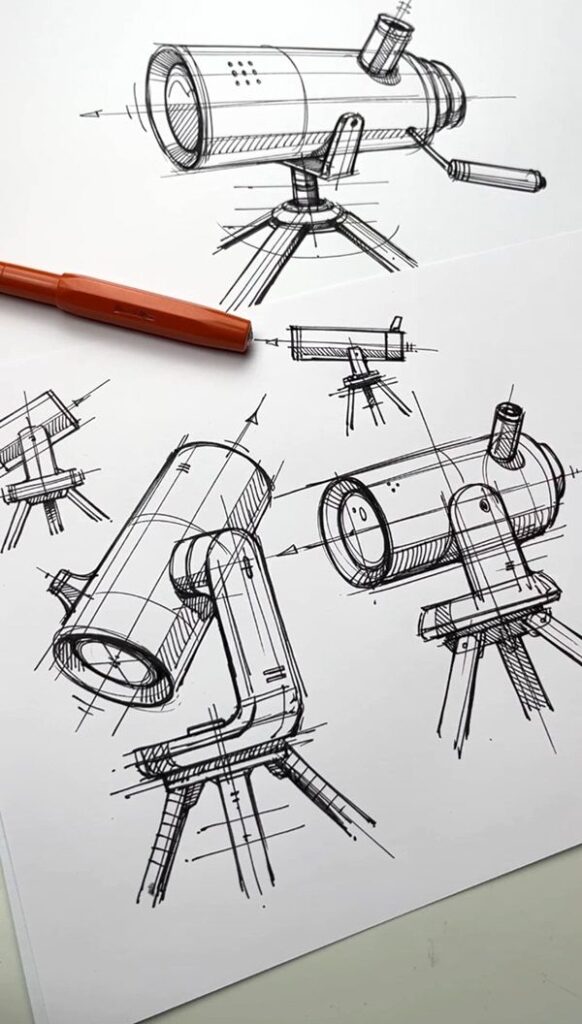
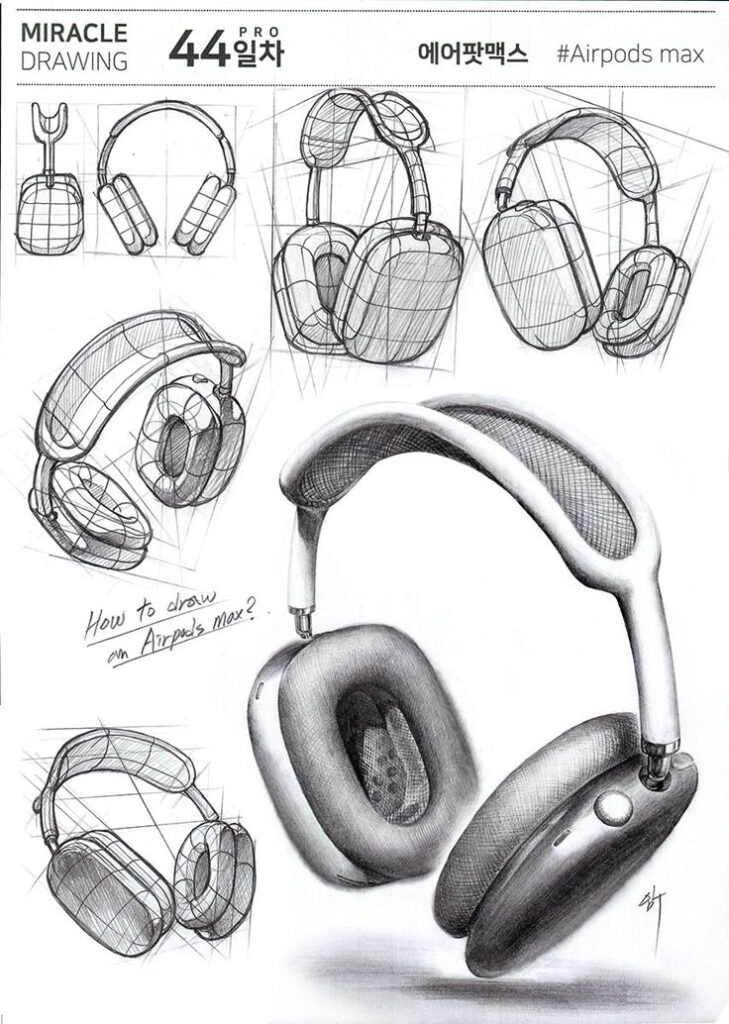
What Makes a Sketch “Smart”?
So, what elevates a simple drawing to a smart product design sketch? It’s all about intentionality and purpose. A smart sketch isn’t just about looking pretty; it’s about conveying information, exploring functionality, and addressing user needs.
Here’s the breakdown:
- Problem-Solving Focus: A smart sketch directly tackles a problem. It might be how a new smartphone camera lens retracts, how a smart thermostat integrates seamlessly into a home, or how a portable speaker provides better grip.
- Functionality Over Form (Initially): While aesthetics are important, smart sketches often prioritize how something works before perfecting how it looks. You’re drawing the gears, the buttons, the hinges, the flow of information, even if it’s just conceptual.
- User-Centricity: Who is this product for? How will they use it? Where will they use it? A smart sketch considers the user experience (UX) from the get-go, anticipating interactions and pain points.
- Contextual Understanding: Products don’t exist in a vacuum. A smart sketch might show the product in use, interacting with other objects, or within a specific environment. For example, sketching a new kind of coffee maker would involve showing how it sits on a counter, how a hand grabs the carafe, or how the steam escapes.
- Iterative Potential: Smart sketches are built to be changed. They’re quick, disposable, and encourage rapid iteration. You’re not aiming for perfection in the first draft; you’re aiming for exploration. Each sketch builds on the last, pushing the idea forward.
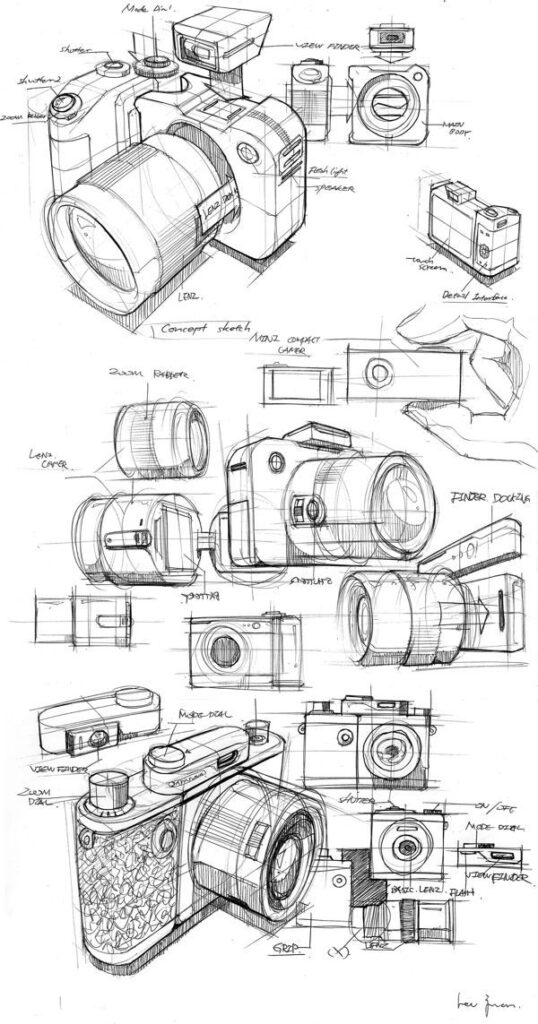
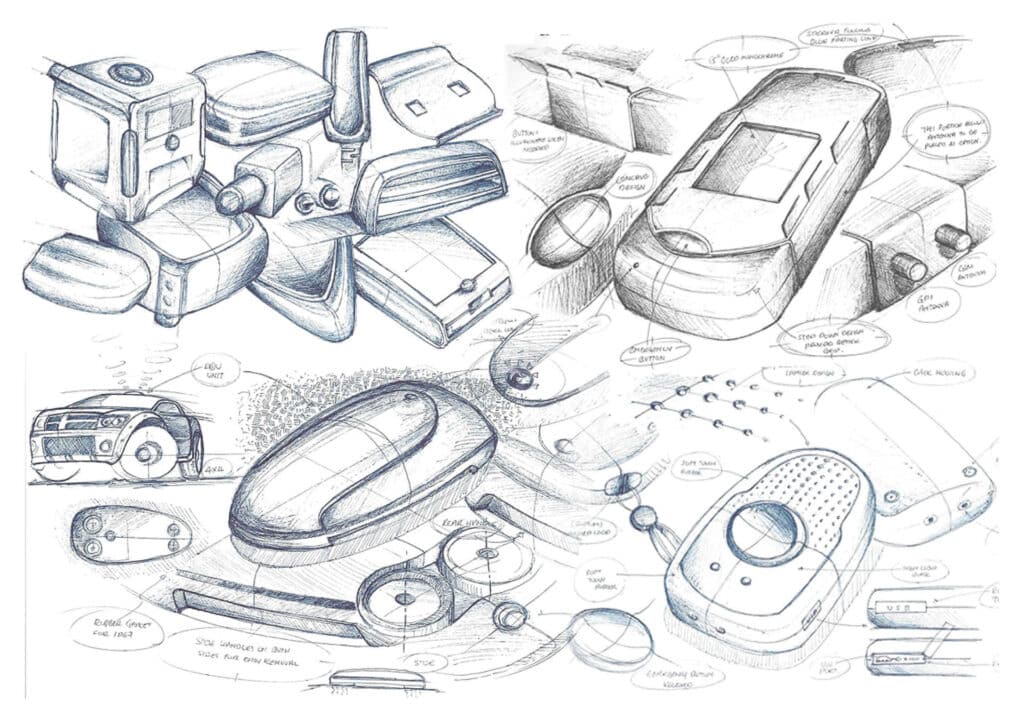
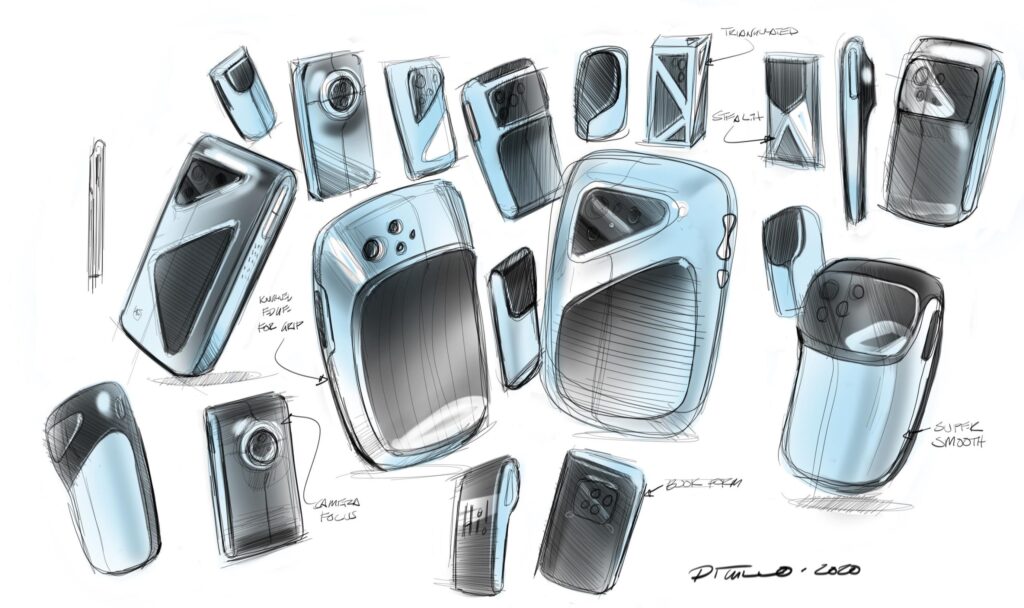
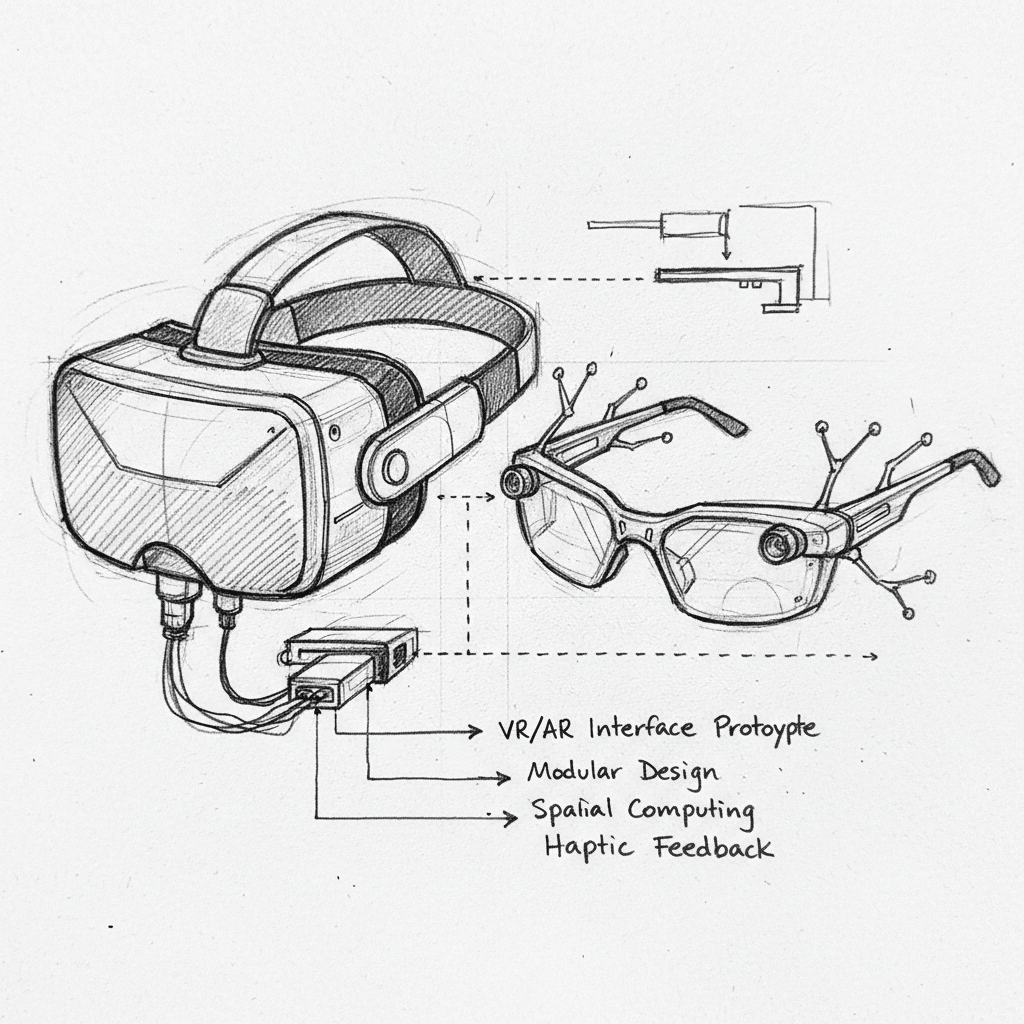
- Clarity and Annotation: Good smart sketches aren’t just images; they often include notes, arrows, dimensions, and labels. These annotations explain the why and how, making the intent clear to anyone who views the sketch.
Essentially, a smart sketch is a visual hypothesis – a testable idea rendered quickly and effectively. It’s the designer’s earliest attempt to define, explore, and communicate a product’s potential.
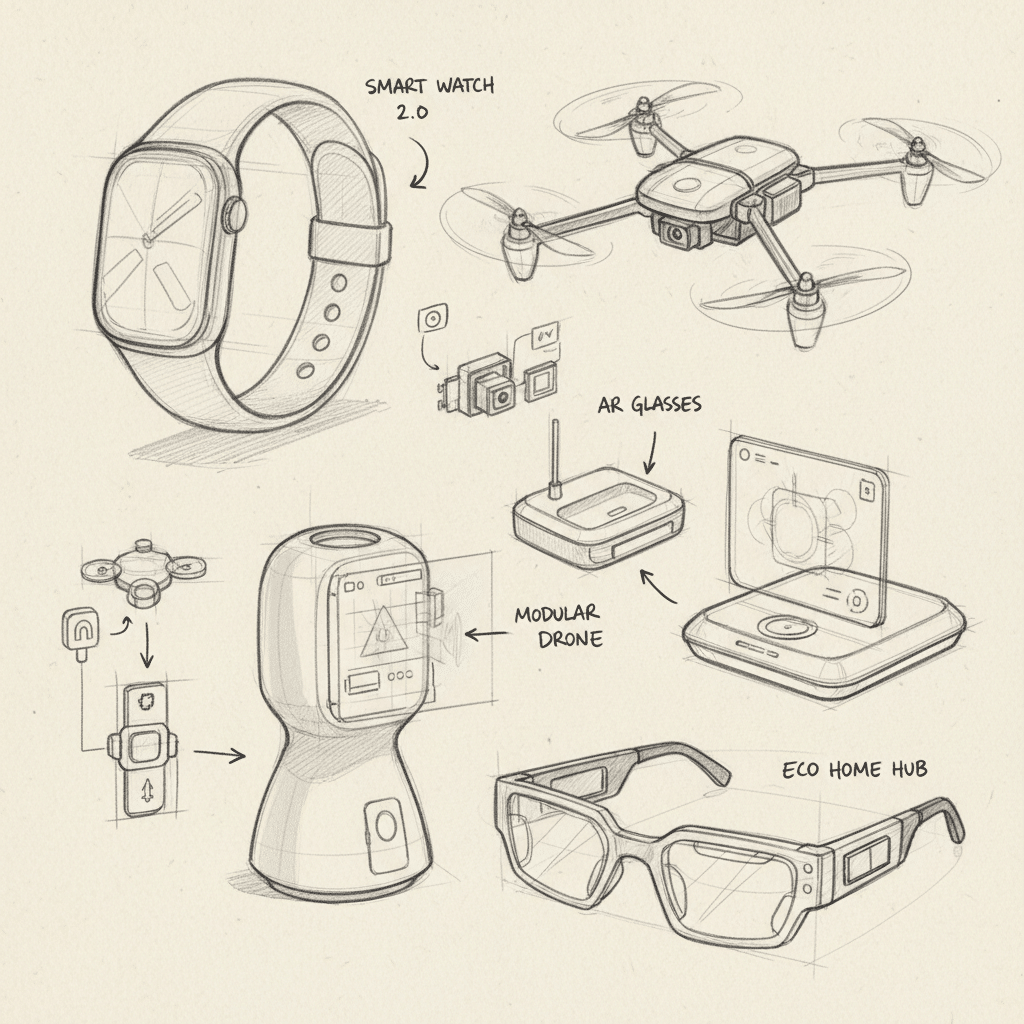
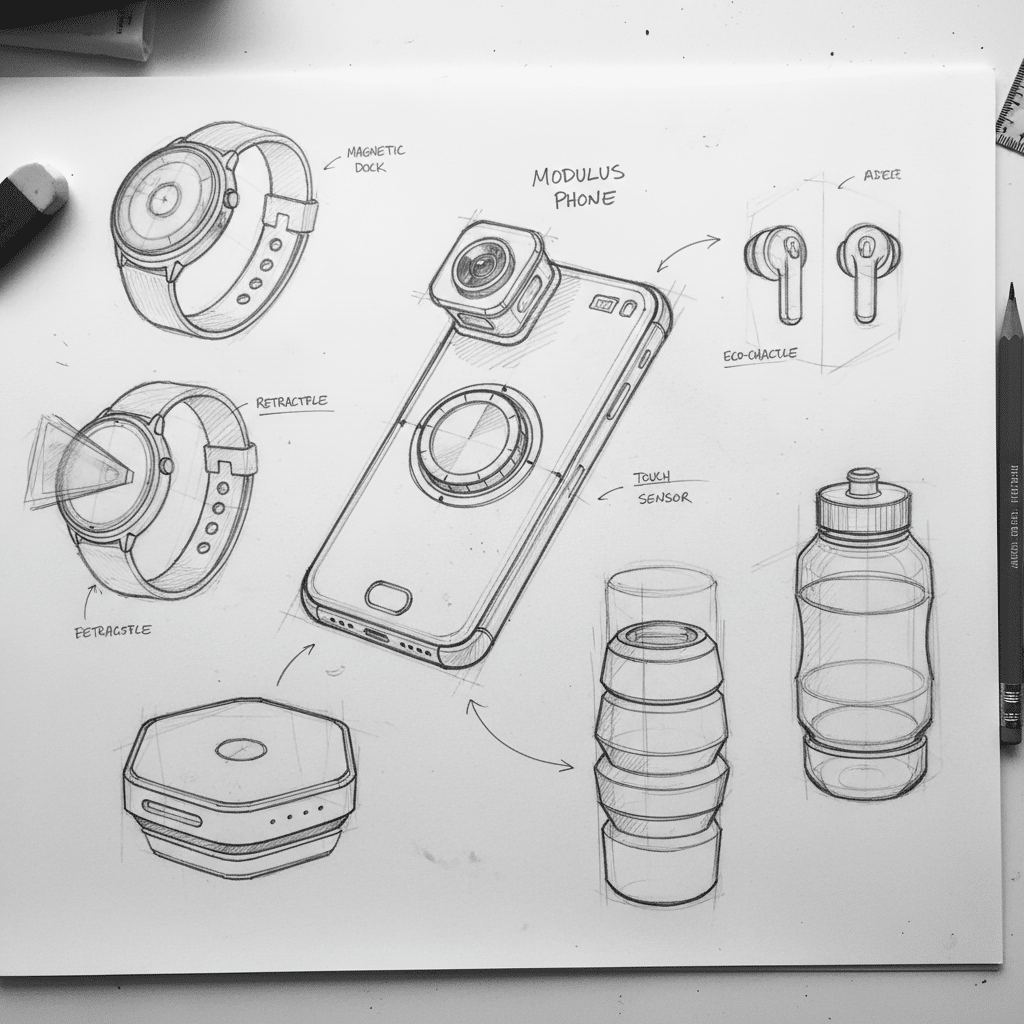
Why Sketching is Your Design Superpower
You might be thinking, “Why bother sketching when I have fancy 3D software?” The answer is simple: speed, flexibility, and brainpower. Sketching offers unique advantages that even the most advanced digital tools can’t fully replicate.
- Rapid Ideation and Exploration: Nothing beats a pen and paper for brainstorming. You can generate dozens of ideas in minutes, exploring different shapes, mechanisms, and user interactions without getting bogged down by software constraints. This fluidity encourages diverse thinking, helping you avoid settling on the first idea.
- Cost-Effective Prototyping: A sketch is the cheapest “prototype” you’ll ever make. It allows you to test concepts, gather initial feedback, and identify flaws before investing time and money in complex digital models or physical prototypes. Imagine sketching out various interior upgrades that make your sports car feel custom-built before committing to expensive materials or manufacturing processes.
- Enhanced Communication: A picture truly is worth a thousand words. Sketches bridge communication gaps between designers, engineers, marketing teams, and clients. They provide a shared visual reference, minimizing misunderstandings and ensuring everyone is on the same page about the product vision.
- Problem Identification and Resolution: The act of sketching forces you to think through details. You might draw a button and realize it’s awkwardly placed, or sketch a hinge and discover it creates an undesirable gap. These “aha!” moments happen much earlier in the process with sketching, preventing costly revisions down the line.
- Unlocking Creativity: The low-fidelity nature of sketching reduces the pressure of perfection. This freedom allows your mind to wander, connect disparate ideas, and stumble upon truly innovative solutions you might not have found through more rigid methods. It’s like a direct line from your imagination to the page.
- User Empathy: Sketching helps you put yourself in the user’s shoes. By drawing user scenarios or interaction flows, you can better understand their journey, anticipate their needs, and design a product that genuinely improves their experience.
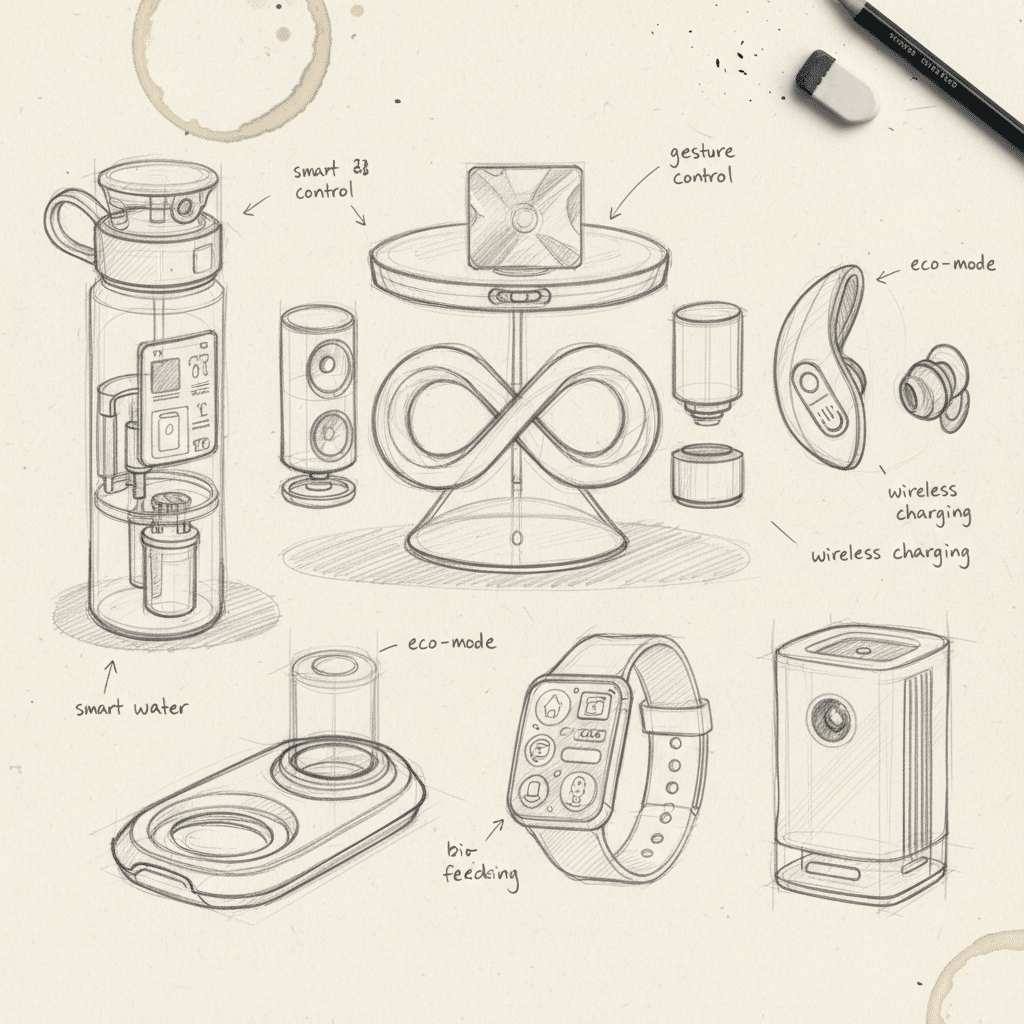
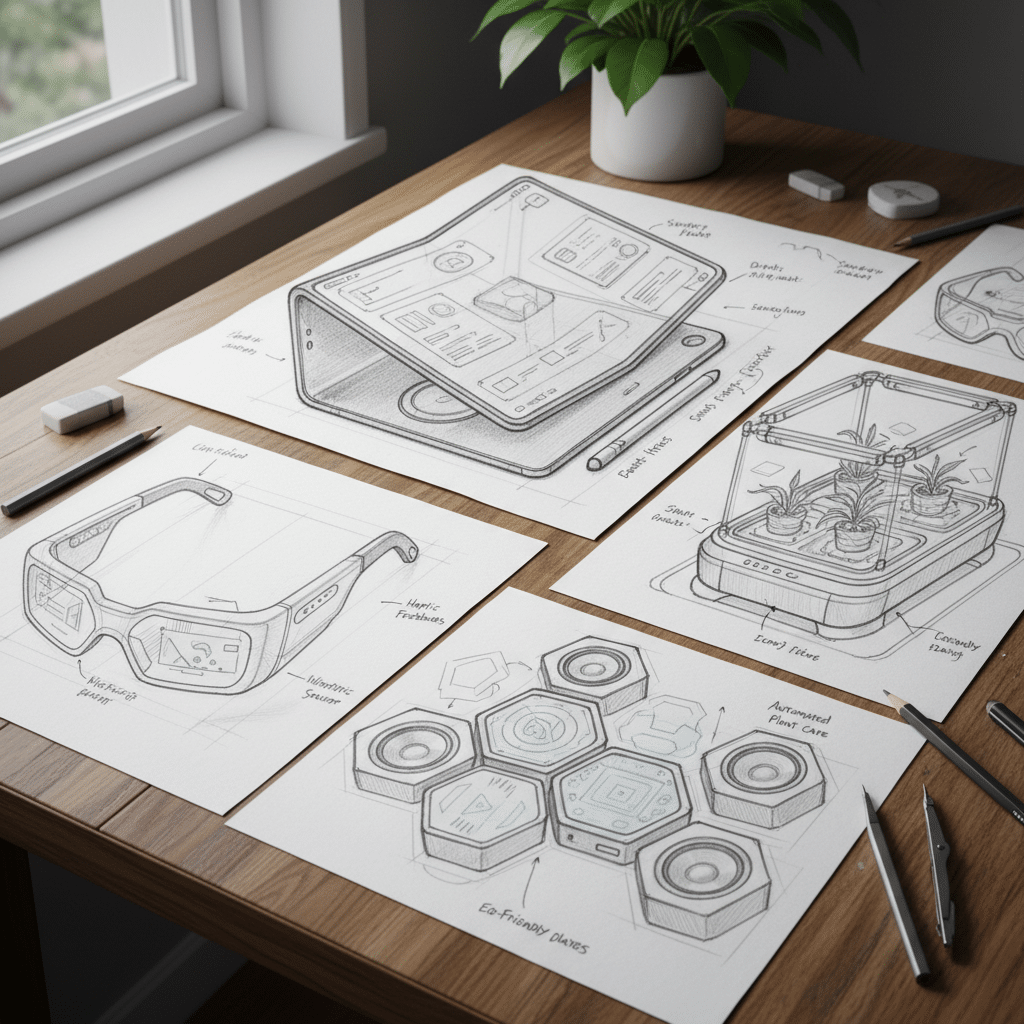
The Journey from Doodle to Dazzle: Stages of Smart Sketching
Smart product design sketches aren’t a one-size-fits-all activity. They evolve as your idea matures, moving through different stages, each with its own purpose.
#### Ideation Sketches
This is where the magic begins – the wild, uninhibited brainstorm on paper. Think quantity over quality. The goal here is to dump every idea, no matter how outlandish, onto the page.
- Purpose: Rapid idea generation, exploring a wide range of possibilities, getting initial concepts out of your head.
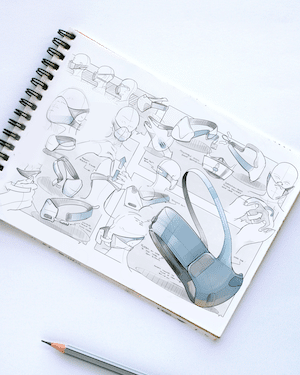
- Characteristics: Loose, messy, quick lines. Minimal detail. Often multiple small sketches on one page. Focus on overall shape and basic functionality. Don’t worry about perspective or proportion yet.
- Tools: Any pen and paper. A notebook, a whiteboard, even a napkin.
- Example: Drawing 20 different ways a new smart speaker could look or operate, from cylindrical to angular, with various button layouts and screen integrations.
#### Concept Sketches
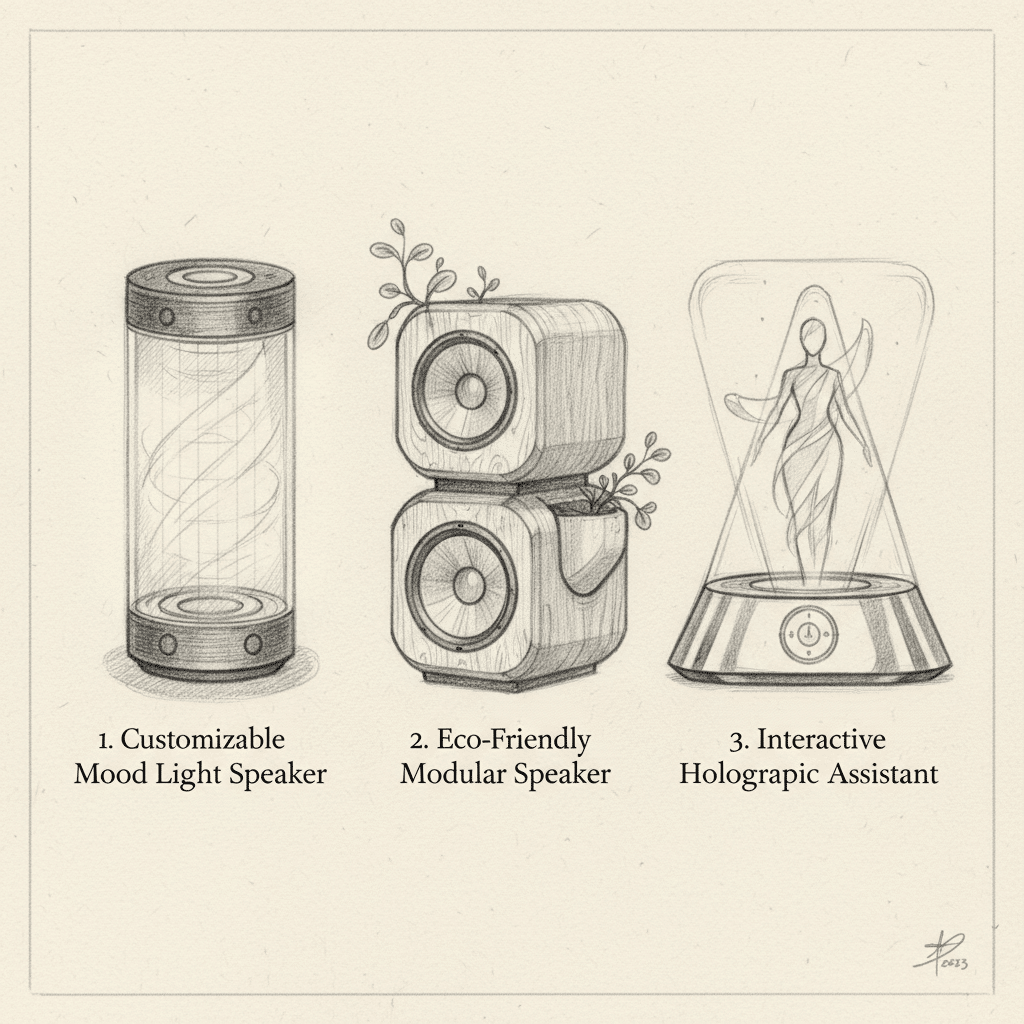
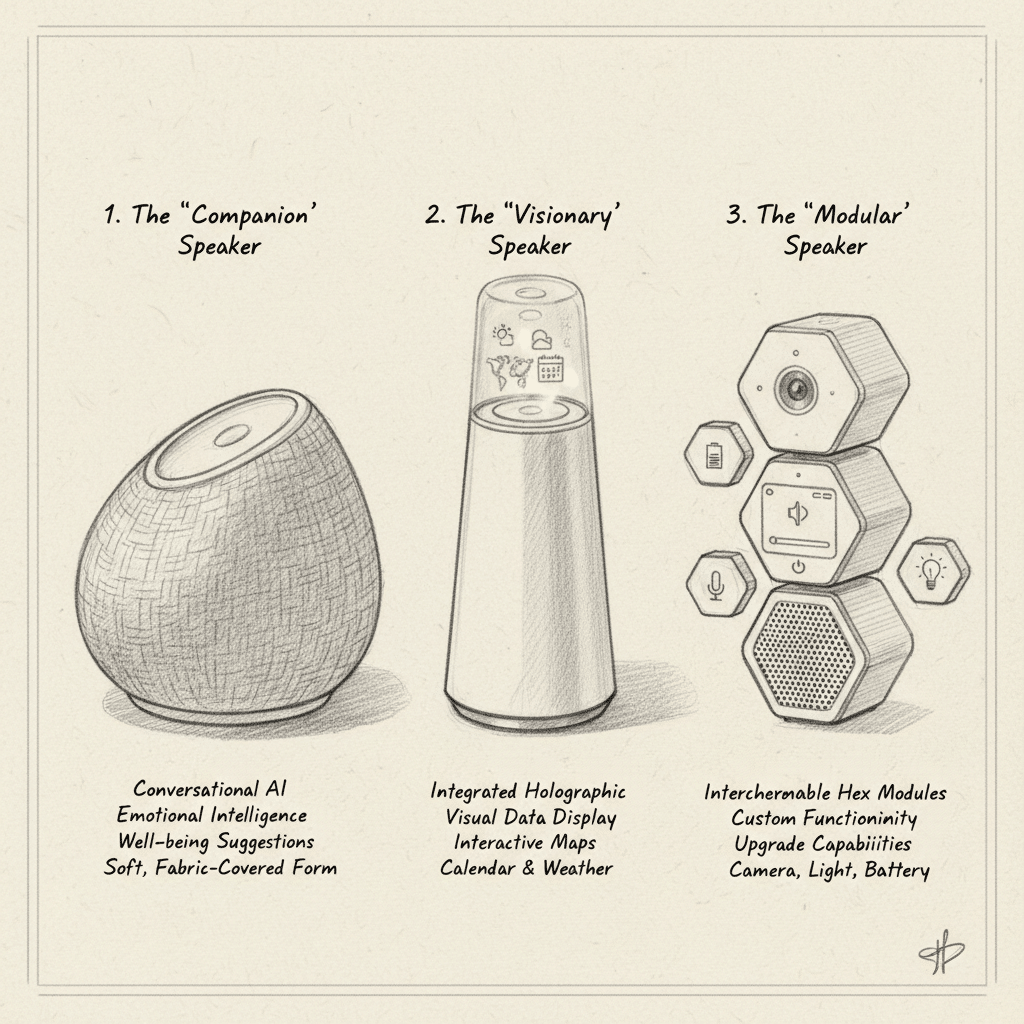
Once you have a handful of promising ideas from the ideation phase, you move to concept sketches. Here, you start refining those raw ideas, giving them a bit more form and structure.
- Purpose: Developing selected ideas further, exploring different angles and perspectives, defining key features.
- Characteristics: Still relatively quick, but with more attention to form and how components fit together. Beginning to consider materials and textures. Might include basic shading to give a sense of volume.
- Tools: Pen or marker, perhaps some colored pencils or gray markers for shading. Better quality paper might be helpful.
- Example: Taking three of the most promising smart speaker ideas and sketching them from front, side, and top views, indicating where ports, lights, and fabric textures might go.
#### Detail Sketches
Now we zoom in. Detail sketches focus on specific components, mechanisms, or user interface elements. These are crucial for understanding the nitty-gritty of how something will be manufactured or how a user will interact with a specific part.
- Purpose: Resolving specific design challenges, communicating precise features, exploring internal workings.
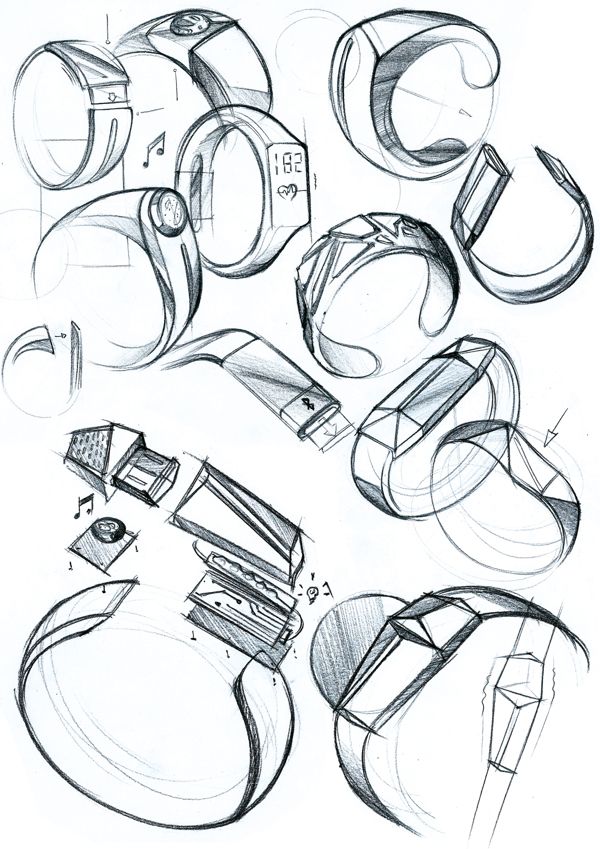
- Characteristics: More precise lines, often with callouts, measurements (even if approximate), and material indications. Cross-sections might be used to show internal components.
- Tools: Fine-tipped pens, rulers, compasses if needed. Gridded paper can be a huge help here.
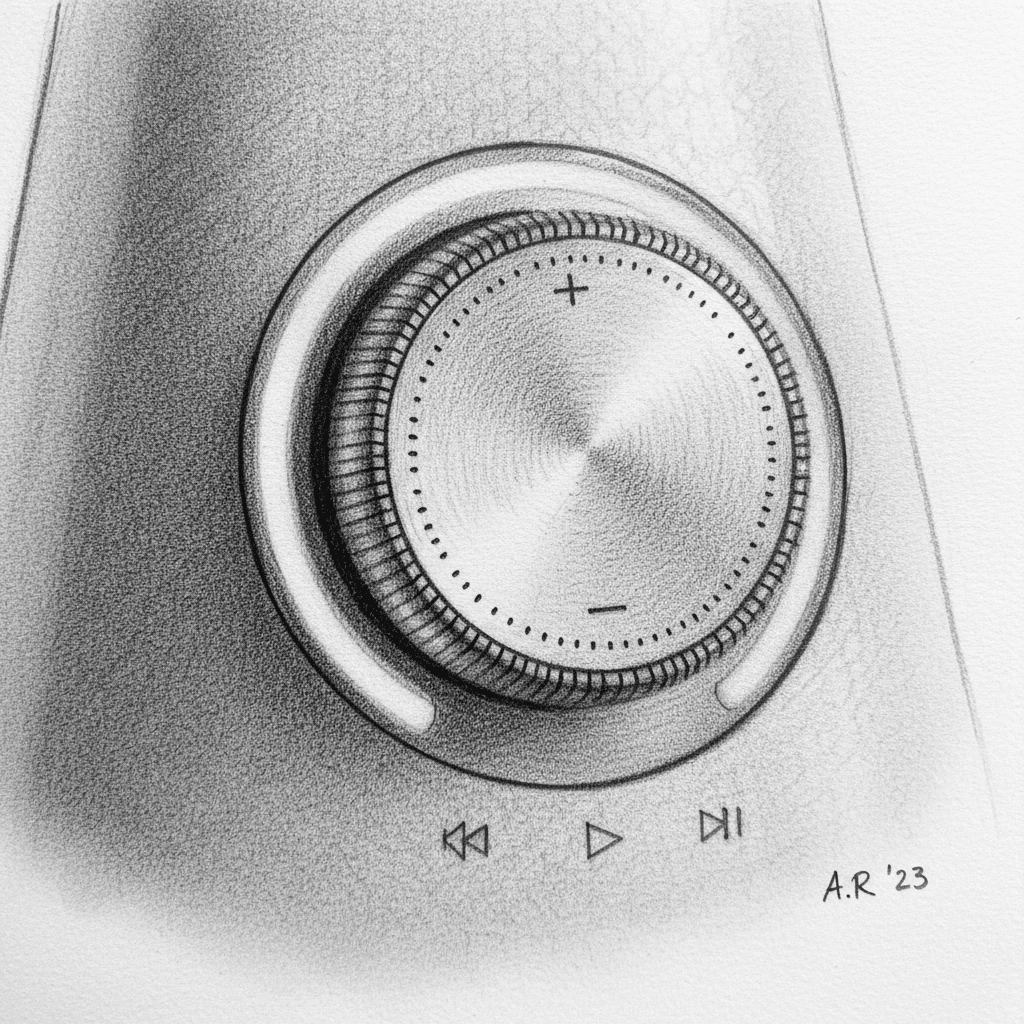
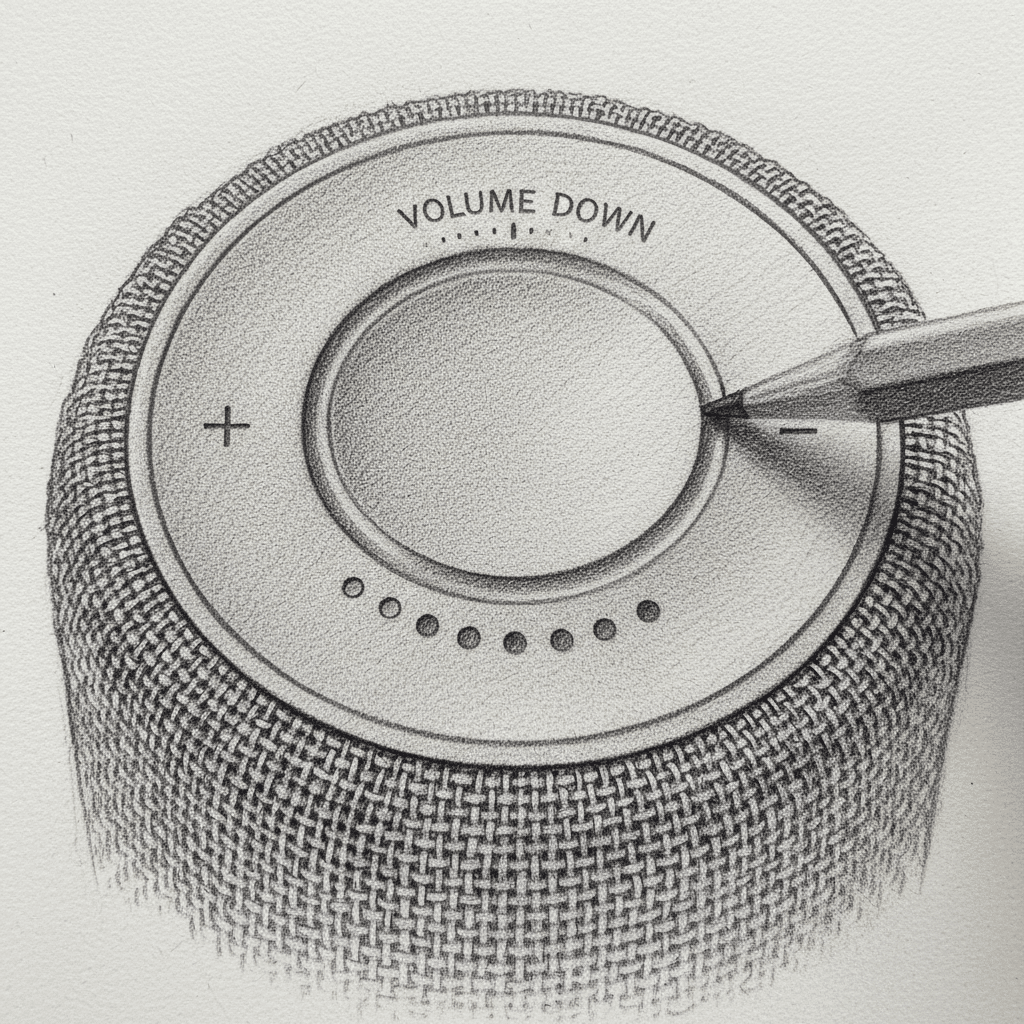
- Example: Drawing a detailed close-up of the smart speaker’s volume knob, showing its texture, the click mechanism, and how it sits flush with the casing. Or, sketching the charging port cover, demonstrating how it opens and closes. This level of detail is critical for developing effective car gadgets accessories for example, where every button and connection matters.
#### Storyboarding and User Flow Sketches
Products don’t exist in isolation; they’re part of a user’s life. Storyboarding and user flow sketches illustrate how a person interacts with the product over time, telling a visual story.
- Purpose: Understanding the user experience, identifying pain points, visualizing the product’s role in a larger context.
- Characteristics: A series of sequential panels (like a comic strip). Each panel shows a user performing an action, reacting, or engaging with the product in a specific environment. Annotations explain emotions, intentions, or technical actions.
- Tools: Simple pen and paper, often with small figures and basic backgrounds to set the scene.
- Example: A sequence showing a user unboxing the smart speaker, plugging it in, connecting it via an app, and then asking it to play music, highlighting their emotional journey at each step.
Essential Tools for Your Sketching Arsenal
You don’t need much to start, but having a few key items can significantly enhance your sketching experience and the quality of your output.
#### Physical Tools
- Pencils: A good range of graphite pencils (H for light lines, B for darker, softer lines) is fundamental. Mechanical pencils offer consistent line weight without sharpening.
- Pens: Fine-tipped black pens (like Micron pens) are excellent for clean, consistent lines. Ballpoint pens are great for quick, loose ideation sketches. Brush pens can add dynamic line variation.
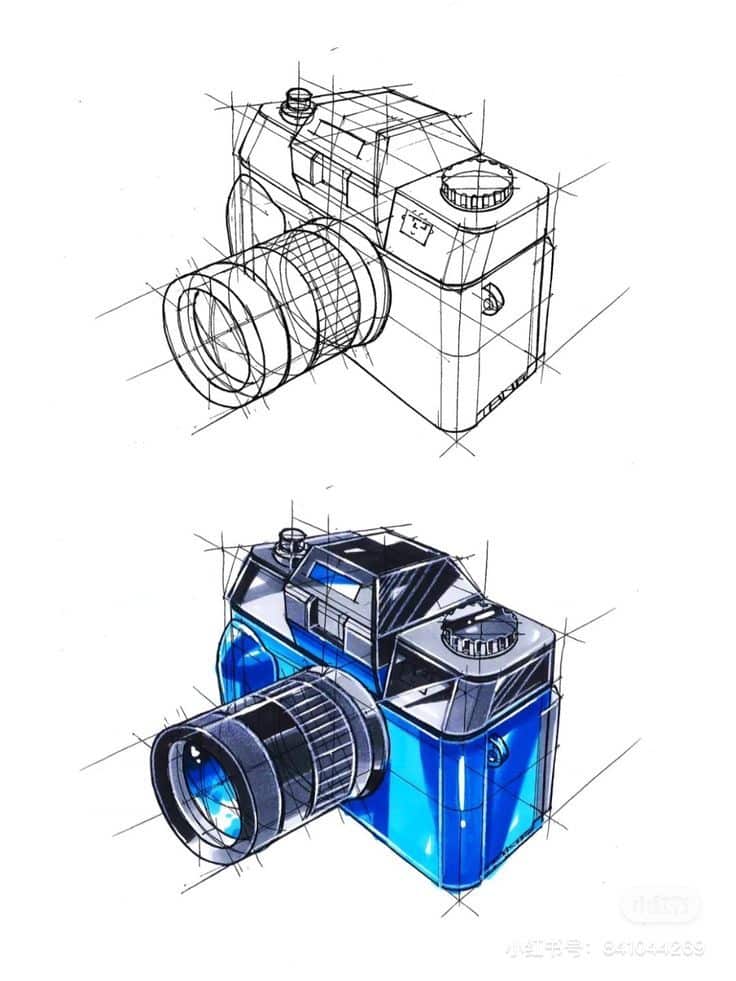
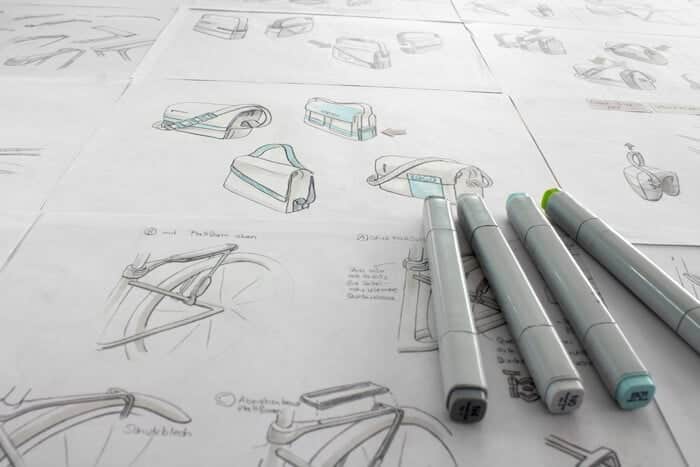
- Markers: Gray scale markers (Copic Ciao or Promarker) are fantastic for adding quick shading, volume, and depth. A few color markers can highlight specific features or user interactions.
- Paper:
Plain Printer Paper: Perfect for ideation – it’s cheap and plentiful. Dot Grid or Graph Paper: Invaluable for maintaining proportion, perspective, and alignment in concept and detail sketches. Tracing Paper: Useful for iterating on an existing sketch without redrawing everything, or for overlaying elements. Sketchbook: A bound sketchbook keeps your ideas organized.
- Erasers: A kneaded eraser is gentle on paper, and a vinyl eraser handles stubborn marks.
- Ruler/Templates: For straight lines and perfect circles, especially in detail sketches.
#### Digital Tools
For those who prefer a digital workflow, the options are powerful and versatile.
- Drawing Tablet & Stylus: A Wacom Intuos or Cintiq, an iPad Pro with Apple Pencil, or a Samsung Galaxy Tab with S Pen are popular choices. These offer pressure sensitivity, allowing for expressive lines.
- Software:
Procreate (iPad): User-friendly, powerful, and packed with features for sketching and illustration. Autodesk Sketchbook: Available on multiple platforms, offering a natural drawing experience. Adobe Photoshop/Fresco: More robust options for detailed rendering and professional workflows. Concepts (iPad/Windows): A vector-based sketching app, great for precise lines and scalable drawings.
- Advantages of Digital: Non-destructive editing, easy color changes, infinite layers, quick sharing, and the ability to export in various formats. If you’re new to this, learning how to start drawing in digital format can open up a world of possibilities for your product design sketches.
Ultimately, the best tools are the ones you’re comfortable with and that allow you to express your ideas most effectively. Don’t let tool choices become a barrier to starting.
Pro Tips for Nailing Smart Product Design Sketches
Ready to level up your sketching game? Here are some seasoned tips to make your sketches truly smart and impactful.
- Start with the Big Picture, Then Refine: Don’t try to draw every tiny detail right away. Begin with simple geometric shapes (cubes, cylinders, spheres) to block out the overall form and proportions. Once you’re happy with the basic silhouette, start adding features and details.
- Focus on Function First, Form Second: Ask yourself: “How does this work?” before “How does this look?” A beautiful product that doesn’t function well is a failure. Sketch the internal mechanisms, the button presses, the hinges, the flow. The aesthetics will follow once the core functionality is solid.
- Annotate, Annotate, Annotate: Your sketches are not just pretty pictures. Use arrows to show movement, circles to highlight key features, and concise text to explain your intentions, materials, or user interactions. Don’t be afraid to write questions to yourself or comments for your team.
- Sketch from Multiple Angles: A single perspective rarely tells the whole story. Sketch your product from the front, side, top, and an isometric (3/4) view. This helps you understand its form in 3D space and identify any awkward areas.
- Think About the User Journey: As mentioned with storyboarding, visualize someone actually using your product. Where are their hands? What are they thinking? How do they feel? This human-centric approach makes your design more empathetic and effective.
- Use Line Weight for Emphasis: Varying the thickness of your lines can add depth and emphasis. Thicker lines can define the outer edges of an object, making it “pop,” while thinner lines can indicate internal details or subtle contours.
- Add Quick Shading to Show Form: Even a few quick gray marker strokes or pencil smudges can transform a flat drawing into a three-dimensional object. Shading helps define curves, planes, and light sources, making your sketch more understandable.
- Don’t Be Afraid to Be Messy: The early stages of sketching are about exploration, not perfection. Embrace the smudges, the erased lines, the imperfect circles. These are signs of active thinking and iteration.
- Get Feedback Early and Often: Share your sketches with colleagues, potential users, or even friends. A fresh pair of eyes can spot issues or suggest improvements you might have missed. Be open to criticism – it’s how designs grow.
- Practice Regularly: Like any skill, sketching improves with practice. Spend a few minutes each day sketching random objects, practicing perspective, or drawing human figures. The more you draw, the more intuitive it becomes. You can find tons of creative art ideas online to keep your practice fresh and engaging.
Fun Ideas to Get Your Creative Juices Flowing
Sometimes the blank page can be intimidating. Here are some fun challenges to kickstart your smart product design sketching journey:
- Reimagine an Everyday Object: Pick something mundane – a stapler, a remote control, a toothbrush. How could you redesign it to be more ergonomic, sustainable, or simply more enjoyable to use? What “smart” features could you add?
- Solve a Personal Annoyance: Do you constantly lose your keys? Is your phone charger always tangled? Sketch a product that solves one of your own daily frustrations. Think about the user experience, the form factor, and how it would seamlessly integrate into your routine.
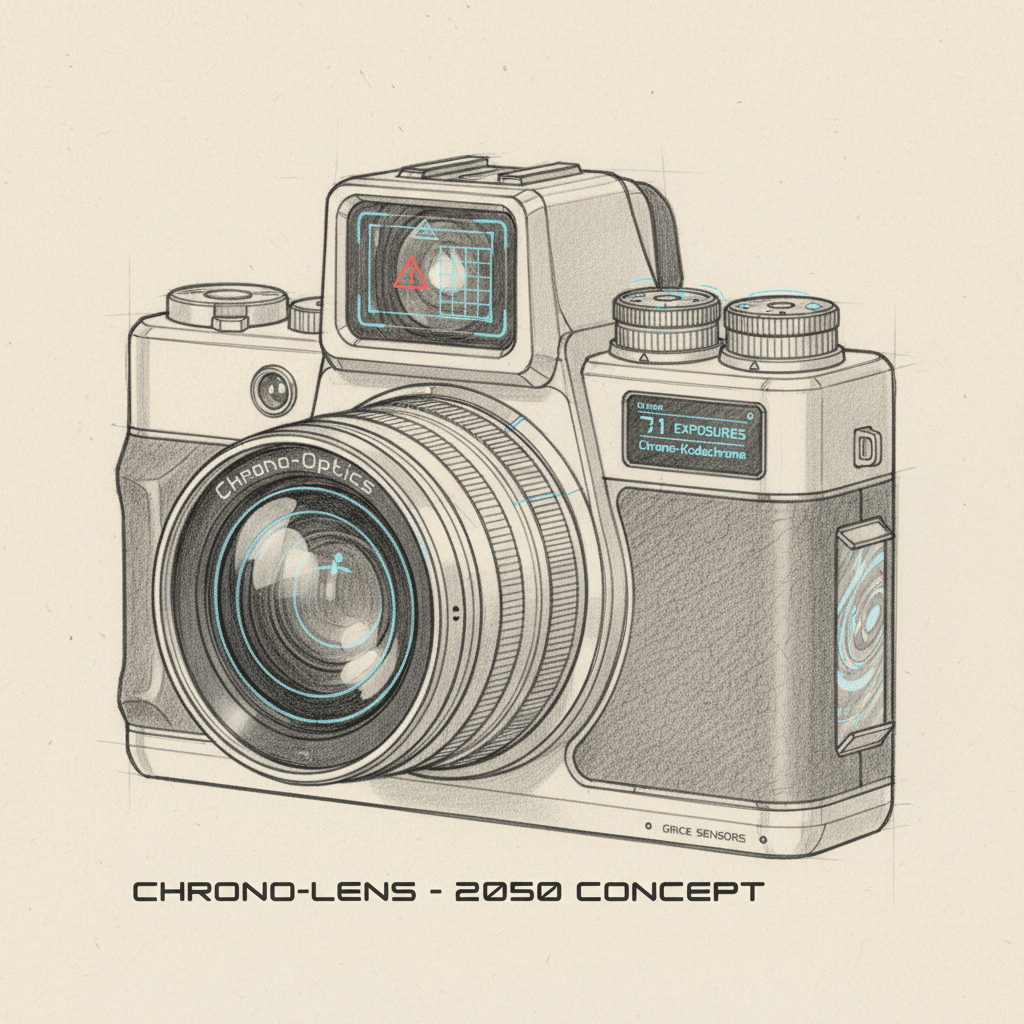
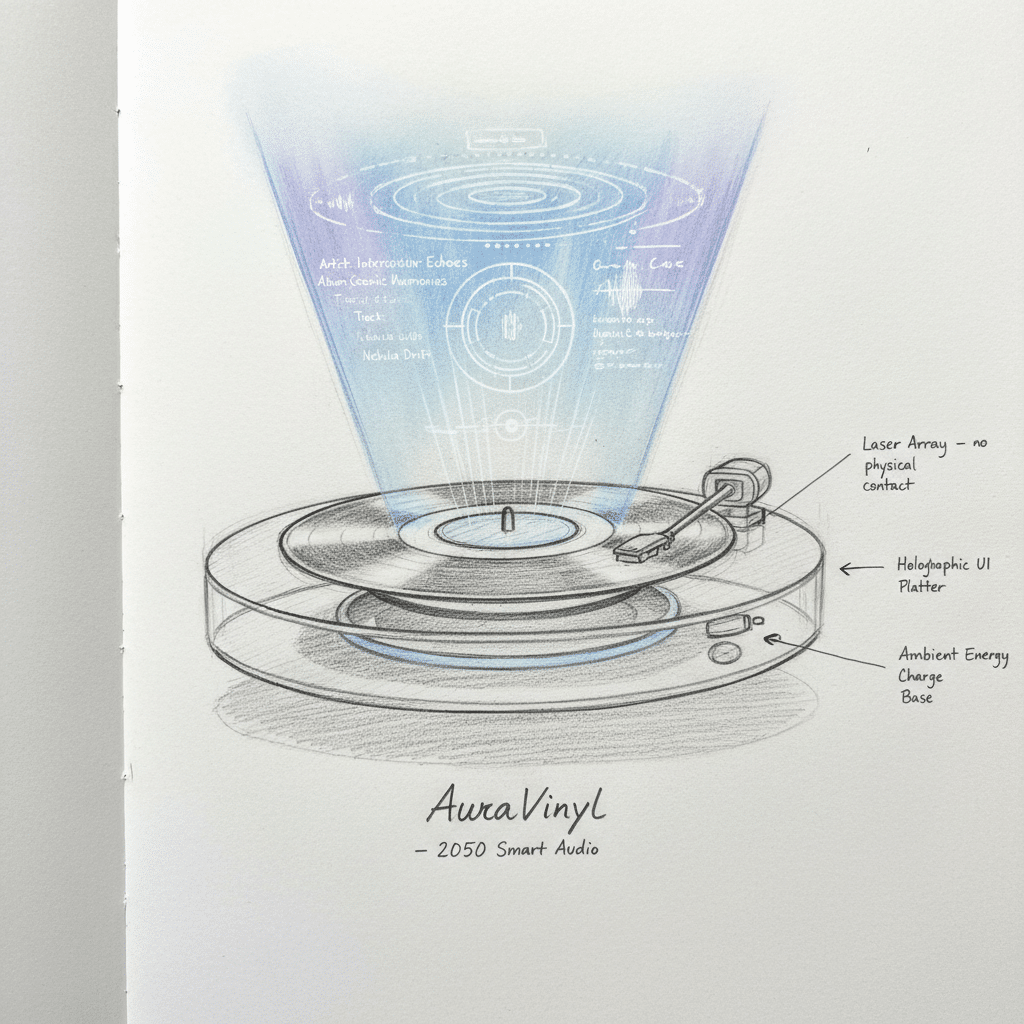
- Future-Proof a Classic: Take a classic product, like a record player or a film camera, and imagine what its “smart” version would look like in 2050. What new technologies would it incorporate? How would it connect to other devices?
- Design a “Smart” Pet Product: How could technology make life better for pets and their owners? A smart feeder, an interactive toy, a health monitor? Sketch out the device and how a pet (and human) would interact with it.
- Create a Modular Gadget: Design a product with interchangeable components. Perhaps a modular flashlight where you can swap out different light heads, battery packs, or even attachable tools. Sketch the main body and then show how various modules connect.
- Focus on Sustainability: How can product design contribute to a greener future? Sketch a product made from recycled materials, designed for easy repair, or powered by renewable energy. Think about its lifecycle from creation to disposal.
Integrating Smart Sketches into the Design Workflow
Smart product design sketches aren’t just for the initial spark; they play a vital role throughout the entire product development process.
- Early Stage Ideation and Conception: This is where sketches shine brightest. They allow teams to quickly explore many ideas, narrow down concepts, and gain initial alignment on the product vision. It’s the “sketch storm” that precedes any formal design brief.
- Client Presentations and Stakeholder Communication: Sketches offer a low-fidelity, yet compelling, way to present ideas to clients and stakeholders. They look less “final” than a polished rendering, encouraging feedback and discussion rather than just approval. This collaborative approach fosters better outcomes.
- Cross-Functional Team Alignment: Engineers need to understand the design intent, and marketing needs to grasp the product’s unique selling points. Sketches provide a common visual language that everyone, regardless of their background, can understand and react to.
- Prototyping and Iteration: Before building costly physical prototypes, sketches can act as rapid prototypes. You can literally draw out how a user would interact with a screen, or how a mechanism would move, and test these interactions with team members. This iterative process allows for continuous improvement and refinement.
- Documentation and Hand-off: While not as formal as engineering drawings, annotated sketches can provide crucial context for later stages of design and manufacturing. They capture the rationale behind design decisions and communicate nuances that might be lost in purely technical documents.
Common Pitfalls to Avoid
Even with the best intentions, it’s easy to fall into common sketching traps. Being aware of these can help you sidestep them.
- Over-Detailing Too Early: This is a big one. Don’t try to make your ideation sketches look like finished artwork. Getting bogged down in tiny details too soon can stifle creativity and slow down the brainstorming process. Keep it loose and conceptual in the early stages.
- Getting Stuck on Perfection: Remember, sketches are tools for thinking, not final art pieces. Don’t spend hours trying to make one sketch flawless. It’s better to have 10 rough sketches exploring different ideas than one perfectly rendered but ultimately flawed concept.
- Ignoring the User (or Context): Designing in a vacuum often leads to products that don’t meet real-world needs. Always consider who will use the product, how they will use it, and where it will be used. Sketching within a context helps avoid this oversight.
- Lack of Annotation: A beautiful sketch without any explanation can be ambiguous. Always add notes, arrows, and labels to clarify your intent, highlight features, and explain functionality.
- Not Enough Exploration: If you stop at your first good idea, you might miss out on a truly great one. Push yourself to explore multiple solutions, even if the initial idea seems promising. This deep dive into various options sets a truly smart product apart.
- Fear of Failure: Every “bad” sketch is a step towards a good one. Don’t be afraid to experiment, make mistakes, and draw something that doesn’t quite work. These are all part of the learning and discovery process.
The Future of Smart Sketching
The world of design is constantly evolving, and so too is sketching. While the core principles remain timeless, new technologies are enhancing how we sketch and collaborate.
- AI-Assisted Sketching: Imagine AI tools that can clean up your rough lines, suggest different perspectives, or even generate variations of your initial concept based on your input. This could significantly speed up the ideation process.
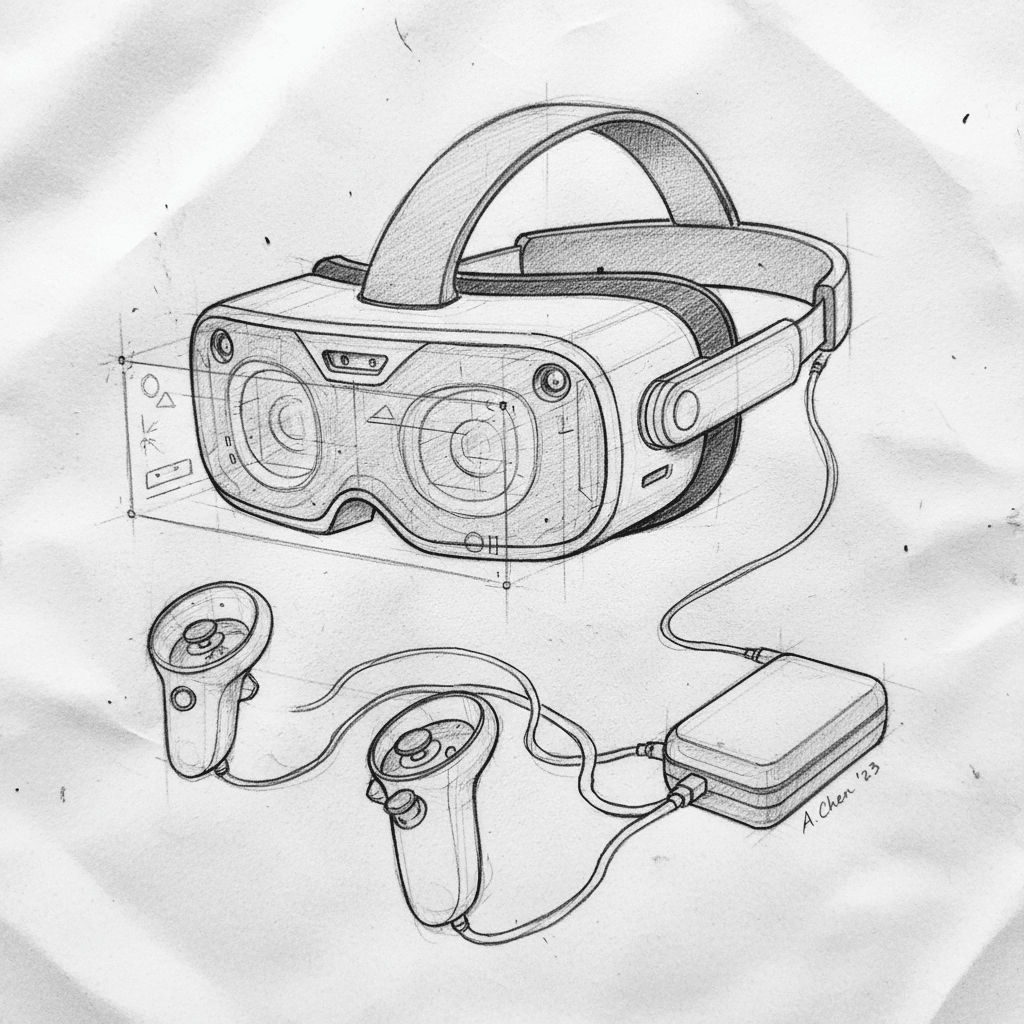
- VR/AR Integration: Picture sketching in a 3D environment, where you can literally walk around your design, manipulate it with your hands, and see it in context. Tools like Gravity Sketch are already exploring this.
- Collaborative Digital Whiteboards: Online platforms are making it easier for distributed teams to sketch together in real-time, sharing ideas, iterating on designs, and providing instant feedback, regardless of their physical location.
- Parametric Sketching: While more common in CAD, the ability to sketch with intelligent constraints and parameters could lead to more precise and adaptable early-stage designs.
These advancements promise to make sketching even more powerful and integrated into the design workflow, pushing the boundaries of what’s possible in product innovation. To ensure your creative space is ready for these future trends, consider how you might transform your creative workspace at home to accommodate new tools and methodologies.
Unleash Your Inner Innovator
From the humble pencil to the cutting-edge digital tablet, smart product design sketches remain the beating heart of innovation. They are the initial spark, the critical conversation starter, and the flexible foundation upon which revolutionary products are built. By embracing sketching, you’re not just drawing lines; you’re shaping ideas, solving problems, and bringing imagination to life.
So grab a pen, a piece of paper, or your favorite digital tool, and start sketching! Don’t worry about being an artist; worry about being a thinker. Explore, iterate, communicate, and most importantly, have fun with it. Your next big idea is just a sketch away, waiting to be unleashed into the world. Start small, think big, and let your smart sketches guide you toward creating products that truly make a difference. The world is full of problems waiting for clever solutions, and your sketches are the first step to finding them.
What tools are essential for effective product design sketching?
Basic tools include pencils, pens, markers, different types of paper or digital tablets, styluses, and drawing software. Also helpful are rulers, erasers, and templates to ensure accuracy and clarity.
What are the main stages in smart sketching for product design?
The main stages include ideation sketches for brainstorming, concept sketches for refining ideas, detail sketches for component specifics, storyboarding for user interactions, and multiple perspectives to understand form and function.
Why should I start sketching when I have advanced 3D software available?
Sketching is faster, more flexible, and stimulates creative thinking by allowing rapid ideation, cost-effective prototyping, better communication, early problem detection, and unleashing creativity without software constraints.
What exactly makes a product design sketch ‘smart’?
A smart product design sketch is one that is intentional and purpose-driven, focusing on solving problems, exploring functionality, considering user needs, showing context, encouraging iteration, and including annotations to communicate ideas clearly.
- 238shares
- Facebook0
- Pinterest238
- Twitter0
- Reddit0
