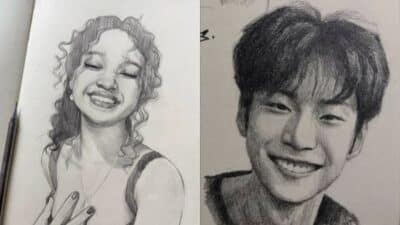
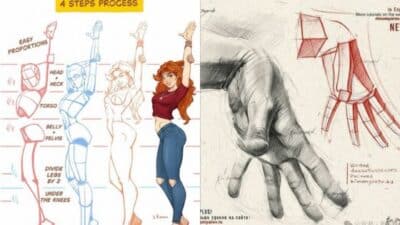
Ever felt the irresistible urge to capture a moment of pure joy on paper? A happy face, with its infectious smile and sparkling eyes, is one of the most universally understood symbols of positivity. Whether you’re doodling in a notebook during a boring meeting, trying to cheer up a friend with a heartfelt card, or simply looking to add a touch of whimsy to your artistic endeavors, drawing a perfect happy face is a skill that brings immediate satisfaction. It’s more than just lines and curves; it’s about conveying emotion, light, and warmth.
This isn’t about creating a hyper-realistic portrait that takes hours of meticulous effort. Instead, we’re going to dive into the art of drawing a happy face that feels effortless, bursts with personality, and spreads good vibes. We’ll explore the simple techniques, essential elements, and creative flourishes that will allow you to conjure up cheerful countenances with ease. Get ready to embrace your inner artist and discover how a few strokes can make a big difference, not just on paper, but in your mood too!
Deconstructing the Elements of a Joyful Expression
To draw a truly convincing happy face, it helps to understand the individual components that come together to form that radiant expression. It’s not just one big curve; it’s a symphony of subtle cues.
The Foundation: Head Shape
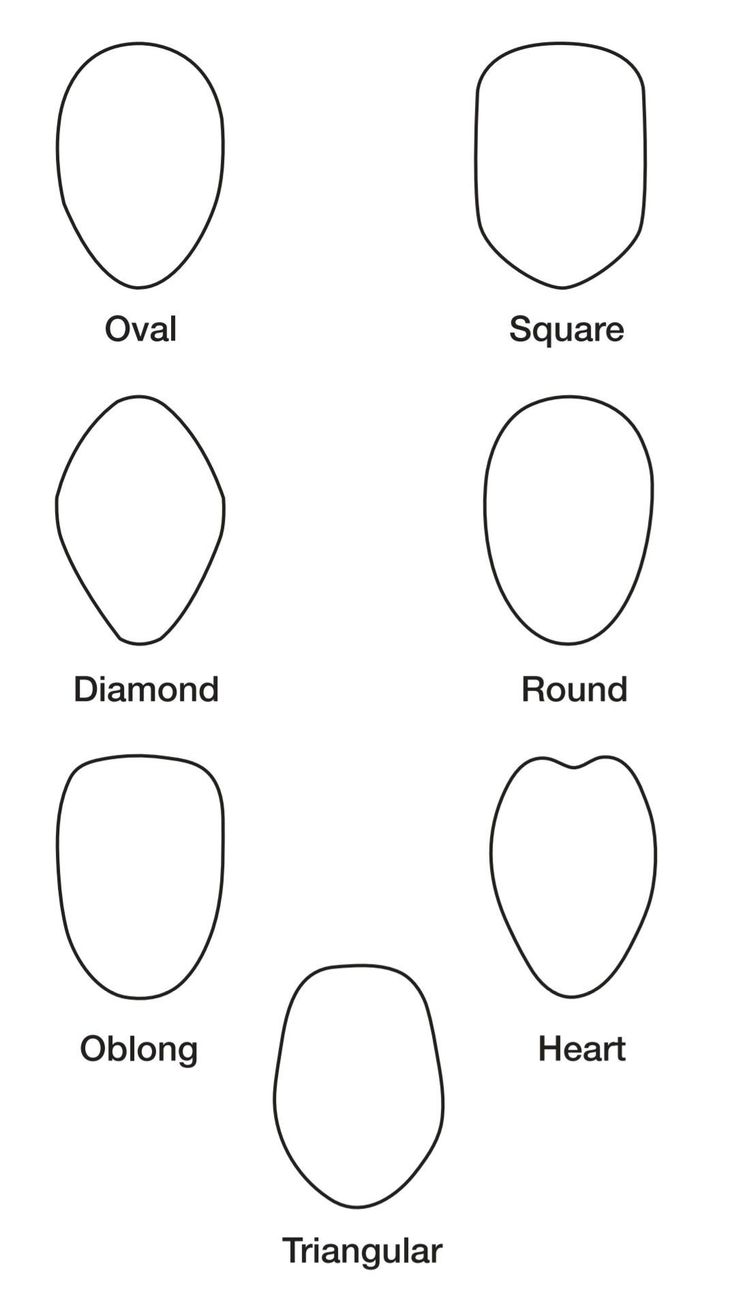
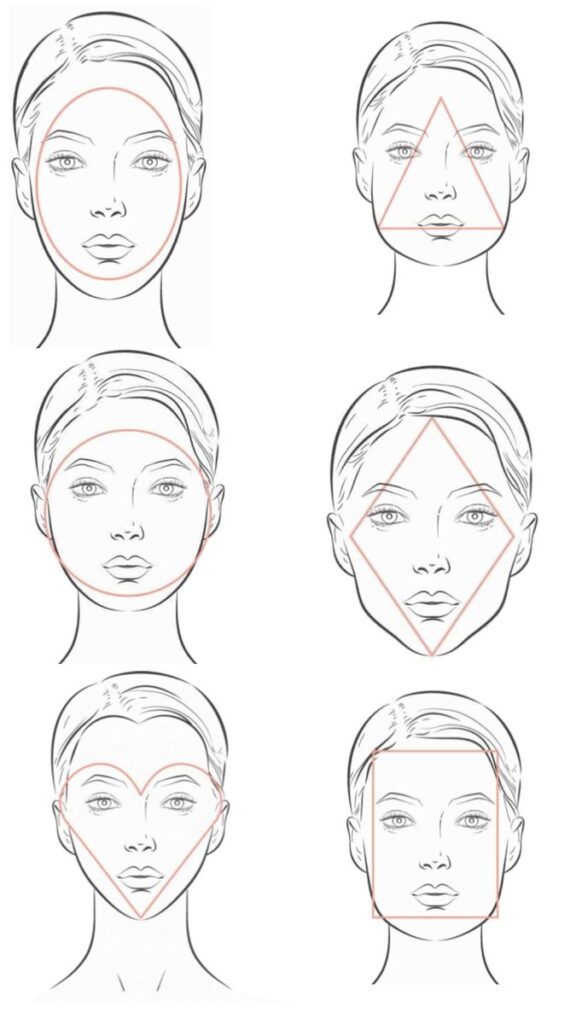
Most happy faces start with a simple head shape. A circle is the classic choice, easy and instantly recognizable. However, don’t be afraid to experiment with ovals for a slightly different look.
- Circles: Impart a friendly, almost childlike innocence. They are symmetrical and easy to start with.
- Ovals: Can add a touch more sophistication or a slightly more adult feel. They allow for a bit more variation in facial features.
The Windows to the Soul: Eyes That Sparkle
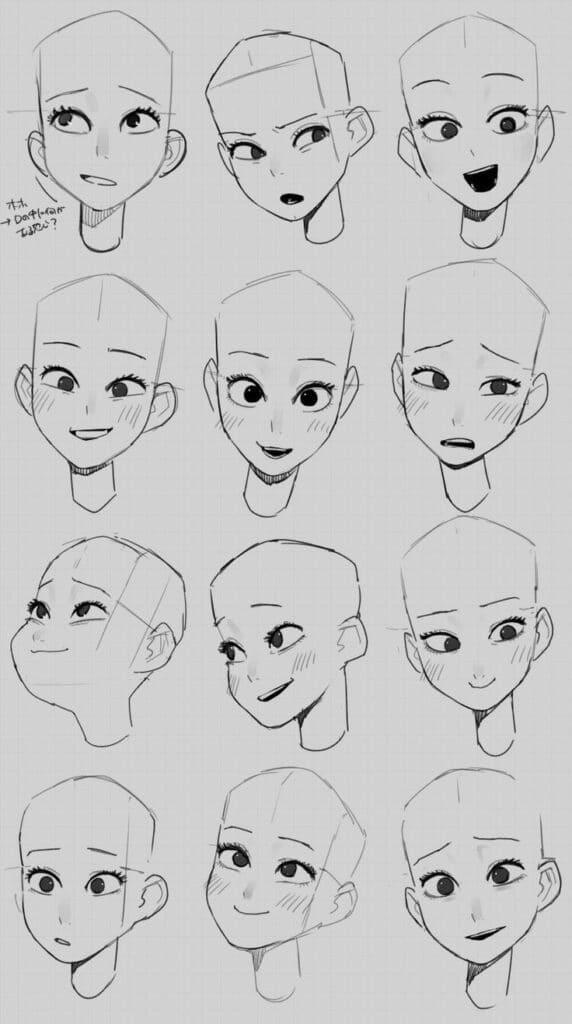
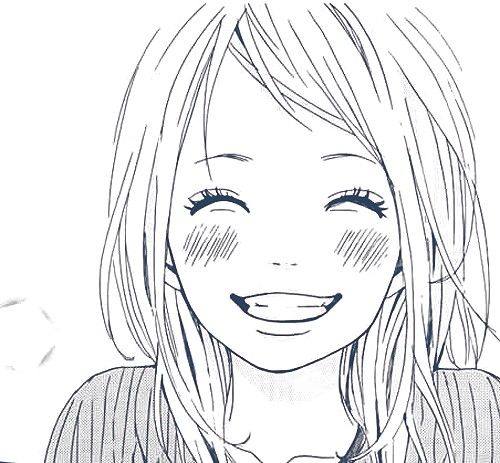
The eyes are arguably the most crucial part of conveying emotion. A truly happy face will have eyes that reflect that joy.
- Simple Dots: For a cartoonish, classic smiley, two dots are perfectly sufficient. They convey directness and simplicity.
- Small Arcs or ‘V’ Shapes: Often used to show the eyes squinting slightly in delight, a common involuntary reaction when genuinely happy. This adds a lot of character and energy.
- Eyelids and Lashes: For a slightly more detailed approach, subtle upper eyelids can add depth. A few small lashes can soften the look, especially for more feminine expressions.
- Highlights: A tiny white dot or sparkle in each eye can make them appear bright and alive, giving the impression of light catching them.
The Expressive Arches: Eyebrows
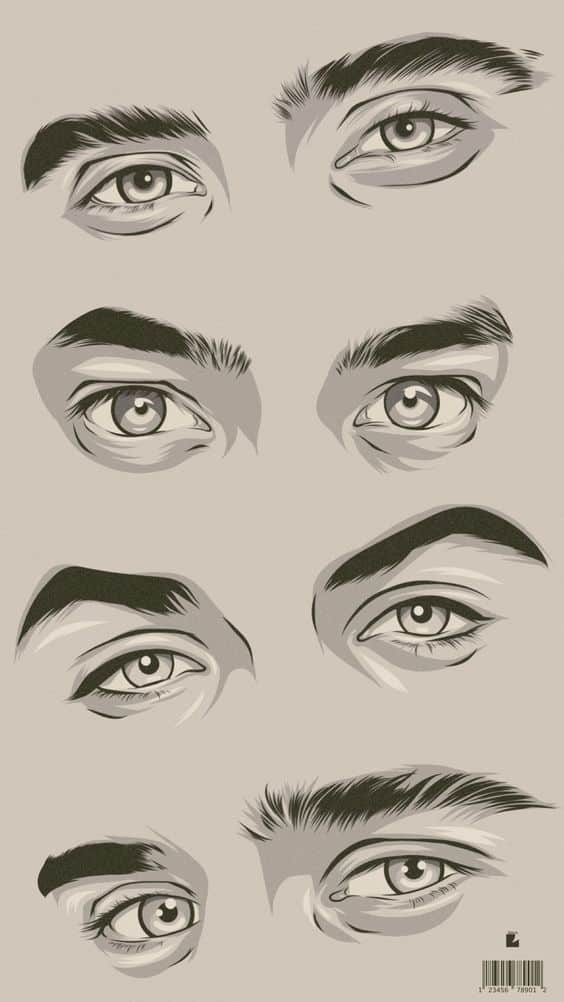
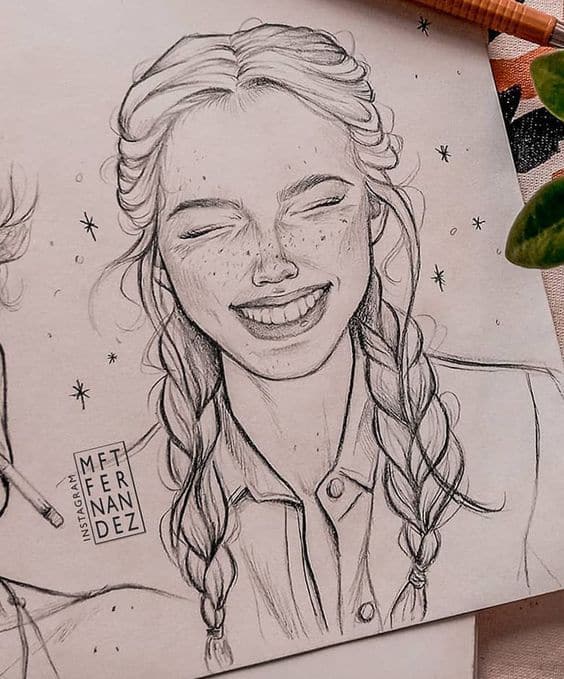
Even subtle eyebrows can dramatically shift an expression. For happiness, they generally take on an upward or slightly arched curve.
- Gentle Arches: Indicate a relaxed, pleasant happiness.
- Slightly Raised: Can suggest surprise or playful joy.
- “Squinty” Brows: When eyes are squinting from laughter, the eyebrows often lower and flatten slightly over the eyes, forming a natural part of the overall expression.
A Hint of Character: The Nose
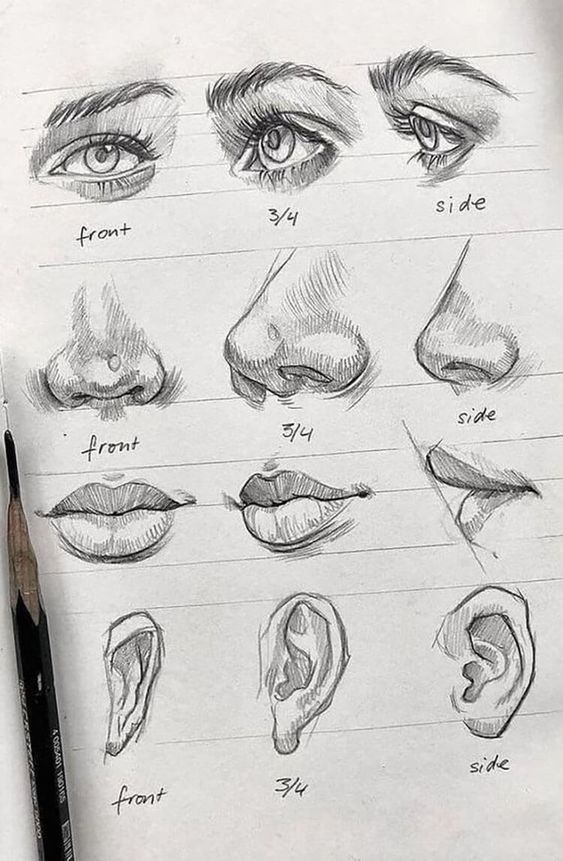
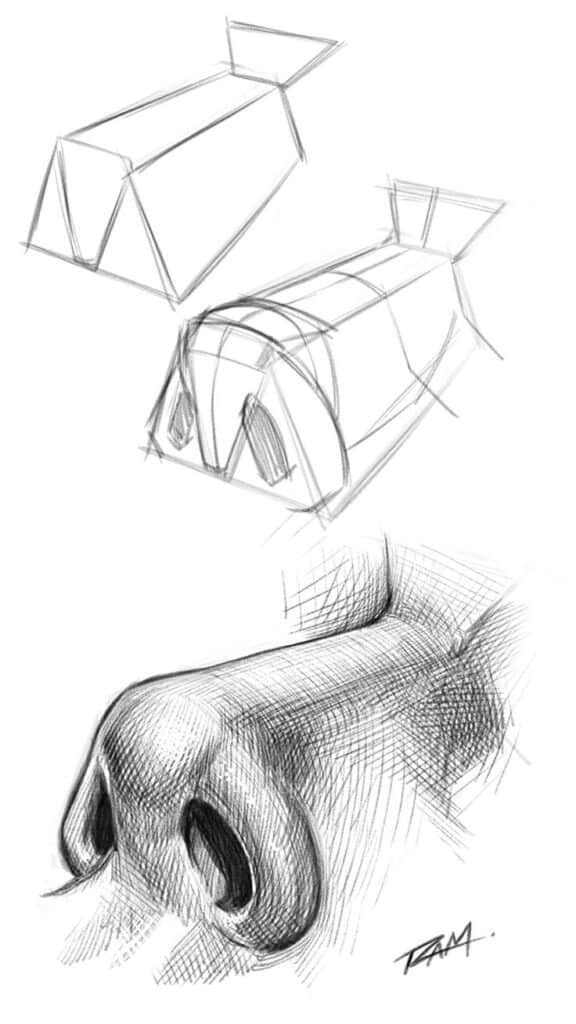
The nose in a happy face drawing is usually very simple, often understated.
- Small Dot or Dash: The most common and effective way to represent a nose without distracting from the smile.
- Subtle ‘C’ Curve: Can suggest the underside of the nose, adding a touch of dimension.
- No Nose At All: For the most minimalist happy faces, omitting the nose completely is also a valid and common stylistic choice.
The Star of the Show: The Smile
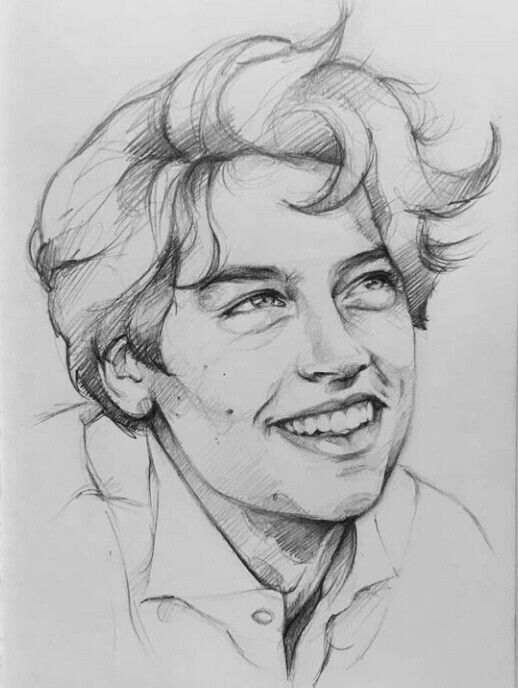
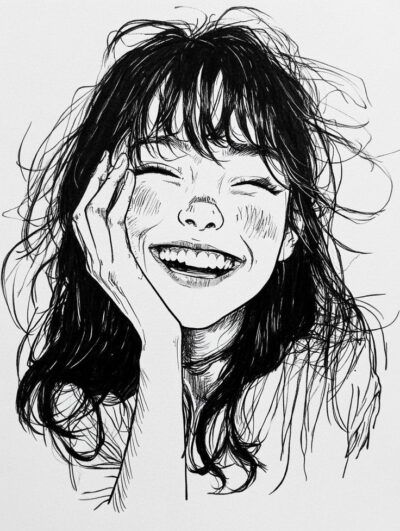
This is where the magic truly happens. A smile is an upward curve, but there are countless variations.
- The Classic Arc: A simple, upward-curving line. Easy, effective, and instantly recognizable.
- The “Bean” Shape: A slightly flattened oval or bean shape, often used to depict an open-mouthed smile, sometimes showing teeth. This conveys more intense joy or laughter.
- Showing Teeth: If you choose to show teeth, keep them simple. A horizontal line across the middle of the “bean” shape, with a few vertical lines for individual teeth, is usually enough. Don’t overdo the detail, or it can look unnatural.
- Dimples: Small C-shaped lines at the corners of the mouth can add a charming detail, suggesting deep joy.
Adding Life: Cheeks and Facial Lines
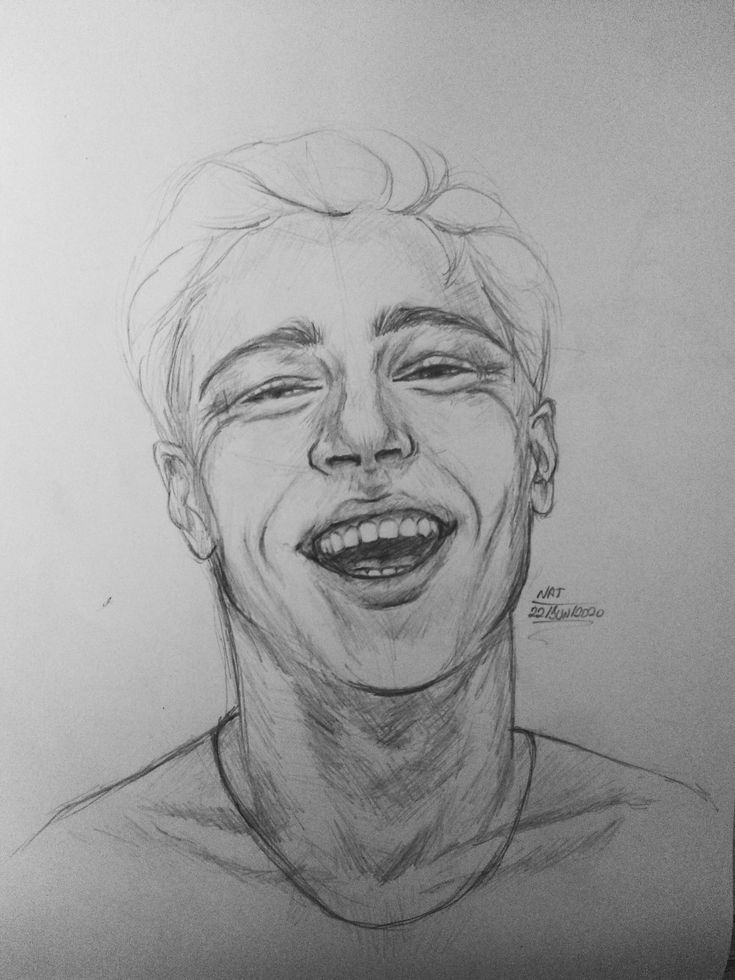
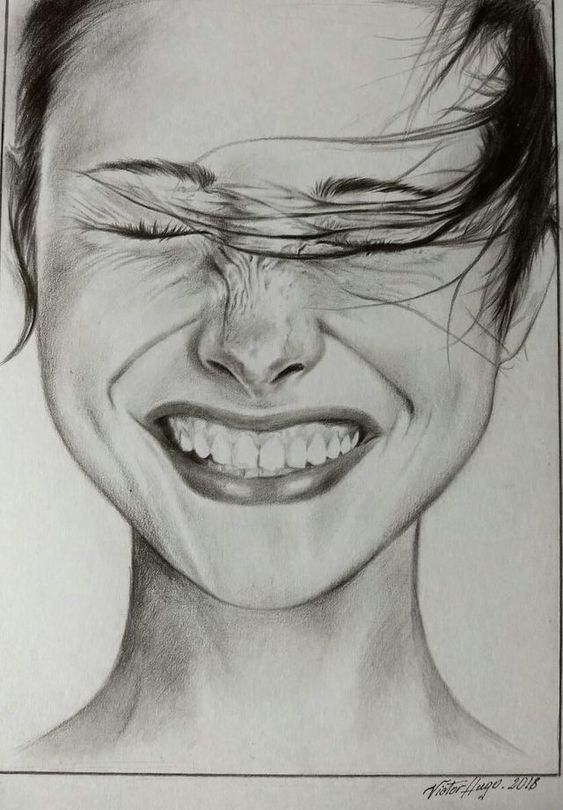
These subtle additions can bring your happy face to life.
- Rosy Cheeks: A touch of blush or light shading on the cheeks enhances the feeling of warmth and joy.
- “Crows Feet”: Small lines radiating from the outer corners of the eyes are a natural sign of genuine laughter and happiness. Use them sparingly to avoid making the face look old.
- Cheek Lines: Subtle lines curving up from the corners of the mouth towards the cheekbones can indicate the muscles pulling up the smile.
Your Artistic Arsenal: Essential Tools for Drawing
You don’t need a grand art studio to draw a fantastic happy face. The beauty of this subject is its simplicity, which extends to the tools you’ll use.
Pencils: Your Go-To Instrument
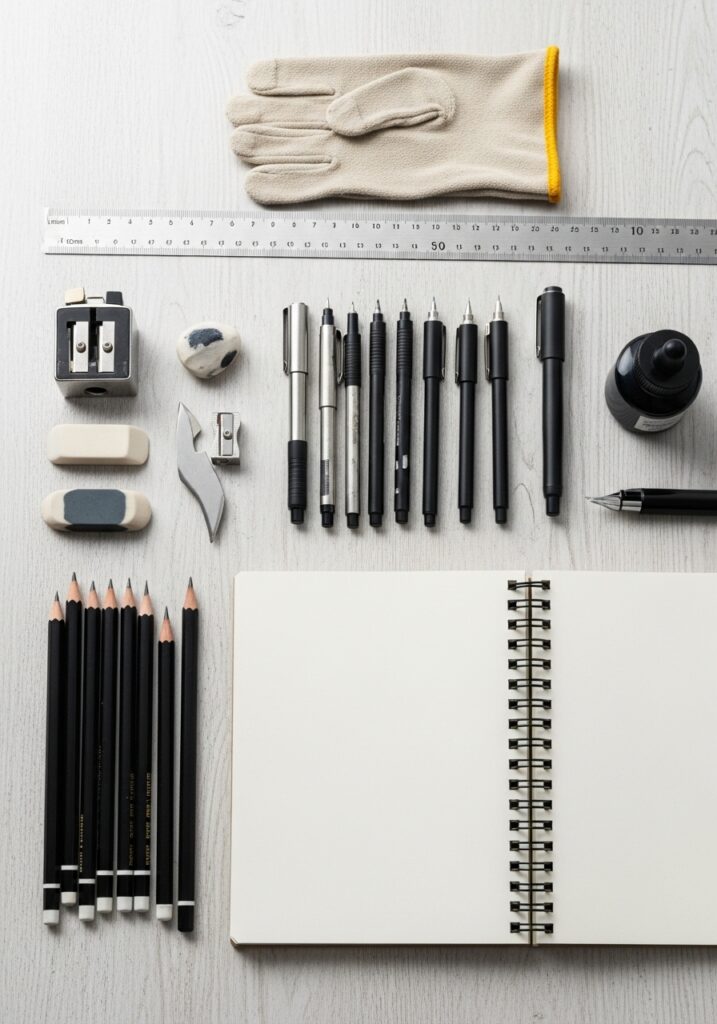
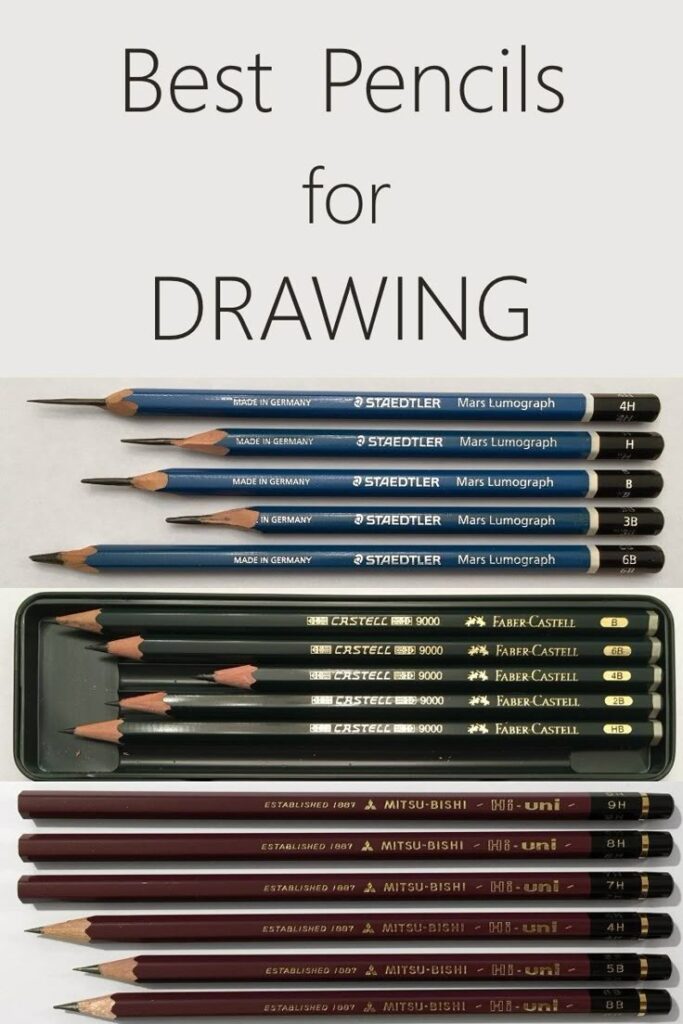
- Graphite Pencils (HB, 2B): An HB pencil is a great all-rounder for sketching and general drawing. A 2B offers a slightly darker, softer line, perfect for adding shadows or more expressive strokes.
- Colored Pencils: If you want to add a pop of color, especially for rosy cheeks or bright eyes, a set of colored pencils is invaluable.
Paper: Your Canvas
- Sketchbook: A standard sketchbook with good quality paper (around 80-100 gsm) is ideal for practice and developing ideas.
- Printer Paper: For quick doodles or brainstorming, regular printer paper works just fine. Don’t let a lack of fancy paper stop you!
- Mixed Media Paper: If you plan on adding watercolor or markers, choose a thicker paper that can handle moisture without warping.
Erasers: Your Best Friend
- Kneaded Eraser: Excellent for lifting graphite gently without damaging the paper, and for lightening lines rather than completely erasing them.
- Vinyl/Plastic Eraser: Perfect for clean, precise erasing of strong lines.
Pens: Adding Definition
- Fine-liner Pens (0.2mm, 0.4mm): Great for outlining your happy face, adding crisp details, and making it pop. Black is classic, but colored fine-liners can add fun variations.
- Markers: Broader markers can fill in areas quickly or add bold outlines.
Digital Tools: The Modern Approach
- Drawing Tablet (e.g., Wacom, iPad Pro with Apple Pencil): If you’re comfortable with digital art, a tablet offers endless possibilities for experimentation, easy corrections, and a wide array of brushes and colors.
- Software (e.g., Procreate, Photoshop, Clip Studio Paint): These programs allow you to layer, experiment with colors, and apply digital effects, opening up a new world of happy face creation.
When considering your drawing materials, think about what feels comfortable and inspiring. A basic set of pencils and a sketchbook are all you truly need to start bringing those smiles to life. If you’re looking to broaden your artistic toolkit, check out our guide on top drawing materials every artist needs to know.
Your First Effortless Happy Face: A Step-by-Step Guide
Ready to draw? Let’s create a simple, cheerful happy face together. Remember, the goal is effortlessness and joy, not perfection.
Step 1: Lay Down the Foundation – The Head
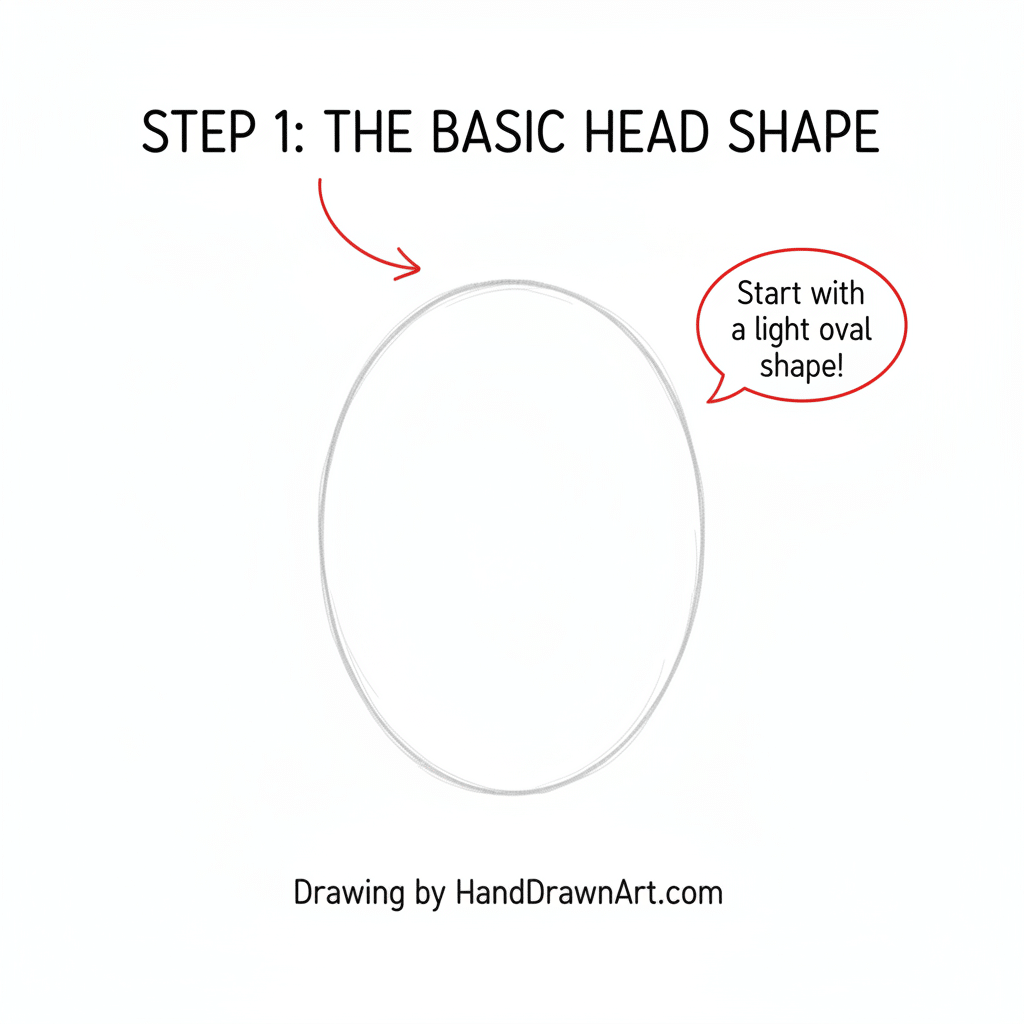
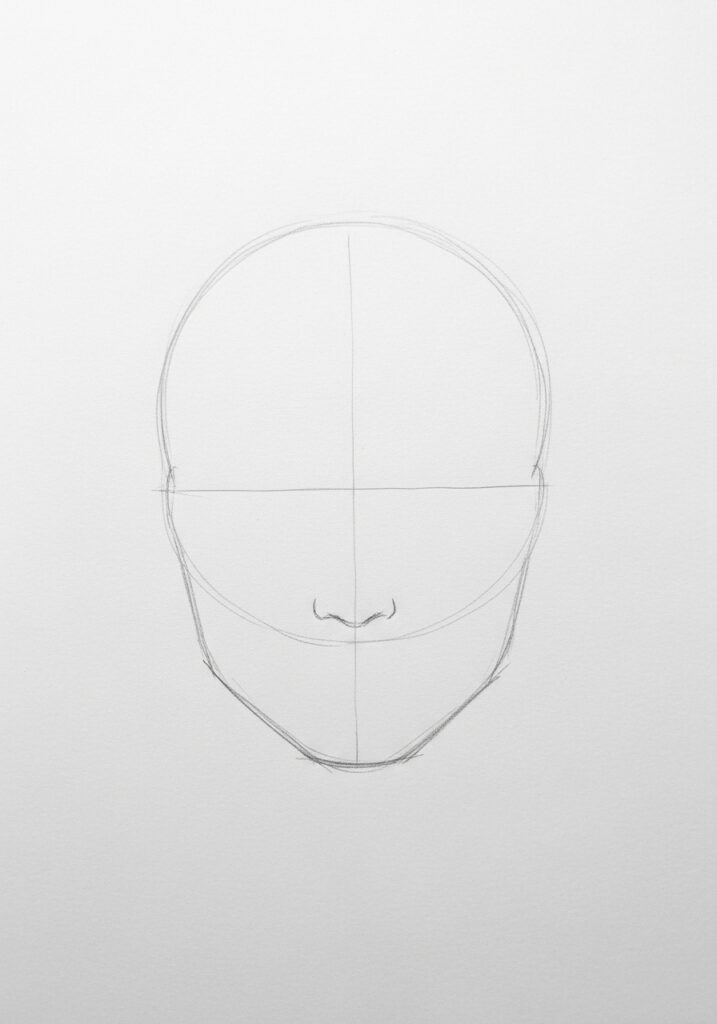
- Start by lightly sketching a circle or an oval in the center of your page. Don’t press too hard; this is just a guide. You can refine it later. Think of it as the outer boundary for your face.
Step 2: Position the Eyes – The Sparkle Begins
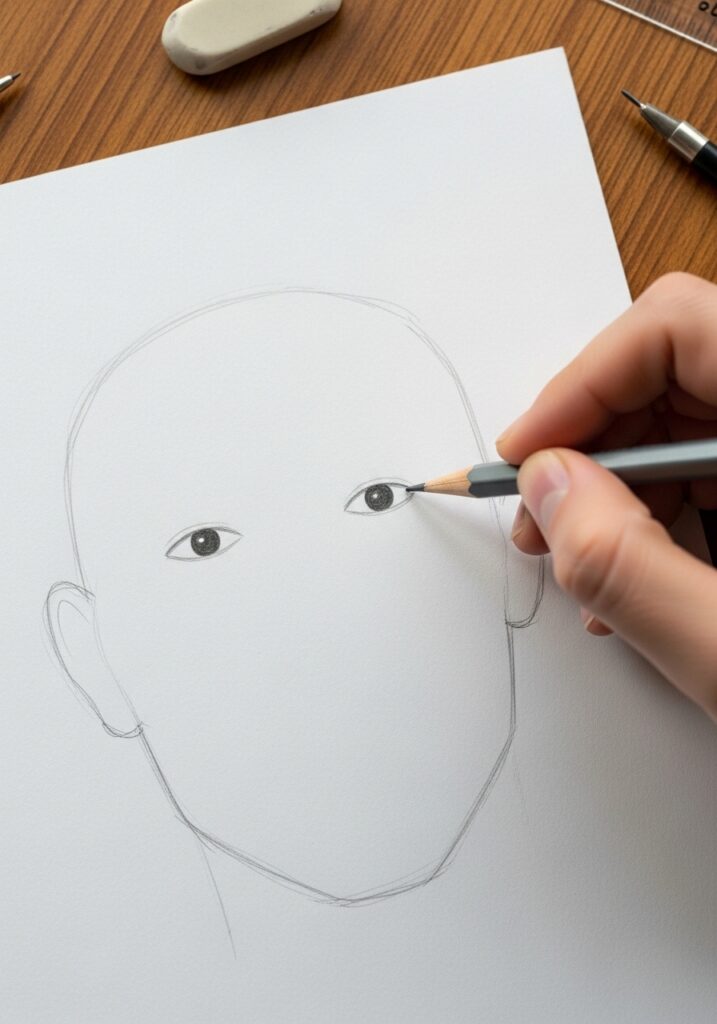
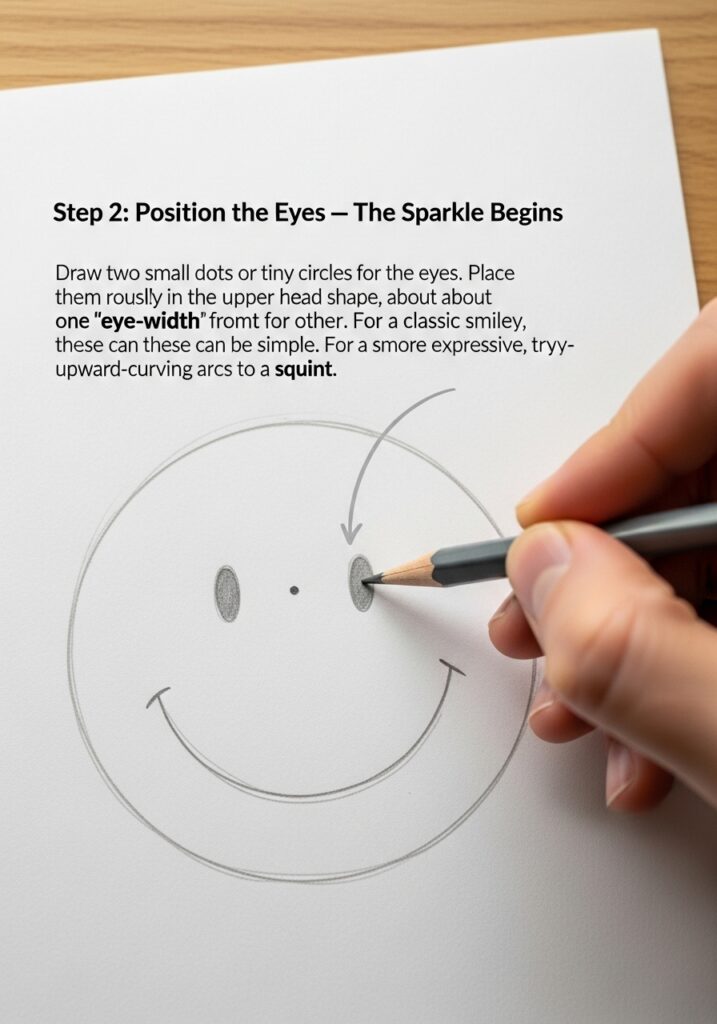
- Draw two small dots or tiny circles for the eyes. Place them roughly in the upper half of your head shape, about one “eye-width” apart from each other. For a classic smiley, these can be simple. For a more expressive look, try small, upward-curving arcs to suggest a squint.
Step 3: Add the Eyebrows – Expressive Arches
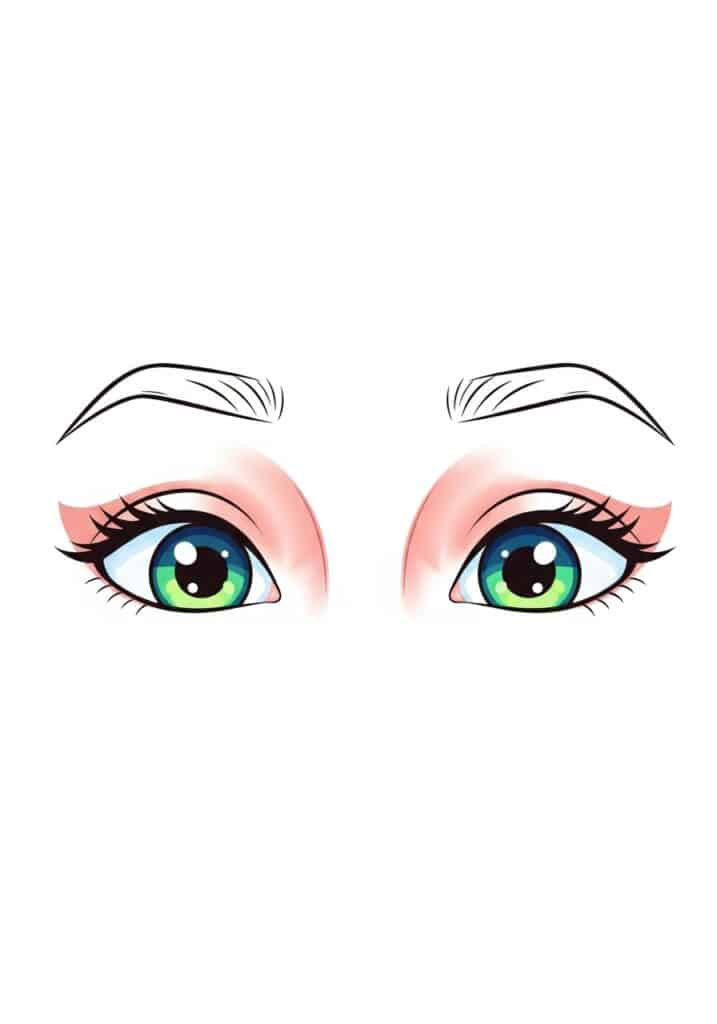
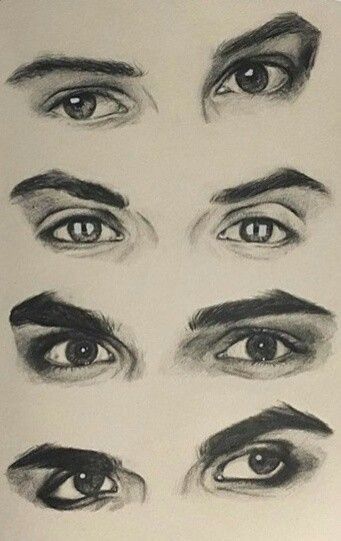
- Above each eye, draw a short, gentle upward curve for the eyebrows. Keep them simple and light. They should mirror the happiness conveyed by the eyes.
Step 4: A Hint of a Nose – Subtle Detail
- Beneath and between the eyes, add a very small dot or a tiny dash for the nose. Keep it minimal so it doesn’t overpower the other features.
Step 5: Craft the Smile – The Heart of the Happy Face
- This is the most important part! Below the nose, draw a clear, upward-curving line. For a broad, open smile, you can make it a gentle “bean” shape. If you want to show teeth, draw a horizontal line across the middle of the “bean” and add a couple of short vertical lines.
- For an extra touch, add small, subtle lines (like shallow ‘C’s) at the corners of the mouth for dimples, or radiating from the outer corners of the eyes for “crow’s feet,” indicating genuine laughter.
Step 6: Refine and Detail – Bringing it to Life
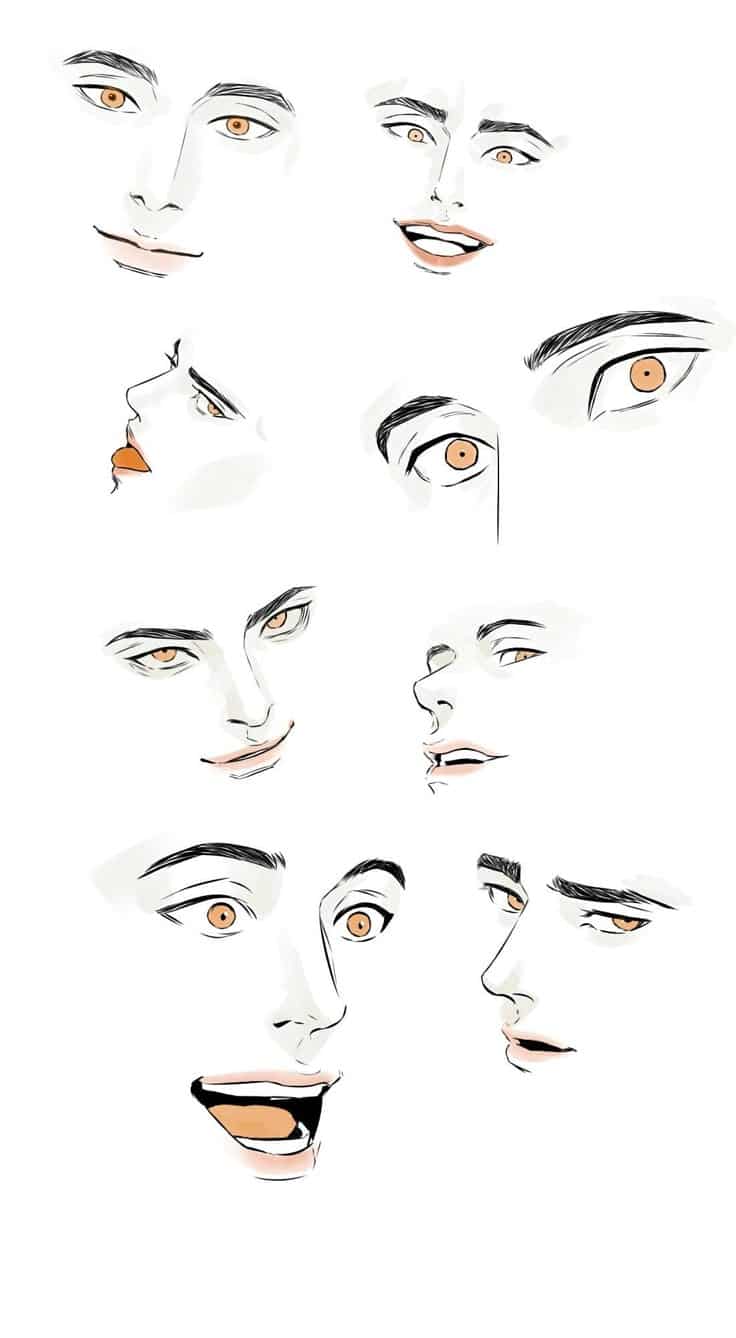
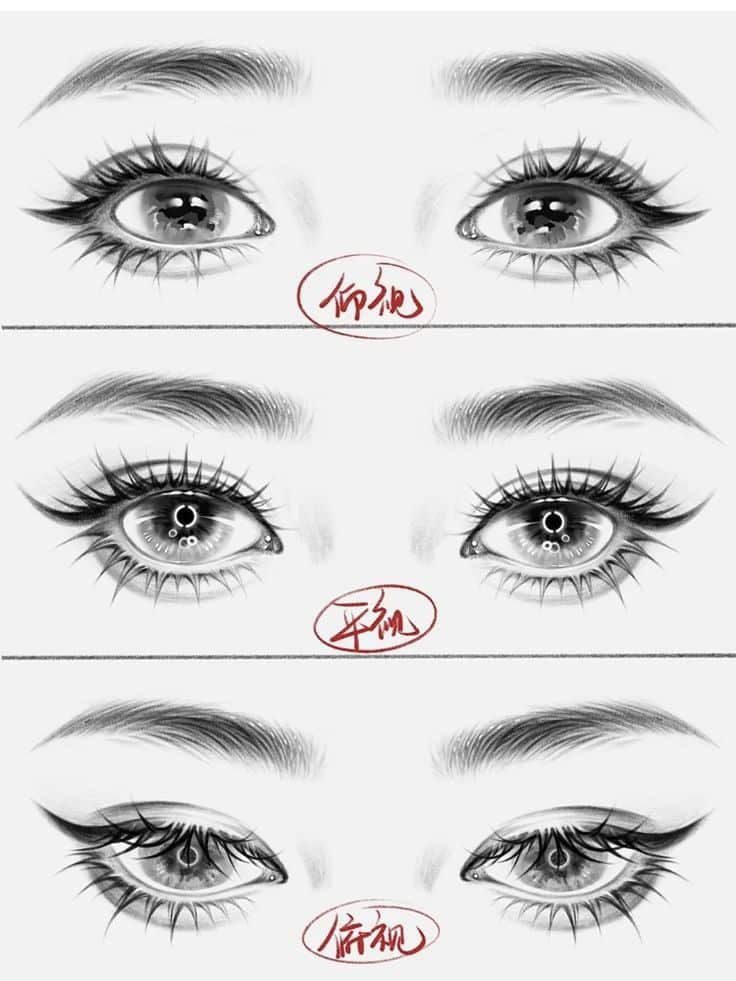
- Go over your initial light lines, making them darker and more confident.
- Add subtle shading if you like, perhaps under the chin or along the side of the head, to give it a little dimension.
- Consider adding a tiny white highlight in each eye to make them shine.
- Erase any unwanted guide lines.
And there you have it! A perfect, effortless happy face radiating pure joy.
Beyond the Basic: Infusing Personality and Character
Once you’ve mastered the basic happy face, it’s time to unleash your creativity and give your creations unique personalities. Every smile can tell a different story.
Exploring Different Smile Types
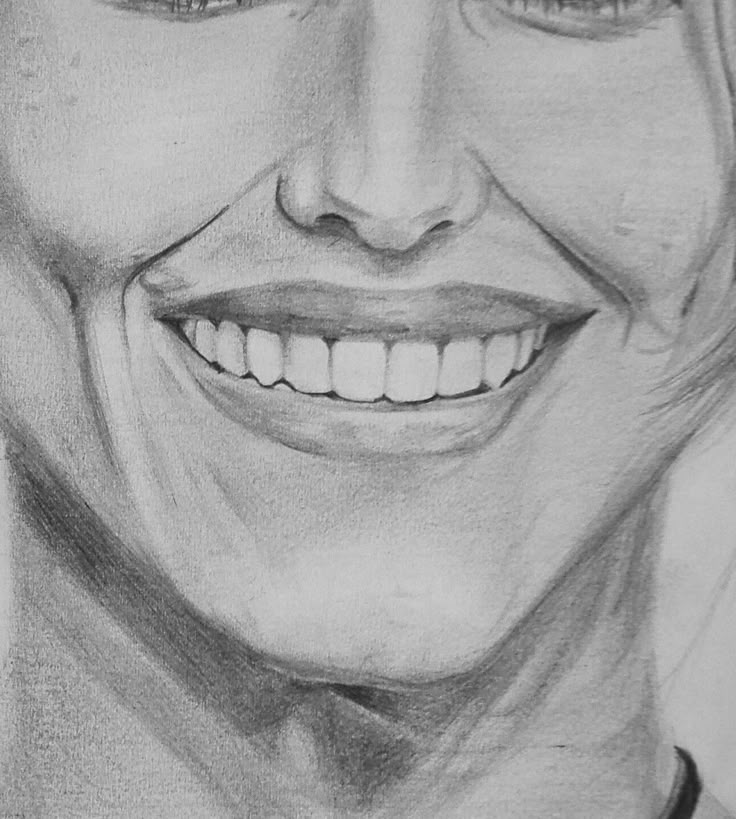
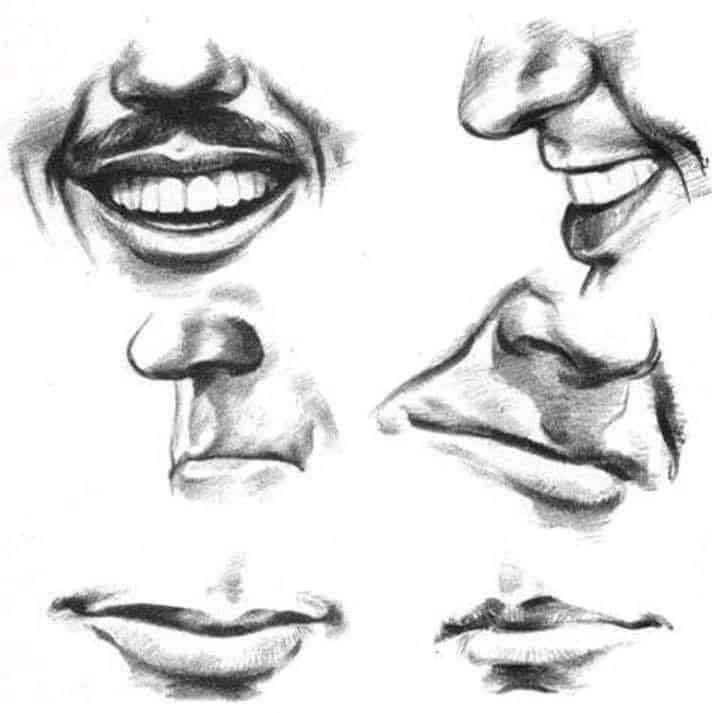
Not all happy faces are created equal. Different types of smiles convey different shades of happiness.
- The Shy Smile: A smaller, more subtle upward curve, perhaps with eyes looking slightly down or to the side.
- The Mischievous Grin: A wider, almost lopsided smile, often paired with one raised eyebrow or eyes looking sideways.
- The Beaming, Open-Mouthed Laugh: A large, rounded “bean” shape for the mouth, showing more teeth, and eyes almost closed from joy (the “V” shape is perfect here).
- The Contented Smile: A gentle, relaxed curve, often accompanied by calm, open eyes.
Adding Character with Accessories and Hair
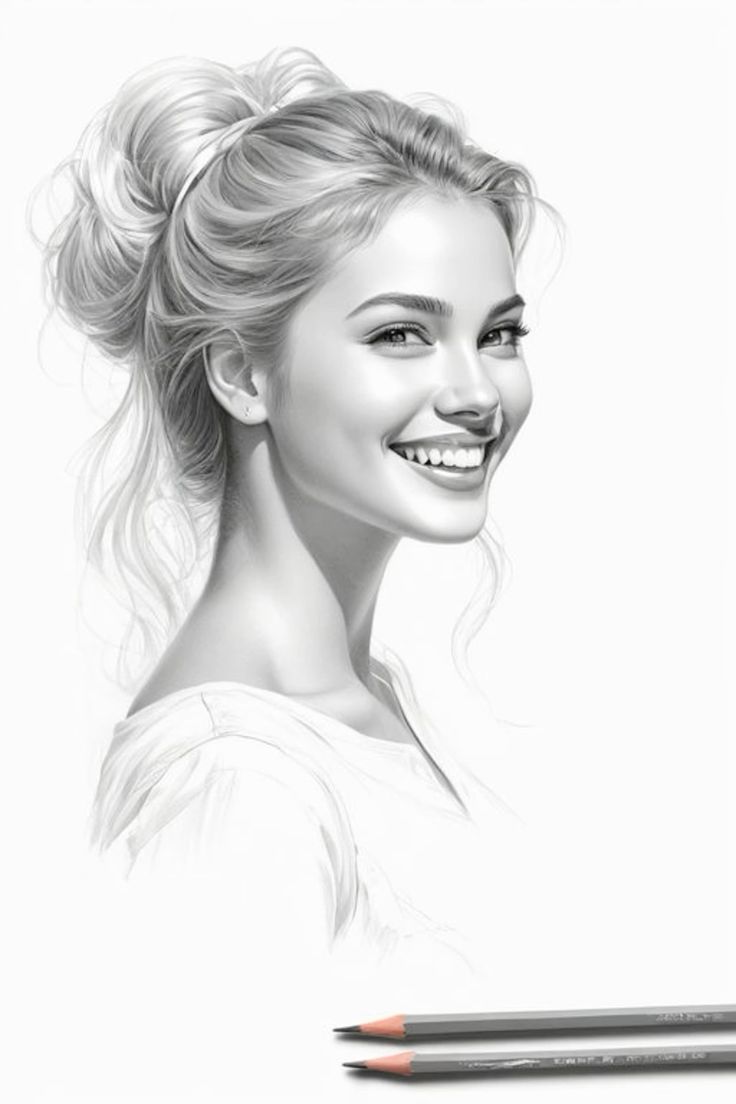

Don’t limit yourself to just the face! Hair, hats, glasses, or other accessories can instantly give your happy face a distinct identity.
- Hair Styles: From spiky anime hair to flowing curls, hair frames the face and defines gender, age, and personality.
- Headwear: A simple baseball cap, a crown, or a bandana can instantly suggest a role or an attitude.
- Glasses: Round specs, stylish frames, or even sunglasses can add an intellectual or cool vibe.
Exaggeration for Impact: Cartoony vs. Realistic
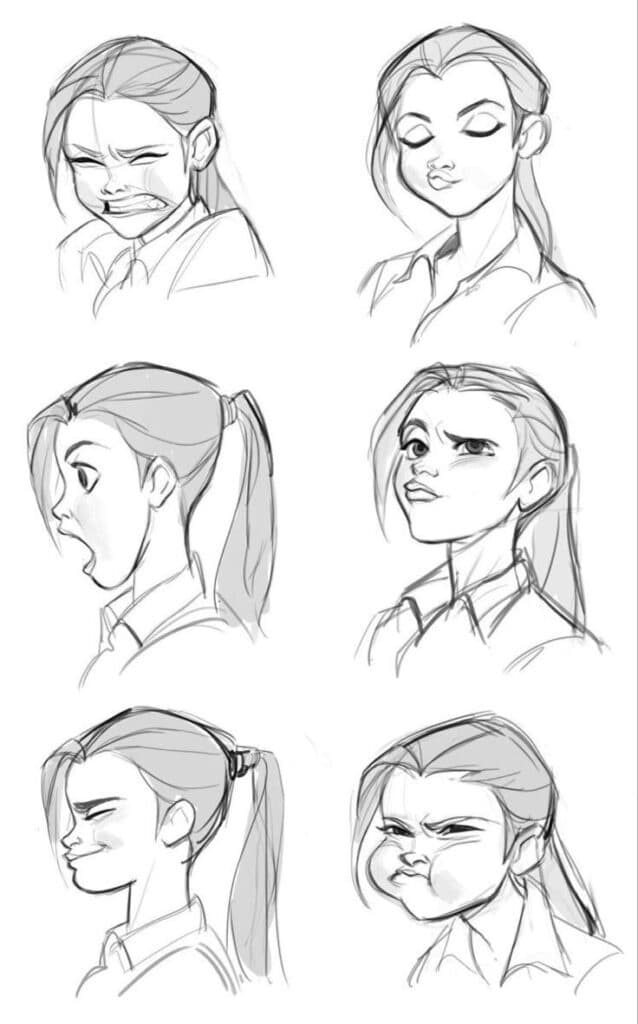
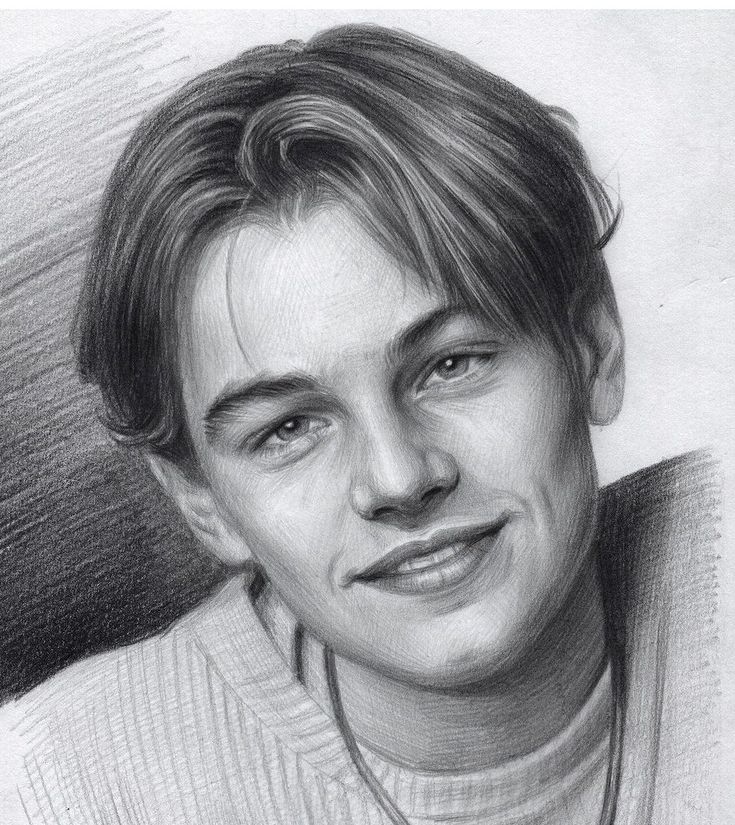
Decide on your desired level of realism.
- Cartoony: Embrace big, bold lines, exaggerated features (like giant smiles or huge, sparkling eyes), and vibrant colors. This style is often used for quick, impactful messages.
- Semi-Realistic: If you’re aiming for something a bit more refined, pay closer attention to the subtle curves of the mouth, the folds around the eyes, and the natural flow of facial muscles. Understanding human anatomy for artists can be incredibly helpful here, even for simplified styles.
Contextual Expressions: Happy in Different Scenarios
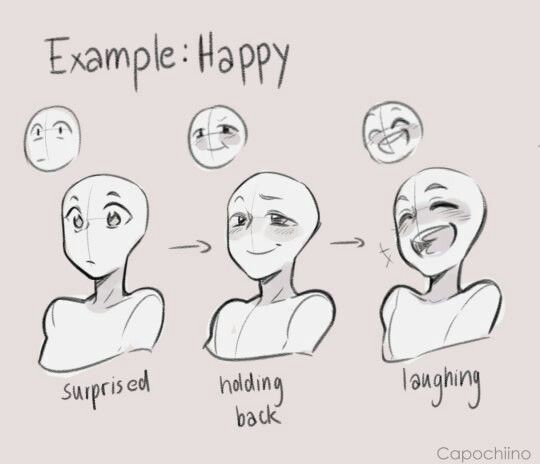
A happy face doesn’t exist in a vacuum. What is it happy about?
- Surprised Happiness: Eyes wide, eyebrows slightly raised, mouth in an ‘O’ or a wide smile.
- Peaceful Happiness: Relaxed eyes, a soft, gentle smile.
- Triumphant Happiness: A confident, broad smile, perhaps with one eyebrow slightly arched or a determined glint in the eye.
Experimenting with these variations will not only make your happy faces more engaging but also deepen your understanding of how subtle changes can convey a wealth of emotion. Looking for more diverse facial expressions? Check out these drawing faces ideas for inspiration!
The Psychology of a Smile in Art
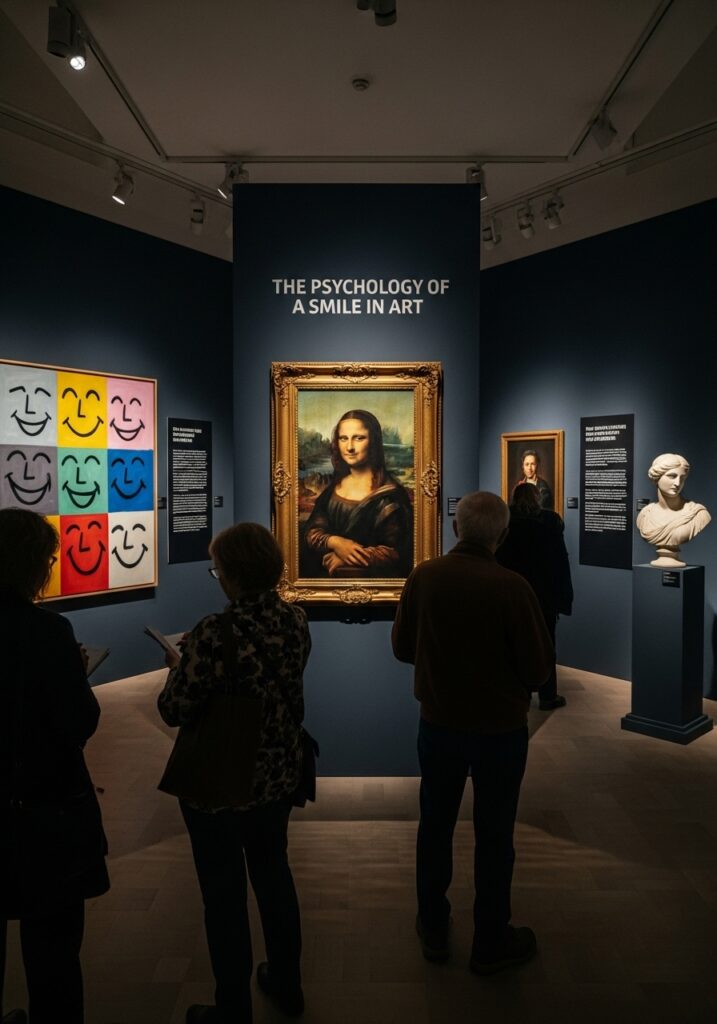
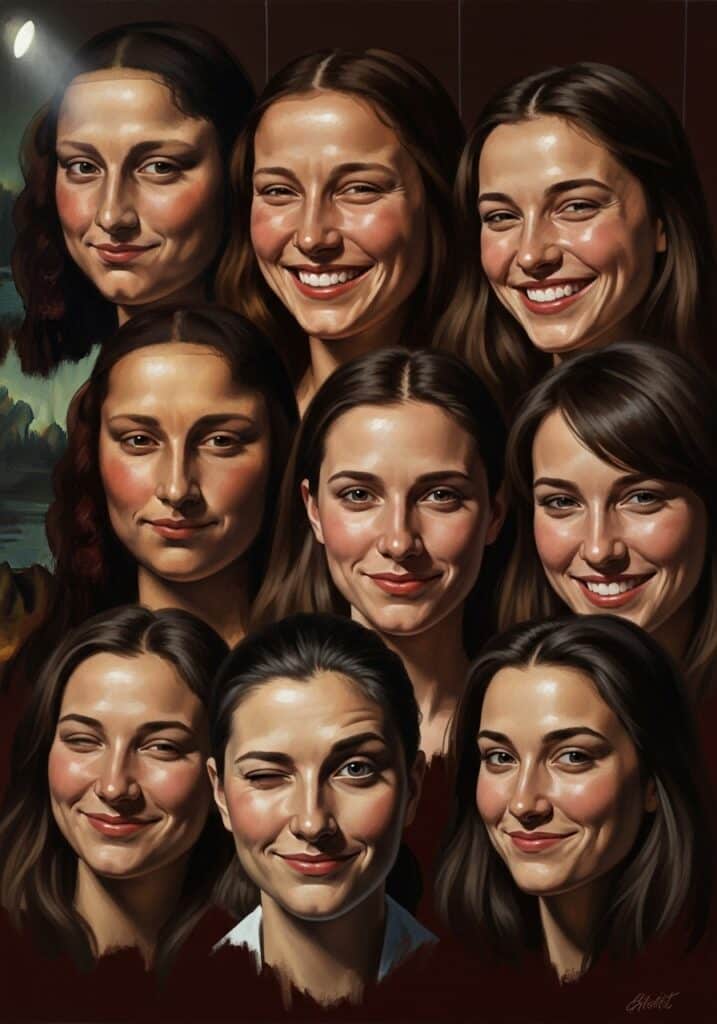
Beyond the technical aspects of drawing, there’s a deeper, almost magical quality to a drawn smile. It’s about the connection it fosters.
How Art Evokes Emotion
A well-drawn happy face is more than just a picture; it’s a feeling captured on paper. Artists throughout history have understood this power, from the enigmatic smile of the Mona Lisa to the cheerful characters in modern animation. Your happy face has the potential to influence emotions in both the creator and the observer.
The Power of Positive Imagery
In a world that can often feel overwhelming, positive imagery serves as a powerful antidote. A simple happy face can be a beacon of hope, a reminder to find joy, and a visual expression of optimism. Placing your happy art in your workspace or sharing it with others can create a ripple effect of positivity.
Sharing Your Art, Sharing the Joy
Don’t keep your happy faces to yourself! Share them with friends, family, or even online communities. The act of sharing can amplify the positive impact of your art. Whether it’s a quick doodle on a note or a finished piece, letting others see your joyful creations can truly make a difference. It’s a testament to the idea that even the simplest forms of art can have profound emotional resonance.
Conclusion: Keep Smiling, Keep Drawing!
Drawing the perfect happy face effortlessly is not about achieving some impossible standard of artistic perfection. It’s about understanding the basic building blocks of a joyful expression, practicing with a relaxed mindset, and infusing your creations with your own unique spark of personality. We’ve journeyed from the foundational shapes to the nuanced details that bring a smile to life, explored the essential tools, and delved into ways to make your happy faces truly expressive and engaging.
Remember, every line you draw, every curve you perfect, is a step towards greater artistic confidence and a deeper appreciation for the simple beauty of a smile. So grab your pencil, sketch out a circle, and let your imagination take over. Don’t be afraid to experiment, to make “mistakes,” and most importantly, to have fun. The world needs more smiles, and you now have the power to draw them, effortlessly, one cheerful face at a time. Keep practicing, keep creating, and let your art spread happiness far and wide!
How does drawing a happy face contribute to emotional well-being and communication?
Drawing happy faces can evoke positive emotions, serve as a form of self-expression, and act as visual symbols of positivity that can uplift both the creator and viewers, encouraging connection and spreading joy through art.
What are some tips for adding personality and character to a basic happy face drawing?
Add accessories such as glasses, hats, or hairstyles, experiment with different types of smiles, include facial details like dimples or cheek lines, and use exaggeration or stylistic choices (cartoonish or realistic) to give each face a unique personality.
How can I vary the expression of a happy face to convey different emotions or scenarios?
You can modify the smile’s shape and size, change the eyes’ position and shape, adjust the eyebrows’ arch, and add accessories or hair to give your happy face different personalities and to express scenarios like surprise, peace, or triumph.
Which tools are essential for drawing a happy face?
Essential tools include graphite pencils for sketching, erasers for correction, fine-liner pens or markers for outlining, colored pencils for adding color, and paper such as a sketchbook or printer paper; digital tools like drawing tablets and software can also be used.
What are the basic elements needed to draw an effortlessly happy face?
To draw a simple happy face, start with a basic head shape such as a circle or oval, add expressive eyes, gentle arched eyebrows, a subtle or broad smile, and optional details like rosy cheeks or crow’s feet to enhance the expression.
- 511shares
- Facebook0
- Pinterest511
- Twitter0
- Reddit0
