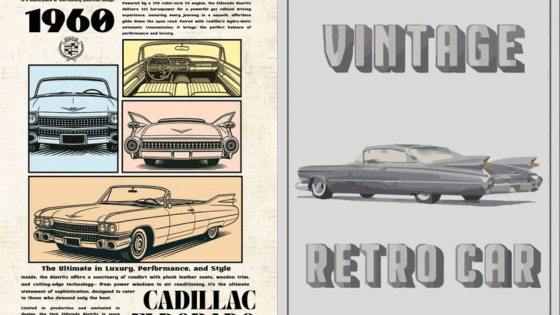
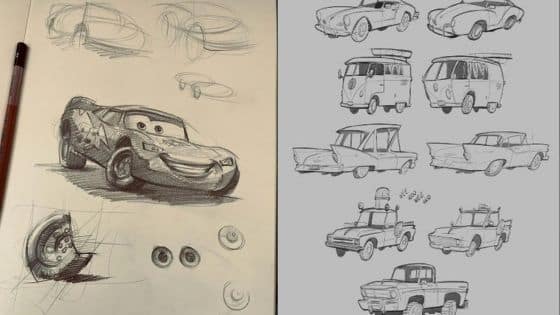
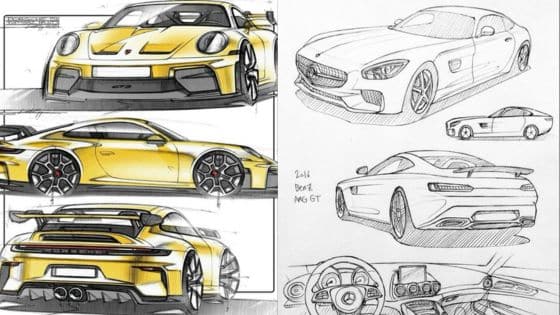
Ever stared at a sleek, futuristic concept car or a classic beauty and thought, “Man, I wish I could design something like that?” Well, guess what? You totally can! Drawing your dream car isn’t just for professional automotive designers with fancy degrees. It’s an incredibly fun and rewarding journey, whether you’re a seasoned artist or someone who hasn’t picked up a pencil since art class in school. This guide is all about demystifying the process, breaking it down into easy, actionable steps so you can start sketching like a pro, or at least feel like one, in no time. Get ready to unleash your inner automotive visionary and put those wild ideas onto paper!
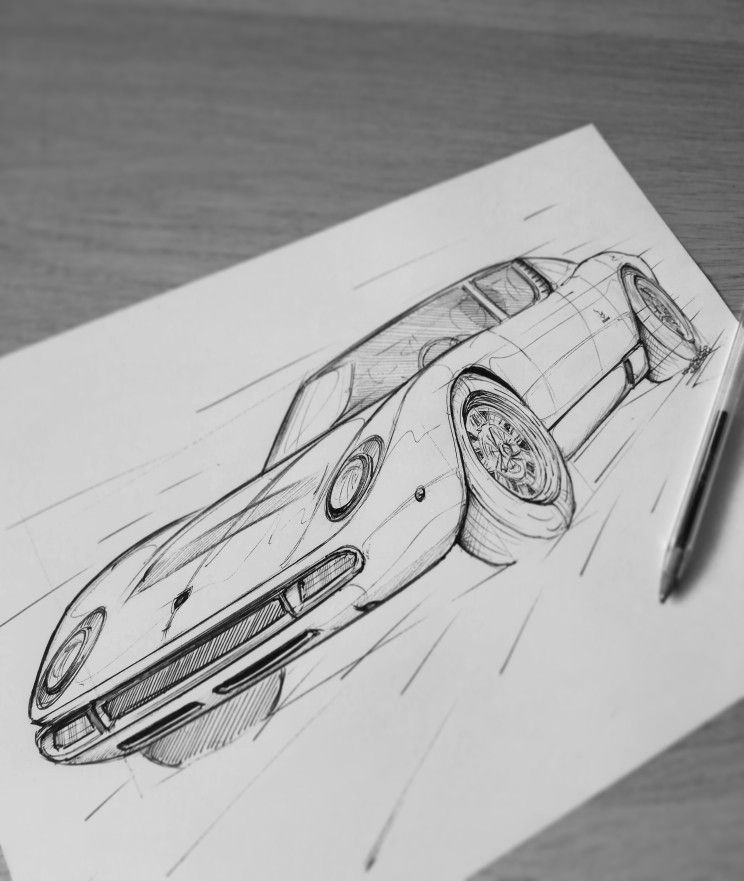
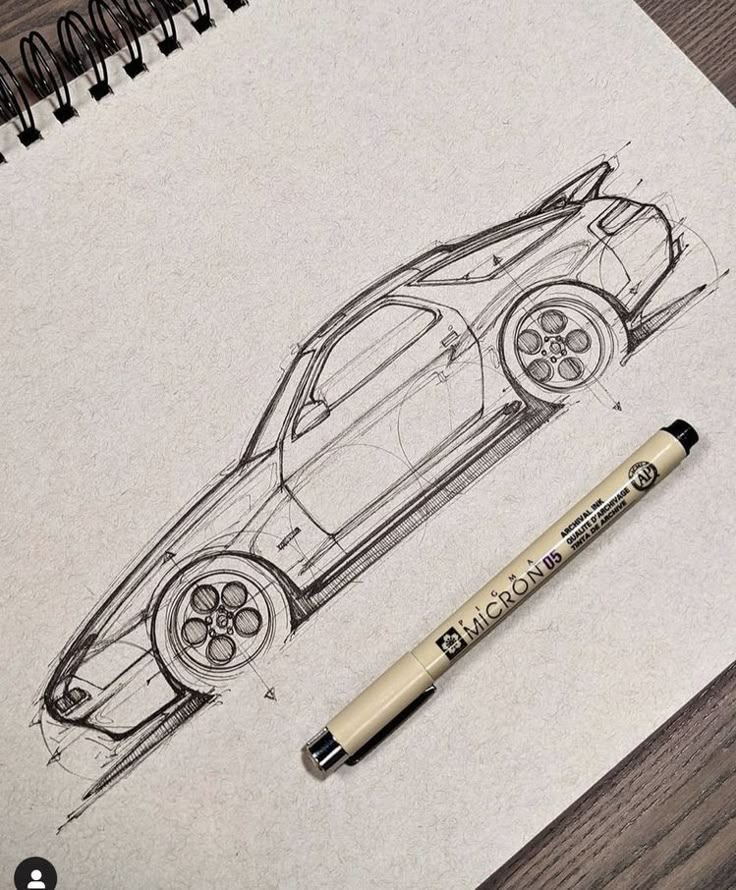
Why Sketch Your Dream Car? More Than Just Doodling
You might think sketching cars is just a hobby, but it’s much more than that. It’s a powerful tool for creativity, visualization, and even relaxation.
Expressing Limitless Creativity
Imagine a car with wings, or one that transforms, or a retro-futuristic speedster straight out of a sci-fi movie. When you sketch, there are no rules, no budget constraints, and no engineering limitations (yet!). It’s a pure canvas for your wildest automotive fantasies. This freedom allows you to explore truly unique designs and express your personal style without any boundaries. It’s a fantastic way to flex those creative muscles and see what incredible machines your mind can conjure.
Visualizing Ideas Clearly
Before a car ever hits the assembly line, it starts as a sketch. Designers use drawings to convey complex ideas, proportions, and aesthetics in a way that words simply can’t. For you, it’s a way to solidify that vague idea of a “cool car” into something tangible. You can experiment with different body styles, headlight designs, wheel arches, and interior layouts, seeing them come to life right before your eyes. This visualization process is crucial for refining your vision and spotting potential issues or opportunities you might not have considered otherwise.
Developing Design Skills
Even if you don’t plan to work for a major car manufacturer, learning to sketch cars sharpens a whole host of design-related skills. You’ll get better at understanding perspective, proportion, line quality, and how light interacts with surfaces. These are transferable skills that benefit any artistic or design endeavor, from product design to architecture. It teaches you to observe the world more closely, to break down complex objects into simpler forms, and to communicate your ideas effectively through visuals.
A Relaxing and Engaging Pastime
There’s something incredibly therapeutic about putting pencil to paper. The focused act of drawing can be a meditative experience, allowing you to switch off from daily stresses and immerse yourself in a creative flow state. It’s a wonderful way to unwind, de-stress, and enjoy a quiet moment of creation. Plus, seeing your ideas take shape provides a genuine sense of accomplishment.
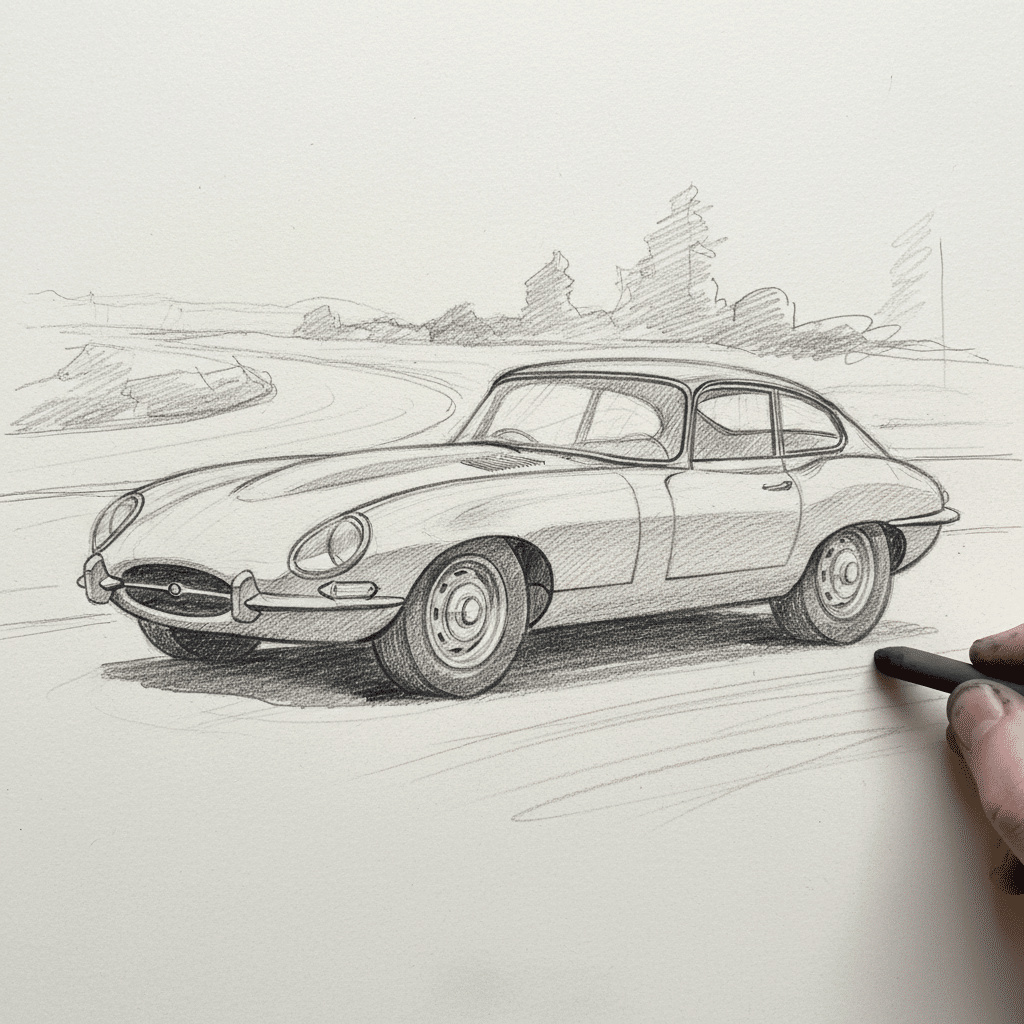
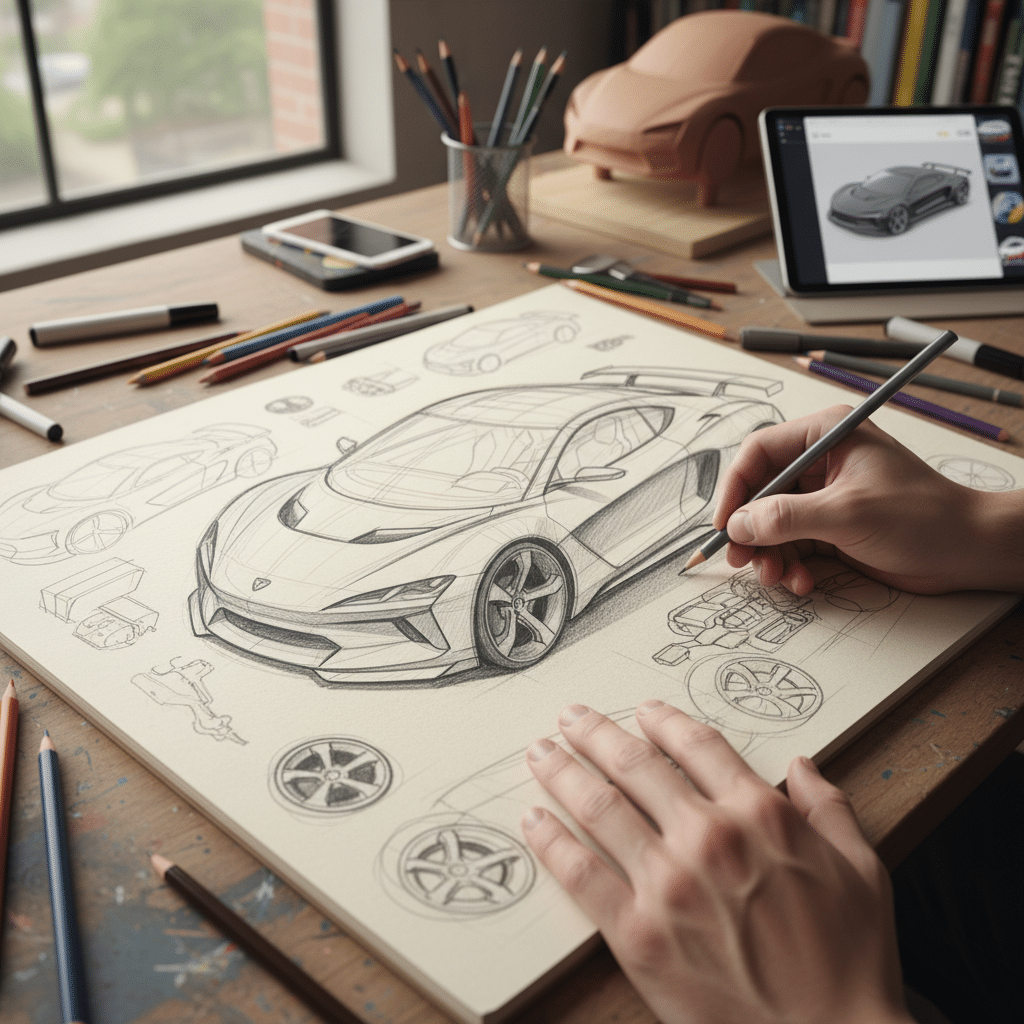
Essential Tools for Your Automotive Sketchpad
Don’t let a lack of fancy equipment stop you. You can start with very basic tools, but having a few specific items can make a big difference in your sketching journey. Think of it like cooking – you can make a meal with just a pan, but a few specialized utensils make it easier and better.
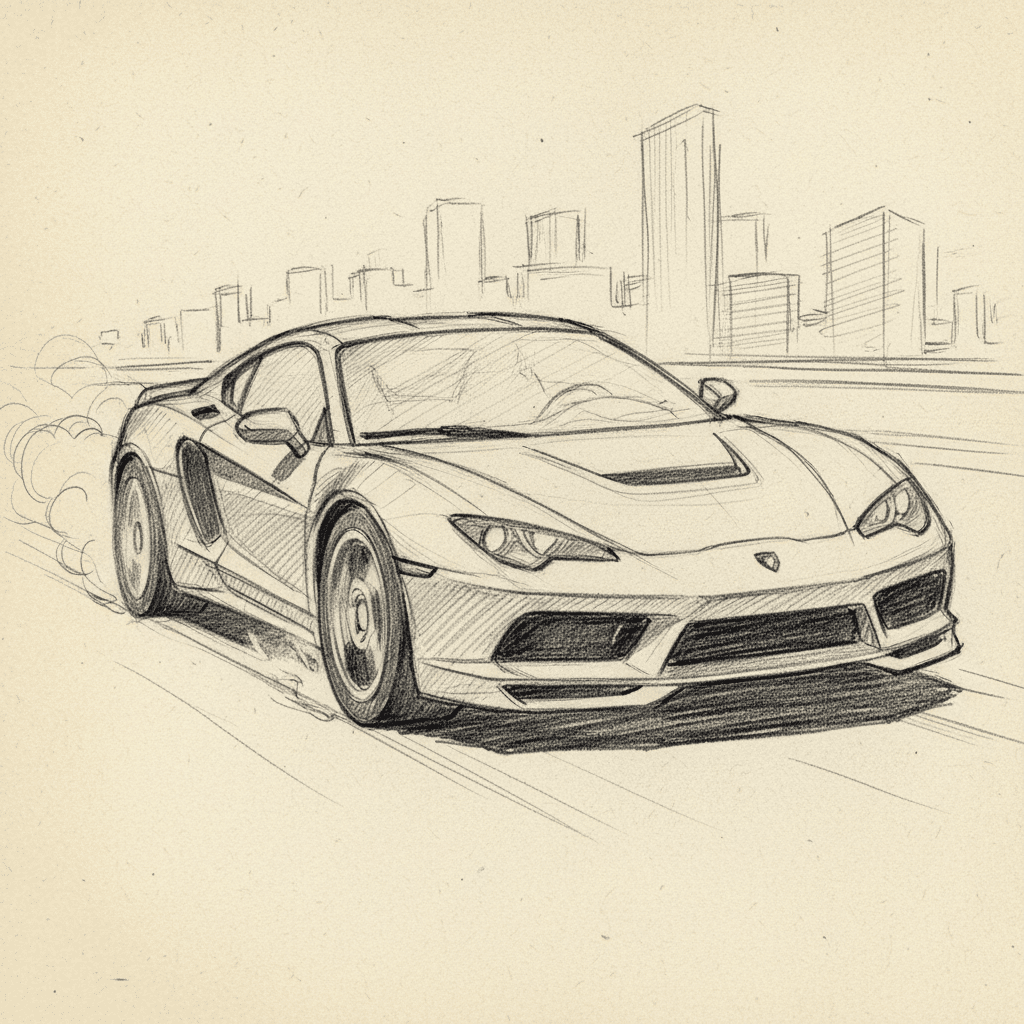
Pencils: Your Go-To Instrument
- Graphite Pencils (H, HB, B series): You’ll want a range.
H Pencils (Hard): Great for light, construction lines that you might erase later. They leave a faint mark. Think 2H or 4H. HB Pencils (Medium): Your all-rounder. Good for general sketching and initial outlines. B Pencils (Soft):* Perfect for shading, dark lines, and adding depth. The higher the number (e.g., 2B, 4B, 6B), the softer and darker the lead.
- Mechanical Pencils: Excellent for consistent line weight and fine details, especially with harder leads.
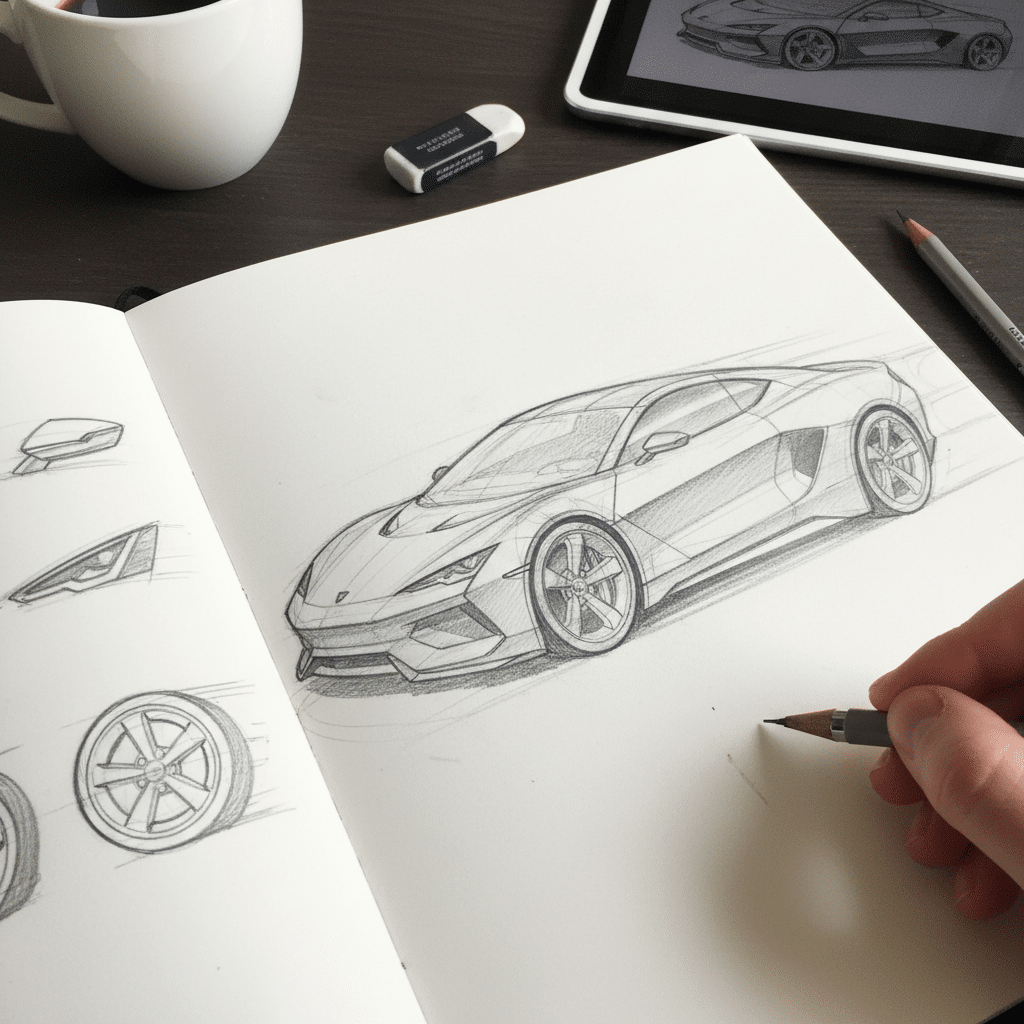
Paper: The Canvas for Your Creativity
- Sketchbook: A must-have for portability and keeping all your ideas in one place. Look for paper that’s smooth but has enough “tooth” (texture) for your pencils to grip.
- Layout Paper (or Marker Paper): If you plan on using markers, this translucent, bleed-proof paper is a game-changer. It allows for smooth blending and prevents markers from seeping through.
- Printer Paper: Perfectly fine for practice! Don’t let the lack of “special” paper stop you from starting.
Erasers: Your Best Friends
- Kneaded Eraser: Soft, pliable, and great for lifting graphite without smudging or damaging the paper. You can mold it into a point for precise erasing.
- Plastic/Vinyl Eraser: More aggressive, good for completely removing darker lines or larger areas. Use gently to avoid damaging the paper surface.
- Eraser Pen: Looks like a mechanical pencil but with a tiny eraser tip, perfect for super-fine corrections.
Rulers and Templates: For Precision (Optional)
- Straight Edge Ruler: Useful for establishing perfectly straight lines, especially for perspective grids.
- Circle/Ellipse Templates: Cars are full of circles and ellipses (wheels!), and these templates can help you draw perfect ones, especially when you’re starting out. As you get more skilled, you’ll freehand these.
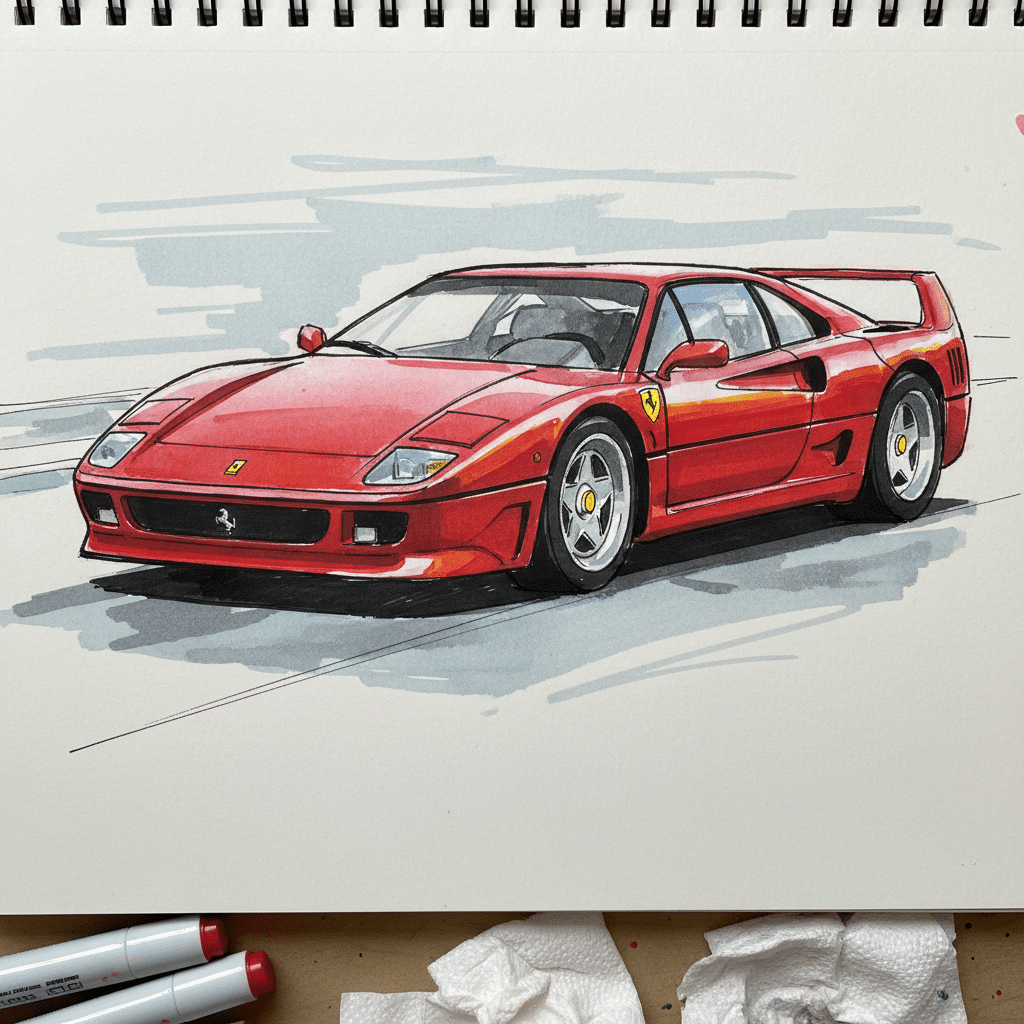
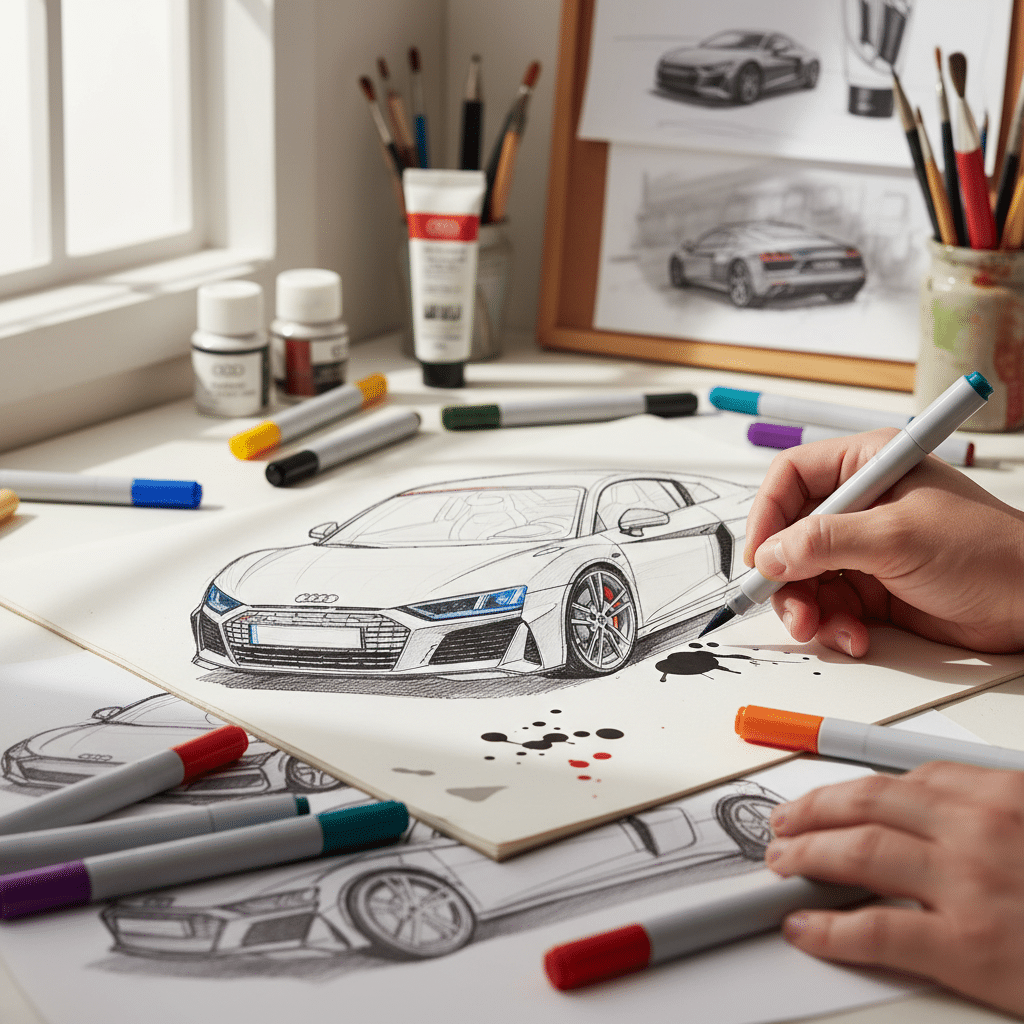
Markers and Pens: Adding Color and Polish
- Fineliner Pens: For crisp, dark outlines. Various thicknesses are available.
- Alcohol-Based Markers (e.g., Copic, Prismacolor): These are what truly bring car sketches to life with vibrant colors and smooth blends. They can be an investment, so start with a few basic colors if you’re curious.
- White Gel Pen or Acrylic Marker: For adding bright highlights and reflections, making your car look shiny and dynamic.
Digital Tools: Exploring New Horizons
While this guide focuses on traditional sketching, it’s worth noting that digital tools like a drawing tablet and software (e.g., Photoshop, Procreate, Autodesk Sketchbook) offer incredible flexibility. You can undo mistakes, work in layers, and easily experiment with colors. If you’re looking to dive into digital creation, you might find inspiration by exploring digital art lessons to see how artists leverage technology. Also, don’t forget the importance of optimizing your creative workspace for both traditional and digital mediums – a well-organized space can significantly boost your productivity and enjoyment.
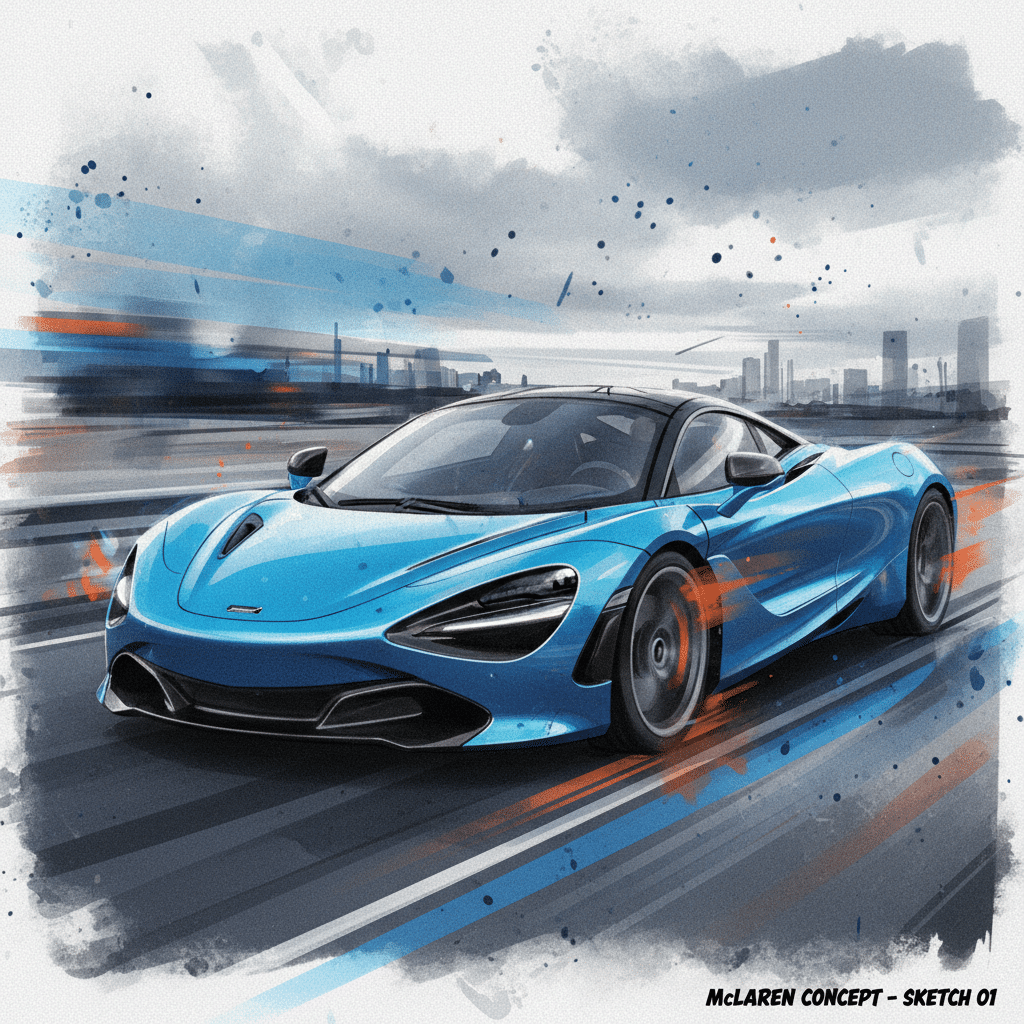
Understanding Basic Automotive Form and Proportion
Before you start drawing specific details, you need to understand the fundamental building blocks of a car. Think of it like building a house – you start with the foundation and framework, not the wallpaper.
The “Block” Method: Starting with Simple Shapes
Automotive designers often begin by blocking out the car using simple geometric forms:
- Cuboids: For the main body, cabin, and engine compartment.
- Cylinders/Ellipses: For wheels.
- Wedges/Triangles: For aggressive or sporty profiles.
Start by drawing a simple rectangular box that represents the overall volume of your car. This box defines its length, width, and height. Then, carve out the major sections: the cabin (where people sit), the hood/bonnet, and the trunk/boot. This foundational step ensures your car has a solid structure before you add any curves or details.
Perspective Basics: Making Your Car Look 3D
Perspective is what makes your 2D drawing appear to have depth and realism. It’s how objects seem to get smaller as they recede into the distance.
- One-Point Perspective: Imagine your car facing directly towards you or directly away. All lines receding into the distance converge at a single “vanishing point” on the horizon line. This is great for front or rear views.
- Two-Point Perspective: This is where things get really interesting for car sketching. Imagine your car at an angle. Now, lines receding in two different directions will converge at two separate vanishing points on the horizon line. This gives a much more dynamic and common view for car designs.
- Three-Point Perspective: Adds a third vanishing point, either above or below the horizon, to simulate looking up at or down on the car. This is used for very dramatic angles.
Don’t get overwhelmed. For beginners, focusing on two-point perspective will serve you well. A helpful tip for understanding perspective in general drawing, whether it’s an object or a space, is to practice sketching an interior, tips for perspective and details. The principles of how lines converge and objects diminish in size are universal.
Key Proportions: The Golden Rules of Car Design
Every car, no matter how unique, adheres to certain proportional guidelines that make it look “right.”
- Wheelbase to Overall Length: The distance between the front and rear wheels is crucial. A longer wheelbase often means more interior space and a smoother ride, but also influences the car’s visual balance.
- Wheel Size to Body Height: Generally, wheels are a significant part of a car’s overall height. Small wheels on a large body can make a car look weak, while oversized wheels can look cartoonish unless executed intentionally.
- Cabin to Body Ratio: The size of the passenger compartment relative to the rest of the car. Sports cars often have smaller, sleeker cabins, while SUVs have larger, more upright ones.
- Ground Clearance: How high the car sits off the ground. This defines its utility and aesthetic (e.g., low-slung sports car vs. high-riding off-roader).
Observe real cars and try to mentally break down their proportions. You’ll start to see patterns and understand why some designs work better than others.
The “Stance”: How Your Car Sits
The stance is critical. It’s how the car “holds itself” on the road.
- Aggressive: Low to the ground, wide track, wheels pushed to the corners, giving a powerful, ready-to-pounce look.
- Elegant: Slightly higher ground clearance, often with a longer hood, suggesting refinement and grace.
- Rugged: High ground clearance, large tires, robust bodywork, implying strength and off-road capability.
The stance sets the tone for your entire design.
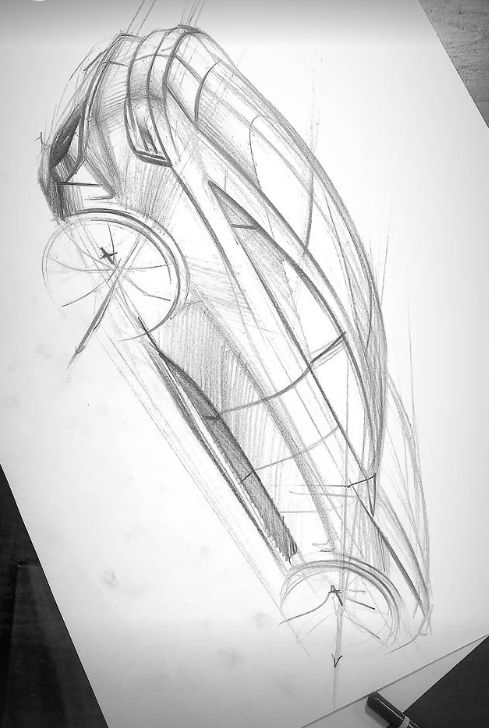
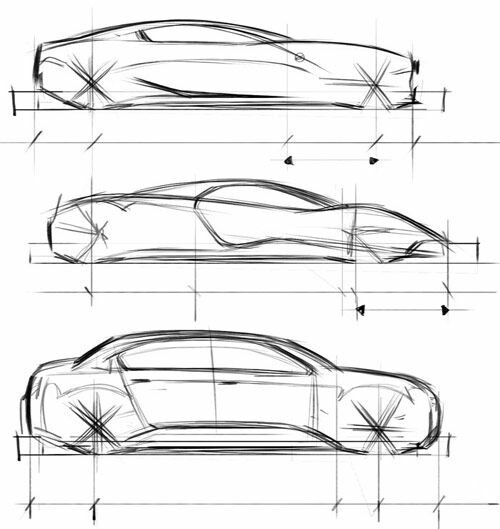
Breaking Down the Car into Simple Shapes
Once you have your basic proportions and perspective established, it’s time to refine those initial blocks into more recognizable car components. This is where you start to “sculpt” your vehicle.
Main Body Shell: The Foundation
Start with the largest, most dominant forms.
- Main Cabin (Glasshouse): This is the upper part of the car, housing the windows. Sketch this as a slightly tapered box or dome on top of your main body block.
- Hood/Bonnet: The front section covering the engine.
- Trunk/Boot: The rear storage area.
- Fenders/Wheel Arches: These are the curved sections that cover the wheels. They are crucial for giving the car its character and defining its muscularity or sleekness.
Use light, continuous lines. Don’t press hard. These are still construction lines that you’ll refine later.
Wheels: The Anchors of Your Design
Wheels are arguably the most important element to get right in car sketching. They ground the car and convey motion.
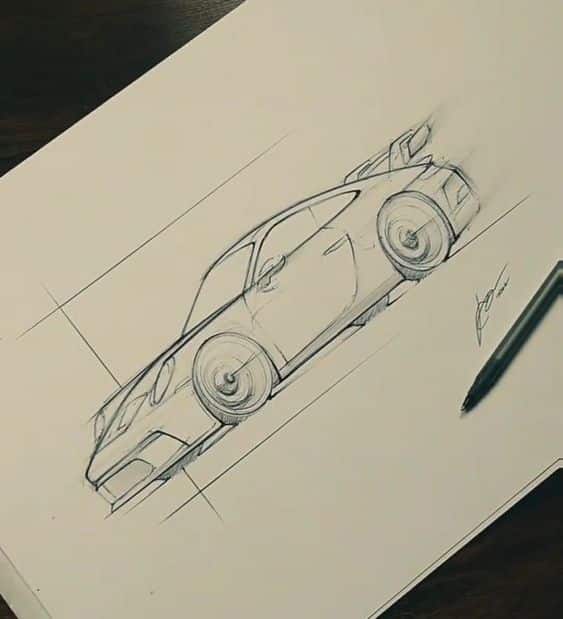
- Circles and Ellipses: When seen from the side, wheels are circles. But from an angle (in perspective), they become ellipses. Master drawing ellipses in perspective. They should appear to lie flat on the ground plane, not tilted.
- Tires: Give the tires thickness and a slight bulge. Don’t draw them as flat lines.
- Rims/Hubcaps: Once the overall wheel shape is solid, you can add details to the rims. Keep it simple initially, focusing on the basic spokes or patterns.
A common beginner mistake is drawing flat or incorrectly angled wheels. Spend extra time practicing these!
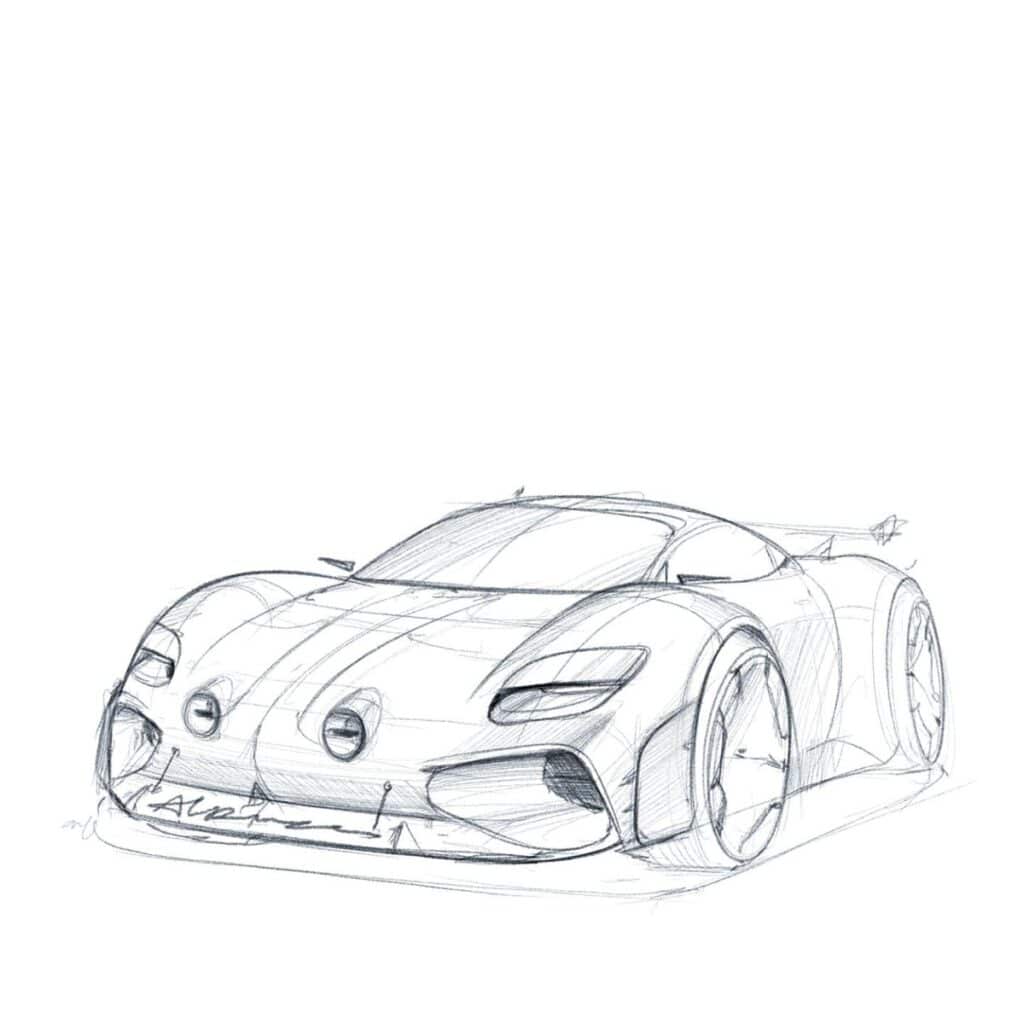
Windows: The Eyes of the Car
Windows aren’t just flat panes of glass. They’re curved surfaces that reflect light and contribute to the car’s overall character.
- Side Windows: Define the top and bottom lines of the windows, following the curve of the cabin.
- Windshield and Rear Window: These are larger, often more dramatically curved surfaces. Think about how they wrap around the car.
- Pillars: The structural elements between the windows (A, B, C pillars) also contribute significantly to the design.
Details: Bringing the Car to Life
Once the major forms are in place, you can start adding the smaller, but equally important, details.
- Headlights and Taillights: These are like the car’s eyes and expressions. They can be sleek and narrow, large and imposing, or futuristic LED strips.
- Grille: The “face” of the car. It can be a dominant design element or subtly integrated.
- Bumpers: Front and rear, defining protection and aerodynamics.
- Side Mirrors, Door Handles, Fuel Cap: These smaller elements add realism.
- Panel Gaps: The lines where different body panels meet. These are subtle but essential for a finished look.
- Exhaust Pipes: For sporty cars, these can be a key design feature.
Remember, start with the big picture and gradually move to the smaller details. Don’t get lost in the tiny elements too early.
Mastering the Line Work: From Rough Sketch to Refined Outline
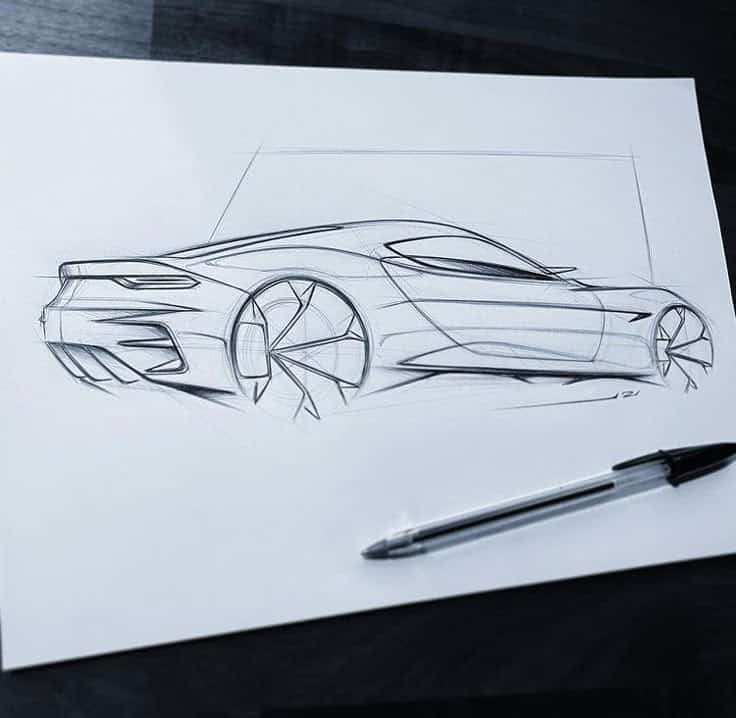
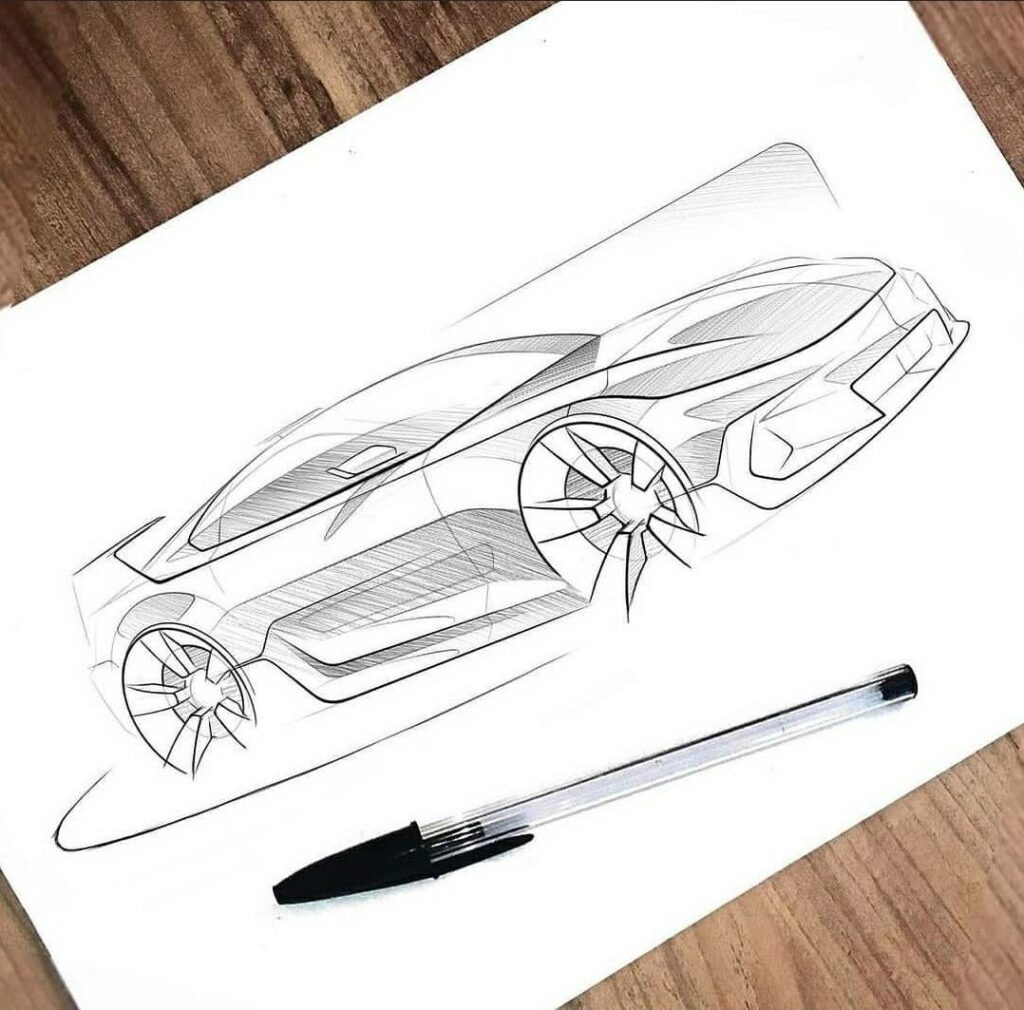
Your lines are the language of your sketch. Learning to use them effectively will dramatically improve your drawings.
Light Sketching: The Foundation of Good Design
Begin every drawing with very light, almost invisible lines. These are your “thinking lines.”
- Don’t Press Hard: Use a light touch with an H or 2H pencil.
- Multiple Strokes: Don’t try to get the perfect line in one go. Use many overlapping, light strokes to find the shape you want. This gives you room to adjust and correct without leaving deep indentations.
- Construction Lines: Use these lines to establish perspective, proportions, and the basic form of the car before committing to a final outline.
Confidence in Lines: Long, Flowing Strokes
Once you’ve found your desired shape with light construction lines, it’s time to go over them with more confident, deliberate strokes.
- Draw from the Shoulder, Not the Wrist: This allows for longer, smoother, more expressive lines. Your wrist is great for small details, but for the main body lines, use your arm.
- Fluid Motion: Try to draw continuous lines rather than a series of choppy, short ones. This gives your sketch a sense of dynamism and flow.
- Vary Line Weight: Some lines should be darker and thicker (e.g., the silhouette against the ground), while others should be lighter and thinner (e.g., interior details or panel gaps). This variation adds visual interest and helps define depth.
Ghosting Lines: Practice Before You Commit
This is a professional trick. Before you put your pencil down on the paper for a long, confident line, hover your pencil just above the paper and perform the desired stroke a few times. This “ghosting” motion helps build muscle memory and ensures a smoother, more accurate line when you finally touch the paper.
Refining the Silhouette: Making it Crisp
The silhouette is the outline of your car. It’s the first thing people see and often what defines its character.
- Clean Up: Once you’re happy with the overall form, use your eraser to clean up unnecessary construction lines.
- Darken Key Outlines: Use a slightly softer pencil (HB or 2B) or a fineliner pen to make the main silhouette crisp and clear. This makes the car “pop” off the page.
- Consider Overlap: When lines overlap (e.g., the top of a fender meeting the hood), make sure the line that is “closer” to the viewer is darker or more prominent.
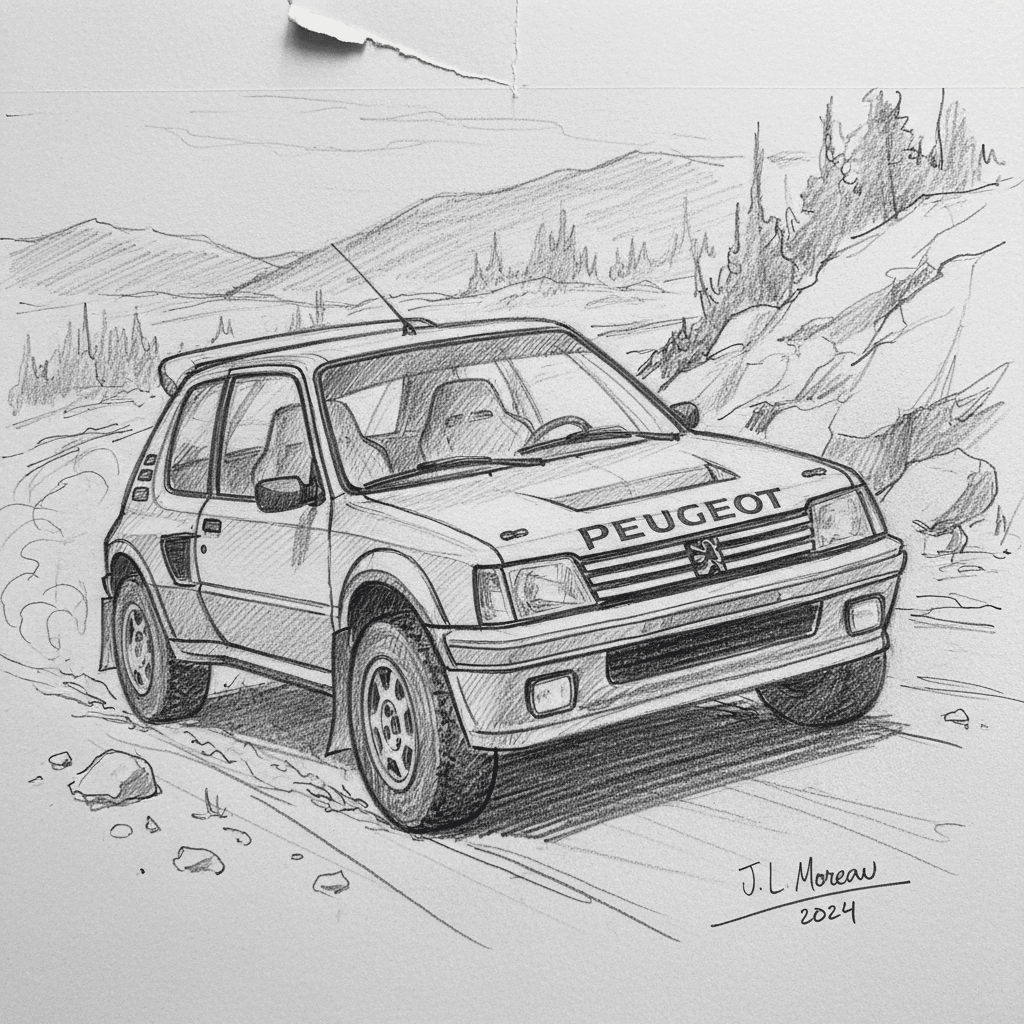
Adding Depth and Dimension: Shading and Rendering Techniques
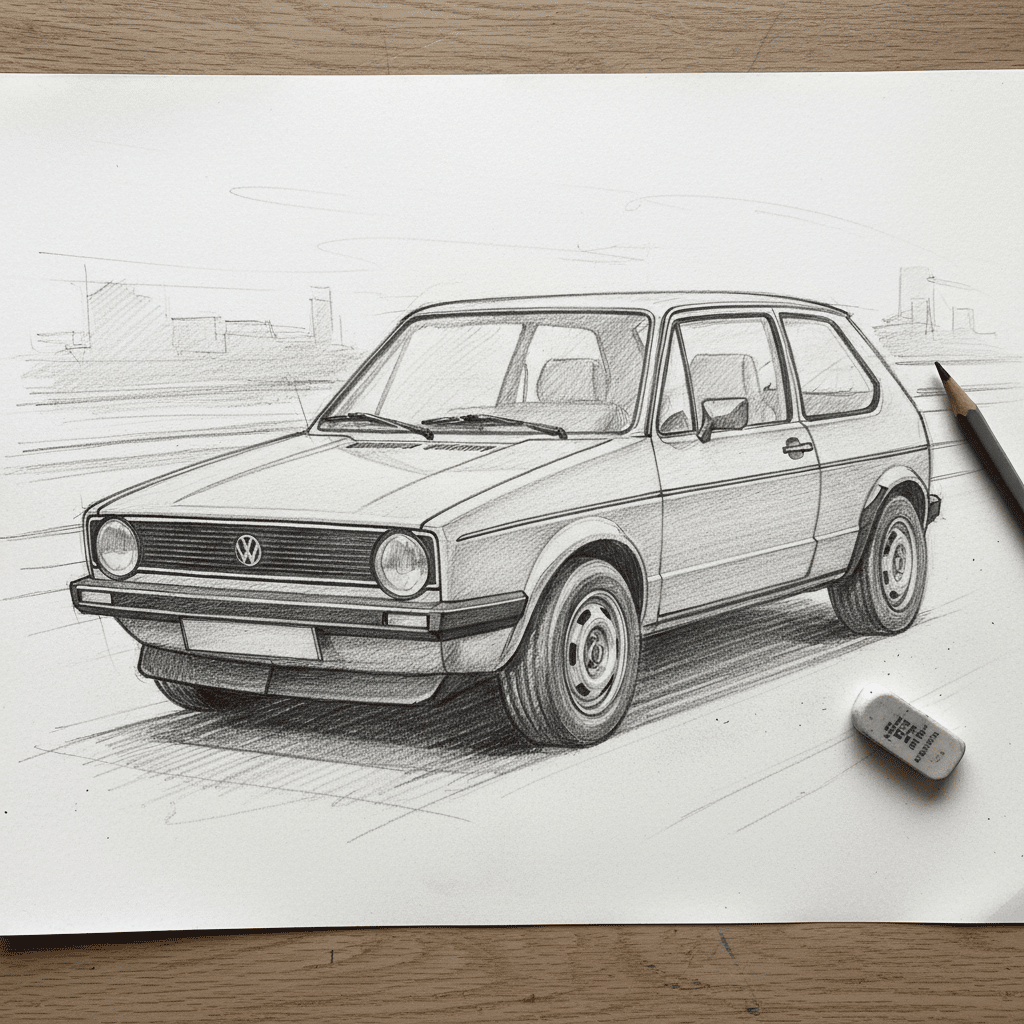
A flat outline is just a blueprint. Shading and rendering bring your car to life, giving it volume, texture, and a sense of realism.
Understanding Light Source: Where is the Light Coming From?
This is fundamental. Before you add any shading, decide where your light source is located. Is it overhead? From the front-left? From the rear? This decision dictates where highlights will appear and where shadows will fall.
- Direct Light: The areas directly hit by light will be the brightest (highlights).
- Core Shadow: The area furthest away from the light source, typically the darkest part of the object.
- Reflected Light: Light bouncing off the ground or other objects can illuminate the underside of the car, making shadows less harsh.
Consistency in your light source is key to a believable drawing.
Basic Shading Techniques
- Hatching: Drawing parallel lines to create tone. Closer lines mean darker tones.
- Cross-Hatching: Overlaying sets of parallel lines at different angles for richer, darker tones.
- Blending: Using a blending stump, tissue, or even your finger (carefully!) to smooth out graphite and create gradients.
- Stippling: Using dots to build up tone (less common for cars, but an option).
For cars, smooth gradients are often preferred, especially on painted surfaces, to suggest the continuous curve of the body.
Highlights and Shadows: The Essence of Form
- Highlights: These are the brightest points where light directly hits the surface. On a shiny car, these can be very intense and sharp. Use your kneaded eraser or a white gel pen to create crisp highlights.
- Shadows: The absence of light.
Form Shadows: Shadows that exist on the object itself, caused by its own curves and planes (e.g., the underside of a fender). Cast Shadows: Shadows that the object casts onto the ground or other surfaces. These help anchor the car to the ground and give it weight. Make cast shadows darker and often blurrier closer to the car, getting lighter and softer further away.
Reflections: Capturing the Environment
Cars are often shiny, reflecting their surroundings. This is a complex but rewarding aspect of rendering.
- Sky and Ground Reflections: The upper surfaces of the car will often reflect the sky, while lower surfaces reflect the ground.
- Environmental Reflections: Trees, buildings, or other cars can appear as distorted reflections on the bodywork. Don’t draw them perfectly; suggest them with abstract shapes and color.
- Perspective of Reflections: Reflections also follow perspective. A reflection of a straight road will curve over the car’s body.
Material Rendering: Making Glass Look Like Glass, Metal Like Metal
Different materials interact with light differently.
- Glass: Windows are often translucent or reflective. Show the interior slightly, but also add strong reflections. Use sharp highlights and clean edges.
- Painted Metal: Smooth, often glossy surfaces with strong, often elongated highlights and soft, subtle gradients.
- Plastic/Rubber: Matte finishes that absorb more light. Use softer, less defined shadows and fewer harsh highlights.
- Chrome: Very high contrast, sharp highlights, and often dark, intense reflections.
If you’re looking to explore more dynamic automotive art, you might check out resources on dynamic drift car drawing to see how artists capture reflections and motion in specific scenarios.
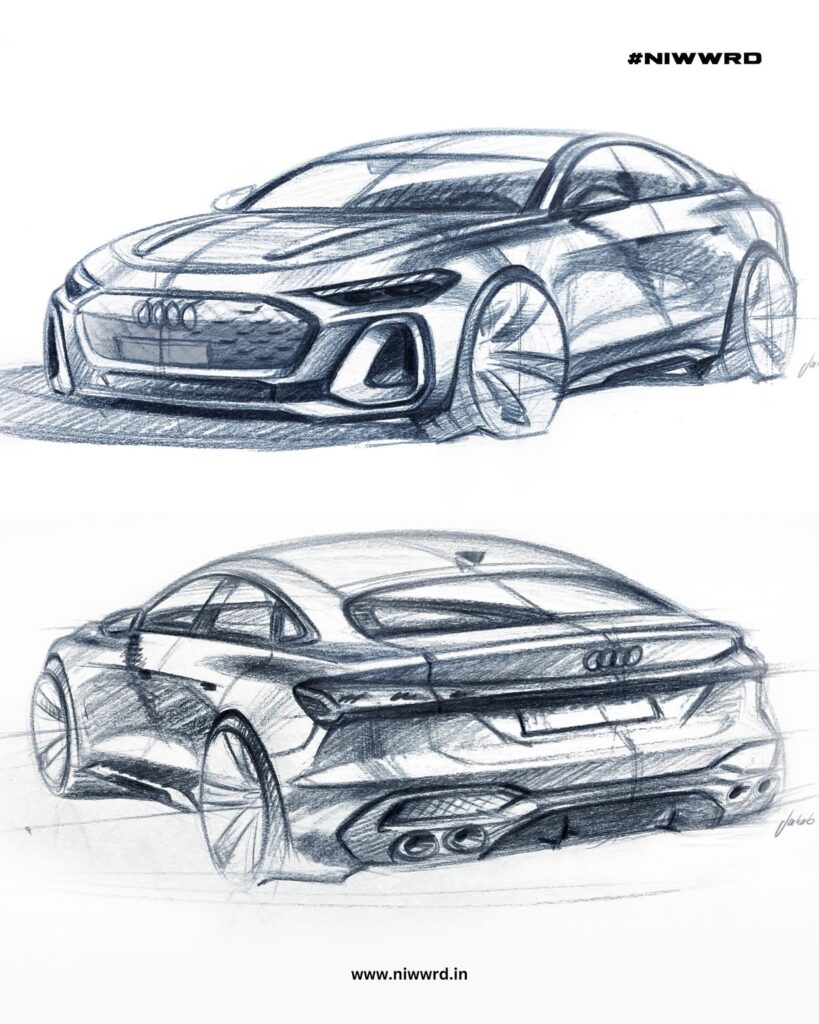
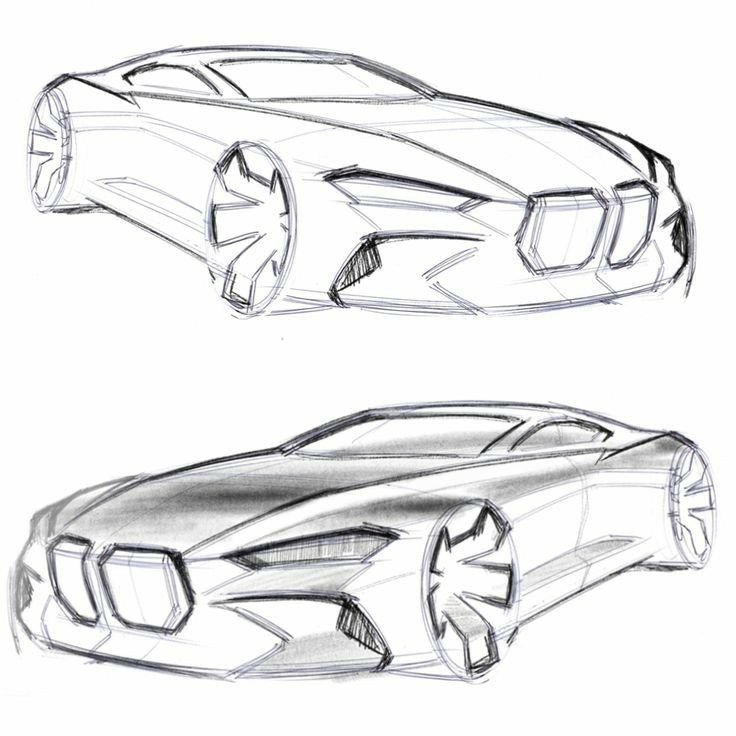
Conclusion
Sketching your dream car is a journey, not a destination. It’s about letting your imagination run wild, seeing your ideas take shape, and continuously refining your skills. From understanding basic proportions and perspective to mastering line work, shading, and rendering, each step brings you closer to creating automotive art that truly reflects your vision.
Don’t be discouraged by initial results. Every great artist started with shaky lines and imperfect forms. Embrace the process, enjoy the act of creation, and celebrate every small improvement. Grab your pencil, find some paper, and start doodling. Your dream car is waiting to be born on your sketchpad. So, what are you waiting for? Let the rubber meet the road, and unleash your inner automotive designer today!
- 51shares
- Facebook0
- Pinterest48
- Twitter3
- Reddit0


