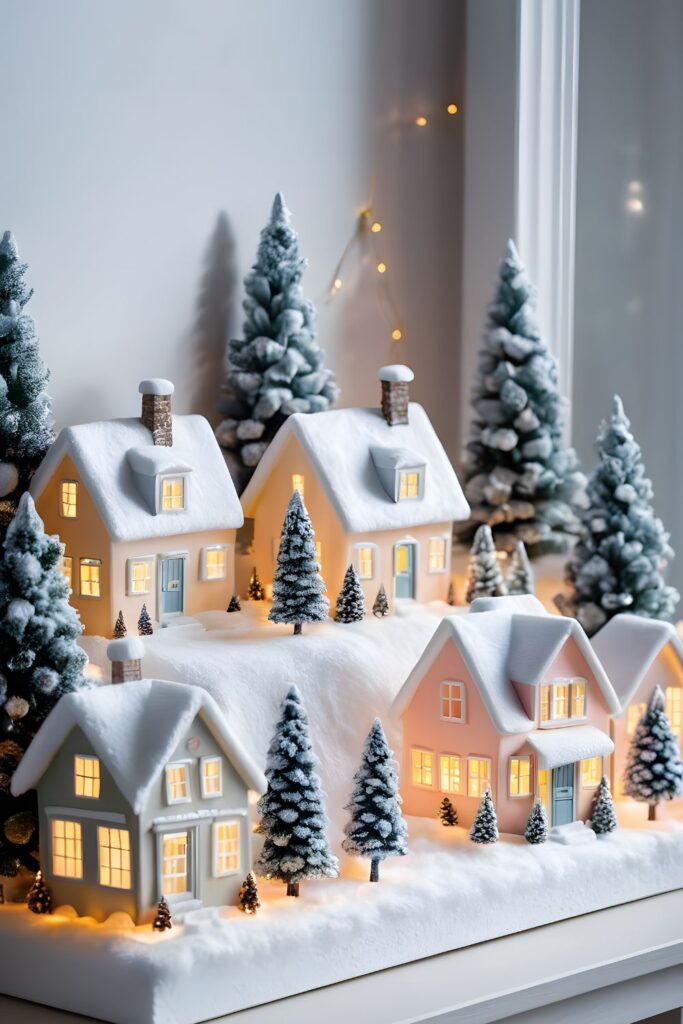
There’s something undeniably magical about Christmas. The twinkling lights, the cozy carols, the smell of pine and gingerbread… it all adds up to a season filled with warmth and wonder. And for many of us, a key part of that festive charm comes from setting up a miniature Christmas village. These tiny towns, dusted with faux snow and aglow with miniature lights, transport us to a whimsical world of holiday cheer. But what if you could take that magic one step further? What if you could craft your very own bespoke winter wonderland, complete with houses built by your hands? Get ready to unleash your inner architect and artist, because creating DIY Christmas village houses is not just a craft project – it’s an adventure in holiday spirit, and it’s much easier than you think!
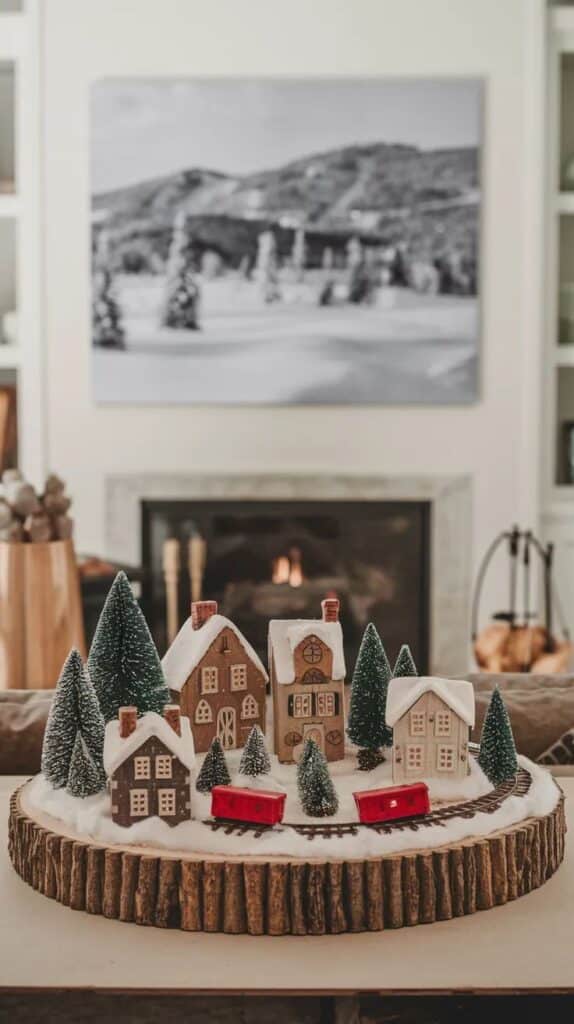
Why DIY Your Christmas Village Houses? Unlocking a World of Personal Charm
You might be wondering, why bother making them when you can buy them? That’s a fair question, but the answer lies in the unparalleled joy and unique character that handmade items bring.
#### Personalization at Its Finest Store-bought village houses are lovely, but they often lack that personal touch. When you craft your own, every detail, from the color of the siding to the tiny window frames, reflects your style and imagination. Want a house with an oversized candy cane chimney? Go for it! Dream of a glittering gingerbread cottage? You can make it happen. This level of customization allows you to create a village that truly speaks to you, perhaps even mimicking your own home or a favorite holiday memory.
#### A Budget-Friendly Creative Outlet Let’s be real, collecting a substantial Christmas village can get pricey. High-quality ceramic or porcelain pieces add up quickly. DIY allows you to achieve a stunning, expansive village without breaking the bank. Common household items like cardboard, paper, and inexpensive craft supplies form the foundation, leaving more room in your budget for other holiday treats (or perhaps more glitter!). It’s a smart way to get maximum festive impact for minimal cost.
#### Fun for the Whole Family This isn’t just a solo project! Crafting Christmas village houses is a fantastic activity for all ages. Kids can get involved with painting, gluing glitter, or even helping design elements, fostering creativity and fine motor skills. It’s a wonderful way to spend quality time together during the holiday season, creating cherished memories alongside your miniature masterpieces. Imagine the pride everyone will feel when the completed village is unveiled, knowing each family member contributed to its charm.
#### Boosting Your Creativity and Skills Engaging in a creative project like this can be incredibly rewarding. It allows you to experiment with colors, textures, and structural design. You might even find yourself discovering new artistic talents you never knew you had! If you’re looking to boost your creativity and skills this holiday season, this project is a perfect start. There’s a profound sense of accomplishment in seeing your vision come to life, piece by tiny piece.
#### Sustainable and Eco-Conscious Decor In an age where we’re all trying to be a bit more mindful of our environmental impact, DIY often means repurposing materials. Cardboard boxes from online shopping, old cereal boxes, or even discarded packaging can find a new life as charming village structures. This reduces waste and gives you a sense of contributing to a greener holiday.
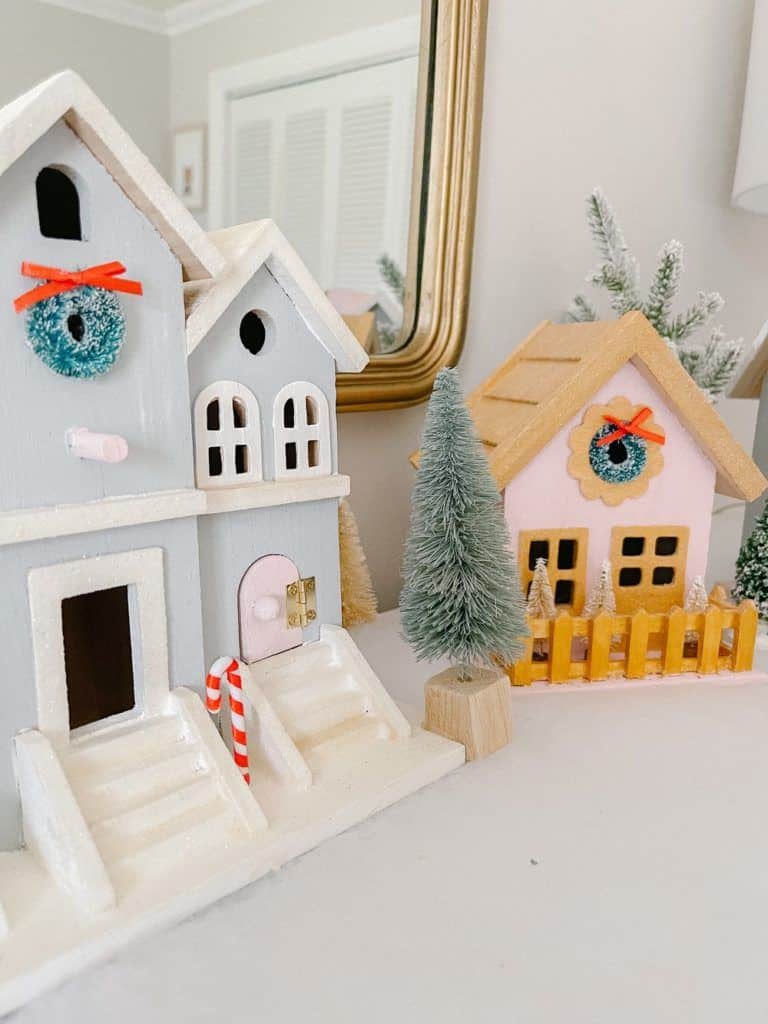
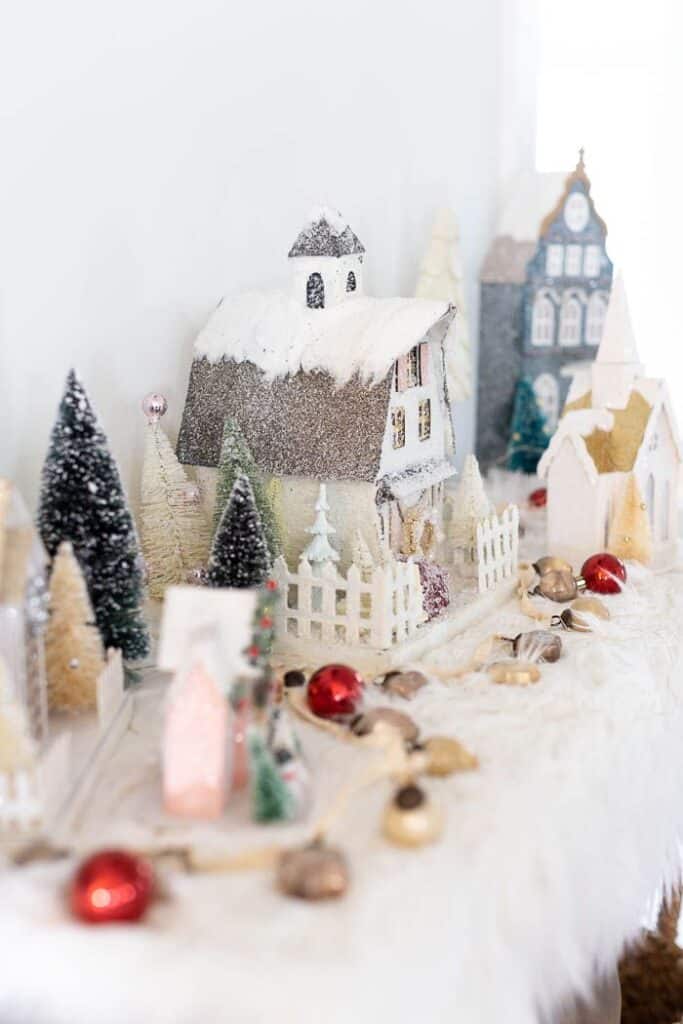
Gathering Your Toolkit: Essential Materials and Supplies
Before you dive into the exciting world of miniature construction, you’ll need to assemble your arsenal of tools and materials. Don’t worry, most of these are readily available and won’t require a treasure hunt.
#### The Foundation: Structure and Stability
- Cardboard: This is your primary building material. Think cereal boxes, shipping boxes, poster board, or even old file folders. Look for varying thicknesses for different structural needs.
- Craft Knife/X-Acto Knife: Essential for precise cuts. Always use with a self-healing cutting mat for safety and to protect your surfaces.
- Ruler: For accurate measurements and straight lines. A metal ruler is best when cutting with a craft knife.
- Pencil: For marking cut lines and design details.
- Hot Glue Gun and Glue Sticks: Your best friend for quick and strong assembly. Have plenty of glue sticks on hand!
- Craft Glue/White PVA Glue: Good for attaching lighter decorations, paper, or adding a base coat before glitter.
- Masking Tape/Painter’s Tape: Useful for temporarily holding pieces together while glue dries, or for reinforcing joints from the inside.
#### Bringing Them to Life: Decoration and Detail
- Acrylic Paints: A variety of colors – white, brown, red, green, blue, silver, gold – will give you plenty of options for houses, roofs, and details.
- Paintbrushes: A mix of sizes, from larger flat brushes for base coats to fine detail brushes for windows and doors.
- Glitter: Fine and chunky, in various festive colors (silver, gold, iridescent white are classics).
- Faux Snow: There are many types: fluffy batting, fine glitter snow, coarser iridescent snow. Pick a few to create varied textures.
- Cotton Balls/Batting: Excellent for creating soft, fluffy snow drifts.
- Miniature Trees: Bottle brush trees are perfect for scale. You can buy them in various sizes and colors, or even make your own from green pipe cleaners.
- Small LED Lights: Battery-operated fairy lights or tiny tea lights are ideal for illuminating your houses from within. Look for warm white or cool white options.
- Clear Plastic/Acetate Sheets: For realistic windows. Old plastic packaging can work wonders here.
- Miscellaneous Decorative Bits: Beads, small buttons, twine, tiny bells, ribbon scraps, craft moss, miniature wreaths, tiny figures (people, animals, Santa).
- Sealant/Mod Podge (Optional): To seal paint, protect glitter, and add a finished look.
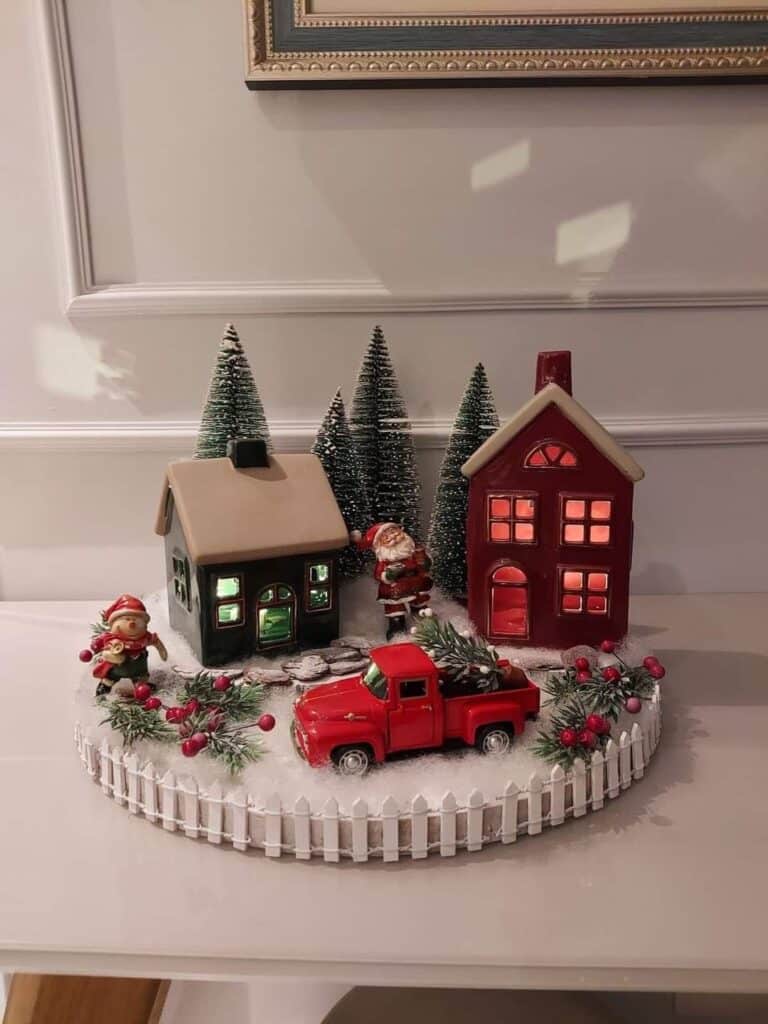
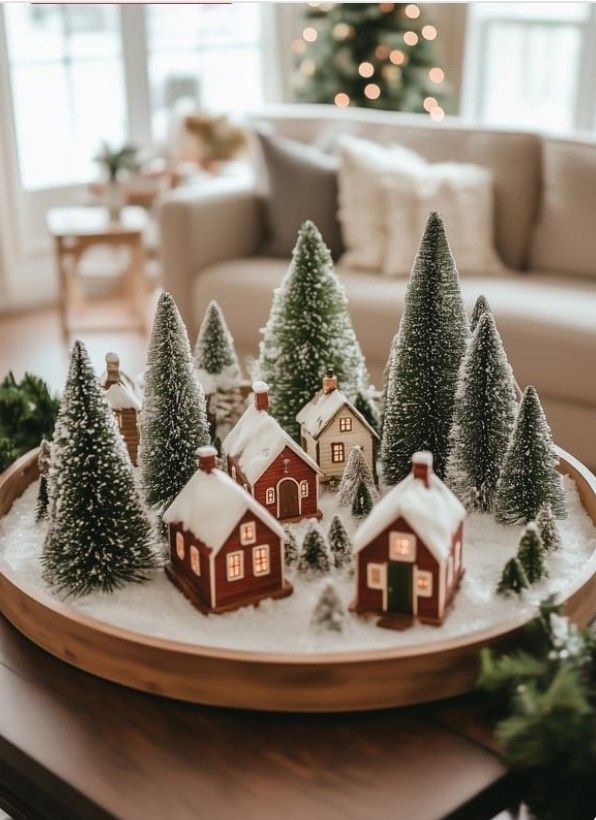
Choosing Your House Style and Theme
Before you start cutting, envision the kind of winter wonderland you want to create. This will guide your material choices, color palette, and overall aesthetic. Think about essential online resources for stylish and functional home design – these can offer a wealth of architectural and decorative inspiration for your miniature structures.
#### Traditional Victorian Charm Picture classic gingerbread houses with intricate details, pitched roofs, tall windows, and maybe even a tiny turret or two. Think deep reds, forest greens, creamy whites, and gold accents. Lots of glitter and faux icicles work well here.
#### Rustic Cabin Coziness Imagine log cabins nestled in a snowy forest. Use browns, natural wood textures (created with paint techniques), and warm, muted colors. Add tiny faux logs, pinecone details, and perhaps a miniature stone chimney.
#### Modern Minimalist Elegance If sleek lines and understated beauty are more your style, opt for contemporary house designs. Think clean shapes, monochromatic color schemes (white, silver, cool blues, grays), and minimal, intentional details. LED lights will play a crucial role here.
#### Whimsical Fantasy Let your imagination run wild! Maybe mushroom houses for woodland gnomes, brightly colored candy houses, or houses with exaggerated, fairytale-like features. This theme encourages the most creative freedom and the boldest use of color and sparkle.
Step-by-Step Guide to Building Your First Cardboard House
Let’s get down to business! This guide will walk you through creating a basic house structure from cardboard, which you can then adapt and elaborate on.
#### 1. Planning and Design: Sketching Your Dream Dwelling Grab your pencil and paper. Sketch out the different sides of your house (front, back, two sides) and the roof pieces. Decide on the size – a good starting point is a base of 4×4 inches or 6×6 inches, with walls around 4-6 inches tall.
- Front/Back Walls: These will likely be identical rectangles, with one triangular peak for a pitched roof.
- Side Walls: Simple rectangles.
- Roof Pieces: Two identical rectangles that will meet at the peak.
- Base: A flat square or rectangle for the house to sit on.
Consider details like windows, doors, and a chimney. Draw them onto your wall sketches. This planning phase is crucial for ensuring all your pieces fit together.
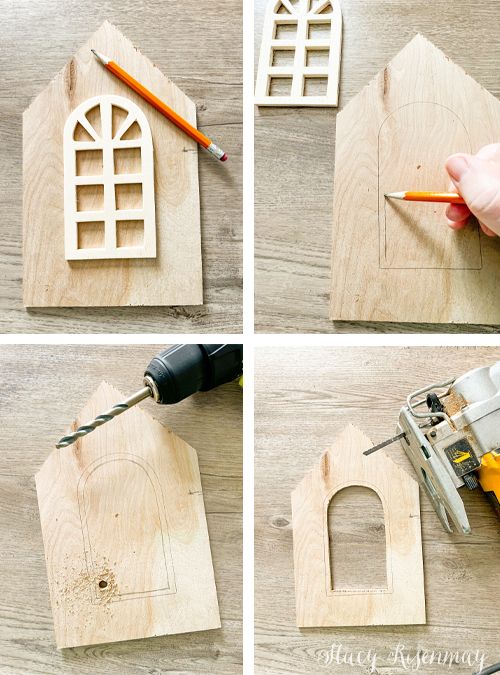
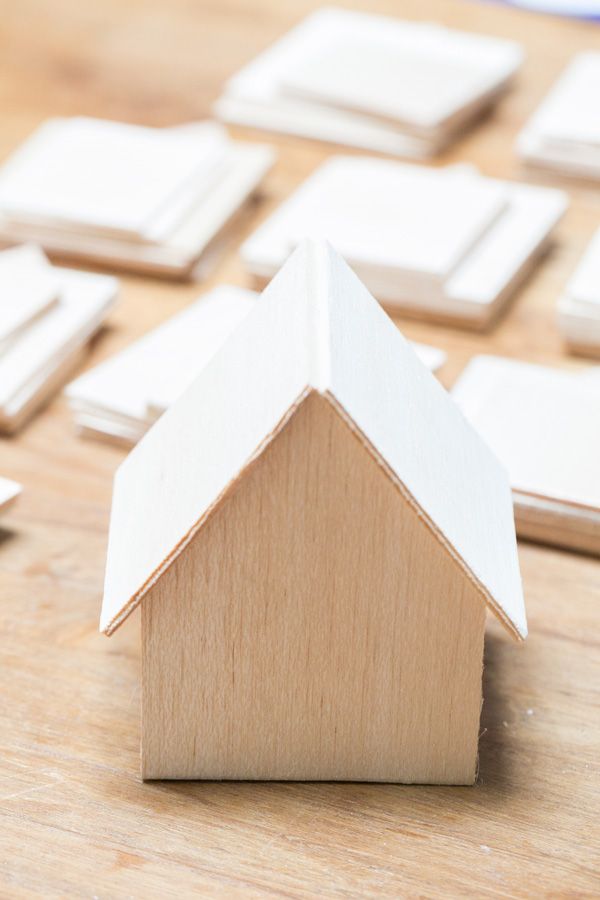
#### 2. Cutting the Pieces: Precision is Key Transfer your measurements and designs onto your chosen cardboard. Use a ruler to ensure all lines are perfectly straight.
- Score Lines: For neat folds (especially for the roof and any joining tabs), gently score the cardboard with your craft knife along the fold line. Don’t cut all the way through!
- Careful Cuts: Using your craft knife and ruler, cut out all the pieces. Take your time, making multiple shallow passes if needed, rather than trying to cut through thick cardboard in one go. Always cut away from your body.
#### 3. Assembling the Structure: Bringing Walls Together Now for the exciting part – seeing your house take shape!
- Side Tabs (Optional but Recommended): For stronger joints, you can add small tabs (about 0.5-1 inch wide) to one edge of each wall piece. When assembling, you’ll fold these tabs inwards and glue them to the adjacent wall.
- Hot Glue Assembly: Apply a bead of hot glue along the edge of one wall piece (or on the tab) and quickly press it against the edge of an adjoining wall, holding firmly until the glue sets (which is usually very fast with hot glue). Work systematically, attaching the front to a side, then the back, then the other side, forming a box.
- Reinforce: From the inside, add small strips of masking tape or extra hot glue along the seams for added stability, especially if using thinner cardboard.
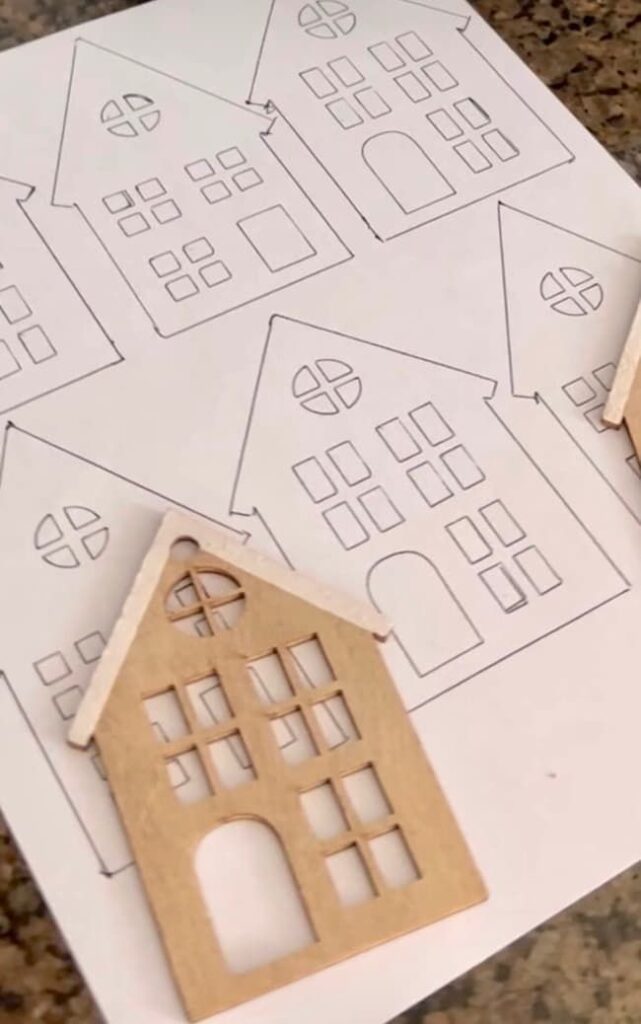
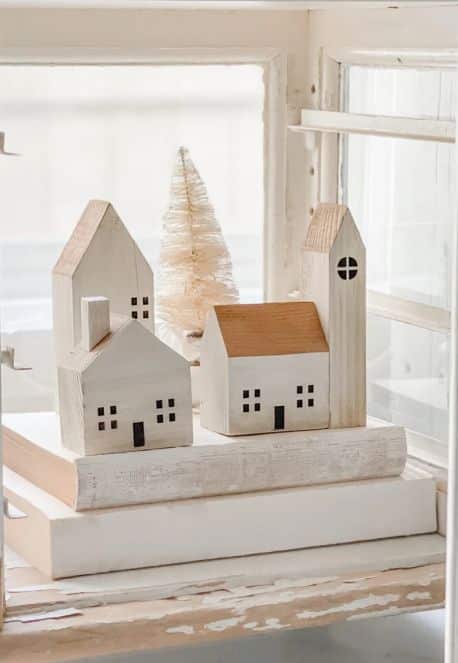
#### 4. Adding Windows and Doors: Characterful Openings With the basic box formed:
- Cut Openings: Carefully cut out the window and door shapes you drew earlier using your craft knife. For windows, you can add thin cardboard strips to create panes before painting.
- Window Panes: Cut small pieces of clear plastic or acetate slightly larger than your window openings. Glue them to the inside of the house, behind the windows, for a realistic glass effect.
- Door Details: Cut a separate piece of cardboard for the door and glue it over the opening. You can add texture, a tiny bead for a doorknob, or score lines for paneling.
#### 5. Creating a Roof: The Crowning Glory The roof gives your house its distinctive look.
- Pitched Roof: Glue your two roof rectangles to the top edges of the house, ensuring they meet neatly at the peak. You can add a small strip of cardboard underneath the peak on the inside for extra support.
- Flat Roof: Simply cut a rectangle slightly larger than your house base and glue it to the top. Add a small ledge or parapet around the edge for definition.
- Chimney: Cut and fold a small cardboard box shape for the chimney. Glue it onto the roof.
#### 6. Attaching the Base: Grounding Your Creation Finally, glue the entire house structure securely to its cardboard base. This adds stability and gives you a nice edge for adding snow later.
Bringing Your Houses to Life: Painting and Decorating Techniques
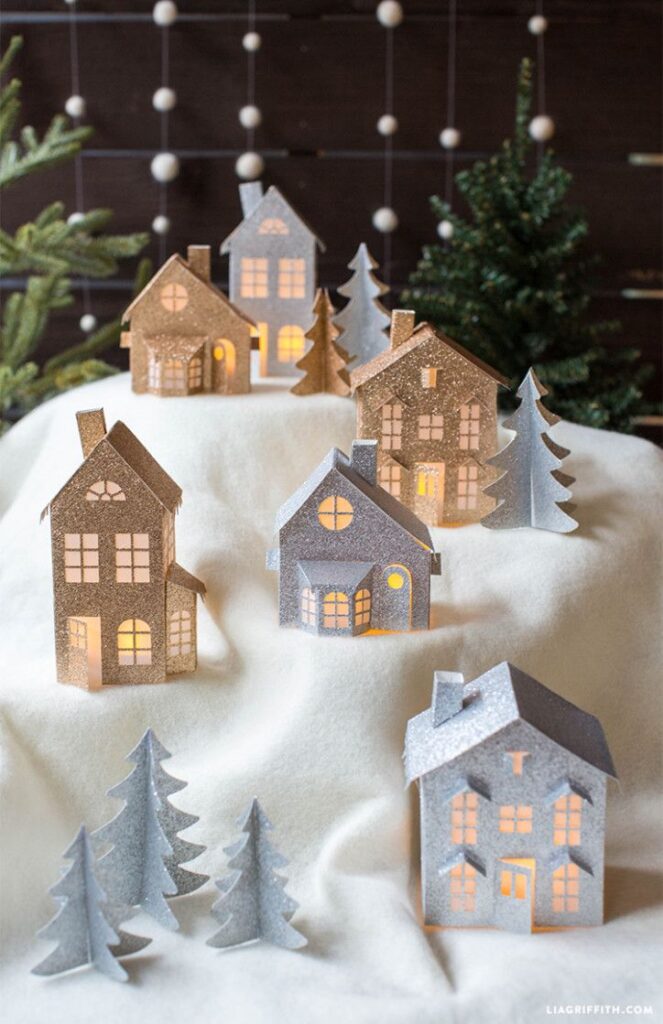
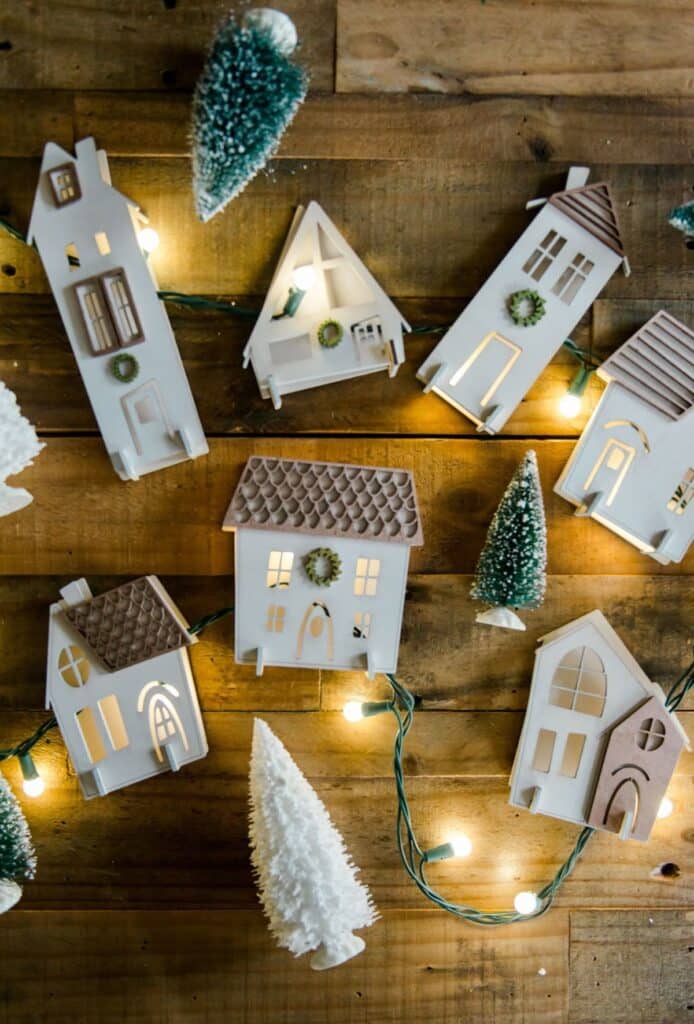
Now for the fun part – turning your plain cardboard structures into vibrant, festive dwellings! This is where you really get to play with color and texture in interior design (or in this case, exterior design!).
#### 1. Base Coat: Setting the Scene
- Prime: Before painting with color, it’s often a good idea to give your house a base coat of white or a very light neutral acrylic paint. This helps subsequent colors appear more vibrant and covers any printing on the cardboard. Let it dry completely.
#### 2. Main Colors: Walls and Roofs
- Walls: Choose your desired color for the house walls. Apply 1-2 thin, even coats. For a rustic look, you might dry-brush different shades of brown. For a cozy feel, consider warm reds or forest greens.
- Roofs: Contrast the roof color with the walls. Darker colors (like charcoal, brown, or dark green) often work well to mimic slate or shingles. White roofs are perfect for a heavily snow-covered look.
#### 3. Adding Texture: Details That Pop
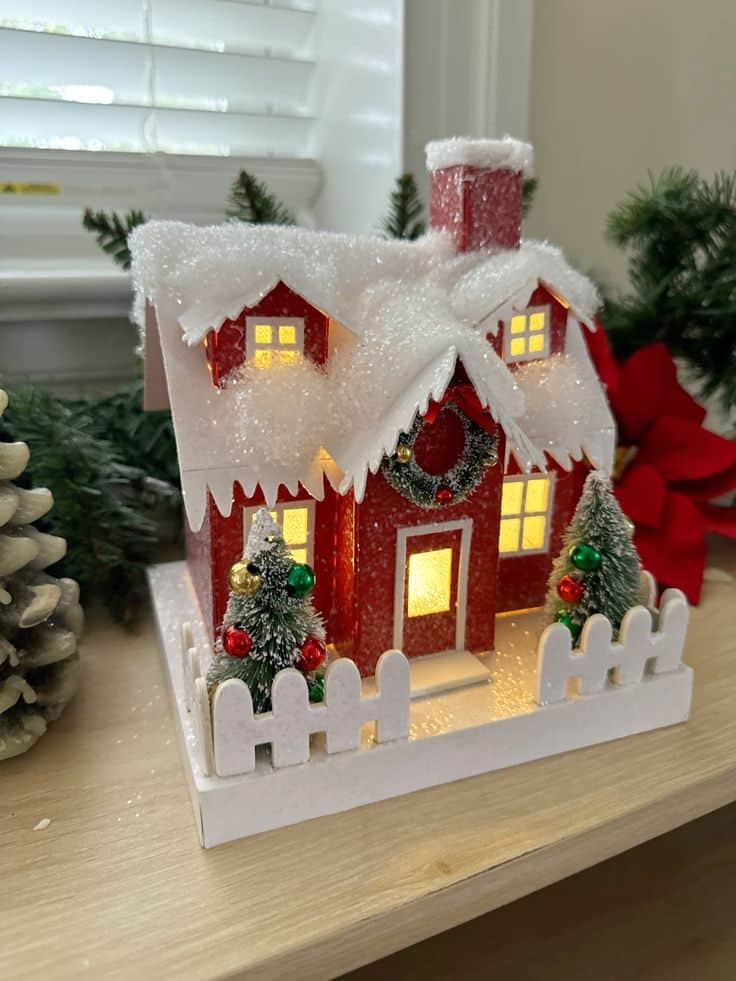
- Snowy Roofs: Once the base roof color is dry, apply a generous layer of craft glue (PVA) and sprinkle liberally with faux snow, iridescent glitter, or even a mix of fine Epsom salts for a frosty look.
- Brick/Stone: Use a fine brush to paint individual bricks or stones onto walls. Alternatively, you can cut tiny rectangles of colored paper and glue them on for a raised brick effect.
- Wood Grain: Paint a base brown, then use a darker brown or black paint on a dry brush to create subtle wood grain lines.
- Icing Effect: For a gingerbread house feel, use puff paint or a thick line of white hot glue along roof edges and window frames to mimic frosting.
#### 4. Detailing: The Devil is in the Small Things
- Windows and Doors: Use fine brushes to paint window frames, door panels, and tiny doorknobs. Gold or silver paint can add a touch of elegance.
- Trim: Paint the eaves, corners, and any architectural details in a contrasting color.
- Wreaths & Garlands: Draw or glue tiny green circles for wreaths, adding a small red dot for a bow. You can also glue thin green twine or craft moss for garlands.
- Candy Canes: Use red and white striped paint on thin cardboard strips.
#### 5. Glitter and Sparkle: A Christmas Must-Have
- Strategic Sparkle: Don’t be afraid of glitter! Apply glue to specific areas like roof edges, window sills, or door frames, then dust with fine glitter. Iridescent glitter looks particularly magical, mimicking freshly fallen snow.
- All-Over Shine: For a truly dazzling house, you can apply a thin layer of Mod Podge over an entire section and then glitter it up!
#### 6. Faux Snow: Creating Wintery Landscapes
- Fluffy Snow: Use cotton balls or polyester batting for soft, pillowy snow drifts around the base of the house.
- Textured Snow: Mix white paint with baking soda or craft sand to create a thick paste that can be dabbed on for realistic, bumpy snow.
- Falling Snow: For a whimsical touch, attach tiny white beads or sequins to fishing line and drape them to look like falling snow.
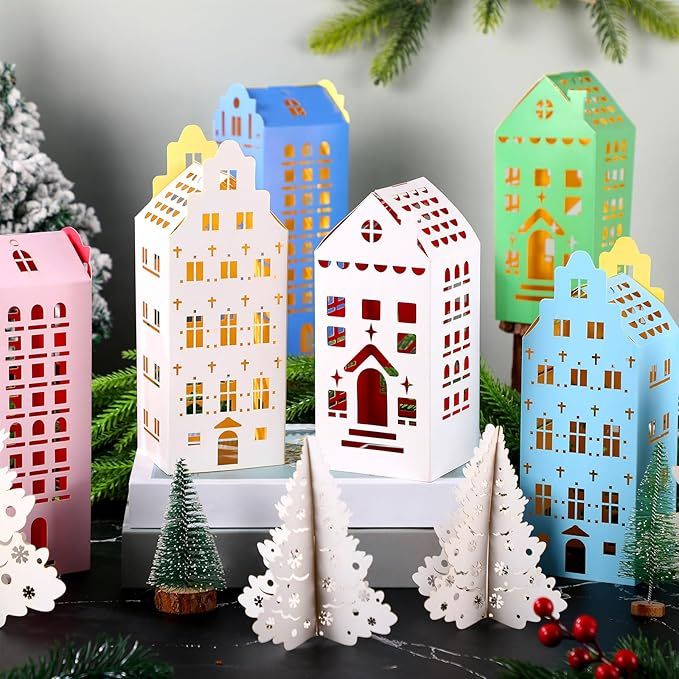
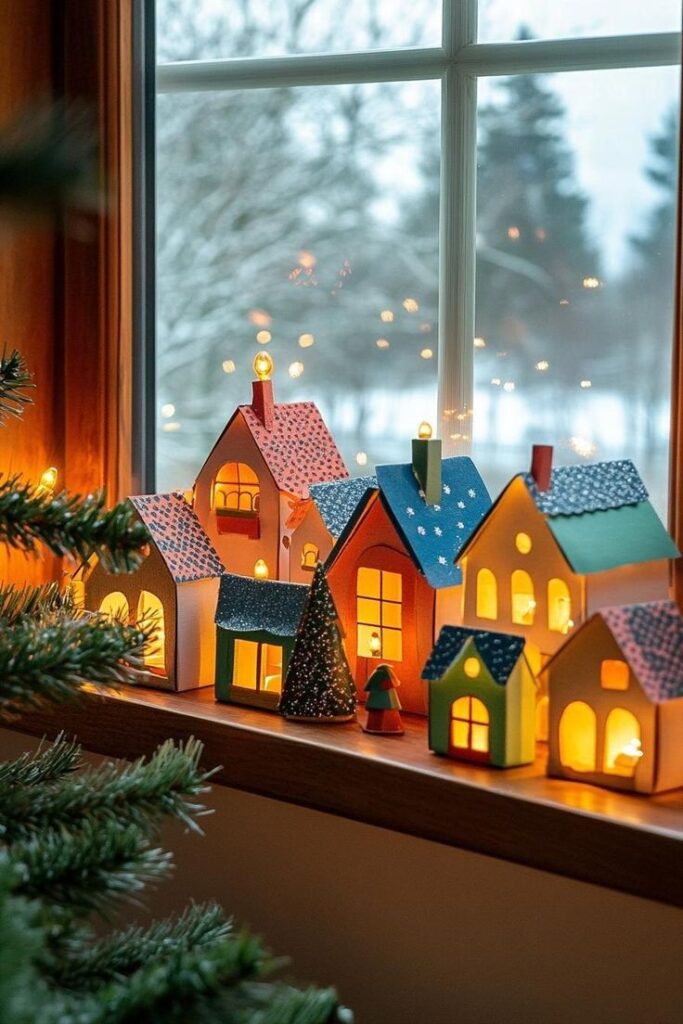
Illuminating Your Village: The Magic of Lights
No Christmas village is complete without that warm, inviting glow. Lights transform your crafted houses from simple models into enchanting beacons of holiday spirit.
#### Choosing the Right Lights
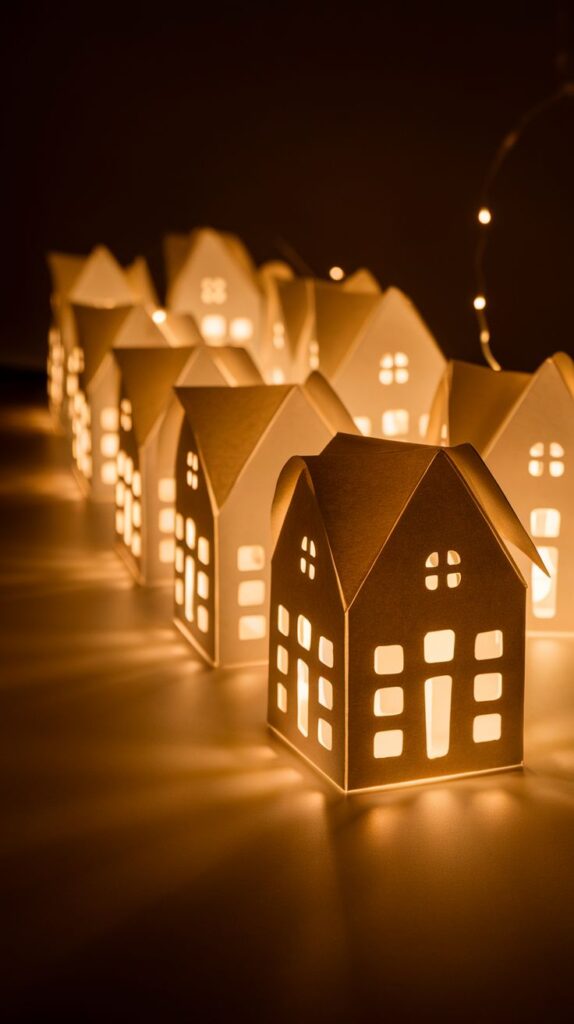
- Battery-Operated Fairy Lights: These are incredibly versatile. They come on thin wires, often with tiny LED bulbs, and are perfect for threading inside houses. They’re safe, low-heat, and come with small battery packs that are easy to hide.
- LED Tea Lights: Simple, inexpensive, and battery-operated. Just pop one inside each house for a soft, flickering glow.
- Miniature String Lights: If your village is smaller, you might use a short string of traditional Christmas lights, but ensure they don’t generate too much heat for your cardboard creations. LED versions are best.
#### Placement and Illumination Techniques
- Inside the Houses: The most common method. Place fairy lights or an LED tea light inside each house. For fairy lights, you can secure the battery pack discreetly behind the house or underneath the base. The lights will glow through the windows and doors, creating a cozy ambiance.
- Exterior Accents: Consider wrapping tiny strings of fairy lights around miniature lampposts, along the eaves of a prominent building, or even strung between two houses.
- Underneath the Snow: You can run strands of fairy lights underneath your faux snow blanket (cotton batting works great for this) to create a glowing effect from below, mimicking streetlights or a soft moonlit glow.
#### Wiring Tips and Safety First
- Hiding Wires: For fairy lights, the thin wire is usually quite easy to conceal. Run them along the back edges of your houses or under the snow. Secure with a tiny dab of hot glue if needed.
- Battery Packs: Try to place battery packs in inconspicuous spots at the back of your village or within a designated “power station” structure. Some fairy light strings come with timer functions, which are a godsend for automatic illumination.
- Safety: Always choose LED lights, as they produce very little heat, which is crucial when working with cardboard and other flammable craft materials. Ensure battery compartments are securely closed, especially if children are around. Never leave candles or open flames near your village.
Beyond the Houses: Creating a Cohesive Winter Wonderland
Your beautiful DIY houses are the stars, but a truly captivating Christmas village needs a supporting cast – a landscape that brings it all together.
#### 1. Landscaping the Base: A Snowy Foundation
- Snow Blanket: The easiest way to create a uniform snowy base is to drape a white cotton sheet, a piece of white felt, or white polyester batting over your display surface. This instantly transforms it into a winter scene.
- Textured Snow Drifts: Use extra cotton batting or scrunched-up white paper to create varying heights and gentle hills, mimicking natural snowdrifts. Glue down some loose faux snow on top of these for extra realism.
#### 2. Adding Trees and Foliage: A Miniature Forest
- Bottle Brush Trees: These are perfect for scale and come in various shades of green, white, or even icy blue. Scatter them throughout your village, grouping them for a natural look.
- Evergreen Sprigs: Collect small sprigs of real evergreen (pine, cedar, fir) and arrange them, or use artificial evergreen pieces from craft stores. These add authentic texture and scent.
- Frosted Branches: Dip small twigs in white glue and then sprinkle with faux snow or glitter to create frosted branches.
#### 3. Pathways and Roads: Guiding the Eye
- Glitter Paths: Delineate paths or roads by applying a thin line of glue and then sprinkling with silver or iridescent glitter.
- Pebble Paths: Use fine craft sand or tiny pebbles for a more natural look.
- Snowy Roads: Simply leave a cleared path in your snow blanket, perhaps with a subtle gray or brown undertone peeking through.
#### 4. Figurines and Characters: Populating Your World
- Miniature People: Add tiny figures of carolers, ice skaters, families, or children playing. These bring life and scale to your village.
- Animals: Include deer, bunnies, polar bears, or even a tiny dog or cat to add charm.
- Santa and Sleigh: No Christmas village is complete without a miniature Santa Claus, perhaps with his sleigh and reindeer, either on the ground or ‘flying’ above.
#### 5. Water Features: Frozen Lakes and Ponds
- Mirror Lake: Place a small mirror on your base to represent a frozen lake. Surround it with cotton snow and perhaps miniature ice skaters.
- Resin Pond: For a more advanced touch, create a small indentation, paint it blue, and then pour a layer of clear casting resin to create a realistic frozen pond effect.
- Glitter Ice: Cut a piece of blue or silver cardstock into an irregular pond shape, cover with iridescent glitter, and place among your snowdrifts.
#### 6. Backdrops: Setting the Horizon
- Painted Scene: If your village is against a wall, consider a simple painted backdrop of a snowy mountain range or a starlit winter sky.
- Fabric Backdrop: A piece of blue or white fabric draped behind the village can create a soft, ethereal background.
- LED Starry Sky: String fairy lights or tiny star-shaped lights onto a dark blue fabric backdrop to simulate a twinkling night sky.
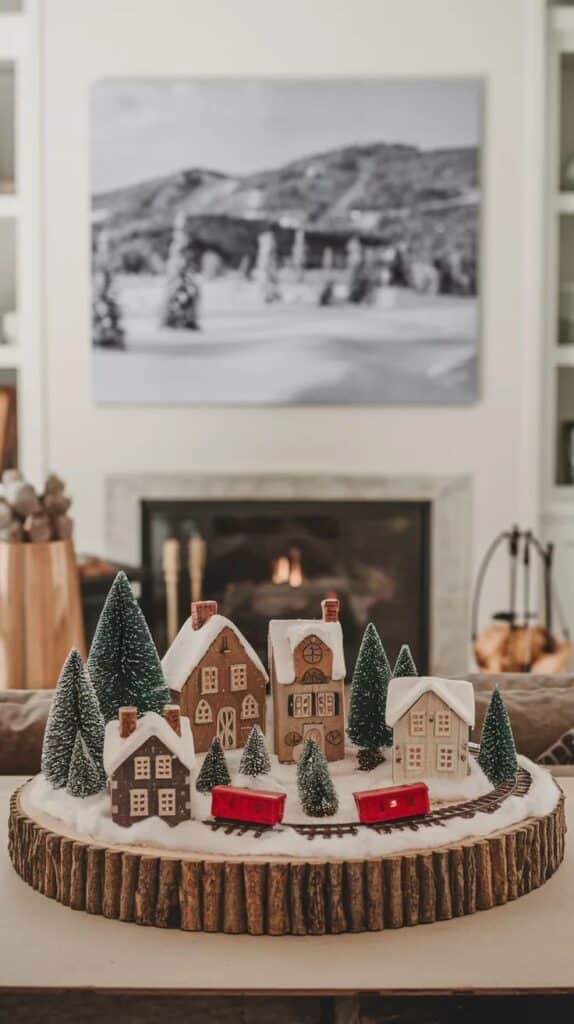
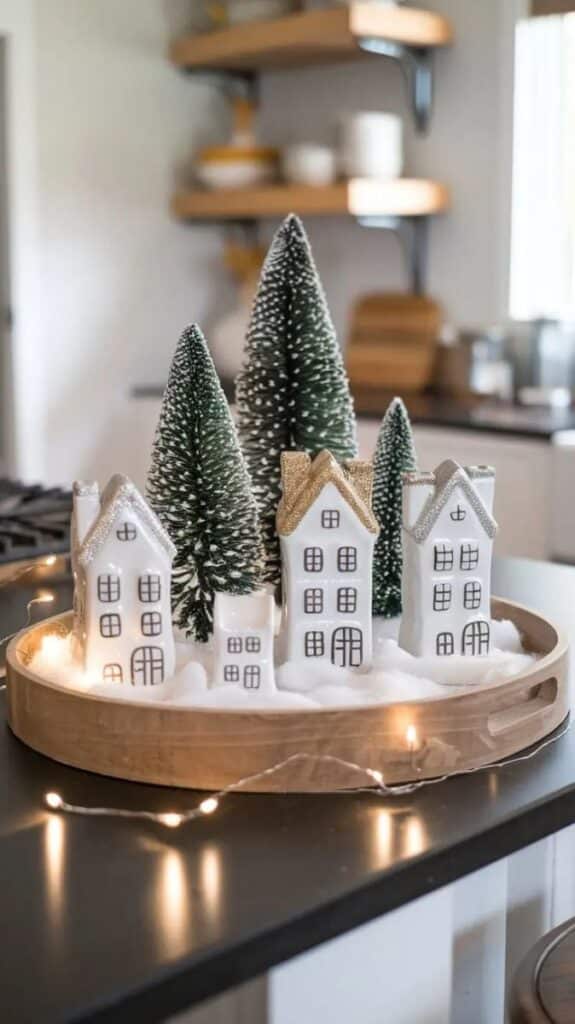
Your Winter Wonderland Awaits!
Crafting your own DIY Christmas village houses is more than just a holiday project; it’s a journey of creativity, family fun, and personal expression. From the first sketch to the final sprinkle of faux snow, each step allows you to infuse your unique spirit into a miniature world of festive charm. This isn’t just about building houses; it’s about building memories, fostering traditions, and creating a truly bespoke piece of holiday magic that will delight for years to come.
So, gather your supplies, put on some festive tunes, and let your imagination soar. Whether your village is a sprawling metropolis or a cozy hamlet, the pride and joy of seeing your handmade wonderland come to life is a gift in itself. Don’t be afraid to experiment with different themes and colors – you might be surprised at how much Pantone bedroom color schemes or other color theory insights can even inspire your miniature world! What are you waiting for? Your winter wonderland is calling, and it’s ready to be crafted by you! Start your own creative transformation today, much like your home’s transformation when you find the right professional, but this time, you’re the expert bringing your vision to life!
- 2.5Kshares
- Facebook0
- Pinterest2.5K
- Twitter3
- Reddit0
