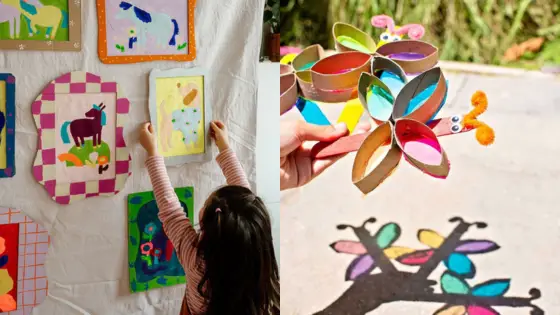
Halloween crafting offers an exciting opportunity to transform your home into a spooky wonderland without breaking the bank. You can create memorable decorations using simple household items and basic craft supplies that bring both charm and fright to your space.
These DIY projects range from ghostly decorations and creepy creatures to glowing accents that will impress trick-or-treaters and guests alike. Whether you’re working with mason jars, paper plates, or cotton balls, each project delivers maximum impact with minimal effort and cost.
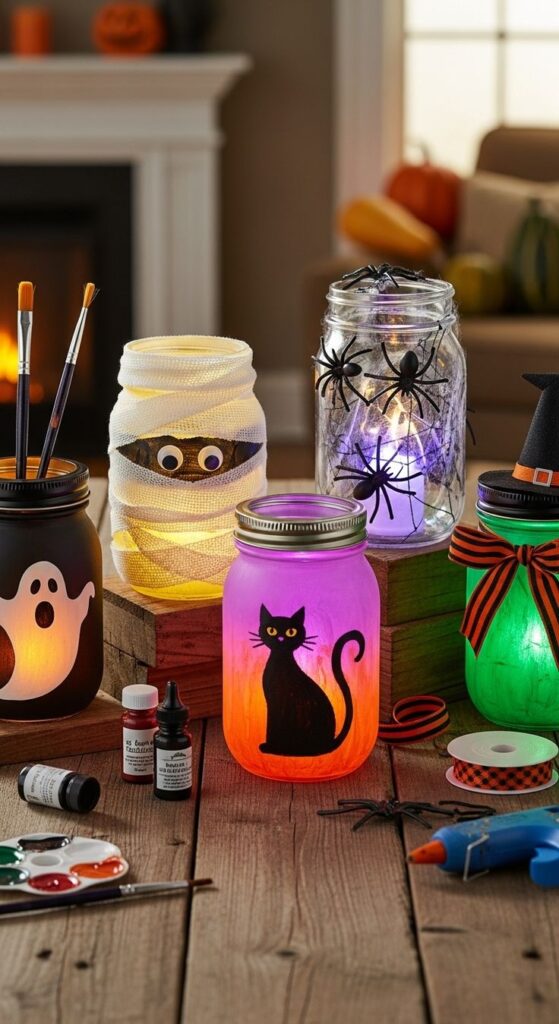
1) Mason Jar Candle Holders with Spooky Silhouettes
Transform ordinary mason jars into eerie candle holders that cast haunting shadows throughout your home. This simple craft requires just a few basic materials and creates stunning Halloween ambiance.
Start by gathering clean mason jars, black acrylic paint, and Halloween-themed stencils. You can find stencils with bats, ghosts, spiders, or haunted trees at most craft stores.
Clean your jars thoroughly and let them dry completely. Apply the stencils to the outside of each jar, pressing down firmly to prevent paint bleeding.
Use a foam brush to dab black paint over the stencil openings. Work in light layers rather than applying thick coats for cleaner lines and better coverage.
Remove the stencils carefully while the paint is still slightly wet. This prevents peeling and ensures crisp silhouette edges.
Once dry, place battery-operated tea lights or small candles inside each jar. The flickering light will project your spooky silhouettes onto nearby walls and surfaces.
These candle holders work perfectly as centerpieces for Halloween dinner parties or scattered throughout your home for atmospheric lighting. You can customize the designs to match your specific Halloween theme.
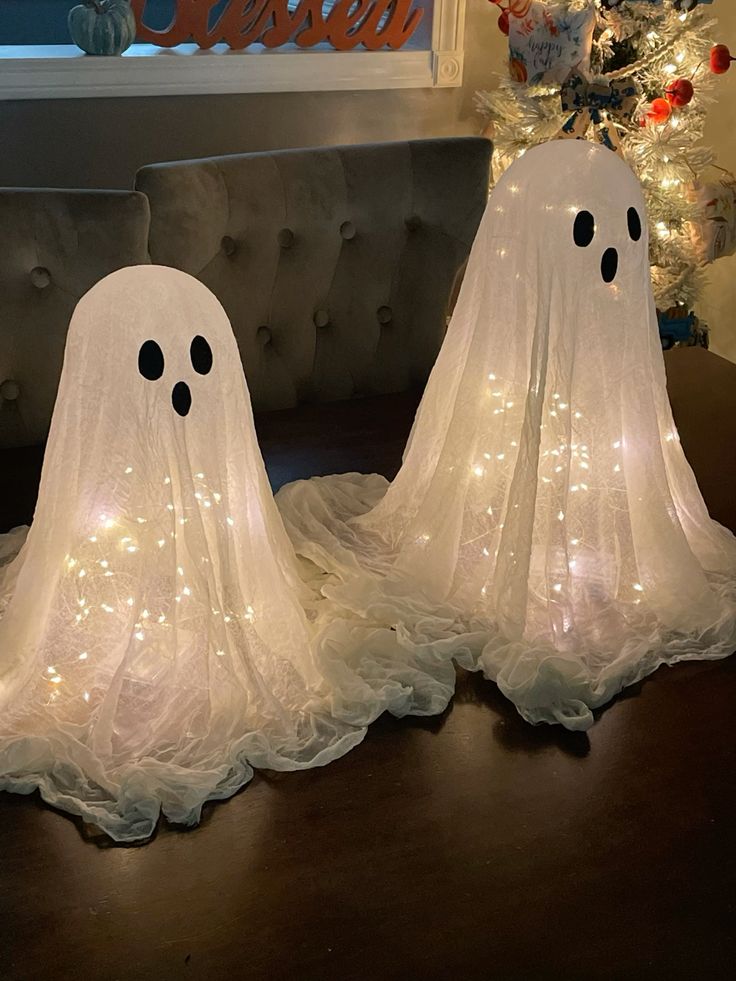
2) Ghostly Balloon Decorations with White Cheesecloth
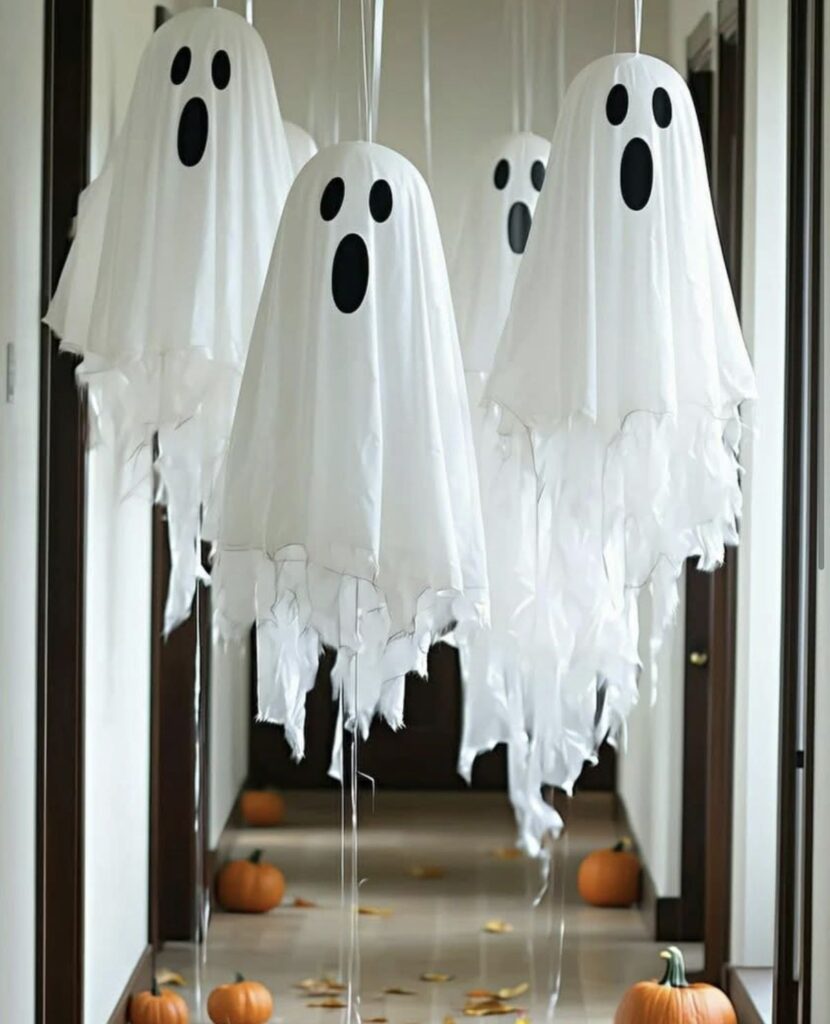
Transform ordinary white balloons into spooky floating spirits with this simple craft. You’ll need white balloons, cheesecloth, and a black marker or felt pieces for the faces.
Start by inflating white balloons to your desired size. Medium-sized balloons work best for this project.
Drape cheesecloth over each balloon, allowing the fabric to flow naturally around the balloon’s shape. The loose, flowing texture creates that authentic ghostly appearance you’re looking for.
Secure the cheesecloth at the balloon’s knot by tying it gently or using a small piece of clear tape. Make sure some fabric hangs below to create the ghost’s trailing effect.
Draw simple black dots for eyes and an oval mouth using a marker directly on the cheesecloth. You can also cut small pieces of black felt and attach them for a more durable option.
Hang your ghostly balloons at different heights throughout your space using fishing line or clear thread. This creates the illusion of floating spirits.
These balloon ghosts work perfectly for both indoor and outdoor Halloween decorations. They’re lightweight enough to move gently in any breeze, adding to their eerie effect.
3) DIY Spider Webs Using Cotton Balls
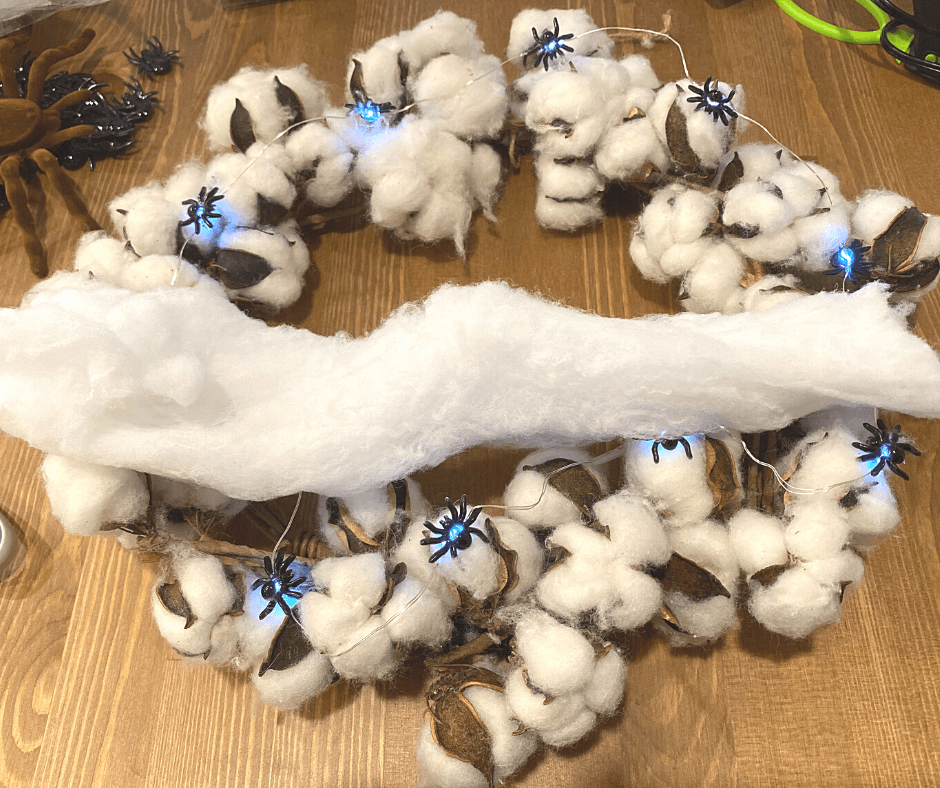
Cotton balls offer the easiest way to create realistic spider webs for Halloween. You only need cotton balls and aerosol hairspray to make wispy, lightweight webs that look authentic.
Start by pulling cotton balls apart gently with your fingers. Stretch them into thin, web-like shapes. The larger cotton balls work better because they’re easier to manipulate.
Once you’ve shaped your web, spray it lightly with hairspray. This helps the cotton hold its form and creates a more realistic texture.
You can attach these webs to doorways, corners, or furniture using small pieces of tape. They work perfectly for both indoor and outdoor decorations.
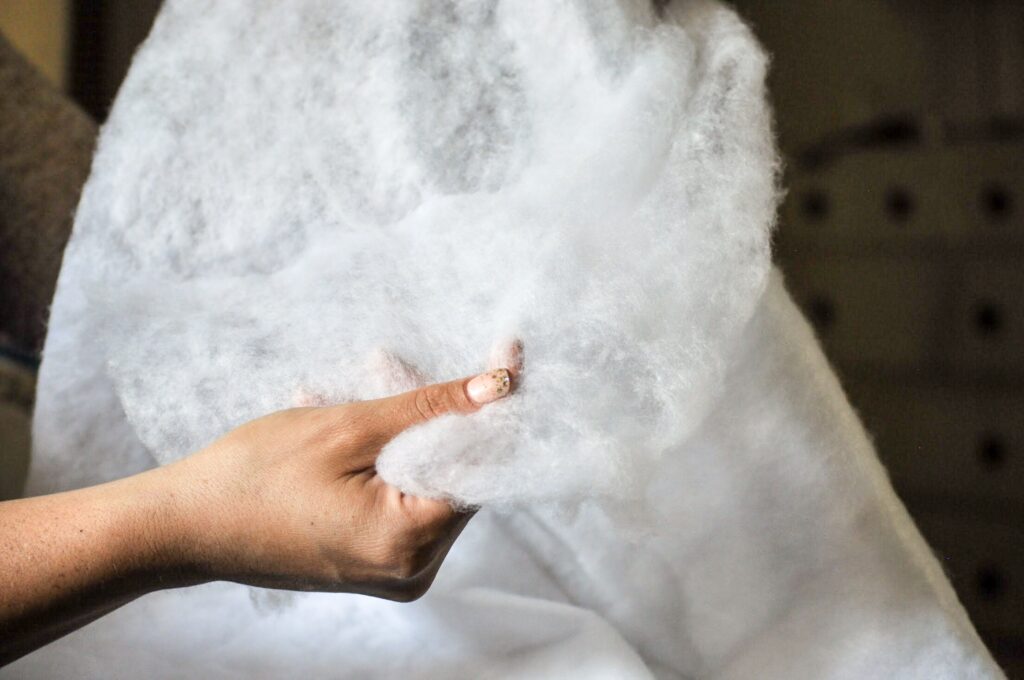
Cotton batting also works well if you prefer a different texture. Both materials are inexpensive and available at most craft stores.
For added effect, place plastic spiders on your webs. The lightweight cotton won’t collapse under the weight of small decorative spiders.
This method creates authentic-looking webs without the mess of glue or complicated techniques. Your guests will be impressed by how realistic these simple cotton ball webs appear.
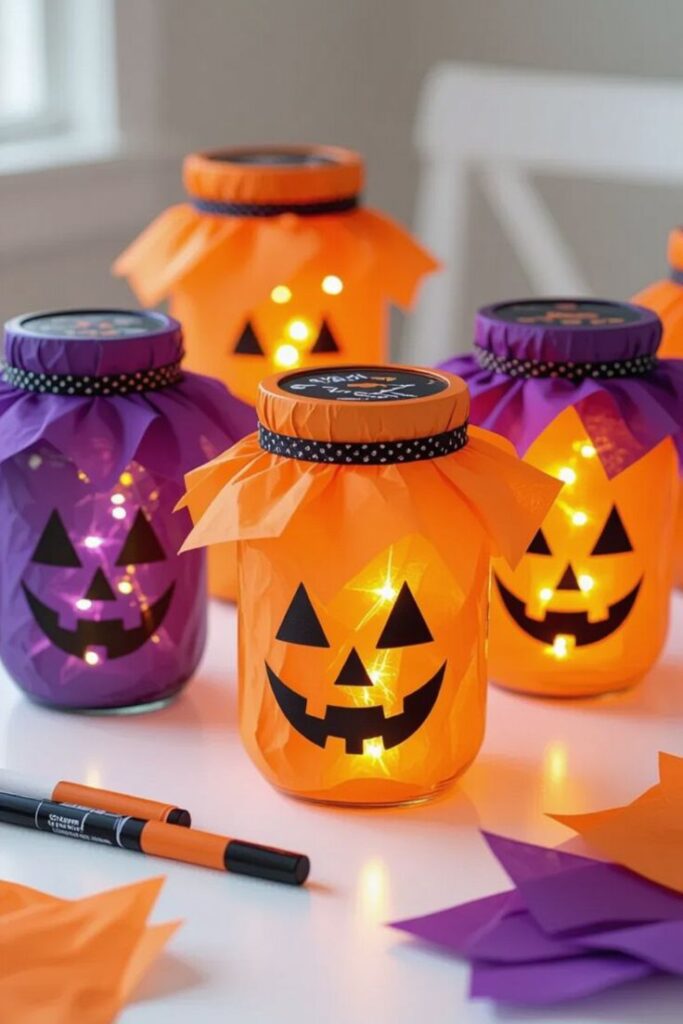
4) Pumpkin Mason Jar Lanterns with Tea Lights
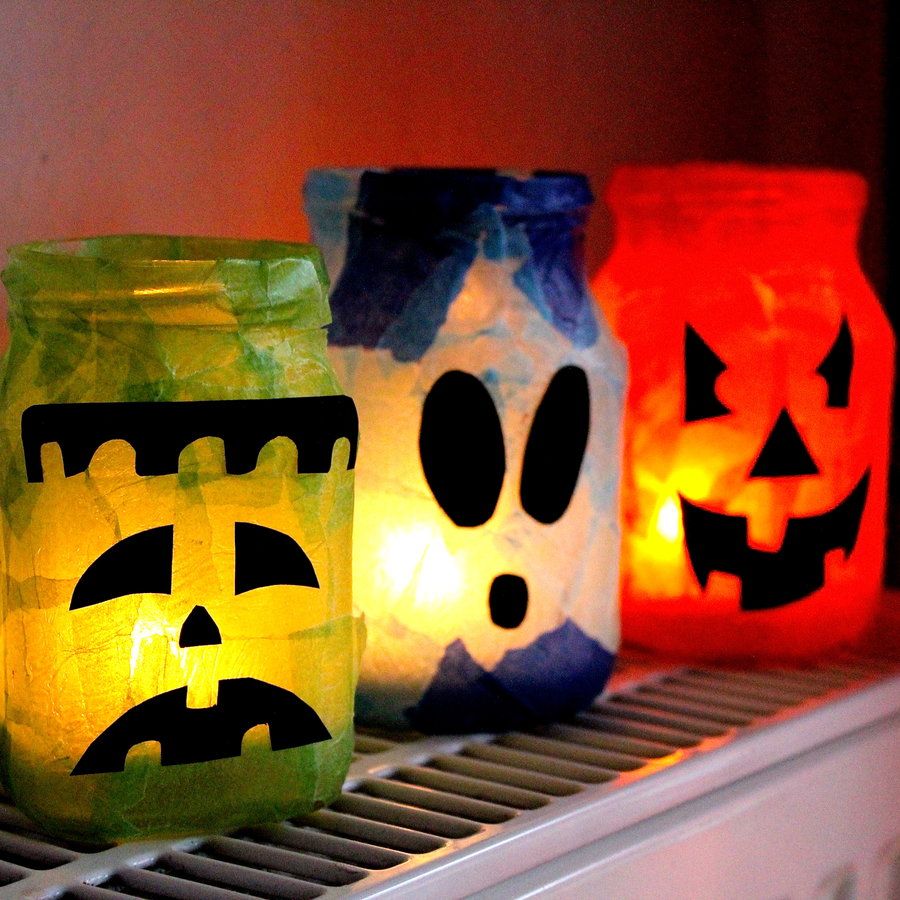
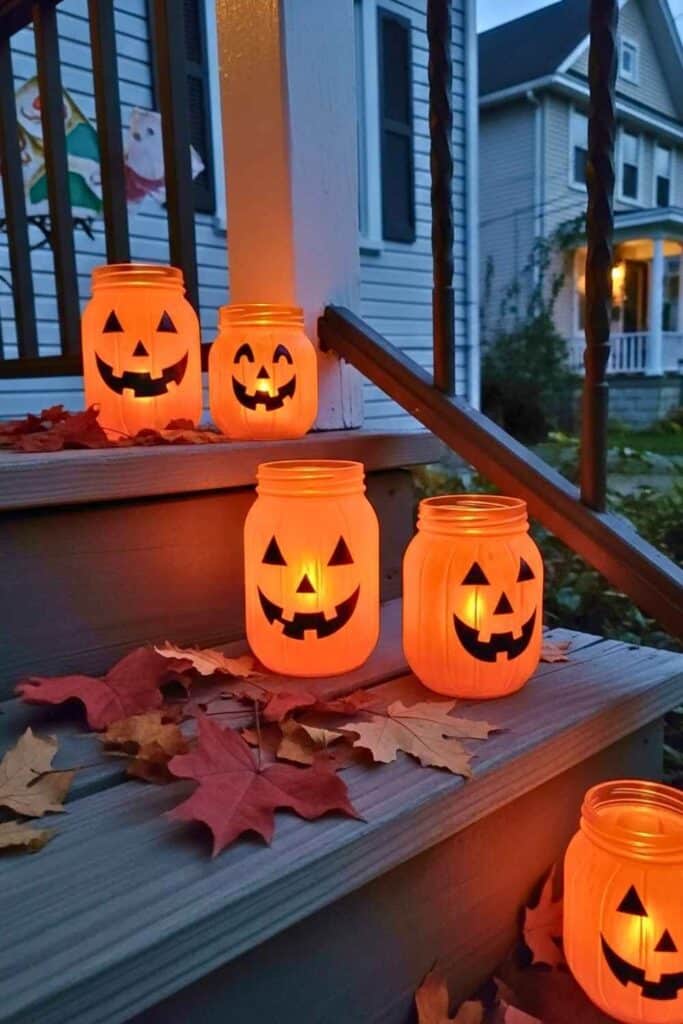
Transform ordinary mason jars into charming pumpkin lanterns that glow beautifully on your Halloween table. You’ll need orange tissue paper, Mod Podge, black cardstock, and battery-operated tea lights.
Start by cutting orange tissue paper into small pieces. Brush Mod Podge onto your clean mason jar and apply the tissue paper pieces, overlapping them slightly for complete coverage.
Let the jar dry completely before adding another coat of Mod Podge over the tissue paper. This creates a smooth, translucent finish that diffuses light perfectly.
Cut jack-o’-lantern faces from black cardstock while your jar dries. Simple triangle eyes and a zigzag mouth work best for this project.
Use hot glue or adhesive dots to attach your cardstock face to the front of the jar. Make sure the glue is completely dry before handling.
Drop a battery-operated tea light inside your finished jar. The orange tissue paper creates a warm, pumpkin-like glow that’s perfect for Halloween ambiance.
These lanterns work wonderfully as centerpieces or scattered throughout your home. You can make several in different sizes for a coordinated Halloween display.
5) Paper Plate Witches with Googly Eyes
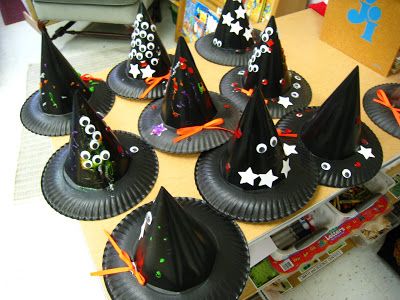
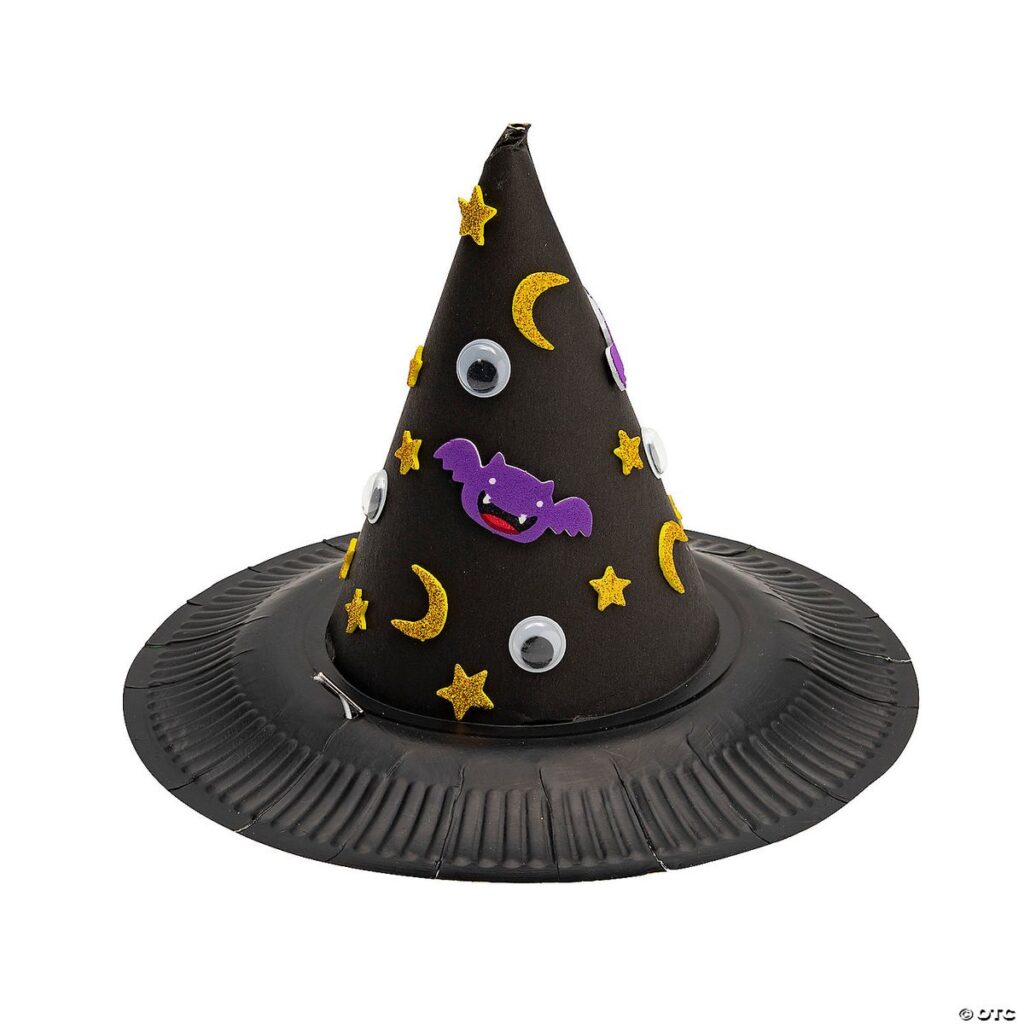
This paper plate witch craft is perfect for kids of all ages. You only need basic supplies like paper plates, green paint, construction paper, yarn, and googly eyes.
Start by painting your paper plate green and let it dry completely. Cut a triangle from black construction paper to create the witch’s hat. Glue the hat to the top of your painted plate.
Add googly eyes to bring your witch to life. For extra spookiness, you can use glow-in-the-dark googly eyes that will shine in dark rooms.
Create hair by cutting yarn into strips and gluing them around the hat area. Black or orange yarn works well for a traditional witch look.
Make a nose by cutting a small triangle from orange or green construction paper. You can also use a small wood piece if you have one available.
Draw a mouth with a red marker or cut one from red paper. Add any other details like warts or wrinkles to make your witch more character-filled.
This craft combines painting and crafting into one simple Halloween project. It works great for classroom activities, Halloween parties, or fun projects at home.
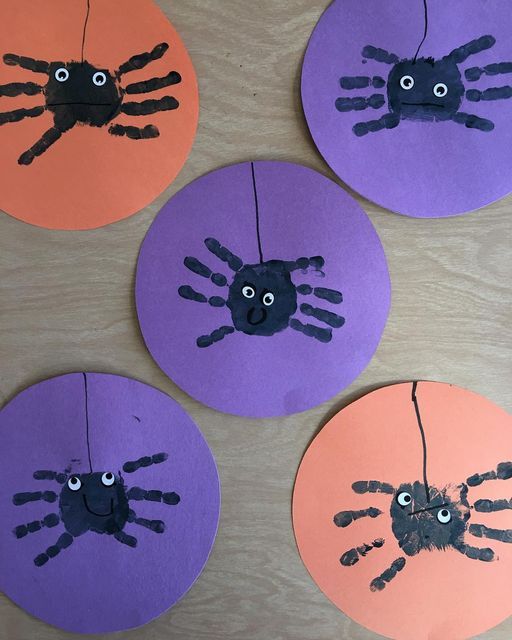
6) Glow-in-the-Dark Handprint Spiders
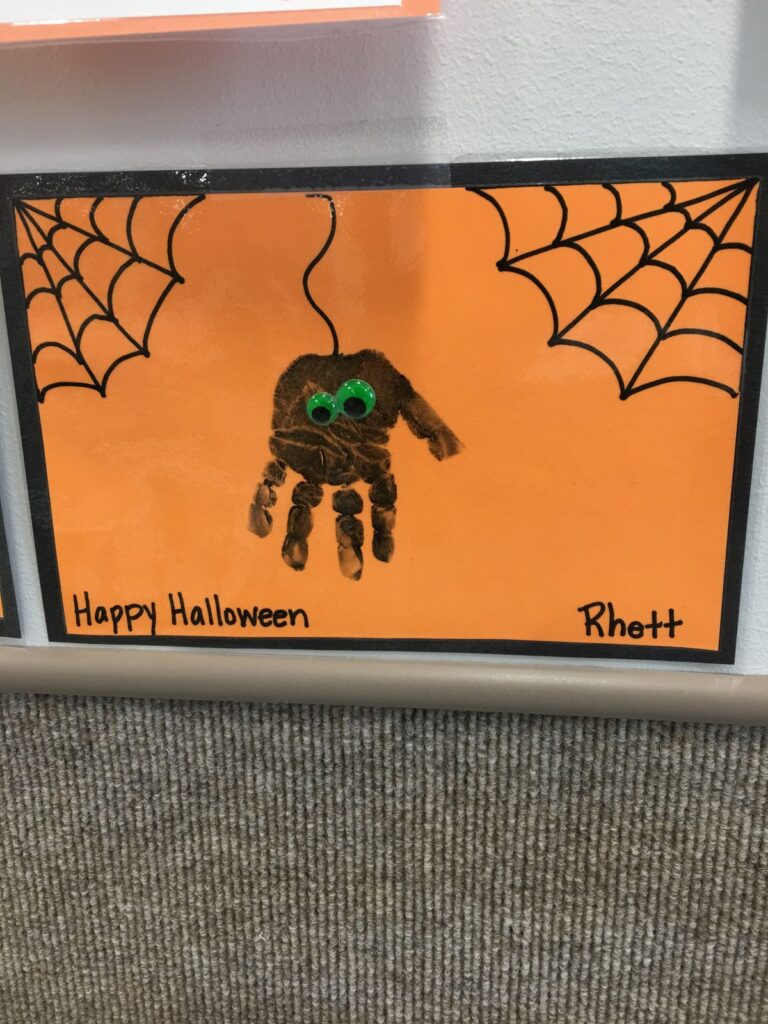
Transform your child’s handprints into spooky glowing spiders that light up the night. This craft combines the classic handprint spider with glow-in-the-dark paint for extra Halloween magic.
You’ll need black construction paper, glow-in-the-dark paint, and a paintbrush. Start by painting your child’s palm and fingers with the glowing paint.
Press the handprint firmly onto the black paper with fingers spread wide. The palm becomes the spider’s body while the fingers create four legs on one side.
Once the handprint dries, use a small brush to paint four additional legs on the opposite side. Add two glowing dots for eyes on the palm area.
Let the paint dry completely before charging it under a bright light. Turn off the lights to see your spiders glow eerily in the dark.
These handprint spiders make excellent Halloween decorations for windows or walls. You can create multiple spiders in different sizes using various family members’ hands.
The craft works perfectly for Halloween parties or classroom activities. Kids love seeing their handprints transform into glowing creatures that come alive in the darkness.
7) Toilet Paper Roll Bats with Black Paint
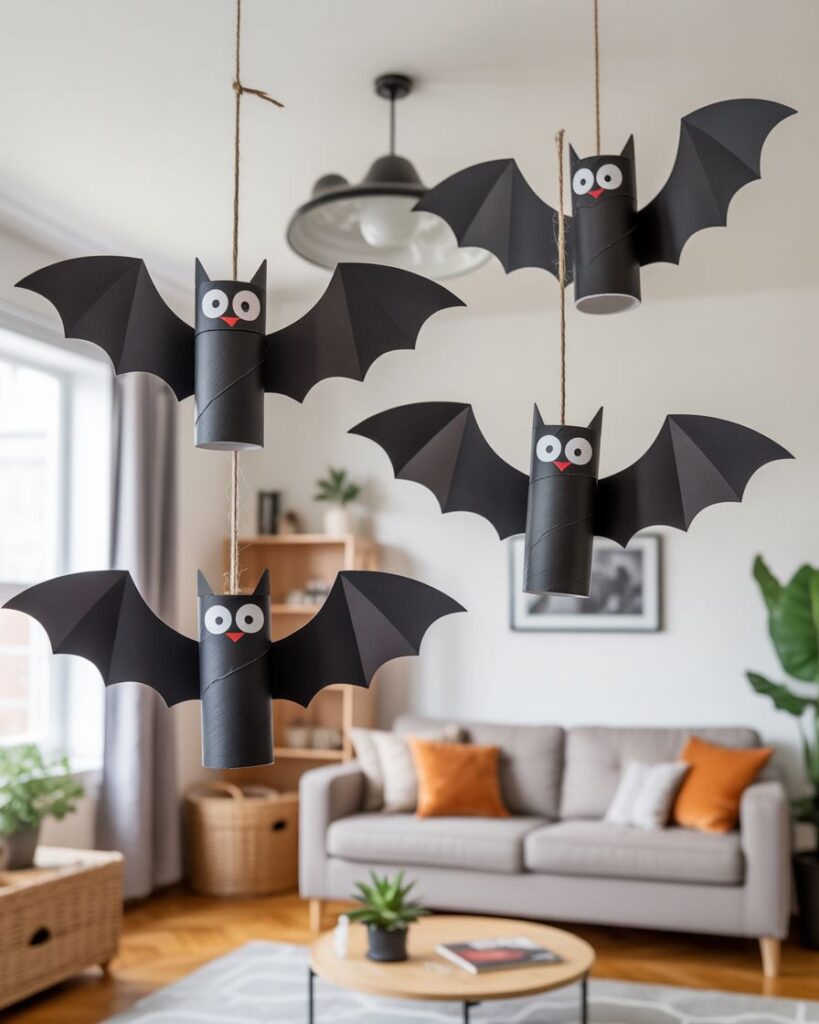
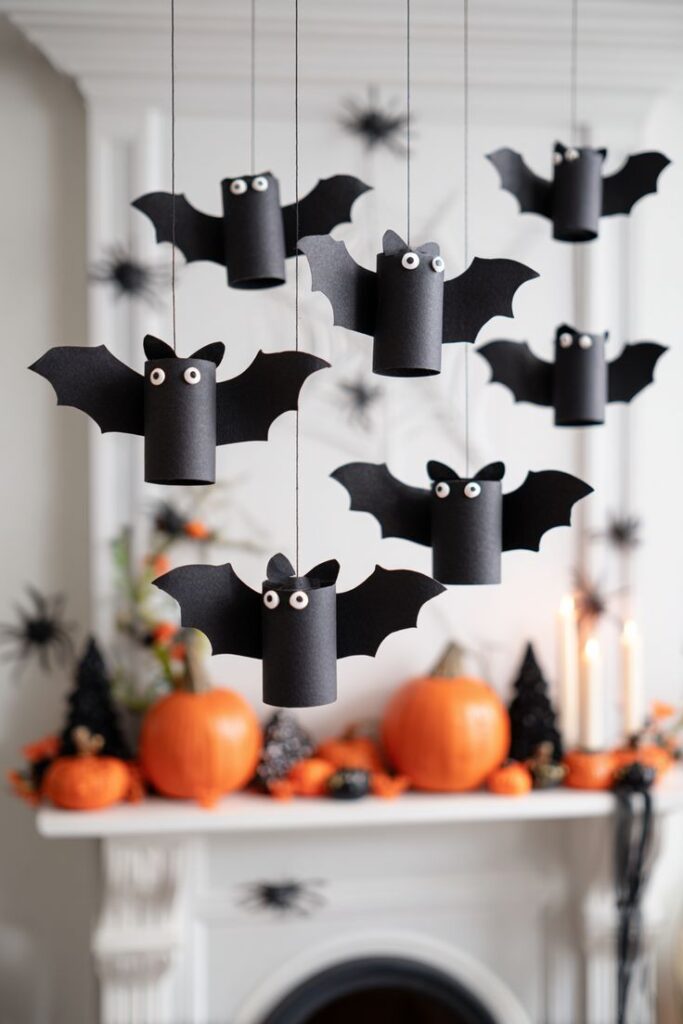
Transform empty toilet paper rolls into adorable Halloween bats with just black paint and a few simple supplies. This quick craft takes only minutes once the paint dries.
Start by painting your toilet paper roll completely black. Let it dry thoroughly before moving to the next step.
While the paint dries, cut out bat wing shapes from black construction paper or cardstock. You can find free printable wing templates online or draw your own.
Once dry, gently flatten one end of the tube and cut small triangular ear shapes. These will create the bat’s pointed ears when you open the tube back up.
Glue the wings to each side of your painted roll. Make sure they’re positioned evenly for the best look.
Add googly eyes or draw white circles with black dots for a friendly face. You can also draw a small mouth if desired.
These charming bats make perfect Halloween decorations for your home. Hang them with string to create a flying effect, or display them on shelves and mantels for instant spooky-cute decor.
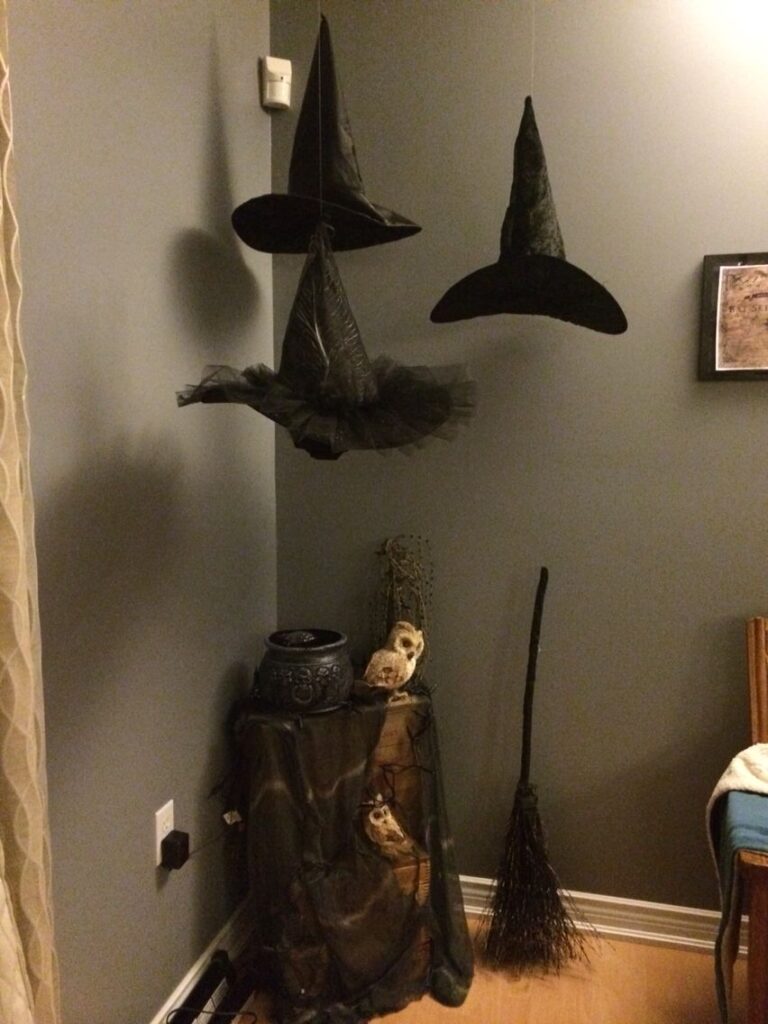
8) Floating Witch Hats from Wire and Fabric
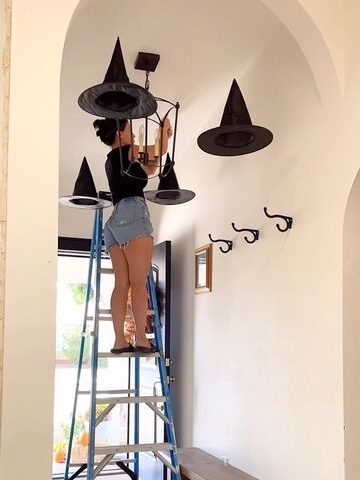
You can create enchanting floating witch hats using simple wire frames and fabric. Start by shaping wire coat hangers or craft wire into cone shapes for your hat bases.
Cut black fabric or felt into triangular pieces that match your wire frame size. Leave extra fabric at the bottom for a natural hat brim effect.
Stretch the fabric over your wire cone and secure it with hot glue or fabric adhesive. The wire gives structure while keeping the hat lightweight for hanging.
Thread clear fishing line through the top point of each hat using a large needle. This invisible line creates the magical floating illusion when hung from your porch ceiling or tree branches.
Add battery-operated LED candles or string lights inside each hat for a spooky glow. The light will shine through the fabric and create an eerie ambiance.
Hang your floating witch hats at different heights around your front porch or yard. The wire construction makes them durable enough to withstand light winds while maintaining their spooky shape.
You can customize each hat with different fabric textures like burlap, lace, or velvet for added visual interest.
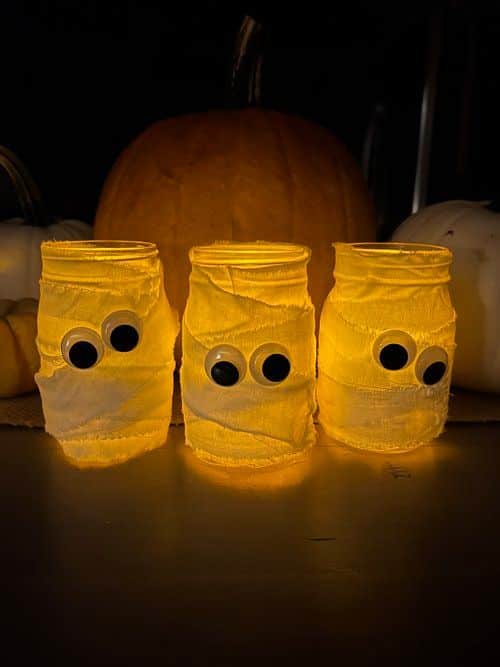
9) Mummy Mason Jars with Gauze Wraps
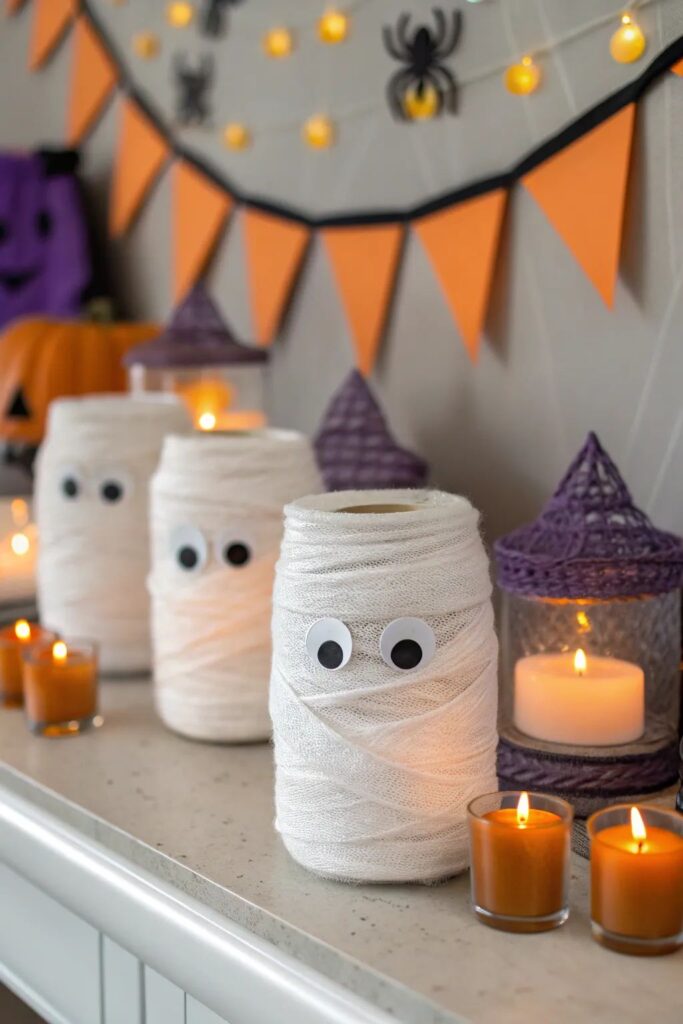
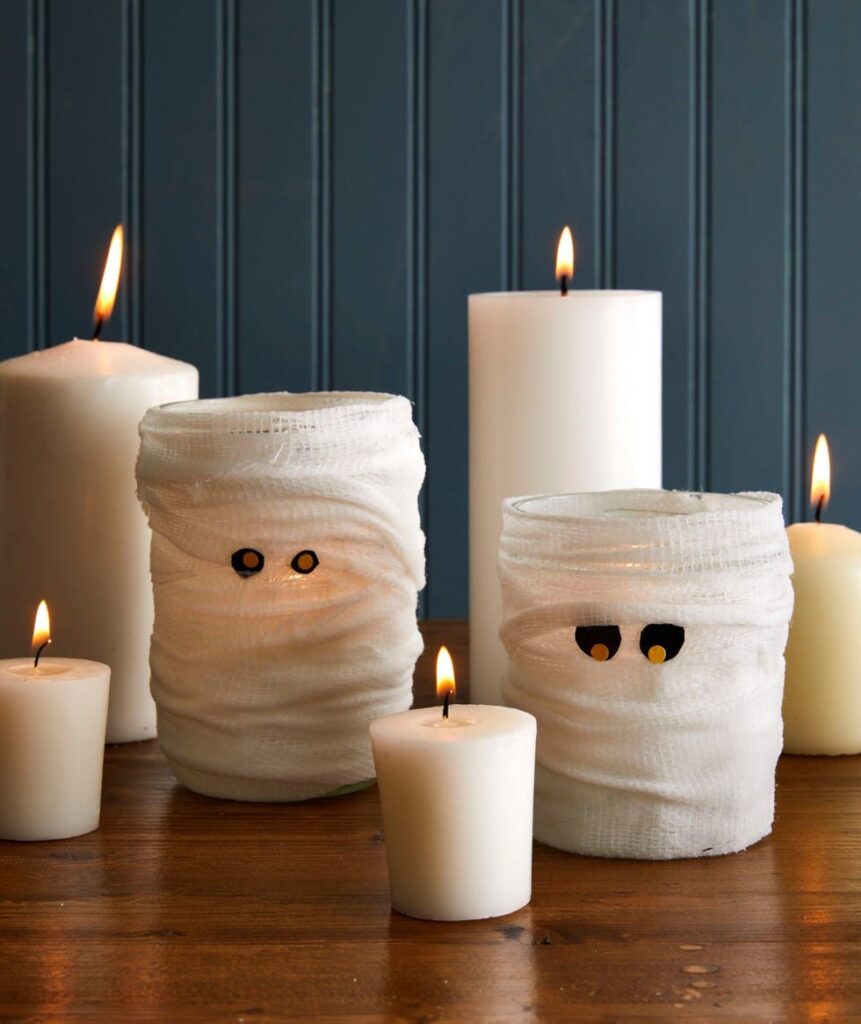
Transform ordinary mason jars into spooky mummy decorations with just a few simple supplies. You’ll need mason jars, white gauze or medical wrap, googly eyes, and hot glue.
Start by wrapping the gauze around your mason jar. Keep the gauze slightly loose but not saggy as you wind it around the jar. Leave some gaps between the layers to create an authentic mummy appearance.
Continue wrapping until you’ve covered most of the jar surface. Make sure to leave space near the top if you plan to add a battery-operated tea light inside.
Glue two googly eyes onto the gauze using hot glue or craft adhesive. Position them about one-third down from the top of the jar. Let the glue dry completely before handling.
Drop a battery-operated tea light or LED candle inside to create a glowing luminary effect. The light will shine through the gauze gaps for an eerie glow.
These mummy jars work perfectly as Halloween decorations on mantels, tables, or windowsills. You can make several in different sizes for a fun display that both kids and adults will enjoy creating together.
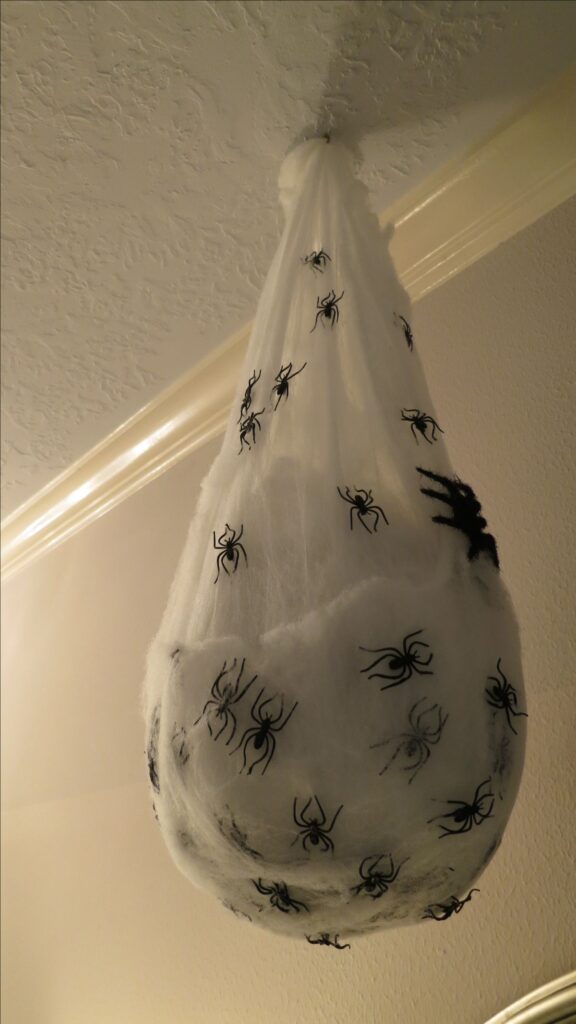
10) Spider Egg Sacs Using Yarn and Cotton
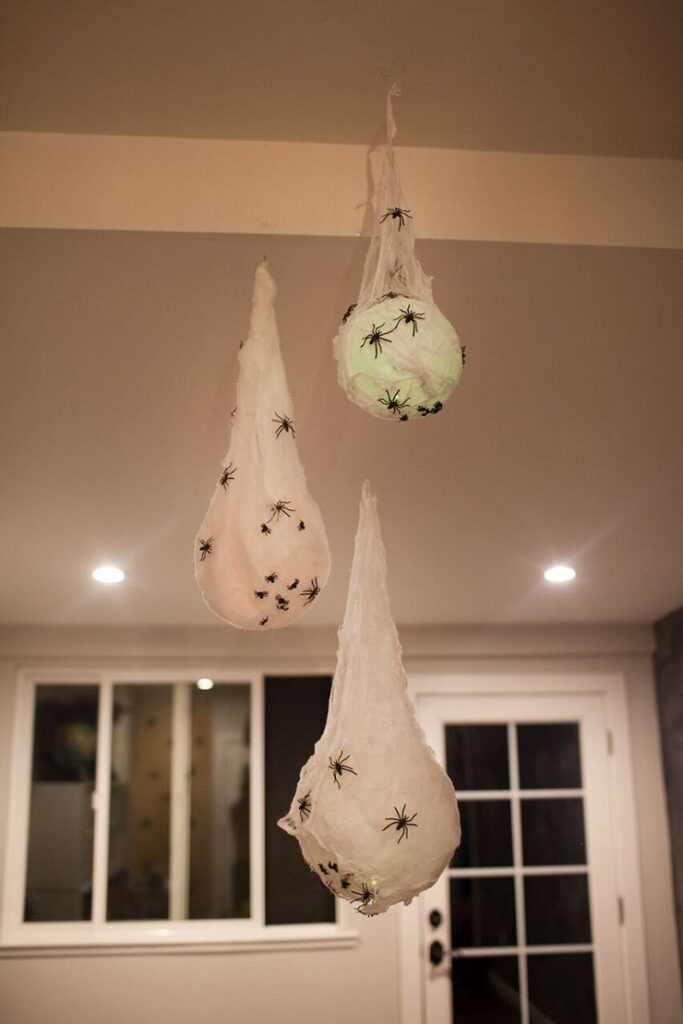
Creating spider egg sacs with yarn and cotton makes an authentically creepy Halloween decoration. You need white yarn, cotton batting or cotton balls, white glue, and balloons for structure.
Start by inflating small balloons to your desired egg sac size. Wrap the balloons with white yarn, leaving gaps between the strands for texture.
Apply white glue over the yarn-covered balloon. This helps everything stick together and creates the right consistency.
Stretch cotton batting or pull apart cotton balls to create webby, irregular shapes. Press the cotton onto the glue-covered yarn while it’s still wet.
Allow your creation to dry completely for at least 24 hours. The drying time depends on how much glue you used.
Once dry, carefully pop the balloon with a needle or pin. Remove the deflated balloon pieces from inside your egg sac.
Add plastic spiders crawling on the surface for extra spookiness. You can find decorative spiders at most craft stores during Halloween season.
Hang your finished egg sacs from trees, porches, or doorways using fishing line. Group several together for maximum impact in your Halloween display.
Essential Tips for Successful DIY Halloween Projects
Planning ahead and selecting appropriate materials will make your Halloween crafting experience safer and more enjoyable. Smart shopping strategies and efficient preparation techniques can help you create impressive decorations while staying within budget.
Choosing Safe Materials for All Ages
Safety should be your top priority when selecting craft materials, especially if children will help with the projects. Non-toxic paints, glues, and adhesives are essential for any Halloween DIY project involving kids.
Avoid materials with sharp edges or small parts that could pose choking hazards. Opt for child-safe scissors with rounded tips and washable markers instead of permanent ones.
When working with foam, cardboard, or fabric, choose items labeled as flame-resistant or fire-retardant. This is particularly important for decorations near heat sources like candles or light fixtures.
Check that any electrical components, such as LED lights or battery-operated items, have proper safety certifications. Replace damaged wires immediately and never leave battery-operated decorations unattended for extended periods.
Always read material labels carefully before purchasing. Some craft supplies contain allergens or chemicals that may irritate sensitive skin.
Budget-Friendly Supplies to Consider
Repurposing household items can significantly reduce your crafting costs while creating unique decorations. Empty jars, cardboard boxes, and old clothing make excellent bases for spooky transformations.
Dollar stores and discount retailers offer affordable craft supplies like foam sheets, plastic spiders, and basic paints. Stock up on neutral colors like black, white, and orange that work across multiple projects.
| Item Type | Budget Option | Average Cost |
|---|---|---|
| Paint | Acrylic craft paint | $1-3 per bottle |
| Fabric | Thrift store sheets | $2-5 each |
| Lighting | Battery LED strings | $3-8 per strand |
Buy materials in bulk when possible, especially items like glue sticks, construction paper, and basic tools. Many craft stores offer seasonal sales in early October.
Consider sharing supplies with neighbors or friends who are also crafting Halloween decorations. This reduces individual costs while building community connections.
Time-Saving Preparation Tricks
Set up your workspace before starting any project by gathering all necessary tools and materials in one location. This prevents interruptions and keeps your momentum going throughout the crafting process.
Pre-cut basic shapes and patterns during slower moments, such as while watching television. Store these prepared pieces in labeled containers for quick access during actual crafting time.
Create an assembly line approach for multiple decorations. Complete one step across all items before moving to the next step, which improves efficiency and consistency.
Use templates and stencils to speed up repetitive tasks like cutting out bats, pumpkins, or ghost shapes. Print designs on cardstock for durability across multiple uses.
Involve family members by assigning age-appropriate tasks to each person. Younger children can sort materials while older kids handle more complex cutting or painting duties.
Prepare cleanup supplies in advance by laying out paper towels, wet wipes, and trash bags. Quick cleanup between steps prevents dried paint or glue from creating bigger messes later.
Inspiring Ways to Showcase Your Creations
Your DIY Halloween projects deserve the spotlight, whether through strategic home placement or digital sharing. Creating memorable displays and connecting with others amplifies the joy of crafting.
Decorating Your Home for Maximum Impact
Place your DIY decorations where they create the strongest visual impact. Front porches and entryways make perfect focal points for trick-or-treaters and guests.
Group smaller decorations together to create themed vignettes. Three carved pumpkins look more impressive than one alone.
Use lighting strategically to highlight your best pieces. Battery-operated LED spotlights can illuminate outdoor displays without complicated wiring.
Create layers with your decorations. Place taller items in back, medium pieces in middle, and smaller accents in front. This creates depth and visual interest.
Window displays catch attention from both inside and outside your home. Silhouette cutouts work particularly well for this purpose.
Consider traffic flow when positioning decorations. Place interactive elements where people naturally pause, like walkways or doorsteps.
Sharing Your Designs on Social Media
Take photos during daylight for craft process shots and at dusk for atmospheric finished products. Natural lighting shows true colors and details.
Use relevant hashtags like #DIYHalloween, #HalloweenCrafts, and #HandmadeHalloween to reach interested audiences.
Share step-by-step photos showing your creation process. People love seeing the transformation from raw materials to finished decoration.
Write detailed captions explaining your materials and techniques. This helps others recreate your projects successfully.
Tag craft stores or brands whose supplies you used. They often share customer creations, expanding your reach.
Post at optimal times when your followers are most active, typically evenings and weekends during Halloween season.
Hosting a Halloween-Themed Craft Night
Set up multiple craft stations with different difficulty levels. This accommodates various skill levels and keeps everyone engaged.
Prepare supply lists in advance and ask guests to contribute specific items. This spreads costs and ensures you have everything needed.
Choose projects that can be completed in 2-3 hours. Simple decorations like painted pumpkins or paper bat garlands work well.
Create a spooky playlist and serve themed snacks to enhance the atmosphere. Orange and black foods add to the Halloween spirit.
Set up a photo area where guests can showcase their finished creations. This creates lasting memories and social media content.
Provide take-home bags so guests can transport their projects safely. Include care instructions for more delicate items.
- 483shares
- Facebook0
- Pinterest480
- Twitter3
- Reddit0


