Drawing anime bodies can feel challenging at first, but it becomes much easier once you understand the basic proportions and structure. You create stronger characters when you build their bodies using simple shapes and clear guidelines before adding details. This approach makes your drawings look balanced and consistent.
You don’t need to copy every detail from real anatomy, but knowing how the torso, limbs, and joints connect helps you stylize with confidence. By practicing step-by-step, you’ll see how small adjustments in proportion or pose can completely change the personality of your character.
As you improve, you’ll also learn how to add movement and customize body types to fit the style you want. With steady practice, your sketches will shift from stiff outlines to dynamic figures full of energy.
Key Takeaways
- Start with clear proportions to build a solid base
- Break the body into simple steps for easier drawing
- Add movement and style to bring characters to life
Understanding Anime Body Proportions
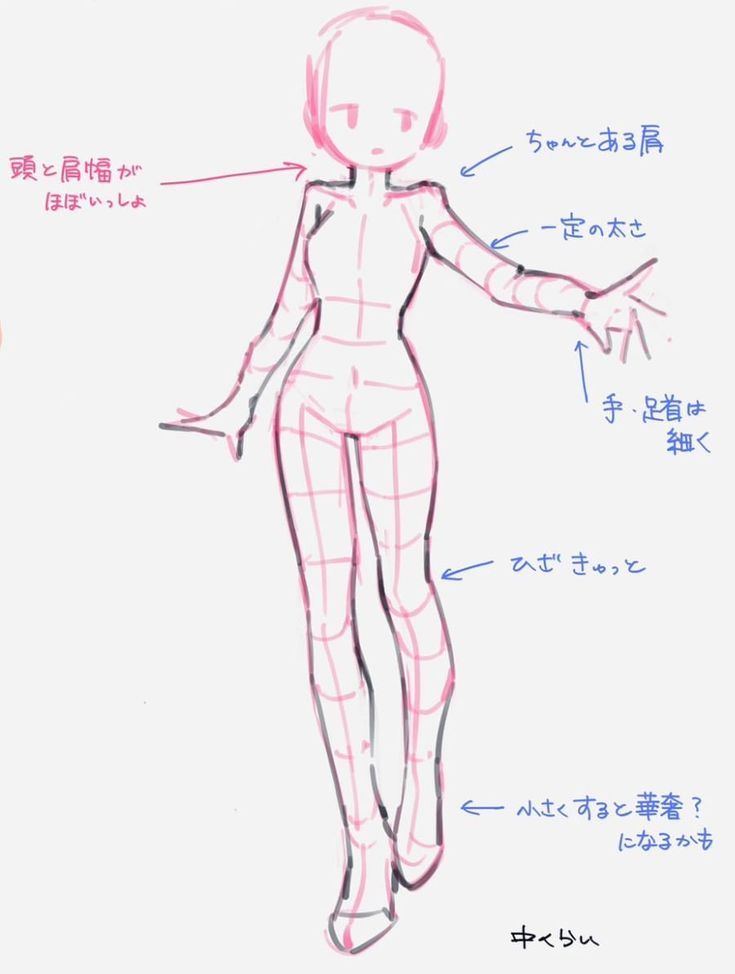
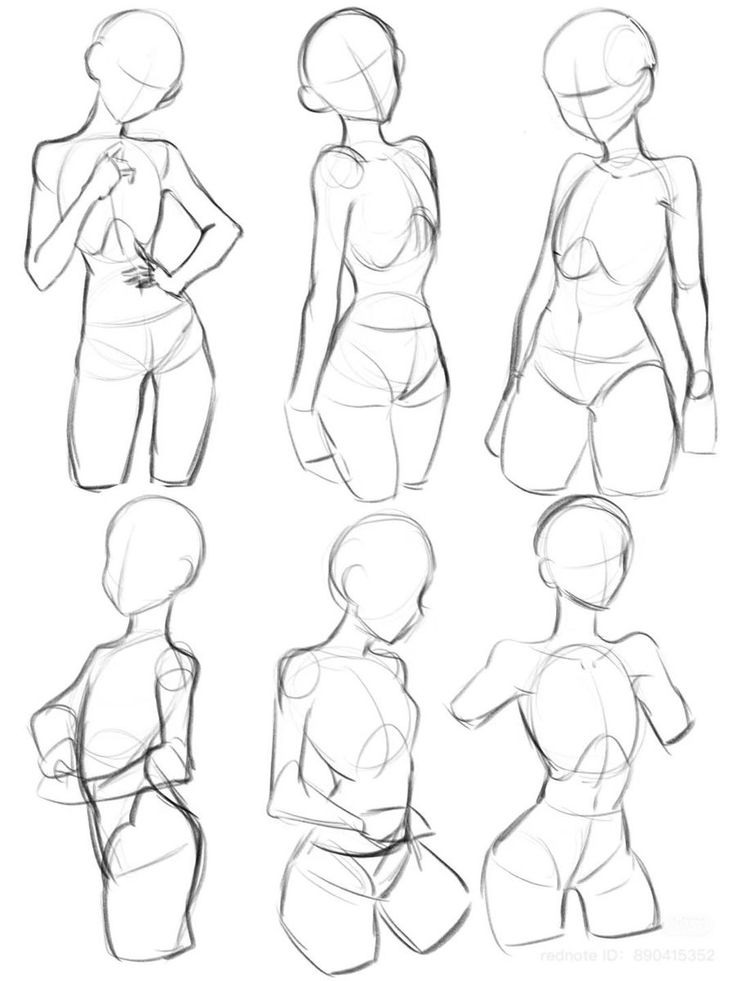
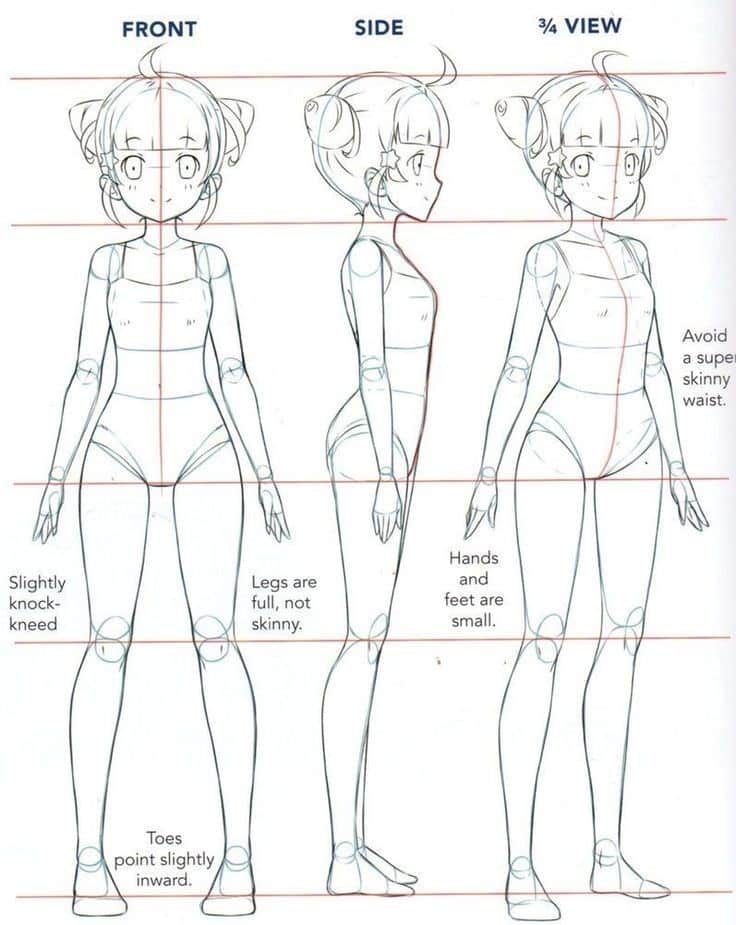
When you draw anime characters, you rely on simplified anatomy that balances realism with stylization. The proportions you choose affect how old, tall, or expressive your character appears.
Key Differences Between Anime and Realistic Anatomy
Anime bodies often simplify or exaggerate features, while realistic anatomy follows natural human measurements. For example, shoulders may be narrower, legs longer, and heads slightly larger compared to real bodies. This creates a stylized look that emphasizes personality over strict realism.
You’ll also notice that anime often reduces muscle detail. Instead of showing every muscle group, you work with smooth shapes that suggest form without clutter. This gives you more freedom to focus on silhouette and pose.
Facial proportions shift as well. Eyes are drawn larger, noses are minimized, and mouths are simplified. These changes keep attention on expressions rather than exact anatomy.
Common Proportion Guidelines
Artists often measure body height in “heads.” In anime, adult bodies usually range from 5.5 to 7 heads tall, while more realistic styles may reach 8 heads tall. Chibi characters shrink to around 2–3 heads tall, creating a playful, childlike effect.
Here’s a quick reference:
| Style | Typical Ratio (Heads Tall) | Notes |
|---|---|---|
| Chibi | 2–3 | Exaggerated, cartoon-like |
| Teen/Young Adult | 5.5–6.5 | Most common in anime/manga |
| Mature Adult | 6.5–7.5 | Taller, more realistic look |
When you sketch, start with a simple stick figure or box shapes to block out the torso, hips, and limbs. This helps you maintain proportion before adding details like clothing or hair.
Age and Gender Variations in Anime Bodies
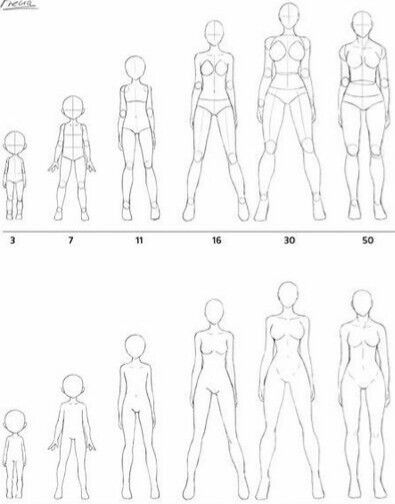
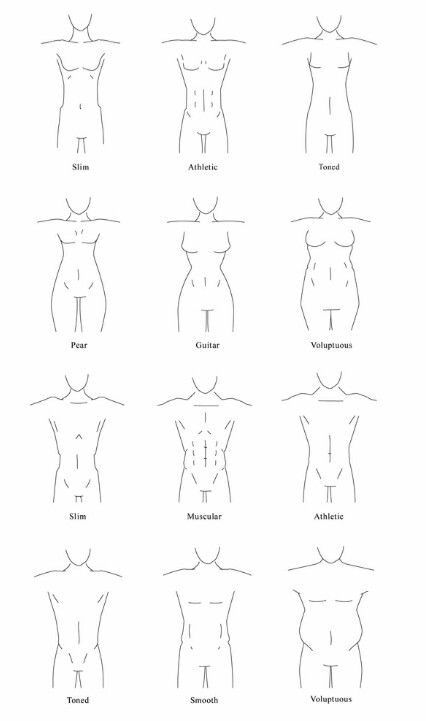
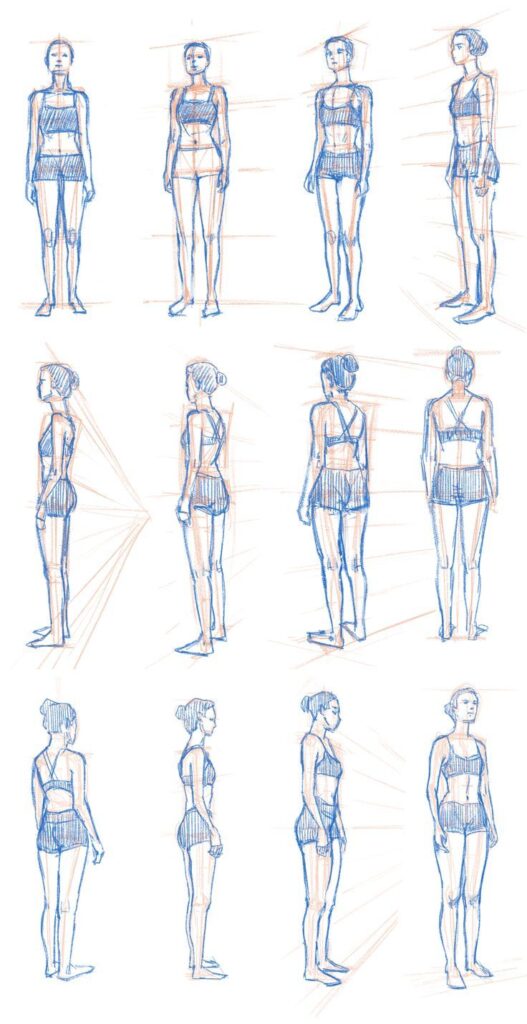
You adjust proportions depending on age and gender. Younger characters often have larger heads compared to their bodies, shorter limbs, and rounder features. This makes them appear more childlike and approachable.
Female characters usually have narrower shoulders, wider hips, and a slightly shorter torso. Male characters often have broader shoulders, longer torsos, and more angular builds. These differences are subtle but important for clear visual identity.
For older or more serious characters, you might stretch the body to 7 heads or more. For younger teens or stylized designs, you can keep it closer to 5–6 heads tall. This flexibility is what makes anime drawing versatile and fun.
Step-by-Step Guide to Drawing Anime Bodies
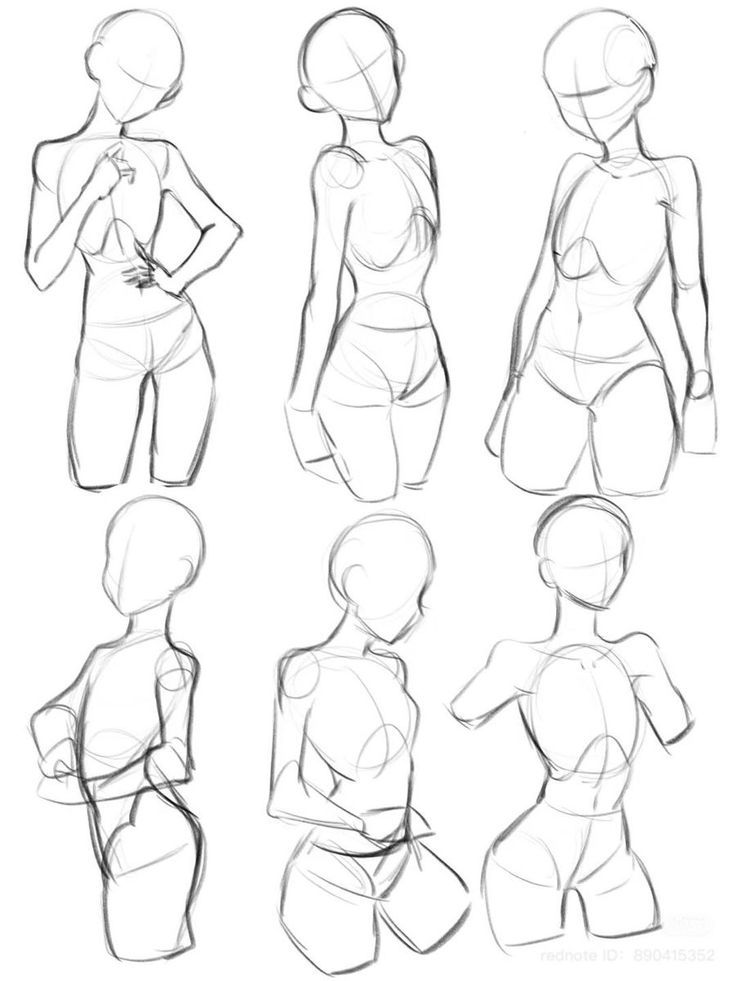
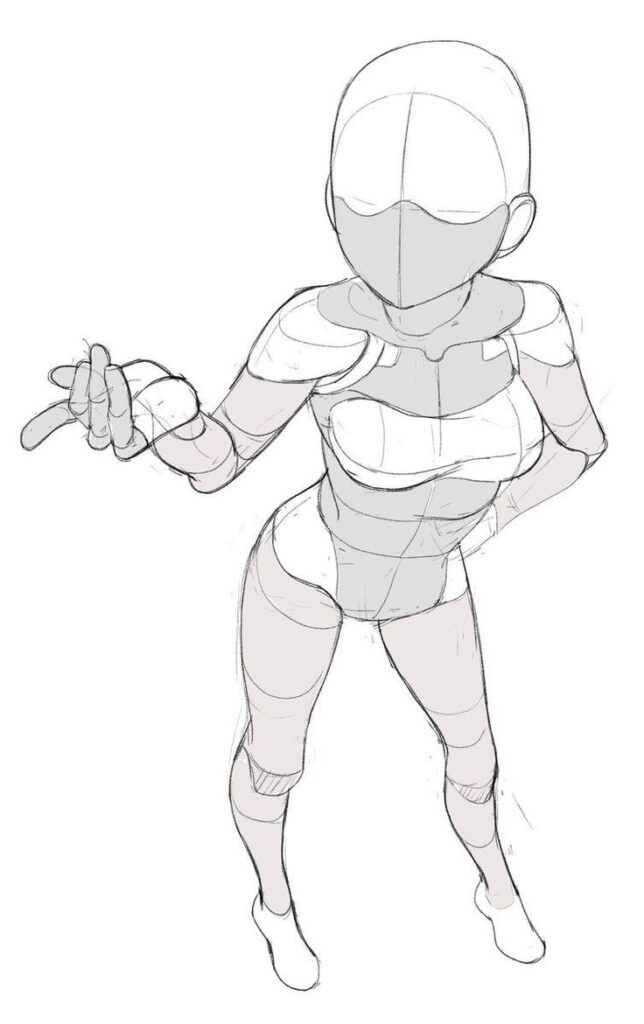
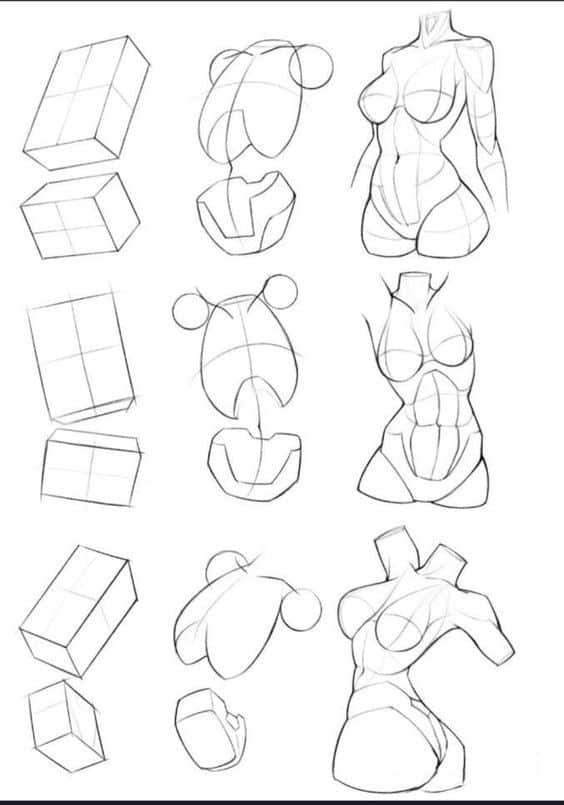
When you draw anime bodies, you focus on proportion, structure, and expression. A clear framework helps you place each feature correctly, and refining details brings the character to life.
Constructing the Basic Framework
Start with a simple stick figure to map out the pose. Use straight and curved lines to show the spine, shoulders, and hips. This keeps the body balanced and avoids stiff-looking drawings.
Mark the body’s height in head units. Many anime characters measure about 6–7 heads tall, though younger characters may be shorter. This gives you a consistent scale to follow.
Add basic shapes to flesh out the figure. Use circles or ovals for joints, rectangles for the torso, and cylinders for arms and legs. Keeping the framework light and simple makes adjustments easy before adding details.
Drawing the Head, Torso, and Limbs
Sketch the head as an oval or circle, then divide it with a vertical line to guide facial symmetry. A horizontal line across the middle helps you place the eyes later.
For the torso, block out the ribcage with a rounded rectangle and the pelvis with a smaller shape. Connect them with a slight curve to represent the spine. This creates a natural flow in posture.
Draw the limbs using tapered cylinders. Keep shoulders narrower for female figures and broader for male figures. Check proportions: arms should reach mid-thigh, and legs should make up about half the body height.
Adding Facial Features and Expressions
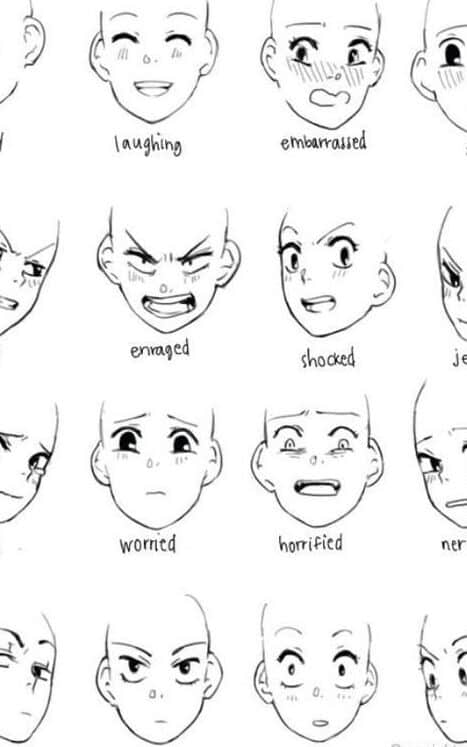
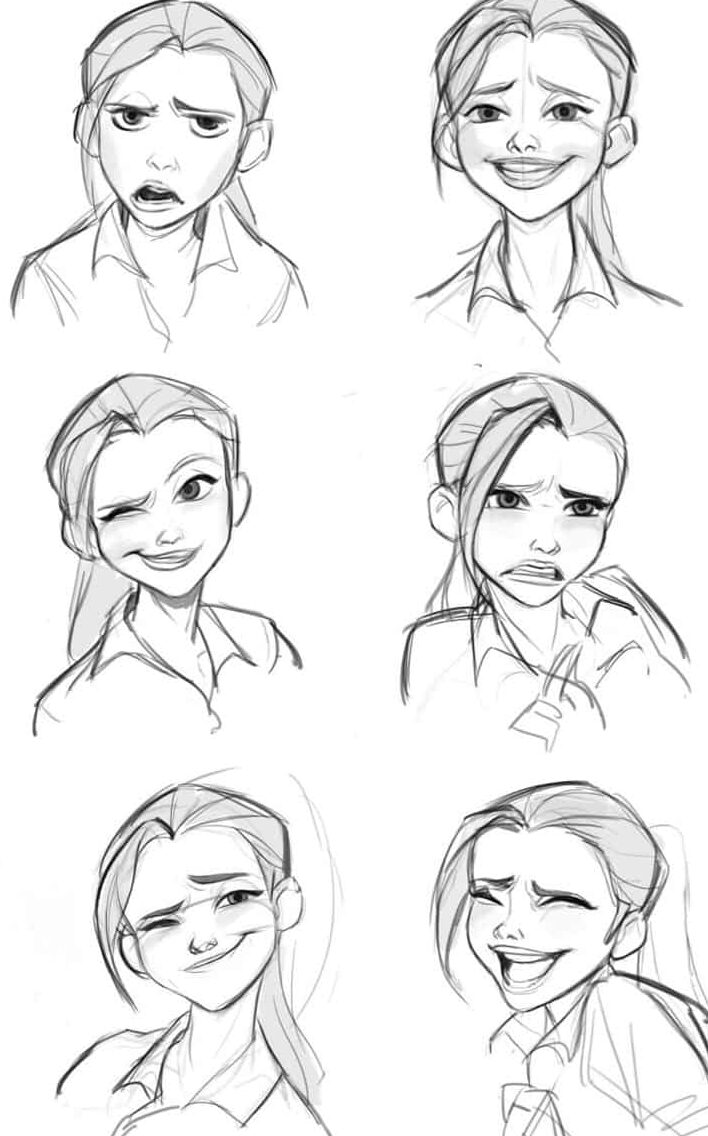
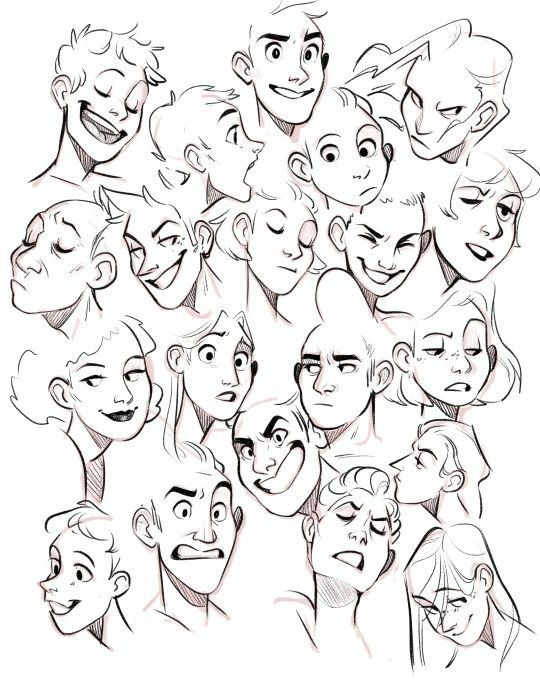
Place the eyes along the horizontal guideline. Anime eyes are often larger and more stylized, but keep them proportional to the head’s size. Use simple curved lines for eyebrows and a small triangle or dot for the nose.
Keep the mouth low on the face, usually between the nose and chin. A short line or curve is enough to suggest expression. Adjust the curve to show different moods like happiness, surprise, or frustration.
Add hair with layered strands instead of individual lines. Think of it as grouped shapes that follow the head’s outline. This keeps the style clean and consistent while supporting the character’s personality.
Mastering Body Parts in Anime Drawing
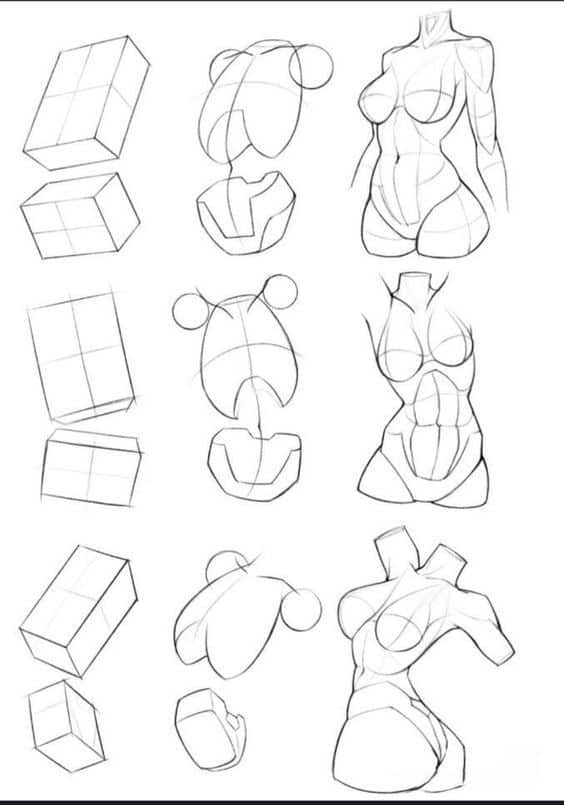
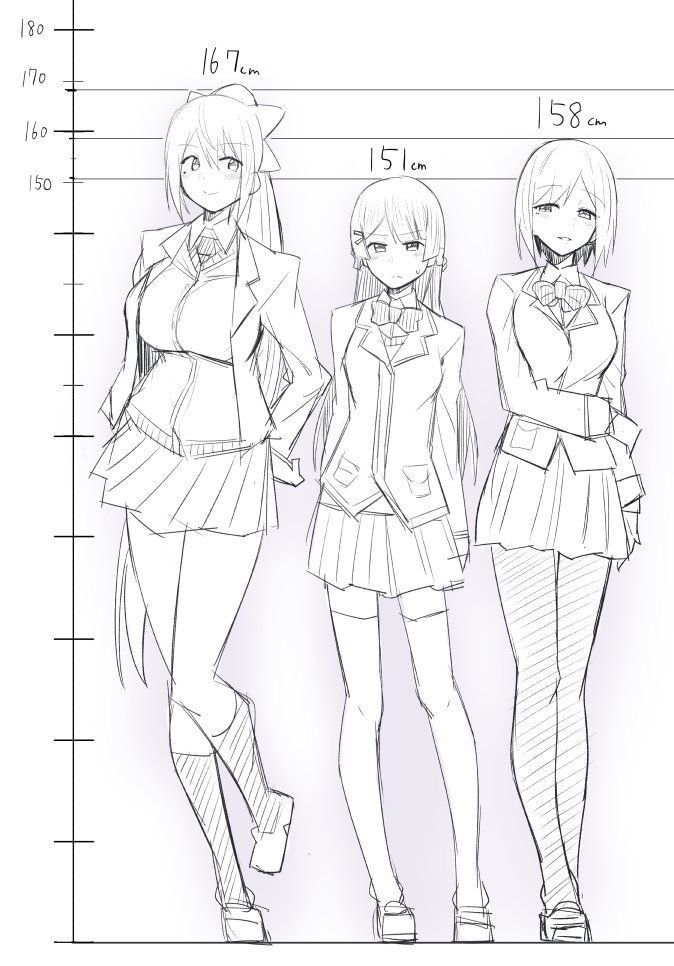
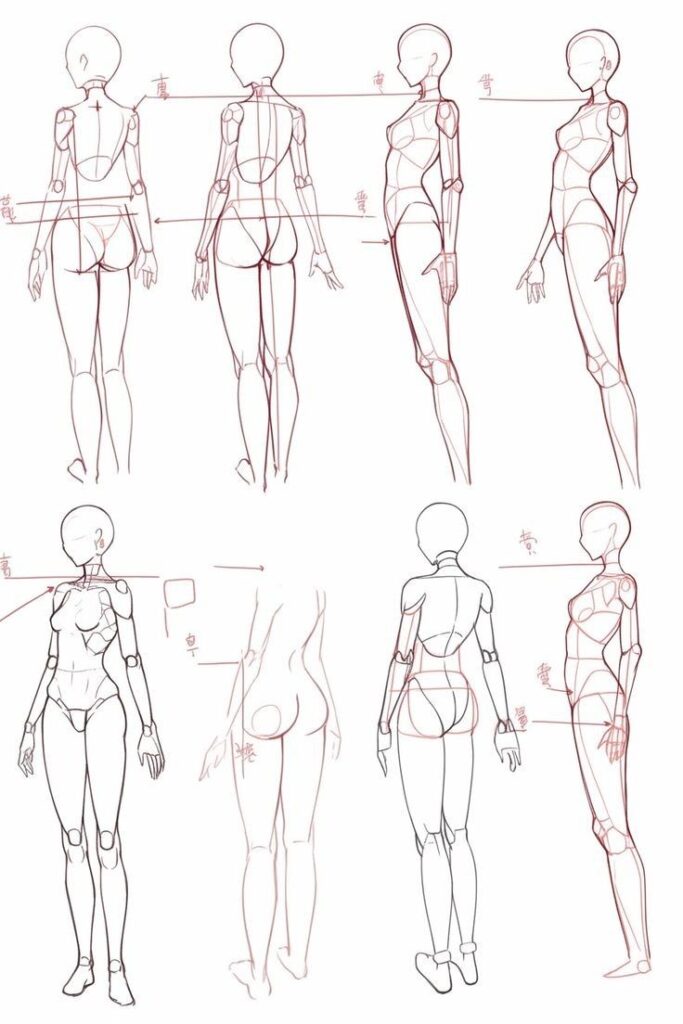
When you draw anime bodies, small details in hands, feet, and joints often decide whether your character looks natural or stiff. Paying attention to proportions, angles, and simplified anatomy helps you create figures that feel consistent and balanced.
Drawing Hands and Fingers
Hands can be tricky, but breaking them into simple shapes makes the process easier. Start with a flat square-like shape for the palm, then attach rectangles or cylinders for fingers. This helps you keep proportions in check before adding details.
Think of fingers as having three segments. You can sketch them as small blocks or tapered tubes to show bending and movement. Keep the thumb angled outward since it doesn’t align with the other fingers.
Anime hands often use simplified lines, but you should still show the curve of knuckles and the way fingers taper toward the tips. Practice drawing open palms, fists, and pointing gestures to understand flexibility.
A quick tip is to rotate the hand in different positions using a mirror or photo reference. This helps you avoid stiff, repeated shapes.
Drawing Feet and Legs
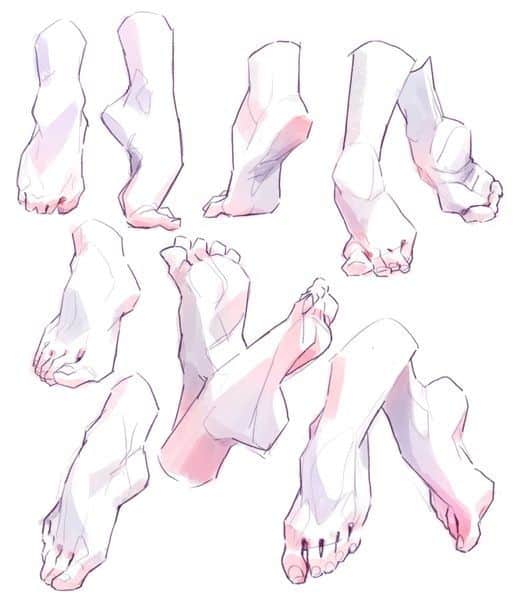
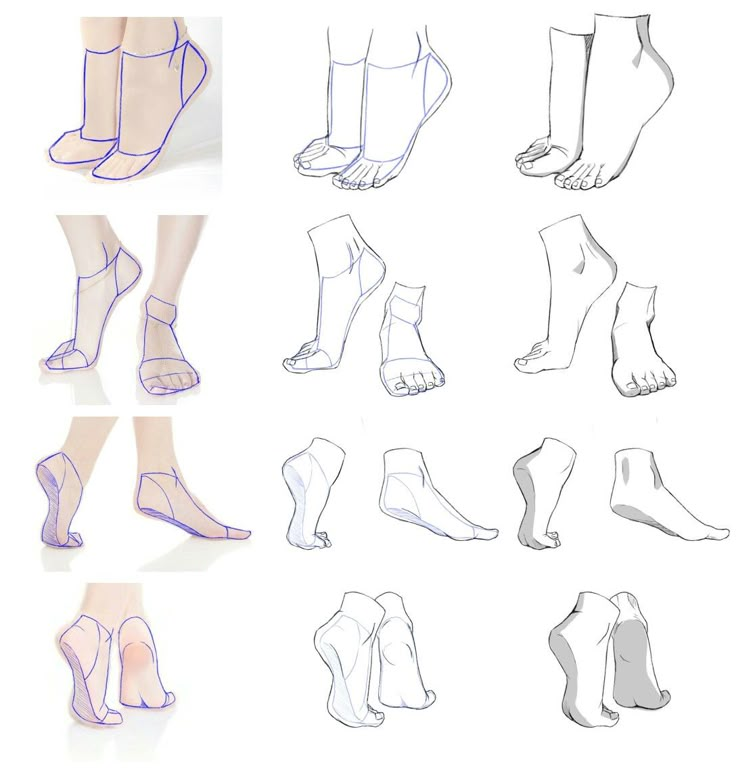
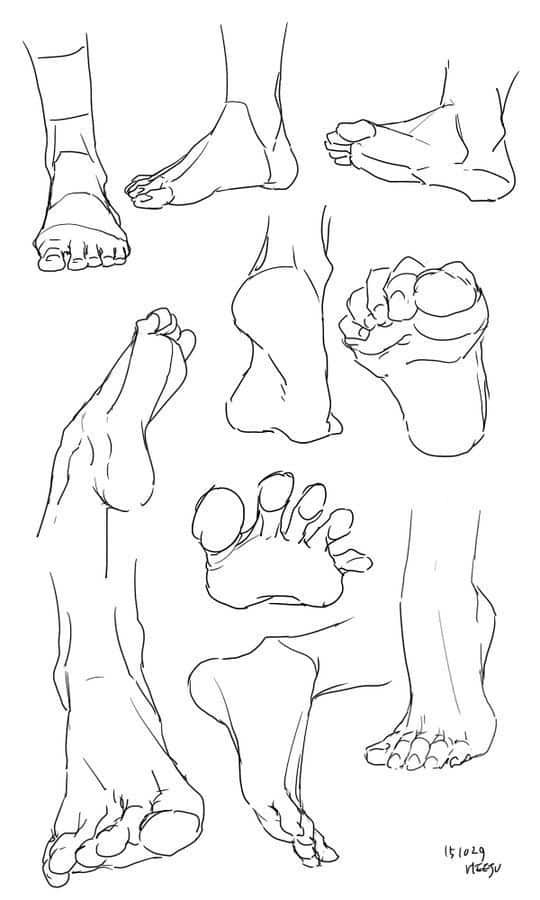
Feet support the body, so their placement affects balance in your drawing. Begin by sketching a wedge-like shape for the foot, then add a small block for the heel. This keeps the structure simple and easy to adjust.
Toes can be drawn as a single rounded form in anime, but showing slight separation adds realism. Pay attention to how the arch of the foot changes when standing flat versus on tiptoe.
For legs, break them into two main parts: thigh and lower leg. Use cylinders or long boxes to keep proportions consistent. The knee should sit slightly higher than the halfway point between hip and ankle.
When you draw anime legs, exaggerating length slightly creates a more stylized look, but avoid making them too thin or stiff. Practice walking, sitting, and crouching poses to understand natural movement.
Shoulders, Arms, and Joints
Shoulders set the tone for arm movement. Sketch them as rounded shapes that connect smoothly to the torso. In anime, shoulders are often narrower for female characters and broader for males.
Arms can be divided into the upper arm (humerus) and lower arm (radius and ulna). Using cylinders helps you keep proportions correct and makes it easier to adjust angles. Remember that the elbow bends slightly above the midpoint of the arm.
Joints should look flexible, not mechanical. You can show this by using soft curves where the arm bends instead of sharp corners. Adding slight muscle definition, like the bicep and forearm, helps without making the style too realistic.
Practice drawing arms in different poses, such as crossed, raised, or resting at the side. This will help you capture natural weight and flow in your characters.
Dynamic Poses and Movement
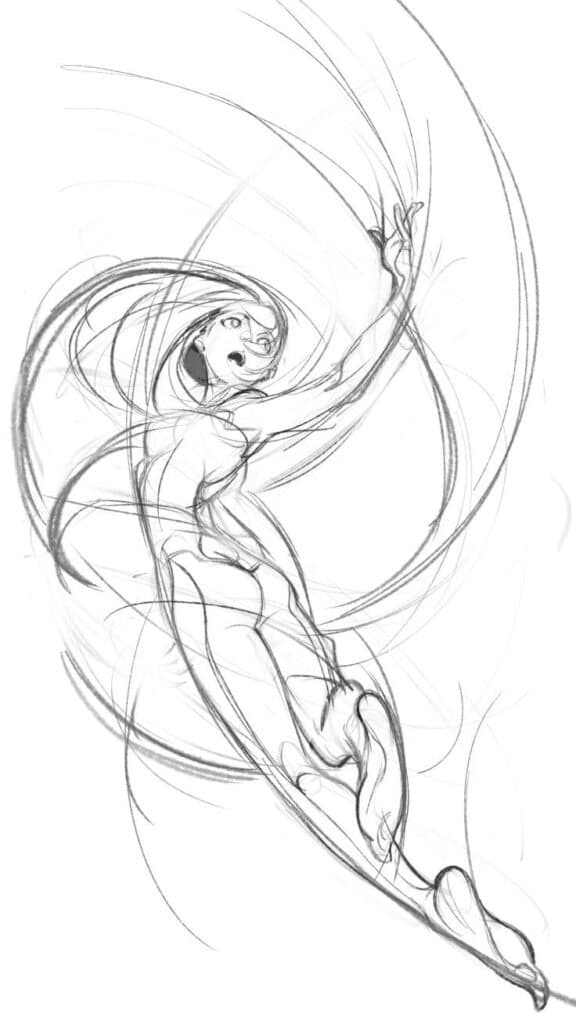
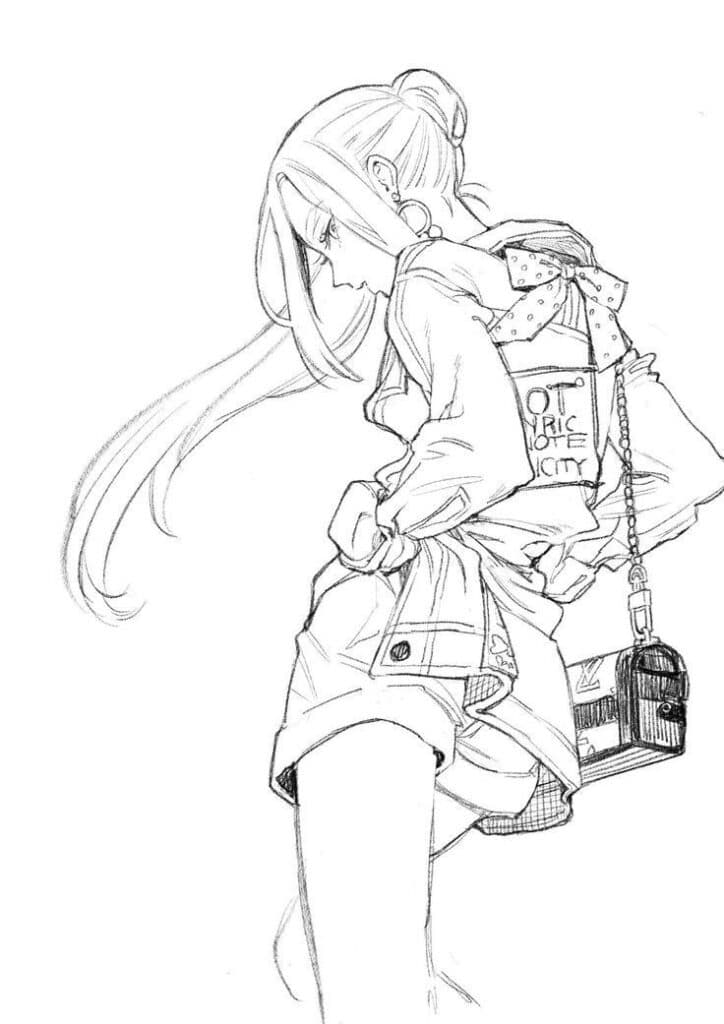
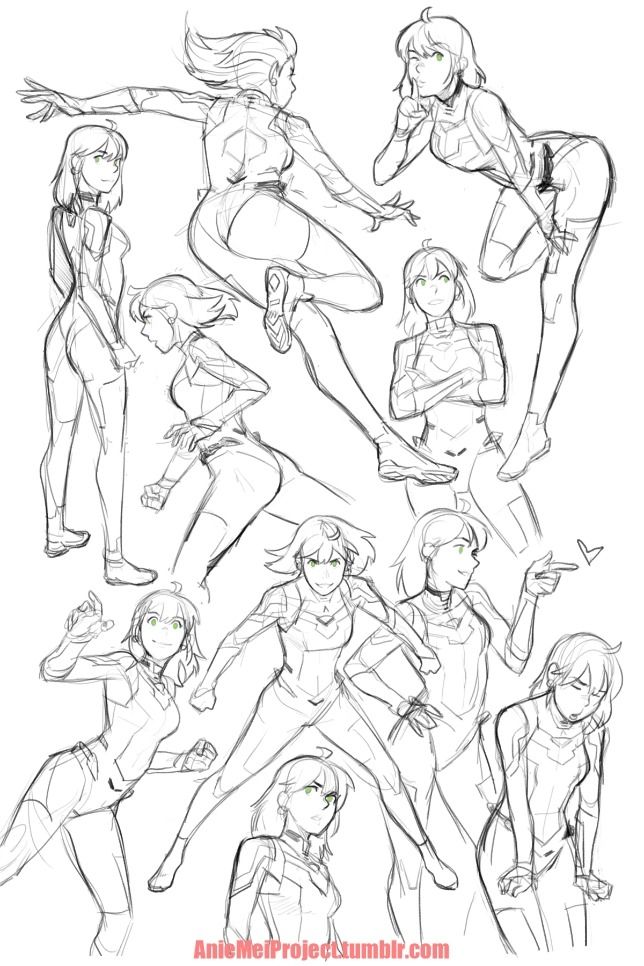
When you want your anime characters to feel alive, you need to focus on how the body carries energy, weight, and direction. Paying attention to flow, balance, and perspective helps you avoid stiff or static figures.
Gesture Drawing Techniques
Gesture drawing gives you a quick way to capture the essence of a pose before adding details. Instead of starting with rigid outlines, you sketch loose lines that follow the body’s motion. This helps you find the rhythm of the figure.
You should practice drawing poses in 30–60 second intervals. Short sessions force you to focus on energy and movement rather than perfection. Over time, you’ll notice your characters look less stiff and more natural.
A helpful method is to use the line of action. This single curved line shows the flow of the body, such as a bend in the spine or the arc of a jump. Adding limbs and proportions around this line makes your drawings feel grounded in movement.
Try experimenting with different poses like running, crouching, or swinging a weapon. Even when drawing standing figures, a slight tilt in the shoulders or hips can make the pose feel more believable.
Creating Action and Motion
To make your anime drawings feel dynamic, you need to think about how the body reacts to force. For example, when a character runs, the arms swing opposite to the legs, and the torso twists slightly. These small details add energy to the pose.
Adding motion lines or exaggerating the angle of the limbs can also suggest speed. For instance, a punch looks stronger if you extend the arm at an angle rather than straight forward. Overlapping shapes, like one leg stepping in front of the other, can show depth and direction.
Pay attention to balance. If your character is mid-kick, the supporting leg must carry enough weight to keep the pose stable. Without this, the figure looks like it might fall over.
Using reference photos or pose libraries can give you ideas for realistic stances. Once you understand the basics, you can push the exaggeration to match anime’s stylized look.
Perspective and Foreshortening
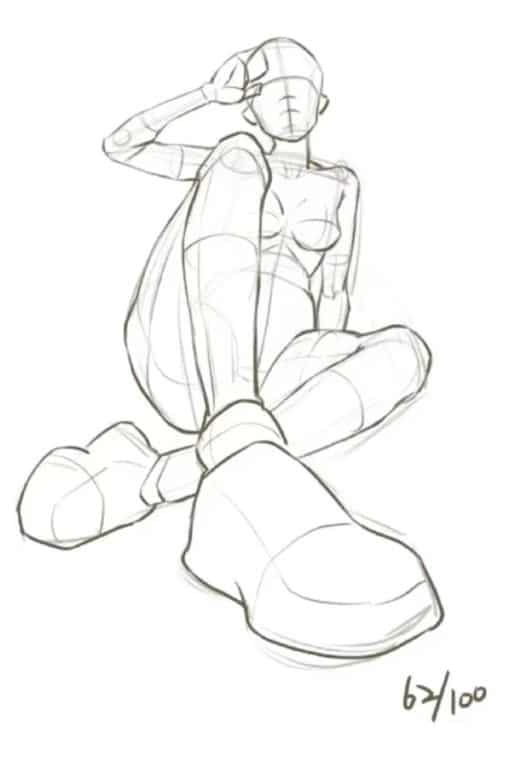
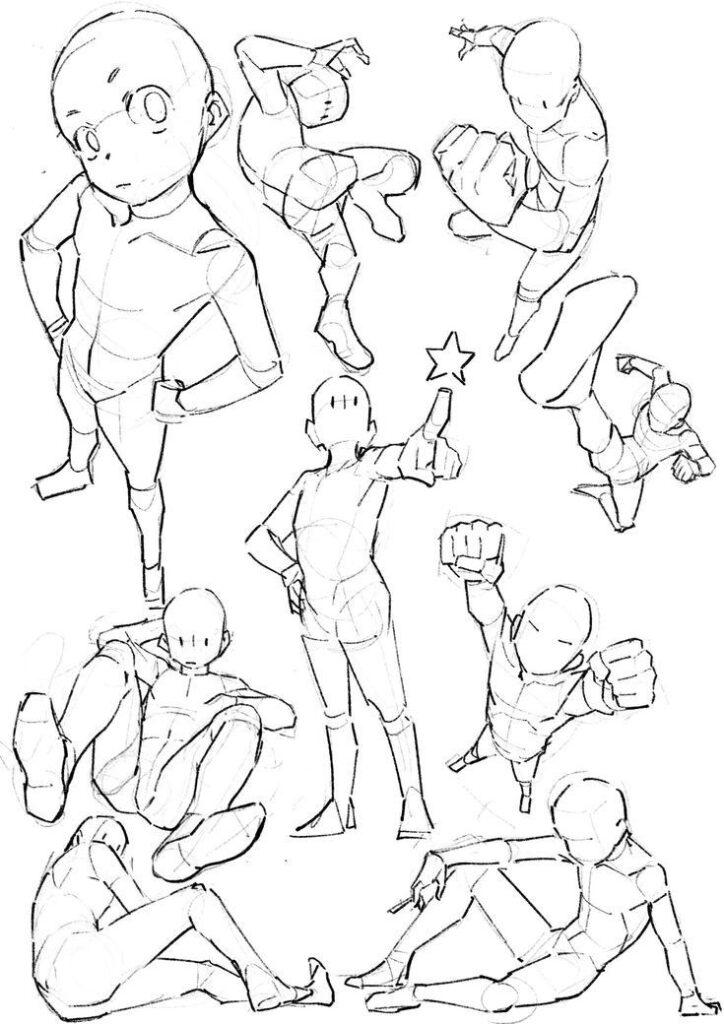
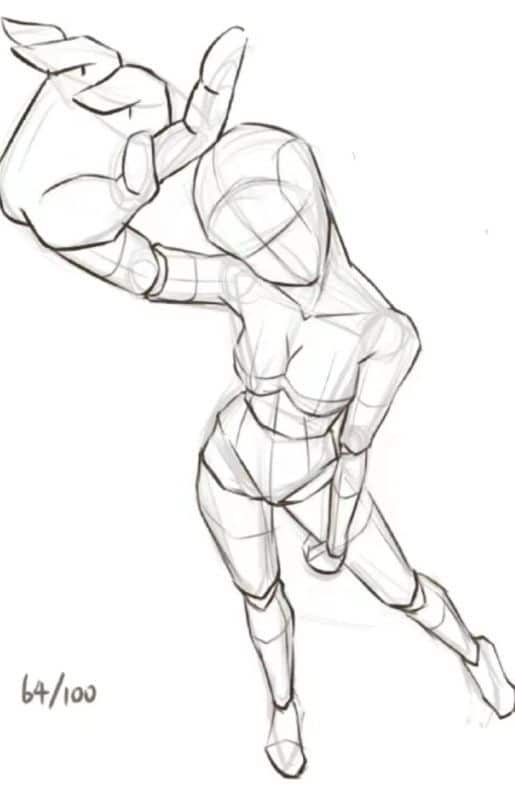
Perspective and foreshortening are essential for drawing anime poses that feel three-dimensional. When a limb points toward the viewer, it should appear shorter and larger at the front, tapering as it moves back. This creates depth and makes the action more convincing.
You can practice by drawing simple cylinders or boxes in perspective before applying them to arms and legs. Breaking the body into basic shapes helps you control proportions while experimenting with angles.
A useful approach is to place the viewer’s eye level and imagine how the character would look from that point. For example, a low-angle view emphasizes power, while a high-angle view makes the character appear smaller or weaker.
Foreshortening can be tricky, so start with subtle angles before attempting extreme poses like a fist thrusting straight at the viewer. With practice, your anime drawings will gain more impact and visual variety.
Styling and Customizing Anime Bodies
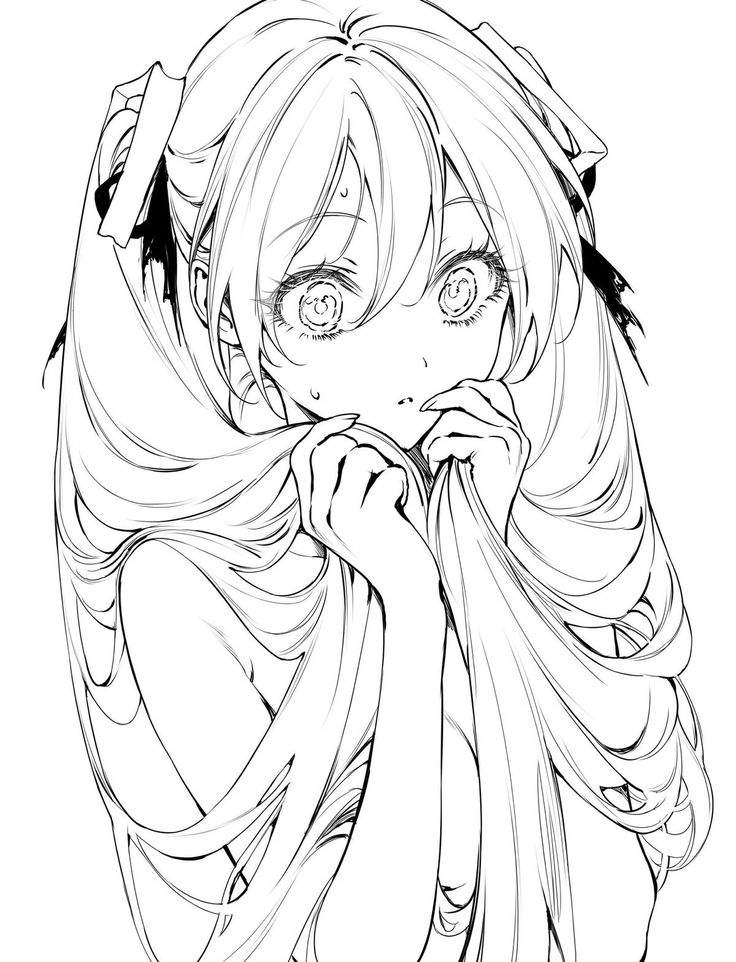
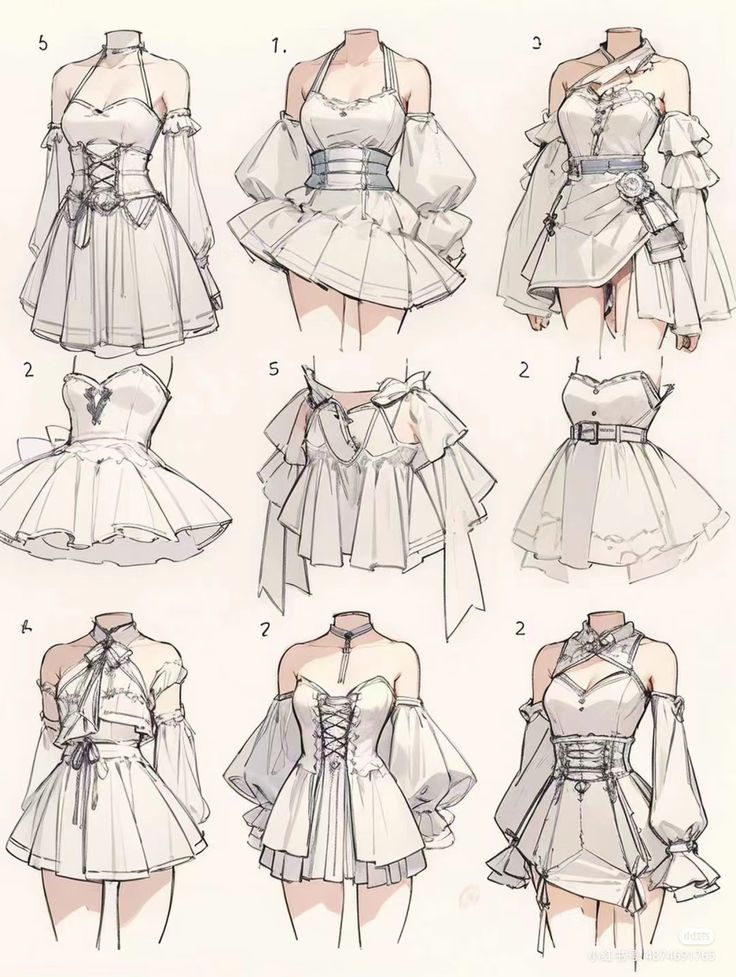
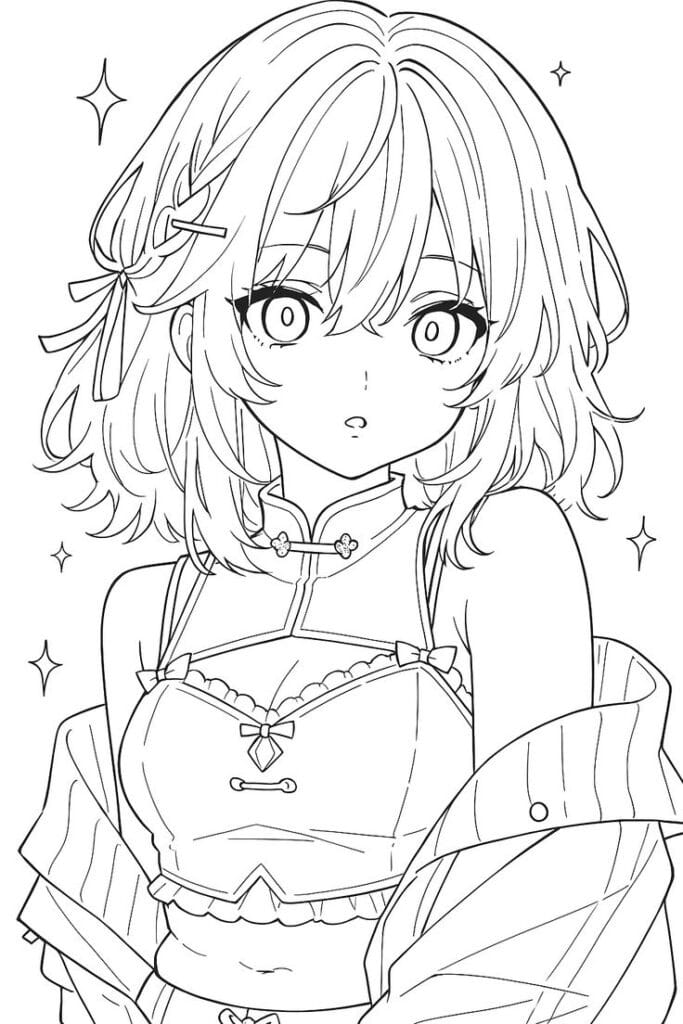
When you design anime characters, the body shape, posture, and clothing choices all work together to define how others will view them. Small adjustments in proportions or the way a character stands can completely change how their personality comes across.
Body Types and Shapes
You can create very different impressions by adjusting body proportions. A tall, lean frame often suggests agility or elegance, while a shorter, rounder body might feel more approachable or youthful. Exaggerated proportions are common in anime, but balance helps maintain appeal.
It helps to think in terms of basic body categories:
- Slim/athletic: sharper lines, longer limbs
- Average build: balanced proportions, softer curves
- Stocky/compact: shorter limbs, broader torso
Mixing elements from these categories gives you more variety. For example, you might draw a strong, muscular torso paired with thinner legs to emphasize power in the upper body.
Experiment with silhouettes by sketching quick outlines before adding detail. This lets you test how the body shape communicates personality without committing to fine anatomy right away.
Expressing Personality Through Posture
Posture adds life to your character. A confident character might stand upright with open shoulders, while a shy one could draw their arms closer and tilt their head down. Even small shifts in weight distribution can suggest mood or intent.
Think about weight placement. When you place more weight on one leg, the body naturally forms an “S” curve, which looks relaxed or casual. A straight, evenly balanced stance feels formal or rigid.
You can also use gestures to reinforce personality. For example:
- Hands on hips → assertive or playful
- Arms crossed → defensive or serious
- Leaning forward → curious or engaged
Practicing these variations helps you avoid stiff, lifeless poses. Always imagine what your character is feeling in the moment to guide how you angle the body.
Clothing and Accessories
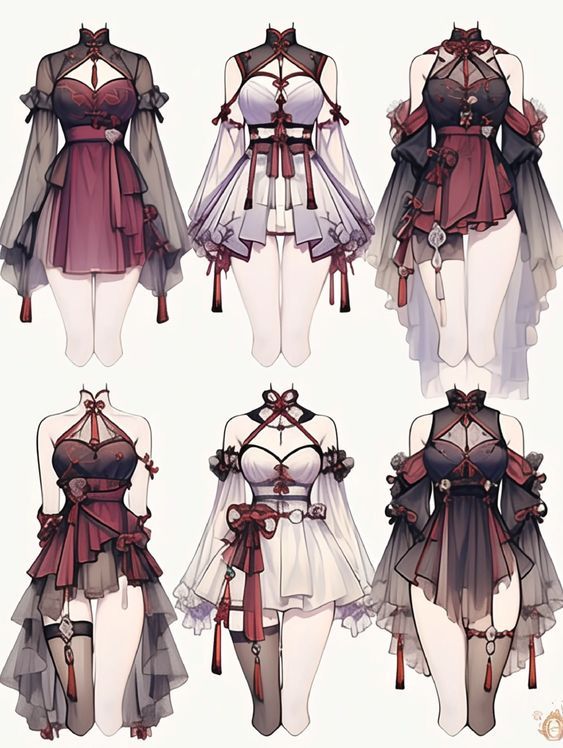
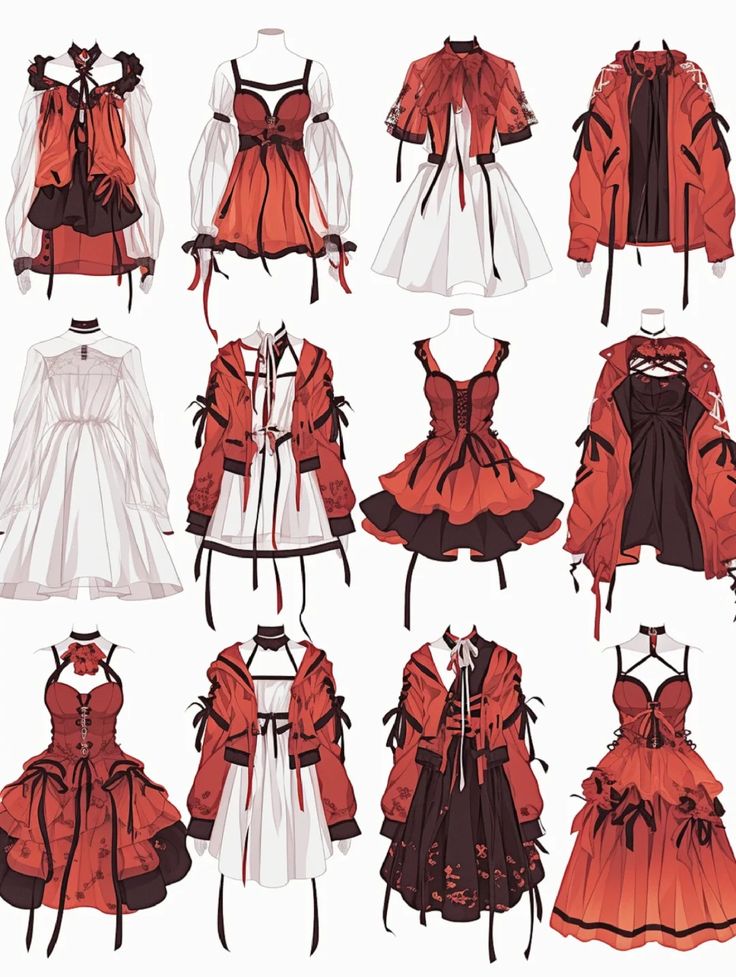
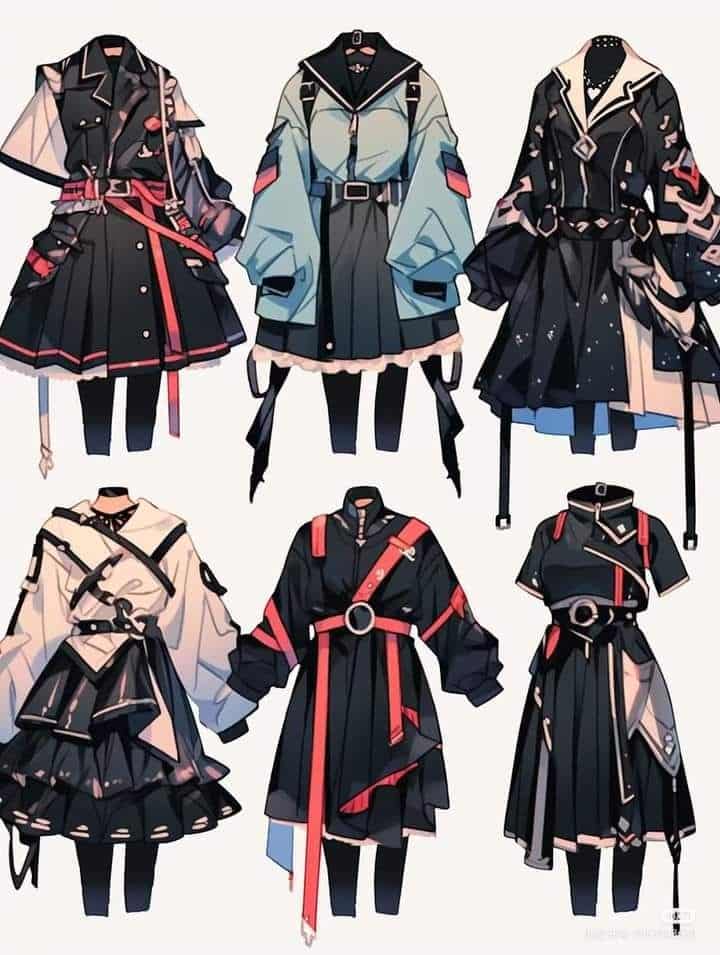
Clothing shapes the silhouette and adds context to the body you’ve drawn. Loose, flowing outfits can hide form and make a character seem softer, while tight or structured clothing emphasizes anatomy and movement.
Pay attention to how fabric falls over the body. Baggy sleeves or oversized jackets can make limbs look smaller, while fitted pants or skirts highlight leg length. Accessories like belts, scarves, or jewelry also break up the figure and draw attention to specific areas.
You can use clothing to signal role or personality. For example:
- Uniforms → order, discipline, or belonging
- Casual wear → approachability and everyday life
- Fantasy armor → strength, protection, or adventure
Experiment with layering and textures to create variety. Even a simple outfit can feel unique when you adjust patterns, folds, or accessories to match your character’s traits.
- 233shares
- Facebook0
- Pinterest233
- Twitter0
- Reddit0
