Making candles at home is a simple and fun way to add light and scent to any space. It doesn’t take a lot of tools or experience to get started. Anyone can create beautiful, fragrant candles with just a few basic supplies and clear steps.
This tutorial makes candle making easy by breaking down the process into simple steps anyone can follow. It covers everything needed, from choosing wax and wicks to adding scents. With a little patience, anyone can enjoy crafting their own homemade candles that are perfect for gifts or relaxation.
Essential Candle Making Materials
To make candles, one needs the right wax, wicks, and containers or molds. These materials affect how the candle burns, looks, and smells. Choosing the right supplies helps create candles that are safe and enjoyable.
Types of Wax
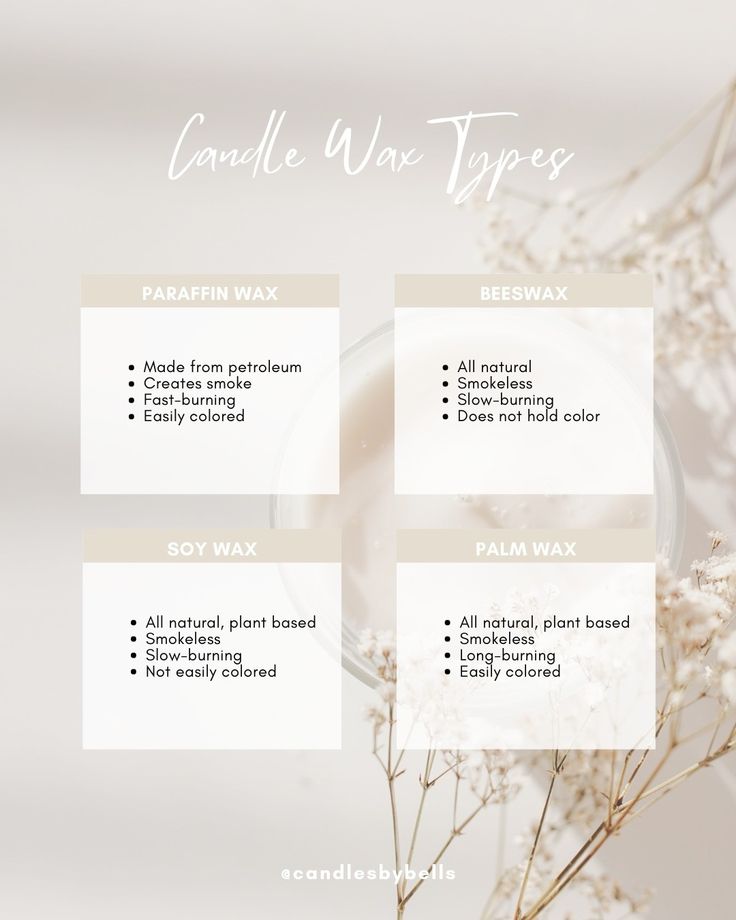
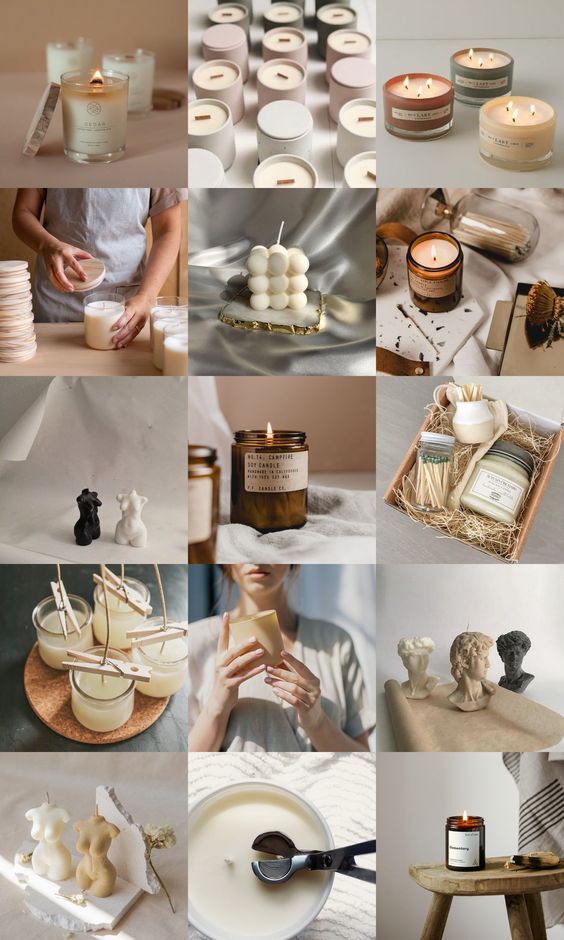
Wax is the main ingredient in any candle. The most common types are soy wax, paraffin wax, and beeswax. Soy wax is popular because it is natural, burns cleanly, and holds fragrance well. Paraffin wax is cheaper and widely available but is made from petroleum. Beeswax is natural and smells nice on its own, but it is more expensive.
Some crafters also use blends or specialty waxes for specific effects. Melting points and texture vary, so choosing the right wax depends on the candle’s purpose and personal preference.
Wicks Selection
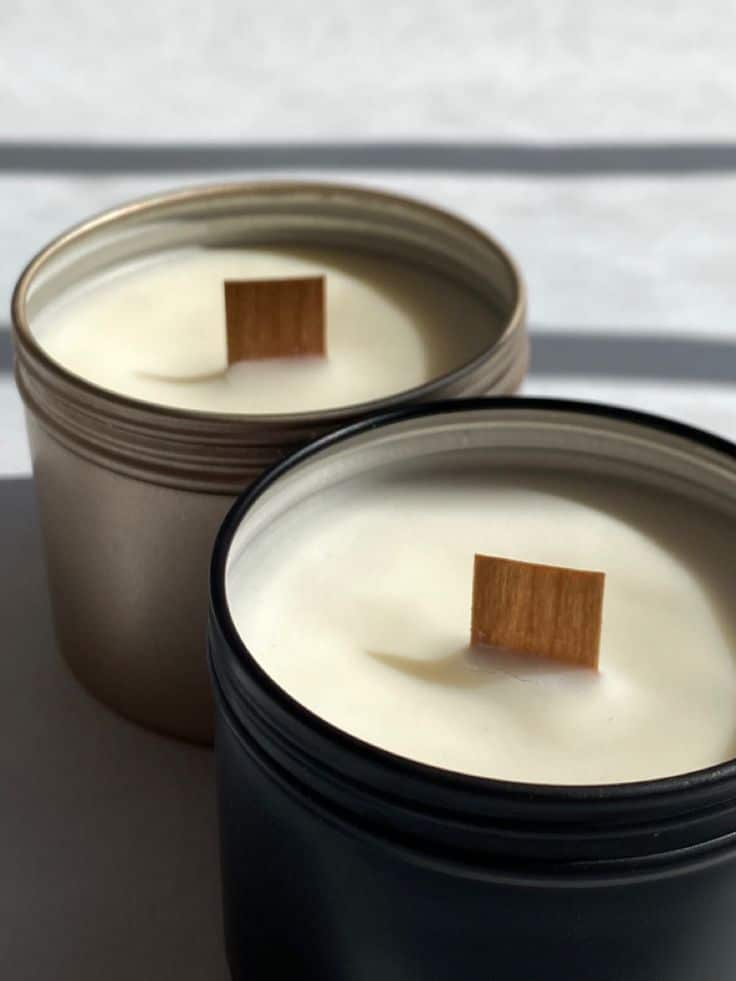
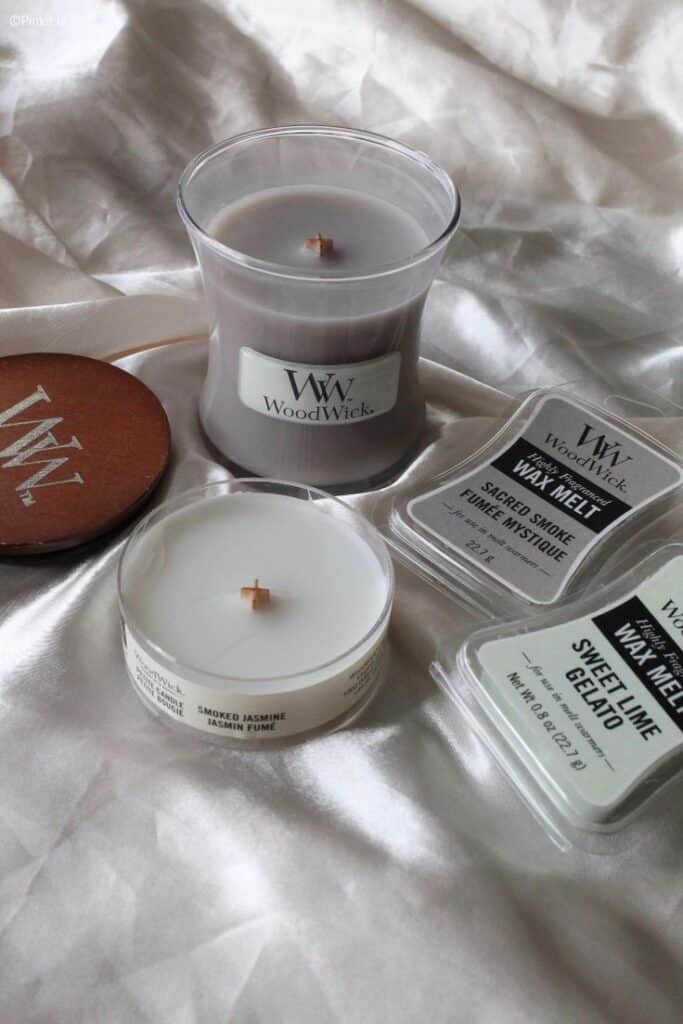
Wicks control how the candle burns. The size and material of the wick should match the wax type and candle size. For example, a thicker wick is needed for bigger candles to keep the flame steady. Cotton wicks are common and offer a clean burn. Wood wicks create a crackling sound, adding ambiance.
It is important to test wicks because the wrong wick can cause uneven burning, excess smoke, or flickering. Most beginners start with pre-tabbed cotton wicks for ease.
Containers and Molds
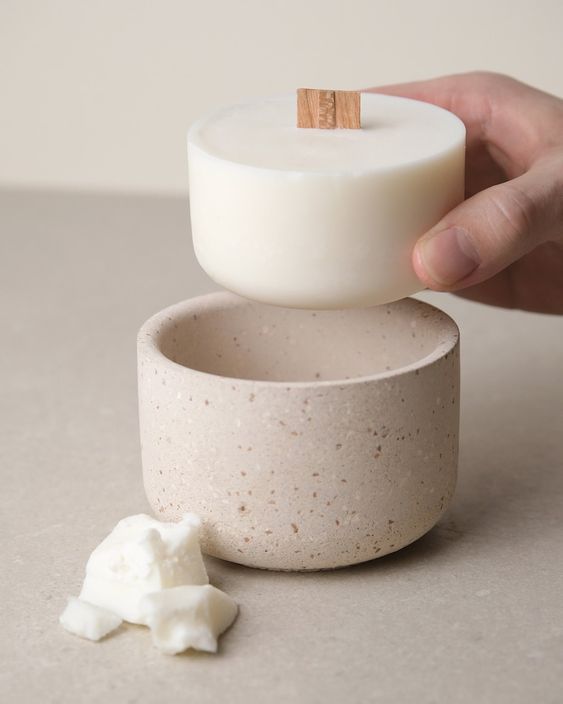
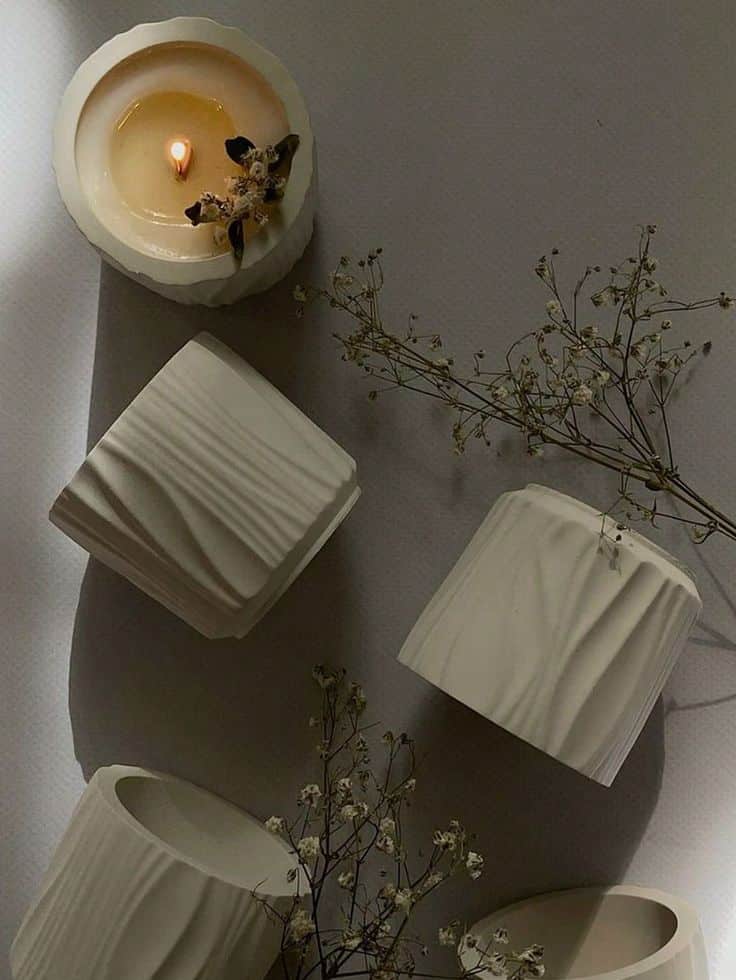
Containers give shape and safety to candles. Glass jars and metal tins are popular choices because they can hold melted wax safely. Heat-resistant glass is ideal to prevent cracking. Molds are used for molded candles and come in many shapes like pillars, spheres, or novelty designs.
Choosing container size is important; too big or small affects how the candle burns. Containers should be clean and dry before pouring in wax. Using molds allows for creative shapes but requires careful handling when removing the candle.
Step-by-Step DIY Candle Making Guide
Making candles at home requires attention to detail in setting up the workspace, melting the wax properly, and using the right pouring methods. Each step helps ensure the candle turns out safe, neat, and lasts well.
Preparing Your Workspace


Before starting, clear a flat surface and cover it with newspaper or a brown paper bag. This protects against wax spills. Make sure the area is well-ventilated to avoid inhaling fumes.
Gather all materials first: wax, wick, container, a double boiler, and any scents or dyes. Keep a thermometer nearby to check wax temperature.
Place a heat-resistant mat or tray under the candle container to catch drips. Have paper towels handy for quick clean-up. Wear old clothes or an apron to avoid stains.
Melting and Mixing Wax
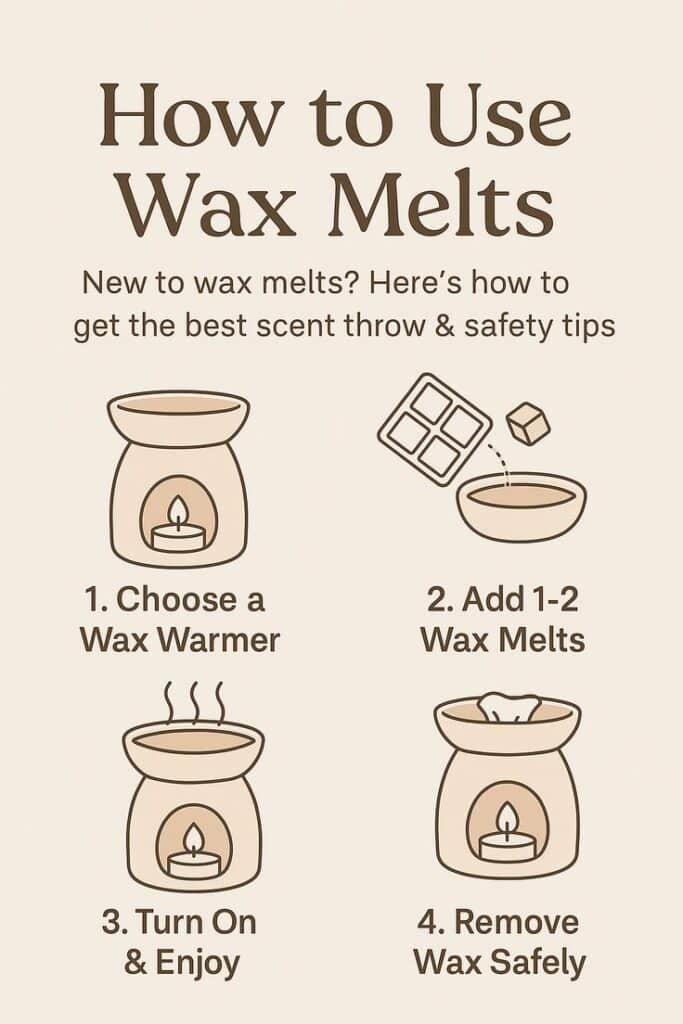
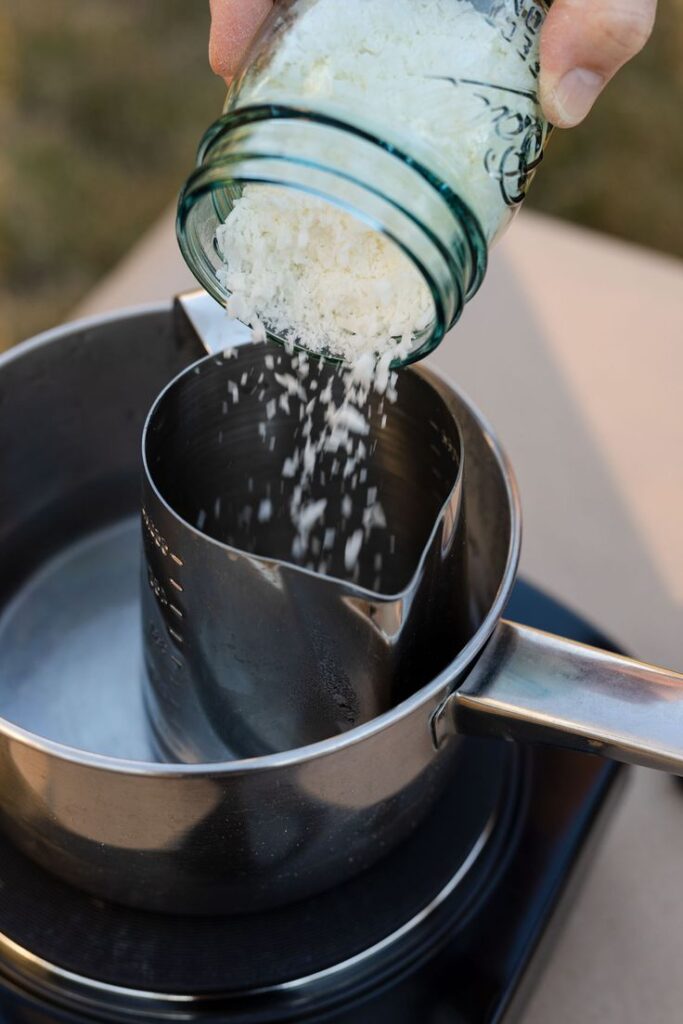
Use a double boiler to melt the wax gently. This keeps it from burning. Heat the wax until it reaches the recommended temperature, usually around 170-180°F (77-82°C).
Once melted, remove from heat and add fragrance oils or color dyes. Stir slowly for about 30 seconds to mix evenly. Avoid stirring too fast, which can create bubbles.
Check the wax temperature again before pouring. Ideal pouring temperature varies by wax type but is often around 140-150°F (60-65°C). This helps the candle set smoothly.
Pouring Techniques
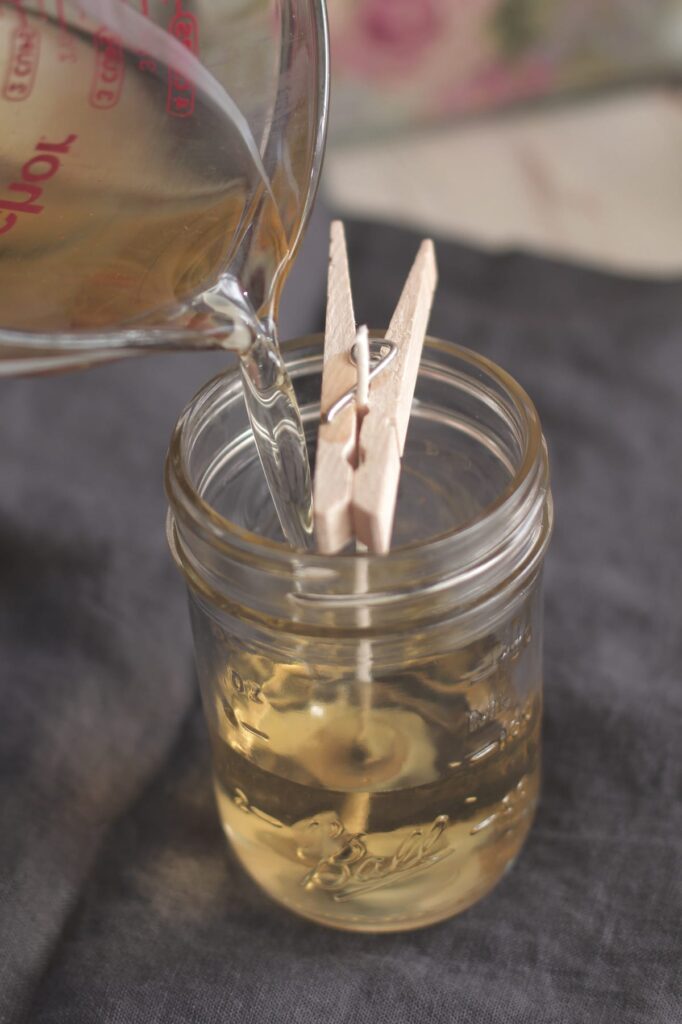

Slow and steady pouring helps avoid air bubbles and uneven surfaces. Start by pouring a small amount to cover the wick base. This keeps the wick in place.
Fill the container up to about ½ inch from the top. Leave some space for wax expansion as it cools.
Hold the container steady and try not to move it until the wax fully hardens. If bubbles appear on the surface, use a toothpick to gently pop them.
Allow the candle to cool at room temperature, away from drafts, for several hours before trimming the wick and using it.
Adding Scents and Colors
Choosing the right scents and colors can make a candle special and personal. It involves picking fragrance oils that blend well with the wax. Also, using natural dyes can add gentle, lasting colors without harsh chemicals.
Choosing Fragrance Oils
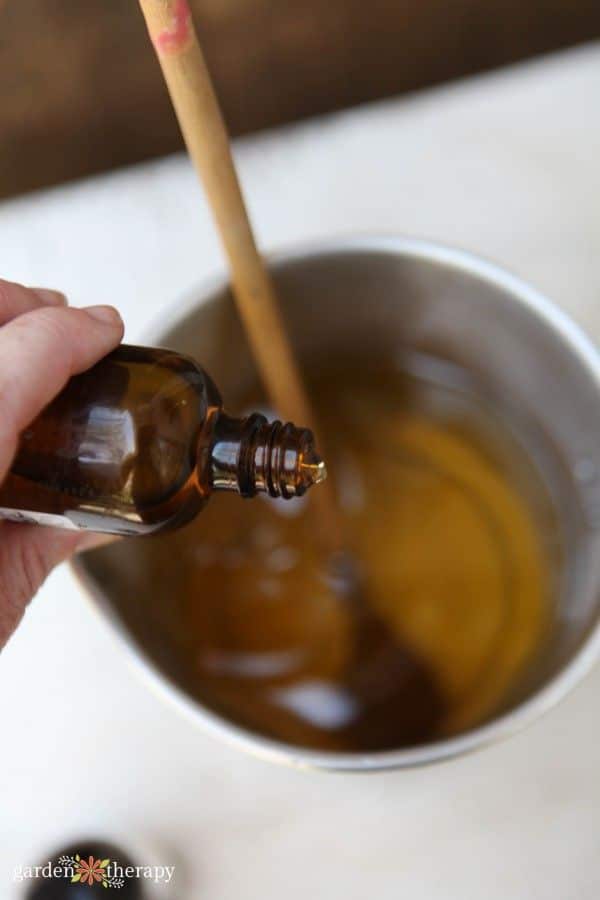
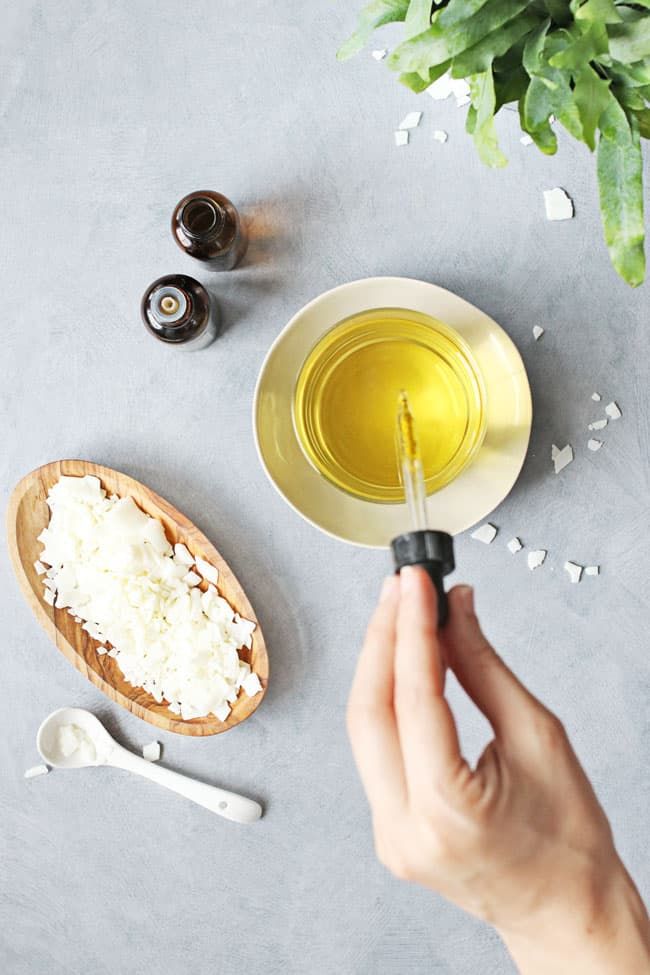
Fragrance oils are made for candle making and give strong, lasting scents. It’s important to use oils made for candles because some scents don’t mix well with hot wax.
When adding fragrance oils, the usual amount is about 6-10% of the wax weight. Too much can affect how the candle burns. The best time to add oils is when the wax cools to around 180°F (82°C) to keep the scent strong.
Some popular scents are lavender, vanilla, and citrus. Testing small amounts first helps find the right mix and strength.
Incorporating Natural Dyes
Natural dyes come from plants, spices, or clays and add soft, earthy colors to candles. They are safer and more eco-friendly than synthetic dyes.
Common natural dyes include turmeric for yellow, beetroot powder for pink, and spirulina for green. The powders should be finely ground for even color.
To color wax, add the dye to melted wax and stir well. Using too much can make the wax grainy, so it’s best to start with small amounts and adjust as needed.
Natural dyes may create subtle colors rather than bright ones, perfect for a cozy, natural look.
Creative Candle Decorating Ideas
Decorating candles can add style and personality to simple wax creations. Using color layers or natural touches such as flowers and leaves makes each candle unique and eye-catching.
Layering Techniques

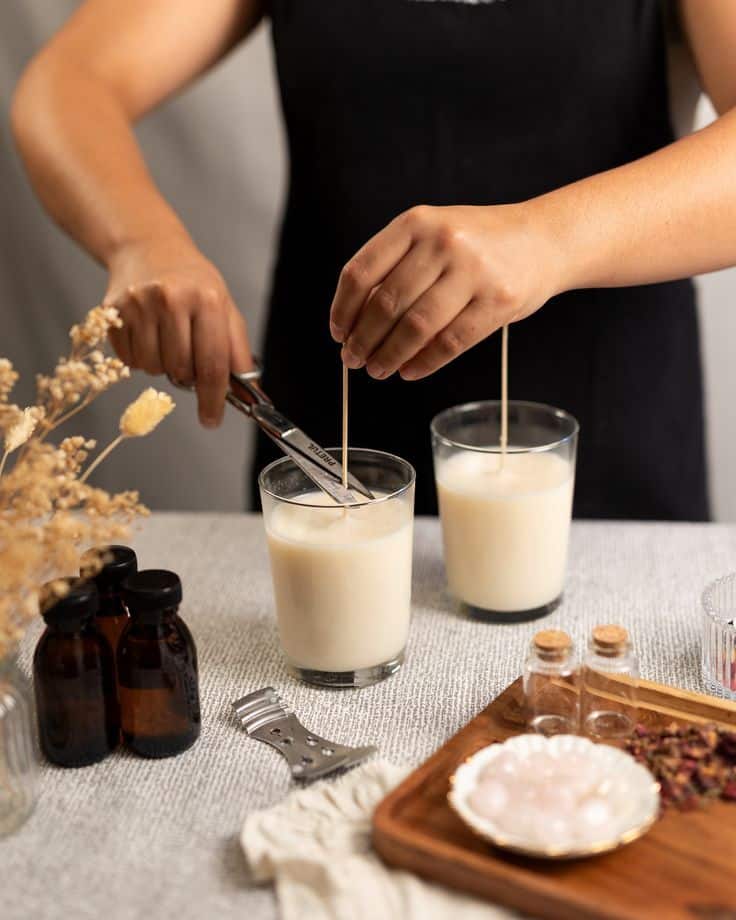
Layering involves pouring different colored wax in stages. Each layer should cool slightly before adding the next. This helps keep the colors separate and neat.
To try layering, melt wax in small batches with different dyes. Pour the first layer and wait until it is partially set but still warm. Then pour the second colored wax slowly on top. Repeat for more layers.
Using contrasting colors or matching tones can create either bold or soft effects. You can also tilt the container slightly when pouring a layer to create angled color patterns.
Embellishing with Botanicals
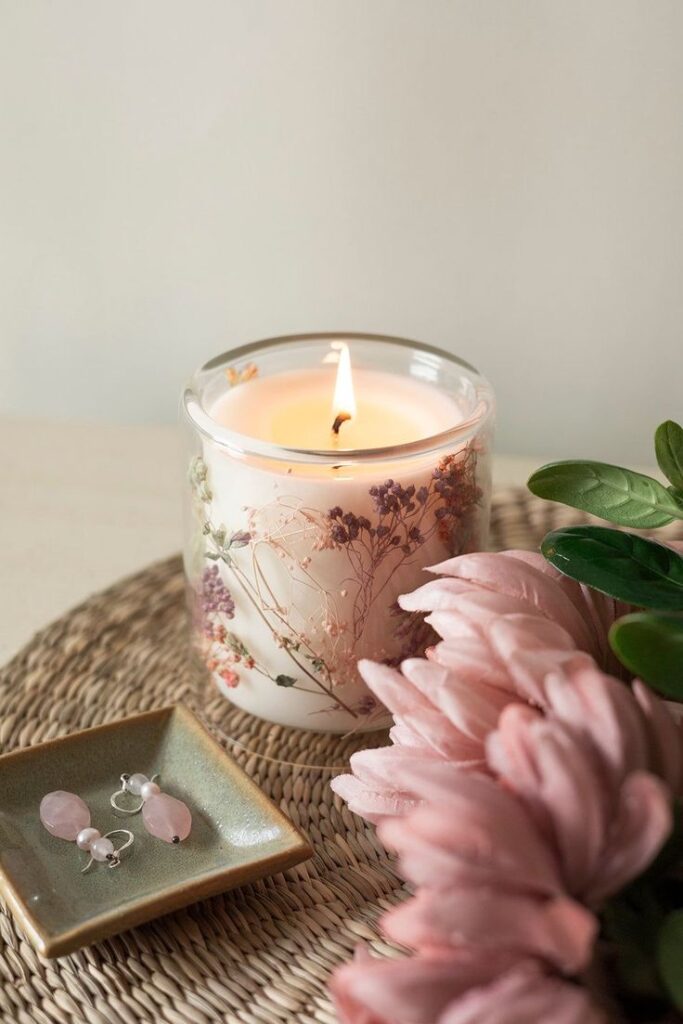
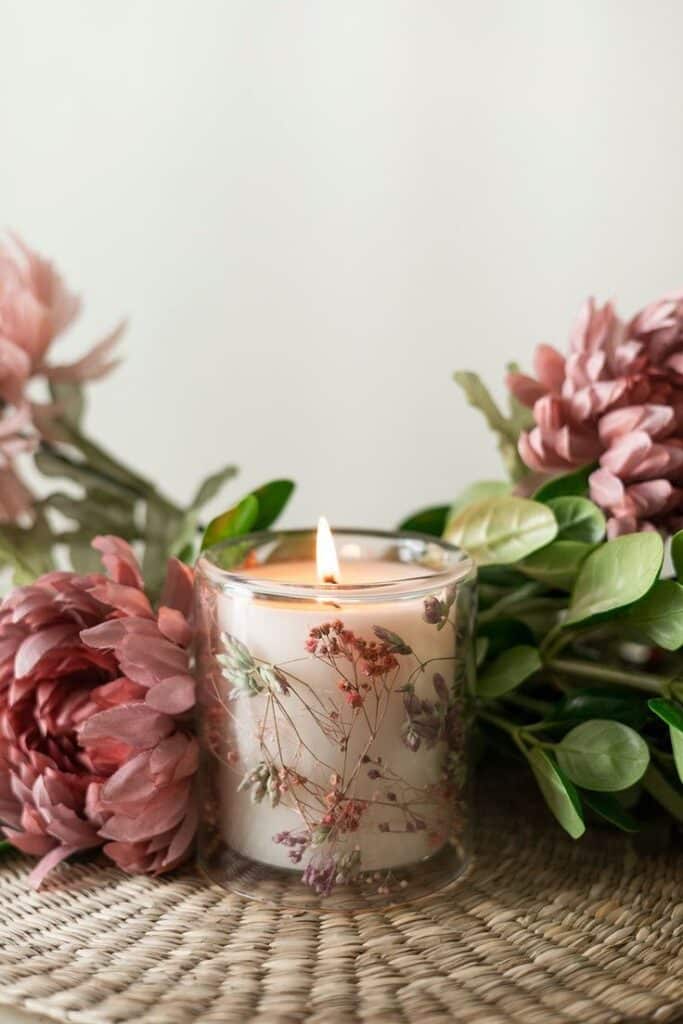
Adding dried botanicals to candles can enhance natural beauty. Flowers, leaves, and herbs work well on the surface or pressed into the wax.
Before placing botanicals, make sure they are fully dry to avoid mold or discoloration. Attach them gently on the candle outer edge or embed carefully when wax is slightly soft.
Popular botanicals include rose petals, lavender buds, eucalyptus leaves, and small pine cones. Using a clear wax or gel wax helps keep these details visible.
Simple fixes like tying twine or adding a small dried flower bundle around the candle also add charm without much work.
Safety Tips and Common Troubleshooting
Safety is key when making candles. Careful handling of hot wax and knowing how to fix common candle problems helps keep the process smooth and injury-free.
Handling Hot Wax Safely
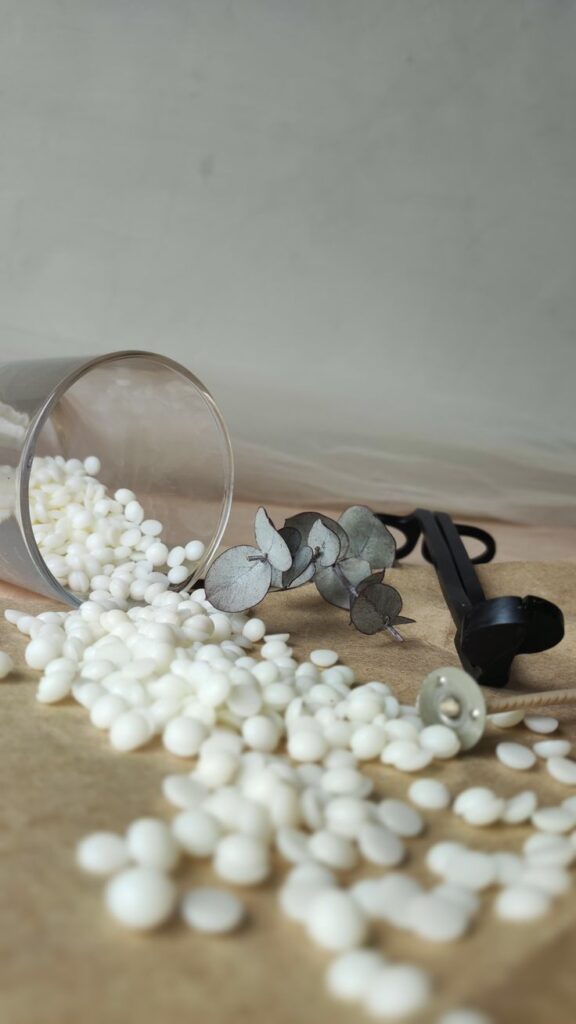
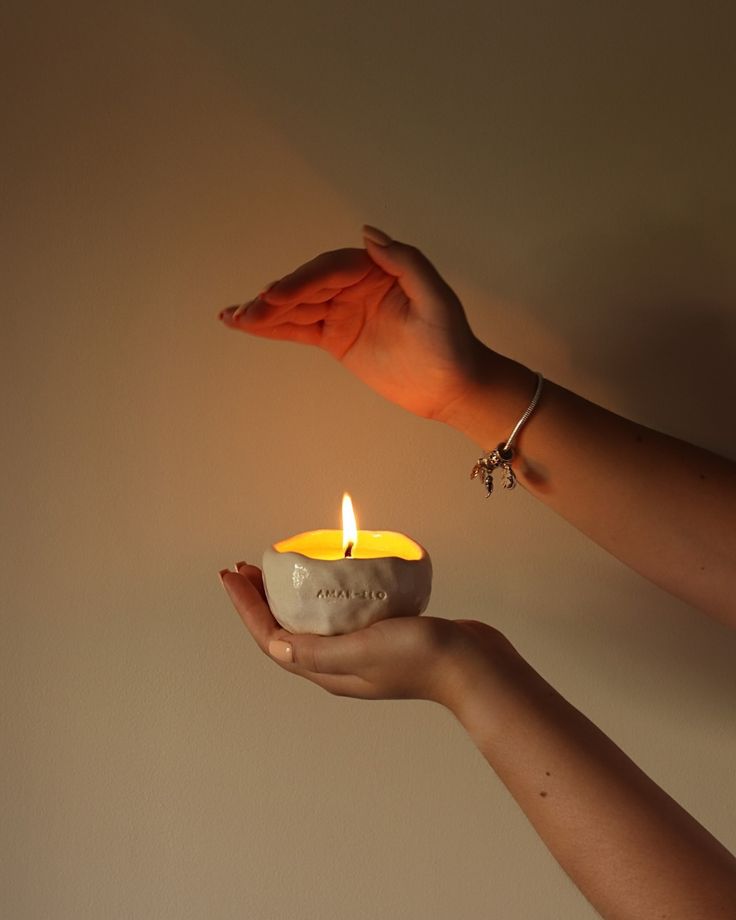
Hot wax can cause burns and spills if not handled properly. It should never be left unattended, even when using a double boiler.
If wax spills on skin, quickly run the area under cold water to cool it and stop burning. Avoid brushing hot wax off skin, as this spreads the burn.
Never wear rubber gloves while handling hot wax because they can melt. Use heat-resistant gloves made for kitchen use instead.
Keep the workspace clean and free of clutter to avoid accidents. Always use tools designed for candle making and have a fire extinguisher nearby as a precaution.
Fixing Common Candle Problems
Bubbles and tunnels inside candles often come from pouring wax too quickly or at the wrong temperature. Pour wax slowly and follow recommended melting points.
If a candle burns unevenly or the wick moves, the wick may be the wrong size or made from poor materials. Use the correct wick type based on the candle’s diameter.
Soot can be reduced by trimming the wick to about ¼ inch before each burn. Too long wicks cause smoking and uneven burning.
If candles won’t light easily, the wick might be too short or covered in hardened wax. Gently remove excess wax or replace the wick for a better flame.
- 3shares
- Facebook0
- Pinterest0
- Twitter3
- Reddit0


