Drawing water can feel tricky because it takes so many forms—still, flowing, rippling, or splashing. The surface can reflect light, show depth, or appear almost invisible depending on how you approach it. You draw water by focusing on shapes, reflections, and light rather than trying to copy every detail.
When you learn to break water into simple elements, it becomes much easier to capture. Ripples follow patterns, highlights create movement, and shading gives the illusion of transparency. With a few techniques, you can make a puddle look calm, a wave look powerful, or a droplet look crystal clear.
The key is to practice observing how water behaves and translate that into lines, tones, and textures. Once you know what to look for, you can create water that looks realistic and fits naturally into your drawings.
Key Takeaways
- Learn the basics that make water look realistic
- Use the right tools and steps to build convincing effects
- Explore different ways to draw water in various forms
Essential Art Materials for Drawing Water
To capture reflections, ripples, and transparency, you need tools that allow for both precision and subtle shading. The right paper, pencils, erasers, and markers help you control detail while keeping your drawing clean and balanced.
Choosing the Right Paper and Pencils
Paper texture affects how your drawing looks. A smooth surface, such as Bristol board, works well for crisp reflections and fine pencil strokes. If you want softer shading for waves or depth, a medium-textured sketch paper gives you more grip for blending.
Pencils let you control contrast. A set ranging from 2H to 6B gives you flexibility. Harder pencils (H range) create light, fine lines for surface ripples. Softer pencils (B range) provide dark tones for shadows under waves or deep water.
It helps to layer your strokes gradually. Start with light lines using an H pencil, then build depth with softer grades. This approach prevents smudging and keeps details sharp.
Using Erasers and Markers
An eraser is more than a correction tool—it’s also for highlights. A kneaded eraser can lift graphite gently to create reflections or shine on the water’s surface. You can shape it into a point for precise highlights or flatten it for broader light areas.
A vinyl eraser works best for removing darker marks cleanly. Keep it sharp at the edges to erase thin lines, like glimmers of sunlight.
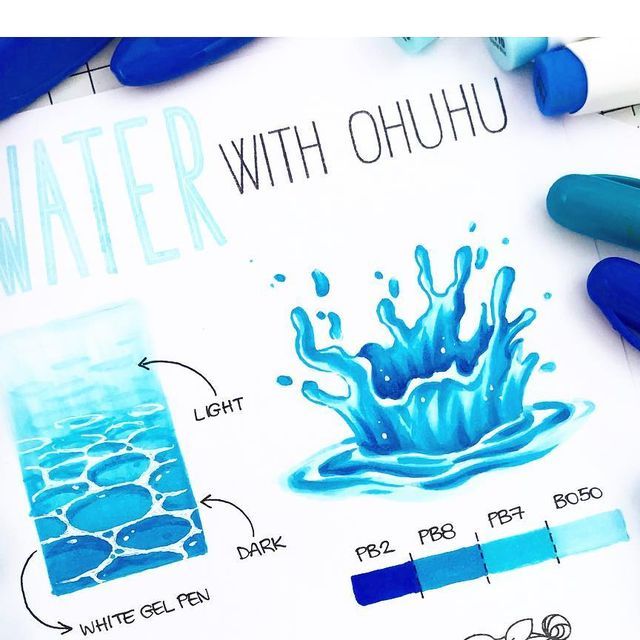
Markers can outline shapes or add depth when combined with pencil shading. A fine-tip black marker defines edges, while a white gel pen can add crisp highlights where erasers can’t reach. Use them sparingly so the drawing doesn’t lose its natural look.
Recommended Art Supplies for Beginners
You don’t need expensive tools to start. A basic kit should include:
- Sketch paper pad (medium texture)
- Graphite pencil set (2H, HB, 2B, 4B, 6B)
- Kneaded eraser and vinyl eraser
- Fine-tip black marker
- White gel pen
If you prefer color, add a small set of colored pencils or watercolor pencils. Blue, green, and gray tones help you suggest depth and movement.
Keep your supplies organized in a pencil case. Having everything in one place makes it easier to experiment and focus on your drawing without interruptions.
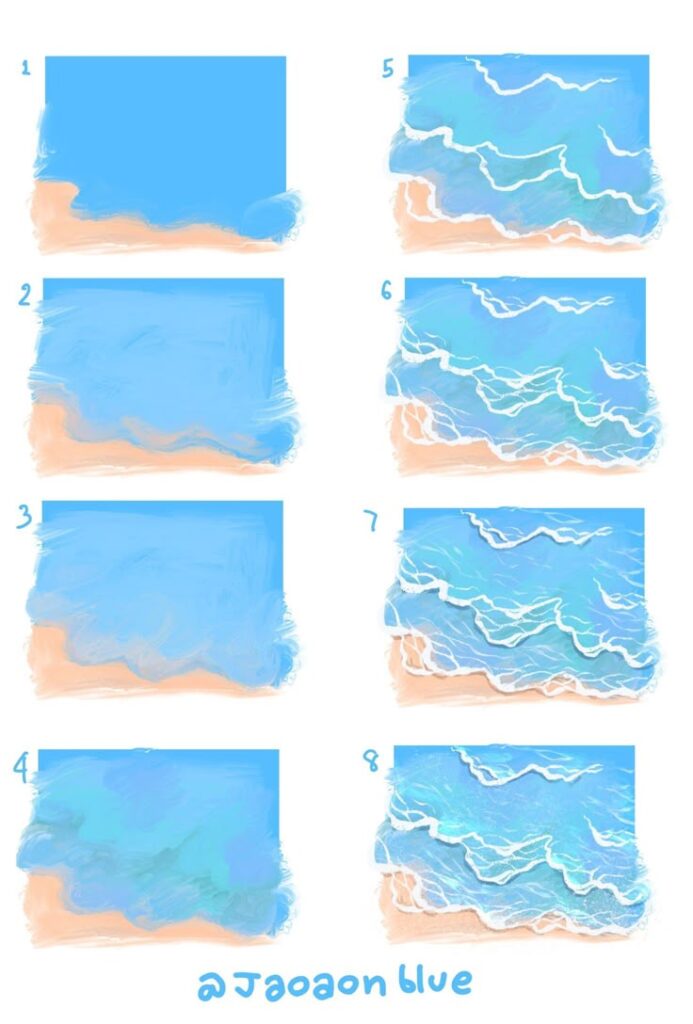
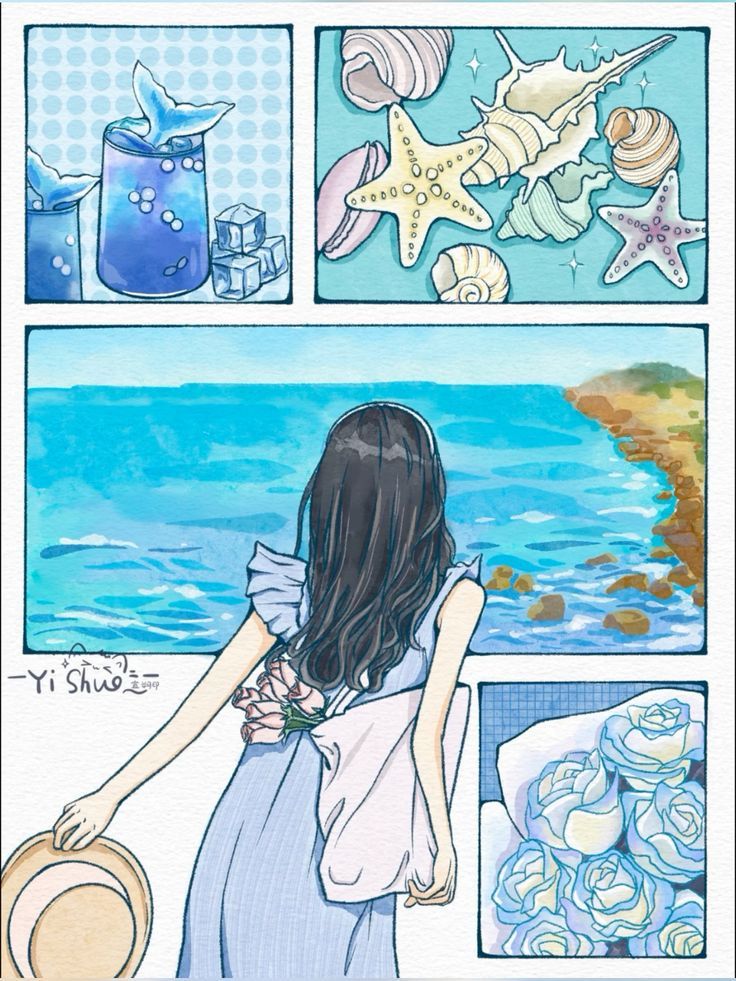
Step-by-Step Drawing Tutorial: Creating Realistic Water
You can build a convincing water illustration by starting with simple outlines, then layering details like splashes, reflections, and shading. Careful observation of how water moves and reflects light will help you create a drawing that feels natural and realistic.
Sketching the Base Shape of Water
Begin with light pencil strokes to map the general form. If you’re drawing calm water, use horizontal lines that vary in length and spacing to suggest ripples. For waves, sketch curved lines that rise and fall to mimic motion.
Keep your lines loose and avoid pressing too hard. This makes it easier to adjust shapes as you refine the drawing. Start broad, then gradually add smaller ripples or edges.
Think of the base sketch as a framework. Without it, later details like highlights and splashes won’t sit correctly. A clear outline gives you a guide for proportion and flow.
Adding Splash Effects and Droplets
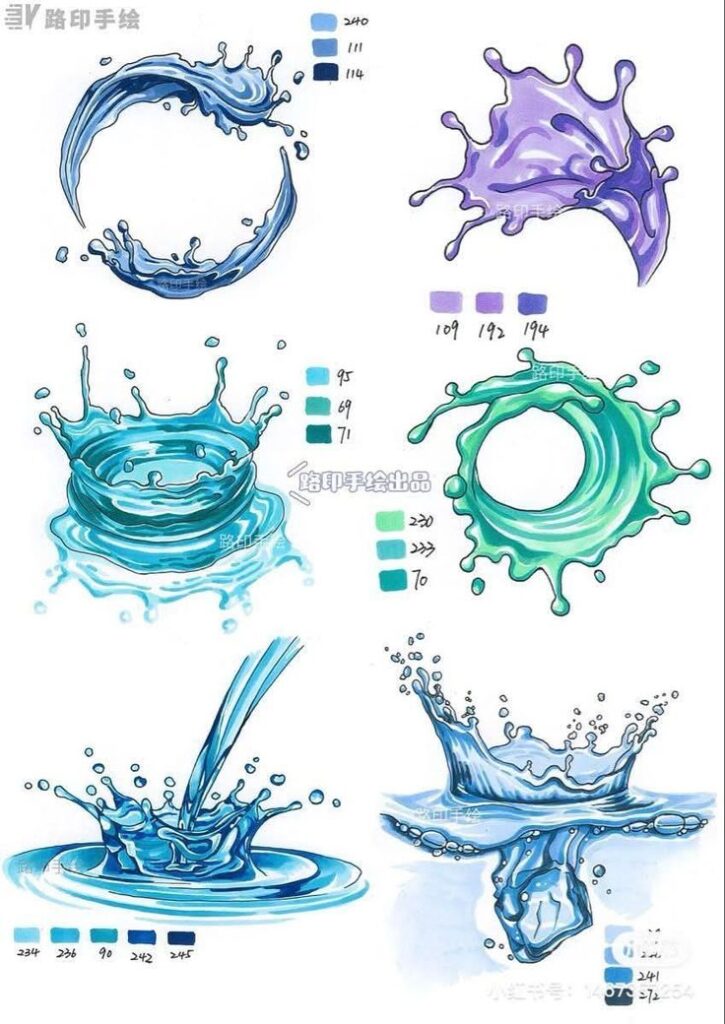
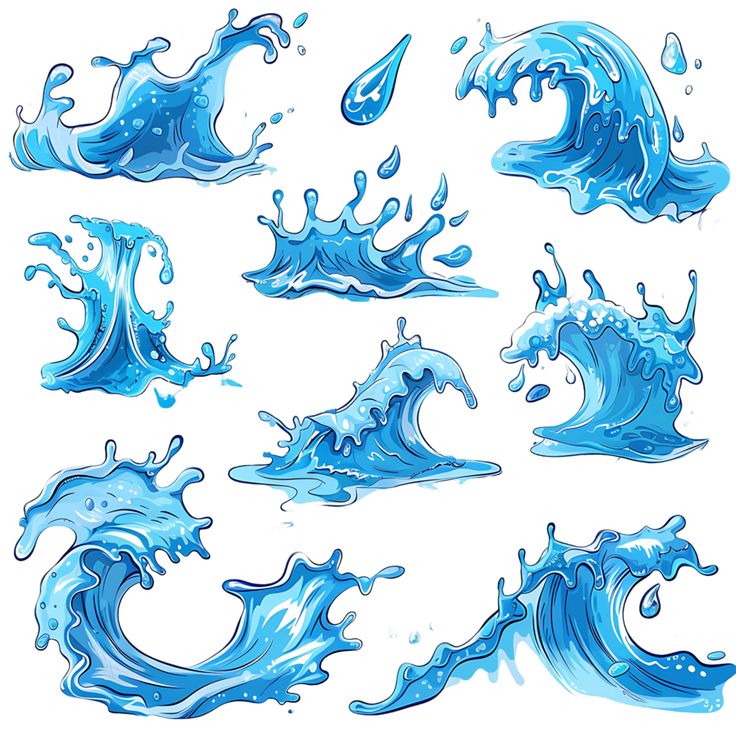
Splashes add energy to your water illustration. To draw a water splash, sketch upward arcs or irregular shapes that break away from the main body of water. Droplets can be shown as small ovals or circles, with some elongated to suggest motion.
Vary the size of droplets for a more natural look. Larger drops should appear closer to the splash source, while smaller ones scatter outward.
You can also layer overlapping arcs to show water breaking apart. Keep your pencil strokes light at first, then darken the main outlines once you’re satisfied with the placement.
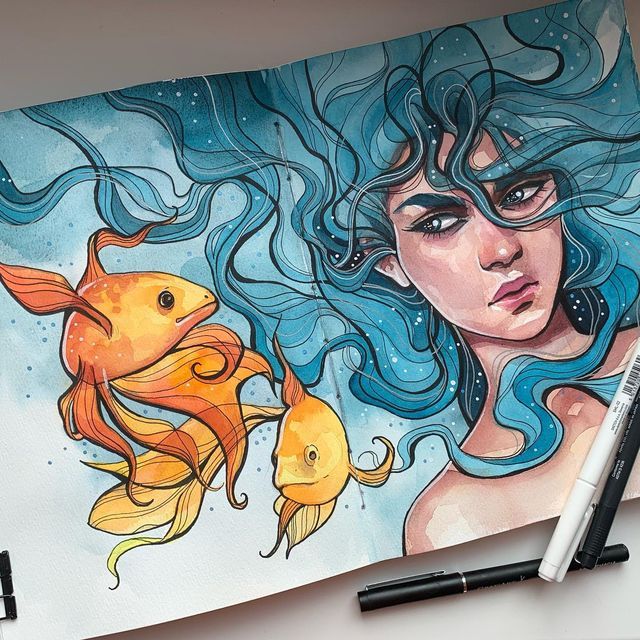
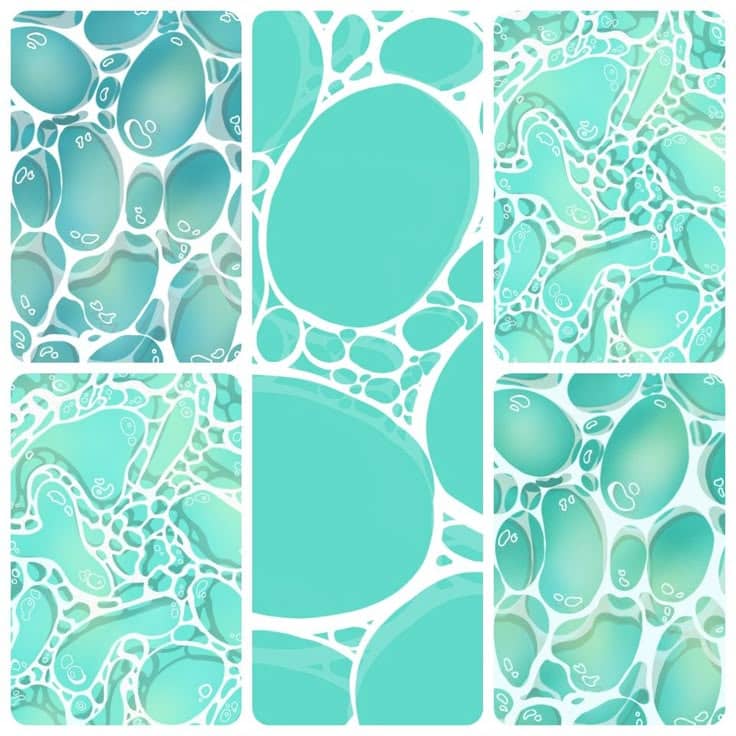
Shading and Highlighting Techniques
Shading brings depth to your drawing. Use a soft pencil or light cross-hatching to shade areas that represent deeper or shadowed water. Keep strokes horizontal for calm surfaces and more curved for waves.
Highlights are just as important. Leave small areas of the paper white to represent light reflecting off the surface. For stronger highlights, use an eraser to lift graphite from shaded sections.
Contrast between light and dark areas creates the illusion of transparency. Pay attention to where the light source is, because consistent shading and highlights make the water look realistic.
Final Touches for a Lifelike Water Illustration
Refine edges to make the water illustration feel complete. Clean up stray lines with an eraser, and sharpen areas where splashes or ripples meet the main body of water.
Add subtle texture by blending shaded areas with a blending stump or tissue. This softens harsh lines and helps transitions look smoother.
Check balance in your drawing. Too many ripples or droplets can overwhelm the image, while too few may look unfinished. Adjust until the water feels natural and believable.
Exploring Different Water Forms in Art
Water changes appearance depending on its setting, whether suspended in droplets, moving across a surface, or contained in a vessel. Paying attention to shape, light, and reflection helps you capture each form with accuracy and clarity.
Drawing Water Drops and Splashes
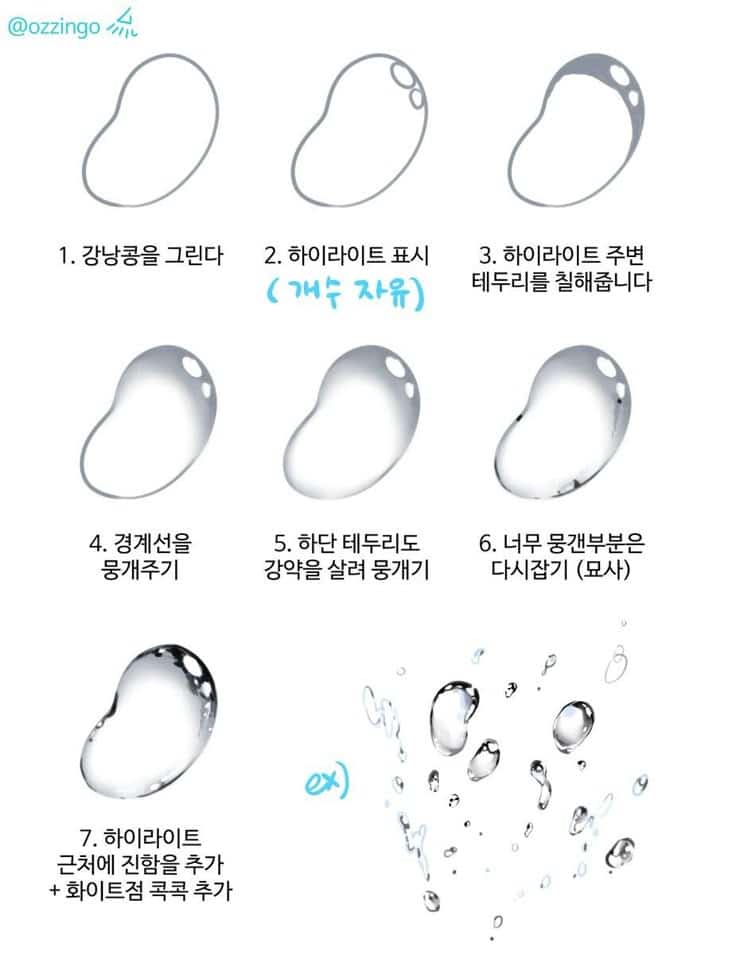
When drawing a water drop, focus on its rounded shape and how light bends through it. A drop often has a bright highlight, a soft gradient, and a faint shadow beneath it. These three elements make it look three-dimensional.
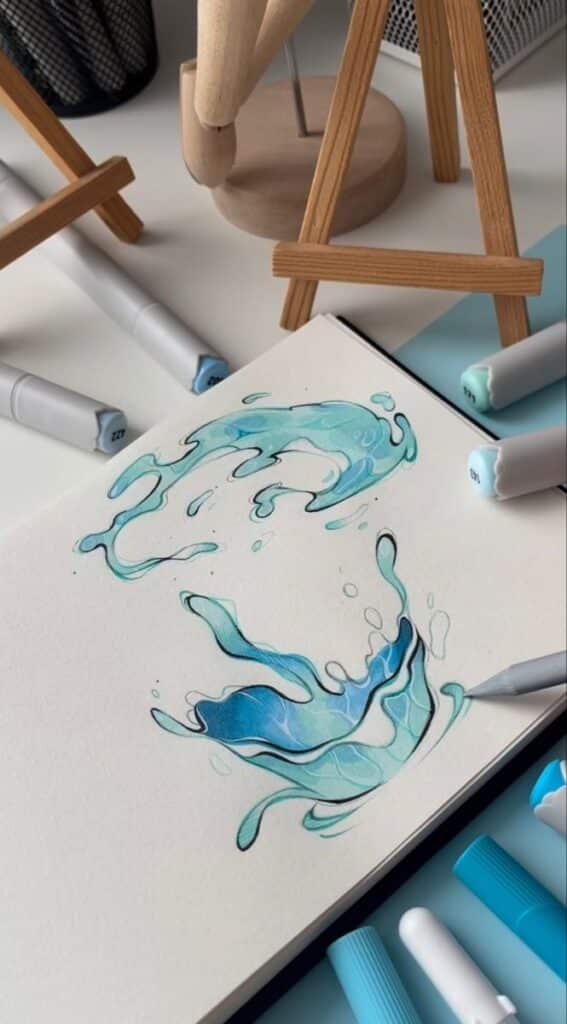
For splashes, sketch the main direction of the water first. Splashes usually fan out with thin arcs and small droplets breaking away. Use quick, curved strokes to show motion and energy.
A simple way to build realism is by layering tones:
- Highlight: pure white or untouched paper
- Midtone: light shading around the curve
- Shadow: darker tone at the base or edge
This contrast makes the splash or drop stand out against the background.
Illustrating Waves and Ripples
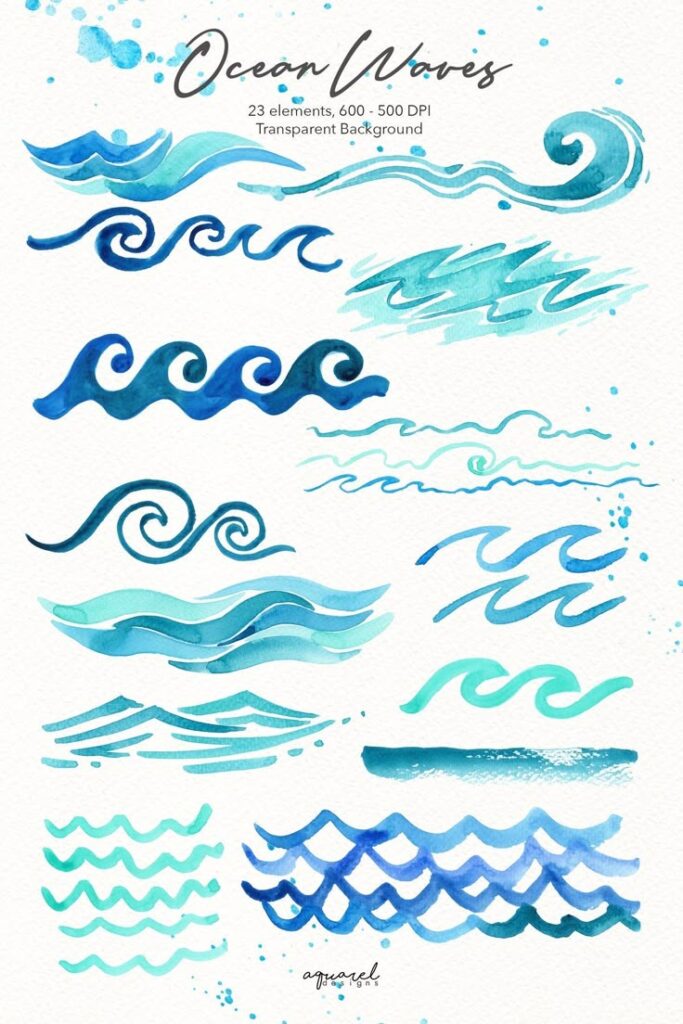
Waves and ripples depend on repetition and rhythm. Start with smooth, curved lines that taper off as they move outward. The spacing between lines creates the illusion of depth and distance.
For calm water, keep the lines subtle and horizontal. For stronger waves, exaggerate the crest and add sharper angles. Shadows under the crests and highlights on the peaks suggest movement and reflection.
You can also vary line weight to show energy. Thicker lines emphasize the front of a wave, while thinner lines suggest fading ripples. Adding small reflections of the sky or objects nearby increases realism.
Depicting Water in Glass and Puddles
Water in glass requires attention to both the container and the liquid. The glass distorts shapes behind it, so lightly sketch those distortions before shading. Reflections and highlights on the glass surface should remain crisp to suggest transparency.
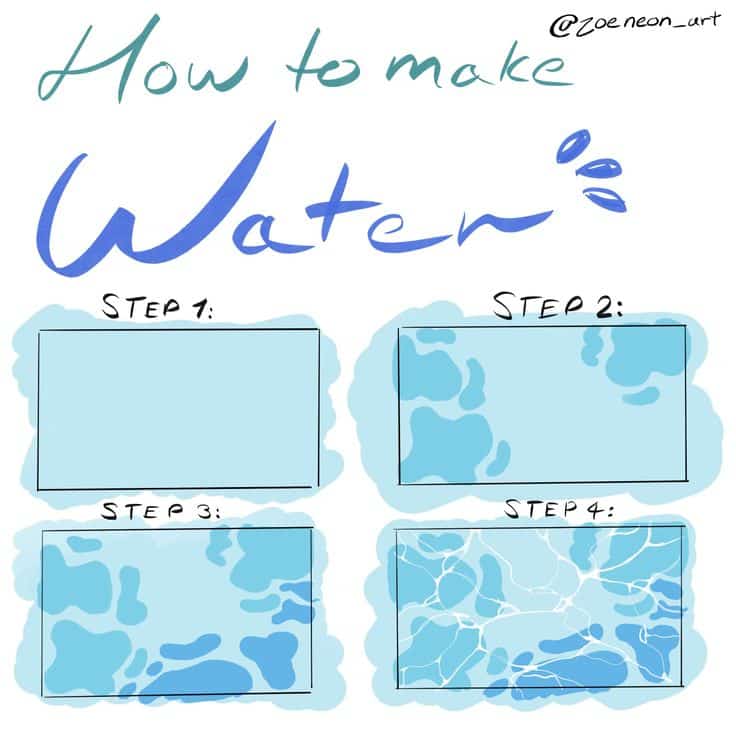
For puddles, focus on irregular edges and reflections. A puddle often mirrors parts of the environment, such as trees or buildings. Use horizontal strokes for the reflection and soften the edges with blending.
Adding small ripples or surface texture makes puddles look natural. Keep the tones subtle, since puddles are usually shallow and less reflective than deeper water.
- 697shares
- Facebook0
- Pinterest697
- Twitter0
- Reddit0
