Fall brings the perfect opportunity to transform ordinary pumpkins into stunning decorative pieces for your home. Whether you’re looking to create seasonal centerpieces, Halloween decorations, or Thanksgiving displays, DIY pumpkin crafts offer endless creative possibilities using simple materials you likely already have at home.
You can create beautiful pumpkin decorations without carving by using paint, fabric, yarn, paper, and other household materials to make lasting seasonal decor. These no-carve alternatives allow you to enjoy your creations throughout the entire fall season without worrying about rotting or wilting.
From simple painting projects perfect for beginners to more elaborate fabric-wrapped designs, pumpkin crafts work for every skill level and age group. You’ll discover techniques that transform both real and artificial pumpkins into personalized autumn masterpieces that reflect your unique style.
Key Takeaways
- Basic household materials like paint, fabric, and yarn can transform pumpkins into beautiful fall decorations
- No-carve pumpkin crafts last longer and provide safer options for children to participate in creative projects
- Simple techniques work for all skill levels and create personalized seasonal decor for any home

Essential Materials and Tools for DIY Pumpkin Crafts
Successful pumpkin crafting starts with selecting the right base materials, whether fresh pumpkins or creative alternatives, along with quality adhesives and supplies. Many projects can incorporate eco-friendly materials you already have at home.
Choosing the Right Pumpkins and Alternatives
Fresh pumpkins work best when they’re firm with smooth surfaces and intact stems. Look for pumpkins without soft spots or cuts that could lead to faster decay.
Small to medium pumpkins are easiest to handle for most craft projects. Pie pumpkins offer dense flesh that holds up well to carving and painting.
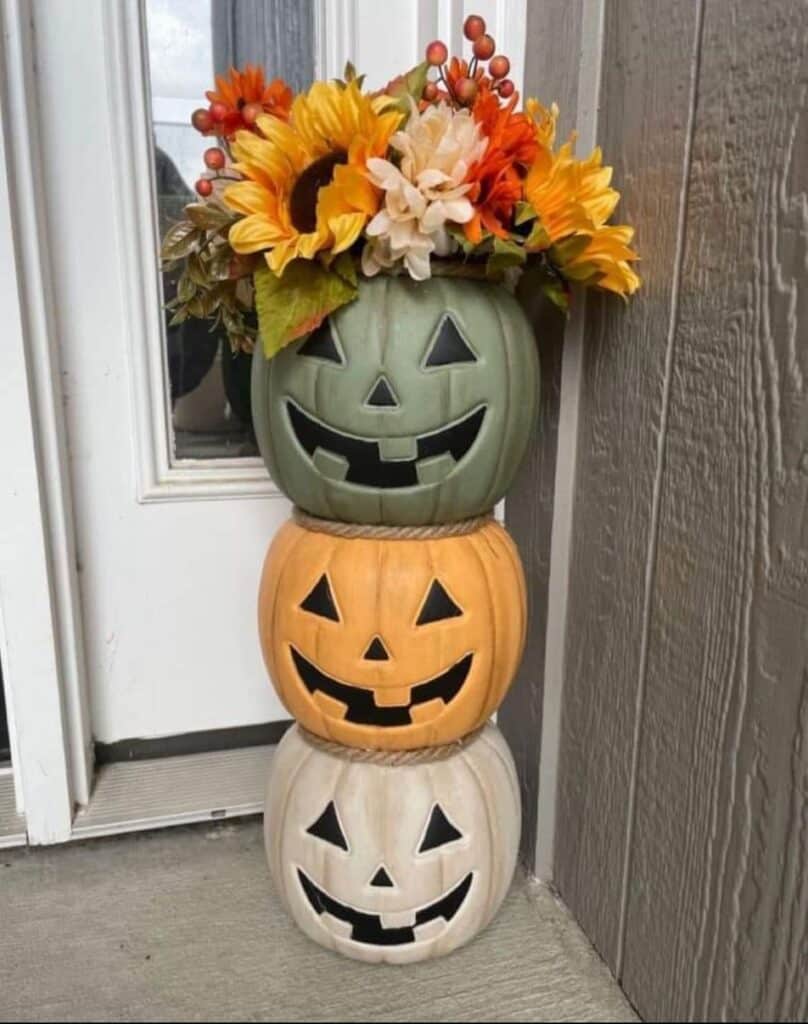
Dollar store pumpkins provide excellent alternatives for budget-friendly crafting. These foam or plastic versions last indefinitely and work perfectly for painting, decorating, and drilling.
Gourds offer interesting shapes and sizes for unique projects. Mini pumpkins create charming table displays and require fewer materials.
Consider these pumpkin alternatives:
- Foam pumpkins – lightweight and reusable
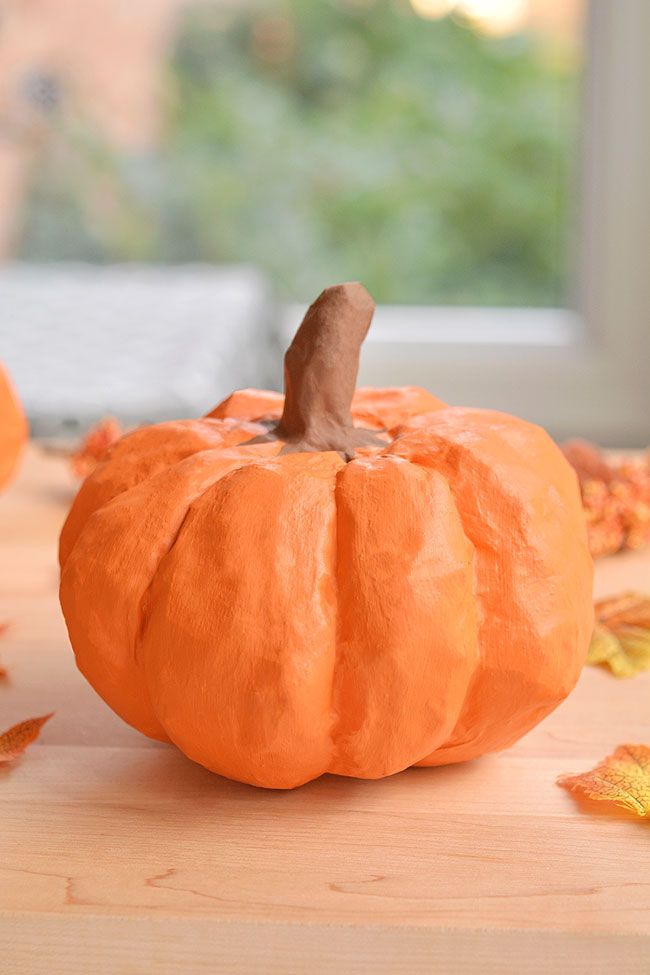
- Paper mache pumpkins – easy to customize
- Fabric pumpkins – soft and safe for children
Crafting Supplies and Adhesives
Hot glue guns provide strong, quick bonds for attaching decorations to pumpkin surfaces. Keep extra glue sticks on hand for larger projects.
E6000 adhesive works exceptionally well for outdoor pumpkin displays since it’s weatherproof. Craft glue suits lighter decorations like paper or fabric.
Essential painting supplies include acrylic paints, foam brushes, and fine-tip brushes for detail work. Primer helps paint adhere better to waxy pumpkin surfaces.
Basic tools you’ll need:
- Sharp carving knives
- Small saws for intricate cuts
- Markers for sketching designs
- Toothpicks for small holes
Decorative materials expand your creative options. Gather ribbons, buttons, beads, and artificial flowers from your craft stash.
Eco-Friendly and Upcycled Materials
Clean coffee cans make excellent pumpkin-shaped containers when painted orange. Remove labels completely and sand rough edges before decorating.
Old fabric scraps work beautifully for creating fabric pumpkins. Choose autumn colors like orange, burgundy, and gold for seasonal appeal.
Newspaper and magazines provide free materials for paper mache pumpkins. Tear into strips rather than cutting for better texture.
Household items offer creative possibilities:
- Empty jars become pumpkin luminaries
- Toilet paper rolls create pumpkin stems
- Brown paper bags form rustic pumpkin bases
Natural materials add authentic touches to your pumpkin craft. Collect twigs, leaves, and acorns during autumn walks.
Repurpose old sweaters by stuffing them with batting to create cozy fabric pumpkins. The knit texture adds visual interest to fall displays.

Creative DIY Pumpkin Craft Ideas
Transform ordinary materials into stunning autumn decorations with these budget-friendly pumpkin projects. These crafts use simple supplies like paper, toilet paper rolls, dollar store finds, and fabric to create beautiful fall displays.
Paper Pumpkins and Paper Pumpkin Luminaries
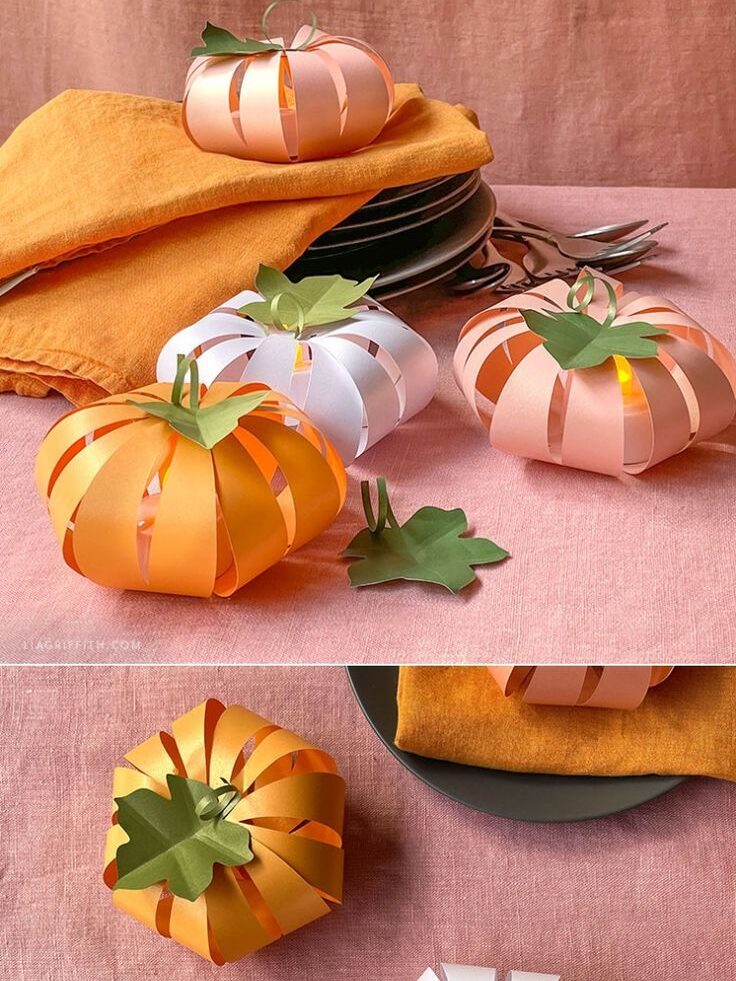
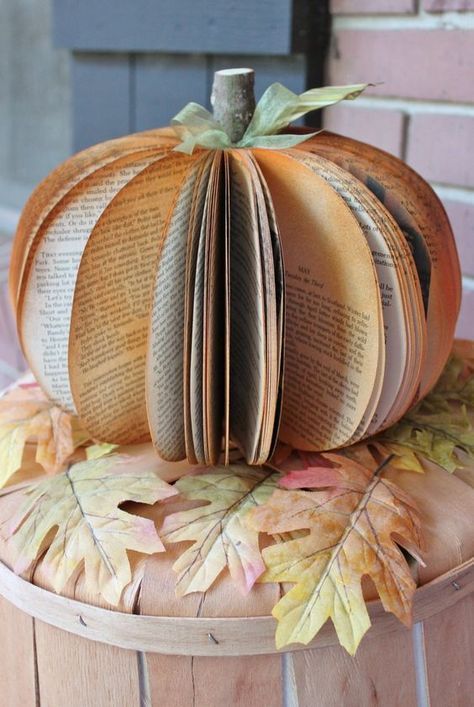
Paper pumpkins offer endless creative possibilities for your fall decorating. You can create these charming decorations using construction paper, cardstock, or even old book pages for a vintage look.
Start with orange paper cut into pumpkin shapes, then add dimension by folding or layering multiple pieces. Accordion-fold strips of paper and connect the ends to form round, three-dimensional pumpkins.
Paper pumpkin luminaries add warm ambiance to your autumn decor. Cut pumpkin silhouettes from orange paper and place LED tea lights inside for a soft glow.
For book page pumpkins, cut pumpkin shapes from old novel pages and layer them for texture. Add green paper stems and curly vines for finishing touches.
Materials needed:
- Orange construction paper or cardstock
- Green paper for stems
- Scissors and glue
- LED tea lights for luminaries
- Old books for vintage versions
Toilet Paper Pumpkins for Easy Decor
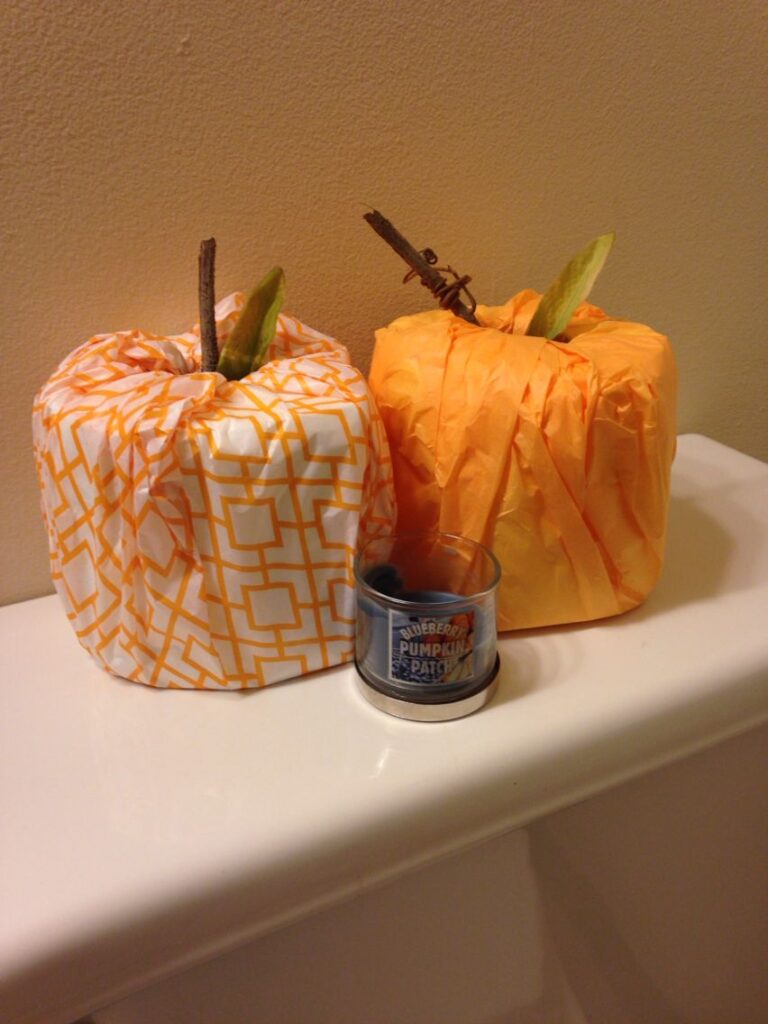
Toilet paper pumpkins create adorable fall decorations using supplies you already have at home. Wrap toilet paper rolls in orange paper or paint them directly for quick results.
Stack multiple toilet paper rolls and wrap them together with orange tissue paper or fabric. Secure with rubber bands at the top and bottom, then fluff the paper to create a pumpkin shape.
Paint toilet paper rolls orange and add black triangle eyes and mouths for Halloween versions. Use green pipe cleaners as curly vines wrapped around pencils first.
Step-by-step process:
- Paint rolls orange or wrap in orange paper
- Add green paper leaves at the top
- Draw faces with black markers for personality
- Group several together for impact
These toilet paper pumpkins work perfectly as table centerpieces or mantel decorations throughout the fall season.
Dollar Store Pumpkin Transformations
Dollar store pumpkins become elegant decorations with simple upgrades. Foam pumpkins from dollar stores provide the perfect base for creative transformations.
Wrap dollar store pumpkins in burlap fabric and secure with hot glue for rustic charm. Add lace trim or twine for extra texture and visual interest.
Paint dollar store pumpkins with chalk paint in non-traditional colors like white, cream, or sage green. Distress the edges with sandpaper for a farmhouse look.
Popular transformation techniques:
- Decoupage with decorative napkins or tissue paper
- Glitter coating for glamorous fall decor
- Rope wrapping for coastal or bohemian styles
- Fabric covering with autumn-themed patterns
Use metallic spray paint to create sophisticated copper, gold, or bronze pumpkins that complement modern decor styles.
Wooden and Fabric Pumpkin Projects
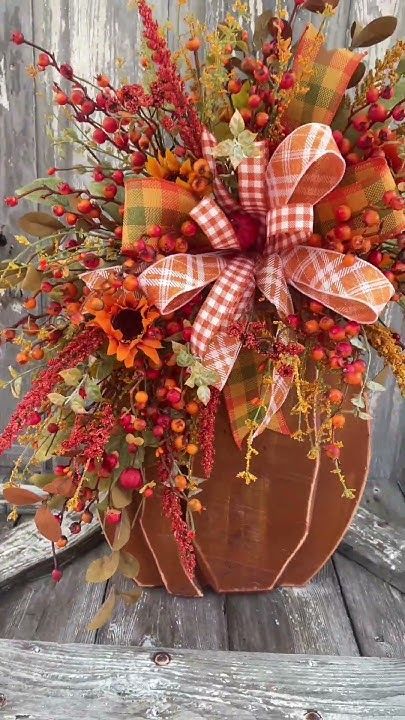
Wooden pumpkin crafts offer durability and rustic appeal for your fall displays. Cut pumpkin shapes from scrap wood or purchase pre-cut wooden pumpkins from craft stores.
Sand wooden pieces smooth and paint with acrylic paints in traditional orange or trendy neutral colors. Add wood stain for natural grain visibility and rustic character.
Fabric pumpkins bring softness and texture to autumn arrangements. Stuff fabric circles with batting or rice, then cinch with string to create pumpkin segments.
Choose fall fabrics like plaid flannel, burlap, or velvet for different textures. Mix patterns and colors within the same display for visual variety.
Fabric pumpkin supplies:
- Circle fabric pieces (8-12 inches diameter)
- Polyfill stuffing or rice for weight
- Strong thread or fishing line
- Small wooden dowels for stems
- Hot glue gun for assembly
Create pumpkin families using different sized fabric circles and coordinating autumn colors for charming seasonal vignettes.
Pumpkin Crafts for Fall Decor
Transform your autumn home with handmade pumpkin decorations that bring warmth and seasonal charm to every room. These creative projects range from elegant wreaths to rustic centerpieces that showcase the beauty of fall.
Pumpkin Wreath Making
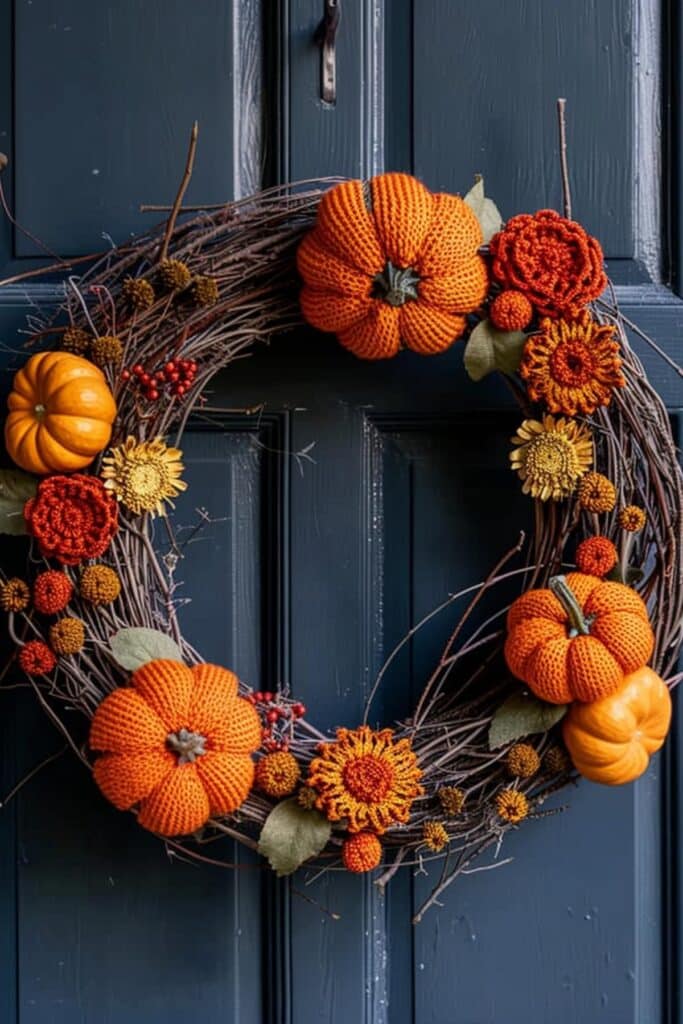
Creating a pumpkin wreath adds instant fall charm to your front door or interior walls. Start with a foam or wire wreath base and gather mini pumpkins, gourds, and autumn leaves.
Materials needed:
- 14-inch wreath base
- 8-12 small pumpkins
- Hot glue gun
- Fall foliage
- Ribbon
Secure pumpkins to the base using hot glue, overlapping them slightly for fullness. Fill gaps with smaller gourds and decorative elements like pinecones or berries.
Choose pumpkins in varying sizes and colors. White, orange, and pale green varieties create visual interest. Add texture with burlap ribbon or twine wrapped around sections of the wreath.
Your pumpkin wreath will last 4-6 weeks when displayed in a covered area. Spray with clear acrylic sealer to extend its life and protect against moisture.
Pumpkin Garlands and Centerpieces
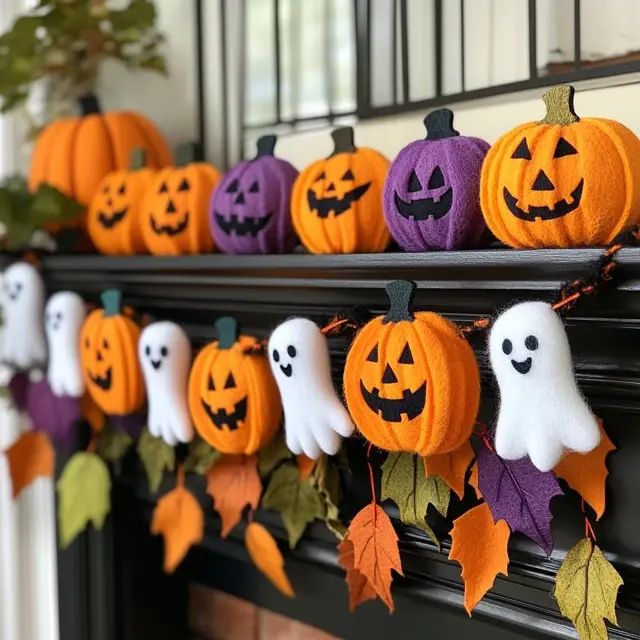
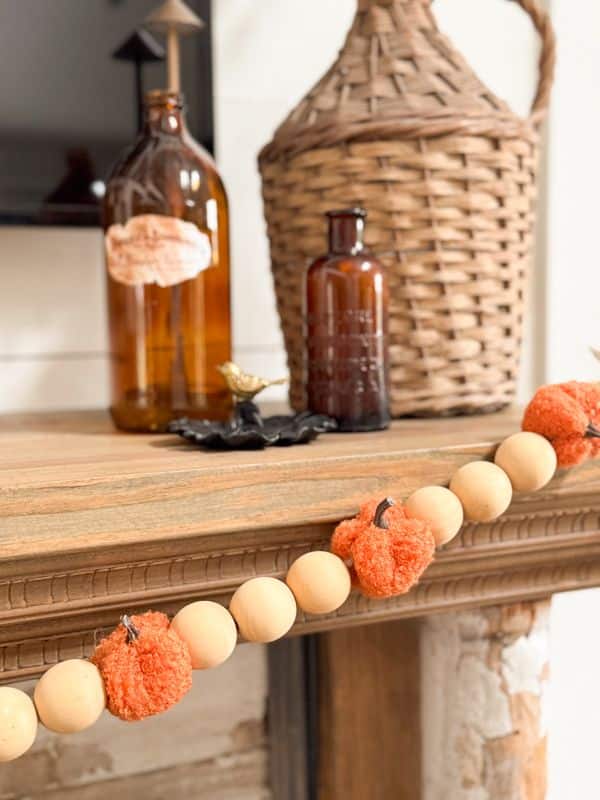
Pumpkin garlands bring fall decor to mantels, staircases, and dining tables. Cut pumpkin shapes from felt or cardstock, then string them together with twine or fishing line.
For paper garlands, use orange, yellow, and burgundy cardstock. Cut identical pumpkin shapes and add details with markers or stamps. Space them 2-3 inches apart on string.
Centerpiece ideas:
- Hollow medium pumpkins for candle holders
- Arrange mini pumpkins with eucalyptus branches
- Fill wooden bowls with small gourds and pumpkins
Create tiered centerpieces using pumpkins of different heights. Place pillar candles inside carved pumpkins for ambient lighting. Surround with seasonal elements like wheat stalks or dried corn husks.
Fabric pumpkin garlands offer durability for repeated seasonal use. Cut pumpkin shapes from felt, add stem details, and connect with decorative cord.
Upcycled and Farmhouse-Inspired Pumpkin Decorations
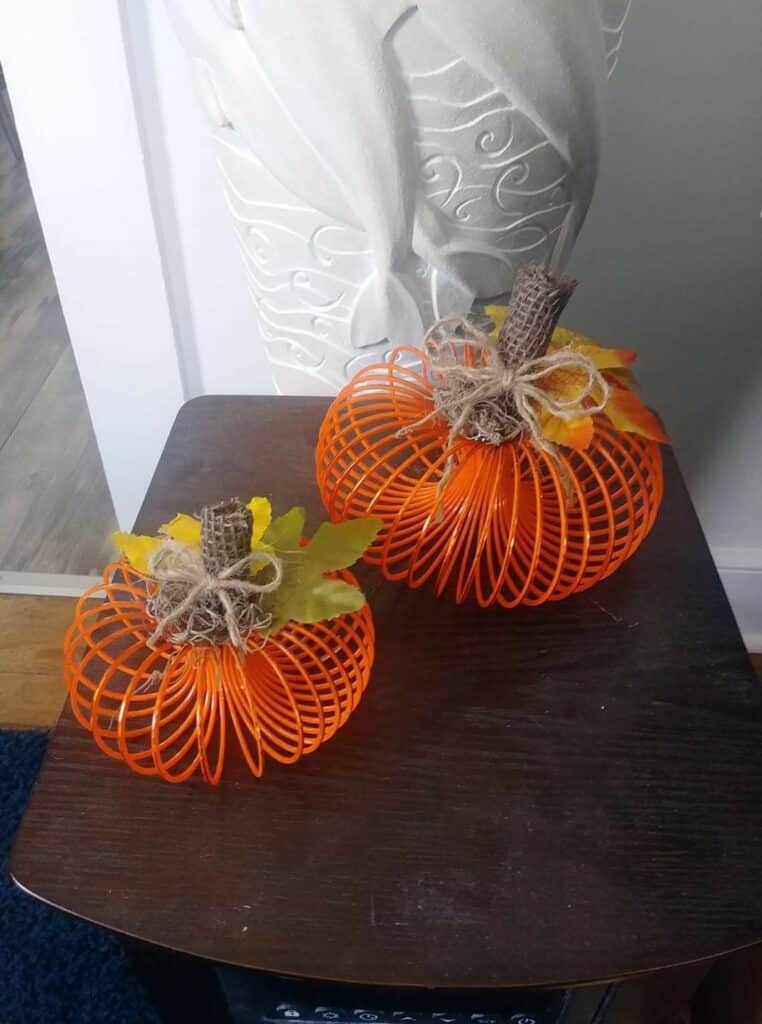
Transform everyday items into charming pumpkin decor using farmhouse-style techniques. Mason jar lids make perfect mini pumpkins when painted orange and topped with wooden stems.
Upcycling projects:
- Sweater sleeve pumpkins stuffed with rice
- Toilet paper roll pumpkins covered in burlap
- Book page pumpkins using old paperbacks
- Tin can pumpkins wrapped in twine
Create fabric pumpkins from old sweaters or drop cloths. Cut circular pieces, gather edges with strong thread, and stuff with polyester fill. Add cinnamon sticks as stems for rustic appeal.
Wood slice pumpkins showcase natural materials beautifully. Paint orange circles on tree rounds and add painted stems. Sand lightly for a weathered farmhouse look.
Cement pumpkins provide lasting outdoor decor. Mix Portland cement with water, shape around balloons, and let cure for 24 hours. These withstand weather while maintaining their pumpkin form.
Kid-Friendly DIY Pumpkin Crafts
These three simple pumpkin craft projects use common household items that toddlers and elementary students can easily handle. Each activity builds fine motor skills while creating festive autumn decorations.
Toilet Paper Roll Pumpkin Stamps
Transform empty toilet paper rolls into perfect pumpkin stamps with just a few simple folds. Press the top and bottom of the roll flat, then fold to create a pumpkin shape when viewed from the end.
Dip your toilet paper pumpkin stamp in orange paint and press onto paper. The natural ridges create realistic pumpkin lines automatically.
Add green paint to a small brush for drawing stems and leaves. Let each print dry completely before adding details.
Materials needed:
- Empty toilet paper rolls
- Orange and green washable paint
- Paper plates for paint
- White or colored paper
- Small brushes
This craft works well for children ages 2-8 and creates beautiful greeting cards or wall decorations.
Egg Carton and Craft Stick Pumpkins
Cut individual cups from cardboard egg cartons to form the base of these dimensional pumpkins. Paint each cup with orange acrylic or tempera paint and allow to dry completely.
Push a green craft stick through the bottom center of each cup to create the stem. Secure with a small amount of glue if needed.
Draw jack-o’-lantern faces with black markers or glue on small paper features. You can also leave them plain for simple harvest decorations.
Assembly tips:
- Use thick craft sticks for better stability
- Let paint dry 30 minutes before handling
- Adult help may be needed for cutting egg cartons
These mini pumpkins make excellent table decorations or party favors for fall celebrations.
Handprint and Beaded Pipe Cleaner Pumpkins
Press your child’s hand in orange paint and stamp it on paper with fingers spread wide. The palm and fingers create a natural pumpkin shape.
Thread orange and yellow beads onto green pipe cleaners, leaving two inches unbeaded at each end. Twist the pipe cleaner into a curly vine shape.
Glue the beaded vine above your handprint pumpkin as decorative stems and tendrils. Add a simple green handprint stem at the top.
Draw or glue black paper pieces for facial features. These handprint keepsakes capture your child’s growth while celebrating the season.
The combination of painting, beading, and gluing develops multiple motor skills in one engaging project.
Tips for Displaying and Preserving DIY Pumpkin Crafts
Strategic placement and proper preservation methods will help your handmade fall decor stay beautiful throughout the season. Simple storage techniques and thoughtful display arrangements can extend the life of your pumpkin craft projects significantly.
Seasonal Decorating Ideas
Mix different sizes and styles of your DIY pumpkins to create layered, eye-catching displays. Place larger wooden pumpkins on mantels or tables as focal points, then surround them with smaller crafted versions.
Group your pumpkin craft pieces with natural elements like fall leaves, pinecones, and small gourds. This creates a cohesive autumn theme that feels organic and seasonal.
Indoor Display Options:
- Entryway tables with varying heights
- Kitchen islands as centerpieces
- Fireplace mantels with garland
- Staircase railings for vertical interest
Consider lighting when positioning your fall decor. Place crafted pumpkins near windows or lamps to highlight textures and colors you’ve added through painting or decorating.
Rotate your displays weekly to prevent fading in direct sunlight. Move pieces from bright windows to shadier spots to maintain their appearance longer.
Storage and Maintenance Techniques
Clean your pumpkin craft projects before storing them for next year. Use a soft cloth to remove dust and debris from painted or decorated surfaces.
Store wooden pumpkins in dry, cool areas like closets or basements. Wrap delicate pieces in tissue paper to prevent scratches during storage.
Preservation Methods:
- Apply clear acrylic sealer to painted surfaces
- Keep away from moisture and humidity
- Use airtight containers for smaller pieces
- Label storage boxes by craft type
Check stored items periodically for any damage or wear. Touch up paint or reattach loose decorative elements as needed to keep your pumpkin craft collection ready for next fall’s decorating season.
- 114shares
- Facebook0
- Pinterest111
- Twitter3
- Reddit0


