Do it yourself projects don’t need to drain your wallet or consume your entire weekend to make a real difference in your home. Whether you’re looking to refresh your living space, add functional storage, or simply express your creativity, simple DIY projects offer an accessible way to transform your environment without hiring professionals.
You can create meaningful improvements to your home using basic tools, affordable materials, and just a few hours of your time. From updating walls with fresh paint and installing easy backsplashes to crafting decorative accessories and breathing new life into old furniture, these approachable projects deliver impressive results that reflect your personal style while building your confidence as a DIY enthusiast.
1) Paint an accent wall with bold colors
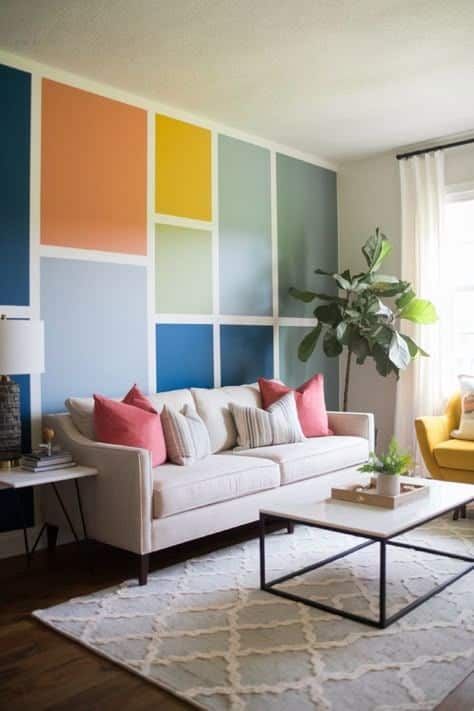
Painting an accent wall with bold colors offers one of the easiest ways to transform any room. You only need to paint one wall instead of the entire space, making it budget-friendly and less time-consuming.
Choose a vibrant color that complements your existing furniture and decor. Deep blues, rich emerald greens, or warm terracotta shades work well as statement colors.
Use painter’s tape to create clean, sharp edges where your accent wall meets adjacent walls. This step ensures a professional-looking finish.
Select paint with an eggshell or satin finish to catch light beautifully. These finishes add subtle dimension while being easier to clean than flat paint.
Pick the wall that naturally draws attention when you enter the room. This is typically the wall behind your bed, sofa, or the first wall you see upon entering.
Apply a primer if you’re going from light to dark colors. This helps achieve true color coverage and reduces the number of paint coats needed.
Take your time with the painting process. Two thin coats usually provide better coverage and color depth than one thick coat.
2) Create floating shelves from reclaimed wood
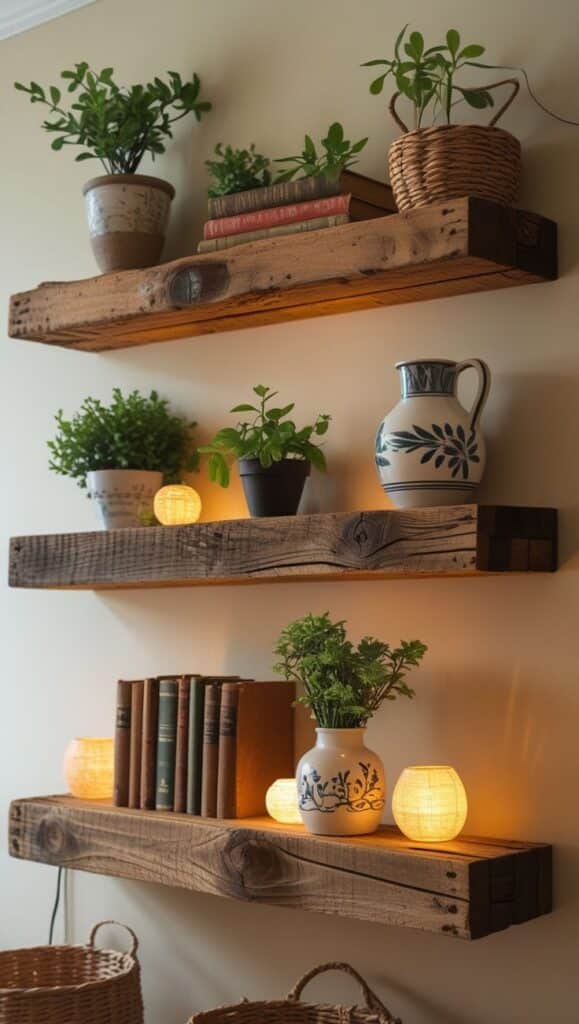
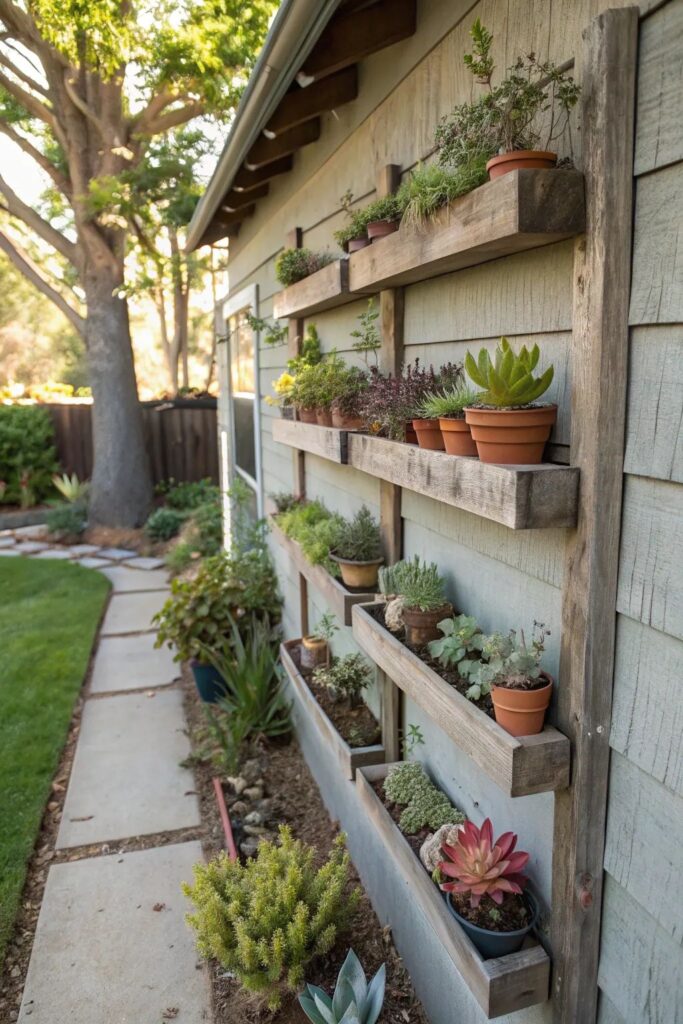
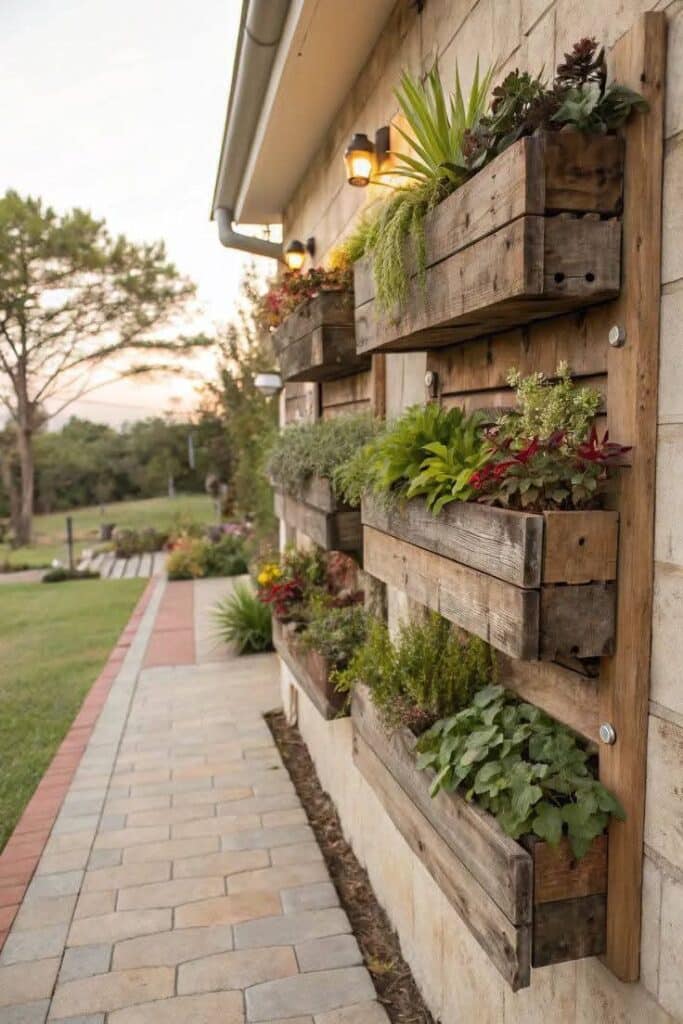
Transform old wood into stunning floating shelves that add rustic charm to any room. Reclaimed wood brings character and sustainability to your project while reducing waste.
Start by selecting your reclaimed wood pieces. Look for live-edge timber or repurposed planks that showcase natural wood grain and weathered textures.
Clean your wood thoroughly and sand any rough spots. You can leave the natural edges untouched for an authentic rustic appearance.
Cut your wood to your desired shelf length. Most floating shelves work well between 24-48 inches long, depending on your space and needs.
Create simple wooden brackets from scrap wood pieces instead of buying expensive metal hardware. This keeps your project budget-friendly and maintains the natural wood aesthetic.
Secure the brackets to your wall studs for proper support. Attach the reclaimed wood shelf to the brackets using wood screws from underneath.
The natural imperfections in reclaimed wood create unique character that new lumber cannot replicate. Each piece tells its own story through weathered surfaces and aged patina.
These shelves work perfectly in kitchens, living rooms, or bathrooms where you want to display books, plants, or decorative items.
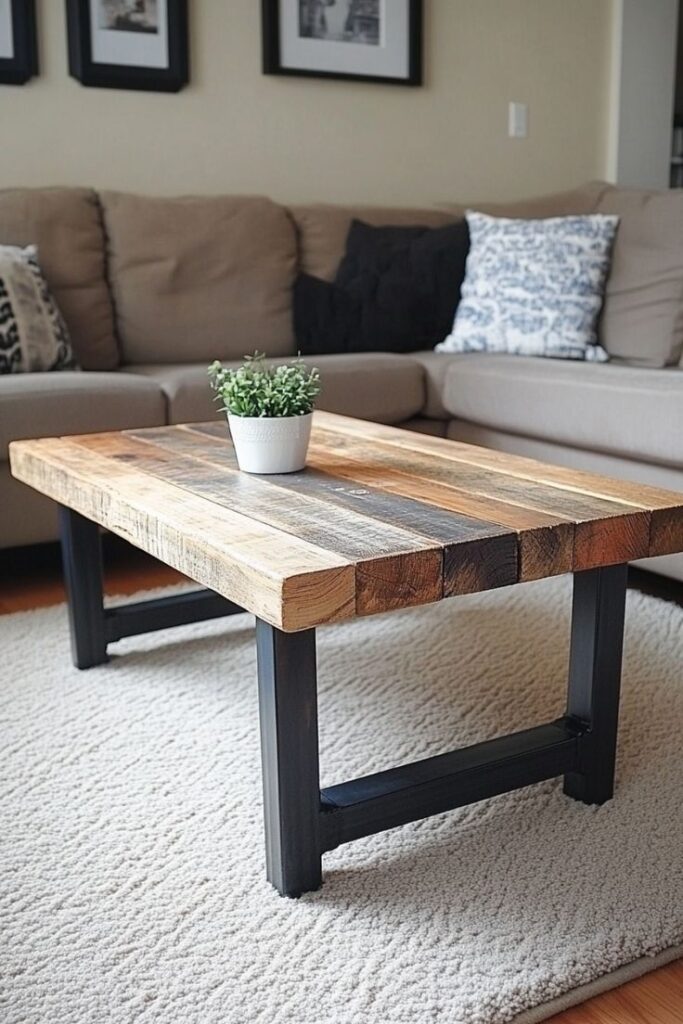
3) Build a simple 2×4 coffee table
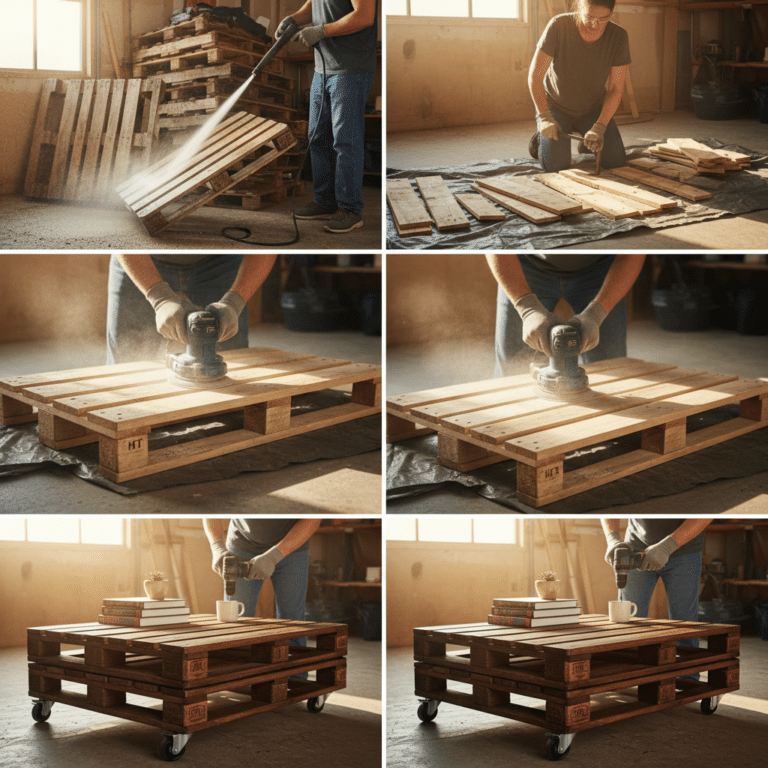
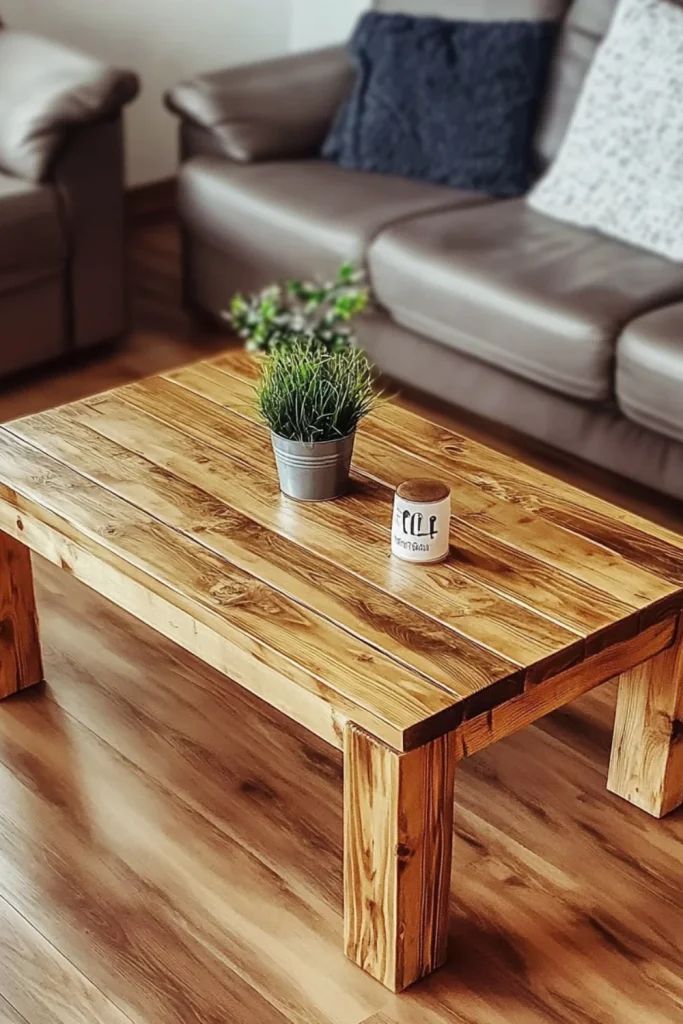
You can create a modern coffee table using basic 2×4 lumber and MDF board. This beginner-friendly project costs around $100 and takes about 3 hours to complete.
Start by gathering your materials: several 2×4 boards, MDF for the tabletop, wood screws, and your preferred stain or paint. Remember that actual 2×4 dimensions are 1.5 inches by 3.5 inches.
Cut your 2x4s to create the table frame and legs according to your desired dimensions. Sand all pieces smooth before assembly to ensure a professional finish.
Assemble the base by connecting the frame pieces with wood screws. Attach the legs securely to provide stable support for your tabletop.
Mount the MDF board on top of the frame using screws from underneath. This keeps the hardware hidden for a cleaner appearance.
Apply your chosen finish, whether stain for a natural wood look or paint for a more colorful style. Let it dry completely between coats.
Your new coffee table works perfectly for family game nights, movie watching, or casual dining. The simple design matches various decorating styles while providing years of reliable use.
4) Make a macramé plant hanger
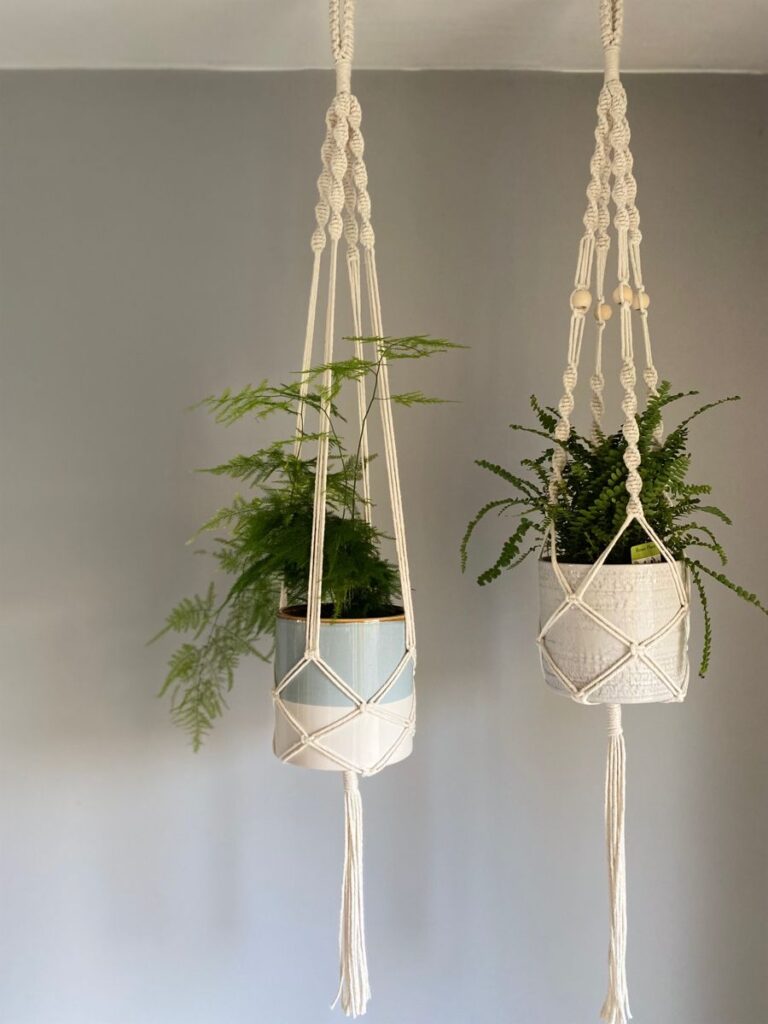
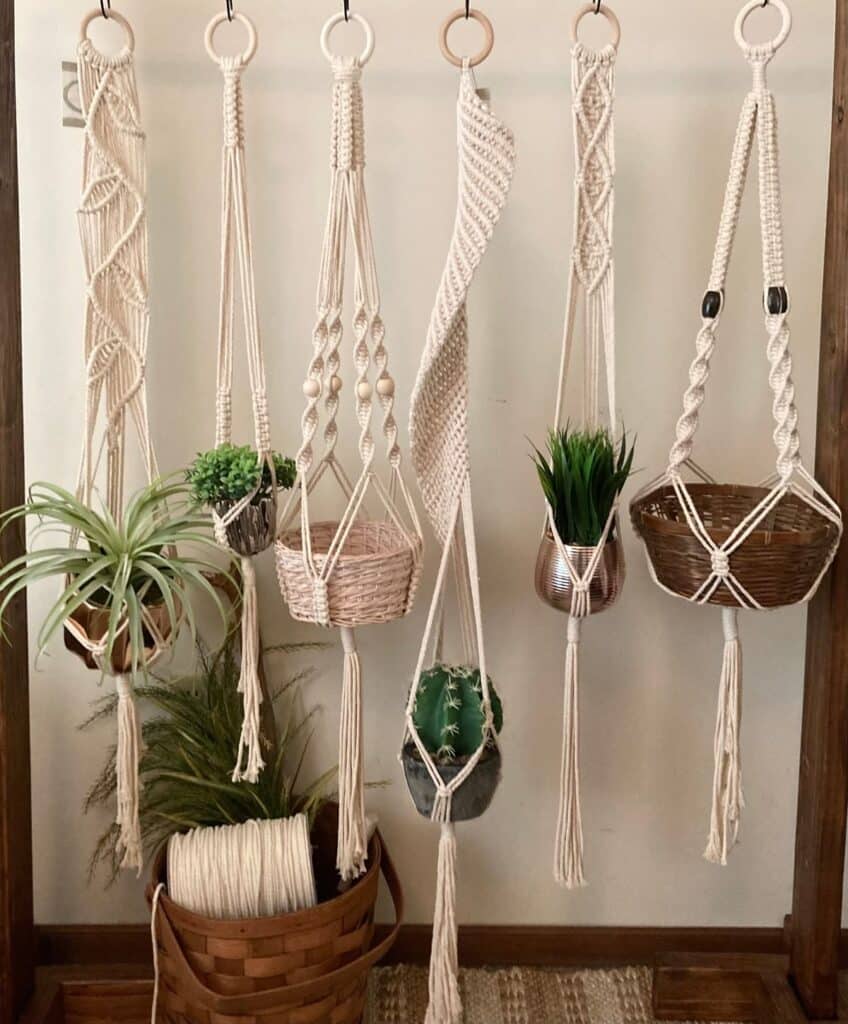
Macramé plant hangers add bohemian charm to any room while saving valuable floor space. You only need sturdy cord and basic knotting skills to create these stylish displays.
Start with four pieces of cord, each about three feet long. Fold them in half and create a loop at the top for hanging.
Tie all eight cord ends together about six inches below the loop. This forms the foundation knot that holds everything in place.
Separate the cords into four pairs. Measure down about eight inches and tie each pair together with simple knots.
Bring adjacent pairs together and tie them six inches below the previous knots. This creates the cradle that will hold your plant pot.
Test the fit with your chosen pot before making final adjustments. The pot should sit securely in the cradle without slipping through.
Trim any excess cord to your desired length. Your new plant hanger is ready to display your favorite greenery.
This beginner-friendly project takes less than an hour to complete. You can customize the length and add decorative knots for personal flair.
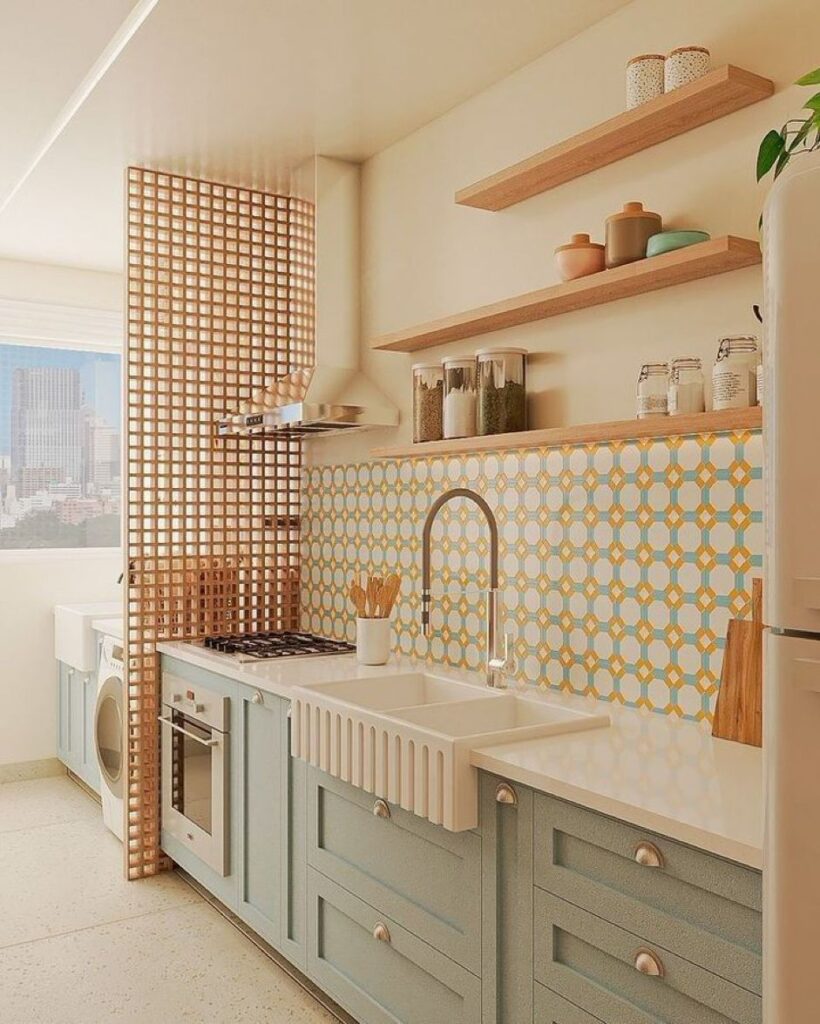
5) Install peel-and-stick backsplash tiles
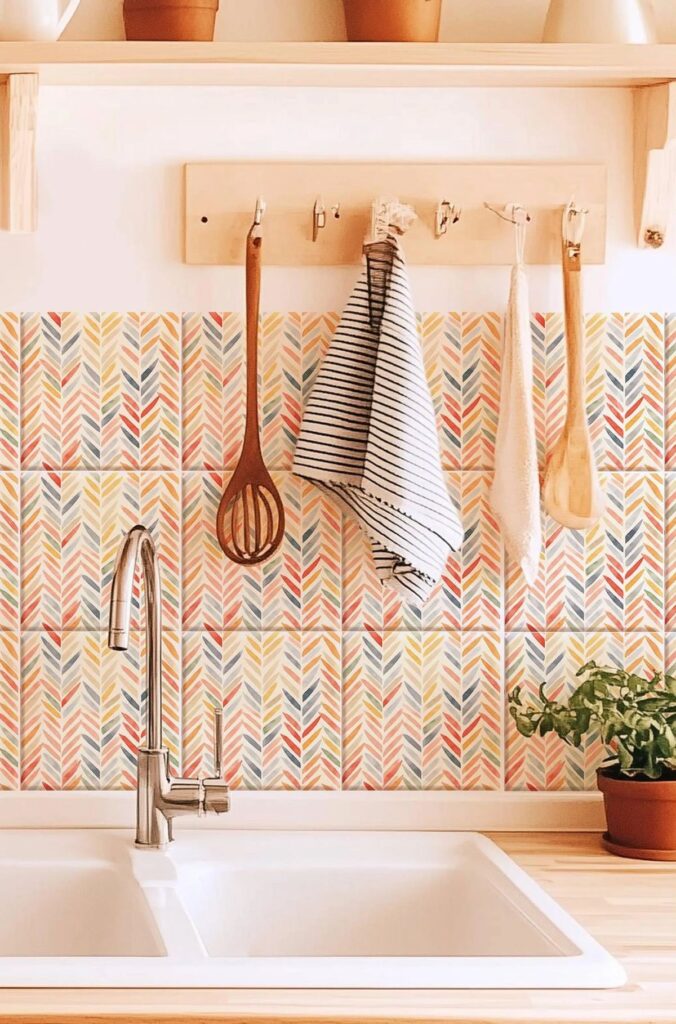
Peel-and-stick backsplash tiles offer an easy way to update your kitchen without traditional tiling mess. You don’t need mortar, grout, or special tools to complete this project.
Start by cleaning your wall surface with a degreasing cleaner. Remove any dirt or grease that could prevent proper adhesion. Let the surface dry completely before proceeding.
Measure your backsplash area and plan your tile layout. Begin installing from the center point and work outward for the best visual balance.
Remove the backing paper from each tile and press firmly onto the wall. Smooth out any air bubbles as you go. The adhesive backing makes installation quick and straightforward.
Cut tiles to fit around outlets and edges using scissors or a utility knife. Most peel-and-stick tiles are easy to trim to size.
These tiles come in various patterns including subway, hexagon, and stone looks. You can achieve the appearance of real ceramic or natural stone without the cost or complexity.
The project typically takes just a weekend to complete. No special skills are required, making this perfect for DIY beginners.
6) Turn mason jars into hanging lanterns
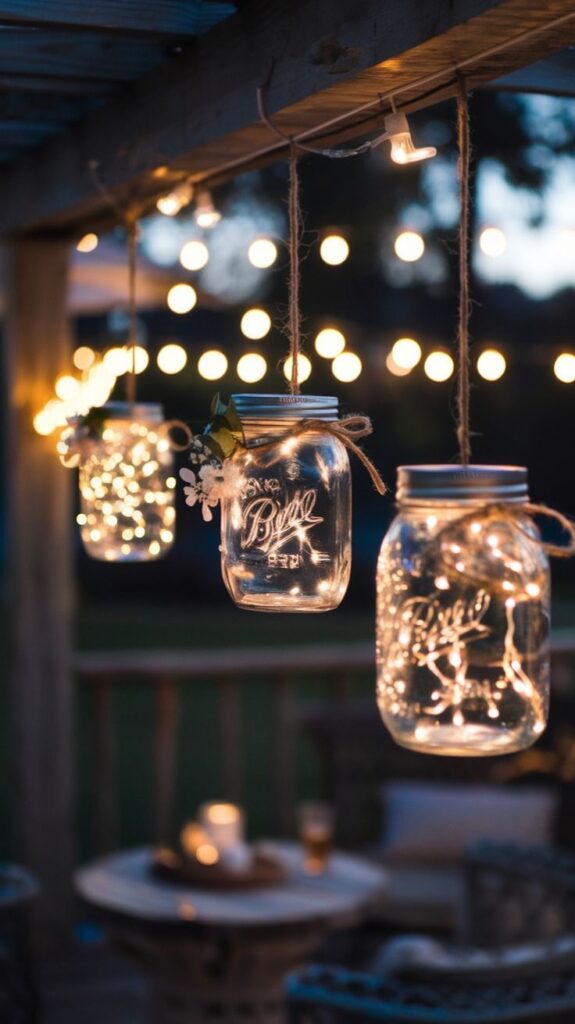
Mason jars transform easily into charming hanging lanterns for your home or garden. You can create these beautiful lights with basic materials you likely already have.
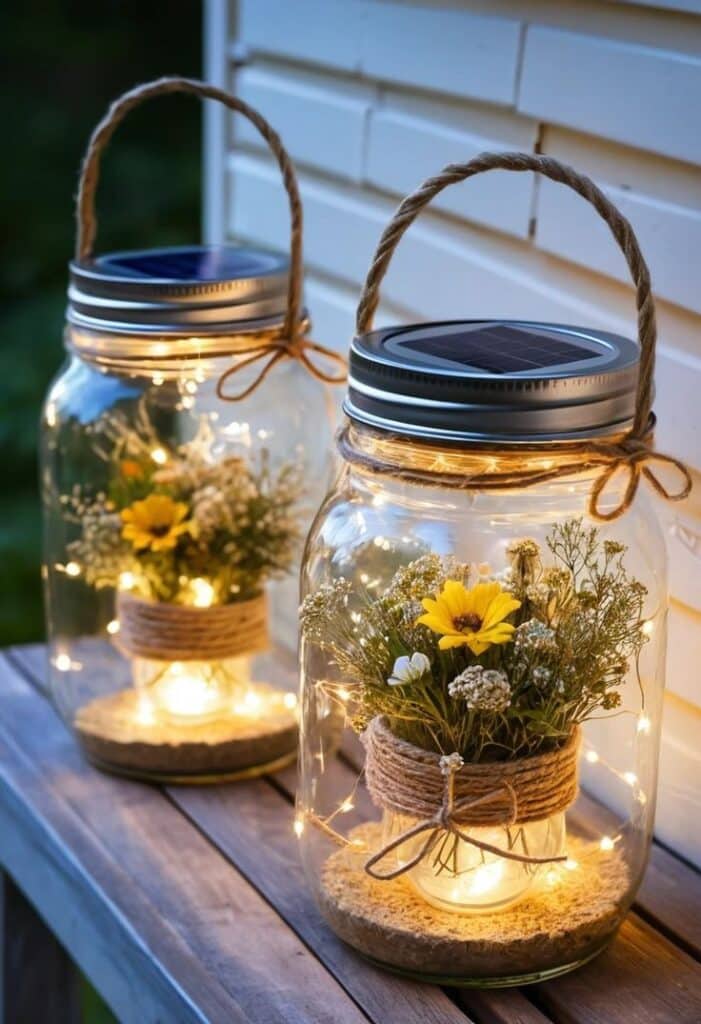
Start with clean mason jars and add battery-operated LED lights or fairy lights inside. Thread the lights through the jar opening and let them fill the interior space.
Create hanging mechanisms using wire, rope, or twine. Wrap wire around the jar rim to form a handle, or punch holes in the lid to thread rope through.
For added charm, try frosting your jars with spray paint or etching cream. You can also fill them partially with decorative elements like flowers or colored stones before adding lights.
Hang your finished lanterns from tree branches, porch ceilings, or shepherd’s hooks. They work perfectly for outdoor entertaining, weddings, or everyday ambiance.
These versatile lanterns suit any season or occasion. Use warm white lights for cozy winter evenings or colorful bulbs for summer parties.
The project costs very little but creates impressive results. You can make several lanterns in under an hour for a complete lighting display.
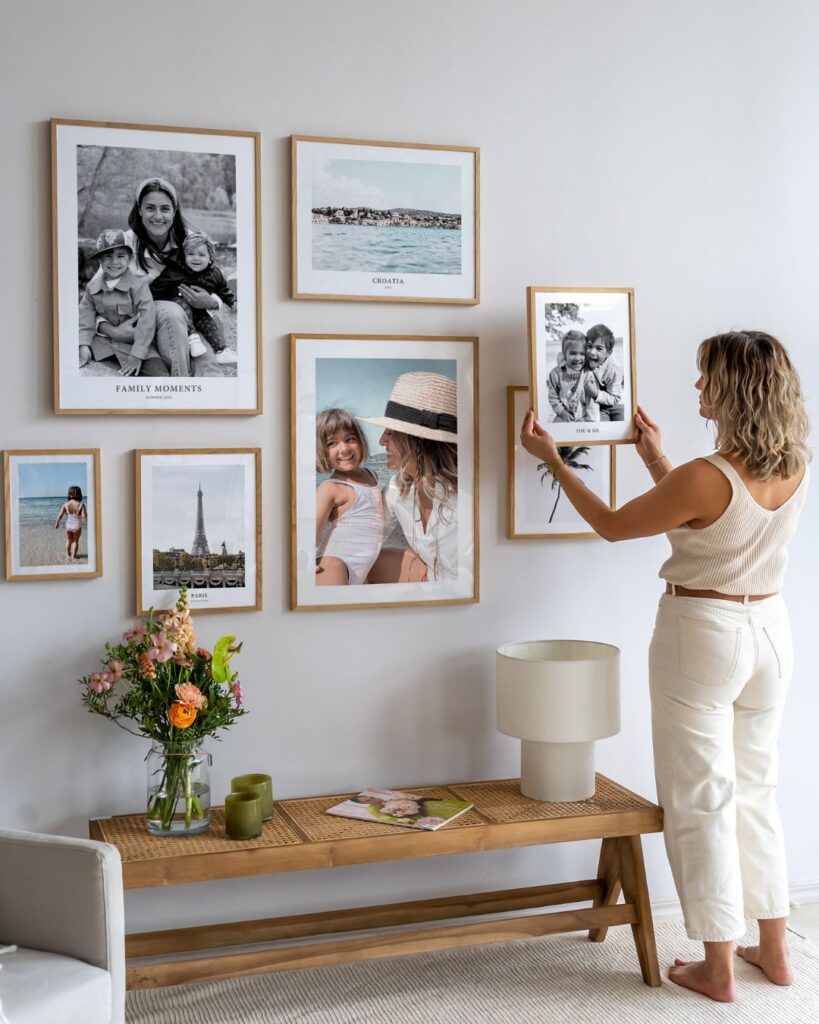
7) Create a custom photo gallery wall
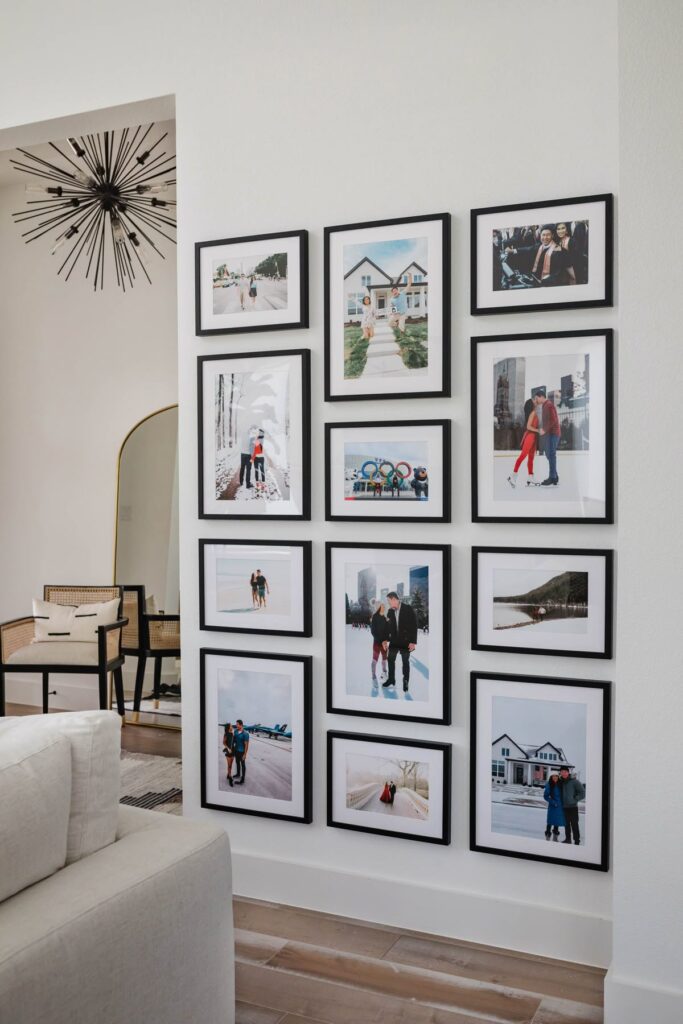
Transform any blank wall into a personalized focal point with your favorite photos and memories. Gallery walls are budget-friendly DIY projects that instantly elevate your space.
Start by gathering photos of different sizes. Mix family portraits, travel snapshots, and artwork for visual interest.
Lay out your arrangement on the floor first. This helps you plan the perfect composition before making holes in your wall.
Choose frames that complement each other. You can use matching frames for a clean look or mix different styles for an eclectic feel.
Measure and mark your wall carefully. Use a level to ensure everything hangs straight.
Consider adding small shelves or decorative elements between photos. Empty frames can also create interesting focal points in your arrangement.
The key is creating balance while telling your story. Leave some breathing room between pieces so each photo gets attention.
Start with a central anchor piece and build around it. This creates a natural flow that draws the eye across your wall display.
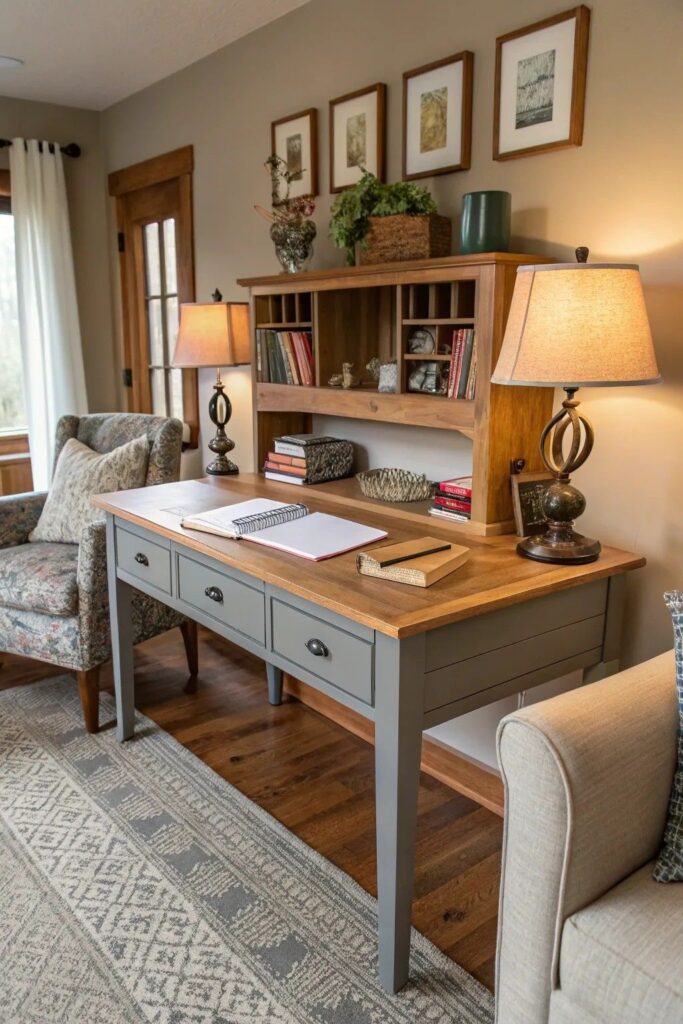
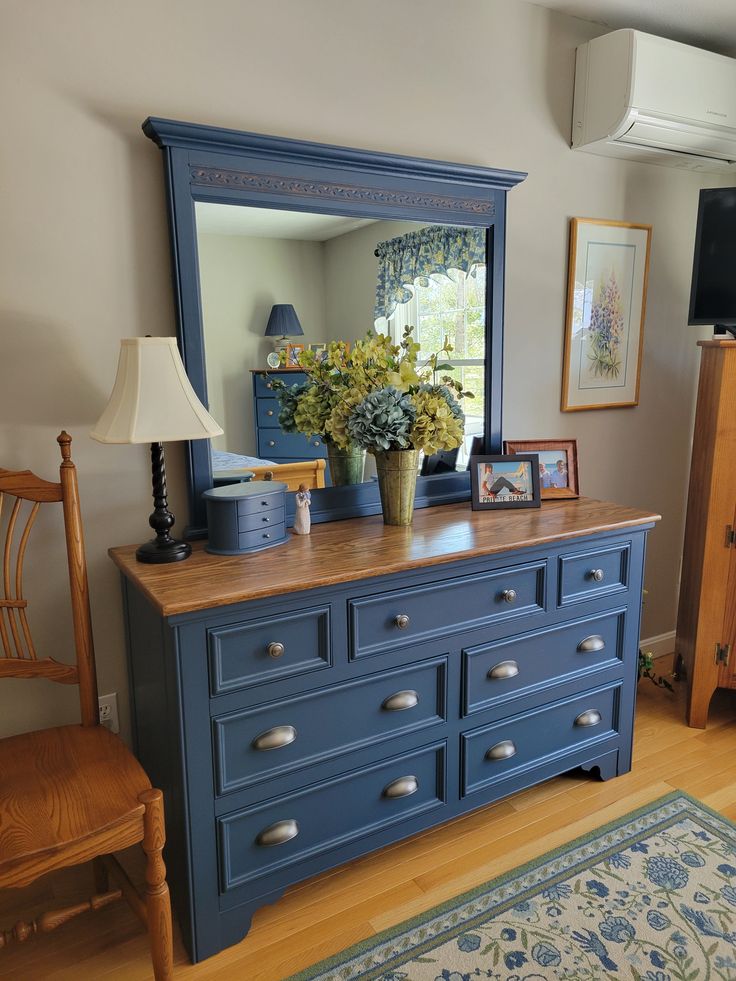
8) Refinish old furniture with chalk paint
Chalk paint offers one of the easiest ways to transform tired furniture pieces. You can breathe new life into scratched nightstands, old dressers, or worn dining chairs without extensive preparation.
The beauty of chalk paint lies in its simplicity. You don’t need to sand or prime most surfaces before applying it. This makes weekend furniture makeovers completely achievable for beginners.
Start by cleaning your furniture piece thoroughly. Apply the chalk paint in thin, even coats using a brush or roller. Most pieces need two coats for full coverage.
You can create different finishes depending on your style preferences. Leave it matte for a modern look, or distress edges with sandpaper for a vintage appearance.
Once dry, seal your work with wax or polyurethane for durability. The wax gives a soft sheen while polyurethane provides stronger protection for high-use items.
Thrift store finds work perfectly for this project. That $10 dresser can become a stunning focal point in your bedroom with just a coat of paint and some creativity.
The transformation results are often dramatic, turning damaged pieces destined for disposal into beautiful, functional furniture that matches your home’s style.
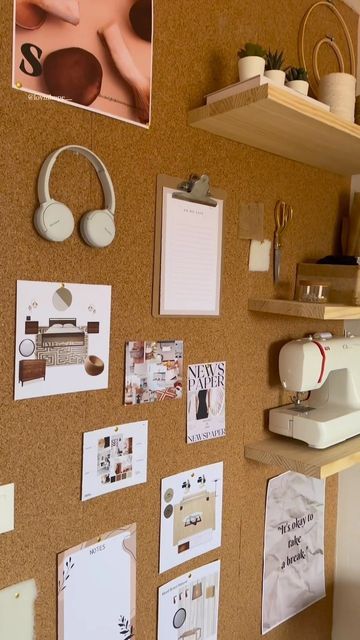
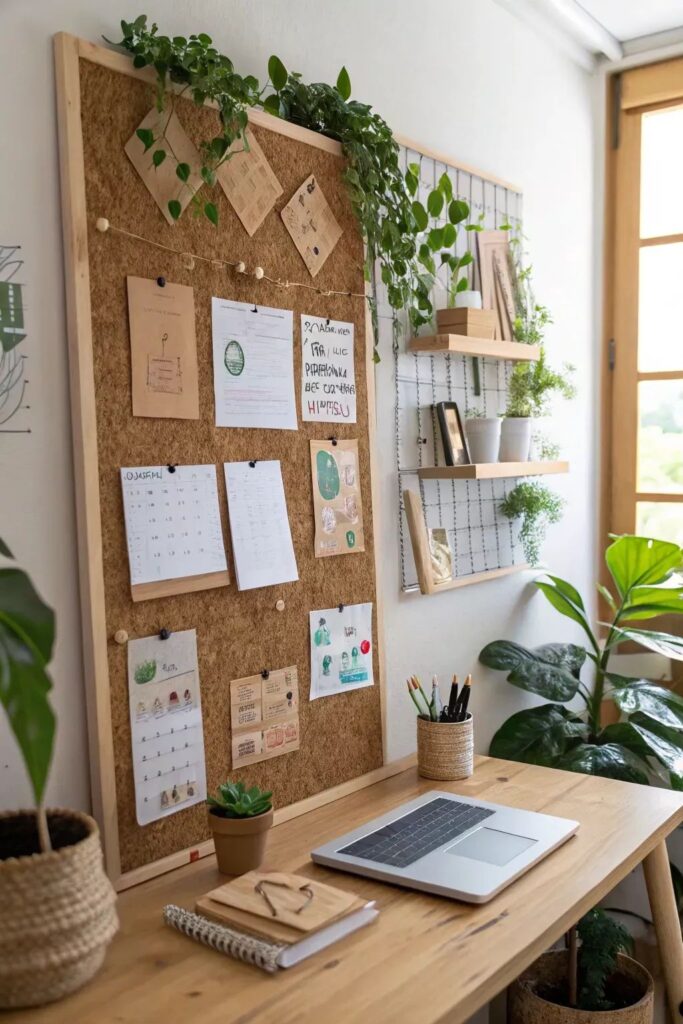
9) Craft a DIY corkboard organizer
Creating your own corkboard organizer helps you stay organized while adding personality to your space. You can transform any room with this simple and cost-effective project.
Start by gathering basic materials like cork sheets, a frame or backing board, and decorative elements. You’ll also need push pins, washi tape, and any fabric or paper you want to use for decoration.
Cut your cork sheet to fit your chosen frame or backing. If you want a decorative touch, cover the cork with fabric before securing it in place.
Mount your finished corkboard on the wall at eye level for easy access. Choose a spot where you’ll see it daily, like above your desk or in the kitchen.
Use your new organizer to display important reminders, schedules, and to-do lists. You can also pin up photos, inspirational quotes, or artwork to make it more visually appealing.
The beauty of a DIY corkboard lies in its versatility. You can customize the size, shape, and design to match your specific needs and decor style.
10) Make decorative candles with essential oils
Creating your own candles with essential oils lets you customize scents, colors, and designs for your home. You can craft beautiful fragrant candles using simple materials and techniques.
Start with soy wax as your base since it burns cleaner and holds essential oil scents well. Melt the wax in a double boiler or microwave-safe container.
Add your favorite essential oils once the wax cools slightly. Lavender creates a relaxing atmosphere, while citrus oils energize your space. You can blend different oils to create unique scent combinations.
Pour the scented wax into containers like mason jars, teacups, or decorative molds. Place the wick in the center before the wax hardens completely.
These handmade candles make thoughtful gifts for friends and family. You can personalize each one with different scents to match the recipient’s preferences.
Essential oil candles provide natural fragrances without synthetic chemicals. They also offer therapeutic benefits depending on which oils you choose for your blend.


Key Tools and Materials for DIY Success
The right tools and quality materials form the foundation of every successful DIY project. Smart shopping strategies and essential equipment selection can make your projects more enjoyable while staying within budget.
Choosing the Right Tools
Start with measuring basics. A 25-foot tape measure handles most beginner projects effectively. Look for models with clear markings and a sturdy case.
Invest in a quality cordless drill. This versatile tool handles drilling holes and driving screws across multiple project types. Choose one with adjustable speed settings and include basic drill bits.
Essential cutting tools make precise work possible. A utility knife with replaceable blades cuts through various materials. Add a handsaw for wood projects and sharp scissors for fabric or paper crafts.
| Tool Category | Essential Item | Key Features |
|---|---|---|
| Measuring | Tape Measure | 25-ft length, clear markings |
| Power Tools | Cordless Drill | Variable speed, basic bit set |
| Cutting | Utility Knife | Replaceable blades, comfortable grip |
| Assembly | Screwdriver Set | Multiple sizes, magnetic tips |
Basic assembly tools complete your starter kit. A screwdriver set with various sizes handles most fastening tasks. Magnetic tips help prevent dropped screws during assembly work.
Sourcing Affordable Materials
Hardware stores offer competitive pricing on bulk items. Purchase screws, nails, and basic fasteners in larger quantities to reduce per-unit costs. Store extras in labeled containers for future projects.
Discount retailers provide budget-friendly options. Dollar stores stock basic supplies like paintbrushes, sandpaper, and cleaning materials. Quality varies, so inspect items before purchasing.
Online marketplaces expand material selection. Compare prices across multiple vendors for specialized items. Factor in shipping costs when calculating total project expenses.
Repurpose existing materials creatively. Old furniture provides wood for smaller projects. Fabric scraps work well for crafting applications. Clean containers become storage solutions.
Seasonal sales reduce material costs significantly. Purchase paint during spring sales and holiday decorations after major holidays. Stock up on frequently used supplies when prices drop.
Troubleshooting and Common Mistakes
Most DIY failures happen from rushing into projects without proper planning or using incorrect techniques. Budget surprises and measurement errors account for the majority of project setbacks.
How to Avoid Typical Errors
Plan your budget carefully before starting any project. Set aside 20-30% extra funds for unexpected issues like water damage, mold, or outdated wiring that you might discover.
Measure twice, cut once remains the golden rule. Use a level for all installations instead of eyeballing positions. Crooked shelves and tilted fixtures immediately reveal amateur work.
Choose the right tools and materials for each task. Wrong anchors cause wobbly fixtures, while cheap materials often require expensive repairs later.
Research before you start each project step. Watch tutorial videos and read instructions completely rather than figuring things out as you go.
Don’t skip safety gear like goggles, gloves, and dust masks. Minor cuts and injuries slow progress significantly.
Quick Fixes for DIY Projects
For crooked installations, use a laser level or smartphone app to realign fixtures. Remove and reinstall using proper measurements rather than trying to adjust around the mistake.
Fix wobbly fixtures by locating wall studs with a stud finder. Replace drywall anchors with screws driven directly into studs for maximum stability.
Cover paint drips immediately with a damp cloth. For dried drips, sand lightly and touch up with matching paint using a small brush.
Repair stripped screw holes by inserting wooden toothpicks with wood glue, then re-drilling the screw. This creates new material for the screw threads to grip.
- 3shares
- Facebook0
- Pinterest0
- Twitter3
- Reddit0


