If you have ever played back a recording and found the audio unclear, you are not alone. Simple mistakes can ruin the sound, even with a quality lavalier microphone. Lavalier mics are compact, portable, and excellent for video interviews, YouTube videos, and live events. But using it the right way matters.

Most problems with a lavalier mic are simple to fix once you know what to look out for. Let’s go through the five most common mistakes people make and how you can avoid them.
Mistake 1: Placing the Mic Too Low or Too High
With a lavalier microphone, placement is everything. Place it too near the mouth, and you will hear harshness, breathing, and even pops on certain words. Put it too low, and the sound will come muffled or faint.
The Fix:
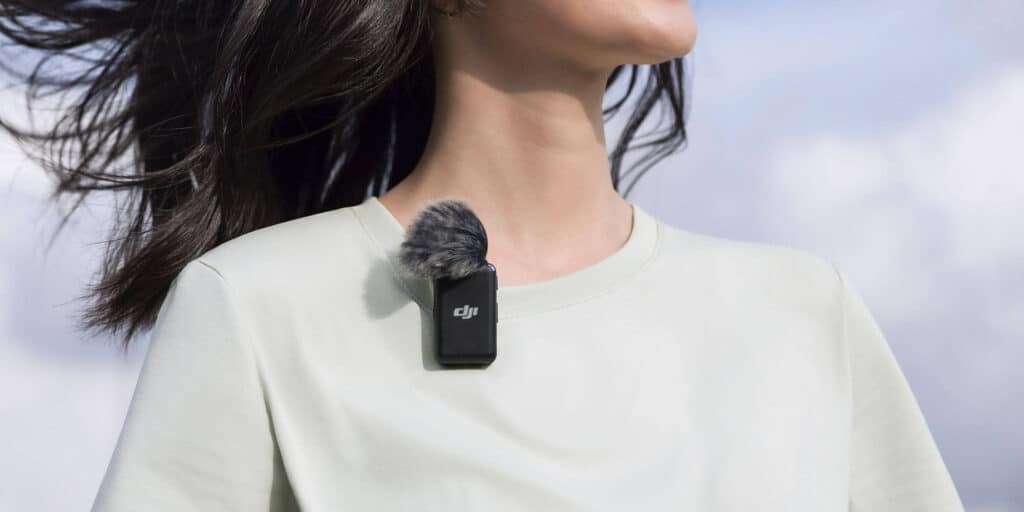
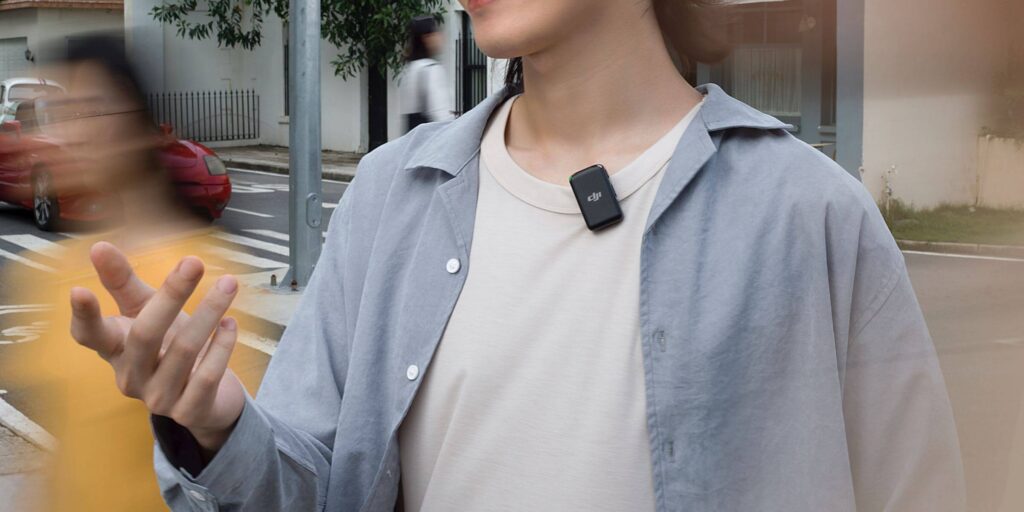
Aim to clip your lav mic about 6 to 8 inches below the mouth, usually around the chest area. This placement balances clarity with a natural tone. If you’re recording a video, check that the mic isn’t rubbing against clothes or jewelry. A quick test recording before you hit record for real can save you hours of frustration later.
Mistake 2: Letting Clothing Interfere
One of the biggest challenges with a microphone lavalier is clothing noise. Fabric brushing against the mic creates distracting rustles that are nearly impossible to fix in post-production. Loose shirts, jackets, or scarves are common culprits.
The Fix:
If you do need to hide the lav mic for video, you can use small clips or tape to hold it under the clothing. Foam tough windscreens also aid in minimizing rustle. Another trick is to put the mic under the clothing but leave an air pocket around it . In this way, the microphone does not rub, but still can pick up clear sound.
Mistake 3: Ignoring Background Noise
A lavalier microphone picks up sound from the speaker, but does not eliminate background noise. If you record next to a noisy air conditioner or a busy café, you will end up with an audio tape that is hard to clear up later on.
The Fix:
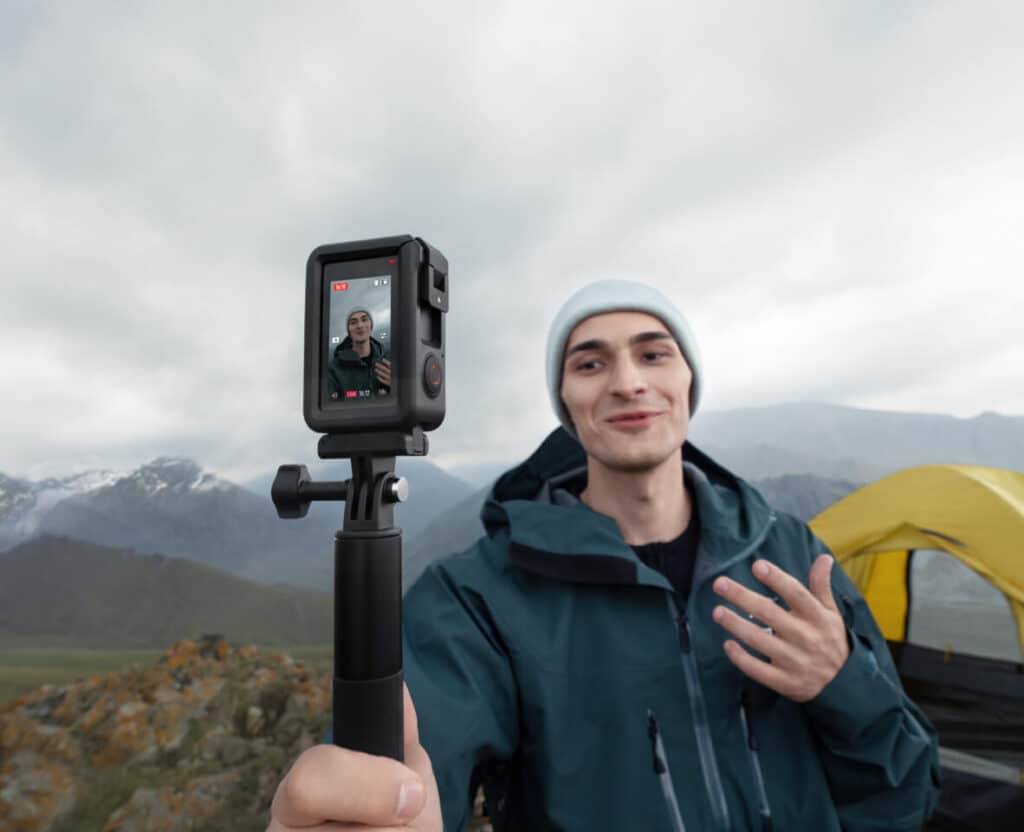
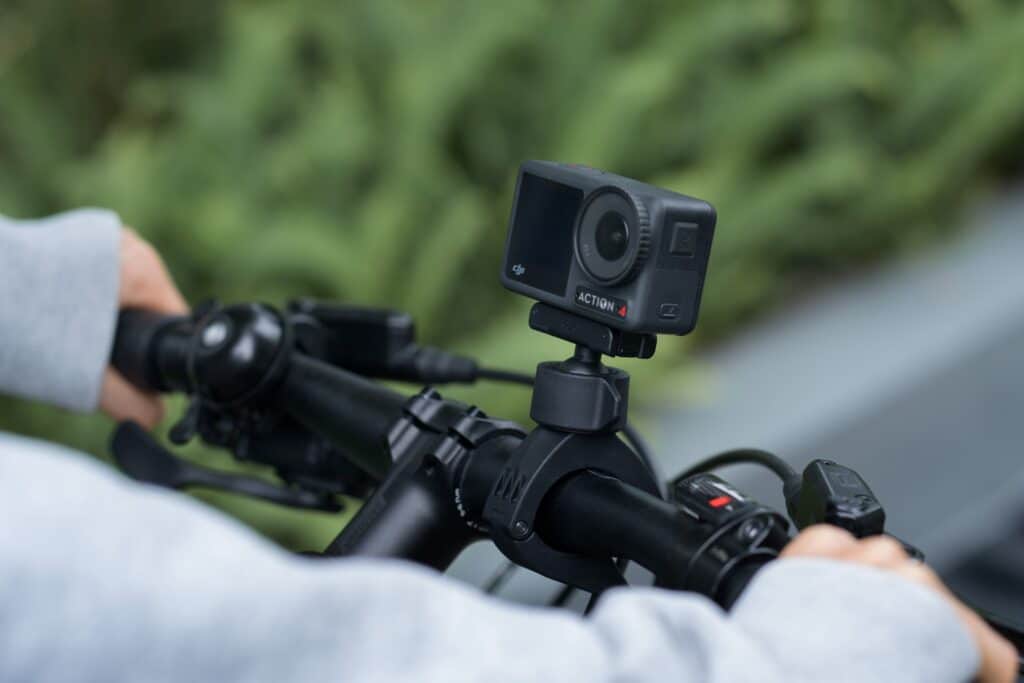
Pick the quietest environment you can. Turn off fans, buzzing lights, or appliances before you record. If you’re outdoors, try using a windscreen or “dead cat” cover to reduce wind noise. And if background noise is unavoidable, consider pairing your lav mic with a video stabilizer setup so your visuals are steady enough to allow for better syncing with audio corrections later.
Mistake 4: Relying Only on Built-in Connections
Many creators assume they can just plug in their microphone lavalier and forget about it. But weak connections, low-quality adapters, or the wrong input settings often cause hiss, static, or no sound at all.
The Fix:
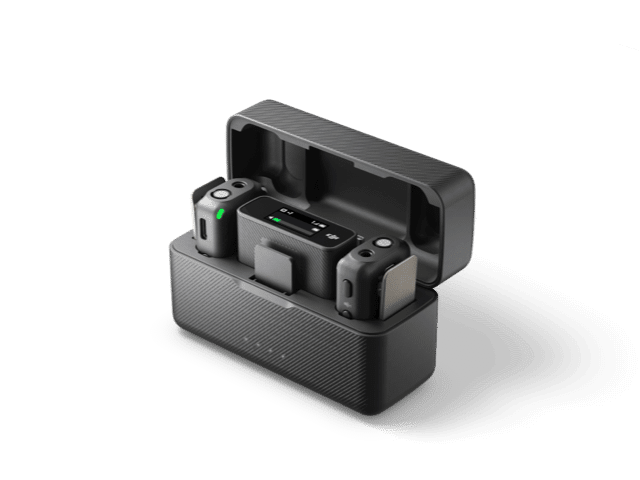
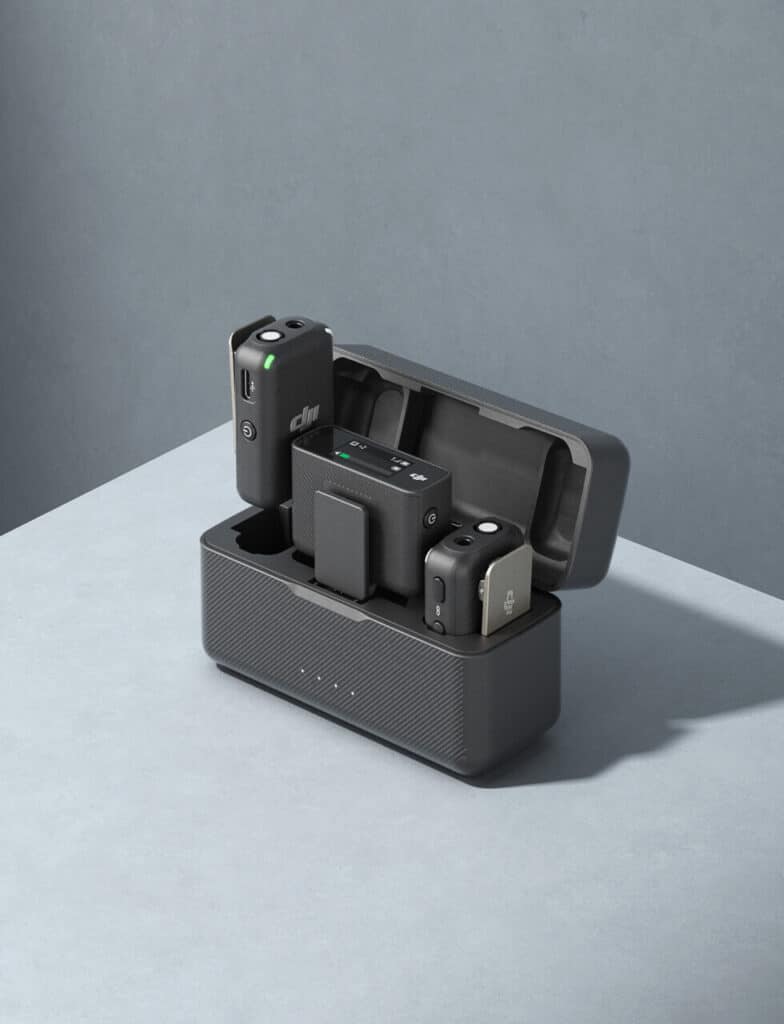
Always double-check your gear before you record. Test the connection, adjust your input levels, and monitor audio with headphones. If you’re working with a wireless mic, make sure the transmitter and receiver are paired correctly and that you’re not picking up interference from other devices. A quick soundcheck takes less than a minute but can prevent hours of wasted footage.
Mistake 5: Not Practicing Proper Mic Etiquette
Even with perfect setup, bad mic habits can ruin your audio. People often fidget, tap the mic, or turn their head away while speaking, leading to uneven sound.
The Fix:
Remind anyone wearing a microphone lavalier to avoid touching or adjusting it during recording. Encourage steady posture and natural speaking. If you’re shooting video, pair the mic with a video stabilizer so movements look as polished as the audio sounds.
Why Does Audio Matter More Than You Think?
Many creators spend hours perfecting visuals, adding transitions, and adjusting colors. But without good sound, even the most beautiful footage can fall flat. Viewers are surprisingly forgiving of shaky video, especially if you’re using tools like a video stabilizer to smooth it out. They’re far less forgiving of bad audio.
That’s why it’s worth learning how to handle a microphone lavalier properly. Clean, professional audio instantly boosts the quality of your content and makes it easier for your audience to stay focused on what matters; you and your message.
Final Thoughts
A microphone lavalier is one of the most useful tools in a creator’s kit, but only if you know how to use it right. By avoiding these common mistakes you’ll capture audio that sounds polished and professional.
Pairing your lav mic with the right accessories, like a video stabilizer for smooth visuals or a wireless mic system for mobility, only adds to the overall quality. With a little practice and attention to detail, you’ll never have to cringe at your recordings again.
Great sound doesn’t require expensive gear or complicated setups. It’s about using the tools you already have correctly. Next time you clip on a lavalier, take a moment to double-check the setup and you’ll thank yourself when you play it back.
- 0shares
- Facebook0
- Pinterest0
- Twitter0
- Reddit0


