Building a bookshelf can be a simple and rewarding project that adds both style and function to any room. Whether for holding books, displaying decor, or organizing space, a homemade bookshelf can be customized to fit specific needs and places. A clear step-by-step plan helps anyone create a sturdy, attractive bookshelf with basic tools and materials.
Many people think building furniture takes special skills, but with easy-to-follow instructions, it becomes much more approachable. By choosing the right wood and following simple assembly steps, anyone can bring their own bookshelf idea to life. This guide breaks down the process so that even beginners feel confident building something useful and unique.
Planning Your Bookshelf Project
Planning is key to building a bookshelf that fits well, looks good, and holds everything it needs to. It involves picking the right style, measuring the space carefully, and choosing materials that suit the room and the budget.
Choosing the Right Bookshelf Design

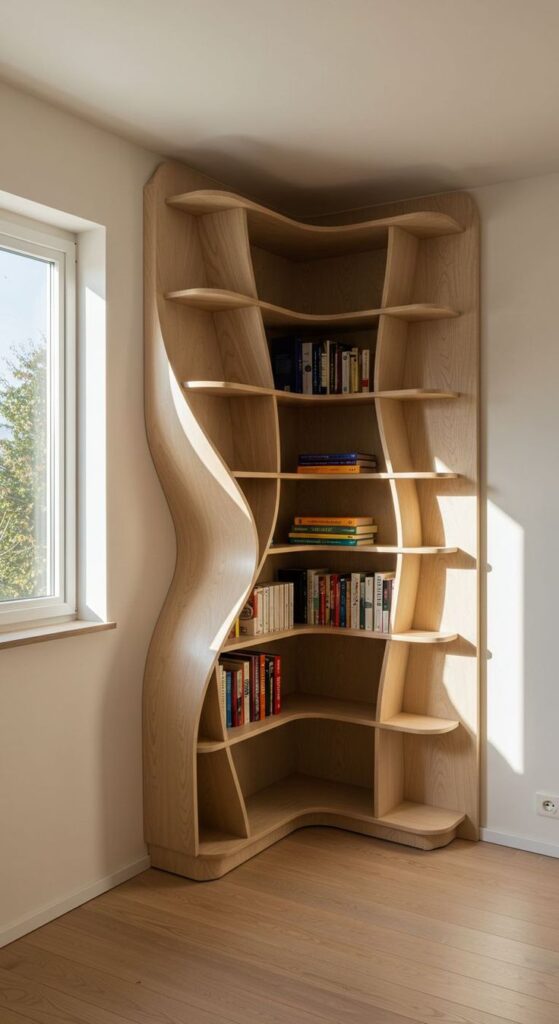
The design should match the room’s style and the type of items to store. Some prefer open shelves for easy access and display, while others want closed shelves or cabinets to protect books from dust. Consider whether the bookshelf will be freestanding or built-in.
Basic designs include simple rectangular shelves, ladders, or cubes. More complex designs might include adjustable shelves or angled sides. The choice depends on skill level and tools available.
Layout matters too. Spacing shelves to fit both thick books and smaller items helps use space efficiently.
Measuring Your Space


Measuring the area where the bookshelf will go is important to avoid surprises later. Measure height, width, and depth carefully.
Also, check for obstacles like heat vents, electrical outlets, or switches near the area.
Write down exact measurements in inches or centimeters and double-check them. Leave some extra space around the bookshelf for easy installation and cleaning.
Using a tape measure and a level can help ensure accuracy.
Selecting Materials
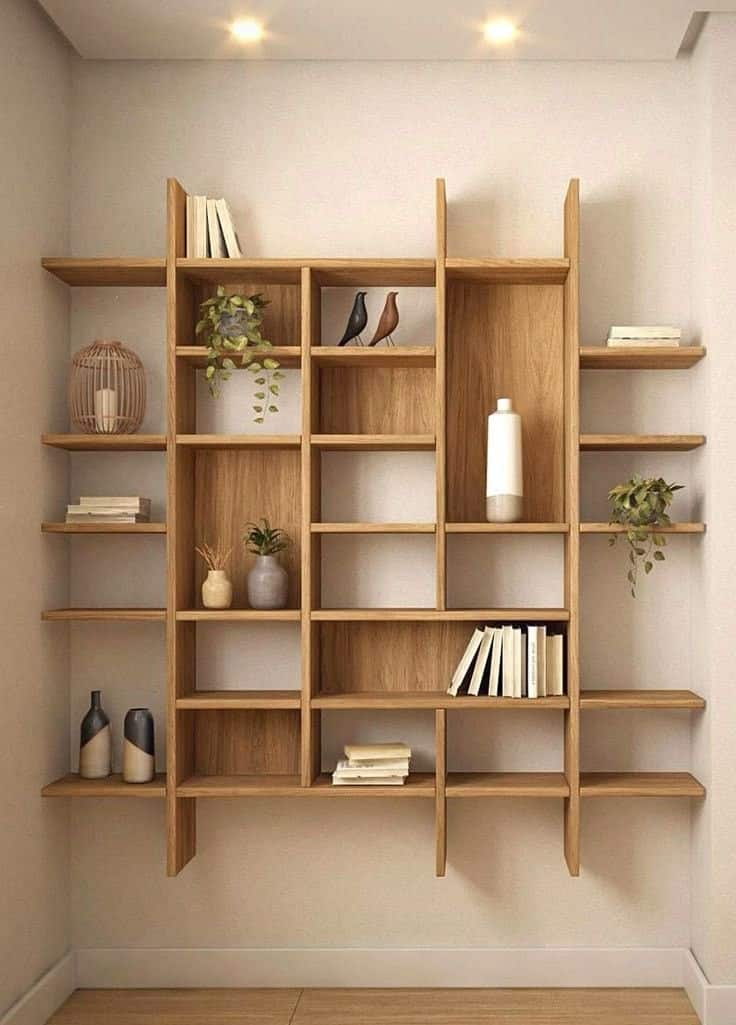

Materials affect the bookshelf’s look, strength, and cost. Common choices include pine, plywood, MDF, or hardwood like oak or maple.
Pine and plywood are affordable and easier to work with but may not last as long as hardwoods.
MDF is smooth and good for painting but less strong for heavy loads. Hardwoods are sturdy but more expensive.
For shelves that will hold heavy books, thicker wood or added support brackets can help prevent sagging.
Also, consider the finish: paint, stain, or natural wood look can change the style and durability.
Gathering Tools and Supplies
To build a sturdy bookshelf, it’s important to use the right tools and take safety seriously. He or she should prepare with strong, reliable tools and wear the correct protective gear before starting.
Essential Woodworking Tools
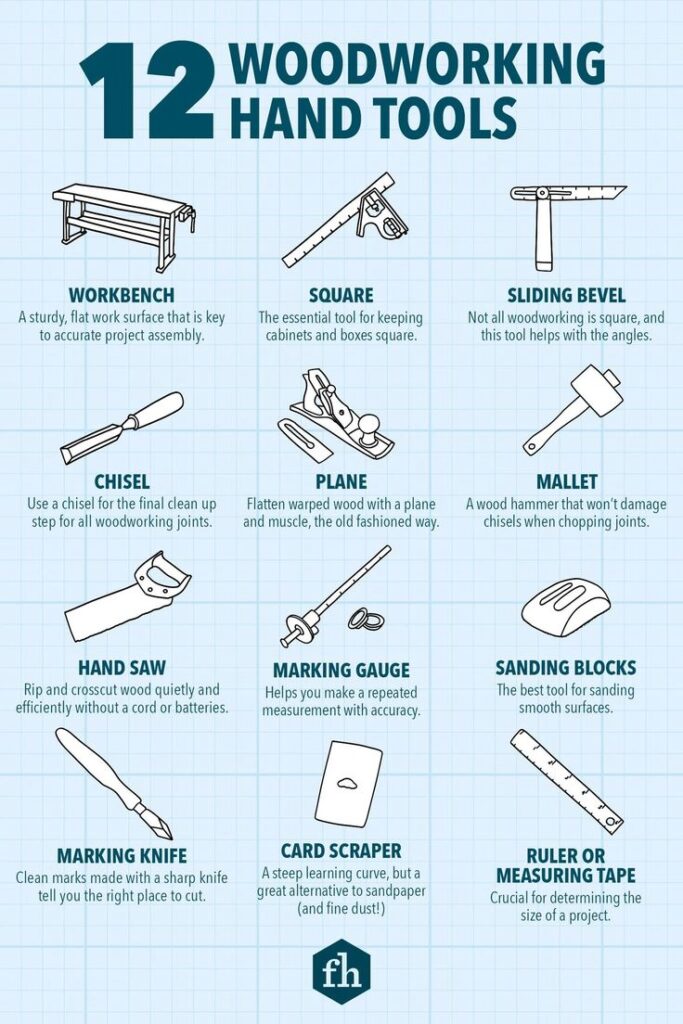
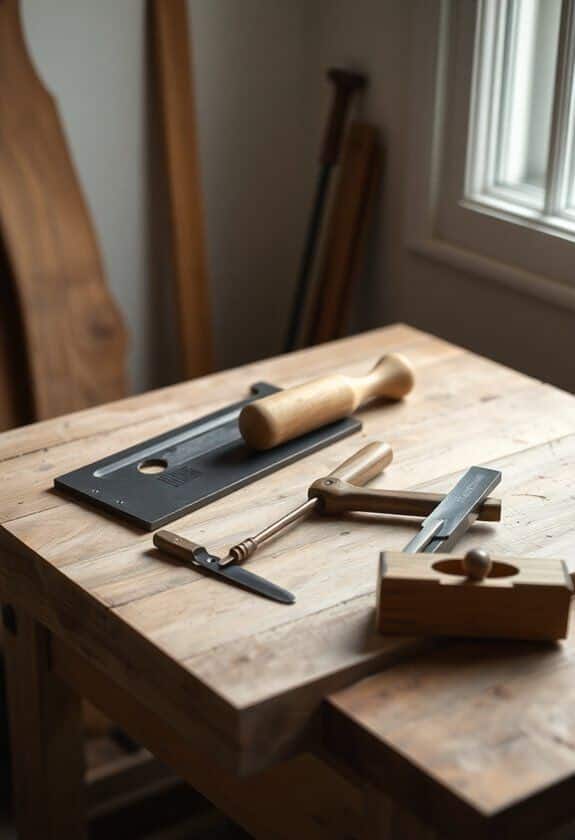
The core tools needed include a saw, such as a circular or hand saw, to cut wood pieces to size. A drill is necessary for making holes and driving screws. Screws around 2.5 to 3 inches long work well for assembling shelves.
Other helpful items are measuring tape, square for right angles, and sandpaper or a sanding block to smooth surfaces. A clamp can hold wood steady while working. Wood planks like pine or plywood are common choices for shelf boards. Having a pencil to mark cuts ensures accuracy.
Recommended Safety Equipment
Safety glasses or goggles protect eyes from wood splinters and dust. Wearing ear protection is smart when using loud tools like power saws.
Work gloves help guard hands against splinters and sharp edges. It’s important to wear a dust mask when sanding or cutting to avoid breathing in fine wood particles. Closed-toe shoes keep feet safe from falling tools or wood pieces. Keeping a first-aid kit nearby is a good precaution for any minor injuries.
Cutting and Preparing Materials
Cutting and preparing the wood carefully ensures the bookshelf will fit together well. Accurate measuring, marking, and sanding are essential steps that help create a clean and sturdy final product.
Marking and Cutting Boards
First, precise measurements are key. It helps to use a tape measure and a pencil to mark exactly where each cut needs to be made. Using a straight edge or square can keep the lines straight and accurate.
Before cutting, double-check the measurements to avoid mistakes. When cutting, a circular saw or table saw works best for clean edges. Cutting slowly and steadily helps prevent splintering.
Keeping the cut pieces organized by labeling each piece after cutting prevents confusion during assembly. Safety is also important—wear goggles and keep fingers away from the blade at all times.
Sanding for a Smooth Finish
Sanding removes rough edges and splinters after cutting. Starting with medium-grit sandpaper (around 120 grit) smooths the wood surface well. It is best to sand with the grain to avoid scratches.
After that, using a finer grit sandpaper (220 grit) gives a smooth, ready-to-finish surface. Sanding corners and edges carefully helps prevent injuries and improves the bookshelf’s look.
Using a sanding block or an electric sander speeds up the process. After sanding, wiping the pieces clean of dust ensures better paint or stain adhesion later.
Assembling the Bookshelf
This stage focuses on putting the main parts together carefully. It includes joining the frame pieces, fixing the shelves in the right spots, and securing the back panel to keep everything stable and square.
Attaching the Frame
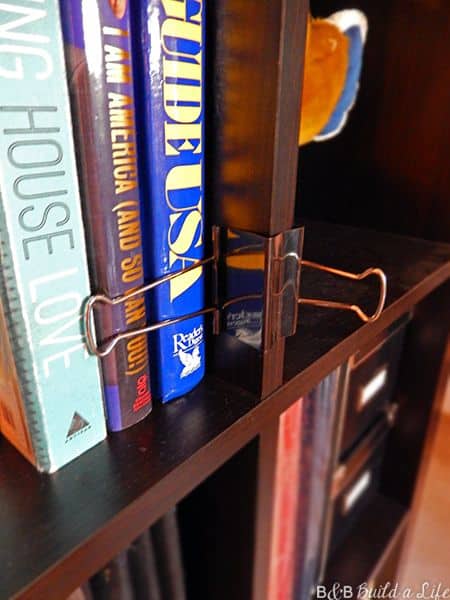
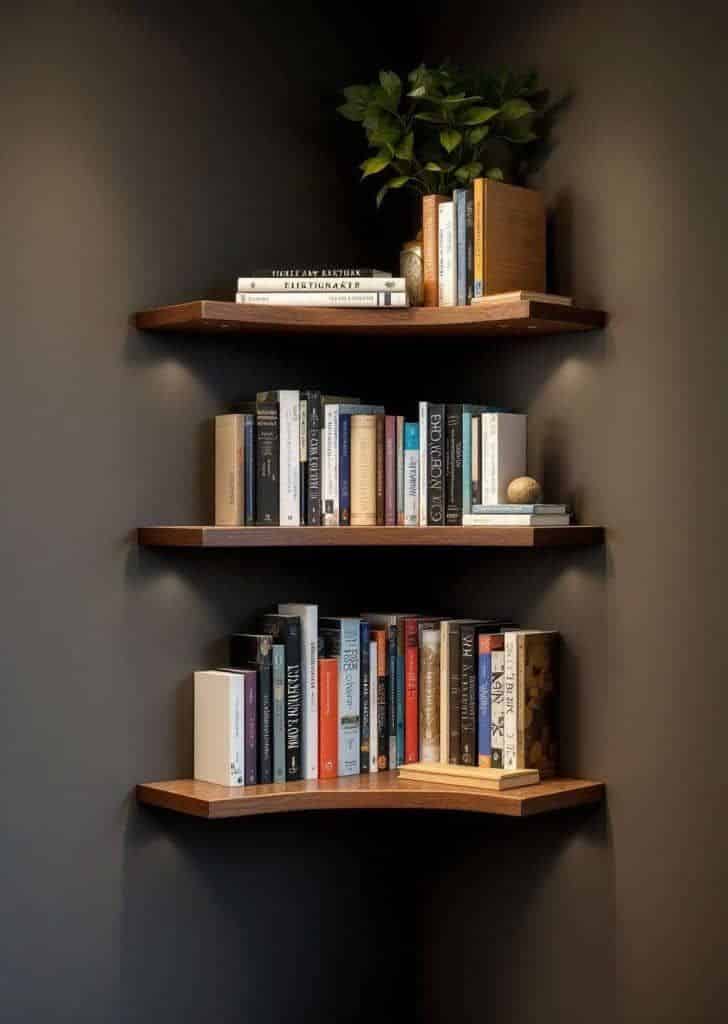
First, the builder lines up the two side panels with the top and bottom boards. It’s important to check that all edges are flush and corners are square before fastening.
They usually use wood screws or nails combined with wood glue for a sturdy hold. Countersinking screws can help keep the surface smooth for later finishing.
Clamping the frame while the glue dries can prevent movement and ensure tight joints. Double-checking measurements helps avoid misalignment that could affect the whole bookshelf.
Securing the Shelves
Next, the shelves go in. Marking exact positions on the side panels beforehand makes sure the shelves stay level and spaced evenly.
Shelf supports or brackets are common, but fixed shelves are stronger and more stable. For fixed shelves, screws go through the side panels into the shelf ends or from underneath.
Using a level during installation ensures the shelves are straight. Adding glue at the joints helps prevent any future sagging or movement.
Adding Back Panels


The back panel keeps the bookshelf square and adds rigidity. Thin plywood or hardboard is typical for this purpose.
The back panel is positioned flush with the rear edges of the frame. It is attached using small nails or staples, spaced about every 6 inches around the frame.
Nailing carefully avoids splitting the thin panel. Some builders add glue before nailing to improve strength and keep it from rattling over time.
Adding the back panel last makes the whole unit more solid and ready for use.
Finishing Touches and Installation
Finishing build a bookshelf involves smoothing surfaces, adding color, and making sure it stands safely in place. The surface needs to be prepared before painting or staining. Once finished, the bookshelf must be mounted or stabilized correctly for safety and durability.
Painting or Staining the Bookshelf
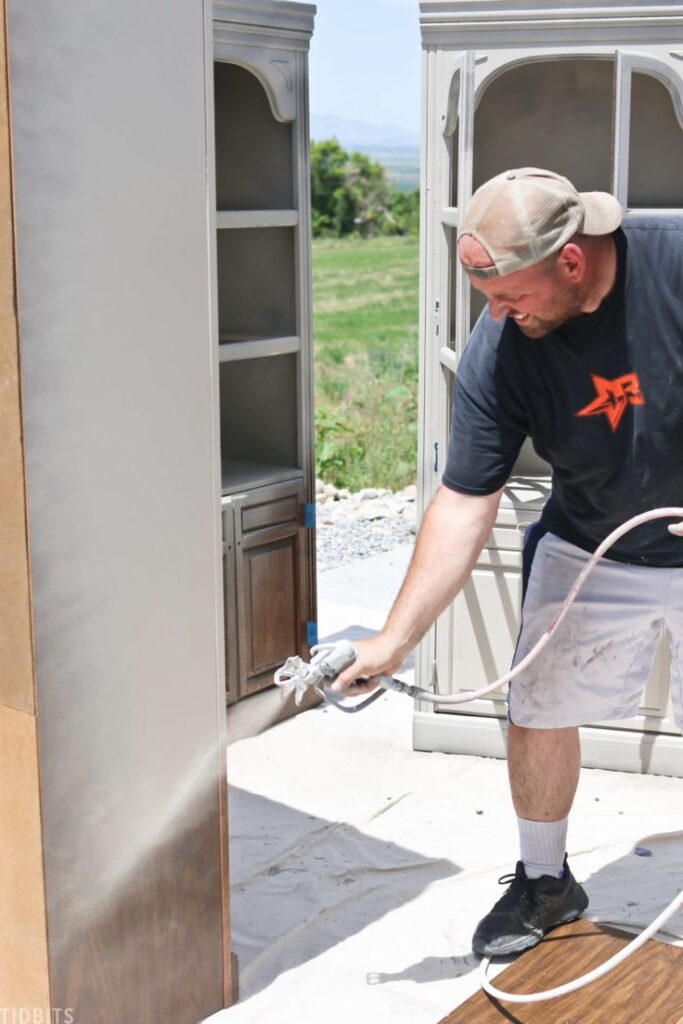
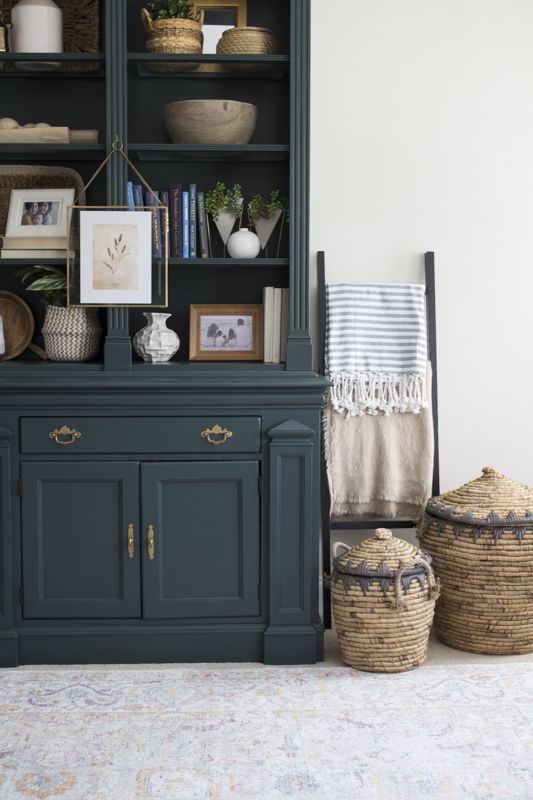
Before applying paint or stain, all screw holes should be filled with wood filler. After this dries, sanding is important. Start with a coarse grit sandpaper and move to finer grits to make the surface smooth.
For staining, choose a wood stain that matches the room’s style. Apply it evenly with a brush or cloth and wipe off any excess to avoid blotches. Stains highlight the wood grain and give a rich, natural appearance.
For painting, use a primer first to help the paint stick well. Pick a color that complements the room’s décor. Use smooth, even strokes with a quality brush or roller for the best finish. Allow each coat to dry before applying the next.
Mounting and Stabilizing
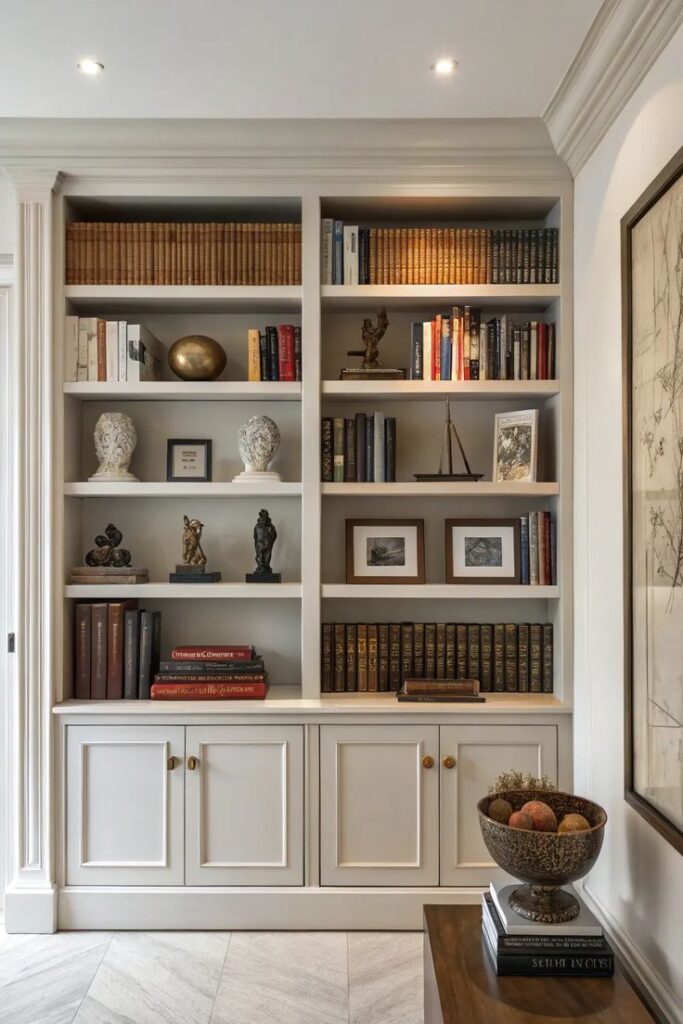

To keep the bookshelf safe, especially tall ones, it’s best to secure it to the wall. Use L-brackets or metal straps attached to wall studs for strong support. This prevents tipping.
Place felt pads under the bookshelf’s feet to protect floors and prevent slipping. Make sure the bookshelf stands level by adjusting feet or using shims if needed.
If the bookshelf is heavy or built-in, consider adding back braces for extra strength. Always double-check stability before loading it with books or décor.
- 2.0Kshares
- Facebook0
- Pinterest2.0K
- Twitter1
- Reddit0


