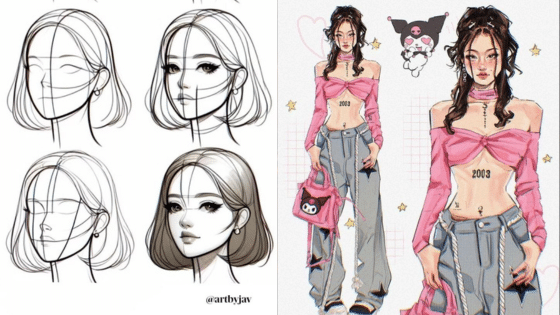
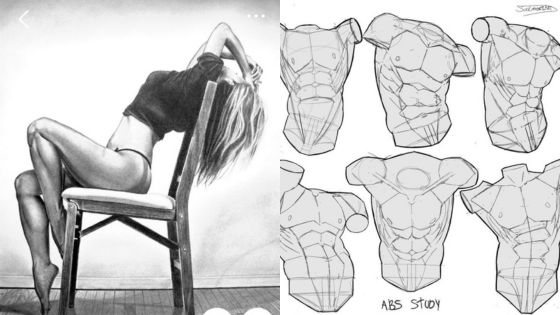
If you’re curious about sketching the human figure but don’t know where to begin, you’re not alone. The key to getting started is to break the body down into simple shapes and focus on basic proportions before worrying about details. This straightforward approach helps you understand the fundamental structure, making figure drawing feel much less intimidating.
You’ll find that working with stick figures, ovals, and basic lines lets you capture the full pose and energy of the body quickly. As you get comfortable, you can gradually add more detail and refine your sketch. With a little guidance and practice, you’ll be able to build a solid foundation for drawing people confidently.
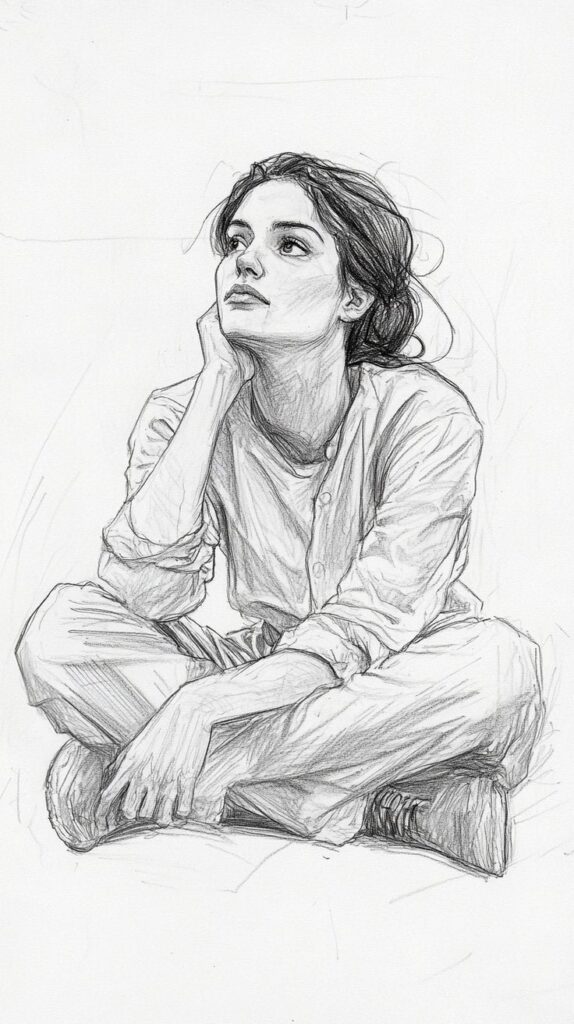
Key Takeaways
- Start with simple shapes to map out the human figure
- Focus on basic proportions and gesture before refining
- Practice will make sketching people easier and more natural
Getting Started with Human Figure Sketching
Jumping into figure drawing can feel like a big step, but your progress depends on having the right supplies, a practical workspace, and the confidence to begin. With thoughtful preparation, you can make the sketching process more comfortable and productive.
Choosing the Right Sketchbook and Materials
Picking a sketchbook is an important start. Look for one that can lay flat, at least 8”x10” in size, and with paper heavy enough (at least 70–90 gsm) to handle erasing without tearing. Spiral-bound books are easy to use, and a smooth texture (hot-press) is usually well suited for pencil sketching.
Begin with a set of pencils ranging from HB to 4B. This allows you to create light guide lines and darker final strokes. An eraser (preferably kneaded), a ruler, and a sharpener are useful for accuracy and corrections. You might also find a blending stump helpful for shading.
Here is a basic toolkit you may want to assemble:
| Material | Purpose |
|---|---|
| Sketchbook (8×10″+) | Drawing and practicing figures |
| Pencils (HB, 2B, 4B) | Sketching lines and shading |
| Kneaded eraser | Lightening, erasing, and corrections |
| Ruler | Checking proportions and drawing guides |
| Sharpener | Maintaining pencil precision |
| Blending stump | Creating smooth shading |
Keep your kit simple—there’s no need for expensive items at this stage.
Setting Up Your Workspace
Find a spot with good natural light or a consistent desk lamp. A flat, sturdy table is best for laying out your sketchbook and materials. Make sure your chair is comfortable and encourages good posture.
Keep your tools within easy reach. If drawing from a reference, prop it upright at eye level. This helps avoid distortions in your sketch. If possible, limit distractions by turning off notifications or music with lyrics.
A clutter-free area supports focus. Even a small desk or corner can work well as long as you set it up thoughtfully.
Overcoming Common Beginner Fears
It’s natural to feel self-conscious or worried about making mistakes when you start figure drawing. Remember, every sketch is part of your learning process—there’s no need for perfection.
Try quick, gesture sketches to loosen up. These let you focus on capturing the pose, not the details. Don’t hesitate to use references or copy from artists you admire; it’s a proven way to improve rapidly.
Accept that awkward, unbalanced, or “off” sketches are normal. If you mess up, just turn the page—your sketchbook is for practice, not finished masterpieces. The more you draw, the easier it becomes to move past hesitation.
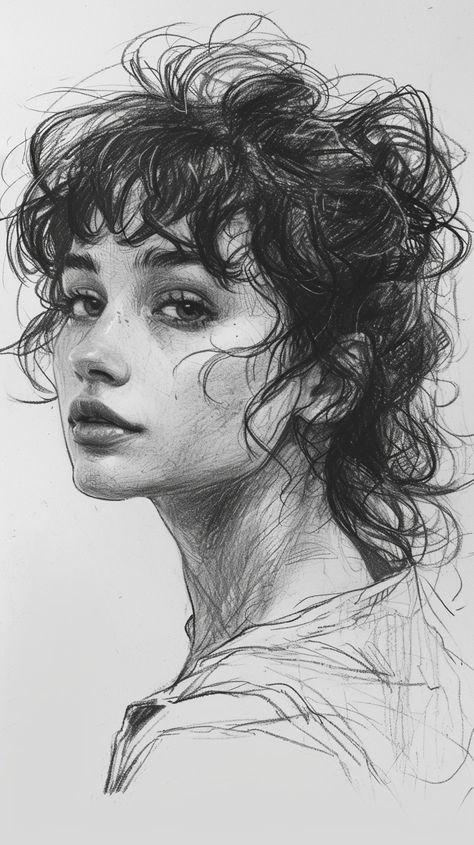
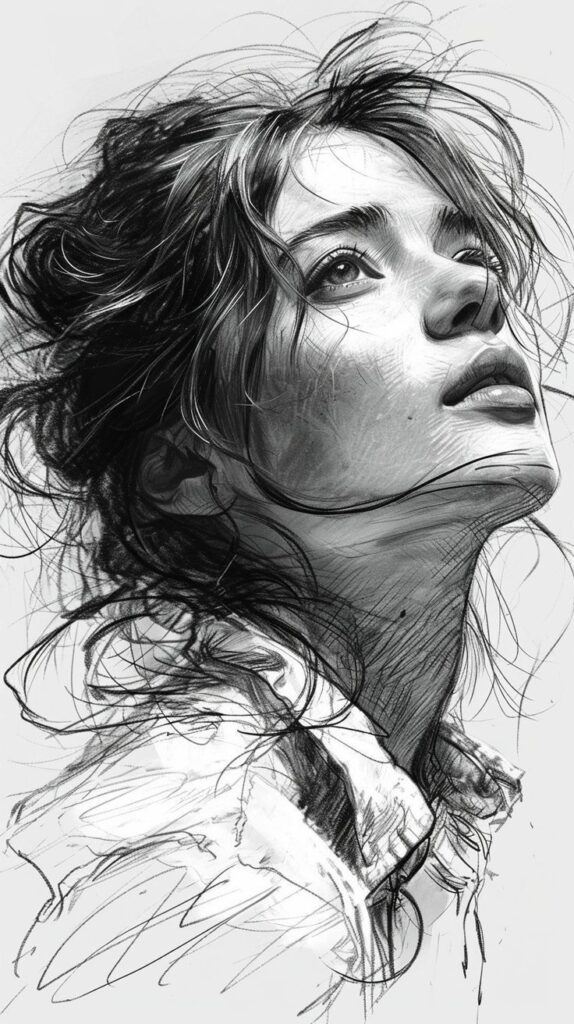
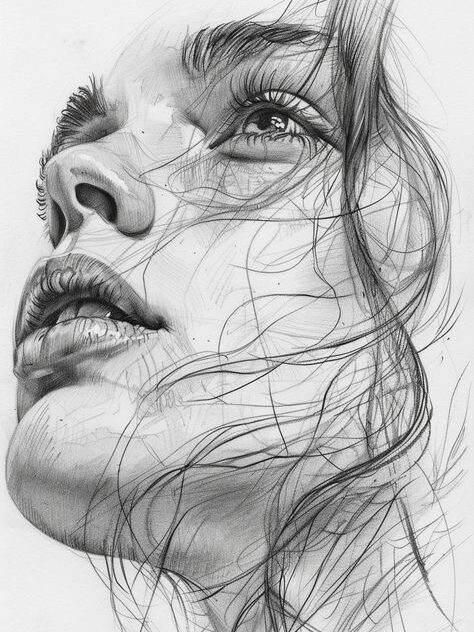
Understanding Basic Human Body Proportions
Getting body proportions right is a key part of accurate human figure drawing. Establishing basic measurements early can help keep your sketches balanced, whether you’re drawing an adult or a child. Paying attention to proportion reduces common mistakes and speeds up your progress.
Measuring with the Head Method
A common way to measure the human body is to use the length of the head as a basic unit. Most artists start by drawing an oval for the head, then stack that “head length” down the body to set other landmarks.
For an average adult, the body generally measures about 7.5 to 8 heads tall.
| Body Landmark | Approximate Head Length (Adult) |
|---|---|
| Chin to nipples | 1.5 heads |
| Shoulder width | 2–2.5 heads |
| Waist | 2 heads |
| Pelvis | 3 heads |
| Knees | 6 heads |
| Feet | 7.5–8 heads |
Using the head method helps you quickly sketch out the figure and keep body parts in proportion, even at early stages.
Differences Between Adult and Child Proportions
Children’s proportions are quite different from adults. Young children have bigger heads compared to their bodies, often about 4 heads tall for toddlers and around 6 heads by age ten. The legs appear shorter, and the torso is more compact.
Here’s a quick comparison:
| Age Group | Heads Tall | Leg Proportion (to overall height) |
|---|---|---|
| Toddler | 4 | Short |
| Child (6) | 5–6 | Moderately short |
| Adult | 7.5–8 | Long |
Pay attention to these shifts when sketching children to avoid figures that look too old or unnatural.
Common Errors in Proportion
Some mistakes are easy to make when learning body proportions. Drawing heads too large or making limbs too short are classic errors. Beginners sometimes compress the torso or place joints, like knees or elbows, incorrectly.
To minimize these issues:
- Use light guidelines when mapping the figure.
- Regularly check the length of each section using the head as a reference.
- Compare left and right sides for asymmetry.
Watching out for these problems will help your human figure drawing look more natural and consistent. Adjust as you go, and don’t hesitate to erase and try different placements until the body proportions look right to you.
Step-by-Step Process for Drawing the Human Figure
Learning to draw the human figure starts with a simple approach and grows more detailed as your understanding increases. Building a strong foundation makes proportions, poses, and anatomy much easier to grasp.
Starting with Simple Shapes and Stick Figures
When you start figure drawing, use basic shapes and lines to block out the body. Sketch ovals for the head and torso, rectangles for the pelvis, and straight lines for the arms and legs. These simple marks help you establish the main posture and movement quickly.
A stick figure acts as an initial roadmap of the pose. Focus on the balance line – often called the “line of action” – to give your drawing energy and direction. Place circles at the joints, such as shoulders, elbows, hips, and knees. This helps you plot out limb placement and key proportions right from the beginning.
Working with these shapes makes it less intimidating to face a blank page. It also lets you adjust the pose or proportions before investing time in details. Don’t worry about neatness in this phase; keeping it loose helps you stay flexible.
Building the Structure with the Skeleton Framework
Once the stick figure has the correct pose and proportions, start adding structure. The easiest way is to build a basic skeleton framework over your initial sketch. Use simple lines for bones and basic shapes at the joints.
When drawing the human figure, the spine guides the natural curve of the body. Draw a gentle S-curve for the spine and attach the ribcage and pelvis at the correct angles. Ensure the shoulders and hips are positioned with respect to each other for a realistic base.
Mark the location of joints and the lengths of the bones. This step makes it easier to check symmetry and proportion. Focus on placement, not details. Keeping the structure clear helps you spot mistakes and correct them early.
Adding Volume and Defining the Silhouette
With the skeleton framework in place, it’s time to add volume. Begin fleshing out the limbs with cylinders and connect them to the joints. For the torso, use blocks or ovals to define the ribcage and hips.
Sketch the outline of the body, following the contours made by the volumes. Observe where muscles create natural curves or where the silhouette is straight. Use reference images to check how real anatomy shapes the outline.
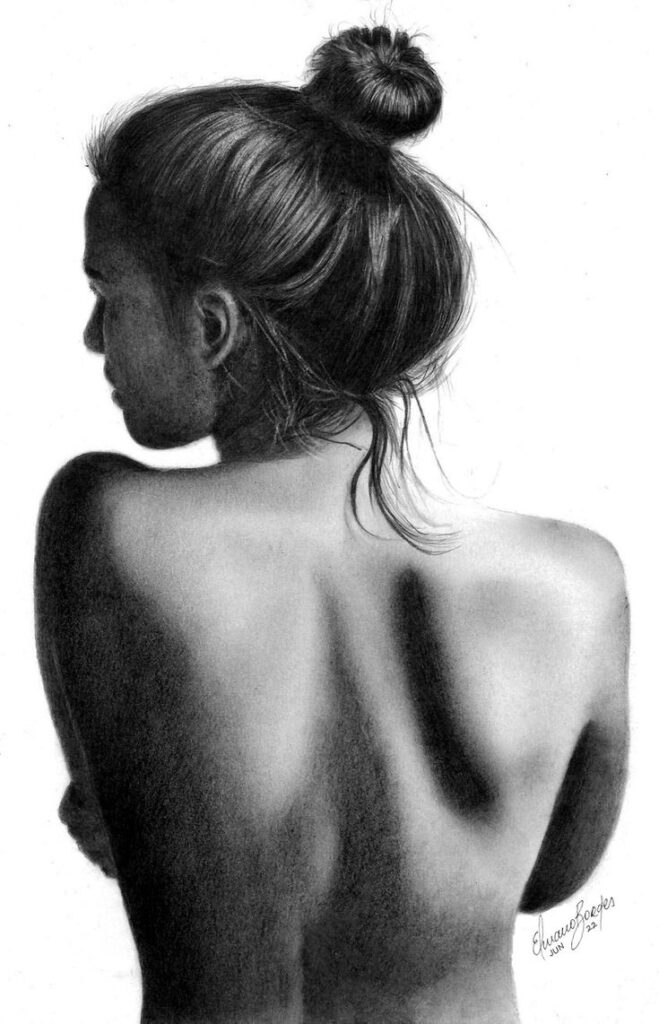
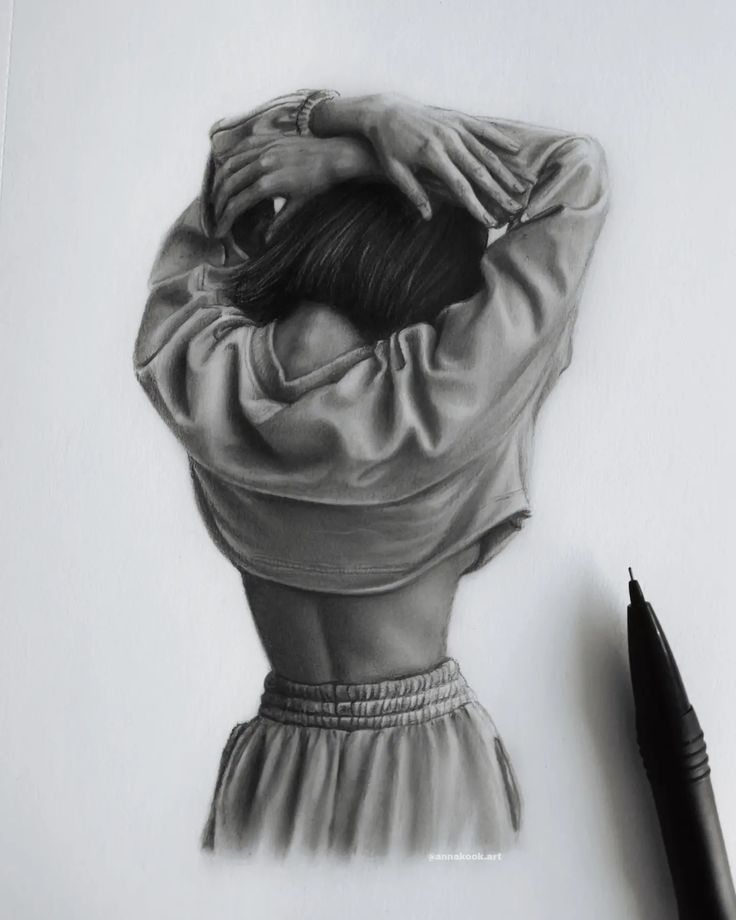
Working from big forms to smaller details prevents overworking any one area. As you define the silhouette, check the overall balance and adjust proportion if needed. This gradual buildup makes your figure drawing more accurate and lifelike.
Gesture Drawing Techniques
Gesture drawing is aimed at capturing the energy and flow of the human figure, prioritizing movement over detailed anatomy. Quick sketches allow you to study poses without spending hours on one piece, giving you a better sense of how the body moves and reacts.
Capturing Movement Quickly
With gesture drawing, the main goal is not to create a finished piece, but to express the motion and rhythm present in a human pose. Use rapid, loose lines to lay down the general direction of the body and limbs within 30 seconds to 2 minutes per sketch.
Start by focusing on the line of action, which is a single sweeping line that represents the main flow of the pose. This helps you avoid stiff or lifeless drawings. Try not to lift your pencil too much—continuous movements make your lines appear more fluid.
Split your practice into intervals:
- 30 seconds: Rough, expressive lines
- 1 minute: Add basic limbs and head shapes
- 2 minutes: Slightly refine major shapes, maintaining energy
Keep your hand relaxed, and avoid overthinking. Speed forces you to look for what matters: the movement.
Understanding Dynamic Poses
Dynamic poses involve twists, stretches, or compressions in the human figure. Learning to see and sketch these is key for developing lively figure drawings. Focus on where the energy is; look for curves and angles in the spine, tilt of the shoulders, or the way weight is distributed.
Look for gesture lines that define movement, like S-curves or C-curves.
Use overlapping lines to suggest depth—where one body part covers another.
Pay attention to the difference between balanced and unbalanced poses. Balanced poses show stability, while unbalanced, “off-center” stances communicate motion or tension. Use quick thumbnail sketches to compare how the body’s center of gravity shifts.
Studying reference photos, timed gesture drawing sessions, and experimenting with poses from different angles help you understand these dynamic qualities. The more varied your practice, the better you’ll capture authentic movement in your figure drawings.
Refining and Detailing Your Figure Sketch
Once you have established the basic structure and proportions of the human figure, focus shifts to adding character, realism, and dimension. Precision in features, careful shading, and small adjustments work together to make your sketch believable and expressive.
Adding Features: Hands, Feet, and Face
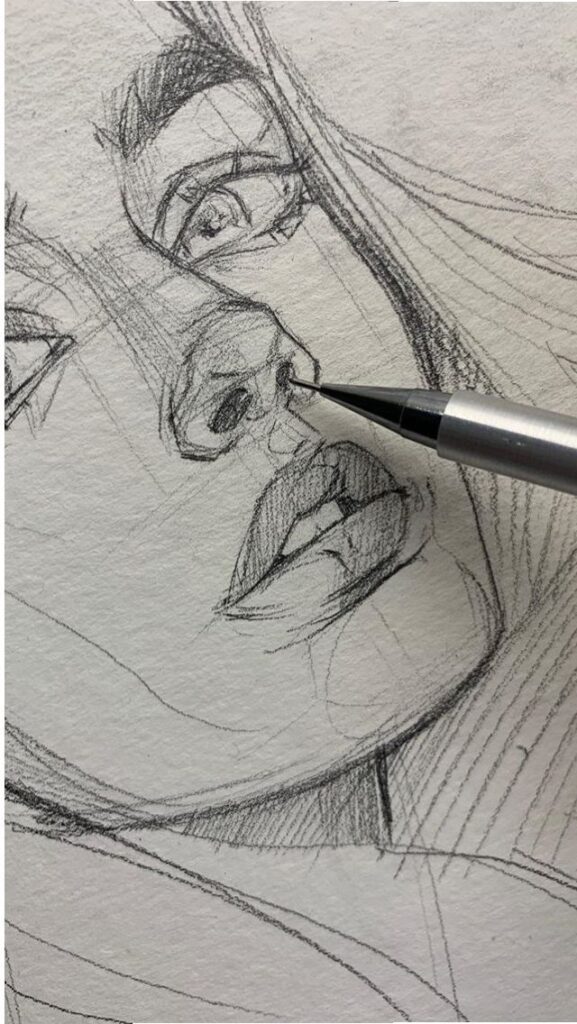
Hands, feet, and faces often cause frustration in figure drawing, but practicing key shapes will help. For hands, begin with a blocky palm shape, then add fingers as cylinders. Keep fingers varied in length and angled naturally. Pay attention to joints and indicate knuckles clearly.
Feet can be blocked in with a wedge shape, outlining the arch and toes with soft lines at first. Toes should follow a curve and be different lengths. For the face, mark major landmarks like eyes, nose, and mouth lightly before refining. The eyes should sit about halfway down the head and match in size; aim for symmetry but allow for slight natural variation.
Use this breakdown approach for each feature:
- Hands: Block palm → indicate fingers → refine knuckles and joints
- Feet: Wedge shape → add arch → outline toes, heel, and ankle
- Face: Mark features → check placement → add basic shadows, avoid detailing too soon
Small shapes and overlapping lines will help each feature feel three-dimensional and connected to the rest of the body.
Shading for Form and Depth
To make your figure drawing more lifelike, introduce shading to show volume and suggest lighting. Identify the primary light source and use it to determine which areas are lighter or darker.
Start with gentle, light shading in areas away from the light source. Build up value slowly, layering pencil marks to avoid harsh edges. Areas under the arms, under the chin, and between legs commonly need deeper shadows. Use the side of your pencil for softer gradations.
Use three main values:
- Highlights: Areas facing the light; leave these mostly white
- Mid-tones: Transitional areas with moderate shading
- Shadows: Closest to or turned away from the light; press harder here
Check that the shadow patterns match the contours of the body’s muscles and curves. This helps to reinforce the sense of depth and the three-dimensionality of your figure.
Final Touches and Corrections
Before considering your figure sketch finished, review your drawing for any areas that might appear stiff, awkward, or misproportioned. Compare the relative sizes of limbs and features to ensure consistency.
Clean up construction lines with a kneaded eraser for a soft, non-damaging touch. Sharpen contours and important details, but avoid outlining everything heavily. Darken only those edges that sit in shadow or where two forms overlap, like the inner curve of a bent arm.
Use this checklist:
- Remove stray guidelines carefully
- Adjust proportions if necessary by erasing and redrawing
- Emphasize only the most important outlines with darker lines
- Reinforce areas of greatest contrast for clarity
Step back from your drawing frequently to see the overall rhythm and flow. This fresh perspective will help you spot areas that need subtle tweaks and keep the final figure drawing feeling natural.
- 0shares
- Facebook0
- Pinterest0
- Twitter0
- Reddit0
