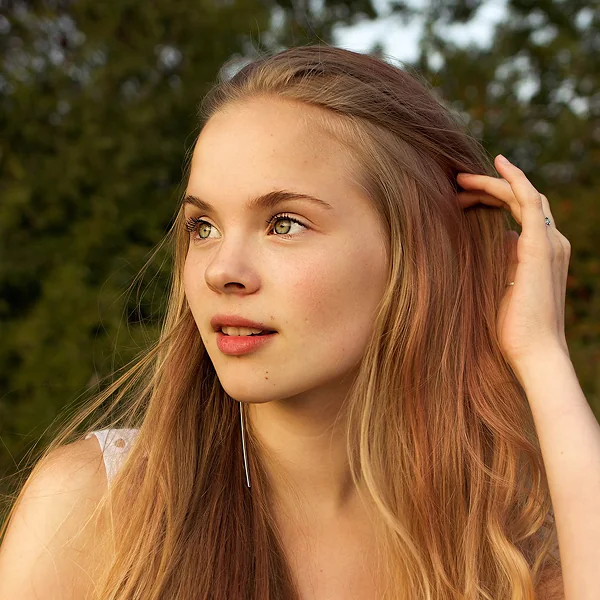
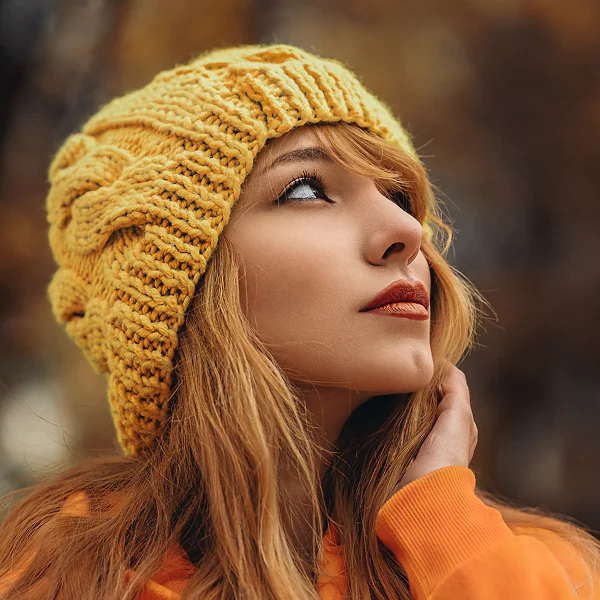
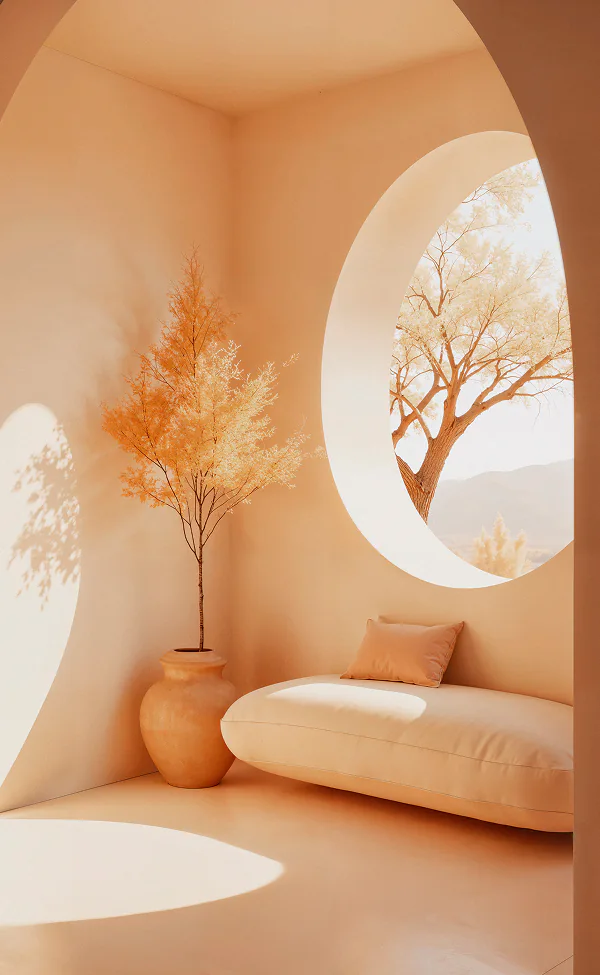
There’s a special moment in every day when the natural light transforms and gives your photos a warm, soft glow—this is known as golden hour, or the magic hour. Golden hour photography captures the brief windows just after sunrise and just before sunset, when sunlight becomes redder and softer, making it ideal for creating stunning, natural images. Even if you’re new to photography, taking advantage of this natural lighting can instantly elevate your pictures.
You don’t need a fancy camera or advanced skills to get started. With a little planning and awareness of golden hour timing, you’ll notice how shadows, highlights, and colors come alive in your photos. Curious how to make the most of this magical light for portraits, landscapes, or creative shots? Read on for simple tips and inspiring ideas.


Key Takeaways
- Golden hour offers the best natural lighting for photography.
- Proper planning helps you capture the most vibrant golden hour photos.
- Creative techniques and thoughtful editing enhance your magic hour images.
Understanding Golden Hour
Capturing images during golden hour can transform the light, color, and mood in your photos. The golden hour’s warm tones, soft shadows, and limited duration make it a favorite among photographers for both landscapes and portraits.
What Is the Golden Hour
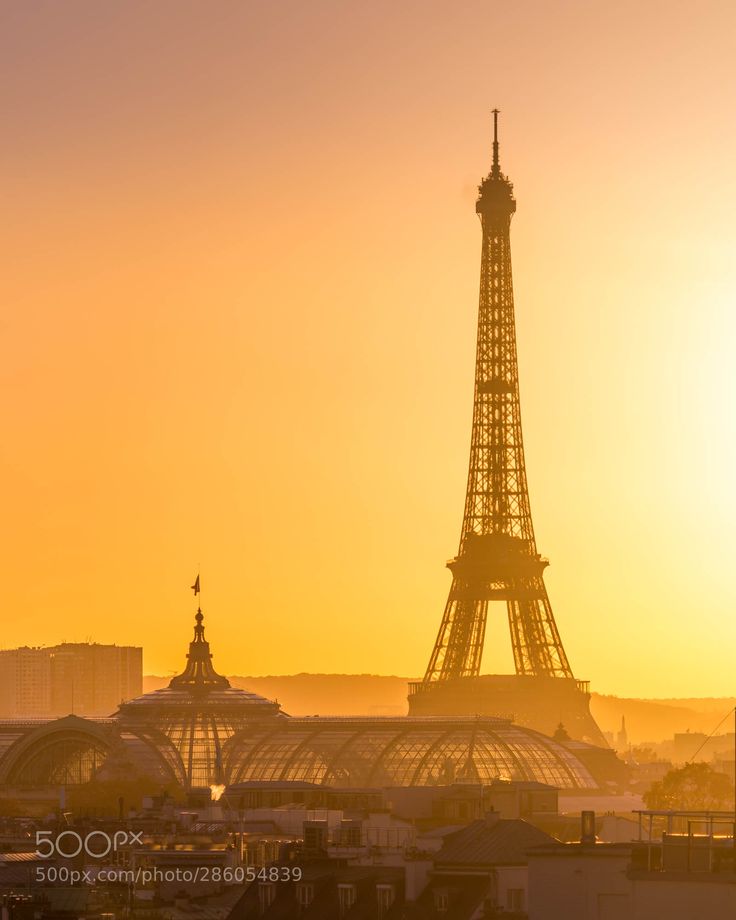
Golden hour is the brief window right after sunrise and just before sunset when sunlight travels through more of the atmosphere, making it appear warmer and softer. During this time, the sun is low in the sky, so harsh midday glare is avoided.
The light at golden hour often creates long, gentle shadows and a reddish or golden hue. This effect is caused by the increased path length of sunlight through the atmosphere, which scatters blue light and emphasizes reds and yellows. Photographers find that the even lighting helps reduce unflattering contrast on faces and provides a visually pleasing scene.
Characteristics of Golden Hour Light:
- Warm, golden color temperature
- Soft, diffused illumination
- Long, graceful shadows
These qualities make this time of day particularly useful if you want your photos to have a natural, inviting atmosphere.
Sunrise Versus Sunset
Both sunrise and sunset offer a golden hour, but each has unique qualities. Morning golden hour—right after sunrise—typically brings cooler, crisper air and fewer people in popular locations. This can be helpful for peaceful landscape or cityscape shots.
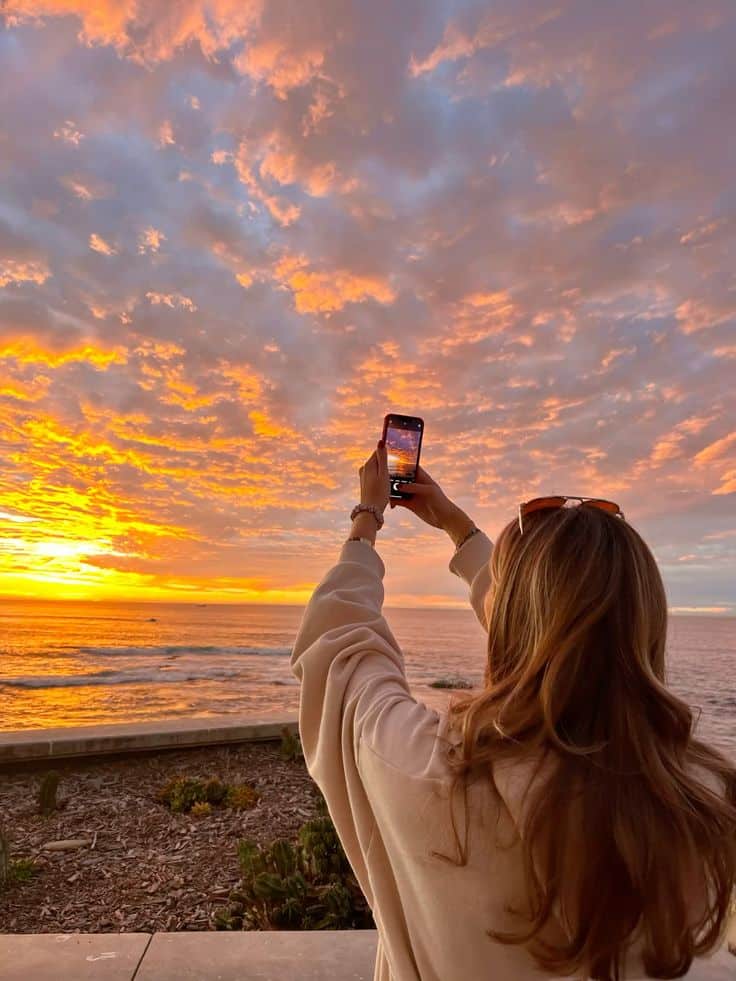
By contrast, sunset golden hour—just before the sun disappears—often provides deeper, richer gold and orange tones. Evening sessions can be more convenient for many people because of easier scheduling and warmer air temperatures, especially in spring or summer.
In practice, you’ll notice:
- Sunrise: Quieter, often clearer skies, fresher colors
- Sunset: Busier settings, richer tones, increased atmospheric haze
If you need to capture people or landmarks with minimal distractions, sunrise might suit you better. For intense color and a relaxed pace, sunset is usually more popular.
Duration and Timing
The golden hour doesn’t last exactly sixty minutes. Its actual duration depends on your latitude, the time of year, and local weather conditions. At the equator, golden hour may be very brief; near the poles, it may last much longer, especially in summer.
Key factors affecting duration:
- Time of year (season)
- Geographic location (latitude)
- Weather and atmospheric conditions
You can use golden hour calculators or photography apps to determine the specific start and end times for your area. Monitoring the sunrise and sunset times, as well as tracking exact golden hour periods, helps you plan your shoots more effectively.
| Factor | Effect on Duration |
|---|---|
| High Latitude | Longer golden hours |
| Equatorial | Shorter golden hours |
| Summer | Extended golden hours |
| Winter | Shorter golden hours |
Seasonal Effects on Golden Hour
Seasons play a significant role in the look and length of the golden hour. During summer, golden hour is longer, and the sun takes more time to rise or set, producing extended soft light. Winter brings shorter golden hours, but the light has a cooler tone.
In autumn and spring, the golden hour may have balanced warmth and moderate duration. Your latitude also changes the angle at which the sun rises and sets, affecting the quality of light.
A golden hour calculator or weather app can help you track the changing times through the year. Planning your shoots according to these shifts lets you take full advantage of the changing qualities of light in each season. The moon’s presence during golden hour is rare, but its position can add interest to your photos if you time it right.

Golden Hour Lighting Characteristics
Golden hour creates unique and appealing lighting conditions valued in photography. It provides a warm glow, soft light, and long, dramatic shadows that are difficult to achieve at any other time of day.
Qualities of Golden Light
During golden hour, the sun is low on the horizon, producing soft light that minimizes harsh shadows and highlights. This makes skin tones appear smoother and textures less pronounced.
The atmosphere acts as a natural diffuser, scattering light and reducing contrast. You get a flattering, luminous effect on your subjects. This type of lighting is especially helpful for portraits, as it brings out natural details without overwhelming brightness.
Golden hour’s light is not just warm but also directional. The angle of sunlight can enhance three-dimensionality in your photos. Soft transitions between highlights and shadows give outdoor scenes a gentle, pleasing look.
Shadows and Dramatic Effects
At golden hour, shadows become longer and softer compared to midday sun. These extended shadows add depth and dimension to your photos.
Shadows at this time are less intense. They gradually blend into the highlights, creating a more dramatic and visually interesting effect, especially on uneven ground or textured surfaces.
You can use shadows to draw attention to your subject or create leading lines. Play with the direction and length of these shadows to enhance your composition. The interplay between soft light and shadows adds a dynamic, atmospheric quality that flat light cannot replicate.
Color Temperature and Tones
Golden hour light typically measures between 3,000K and 4,000K on the Kelvin scale. This results in orange, reddish, and golden tones.
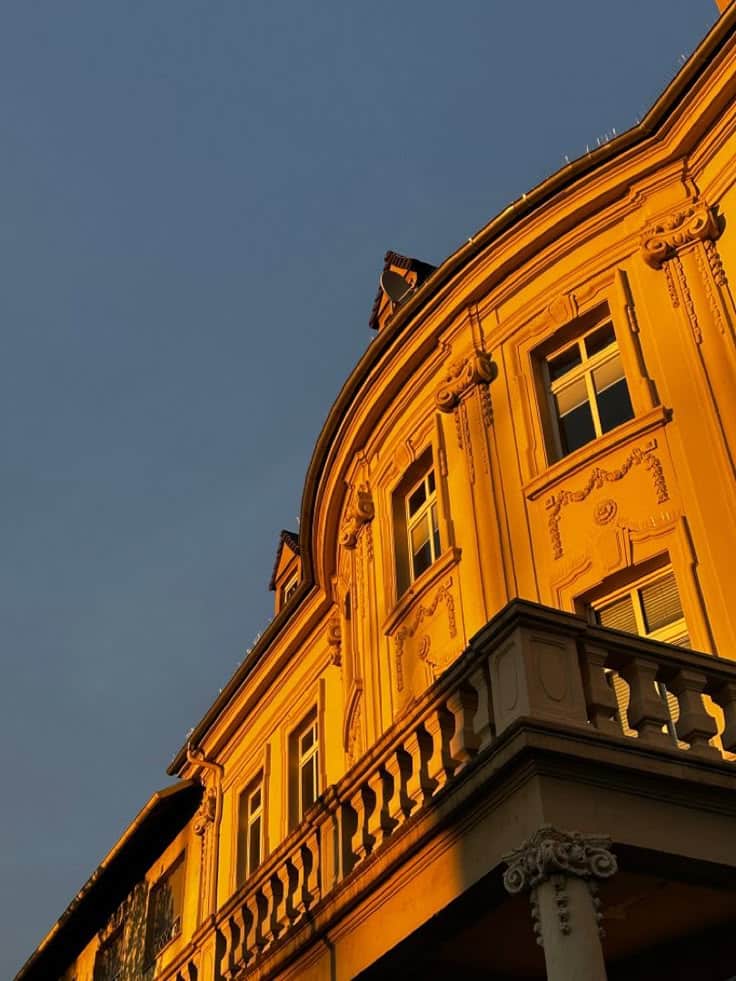
You’ll notice that landscapes and skin tones are rendered with a warm glow. The atmospheric particles enhance this effect, filtering out blue wavelengths and intensifying the warm color temperature.
Such lighting transforms scenes, making them feel inviting and alive. These orange and reddish hues evoke emotion and highlight details that may otherwise go unnoticed in harsher daylight.
Comparing Golden Hour and Blue Hour
Golden hour and blue hour occur during the transitions of dawn and dusk, but their lighting conditions are very different. Golden hour is marked by warm, golden tones and softer light.
Blue hour, which takes place just before sunrise or after sunset, is defined by cooler, blueish tones and very diffused light. The color temperature dips lower, often creating a calm and tranquil mood.
Golden hour’s warmer light is ideal for vibrant, lively compositions, while blue hour’s cool tones suit subtle, moody scenes. Both periods offer unique photographic opportunities, so it’s helpful to understand when to use each for your preferred atmosphere.

Planning and Scouting for Golden Hour Shoots
Successful golden hour photography begins with thoughtful preparation and a clear idea of where and how to shoot. Picking an ideal location, using reliable planning tools, and understanding local weather are all crucial steps to capturing the best light and mood.
Choosing the Right Location
Select locations that match your creative goals, such as open landscapes, urban viewpoints, or places with water for reflections. Start by listing places you know, and look up photos from other photographers for inspiration.
Check which direction the sun sets or rises to position your main subjects correctly. Look for details—leading lines, trees, and interesting foregrounds can all enhance your composition during golden hour.
Visit your chosen spot ahead of time—ideally at the same time of day you plan to shoot. This helps you see how the light falls, clarify accessibility, and spot possible obstructions. Bring a notepad or use your phone to mark interesting viewpoints or angles.
Research and Planning Tools
Use apps like PhotoPills or The Photographer’s Ephemeris to map the sun’s path and precisely plan where the golden light will appear. Both tools offer augmented reality features that overlay the sun’s trajectory on your phone’s camera for easy visualization.
Consult online maps to plan your route and estimate hiking or walking time to your chosen site. Create a shoot list to prioritize images you want, so you don’t miss any ideas when time is short.
If you photograph landscapes, check sunrise and sunset tables for exact times. Consider using satellite or street view in mapping apps to preview terrain features and accessibility in advance.
Weather and Environmental Considerations
Golden hour conditions can change quickly with weather. Check the forecast for clouds, fog, or haze, as these can soften light or obscure the sun entirely. A little cloud cover can enhance colors, while stormy skies may prevent the golden glow.
Prepare for outdoor conditions with proper clothing, footwear, and insect repellent. Note the time of year: in some places, golden hour is longer or shorter depending on the season.
For landscape and outdoor photography, also look for information about tides, local wildlife, and access restrictions. Arrive early to adapt to changing light or unforeseen challenges. Bring backup gear in case of unexpected rain or wind.

Techniques and Camera Settings for Golden Hour
Golden hour gives you softer, warmer light and lower contrast, making it a favorite for both landscapes and portraits. Knowing how to adjust your camera’s exposure, aperture, and ISO will help you capture the beauty of this light.
Exposure and Metering
During golden hour, the range between highlights and shadows is reduced, but you still need to pay close attention to exposure. The lower angle of sunlight can trick your camera’s light meter, sometimes resulting in underexposed or overexposed photos.
Consider using spot metering to meter directly off your subject, especially when there’s a strong backlight. Check your histogram to ensure you’re not losing detail in the shadows or highlights. Slightly underexposing can help preserve highlight detail, especially in JPEG files.
Manual exposure mode gives you the most control. You can also use exposure compensation (+/-) if you’re in aperture or shutter priority mode to quickly adjust brightness. Don’t forget to set white balance manually, either selecting a preset like “Cloudy” or dialing in a temperature (Kelvin 5500–7000) for warmer tones.
Aperture and Depth of Field
Shooting with a wide aperture (low f-number, like f/1.8 to f/4) creates a shallow depth of field, which looks great for portraits and helps isolate your subject from a glowing background. This effect makes the most of the soft golden hour light by adding a lovely blur (bokeh) behind your subject.
If you want everything in sharp focus for landscapes, use a smaller aperture (higher f-number, around f/8–f/16). In aperture priority mode, you set your desired f-stop while the camera does the rest. Just check for motion blur if your aperture limits the available light too much.
A tripod can be a big help when shooting stopped down, as shutter speeds may drop in lower light. Don’t forget to clean your lens and consider a circular polarizer filter to deepen skies and manage reflections.
Shutter Speed and ISO Settings
As the sun gets lower, your scenes get darker, so you’ll often need to adjust your shutter speed and ISO. For handheld shots, keep your shutter speed fast enough to avoid blur—ideally, at least 1/focal length as a rule of thumb.
If light levels drop further, increase your ISO gradually. Setting ISO between 800–1200 is common at the end of golden hour, but avoid going too high to reduce noise, especially if your sensor doesn’t handle high ISOs well.
A tripod allows you to use slower shutter speeds without introducing camera shake. When shooting moving subjects, use a higher ISO alongside a fast shutter speed, and enable image stabilization if your lens or camera offers it. Always review your results and adjust settings as the light changes.
Creative Approaches and Composition
Experimenting with light during golden hour opens up new ways to create mood, highlight textures, and shape your photos. Attention to detail, such as the angle of light or use of simple gear, can transform your images dramatically.
Using Silhouettes and Backlighting
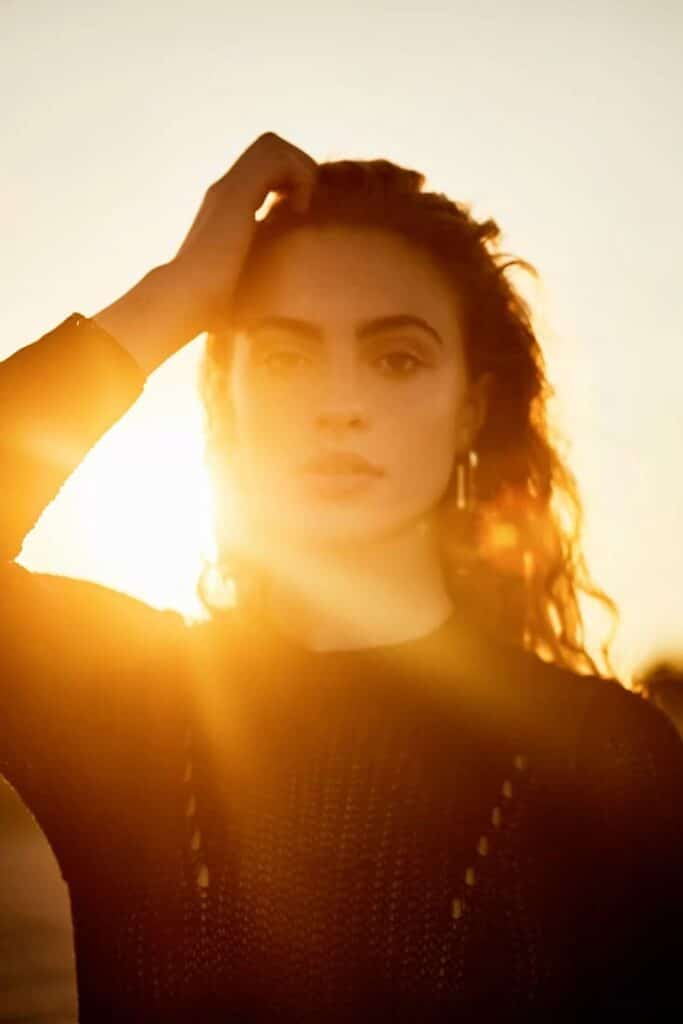
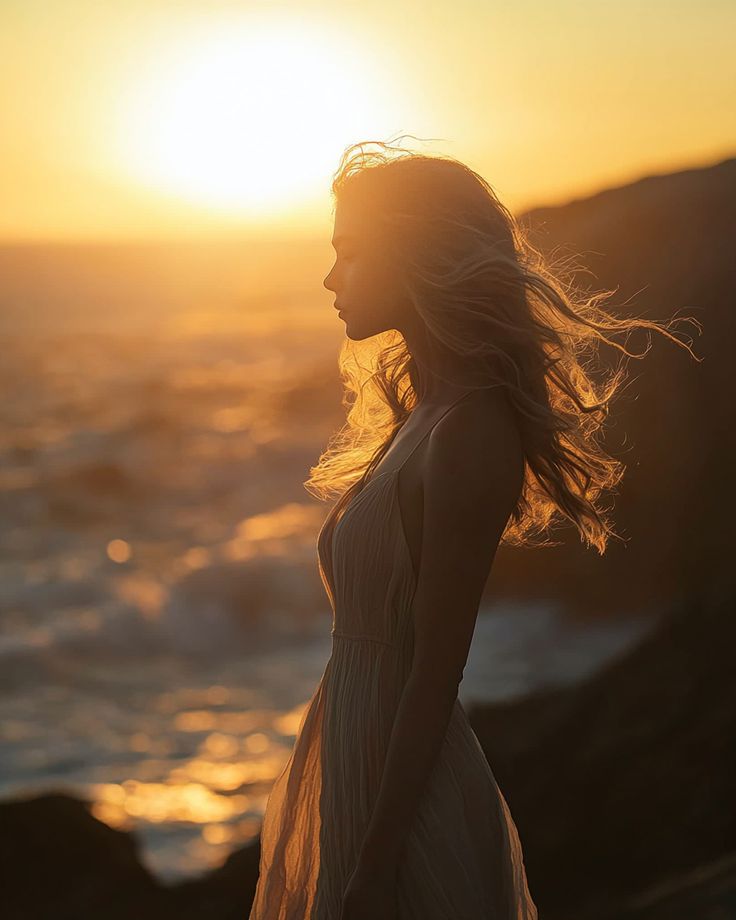
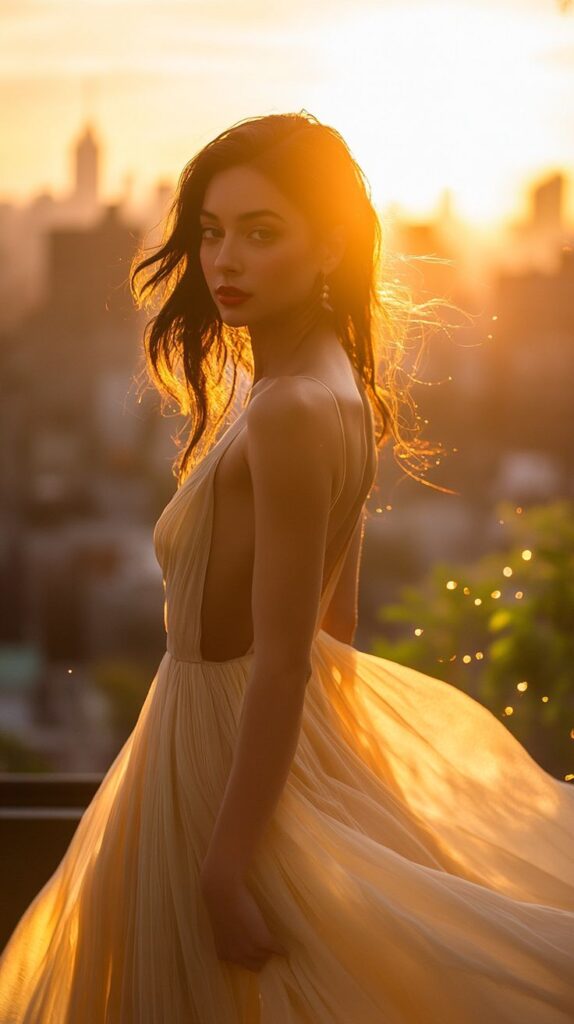
Backlighting during golden hour is perfect for creating strong silhouettes. Place your subject directly between the camera and the sun. This causes the edges to glow, while deep shadows mask details, simplifying shapes.
Silhouettes work especially well with defined outlines—think trees, people, or architectural elements. To emphasize texture and shape, choose subjects with unique forms.
Manual exposure helps control the balance between shadows and highlights. Focus on the contrast between the warm sky and the dark subject. Use a low angle for an enhanced effect, making the subject stand out against the sky.
- Tip: Meter for the brightest part of the sky.
- Best results: Cloudless horizons and unobstructed views.
Working with Flares and Rim Lighting
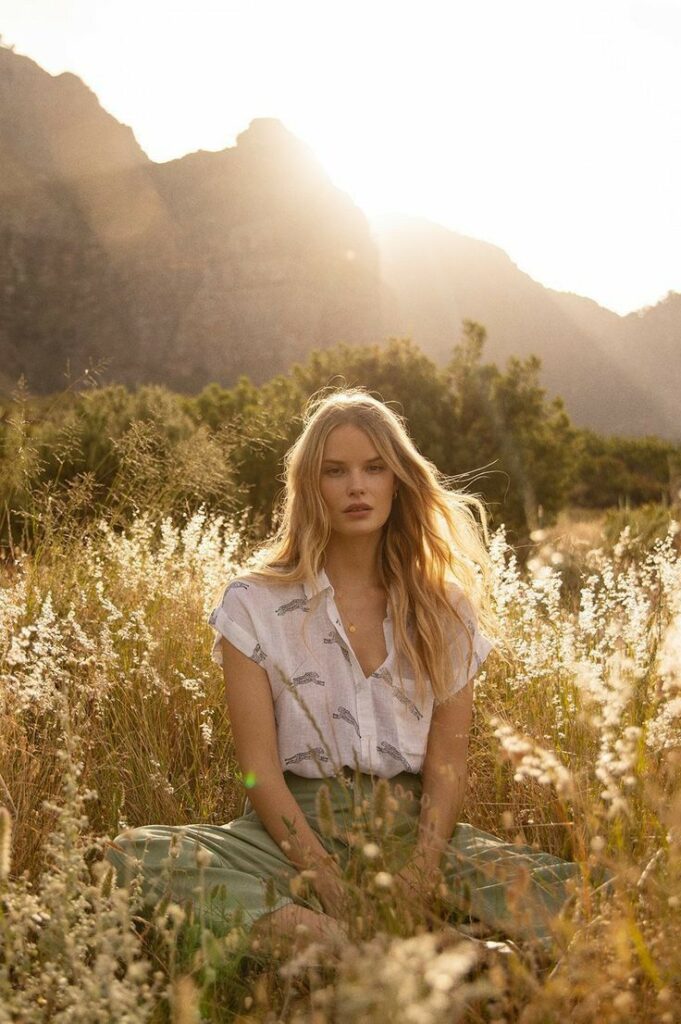
Lens flare, when used deliberately, adds creative flair to portraits and landscapes. To catch natural lens flares, position the sun near the edge of your frame. Small shifts in angle often produce different flare shapes and patterns.
Rim lighting outlines your subject with a soft, glowing edge, separating them from the background. This effect emphasizes details and textures, especially in hair, leaves, or tall grass.
Experiment with side lighting to bring out depth and three-dimensional form. Try a larger aperture to create softer flares, or a smaller one for defined streaks. Use a lens hood or your hand to adjust the amount of flare without blocking all the sunlight.
- Key effects: Enhanced subject separation, dreamy highlights, visual interest.
Incorporating Reflectors and Fill Light
Reflectors allow you to balance strong backlight by bouncing sunlight onto your subject’s shadowed side. Gold or silver reflectors each provide different warmth and intensity.
Position the reflector opposite the light source for even front lighting. This technique reduces harsh shadows and reveals more facial details, increasing the overall contrast and texture.
For a natural look, a white reflector or even a simple foam board works well. If you prefer subtle fill, a translucent reflector softens the effect rather than adding brightness. Combine reflectors with low angle golden hour sunlight for the best balance of soft fill and rich background light.
- Essentials: Lightweight reflectors, stand or assistant, test with angles for optimal results.
- Best subjects: Portraits, macro work, still life.
Editing and Inspiration for Golden Hour Photography
Subtle post-processing enhances the natural glow and warmth captured during golden hour. Drawing inspiration from professional photographers and focusing on both landscape and portrait styles will help you develop your own creative vision.
Post-Processing Tips
Editing golden hour pictures starts with proper color correction and exposure compensation. Use software like Lightroom to fine-tune white balance, bringing out golden hues and restoring any lost details in highlights or shadows. Sometimes a preset designed for golden hour photography can give you a helpful starting point before making further adjustments.
Pay close attention to skin tones in portrait photography. The soft, flattering light during this time can be enhanced by gently boosting vibrance and clarity. An adjustment brush in Lightroom lets you selectively lighten faces or eyes, ensuring your subject remains the focus.
For landscape photography, enhance the sense of depth by adding contrast and increasing saturation slightly. Avoid over-editing, as golden hour light is naturally rich and pleasing. Export your images in high quality to preserve details and colors.
Quick Tricks:
- Increase warmth carefully
- Use graduated filters for skies
- Reduce noise in low-light areas
Showcasing Landscape and Portrait Shots
Golden hour offers versatility, letting you capture both wide landscapes and intimate portraits with beautiful, flattering light. For landscapes, emphasize sunbeams, long shadows, and reflections on water to give depth and drama to your photos. Try composing with leading lines or foreground interest for a more dynamic image.
In portrait photography, position your subject so the light wraps gently around their features. Backlighting can create a glowing outline, while side lighting brings out textures and expression. Showcase before and after edits to highlight improvements in light, color, and contrast.
Use a table to track your editing choices for each style:
| Edit Focus | Landscapes | Portraits |
|---|---|---|
| Contrast & Saturation | Boost mid/high | Subtle |
| Skin Tone Adjustment | Not needed | Essential |
| Local Adjustments | Skies, shadows | Faces, eyes |
Finding Ideas and Professional Inspiration
Look to the portfolios of professional photographers for ideas on composition, editing, and use of golden hour light. Many skilled artists share tips, detailed shots, and workflow examples online or via social media. Analyze how they use natural backlight or incorporate silhouettes for creative impact.
Follow photographers who excel in either portrait or landscape photography. Notice their editing tricks, such as highlighting skin tones or balancing bright backgrounds with subjects. Take note of how they use flattering angles and natural elements for creative results.
Keep an idea list or mood board. Experiment with your own vision by recreating some techniques and then developing your own style based on what works best for you. This approach can spark creativity when planning your next golden hour shoot.
- 32shares
- Facebook0
- Pinterest29
- Twitter3
- Reddit0

