
Introduction
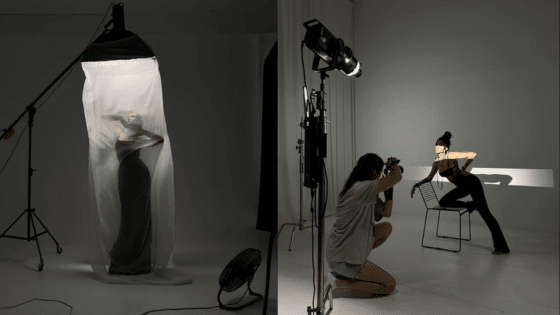
A good portrait photo is more than just a snapshot — it’s an opportunity to capture a person’s essence and showcase their personality, style, and emotion. A high-quality portrait is essential for professionals, aspiring influencers, and anyone looking to improve their profile picture for social media. Portraits often serve as the first impression others have of you, making it crucial that they convey the right message.
You might be thinking that creating a truly great portrait is reserved for seasoned photographers with fancy equipment. But don’t worry — even if you’re a beginner, you can still take a photo that stands out. With a few simple tips and some helpful adjustments in a photo editor, you can take your portraits to the next level. Below, we’ve outlined seven useful recommendations that can help you make a decent, professional-looking portrait even if you’re just getting started.
1. Reshape the Body or Face for a More Flattering Look
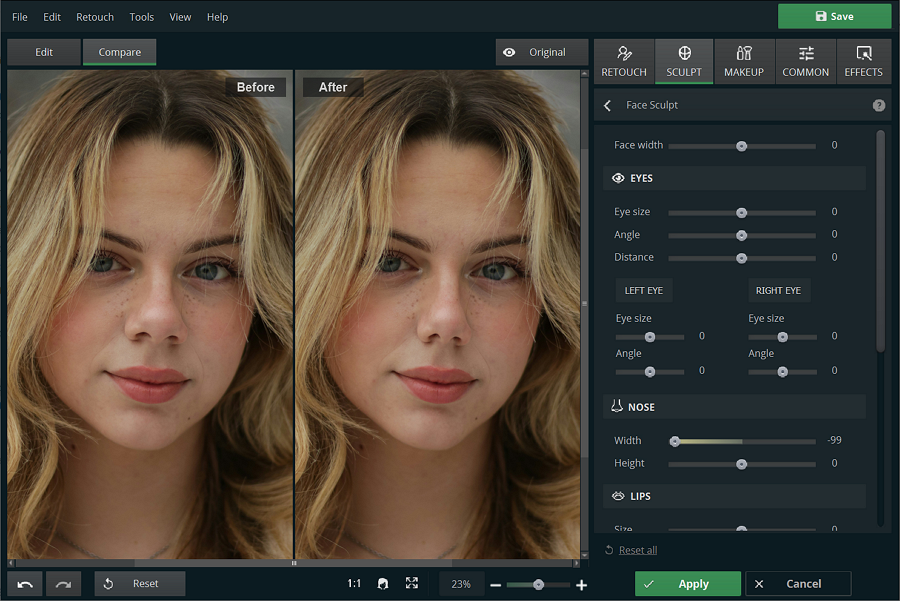
While we all want to feel good about how we look in photos, it’s easy to feel self-conscious about certain features, especially in close-up portraits. This is where a body reshaping photo editor can come to the rescue. Subtle adjustments — like slimming the waist or resizing the width of the nose as in the screenshot below — can make a huge difference, and these changes can help boost your confidence without making the photo look unnatural. Just keep in mind that the goal is not to alter your appearance completely, but to enhance your natural features.
2. Use Soft Lighting to Avoid Harsh Shadows
Lighting is everything in photography, and it’s especially important in portraits. Hard, direct light can create unflattering shadows, making the face look harsh or uneven. Instead, aim for soft, diffused lighting. Natural light from a window works wonders, as does a softbox or diffuser.

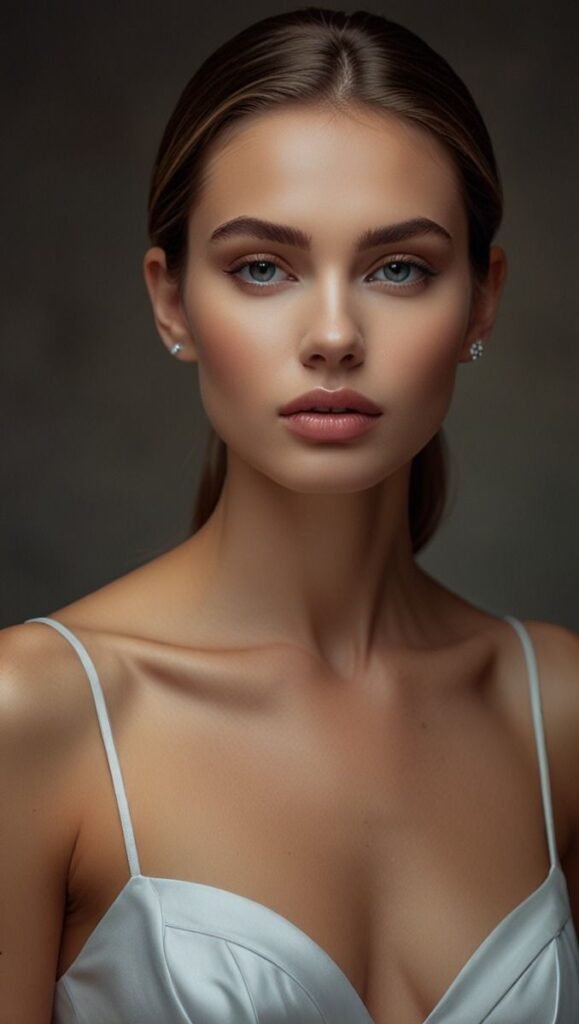
If you’re taking photos indoors, consider using a ring light or a lamp with a cloth over it to create a more even glow. The key is to soften shadows, which helps bring out the best in your subject’s features.
3. Keep the Background Simple and Clean
The background of your portrait can easily distract from the subject, so try to keep it simple. A cluttered or messy background can take away attention from the person in the photo. Ideally, you should have a neutral, uncluttered space that doesn’t compete with your subject. If you’re shooting outdoors, a blurry background created by a shallow depth of field can make your subject pop, but if you’re indoors, a plain wall or an aesthetically simple backdrop will work wonders.

4. Pay Attention to Eye Contact and Expression
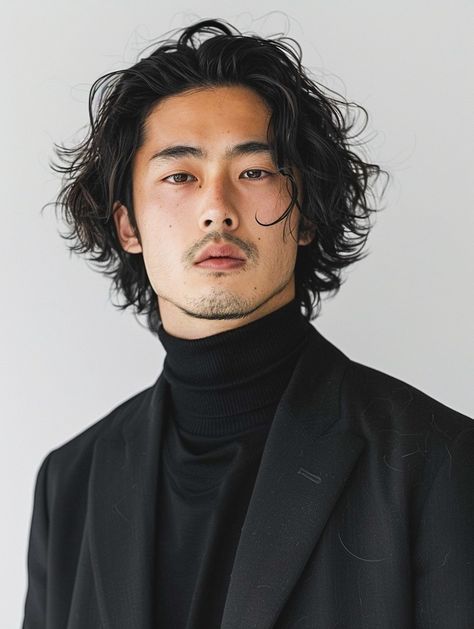
The eyes are often the most important part of a portrait photo. Make sure your subject’s eyes are sharp and in focus. Eye contact with the camera can create a sense of connection, so encourage your subject to either look directly at the camera or just slightly off to the side, depending on the mood you’re trying to convey. Avoid stiff, forced smiles — natural expressions tend to create the most engaging portraits. Sometimes, asking your subject to think of a happy memory or something that makes them laugh can elicit a more authentic expression.
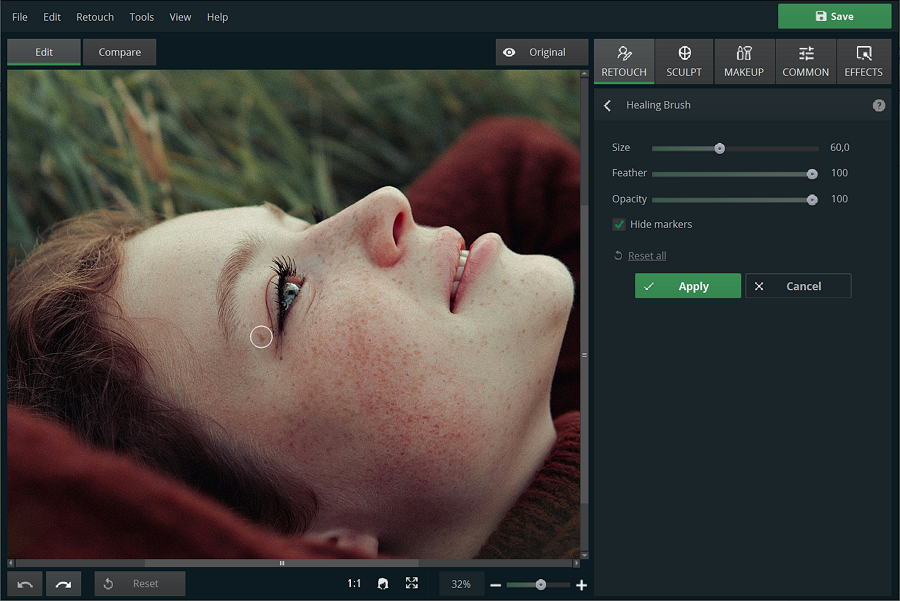
5. Enhance the Skin Tone and Remove Blemishes
When you’re editing your portrait, you’ll want to enhance your subject’s skin without overdoing it. Most beginners forget to touch up small imperfections like blemishes or under-eye circles, which can make the portrait look less polished. Fortunately, a good photo editor can help smooth out the skin tone while maintaining texture and natural detail. Use tools that allow you to reduce redness, even out skin tones, and remove any distractions without making the skin look too airbrushed.
6. Adjust the Color and Contrast for Better Depth
Another common mistake is forgetting to adjust color and contrast. Often, portrait photos can look flat without a little tweaking. Boosting the contrast just a bit can help create depth and make the subject stand out more. Likewise, fine-tuning the color balance can bring out the warmth in skin tones or correct any color casts caused by poor lighting. If you’re unsure where to start, a simple preset or filter in a photo editor can help you find a balanced look that suits your portrait.
7. Don’t Forget About the Hair


Hair is a crucial element of any portrait, and it’s easy to forget about it while focusing on other aspects of the photo. If your subject has flyaways, stray hairs, or frizz, these can distract from the overall image. Use your photo editor to tidy up the hairline or remove stray hairs, especially around the face. While you don’t need to make it look “perfect,” a little touch-up can go a long way in making the portrait feel more professional and polished.
Conclusion
Taking a great portrait is all about capturing your subject at their best while maintaining authenticity. With a few simple adjustments you can take your portraits from good to great. Don’t forget: quality editing software is a valuable tool to refine your images and reveal their full potential. To edit your pictures for free, you can try the linked portrait editor or explore other options that best suit your preferences. With the right tools, some practice, and some patience, you’ll soon be able to take professional-looking portraits. Capture your photos and enjoy the rewarding journey of improving your skills!
- 119shares
- Facebook0
- Pinterest119
- Twitter0
- Reddit0


