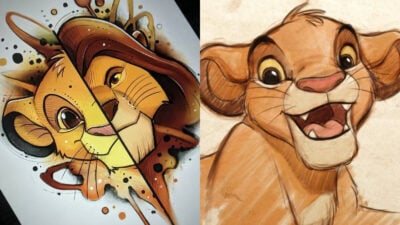
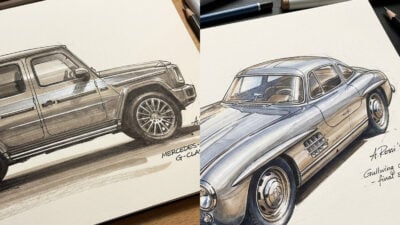
Capturing realism in your drawings can transform your artistic skills and bring your subjects to life. By focusing on observation, mastering shading, and using the right tools, you can significantly enhance the lifelike quality of your work. This process not only improves your techniques but also develops a deeper connection to your art.
As you draw from photographs, the goal is to replicate the nuances of light, texture, and detail that make an image compelling. Understanding how to translate these elements into your drawing allows you to convey emotion and depth. Employing practical tips and strategies will elevate your artwork from basic sketches to stunning representations.
Every artist can benefit from refining their observance, aligning their methods with established practices. Embracing these techniques will empower you to create more realistic and engaging pieces that resonate with viewers on a deeper level.

Key Takeaways
- Focus on observational skills to capture accurate details.
- Master shading and lighting to enhance depth and realism.
- Use appropriate tools and materials for better results.
Setting the Foundation
Establishing a solid foundation is essential for achieving realistic drawings. Focus on understanding basic shapes, proportions, and selecting the right reference photos to ensure accurate representation.
Understanding Basic Shapes and Proportions
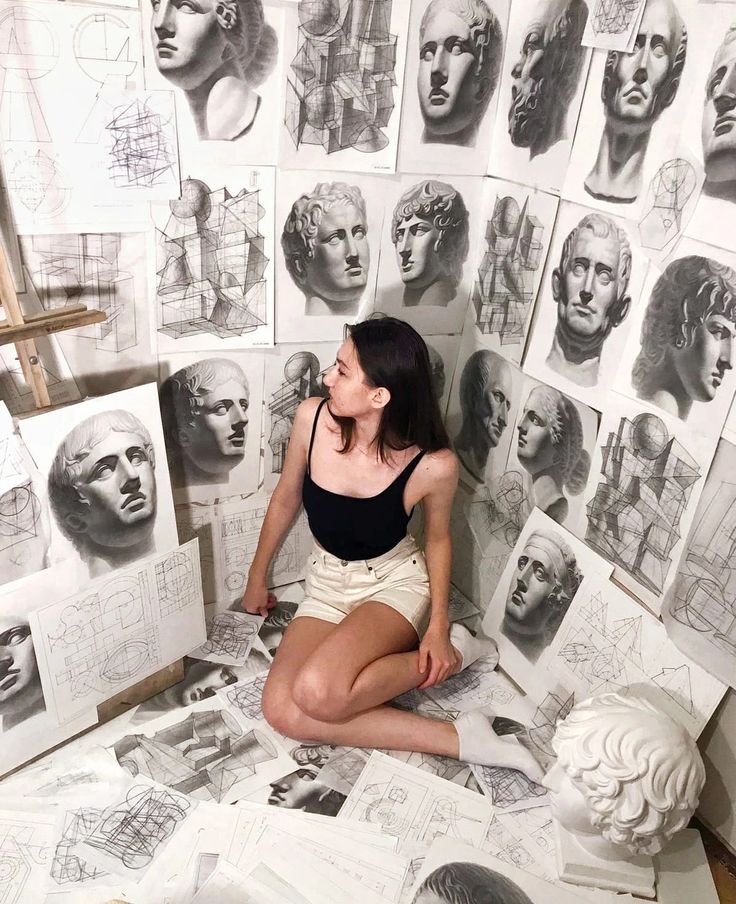
Begin your drawing by breaking down the subject into basic shapes such as circles, squares, and triangles. These simple forms help you visualize the overall structure of your subject, making it easier to replicate in your drawing.
Using proportional measurements ensures accuracy. You can use a grid technique or compare sizes and distances between various elements. For instance, you might determine that the width of the head is about two-thirds the height or that the eyes sit halfway down the face.
Pay attention to angles and how they relate to your chosen shapes. Sketch lightly at first, allowing for adjustments as needed. This approach allows you to maintain fluidity in your work and make corrections before committing to final lines.
Selecting Your Reference Photos
Choosing high-resolution photographs is critical for achieving realism. Opt for images that provide clear detail, proper lighting, and a good view of the subject from various angles. A well-composed reference photo allows you to see subtle nuances in texture and light.
Consider various aspects of composition as well. A photo with a strong focal point, balanced elements, and interesting negative space can guide your drawing process. Ensure your reference not only captures the subject clearly but also conveys the desired emotion or atmosphere you wish to portray.
Make certain the image is free from distortions often caused by wide-angle lenses. This clarity will help you replicate accurate proportions and shapes in your own work. Always be ready to modify the reference as per your artistic intent while maintaining a connection to the original photo.
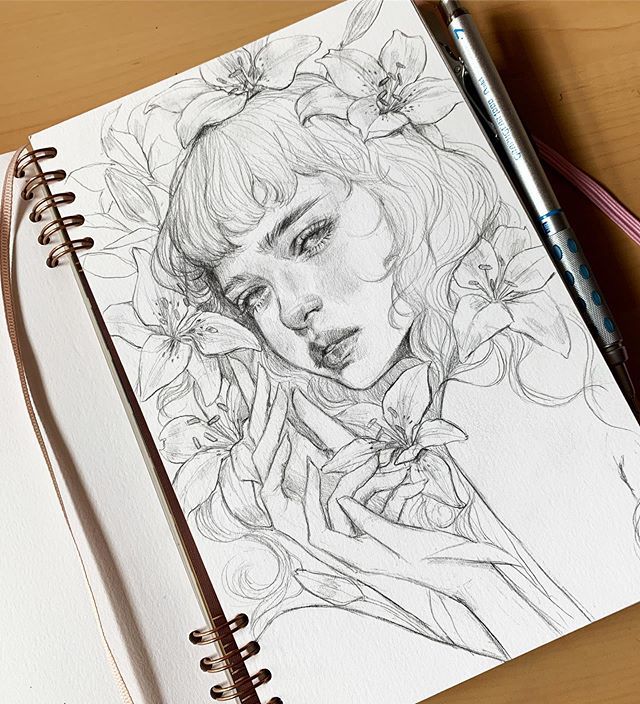
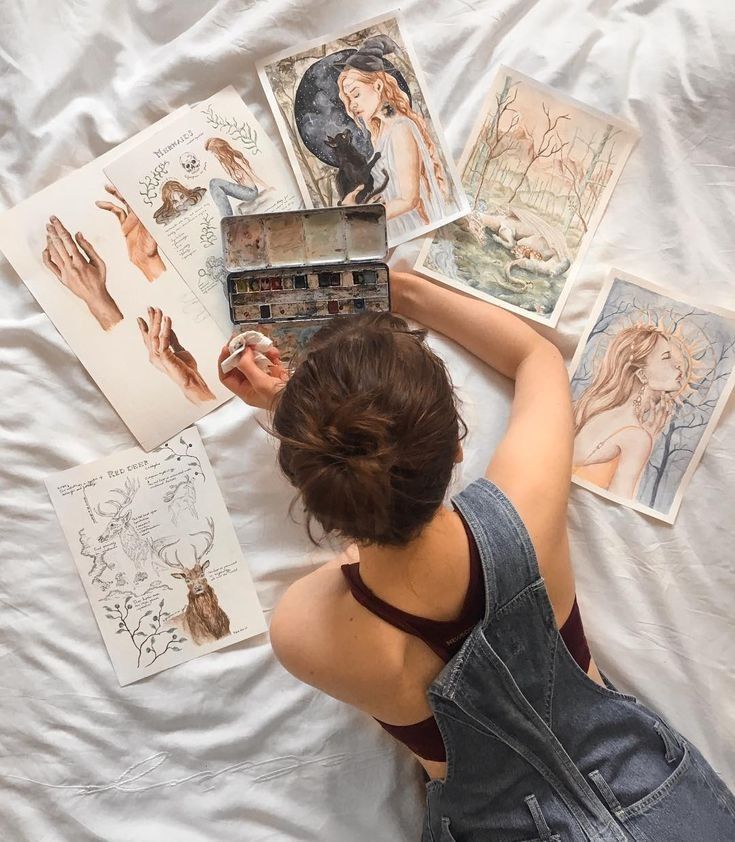
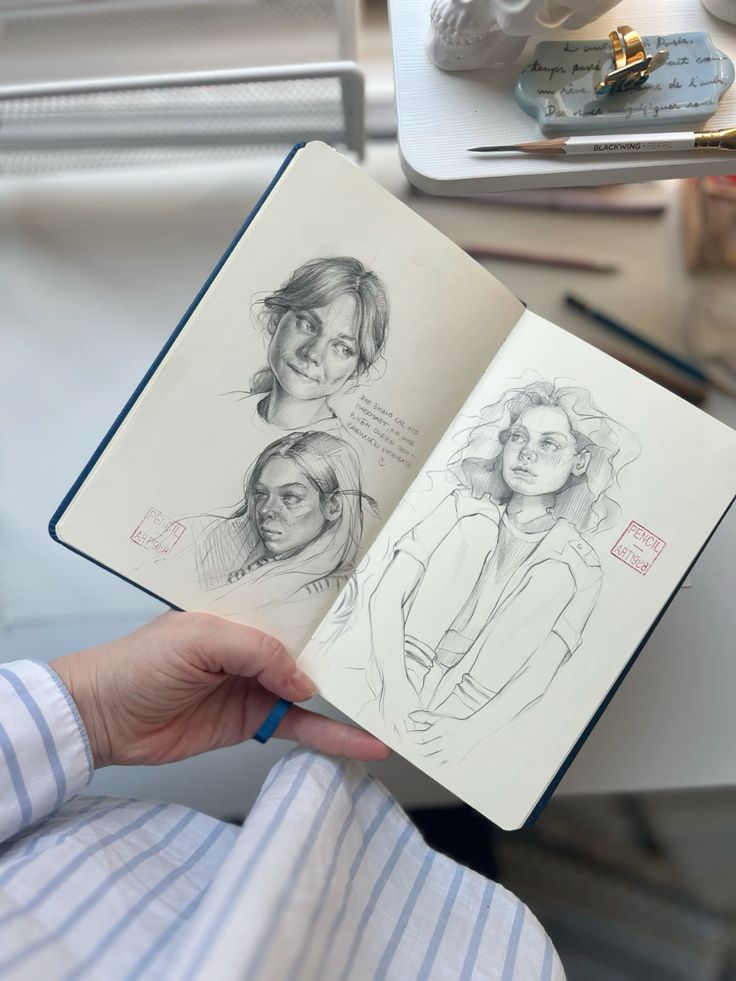
Mastering Shading and Lighting
Effective shading and lighting enhance the realism in your drawings. By implementing various techniques, you can create depth and dimension, significantly improving your artwork’s overall impact.
Exploring Shading Techniques
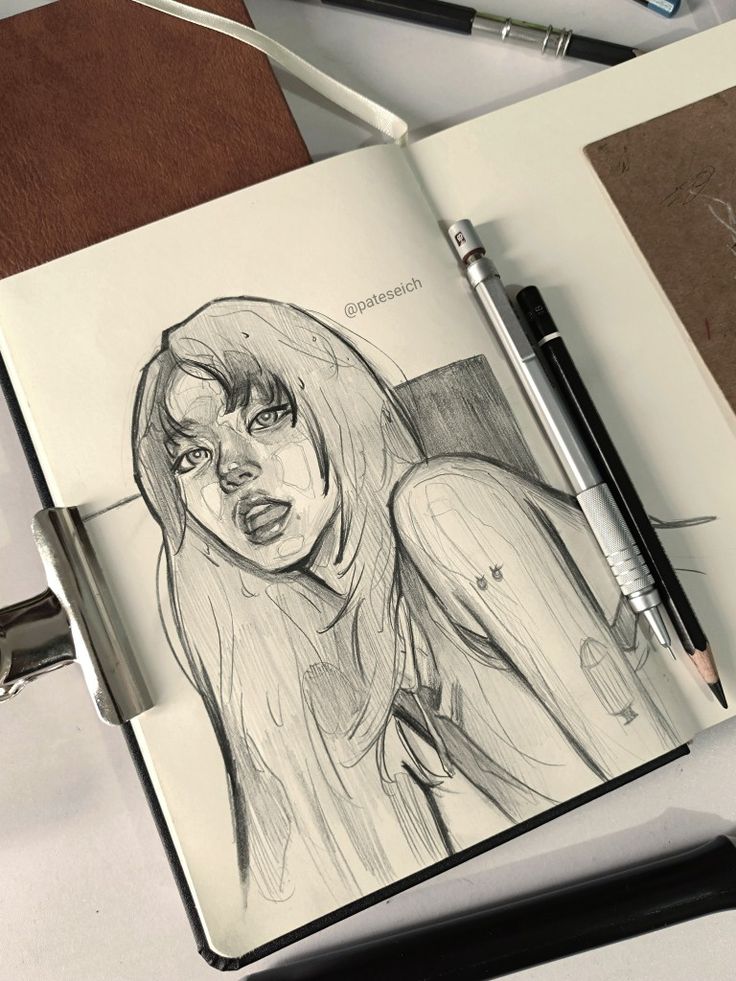
Shading is crucial for achieving realism. There are several techniques you can use:
Hatching: This involves drawing parallel lines to suggest lightness or darkness. The closer the lines, the darker the area appears.
Cross-Hatching: Building on hatching, this method adds a second layer of lines at an angle, increasing darkness and depth.
Stippling: Utilize small dots to create texture and tone. Varying the density of dots can result in smooth gradients.
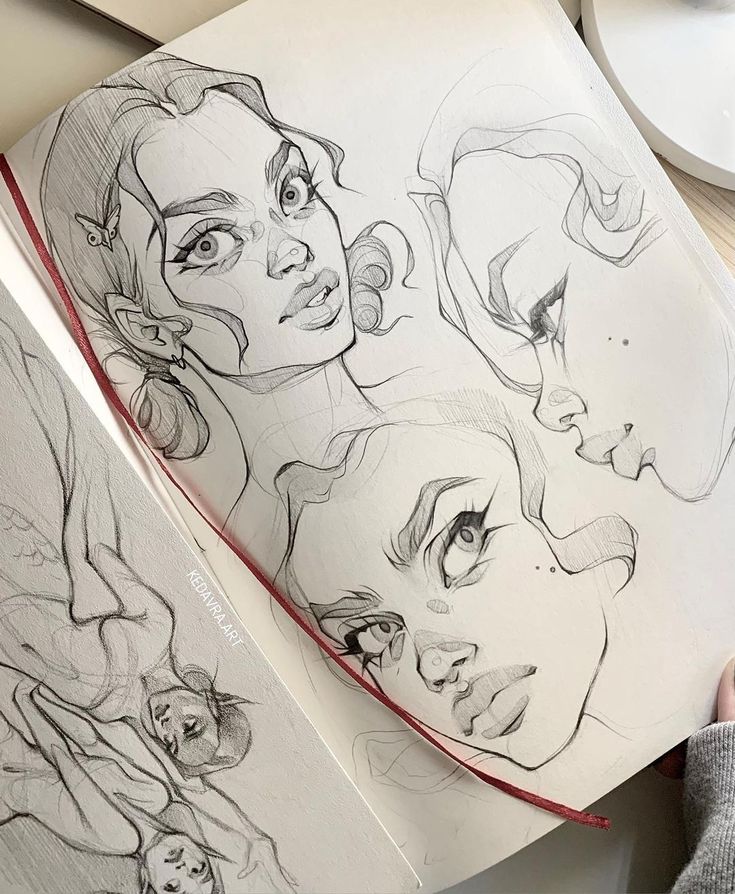
When using blending tools like a blending stump, you can soften these techniques. This tool helps you achieve smoother transitions and realistic shading effects. Adjust pressure and angle to manipulate the shade intensity.
Creating Depth with Light and Shadow
Understanding how light interacts with objects is fundamental. Pay attention to the lighting conditions present in your subject. Identify the light source and observe how it creates highlights and shadows.
To effectively create depth:
Start with a light base and gradually add darker tones in areas away from the light source.
Use soft transitions to mimic natural lighting. A blending stump can aid in achieving this softness.
Remember that shadows should not merely be black; incorporate colors reflecting the surrounding environment for realism.
Capturing these elements will enhance the dimensionality of your work, making it more engaging and lifelike.
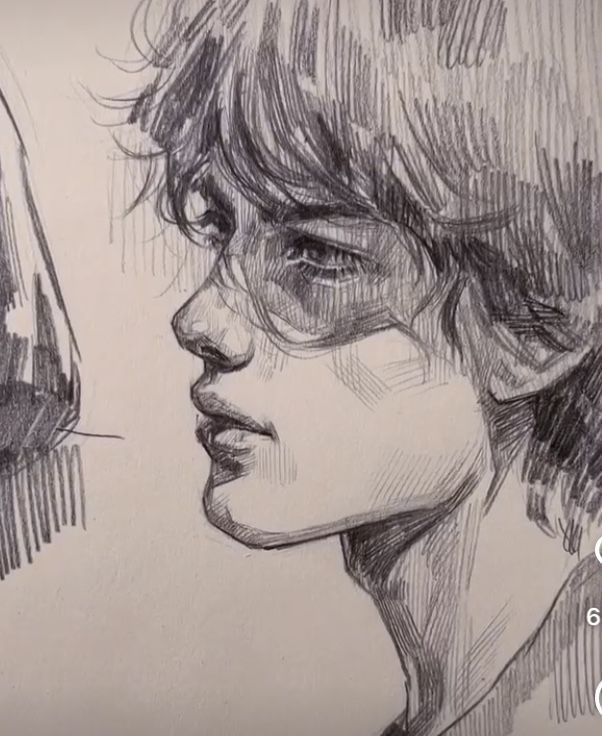
Enhancing Realism Through Detailing
Focusing on the details in your drawings greatly enhances realism. Effective use of texture and attention to perspective can bring your art to life, creating a three-dimensional feel that captivates the viewer.
Implementing Texture and Fine Details
Realistic textures are crucial for adding depth to your drawings. Start by observing the subject closely to identify various textures, such as smooth surfaces or rough edges. Use different drawing techniques like hatching, cross-hatching, or stippling to replicate these textures.
- Smooth Transitions: Achieve soft edges through blending techniques, which adds a lifelike quality.
- Hard Edges: Use bold lines for areas requiring definition, such as shadows.
- Contour Lines: Apply these lines sparingly to outline forms without overwhelming the drawing.
Focus on how light interacts with surfaces. This will inform your shading and highlighting strategies for a more authentic appearance.
Perfecting Perspective and Composition
Perspective plays a vital role in creating a sense of space. Familiarize yourself with basic perspective rules, such as vanishing points and horizon lines, to establish depth.
- Focal Point: Determine which area in your drawing should draw the viewer’s eye. Use composition techniques to lead the viewer towards this point.
- Three-Dimensionality: Adjust scale and proportion to create realistic spatial relationships between objects.
Ensure that your objects appear grounded within the scene. This involves observing their placement and any overlapping elements to enhance the overall composition. Maintaining a balanced perspective supports a convincing portrayal of reality in your art.
Tools and Materials
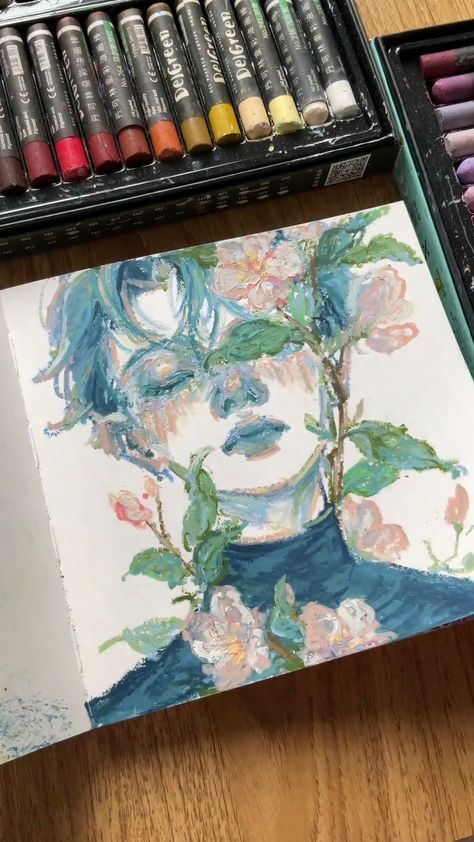
Selecting the right tools and materials is crucial for achieving realism in your drawings. High-quality paper and precision pencils will make a noticeable difference in your work. Additionally, mastering blending and erasing techniques enhances detail and depth.
Choosing the Right Drawing Paper and Pencils
When selecting drawing paper, look for textures that suit your style. Smooth papers work well for detailed work, while textured surfaces can enhance pencil marks. Popular choices include Bristol board and watercolor paper.
For pencils, choose quality options ranging from H to B grades. H pencils are harder and produce lighter lines, while B pencils are softer and provide deeper, darker strokes. A set of colored pencils can add vibrancy to your sketches. Always select tools that feel comfortable in your hand.
Using Blending and Erasing Techniques
Blending techniques add dimension and smooth transitions in your artwork. Tools such as blending stumps, tissues, or your fingers can create soft gradients. Be mindful of the pencil grades; softer pencils blend easily, while harder ones maintain sharper lines.
Erasers are equally important. A kneaded eraser allows for gentle lifting of pencil without damage. Standard erasers can create highlights, while precision knives can sharpen edges. By mastering these techniques, you can enhance texture and control in your drawings.
- 1.0Kshares
- Facebook0
- Pinterest1.0K
- Twitter0
- Reddit0
