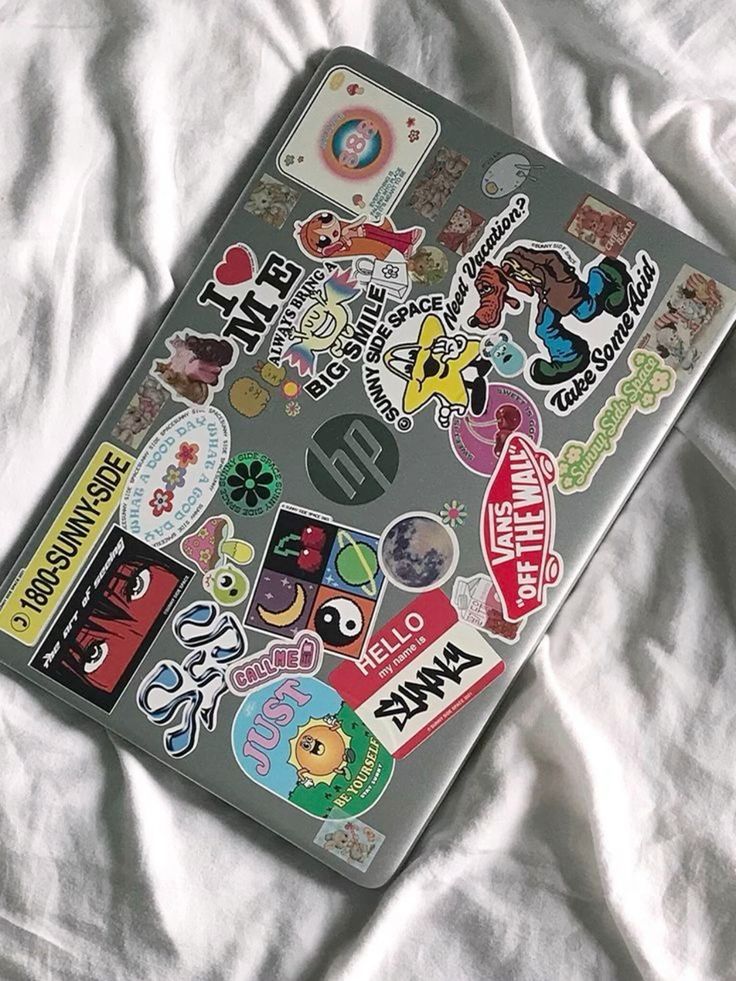
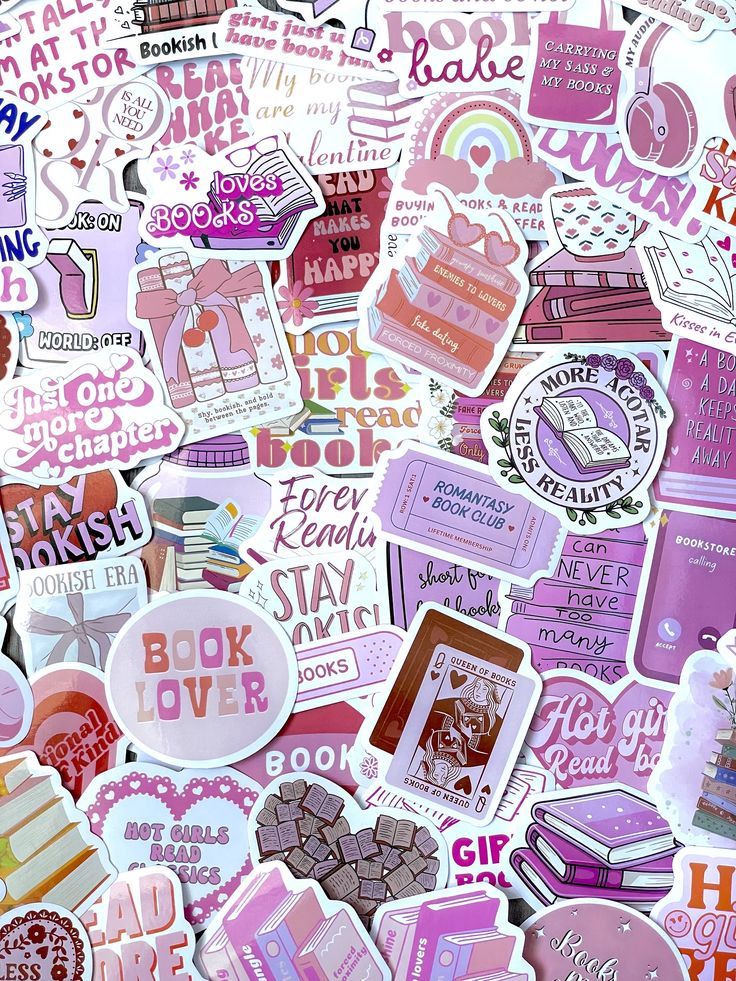
Making stickers can be a fun and creative way to express yourself or promote your brand. You can easily craft custom stickers at home with just a few materials and a bit of imagination. This guide will walk you through the step-by-step process, ensuring your stickers look professional and are ready for use.
Whether you’re looking to create stickers for personal use, gifts, or even for business purposes, understanding the key elements of the process is essential. From designing your sticker to the final touches, you’ll learn how to bring your ideas to life effectively. Each step focuses on simplicity and efficiency, so you can enjoy the creative process without feeling overwhelmed.
By following these steps, you’ll gain the skills to produce quality stickers that showcase your unique style. Let’s get started on your sticker-making journey!

Key Takeaways
- Gather the right supplies for your sticker project.
- Use design software to create eye-catching sticker visuals.
- Cut and finish your stickers for a polished look.
Selecting the Right Materials
Choosing the right materials will significantly impact the quality of your stickers. Focus on selecting suitable sticker paper and the appropriate tools for cutting and trimming.
Choosing Sticker Paper
When selecting sticker paper, consider the type that best fits your needs. You can choose from vinyl sticker paper, which is durable and water-resistant, making it ideal for outdoor use. Alternatively, printable sticker paper is versatile and suitable for various printing methods, including inkjet and laser printers.
You should also look at the finish. Matte paper is great for a subtle look, while glossy paper enhances colors and details. Make sure the paper is compatible with your printer to avoid any printing issues. Finally, check the adhesive strength to ensure your stickers stick well to surfaces.
Tools for Cutting and Trimming
In addition to choosing the right paper, having the right tools for cutting is critical. Scissors are suitable for simple shapes and small batches. They offer control but may not provide the precision required for intricate designs.
A craft knife or X-Acto knife is excellent for detailed cuts and can achieve cleaner edges. Always use a cutting mat to protect your surfaces. For larger or more complex projects, consider a cutting tool like a Cricut or Silhouette machine, which automates the cutting process and handles intricate designs efficiently.
Creating Your Sticker Design
Designing your sticker involves selecting the right tools and techniques. You can choose graphic design software for a polished look or draw by hand for a personalized touch. Both approaches have unique benefits.
Using Graphic Design Software
Graphic design software provides extensive features for creating professional stickers. Popular options include Adobe Photoshop, Adobe Illustrator, and Canva.
Adobe Photoshop: Ideal for detailed illustrations and photo manipulation. Use layers for complex designs and play with filters for effects.
Adobe Illustrator: Best for vector graphics. Your designs will be scalable without losing quality. Create crisp lines and shapes using tools like the Pen Tool.
Canva: A user-friendly option with pre-made templates. This is great for beginners. Customize templates with your own text and images easily.
To start, choose your canvas size based on your sticker dimensions. Combine different elements, such as colors, shapes, and text, to create a cohesive design.
Drawing and Crafting by Hand
If you prefer a hands-on approach, drawing your stickers can be very rewarding. Use quality drawing materials like fine liners, colored pencils, or markers to create your designs.
Sketch First: Always begin with a pencil sketch. This allows you to make adjustments before committing to ink or color.
Inking: Use black fine liners for clean outlines. Wait for the ink to dry before erasing pencil marks.
Coloring: Choose a color palette that meshes well together. Watercolor or alcohol-based markers provide vibrant finishes.
After completing your design, consider scanning it to create digital versions for printing. This way, you can produce multiple copies of your unique artwork.
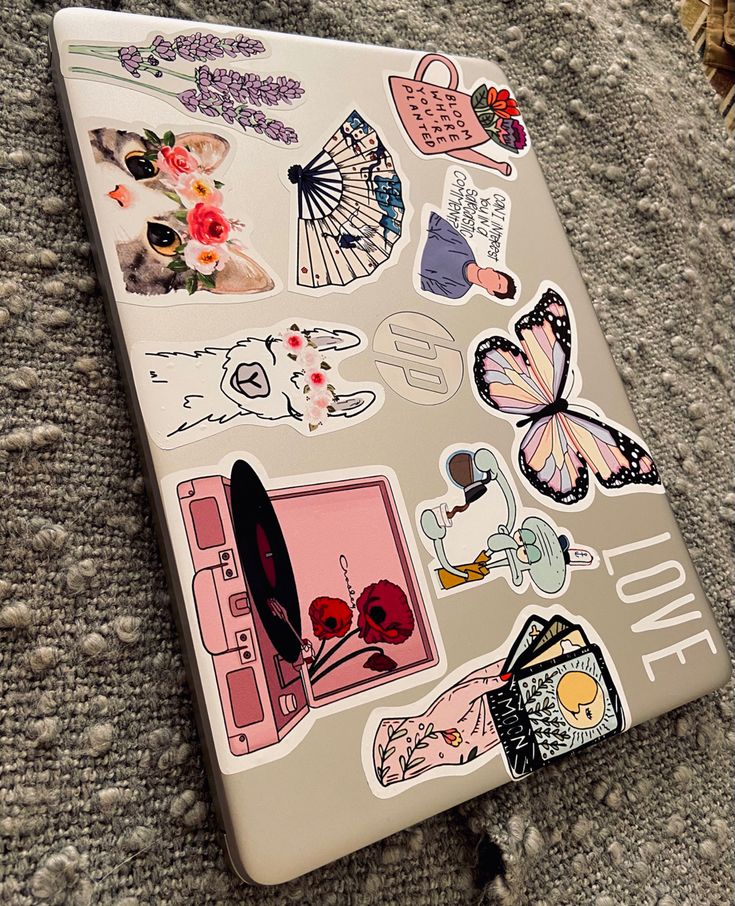
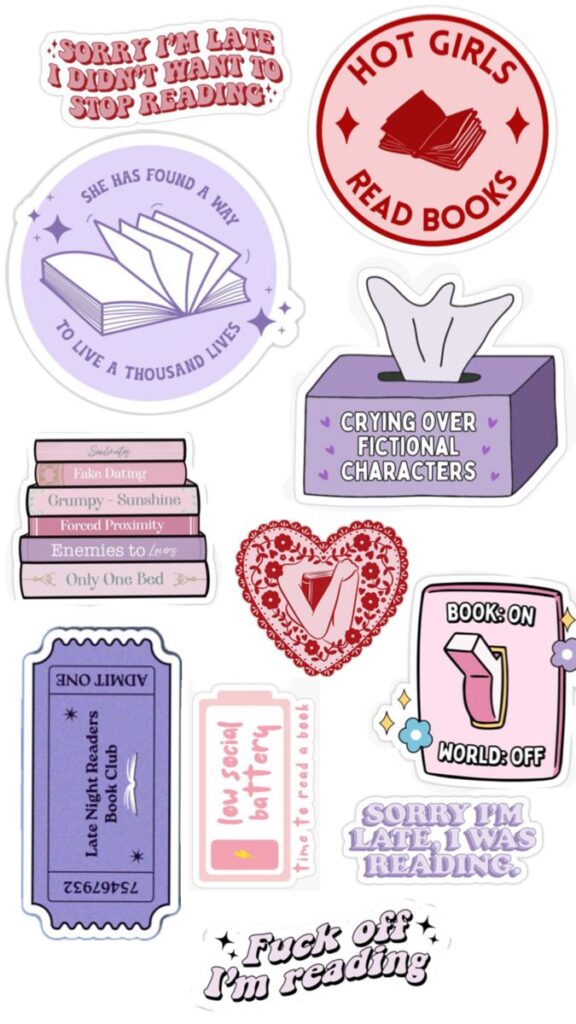
Printing and Preparing Stickers
Getting the right print quality and durability for your stickers is crucial. You need to pay attention to your printer settings and consider the inks used to ensure your stickers look great and last long.
Printer Settings for Quality
Before printing, set your printer to the highest quality setting available. This often includes options such as “best” or “high” quality, which enhances the color accuracy and sharpness of your designs.
For inkjet printers, choose the appropriate paper type setting, usually labeled as “photo paper” or similar. This adjustment allows the ink to adhere properly and results in richer colors. Use 300 DPI (dots per inch) as your resolution for crisp images.
If you have a specific print size, always check your scaling options. Choosing “actual size” or “100%” prevents any unwanted resizing. Additionally, consider using a test print on regular paper to ensure everything appears as intended.
Ink and Water Resistance
Water-resistant ink is essential for durability. Check that your printer is compatible with water-resistant options, which help prevent smudging and running when exposed to moisture. Many inkjet printers use dye-based inks, so consider switching to pigment-based inks for superior water resistance.
Another effective solution is to cover your stickers with clear packing tape after printing. This adds a layer of protection against moisture and abrasive damage. Simply cut the tape to size and carefully apply it over your stickers, ensuring there are no air bubbles. This method not only enhances durability but also gives a glossy finish to your designs.

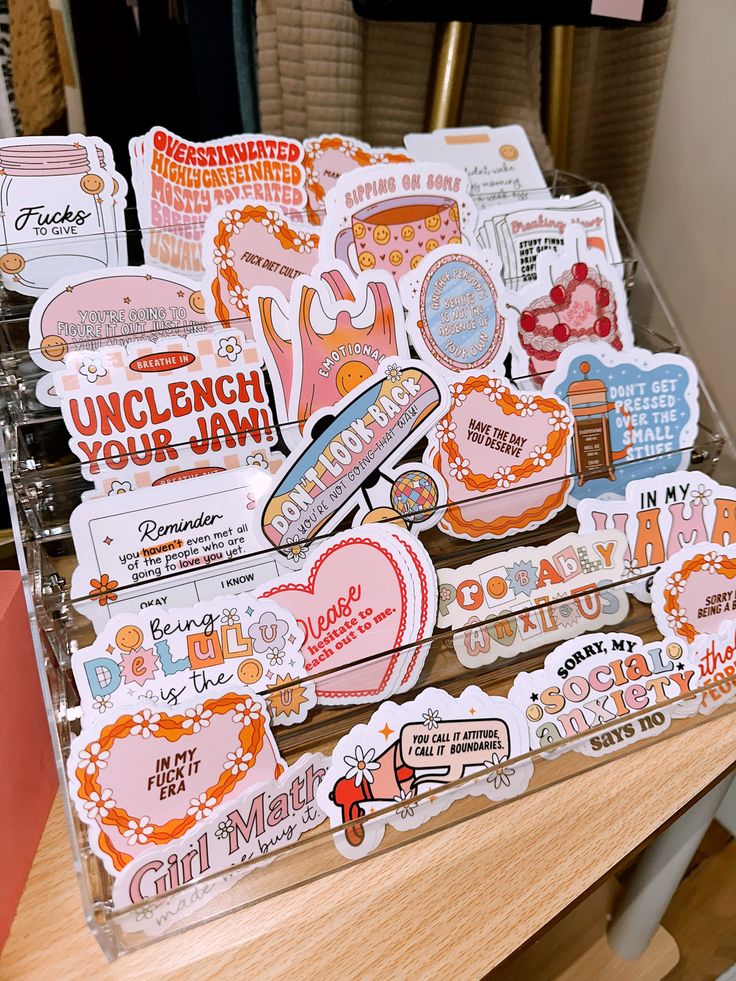

Cutting Out Stickers
Cutting out your stickers is a crucial step in the process. You can choose between manual methods or utilize a cutting machine, each offering distinct benefits that cater to different preferences and project needs.
Manual Cutting Methods
Manual cutting involves using hand tools to create your stickers. Start with a pair of sharp craft scissors or an X-Acto knife. These tools allow for precision, especially for intricate designs.
Steps for Manual Cutting:
- Print Your Design: Ensure your design is printed on high-quality sticker paper.
- Use a Ruler: For straight edges, align a ruler along the cut line. This helps maintain accuracy.
- Cut Carefully: Slowly cut along the outline to avoid jagged edges.
Using a self-healing cutting mat beneath protects surfaces and keeps blades sharp.
Using a Cutting Machine
A cutting machine, like a Cricut or Silhouette, automates the cutting process. These machines offer enhanced precision and ease for complex designs.
Advantages of Using a Cutting Machine:
- Speed: Quickly cut multiple stickers, saving time for larger projects.
- Precision: Machines can replicate intricate designs consistently without manual errors.
Steps for Using a Cutting Machine:
- Upload Your Design: Load your design into the machine software.
- Select Material Settings: Choose settings matching your sticker paper’s thickness.
- Load and Cut: Place the material on the cutting mat and start the machine.
Regular maintenance of your cutting machine ensures optimal performance.

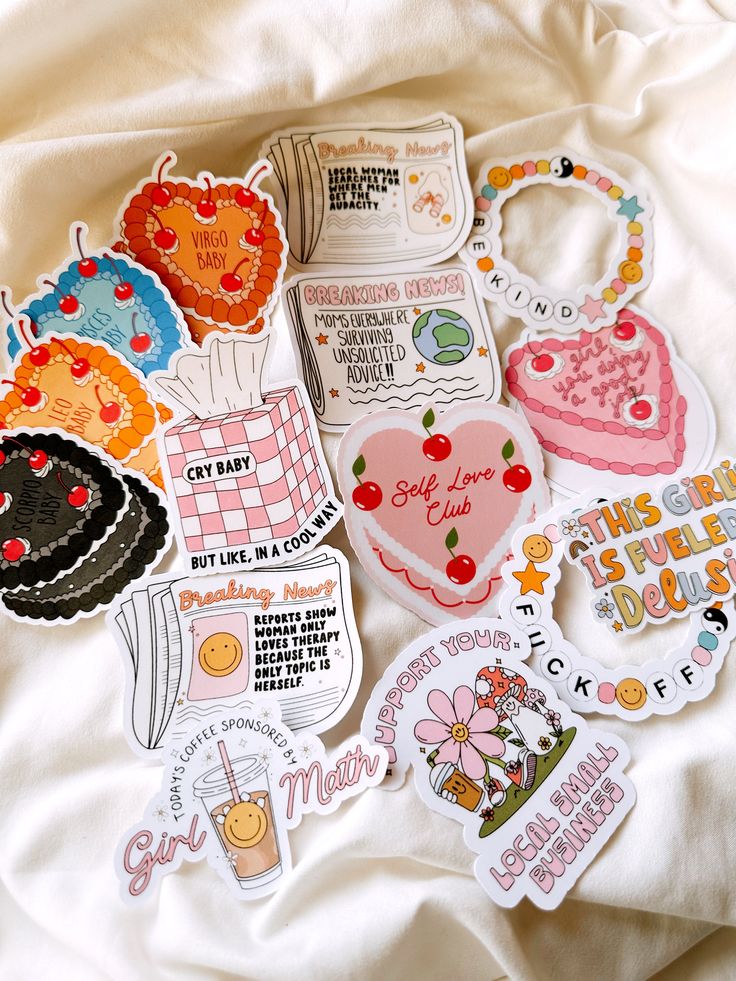
Finishing and Applying Stickers
After creating your stickers, it’s essential to cut them correctly and apply them effectively for a professional finish. This section addresses the final cutting techniques and various adhesive methods.
Final Cutting and Presentation
Achieving a polished look for your homemade stickers begins with the cutting process. Use a precision cutter or craft knife to ensure clean, sharp edges.
For stickers on a sheet, a paper trimmer works well for straight cuts. Alternatively, a cutting machine can offer intricate designs and precise shapes.
Consider using wax or parchment paper for presentation. This method allows you to showcase your stickers without them sticking to surfaces prematurely. Finally, arrange your stickers neatly for display, making them appealing to anyone who sees them.
Adhesive Techniques
Choosing the right adhesive is crucial for sticker application. For vinyl stickers, strong options like double-sided tape provide durability and a seamless look.
You might also consider using adhesive spray for larger stickers to ensure even coverage. This method prevents bubbles and positions stickers accurately.
If you’re aiming for temporary placement, a repositionable glue stick can be a great choice. It allows you to apply and remove stickers without damage.
Always ensure your surface is clean and dry before applying to maximize adhesion and longevity.
- 3.7Kshares
- Facebook0
- Pinterest3.7K
- Twitter3
- Reddit0

