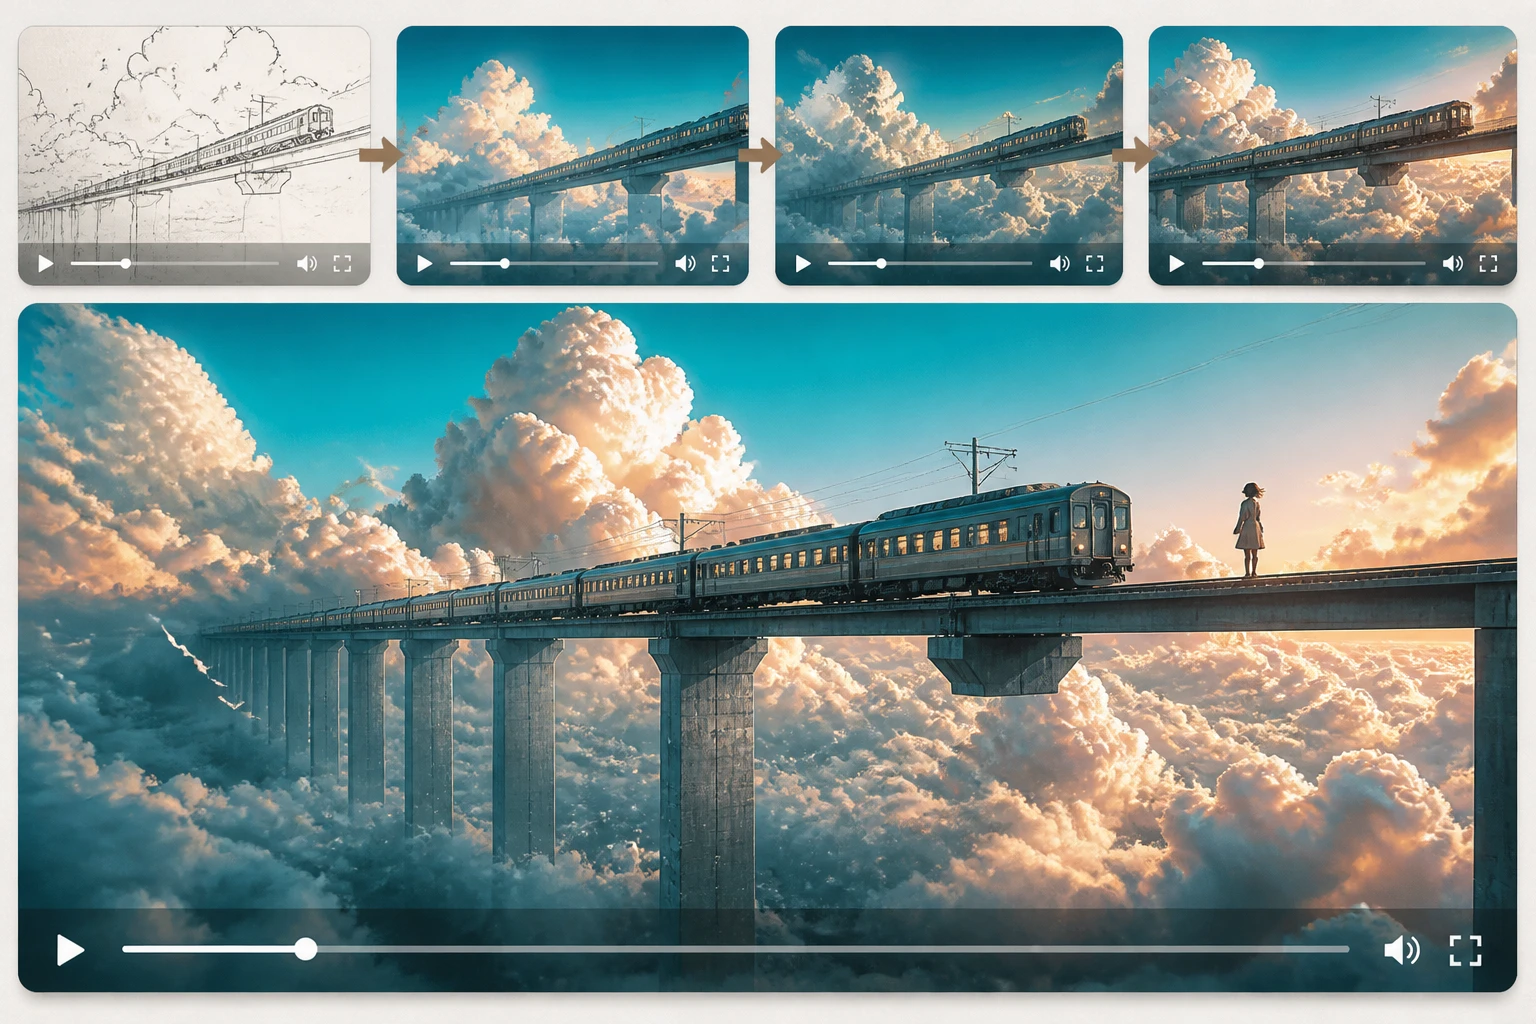
Keeping a site, shop, or social feed supplied with fresh visuals can eat up an afternoon. A product photo needs better light; a short clip needs a clean opening shot. AI image and video tools can speed up those jobs, but they still need a clear idea and a careful final check. This guide shows where they help and how to use them without losing control of the result.
An AI Image Editor is useful for practical fixes: lifting a dark exposure, cleaning a distracting background, or extending a scene around a product. Start with the best photo you have. A sharp phone image in window light usually gives the editor more to work with than a blurry studio shot.
An AI Video Generator can turn a still image or a short written brief into motion. Think of it as a way to test a few cuts for a social post or explain a simple process. Check every frame before publishing, especially hands, product details, and any text the tool tries to invent.
Where AI content tools help
The useful question is not whether a tool can make an image or a video. It is whether the result helps someone understand the product, service, or lesson faster. Here are three places where that difference is easy to see.
Product images for online shops
An online shop needs a clean product view, close details, and often a few lifestyle images. Photograph the item once with even light and enough room around its edges. That original becomes the reference for seasonal scenes, whether the setting is a bright patio or a cozy living room. Keep the product’s shape, color, and scale consistent across every version.
A ceramic mug is a simple example. One honest source photo could support a winter scene by a window and a spring scene outdoors. The background can change; the handle, glaze, and proportions should not. If the generated scene makes the mug look larger or changes its finish, revise it before it reaches the product page. Customers need to recognize what they will receive.


Social posts for small businesses
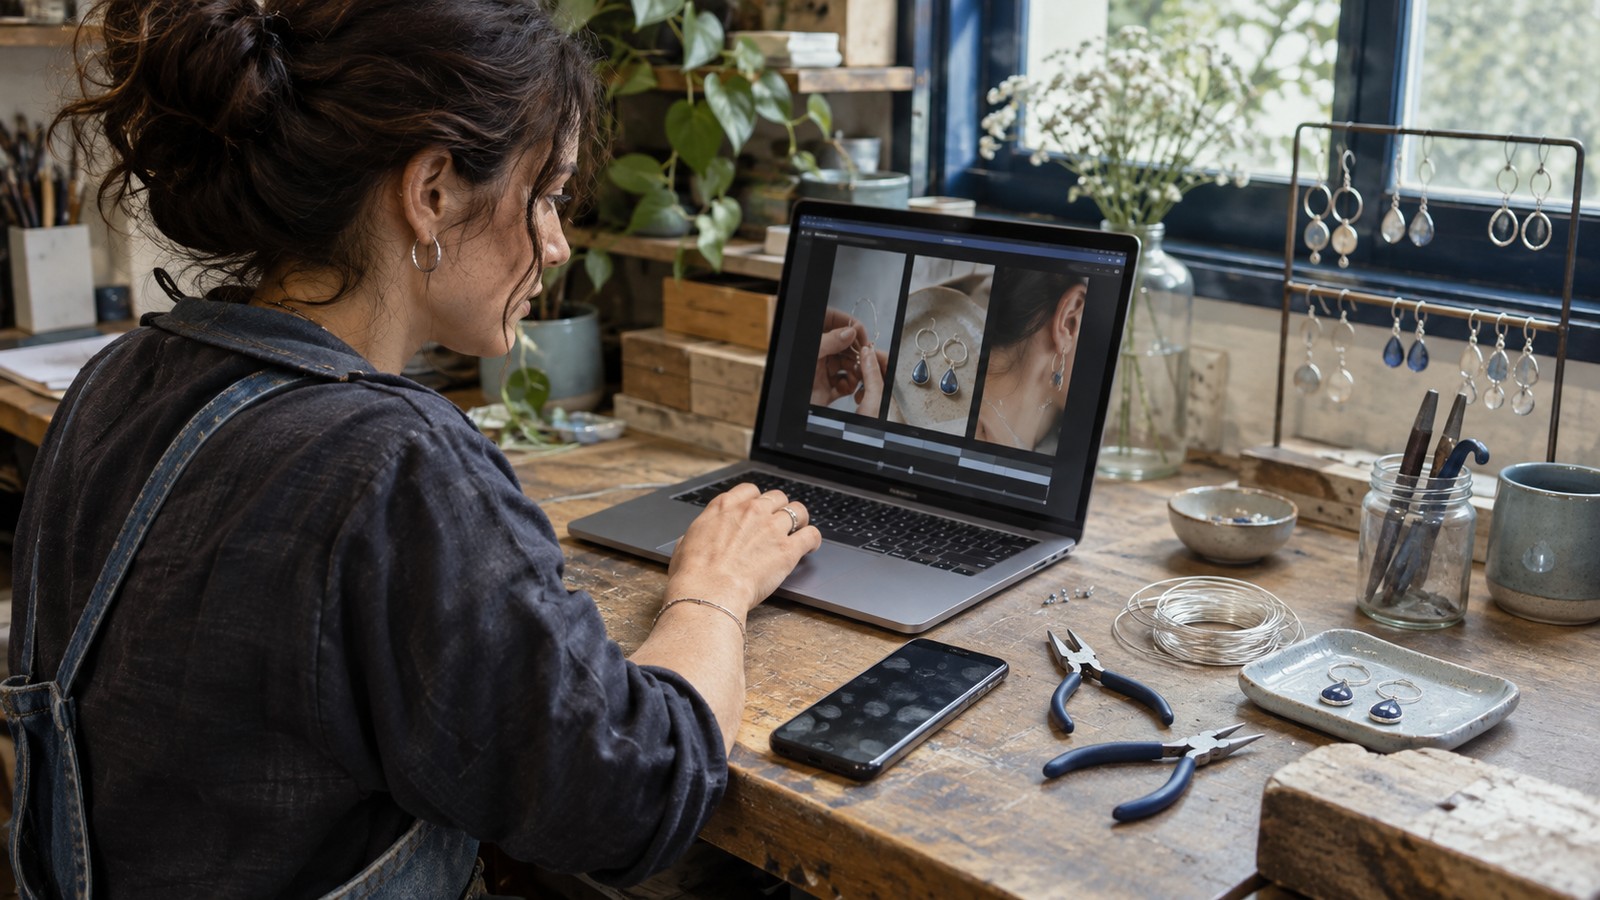
A bakery or maker may have time to photograph the work but little time to edit a fresh video every week. Begin with real moments: a tray leaving the oven, a pair of earrings on the bench, or a hand packaging an order. Those details give a short post something specific to say.
Use AI to trim footage, test a few opening frames, or animate a still when motion genuinely helps. One clear idea per clip is enough. A quick close-up of the product can be stronger than a string of effects. Review the result on a phone at normal viewing size, because that is where most people will see it.

Visuals for lessons and training
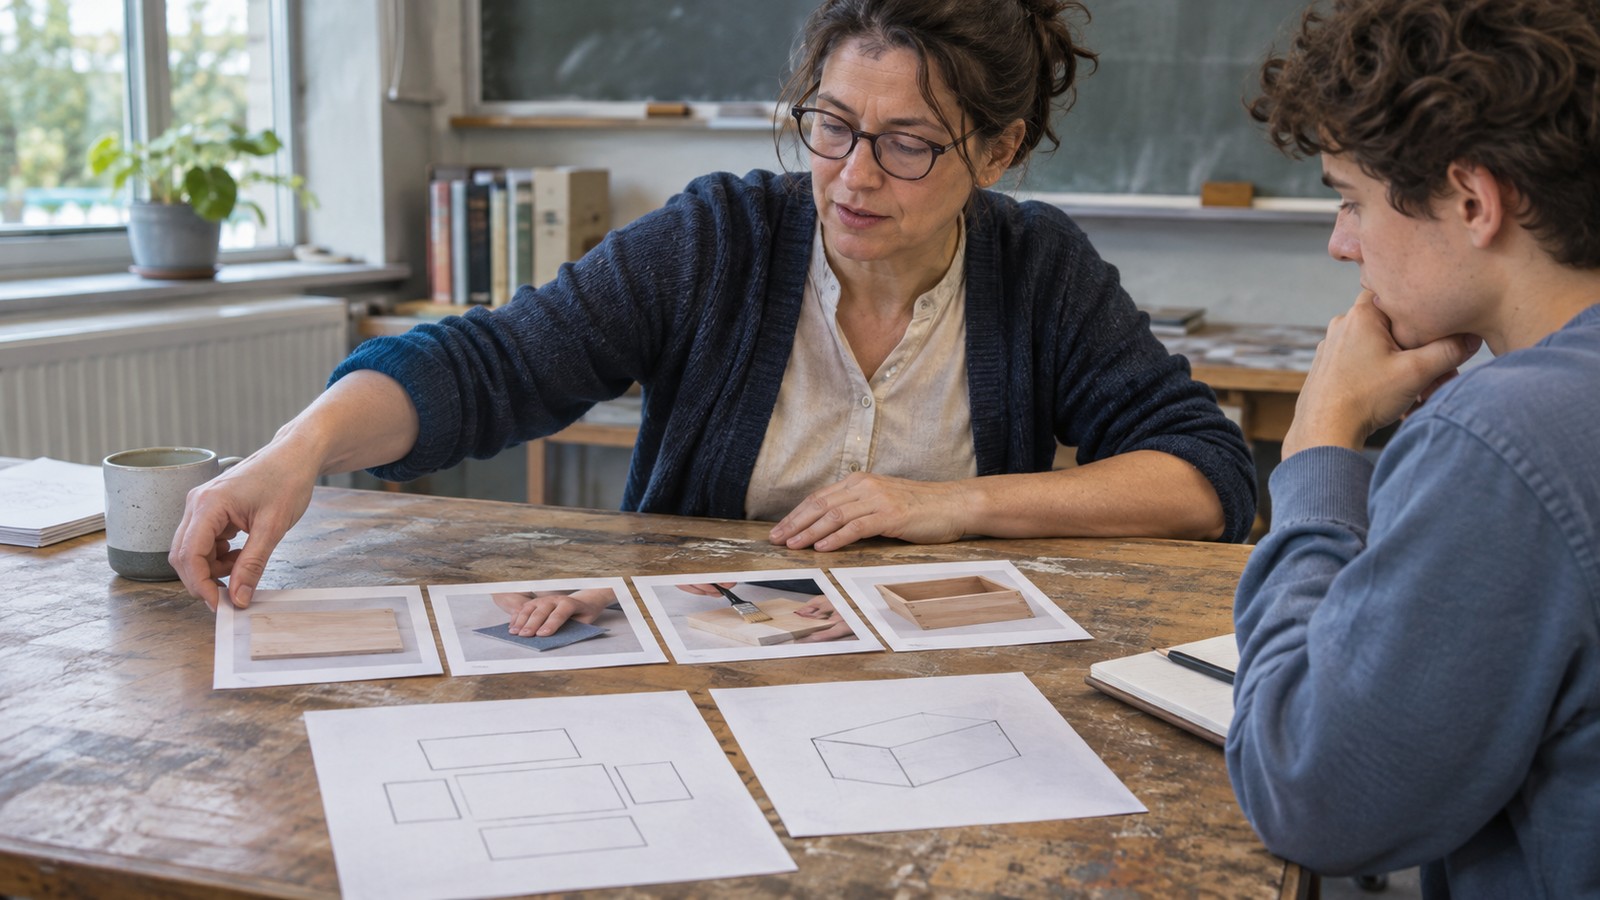
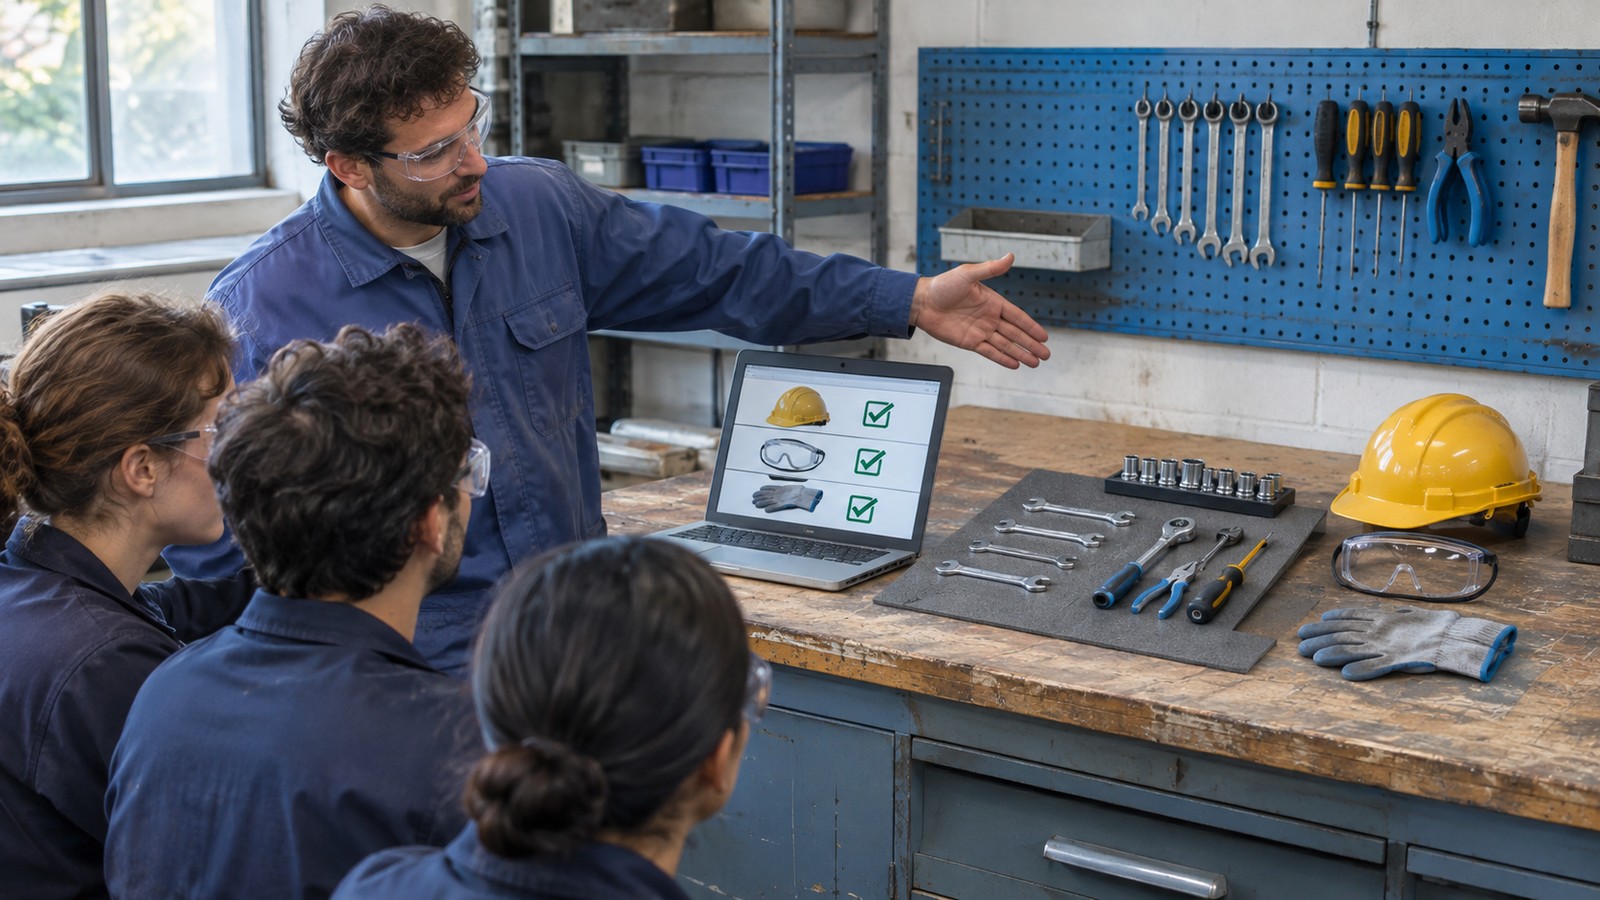
Teachers and trainers often need to show a sequence, not just describe it. A picture of the starting point, the key action, and the finished setup can make a short lesson easier to follow. For important procedures, use real reference material and have a subject expert check the visual before anyone learns from it.
For a safety lesson, for example, show an organized workspace with protective gear and tools in the right places. A short walkthrough can then focus on the order of actions. If a rule changes, update the affected frame and review the whole sequence again. AI can help redraw a visual quickly, but it cannot verify a safety instruction for you.
What each use case gains
The payoff depends on the job. A shop needs consistent product images. A small business needs a manageable way to publish. A trainer needs visuals that are correct and easy to follow. Measure each result against that goal rather than against how impressive the software looks.
For online shops
For a shop, the useful savings come from reusing a sound source photo across several placements and seasons. Set a simple style guide for crop, background brightness, and product color. Then compare each generated image with the real item. Consistency matters more than producing a large batch of mismatched pictures.
For social media
For social posts, faster production gives you room to test ideas. Try two openings for the same clip or compare a process shot with a finished-product shot. Watch which one earns useful actions, such as saves, replies, or visits. More posts alone do not guarantee more reach; the first few seconds still need to give viewers a reason to stay.
For teaching and training
For lessons, clarity is the test. A good visual should show the correct order, the right tools, and the detail a learner might otherwise miss. Ask someone unfamiliar with the topic to describe what they see. If they cannot identify the next step, simplify the image before adding more decoration.
A practical AI content workflow
A short, repeatable workflow keeps the tools from turning into a pile of disconnected experiments. Work from the message to the source material, then to the edit and final review.
Step 1: Set the goal
Write one sentence about the job of the visual before opening a tool. For a product post: show the mug’s size and finish in a warm winter setting. For a lesson: show where the safety glasses belong before work starts. That sentence helps you judge whether an output is useful.
Step 2: Prepare the source material
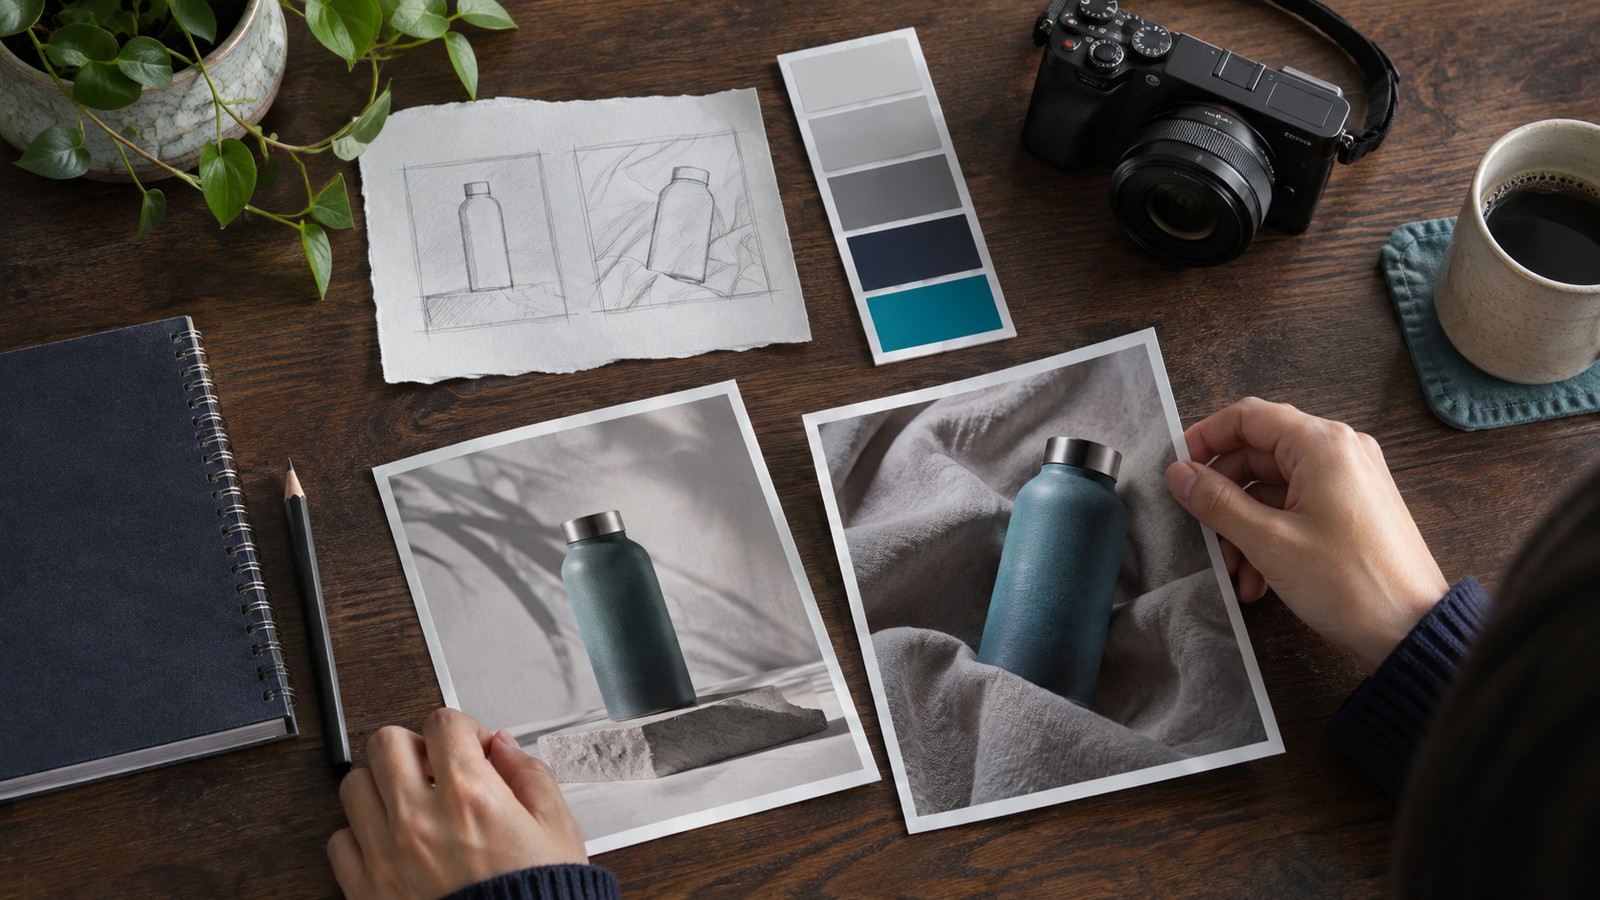
Choose the clearest source photo or clip. Check focus, lighting, and the edges of the main subject. Keep an untouched copy. If you are generating from text, sketch a quick thumbnail or list the camera angle, background, and one detail that must stay accurate. Small decisions made here save rounds of prompting later.
Step 3: Edit, then generate
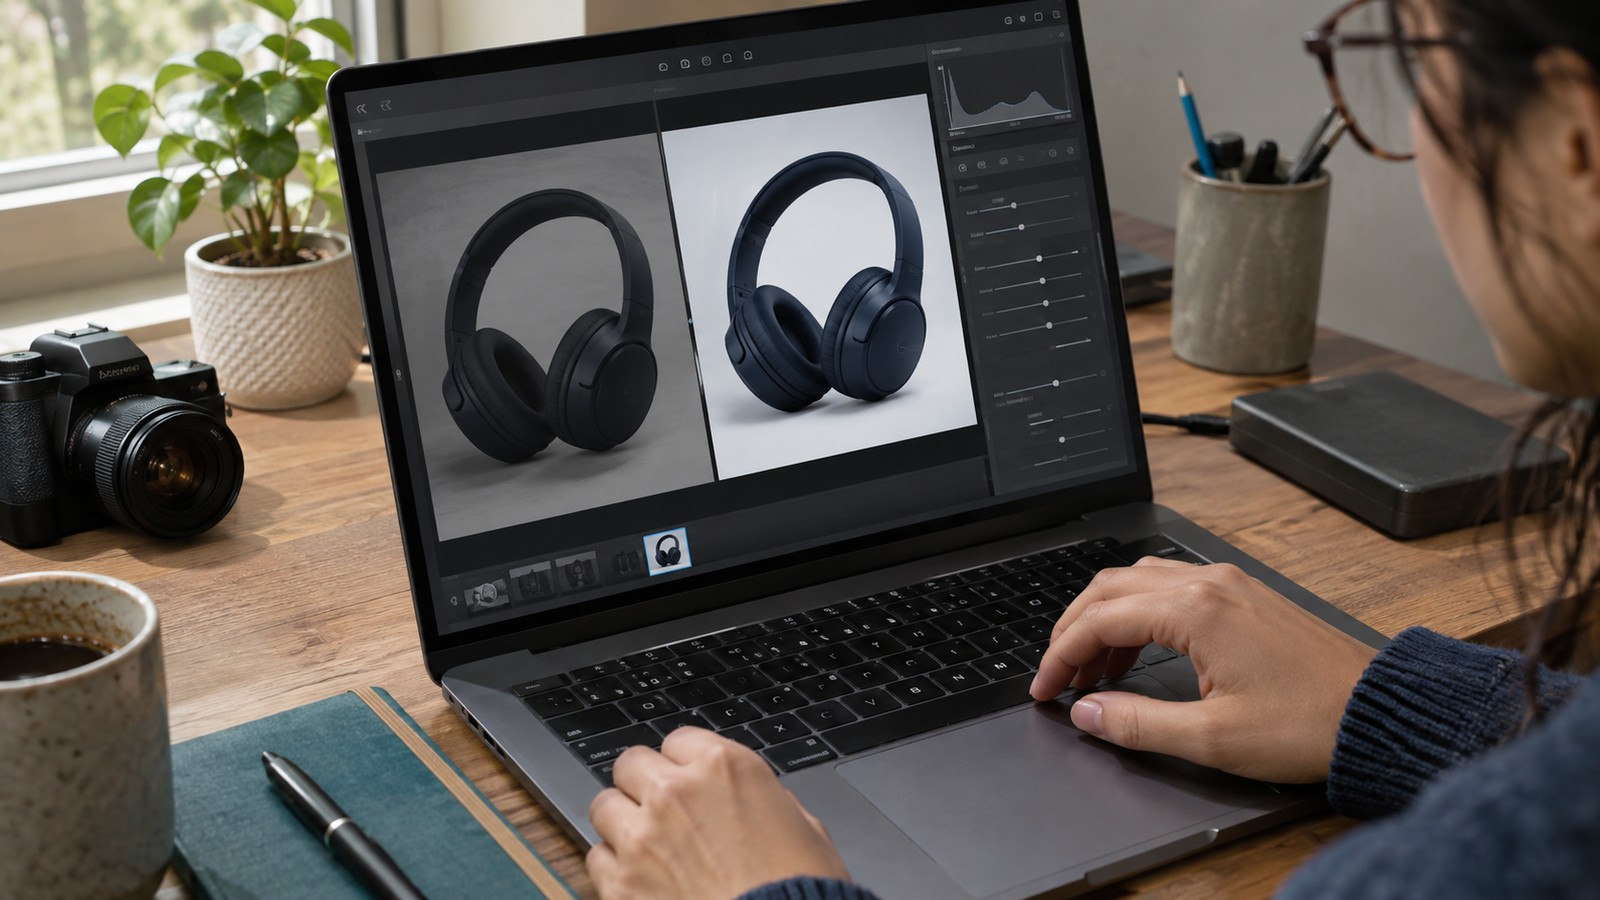
Use an image editor to perfect your still photos for the still image first: correct exposure, remove distractions, and compare it with the original. Then make a short video from the approved image or a focused prompt. Keep the subject in the same position across cuts when possible. A simple sequence is easier to read than five unrelated effects.
Step 4: Review the result
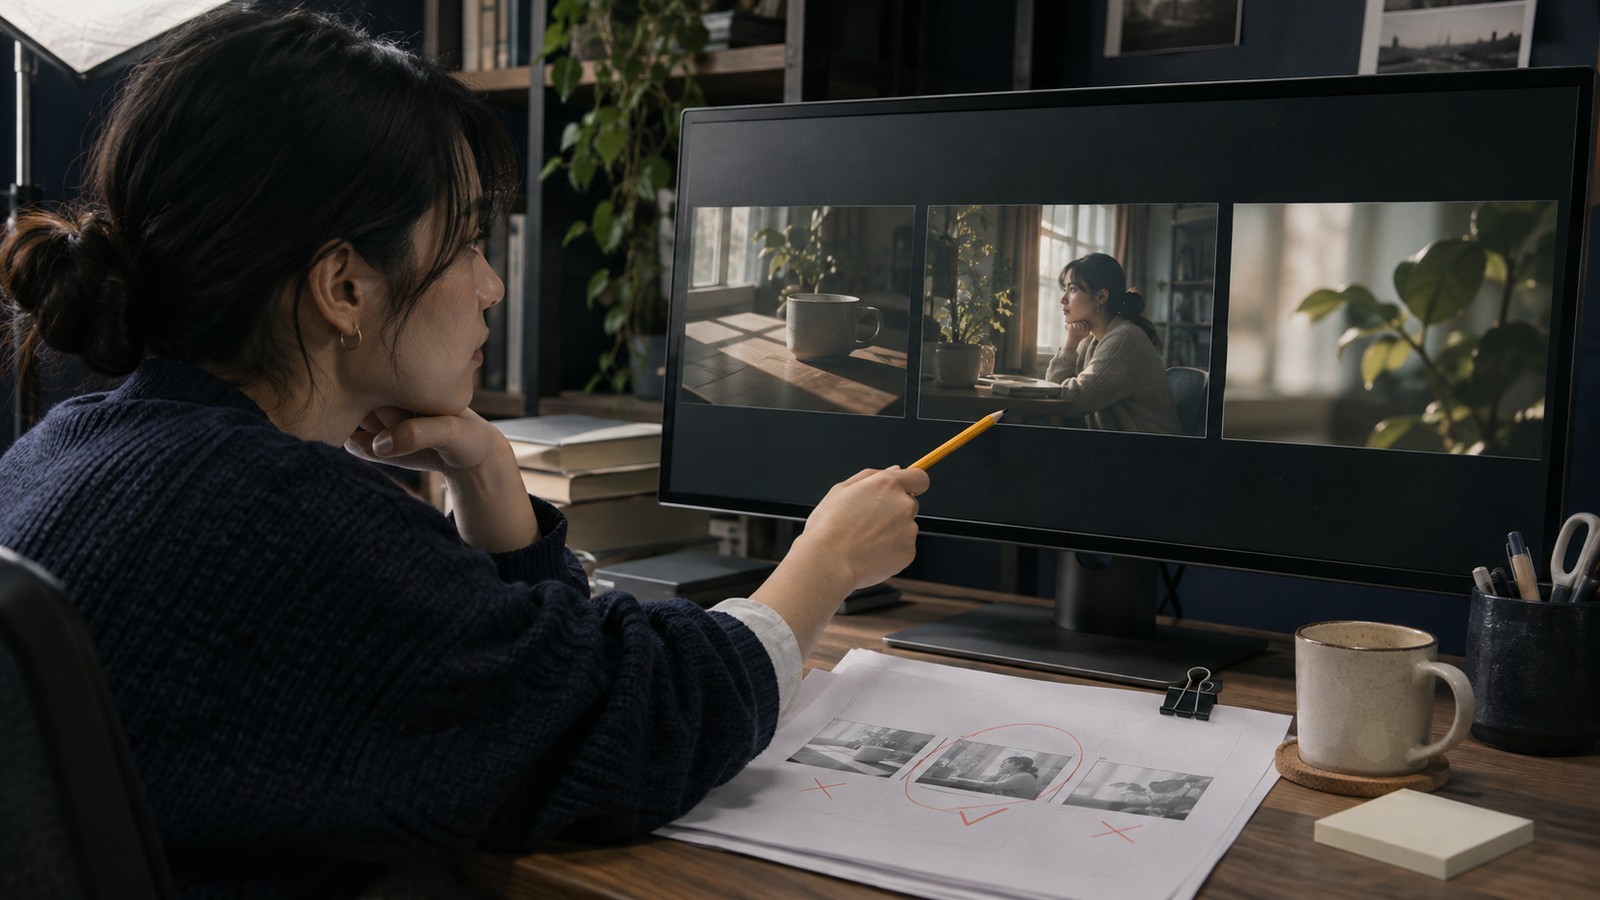
Check the finished visual at the size where it will appear. Look for altered product details, odd fingers, unreadable labels, flicker, and objects that jump between frames. Ask whether the image still says what your brief asked it to say. Change one part of the prompt at a time so you can tell what improved the result.
Keep the message in charge
AI tools make it easier to try a visual idea, but they do not make the final judgment for you. The strongest result usually starts with a real reference, a specific brief, and a review by someone who knows the subject. That is especially important for product claims and training material.
Start with one small assignment: edit a product photo, make a fifteen-second process clip, or illustrate one lesson step. Compare the output with the original and note what changed. If the edit saves time and still tells the truth, turn those choices into a repeatable workflow.
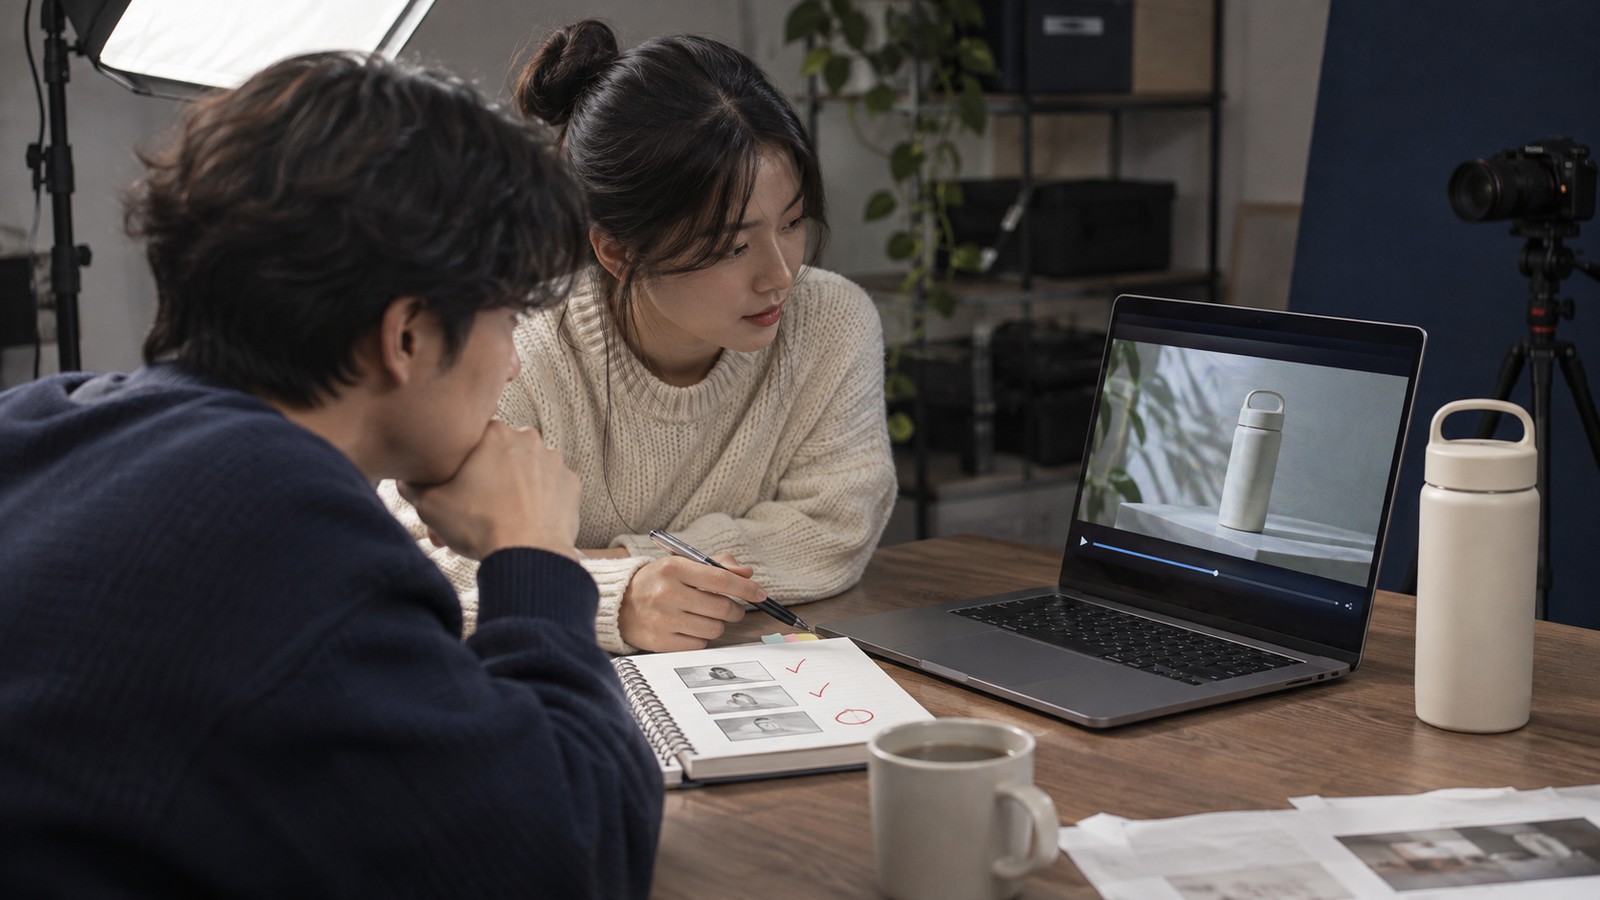
Keep the source files, prompts, and approved exports together. When you need a new season or format, you can return to a working setup instead of rebuilding it from memory. A tidy archive also makes it easier to correct a mistake after publication.
The goal is a visual that does its job. Show the object clearly, make the action easy to follow, and remove anything that distracts from the message. Use the software for the repetitive edits; spend your own attention on the details a viewer will actually notice.
- 0shares
- Facebook0
- Pinterest0
- Twitter0
- Reddit0