If you want to know how to turn a garden shed into an office you’ll actually use in January as well as June, settle three things before you look at desks. Where does the building sit? What can the shell carry? How will heat, moisture, light and sound move through it? Get those right and a compact timber building becomes a quiet, bright, year-round workroom. Get them wrong and you own a handsome box that’s cold, loud on calls and too glary for a screen.
This guide follows the order I’d use on a real project: site, shell, plan, envelope, light, acoustics, services, materials, garden and budget. The technical constraints come first because they shape the design, not because the design matters less.
- Can a timber garden shed really become a year-round office?
- Start with the site plan, not the furniture
- Choose a shell that can carry office-level upgrades
- Draw the garden office floor plan around real work
- Build a continuous comfort layer
- Design daylight and electric light together
- Plan acoustics and call privacy before finishes
- Route power, Internet, heating, and cooling early
- Use a restrained material and colour palette
- Make the office belong to the garden
- Price the whole conversion, not only the shed
- A practical order of work from brief to move-in
- FAQ
- The design test before you buy
Can a timber garden shed really become a year-round office?
Yes, with conditions. Storage sheds are built to keep rain off tools. An office has to keep a person comfortable for six or eight hours, protect electronics from damp, and deliver stable power and Internet. That’s a different brief.
Most sheds turned into offices succeed or fail on four points:
- A shell that can take insulation and lining without losing too much headroom or floor area.
- A dry, level base that keeps the timber away from ground moisture and standing water.
- Safe, permanent electrical work sized for the whole office, not a cord from the kitchen.
- Openings placed for light and view, rather than wherever the catalogue model puts them.
If you’re still deciding whether an office is the right use at all, compare it with a studio, gym or reading retreat. Those uses ask less of the building. This article assumes you’ve chosen the hardest version: a garden office shed that works every season.
Start with the site plan, not the furniture
Furniture can change in an afternoon. The building’s position, its orientation and the route to it are close to permanent. I’d spend more time on a site sketch than on a mood board.
Treat the office as part of the garden’s composition. A short landscape design process, moving from site analysis to zones, circulation and planting, gives you a useful framework for placing it.
Choose the view, daylight direction, and walking route
Stand where the desk would be and look out. You’ll see that view every working day, so give it as much weight as the floor area.
Good desk views tend to be middle-distance and calm: a planted border, a tree canopy, a stretch of lawn. The back door, the kids’ play area or a neighbour’s window will pull at your attention all day.
Then look at the sun. In the U.S., north light tends to be steadier and produces less glare, which suits screen work. East and west glazing brings low, raking sun that hits monitors directly and adds heat, so those windows need shading or glare control. South glass can bring welcome winter light in many regions but overheats a small room without overhangs or shade. The same general logic applies elsewhere in the Northern Hemisphere. Your climate, latitude and site obstructions still decide.
The walking route matters more than people expect. A short, lit, firm path from the house shortens cable runs and makes winter mornings easier. Some distance helps, though. A few steps through planting create the mental switch that makes a backyard office worth having.
Check setbacks, delivery access, drainage, and utilities
Before you fall for a particular corner of the garden, check the constraints:
- Local rules. Permits, boundary setbacks, height limits, HOA rules and electrical requirements vary by municipality and country. Some small outbuildings need no permit for the structure but do need one for wiring or office use. Confirm with your local building department, and your HOA if you have one, before you pay a deposit.
- Delivery access. Tight gates, low branches, steps and soft soil can stop a delivery or add labour. Measure the route, not just the plot.
- Drainage. Watch the spot during heavy rain. If water pools there, move the building or plan drainage with a professional.
- Utilities. Find out where buried services run before anyone digs for a base or a trench.
Choose a shell that can carry office-level upgrades
The shell is the decision you’ll live with longest. Before choosing a model, compare wall framing, roof pitch, door width and delivery access. Office use asks more than basic storage does. Suppliers that list wooden garden sheds for sale give buyers a useful starting point for comparing timber formats. Your final choice should still account for insulation depth, planned electrical routing and local setback rules.
Framing, floor structure, roof pitch, and weather protection
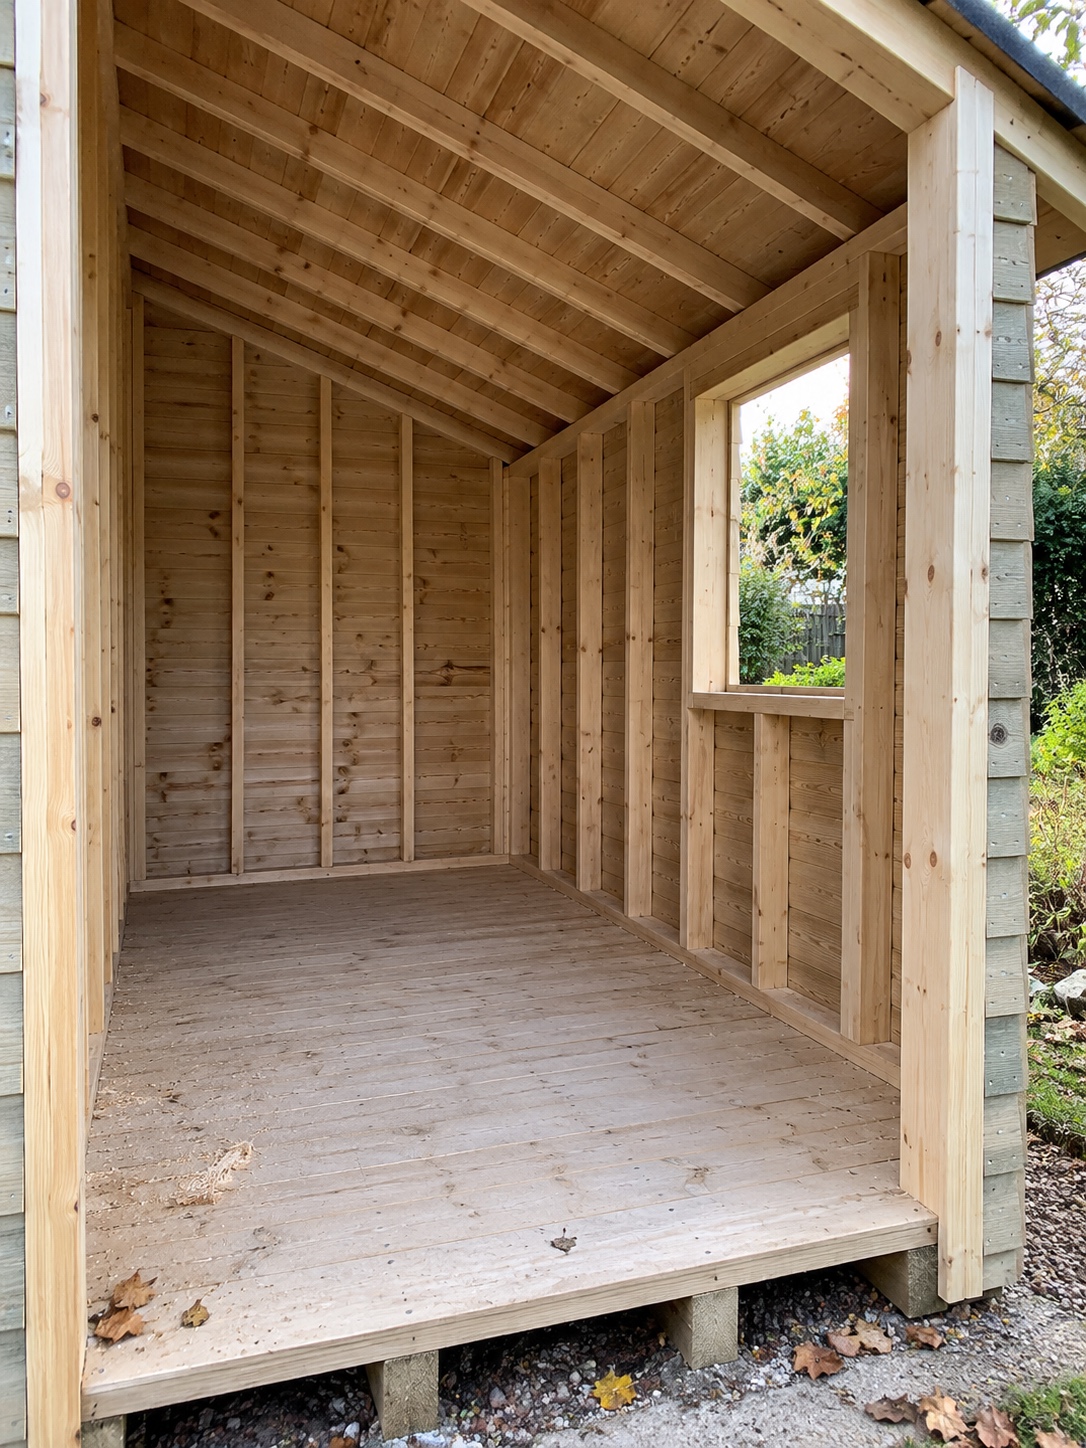
Look for straight, well-framed walls deep enough to take insulation and an interior lining. Thin walls force a bad choice: poor insulation, or building inward and losing floor area.
The floor should feel solid underfoot. A desk, a loaded bookcase and a rolling chair put concentrated loads on it that storage use rarely does. Ask the supplier what the floor is designed for.
Roof pitch shapes the interior. A steeper roof leaves room for ceiling insulation, light fixtures and a ventilation path while keeping usable headroom. Generous overhangs keep rain off the cladding and shade the windows, helping both durability and glare.
Snow loads, wind exposure and ground conditions vary, so don’t treat structure as a catalogue checkbox. Confirm the shell suits your site with the supplier or a local builder.
Window and door proportions that suit a small workspace
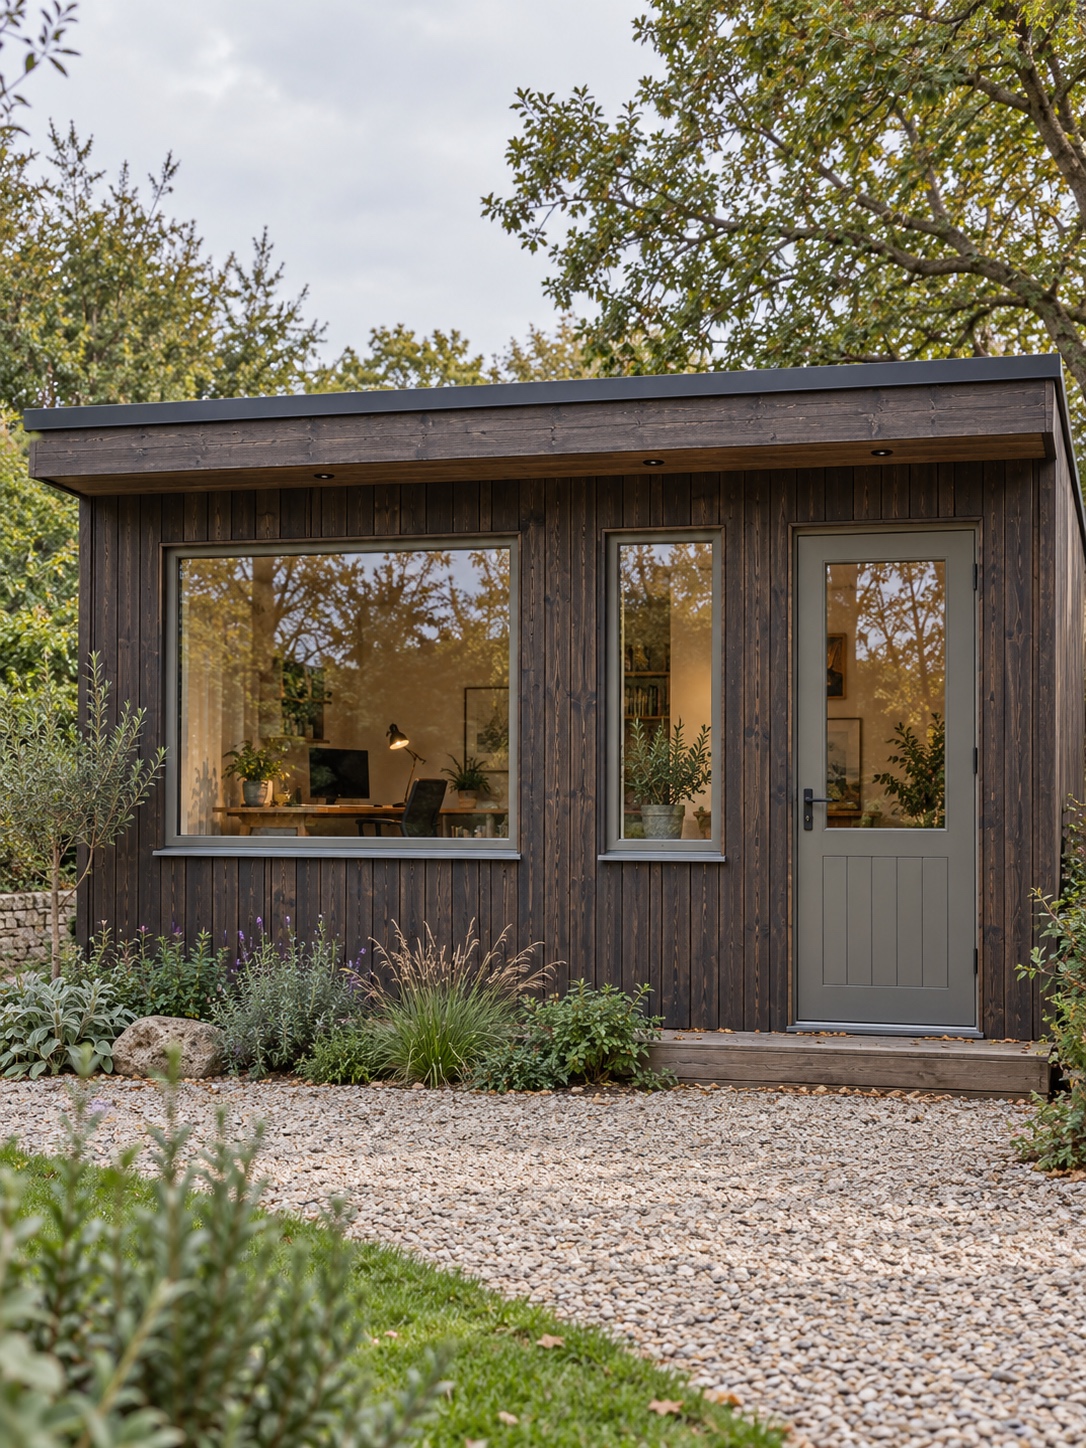
Facade scale is where many garden shed office designs go wrong. Catalogue sheds often have one small window and a double door. Those proportions are designed for wheeling in a mower.
For an office, I’d usually prefer:
- One larger window aligned with the desk view, with a sill height that frames the garden rather than the fence.
- A smaller secondary opening for cross ventilation and balanced light, so the room doesn’t have one bright wall and three dark ones.
- A single glazed or half-glazed door instead of wide double doors, unless you regularly move equipment in and out.
Keep window heads aligned where you can. A consistent head height and opening widths that relate to the cladding module make even a tiny building look designed rather than assembled. With vertical boards, size openings to land on board joints. With horizontal boards, align sills and heads with a board line. That’s the difference between a calm facade and a busy one.
Draw the garden office floor plan around real work
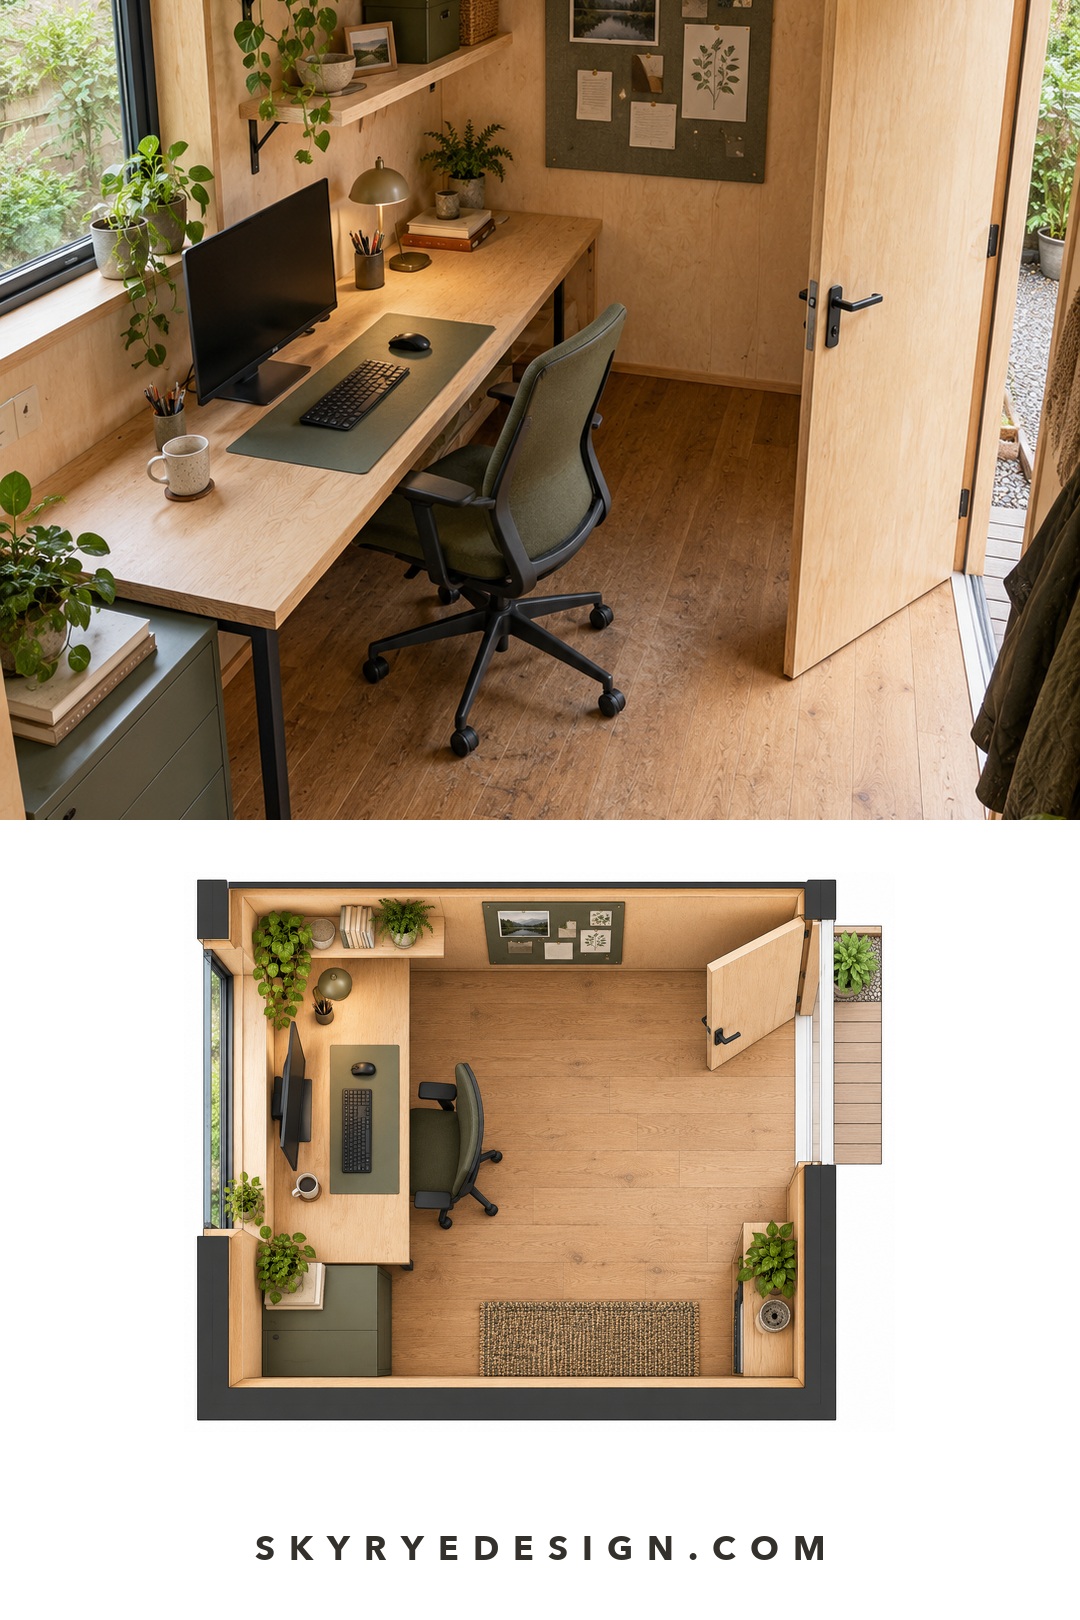
Floor area disappears quickly once a chair rolls back from a desk. Start your garden office floor plan with what you actually do: laptop only, two monitors, drawing, video calls, printing or client visits.
A 6-by-8-foot shed can suit focused laptop work. Add storage, a printer or a second seat and you’ll need more room. Insulation and lining eat into the footprint, so measure finished internal dimensions, not the external size the supplier lists.
Desk depth, chair clearance, storage, and the door swing
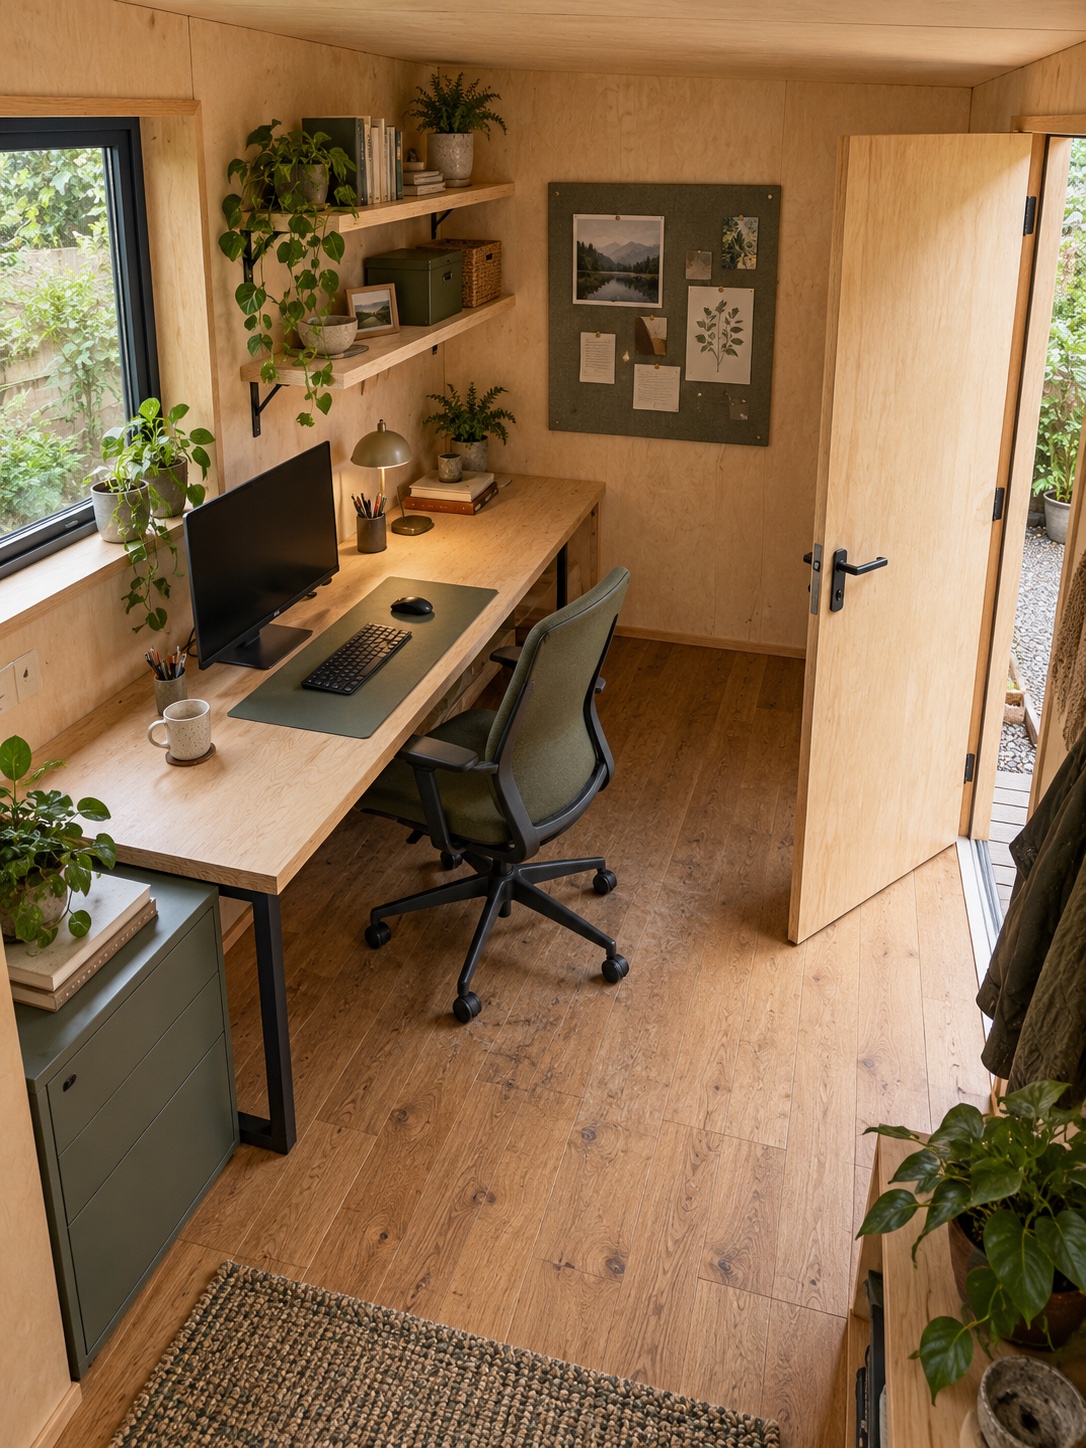
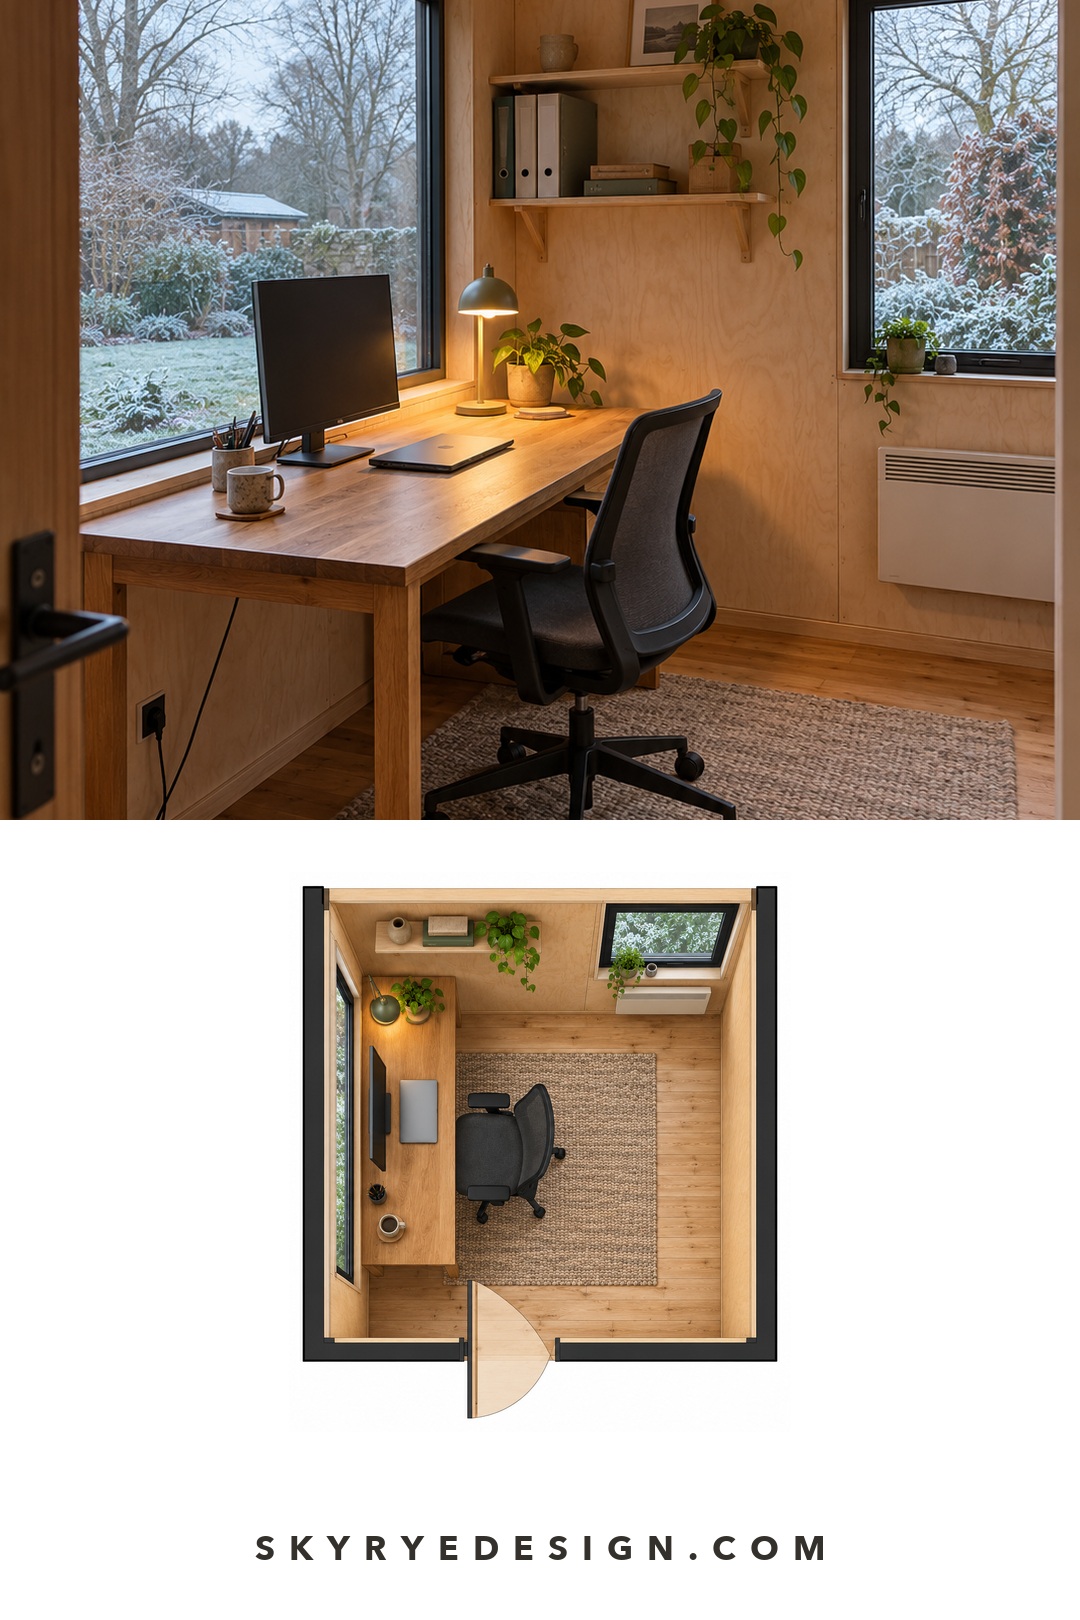
Work through these in order:
- Desk depth. Many desks run roughly 24 to 30 inches deep. Monitor users usually want the deeper end for comfortable viewing distance.
- Chair clearance. Leave room behind the desk to roll back and stand up without hitting a wall or shelf. Around three feet is a common planning figure. Test it with your own chair.
- Door swing. An inward-opening door can eat a corner of a small plan. Check it against the chair, cabinets and any heater.
- Storage. Go vertical. Wall-mounted shelves keep paper and chargers off the desk, and a shallow cabinet can hide networking gear.
- Posture and comfort. Desk height, screen position and seating matter more in a small room because you can’t easily rearrange. NIOSH’s page on office environments and your safety is a useful reference for everyday comfort and safety in office work.
Once those dimensions are fixed, these small home office ideas offer storage and layout inspiration that fits the brief.
Compare compact work modes in a decision table
| Work mode | Plan move | Watch for |
|---|---|---|
| Laptop focus | Desk under the main window, shelf above | Screen glare if the window faces east or west |
| Dual-monitor desk | Desk on a side wall, window to one side | Deeper desk; keep light from the side, not behind the screen |
| Calls and video | Desk facing into the room, softer back wall | A window behind you can silhouette your face on camera |
| Desk plus client seat | L-shape or desk plus a small lounge chair | Door swing and circulation; needs a longer plan |
| Drawing or making | Wide worktop under north or diffused light | Extra outlets, task lighting, dust and storage |
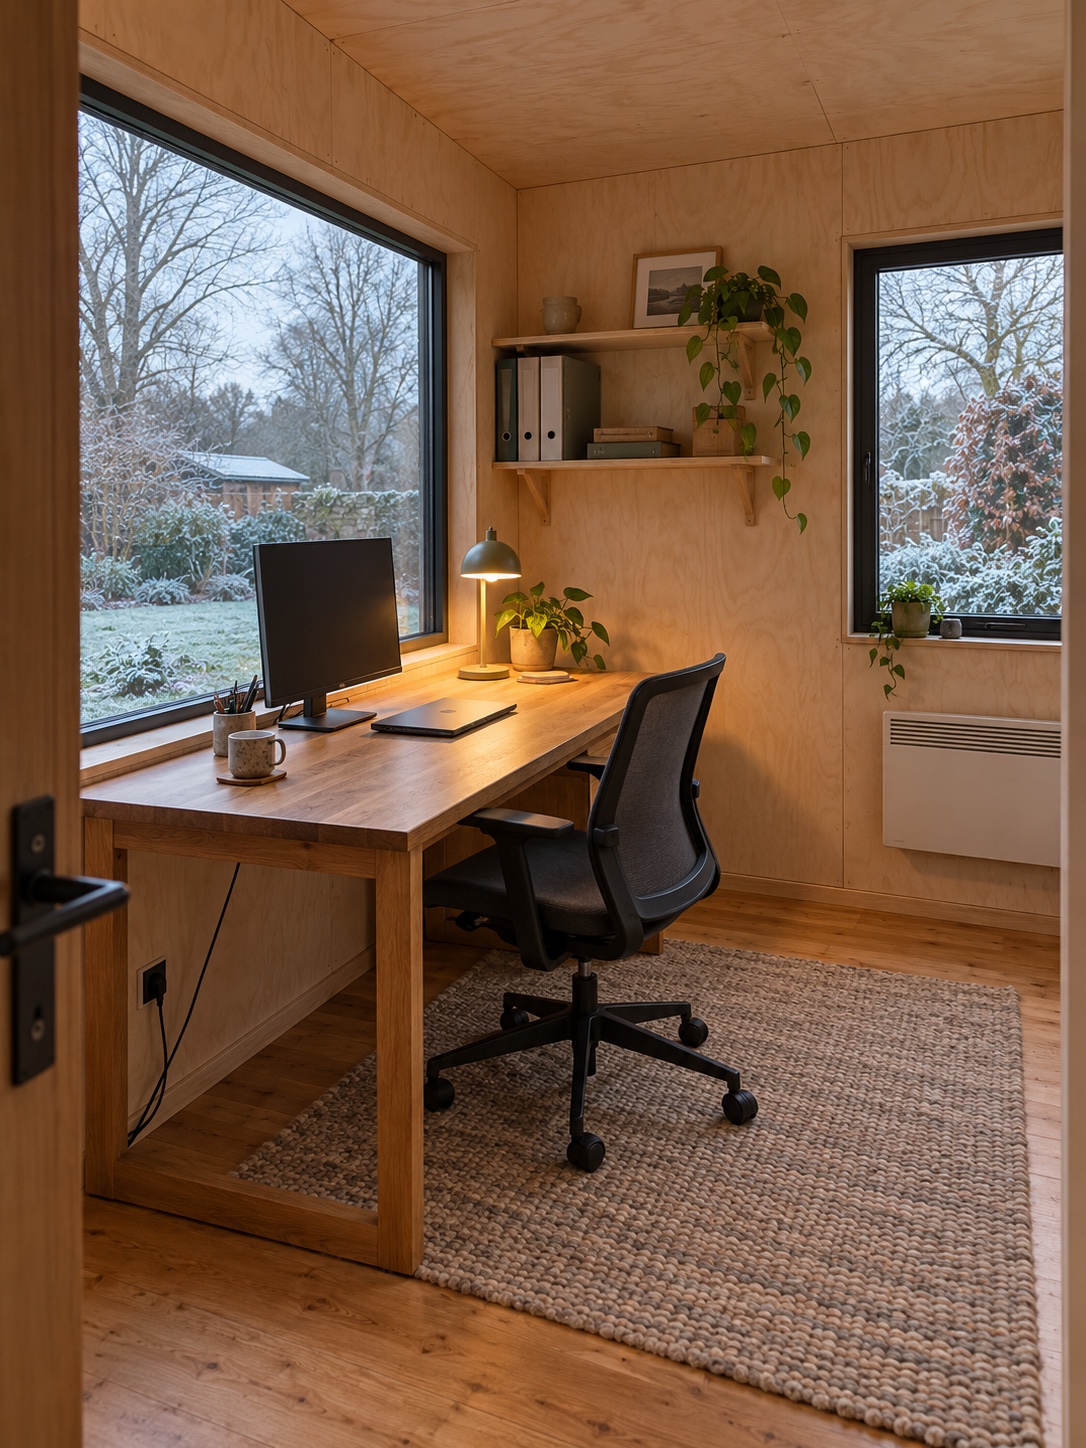
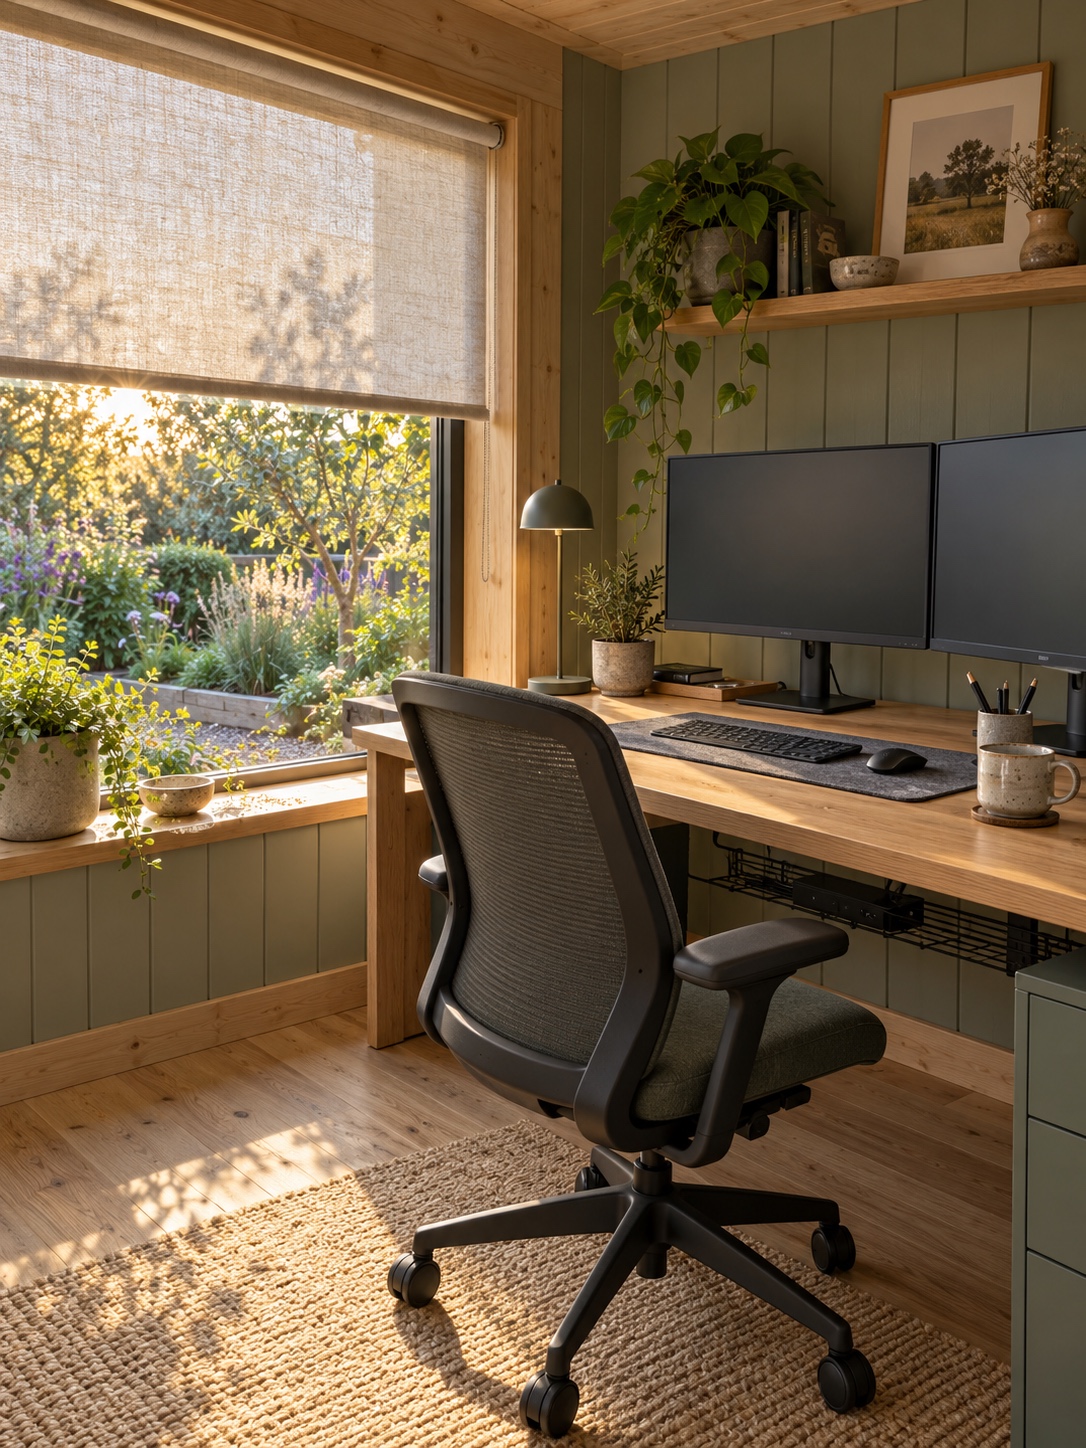
A screen generally works best with the window to the side. You get daylight without a bright rectangle behind the monitor or reflected in it.
Build a continuous comfort layer
This is the least visible part of the project and the most consequential. Comfort comes from controlling heat, air and moisture as one system, from floor to walls to roof.
Base, moisture control, insulation, ventilation, and interior lining
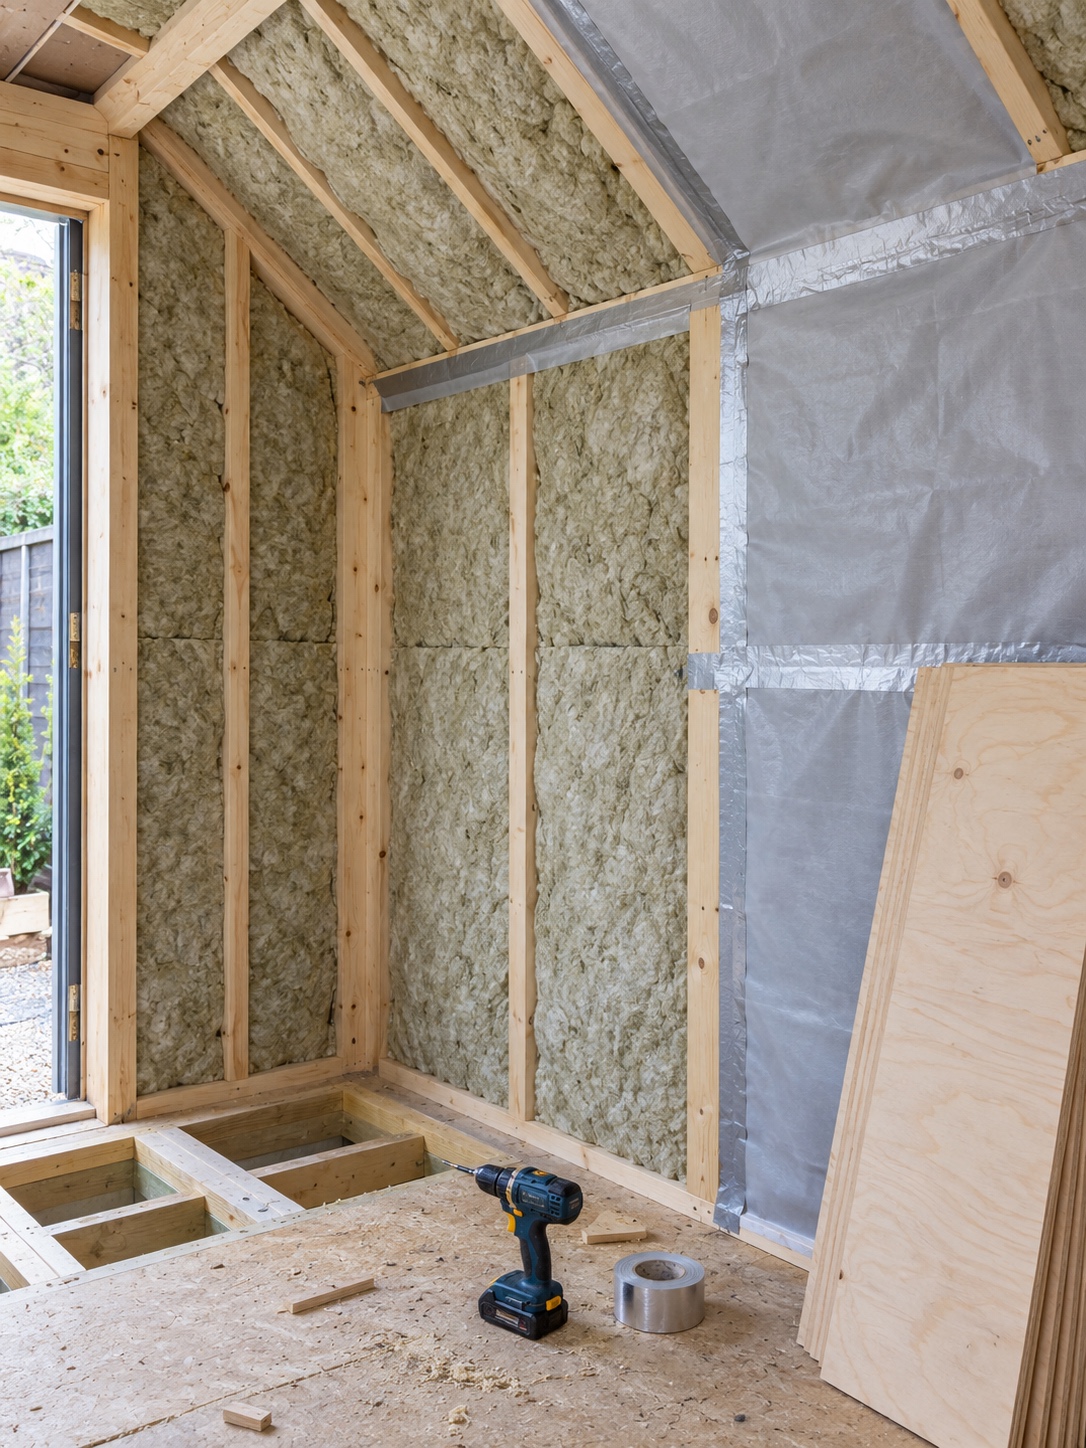
Base. A level base keeps the building square so doors and windows don’t rack. Gravel pads, concrete slabs and pier systems all appear on shed projects. Raising the structure keeps timber clear of standing water and splashback. The right choice depends on soil, drainage, frost and the shed’s design.
Moisture control. Moisture strategy depends on climate and wall assembly. No single vapour-barrier position works everywhere, and a wall in a cold, dry climate behaves differently from one in a hot, humid climate. Coordinate drainage, water control, air control, insulation and vapour strategy with a local professional. The EPA’s moisture control guidance for building design, construction and maintenance explains the principles clearly and will sharpen the questions you ask your builder.
Some principles hold broadly. Keep rain off the walls with overhangs and good detailing. Let the cladding dry after wet weather. Avoid gaps where warm indoor air can meet cold surfaces.
Insulation. Treat floor, wall and roof insulation as one connected layer. Gaps at corners, eaves and around openings create cold spots, condensation risk and higher energy use. In a building this small, a few uninsulated patches have an outsized effect.
Ventilation. One person, a computer and a heater in a sealed small room soon feel stuffy. Plan fresh air from the start, whether that’s a window you’ll actually open or a mechanical solution a professional recommends.
Interior lining. Lining protects the insulation and gives you a finished surface for shelves, cable plates and lights. Plywood, timber boards and plasterboard each change the room’s acoustics and feel.
Design daylight and electric light together
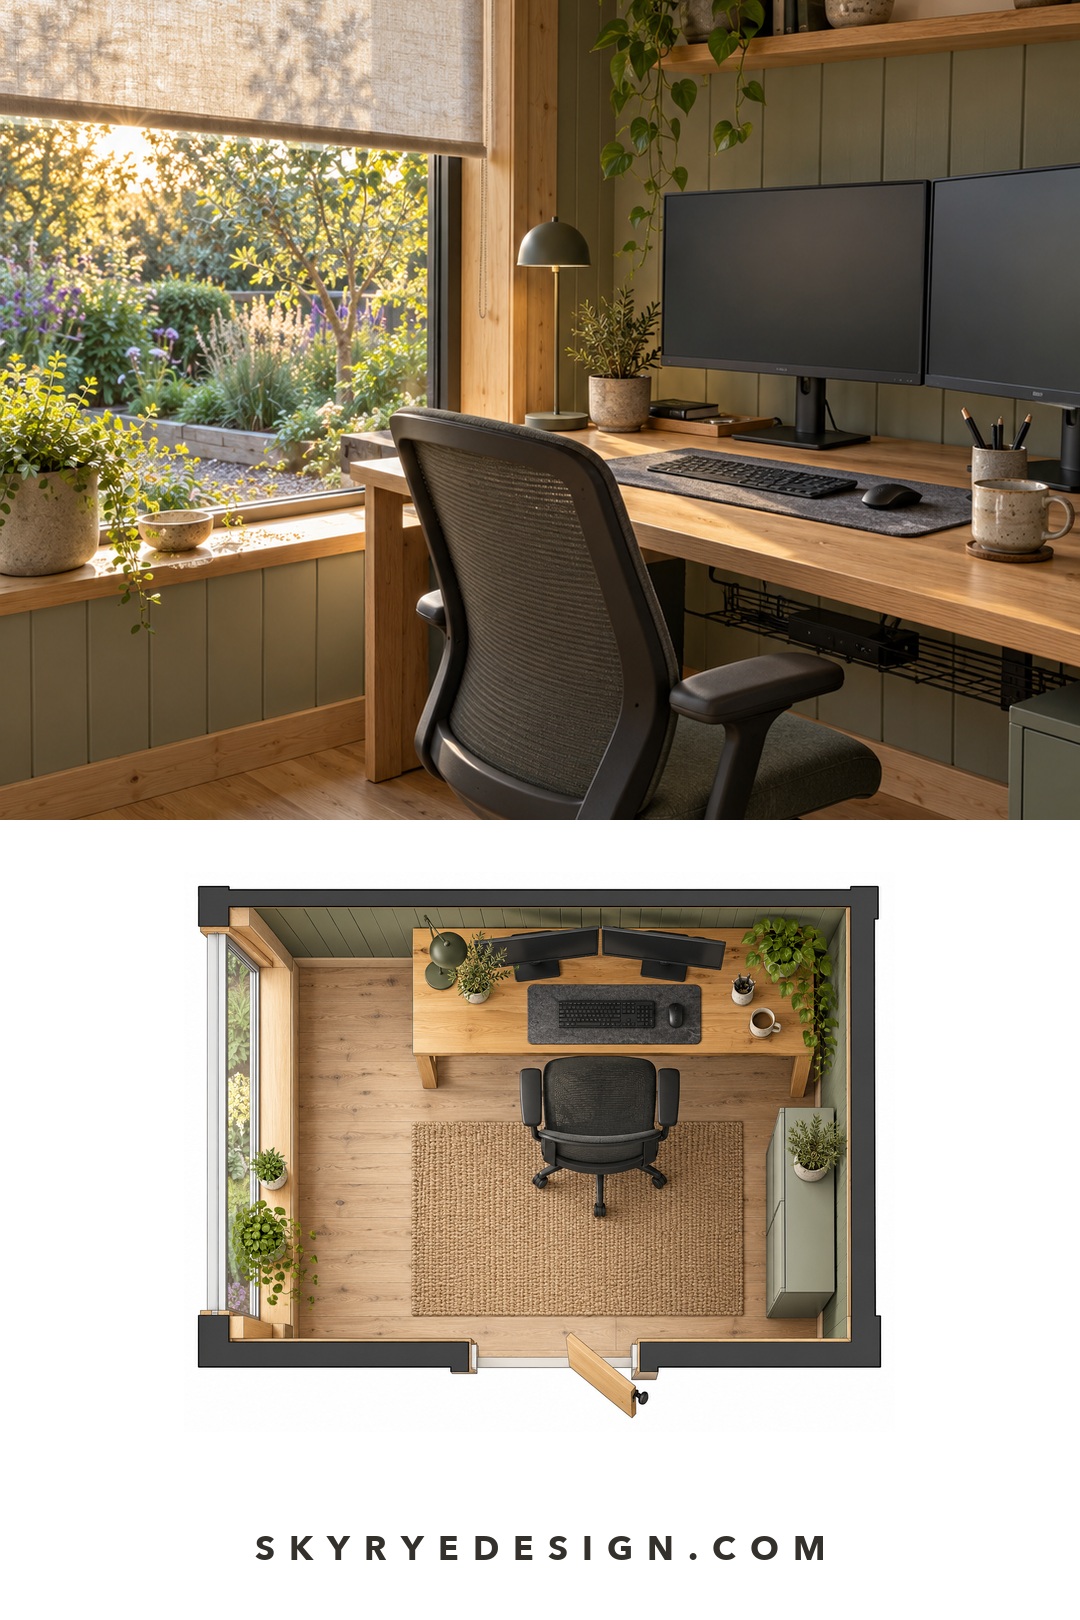
Daylight is the main reason a garden office feels better than a spare bedroom. The DOE’s overview of daylighting and how it works covers the basic idea: bring natural light deep into a space while managing heat and glare.
In a small shed, that translates into a few moves:
- Use diffused or north light for screen work where the site allows it.
- Shade east and west glass with overhangs, external screens, blinds or planting.
- Balance the room with a second, smaller window on another wall to reduce harsh contrast.
- Choose light, matte interior surfaces that bounce daylight around without throwing reflections onto screens.
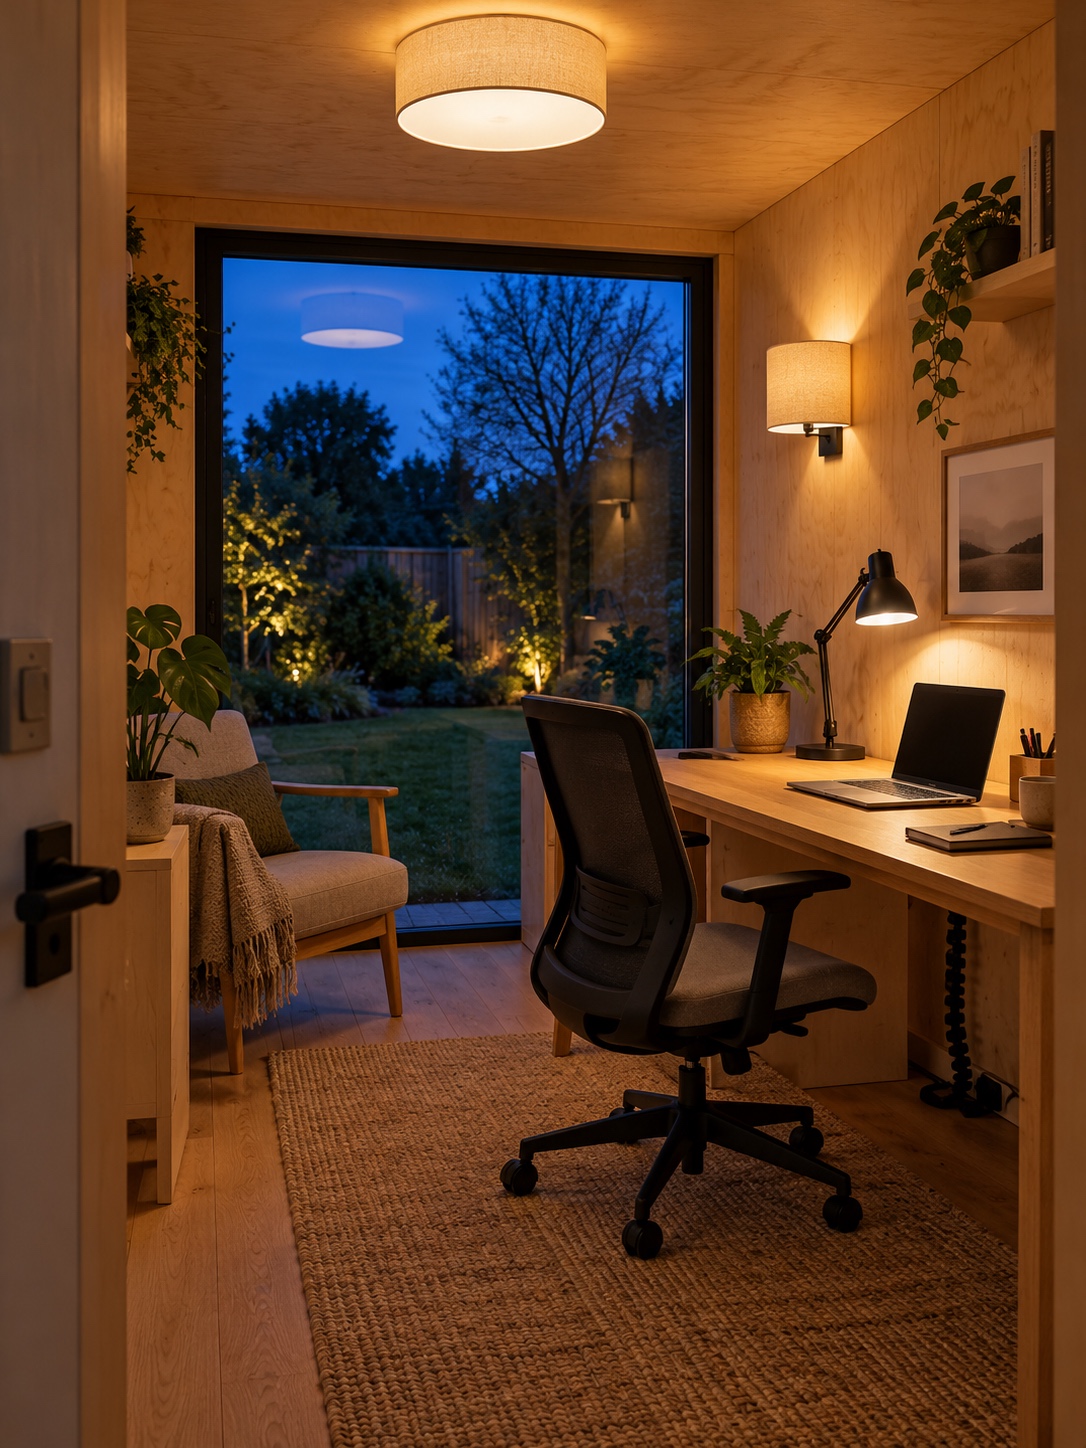
Electric light has to carry dark winter afternoons. Plan three layers: soft general light, a desk task light and a gentler light for calls so your face isn’t lit only by the monitor. Put switches and fixture positions on the drawing before the electrician arrives. For fixture types, colour temperature and layering, see this home office lighting plan.
Plan acoustics and call privacy before finishes
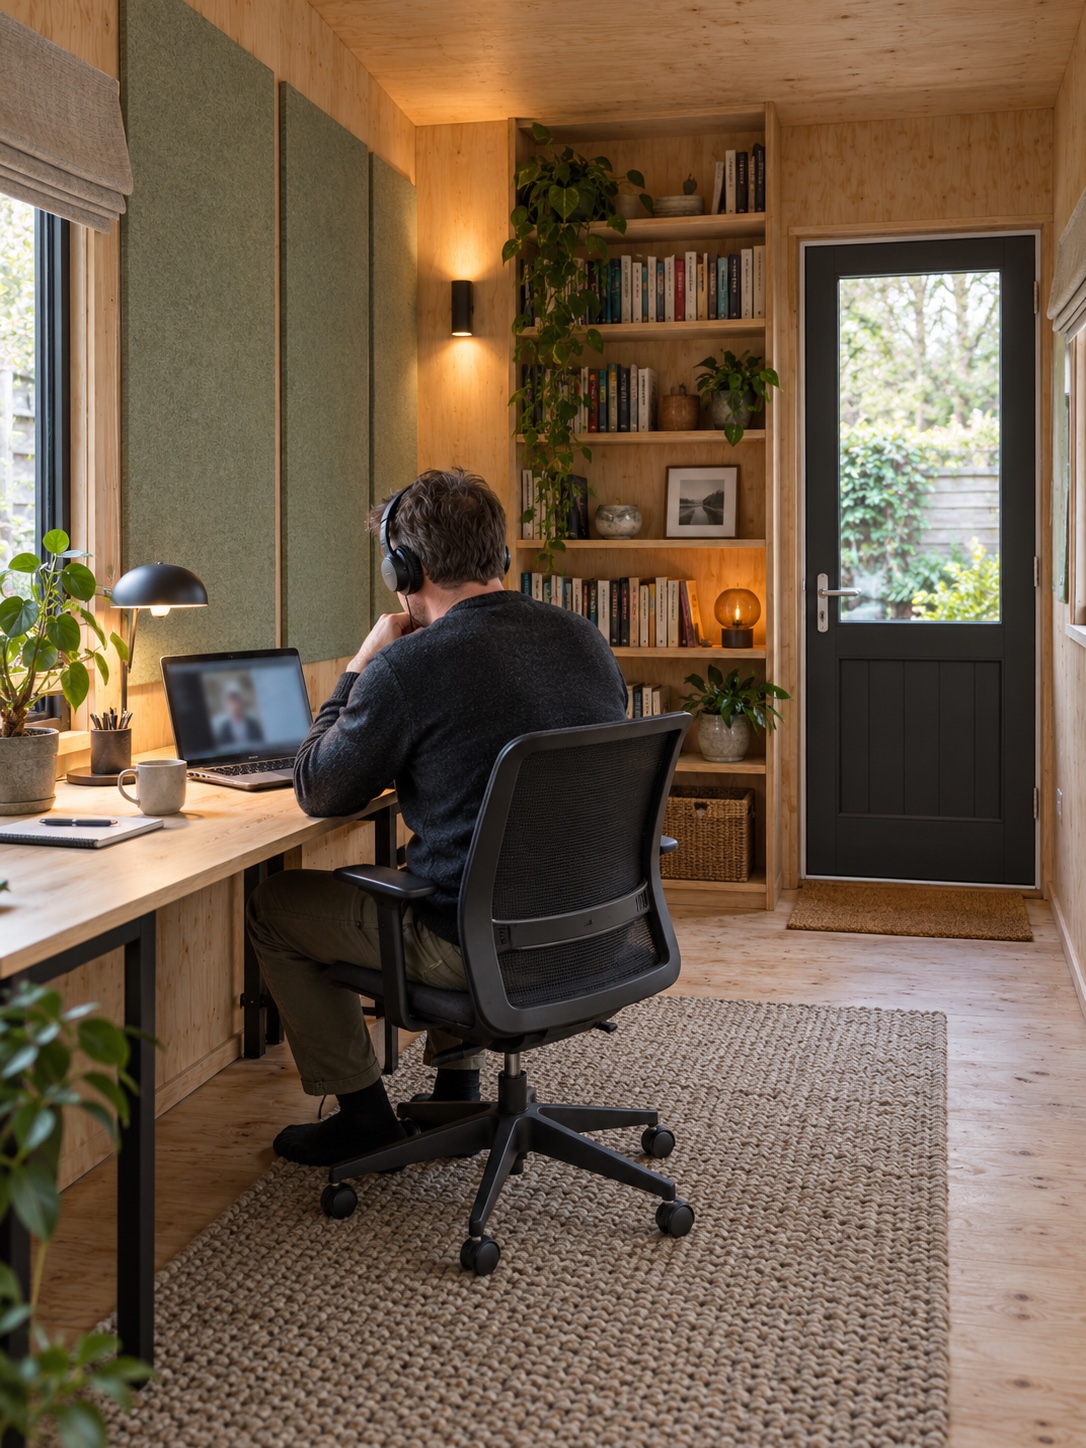
Two separate problems hide under “acoustics,” and they need different fixes.
Echo inside the room. Hard timber lining, a hard floor and glass make a small space ring. That hurts call quality and makes long days tiring. Soft surfaces absorb sound: a rug, acoustic panels, a cork pinboard, fabric blinds or a full bookcase. These finish-level fixes are easy to add later.
Sound coming in or going out. Lawnmowers, dogs, traffic and the household are an isolation problem. Rugs and panels do little against them. Isolation depends on mass, airtightness and the quality of doors and windows. Those are shell decisions, which is why acoustics belongs early in the plan.
Place the building away from the noisiest edge of the plot. Keep the main window off the street side. Choose well-sealed doors and windows, and seal gaps during construction. For deeper techniques borrowed from meeting rooms, read this guide to home office soundproofing.
Route power, Internet, heating, and cooling early
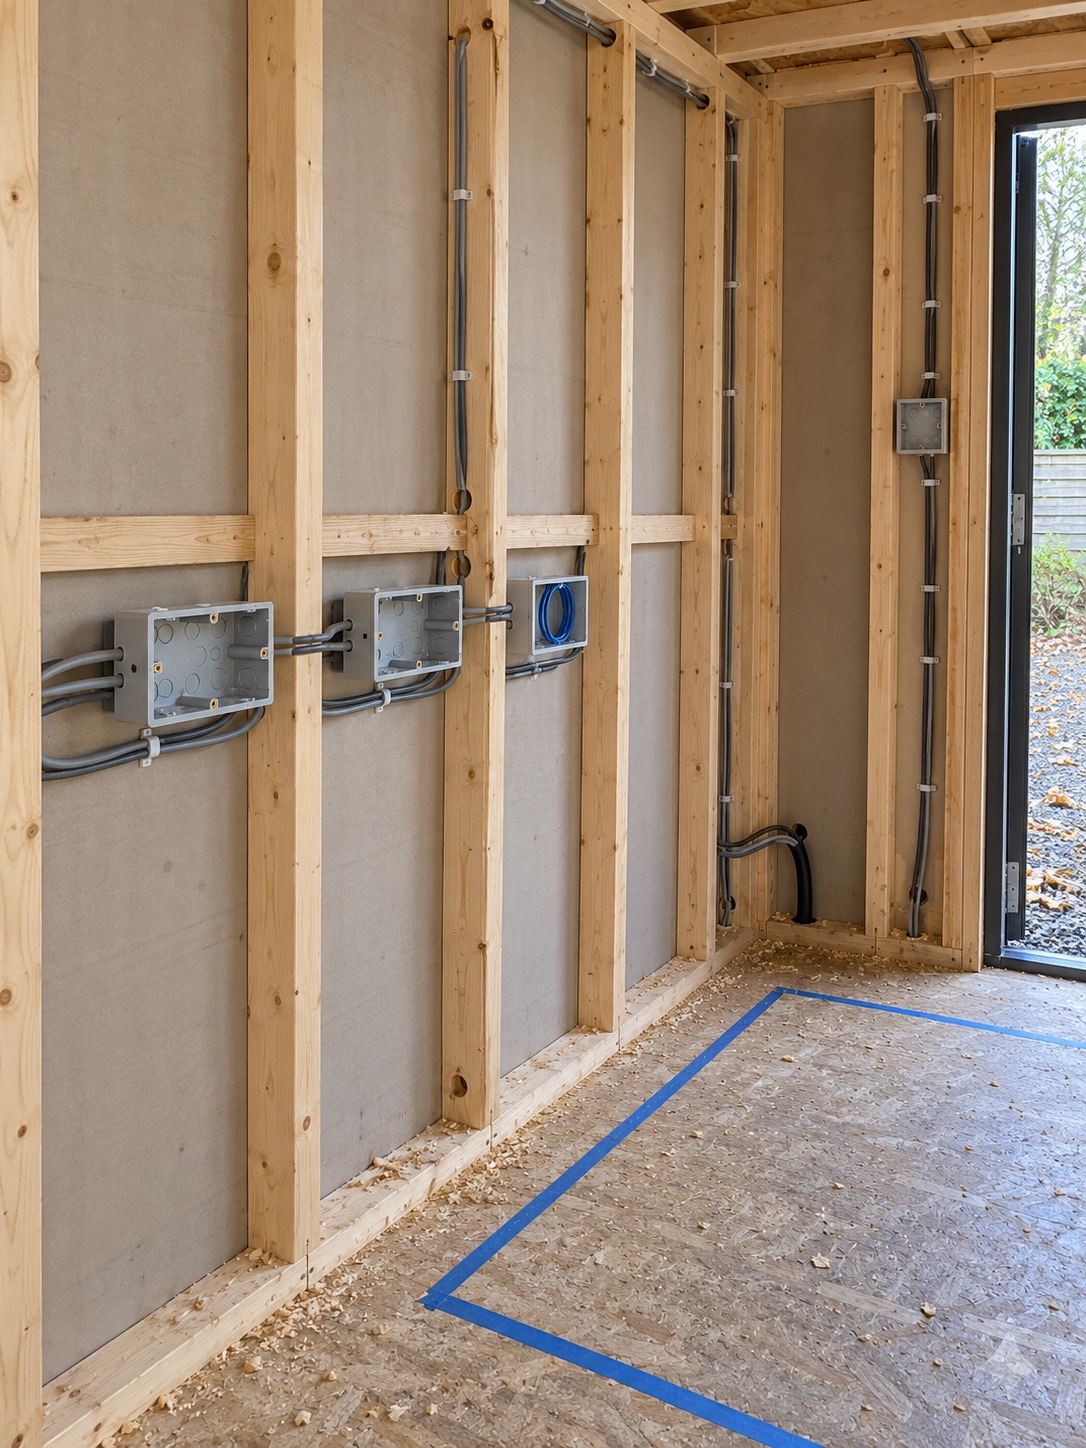
Services shape the plan. Outlet positions decide where the desk can go, and cable routes decide where you dig. Settle them before the lining goes up.
Power. Extension cords are for short-term use, not permanent office wiring. The CPSC’s guide to home wiring hazards is a sobering read on why. A qualified, licensed electrician should design the supply for the whole office: outlets, lighting, heating, cooling and device charging. Ask about ground-fault protection, how power reaches the outbuilding, and which permits and inspections your local code requires.
Internet. Video calls fail on weak Wi-Fi. If the router sits deep inside the house, a wired Ethernet run is usually the most stable option. If you’re already trenching for power, ask your electrician whether a data cable can follow a sensible route under local rules. Where a wired run isn’t practical, an outdoor-rated access point or mesh system may beat relying on the indoor signal.
Heating and cooling. The right system depends on climate, insulation and how many hours you’ll use the office. Ask a qualified HVAC professional rather than guessing. Position equipment so it doesn’t blow onto the desk or take your best wall.
To connect this infrastructure with devices, controls and daily routines, see this guide to smart home office design.
Use a restrained material and colour palette
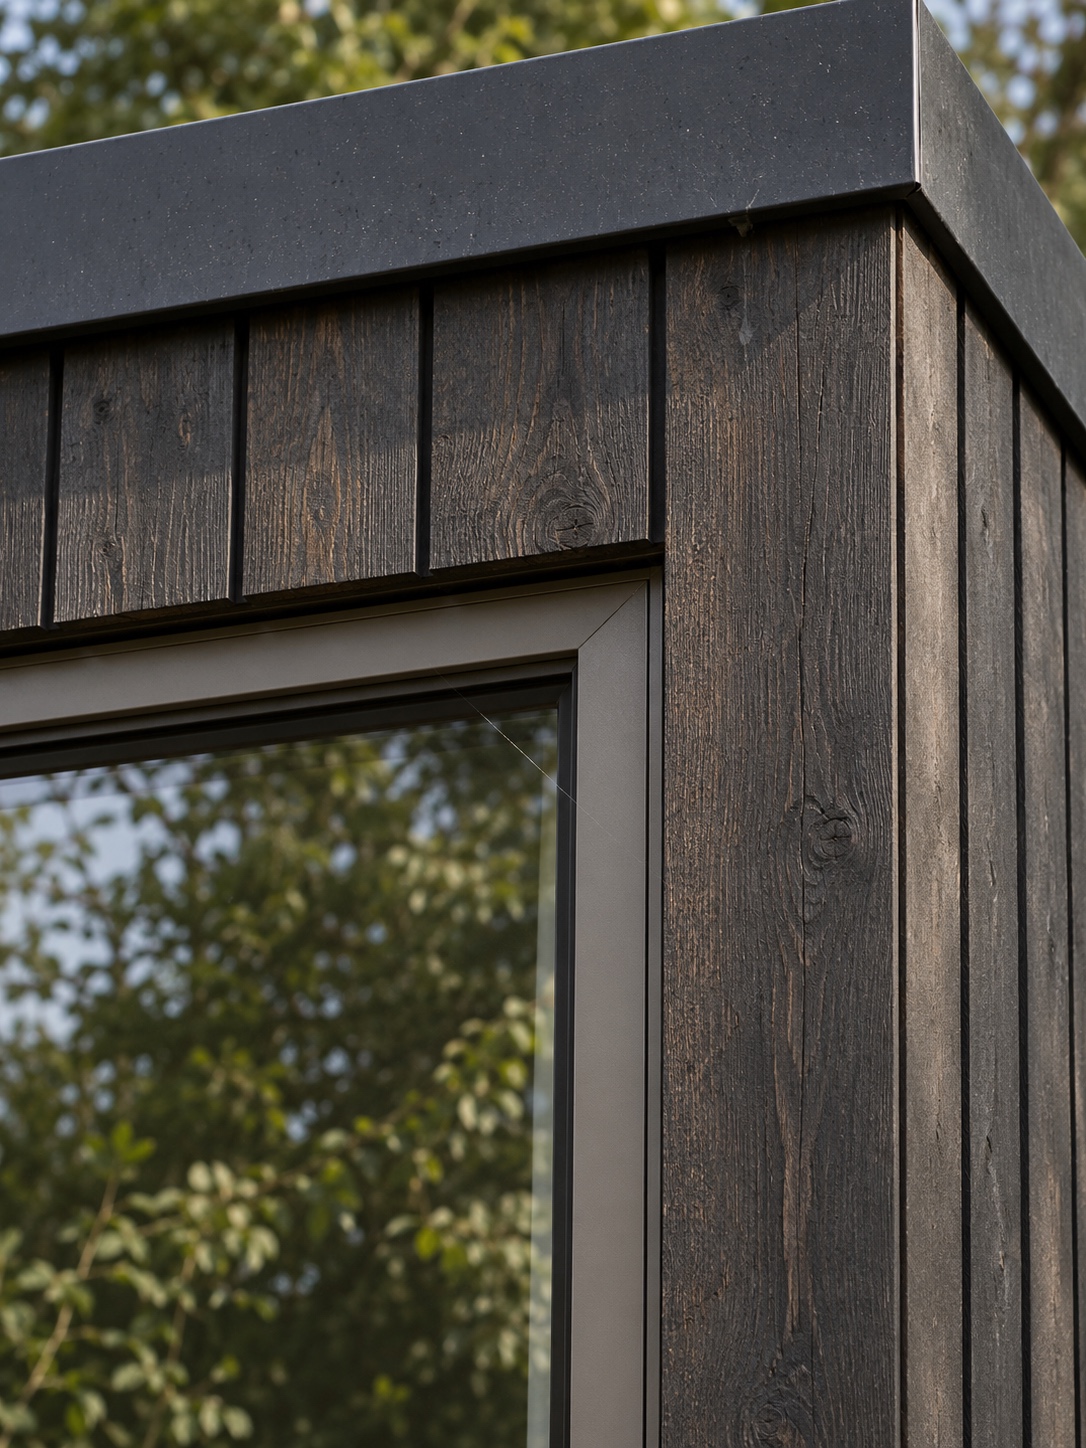
Small buildings look best with few materials. My working rule is three exterior materials at most: the cladding, the roof and one accent for window frames or trim.
Cladding rhythm. Board width and direction set the building’s scale. Vertical boards make a low shed look taller. Horizontal boards ground it and suit a long, low form. Narrow boards read as fine and crafted; wide boards read as calmer and more rustic. Keep one module throughout. Change direction only where it marks something meaningful, like the entrance.
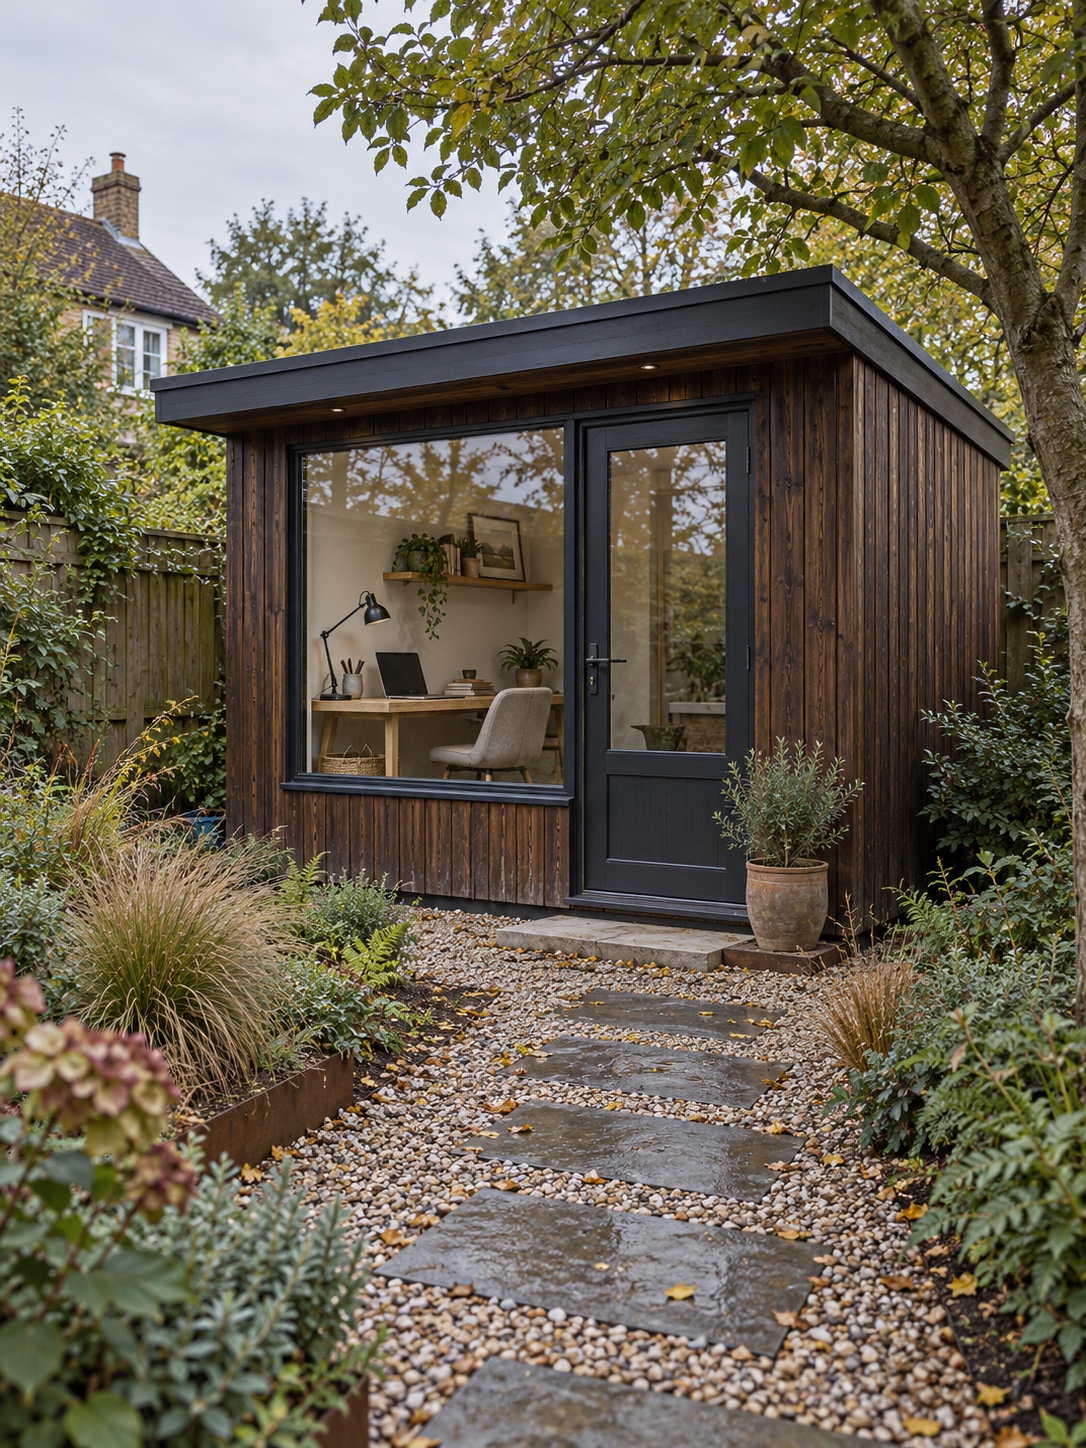
Colour. Dark stains in charcoal, deep brown or black-green let the building recede into planting. Natural or pale timber makes it a feature. Both work, so decide which role you want the office to play.
Inside. Keep surfaces quiet and matte. A light timber or painted lining, a warm floor and one accent colour are plenty. Busy interiors feel cramped faster in a small room, and they look noisy on camera too.
Choose exterior finishes with weathering in mind. Untreated timber greys over time, and some stains need periodic recoating. Ask about maintenance before you pick a colour.
Make the office belong to the garden
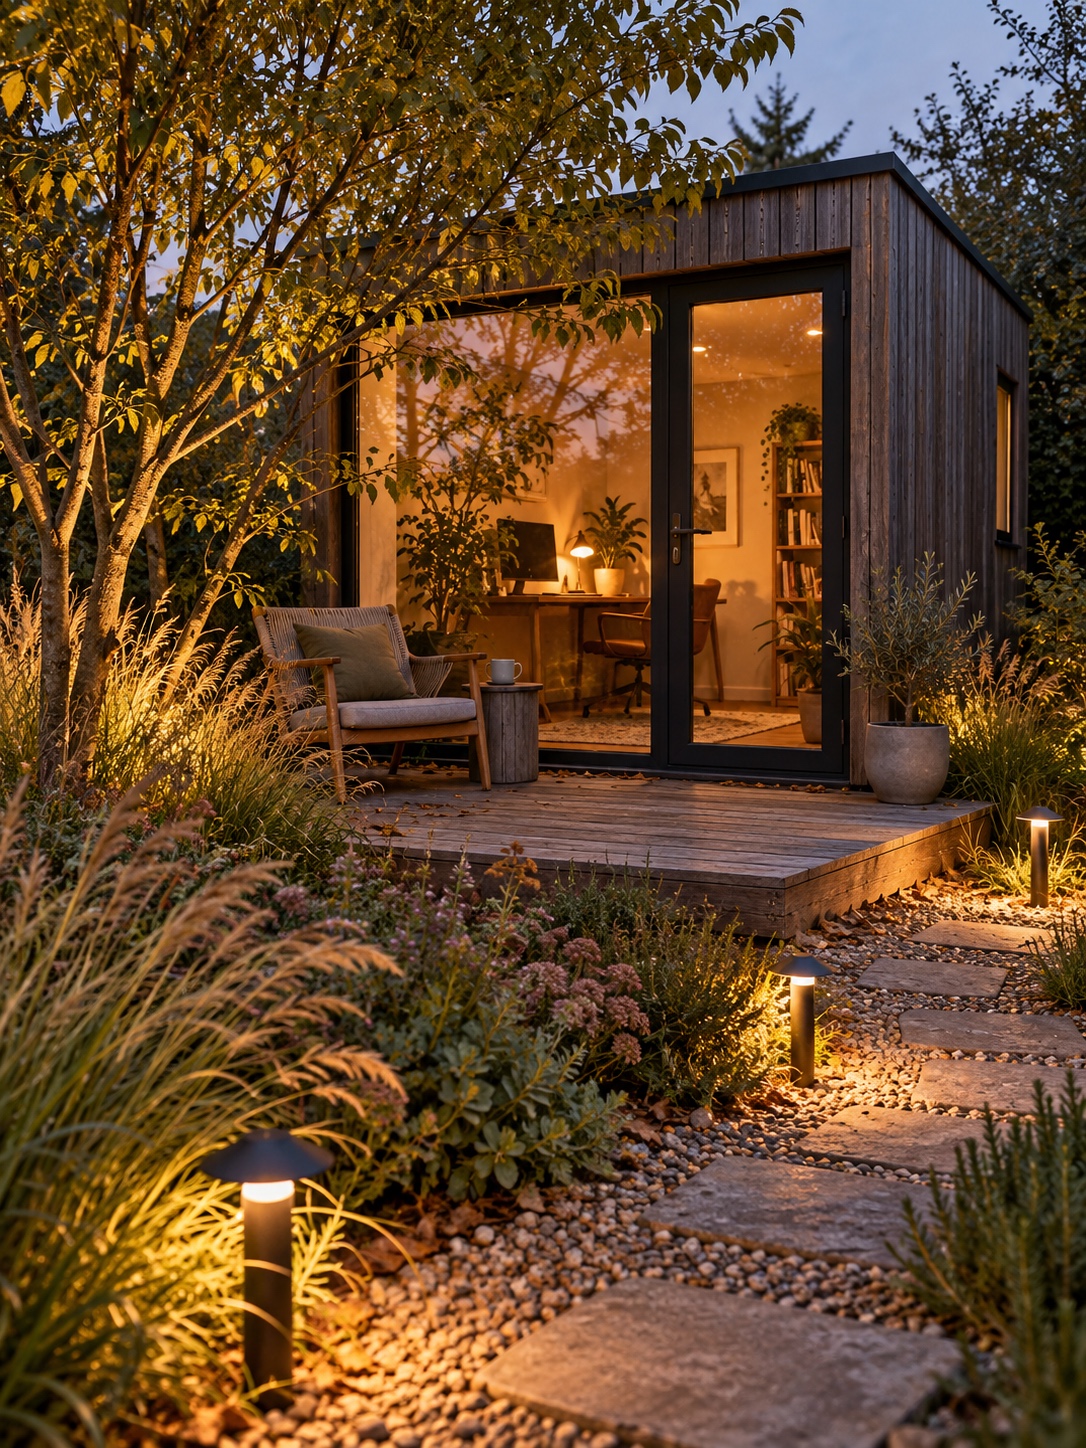
The best garden office ideas treat the building as a garden element, not an object dropped on the lawn.
For broader uses and visual directions beyond a dedicated workroom, compare these creative shed ideas for modern backyards before you lock the brief.
- Set up the approach. A path, stepping stones or a short gravel strip makes arrival intentional and keeps mud out.
- Frame the view with planting. Plant what you’ll see from the desk. A small tree or tall grasses in the window give the room seasonal change.
- Use deciduous planting for shade. A deciduous tree on the south or west side can block summer sun and let winter light through. Keep it far enough away that roots and leaf litter don’t cause problems.
- Soften the base. Low planting or a gravel margin hides the base and helps drainage. Keep soil and mulch clear of the timber.
- Add a threshold. A small deck or paved step outside the door gives you somewhere for a coffee break and ties the office to the garden.
Light the path, too. Low, shielded fittings get you to the door on winter evenings without floodlighting the whole garden.
Price the whole conversion, not only the shed
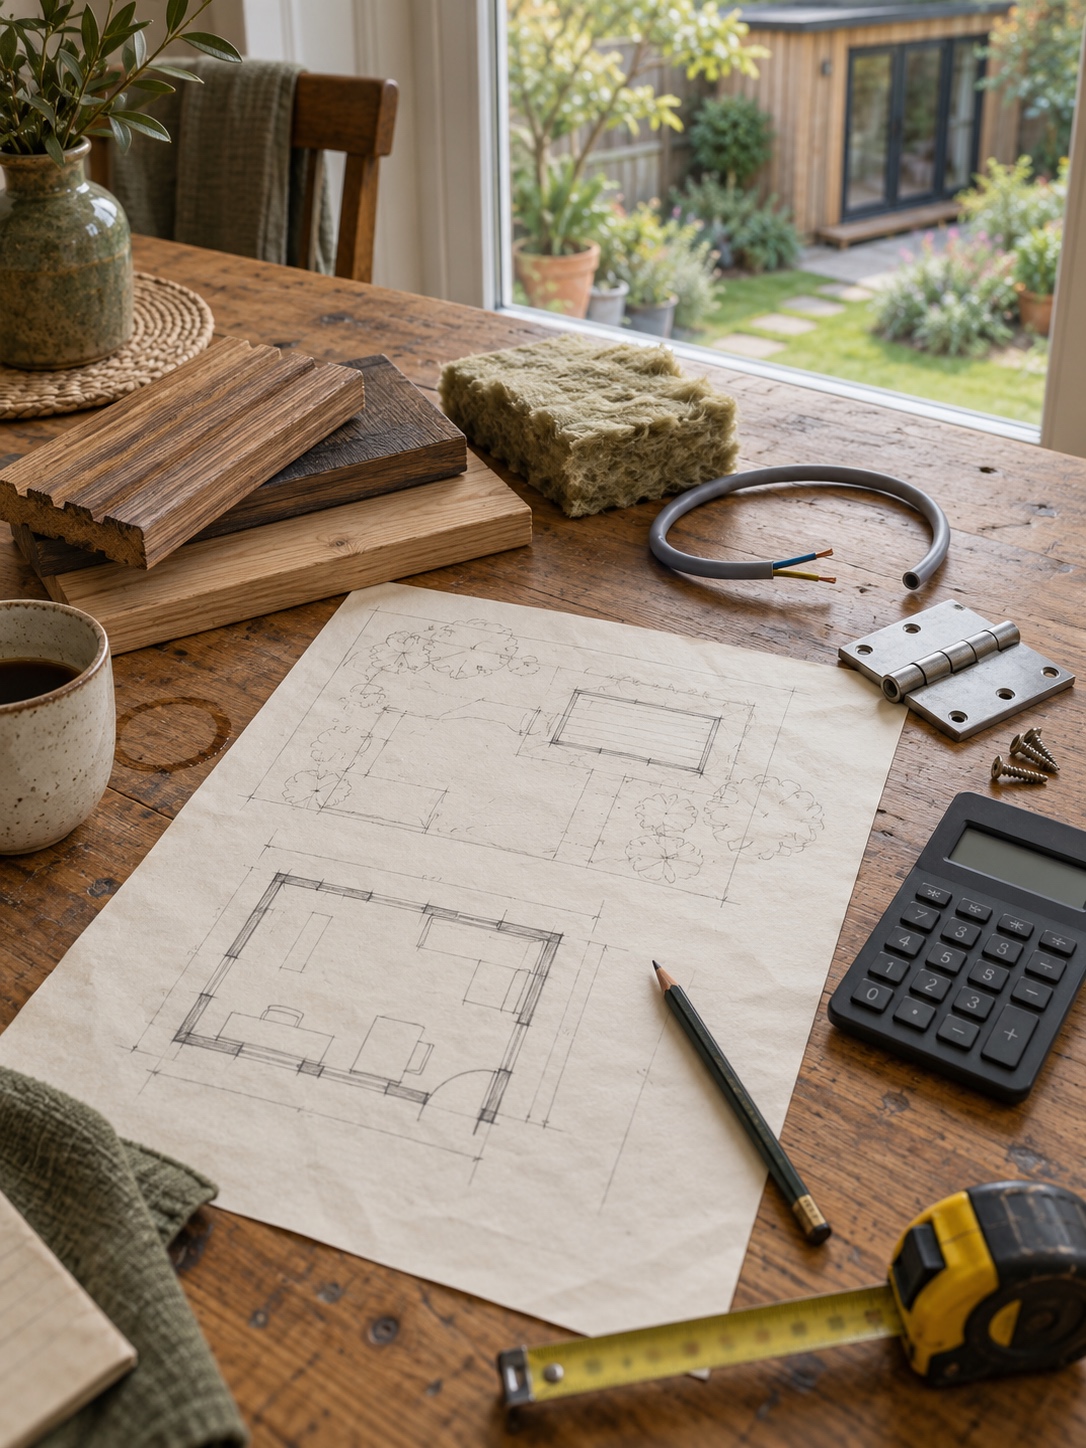
The most common budget mistake is comparing shed prices and treating everything else as extras. The shed is often only part of the real shed office conversion cost.
The ranges below are broad planning ranges in U.S. dollars, not quotes. They vary widely by location, labour market, site conditions, distance from the house and specification. UK and Canadian readers should treat them as proportions to check against local quotes.
| Category | Broad planning range (USD) | What moves the number |
|---|---|---|
| Timber shell | $2,000 to $15,000+ | Size, wall depth, roof pitch, cladding quality |
| Base and site prep | $500 to $5,000+ | Base type, slope, drainage, access |
| Insulation, membranes, lining | $1,500 to $8,000+ | Assembly, climate, finish material, labour |
| Window and door upgrades | $500 to $5,000+ | Glazing size, performance, custom openings |
| Electrical supply and fit-out | $1,000 to $6,000+ | Distance, trenching, circuit needs, local code |
| Internet connection | $100 to $1,500+ | Wired run vs. wireless, distance |
| Heating, cooling, ventilation | $300 to $5,000+ | Climate, system type, hours of use |
| Lighting, furniture, acoustics | $500 to $5,000+ | Built-ins vs. loose furniture, panel choices |
| Permits, design and inspection fees | Varies widely | Jurisdiction, project scope |
A smaller, well-built shell often beats a larger basic model that needs extensive work after delivery. Put every line next to the shed price before you choose a size.
A practical order of work from brief to move-in
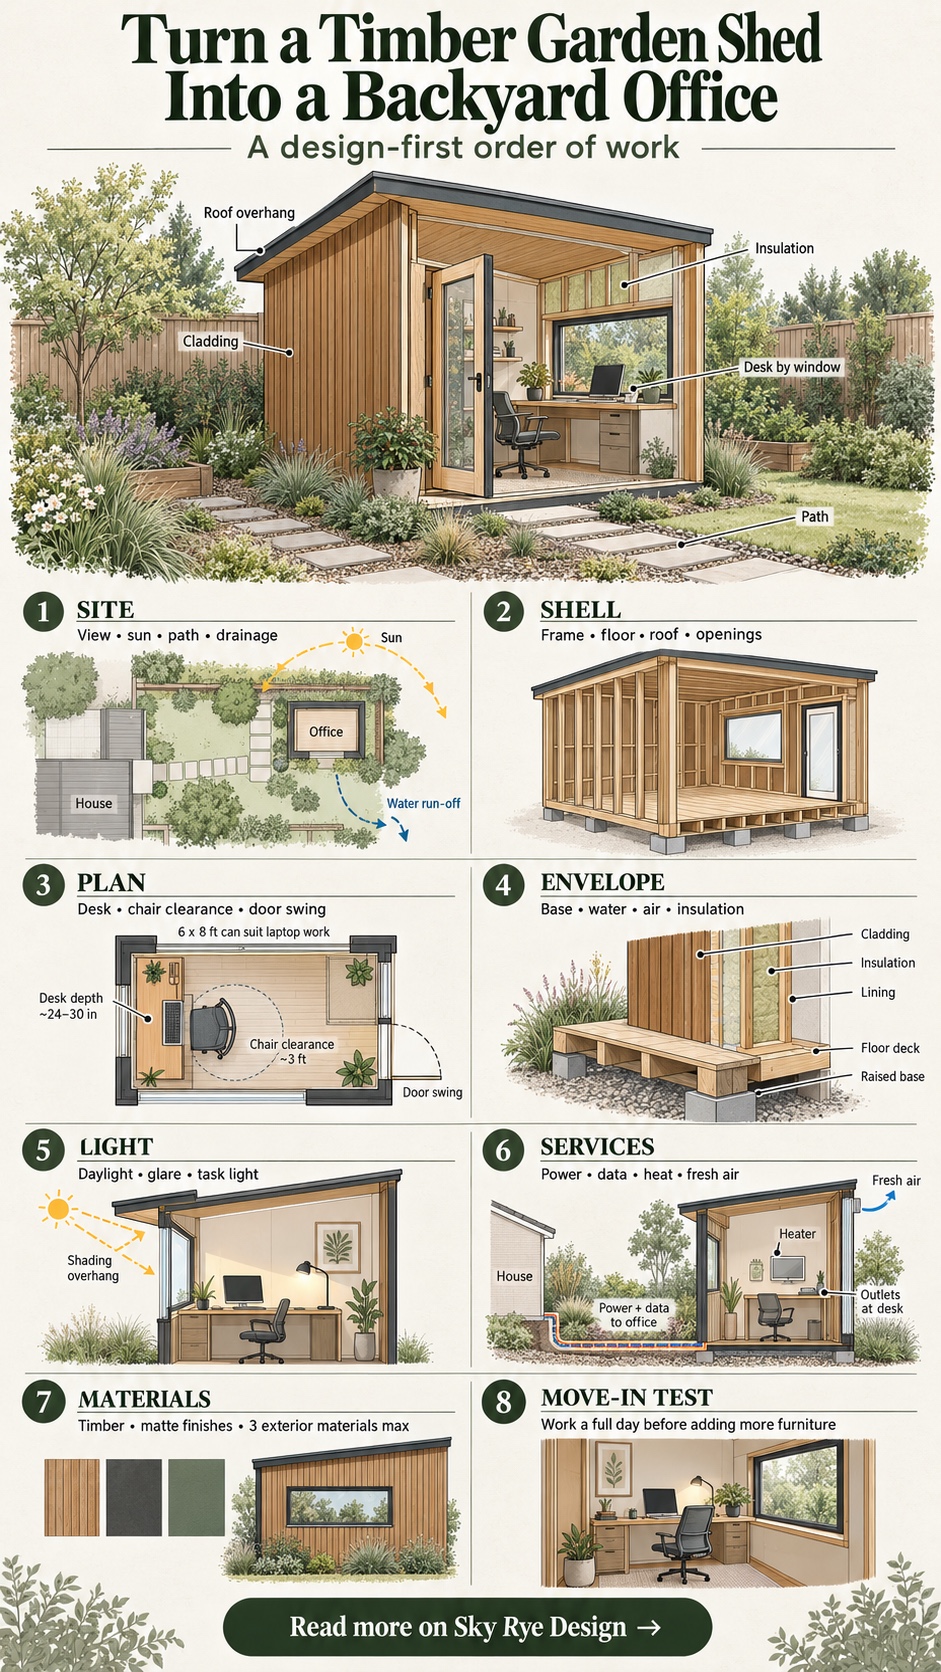
- Write a work brief. Hours of use, equipment, call frequency, heating and cooling needs, storage, and whether visitors come.
- Survey the site. Sun path, views, drainage, noise sources, delivery route and buried utilities.
- Confirm local rules for the structure, its use and the electrical work.
- Sketch the plan. Desk, chair clearance, door swing, storage and windows at real internal dimensions.
- Choose the shell. Confirm wall depth, floor structure, roof pitch, opening options and delivery logistics.
- Bring in professionals. An electrician, plus a builder or HVAC specialist where needed, for base, moisture strategy and services.
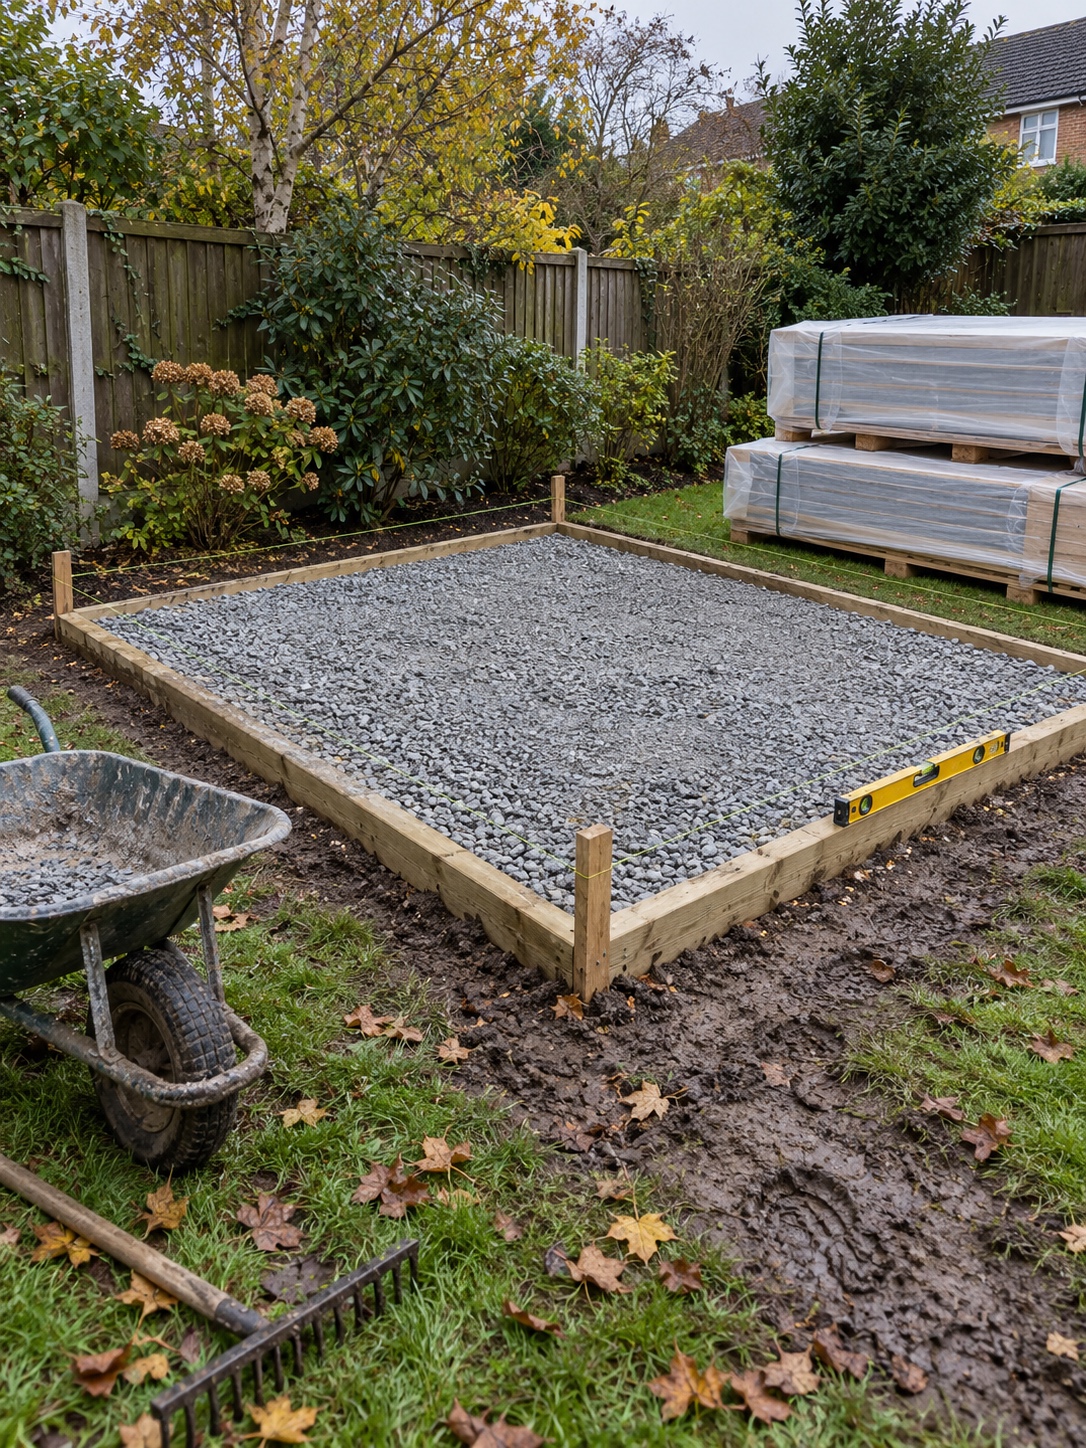
- Prepare the base and drainage.
- Install the shell. Check it’s level and square, and that doors and windows operate freely.
- Run first-fix services. Power, data and any HVAC routes go in before insulation and lining.
- Insulate, detail for moisture and line the interior using the strategy agreed for your climate.
- Complete electrical work and any required inspections.
- Fit lighting, heating and cooling, and acoustic finishes.
- Furnish and test. Make a video call, work a full day and check glare at different times before buying more furniture.
- Finish the garden edges. Path, threshold, planting and outdoor lighting.
FAQ
Do I need a permit to turn a shed into an office?
It depends entirely on where you live. Some areas exempt small outbuildings below a certain size or height, but adding electricity or turning a shed into a workspace can change that. Setbacks and HOA rules may still apply when no building permit is needed. Your local building department is the place to ask.
Can I power a garden office with an extension cord?
Not as a permanent solution. Extension cords are meant for short-term use. A shed office needs a permanent supply designed and installed by a qualified, licensed electrician.
What size shed do I need for a home office?
A 6-by-8-foot shed can work for laptop-only work. Two monitors, storage, a printer or a guest chair push you toward a larger footprint. Plan from the finished interior size, after insulation and lining.
Can I insulate an existing shed I already own?
Often, yes, if the framing is sound, the walls are deep enough and the base is level and dry. Have the structure and any existing damp assessed first, then follow an insulation and moisture approach suited to your climate.
How do I get reliable Internet in a backyard office?
A wired Ethernet connection from the house router is usually the most stable option for video calls. If that isn’t practical, try an outdoor-rated access point or mesh system. Test call quality before you finish the interior.
How much does a shed office conversion cost?
It depends on the shell, base, envelope, electrical work, heating and cooling, furniture and local labour. Start with the budget table above, then gather local quotes category by category. The shed price alone usually understates the project.
The design test before you buy
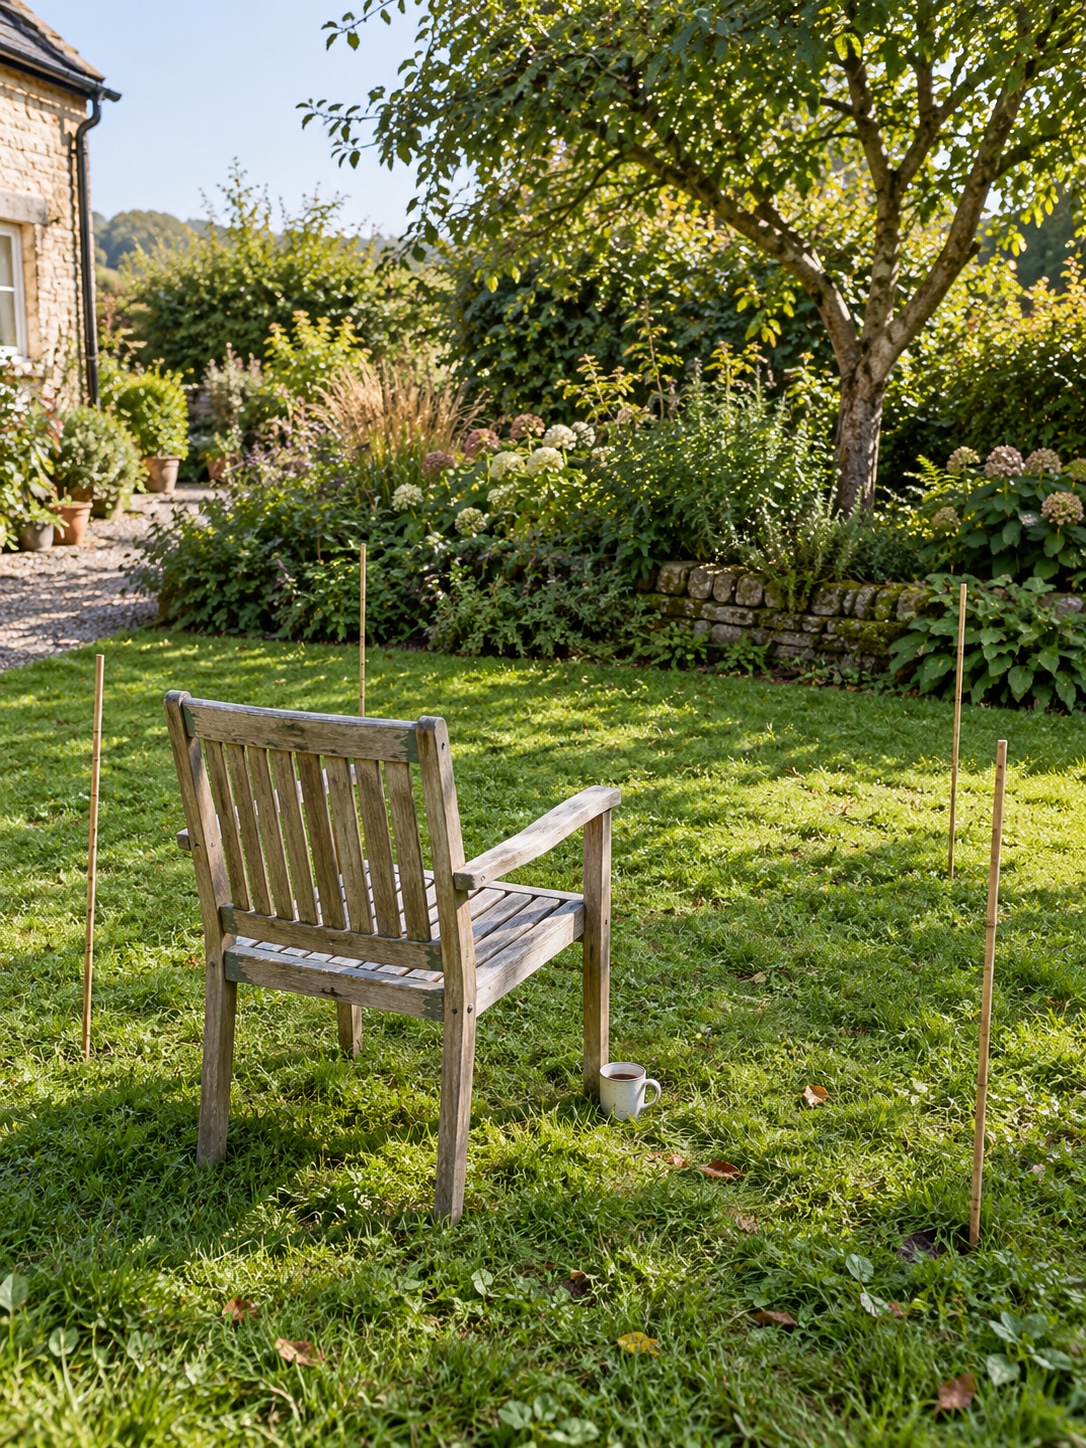
Before you pay a deposit, run one simple test. Take a chair to the spot where the desk would be, at the time of day you work most. Sit for twenty minutes.
Notice where the sun falls. Listen. Look at what’s in front of you, and feel how far the walk back to the house is. Then picture the window, the desk and the door around that chair.
If the spot works, choose a shell that supports it. If it doesn’t, move the chair before you move any money.
- 0shares
- Facebook0
- Pinterest0
- Twitter0
- Reddit0