A commercial roof maintenance plan protects a large property by turning the roof into a managed building system. It defines where people walk, which details get checked, how findings are recorded, and which conditions trigger repair, restoration, or replacement. Defects get caught while they are small, so leaks, disrupted operations, and emergency spending become less likely.
The stakes are high because a large roof shelters inventory, equipment, tenants, and daily business. Most leaks start at details someone could have seen: a blocked drain, a split seam, loose flashing, or a puncture left by another trade.
- What a commercial roof maintenance plan actually controls
- Map the roof before scheduling maintenance
- Design inspection routes that protect the membrane
- Build a practical commercial roof inspection checklist
- Match maintenance actions to the roof assembly
- Use color, materials, and visible details without compromising performance
- Turn inspection records into a roof asset management file
- Plan work around tenants, deliveries, and business continuity
- Decide when repair, restoration, or replacement is the right move
- A 90-day rollout plan for large properties
- FAQ: Commercial roof maintenance plans
- The practical takeaway
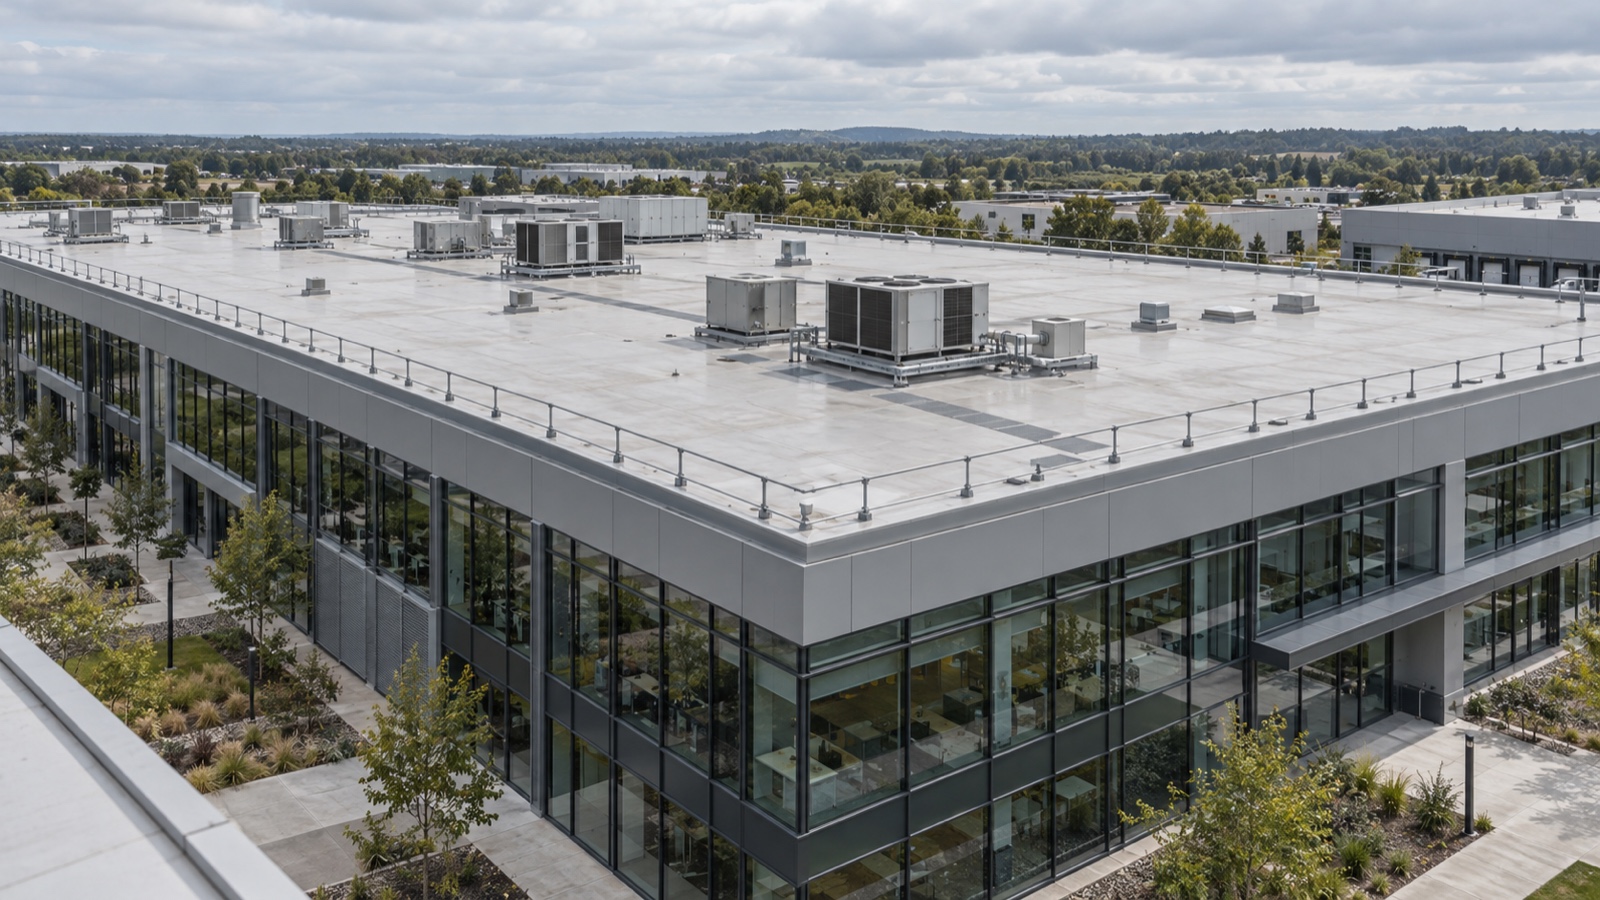
This article covers the operational side of roof design: mapping, access, inspection, records, and capital planning.
What a commercial roof maintenance plan actually controls
The plan is a written program for inspecting, protecting, documenting, and budgeting work on a roof over its service life. It is not a single inspection report or a contractor’s service agreement, though it may include both. A useful plan controls five things:
- Condition knowledge. What the roof is made of, where it is vulnerable, and how it has changed.
- Access. Who goes onto the roof, by which route, and under what safety arrangements.
- Drainage. Whether water leaves the roof as the design intended.
- Change. New penetrations, equipment swaps, and repairs by anyone, each recorded and checked.
- Money. When to fund small repairs and when to reserve for larger work.
Architects often call the roof the building’s fifth facade. Walls get facade surveys and mechanical systems get service logs. The roof deserves the same discipline, because it is usually the most exposed part of the envelope and the least visible to the people responsible for it.
Map the roof before scheduling maintenance

Before anyone sets an inspection calendar, the roof needs a map. A roof plan is a scaled drawing or marked-up aerial image showing the roof’s layout, slopes, drains, edges, equipment, penetrations, access points, and known problem areas. It may start from the construction drawings, but it must show what is on the roof today.
Most buildings change after handover: tenants add exhaust fans, telecom providers add antennas, and new units replace old curbs.
The baseline survey is normally done by a qualified roofing professional who knows the specific assembly. Property managers comparing Walsh Florida Commercial Roofing Services should look for documented inspections, real knowledge of the installed materials, and a scheduling approach that protects tenants and daily operations. Ask how findings will be recorded and whether your team can keep using that format.
The original commercial roofing design decisions, such as system, slope, insulation, and drainage strategy, set the limits of what maintenance can achieve. A good plan works within them and flags where they no longer fit how the building is used.
Divide the roof into service zones
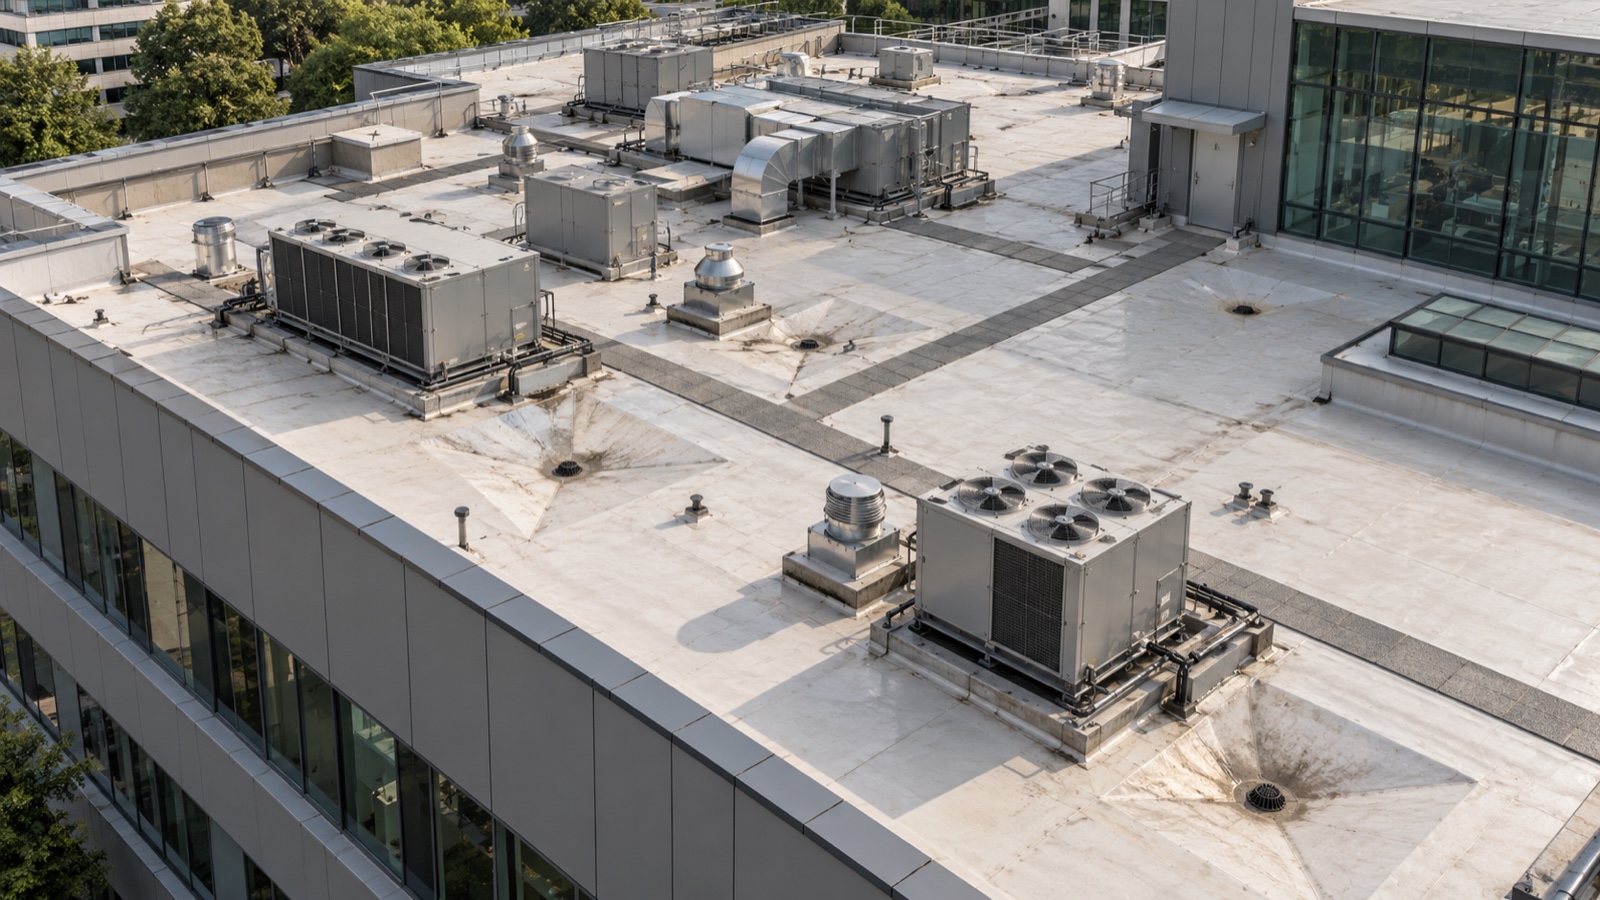
Service zones are defined areas of the roof that share a function, risk level, or maintenance routine. They make inspections repeatable and records comparable between visits. Typical zones include:
- Open field areas with little traffic and few penetrations.
- Equipment zones around HVAC units, fans, and electrical gear, where trades work often.
- Drainage zones around each drain or scupper and the area feeding it.
- Perimeter zones along edges, parapets, and copings, where wind exposure and fall risk are higher.
- Transition zones where the roof meets walls, other roof levels, skylights, or different materials.
Label each zone on the roof plan and use the same labels in reports, work orders, and photographs. A photo labeled “Zone E2, drain 4, northwest corner” is useful years later. “Roof pic 17” is not.
Mark drains, penetrations, edges, and access routes
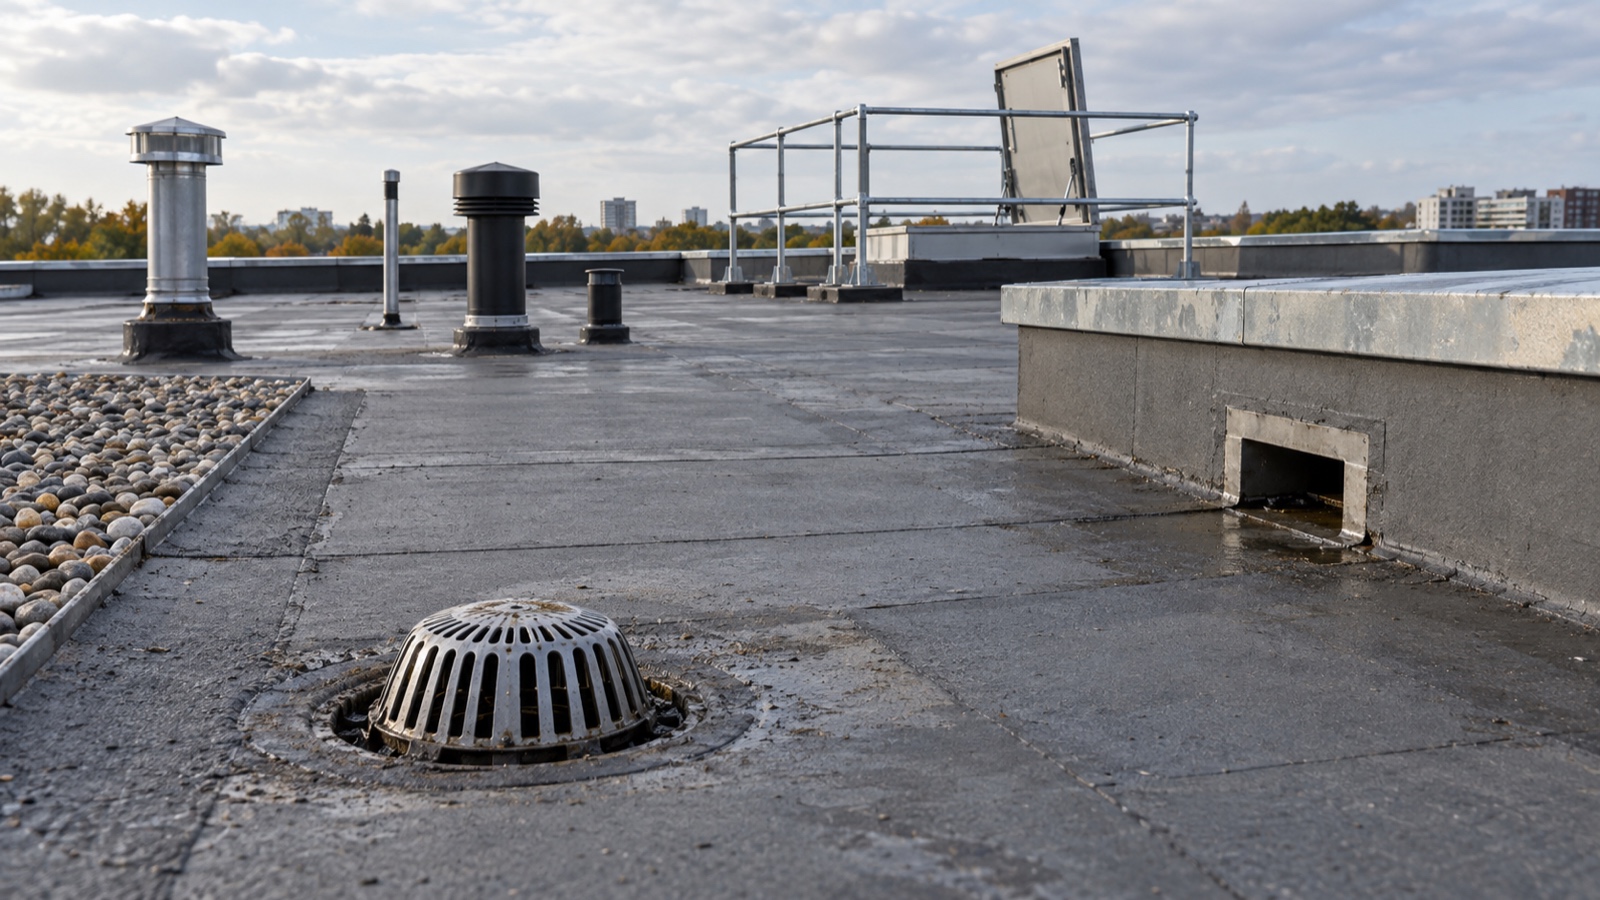
At minimum, the roof plan should show:
- Every primary drain, overflow drain, scupper, gutter, and downspout.
- Every penetration: pipes, vents, conduits, curbs, supports, and pitch pockets.
- Edges, parapets, expansion joints, and changes in level.
- Hatches, doors, ladders, walkways, and installed fall-protection equipment.
- Controlled access routes, meaning the defined paths people are expected to follow from an access point to each work area.
The marked-up plan exposes gaps: a drain with no overflow, a penetration nobody can account for, or an equipment cluster reachable only across open membrane.
Design inspection routes that protect the membrane
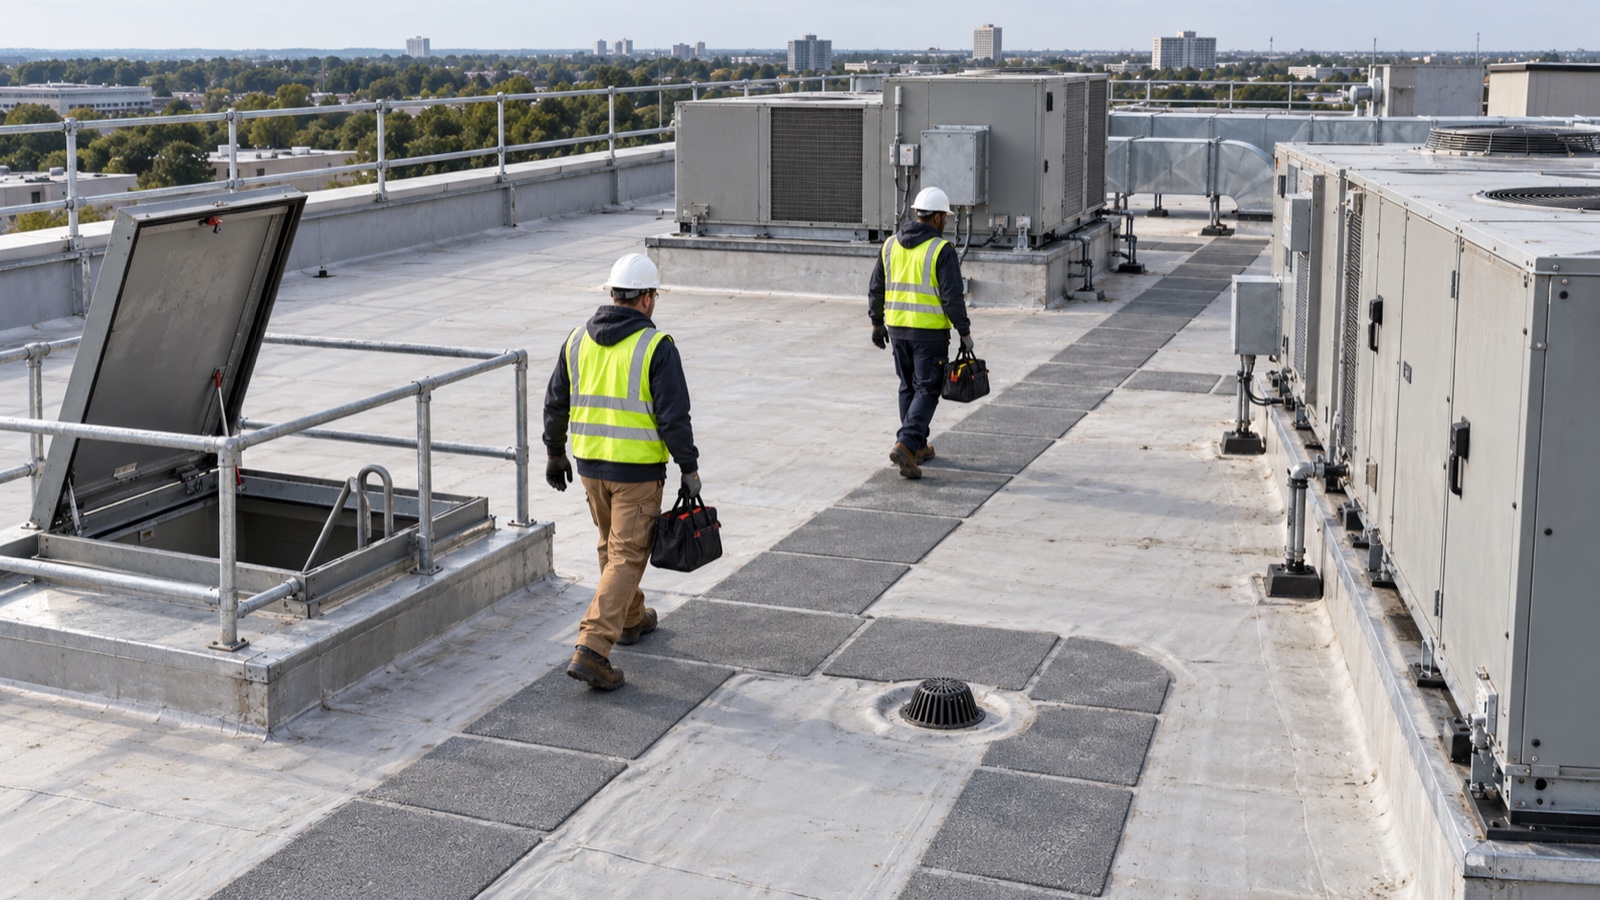
Foot traffic is a frequent source of avoidable roof damage. Dropped tools, dragged equipment, and repeated walking over the same patch can puncture the membrane and compress the insulation below. Traffic should be designed, not tolerated.
Lay each controlled access route along the shortest practical path from access point to service zone, avoiding drains, seams, and sensitive transitions where possible. On many roofs, these routes are reinforced with walkway pads or other protection approved for the membrane. Roof walkway systems also show visiting trades exactly where to go.
When laying out routes, check:
- Drainage. Pads and supports should not dam water or block flow toward drains.
- Equipment access. Routes should reach service panels and filter doors, not just the general area of a unit.
- Material handling. Plan how parts and tools are carried or lifted. Rolling carts and dragged ladders do damage that walking does not.
Route layout is also a visual decision. A consistent, clearly bounded walkway reads as intentional from upper floors and neighboring buildings. Worn desire lines across the membrane read as neglect.
Safety planning is a separate responsibility. In the United States, OSHA’s construction fall-protection rules are in 29 CFR 1926 Subpart M, and OSHA expects employers to evaluate fall hazards and plan appropriate controls. Employers and qualified safety professionals decide the right controls for each roof and task. Owners in the UK and Canada should follow their national and provincial or territorial rules. The maintenance plan records those arrangements; it does not invent them.
Build a practical commercial roof inspection checklist

The checklist turns the roof plan into a routine, telling inspectors what to examine and record in each zone.
Manufacturer guidance is a sound starting point. GAF’s commercial maintenance guidance, for example, recommends routine inspections, keeping drains and scuppers clear, reviewing flashings and rooftop equipment, controlling traffic, and maintaining roof records. Guidance like this is system-specific, so build the checklist around the system actually installed.
Set the inspection interval with your roofing professional, and add checks after major storms or significant work by other trades.
| Area | What to check | What to record |
|---|---|---|
| Drains and scuppers | Debris, strainers in place, standing water nearby, signs of slow drainage | Zone and drain ID, photo, cleared or not, follow-up needed |
| Field membrane | Punctures, blisters, splits, surface wear, debris | Location on roof plan, size, photo, suspected cause |
| Seams and laps | Open, lifted, or wrinkled seams | Zone, length affected, photo |
| Flashings and transitions | Loose, cracked, or pulled-away flashing at walls, curbs, and edges | Zone, detail type, photo |
| Penetrations | Damaged seals, missing collars, new unrecorded penetrations | Penetration ID, installer if known, photo |
| Edges and copings | Loose metal, failed fasteners, gaps at joints | Zone, length, photo |
| Rooftop equipment | Leaks from units, condensate discharging onto the roof, damaged supports | Unit ID, trade responsible, photo |
| Access routes | Worn walkway protection, debris, damage near hatches and ladders | Route segment, photo |
| Interior signs | Ceiling stains, damp insulation, active drips below the roof | Interior location mapped to roof zone |
A professional rooftop inspection report should feed into this checklist, which stays the owner’s internal record.
Drainage and ponding-risk points
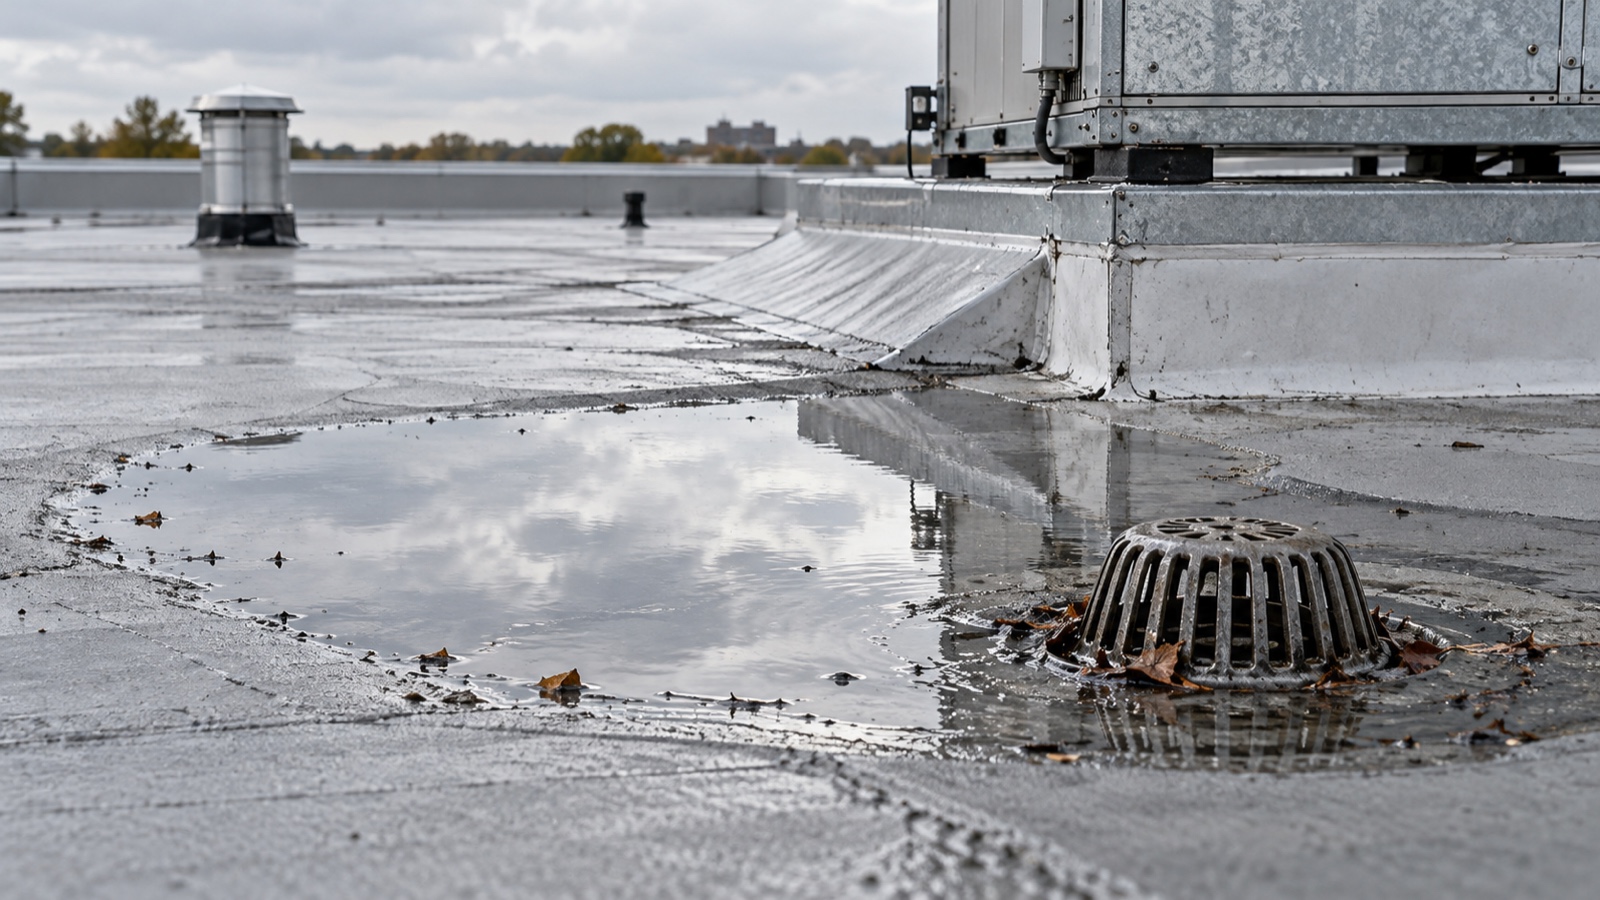
Water that stays on a roof adds load, finds small defects, and can speed the deterioration of some materials. Check each drain and scupper, the area around it, and the path water takes to reach it.
Note where water collects after rain and compare with earlier visits. Recurring ponding in one spot may point to deck deflection, compressed insulation, or a drainage layout that no longer suits the roof. Flat-roof drainage details such as crickets, tapered insulation, and overflow provisions often explain why a clean roofline works or fails.
Seams, flashings, transitions, and penetrations

Most leaks begin where something changes: where sheets meet, where the roof turns up a wall, or where a pipe or curb breaks through. Penetrations added after installation need particular attention, because they are often sealed by trades who are not roofers. Record each one on the roof plan, with installer and date where known.
Rooftop equipment and work by other trades

Rooftop equipment brings regular traffic, heavy service work, and the risk of oil, refrigerant, or condensate reaching the membrane. Set one rule: anyone on the roof checks in, follows the access routes, and reports new penetrations or damage. After significant equipment work, have a roofer inspect the affected zone.
Match maintenance actions to the roof assembly
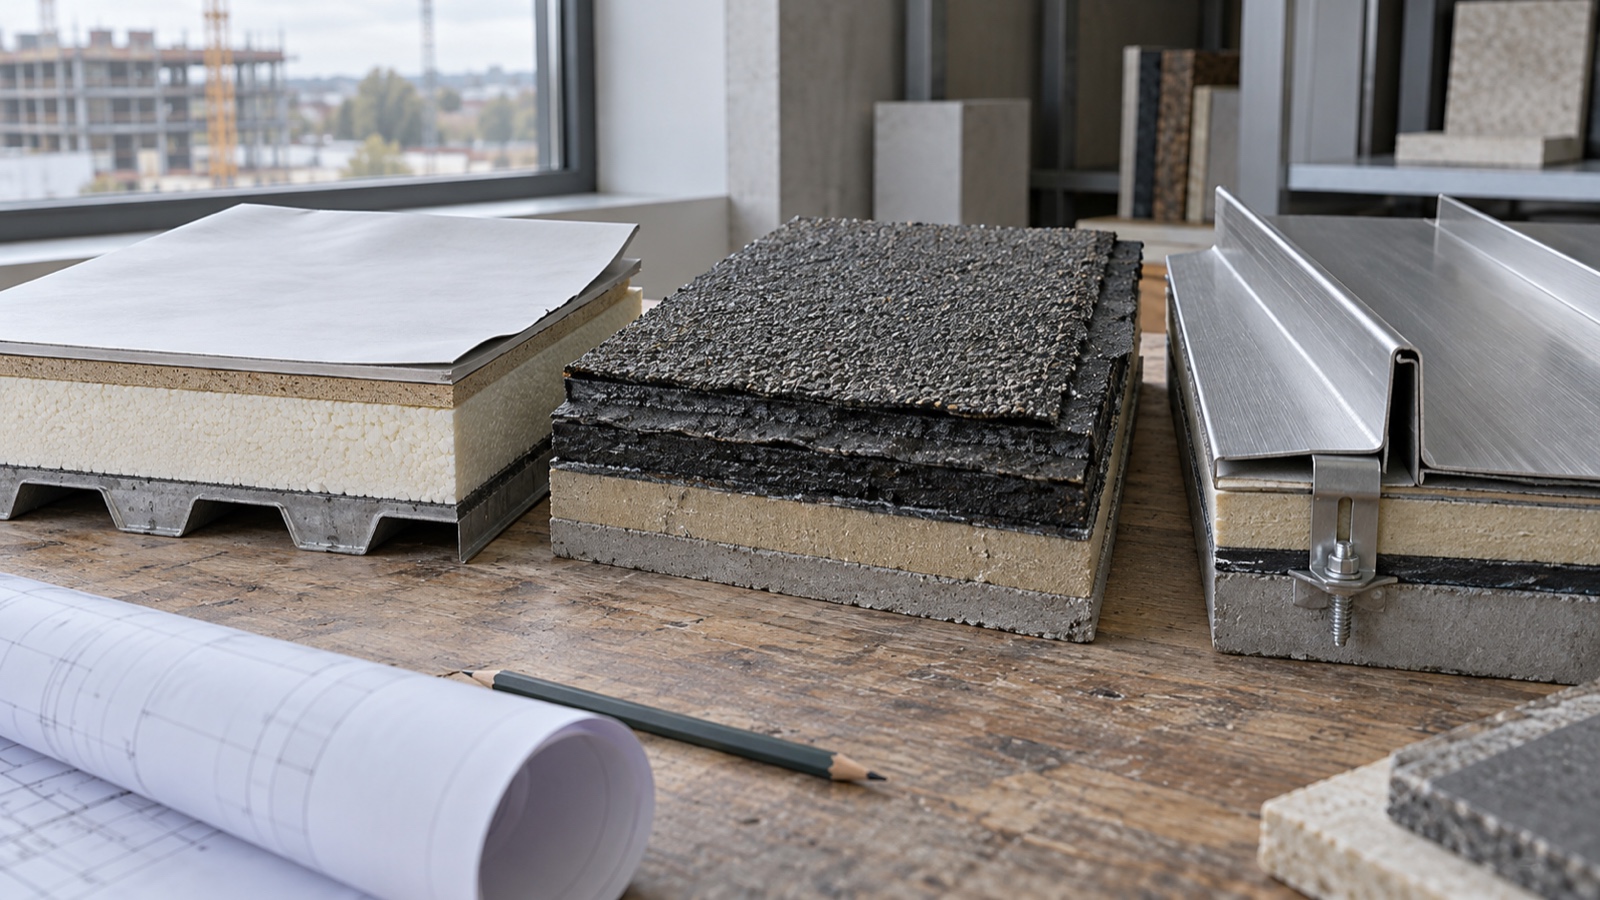
Maintenance has to suit the roof assembly: the full stack of deck, insulation, cover board, membrane or roofing, and surfacing. A repair that suits one system can damage another or void its warranty.
Large commercial buildings use built-up roofing, coal tar pitch, modified bitumen, single-ply membranes such as TPO, metal roofing, sheet metal components, and roof coatings. Before setting routines, owners should review the roof trends and designs so that any contractor understands what is installed and what the owner expects from it.
- Single-ply membranes, including TPO, form a continuous surface across broad areas. Seams, punctures, and flashing attachment are the usual focus.
- Modified bitumen and built-up roofing are layered assemblies common on low-slope buildings. Surface condition, blistering, laps, and flashings matter.
- Metal roofing handles long spans but needs attention to fasteners, seams, flashing, and thermal movement.
- Roof coatings suit some existing roofs, depending on the substrate, its condition, and the coating manufacturer’s requirements.
Record the system, manufacturer, installation date, warranty holder, and warranty terms in the plan. Cleaning methods, repair materials, walkway products, and who may perform repairs should all follow that manufacturer’s guidance and the warranty. If records are missing, identifying the system is an early task for the baseline survey.
Wet insulation can hide beneath an intact-looking surface. Where moisture is suspected, arrange professional investigation and file the results in the roof record.
Use color, materials, and visible details without compromising performance

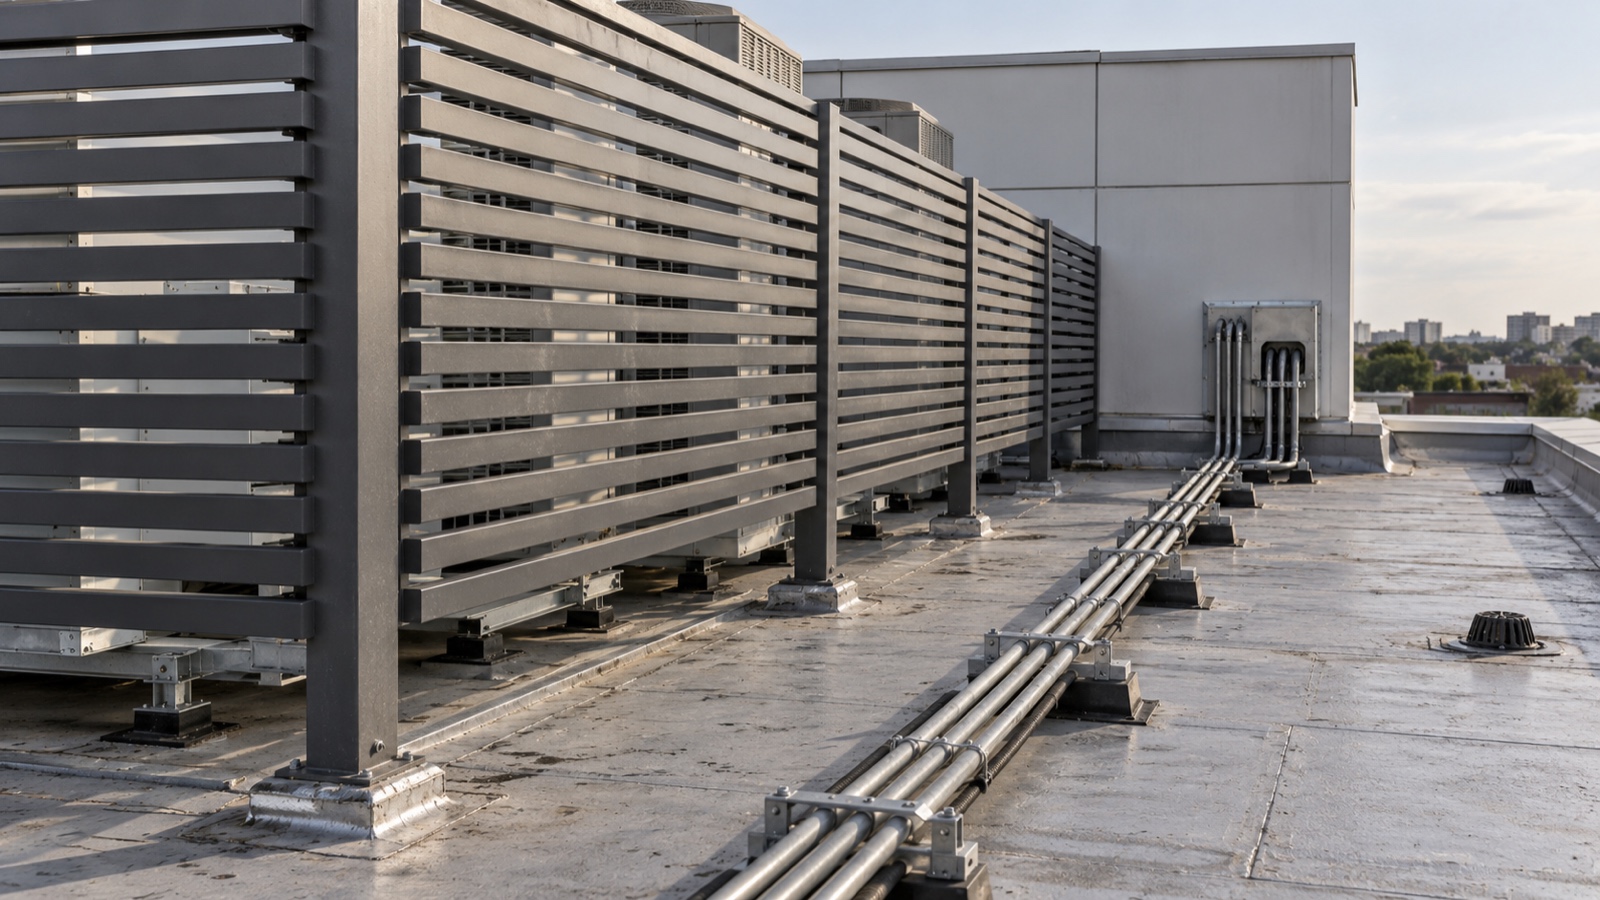
A roof seen from upper floors, terraces, neighboring towers, or the street is part of the architecture. Its color, materials, and visible details shape how people read the building. Maintenance protects that roofscape, but only after performance needs are met.
Choosing the right roofing color can help the roof sit comfortably with the rest of the property, and color also affects how a roof responds to sunlight. It still has to fit the system’s options and local requirements.
Visible details are where design and maintenance overlap most:
- Edges and copings. Straight, well-fastened metal edges read as cared for. Loose or mismatched sections signal neglect and can be a wind risk.
- Equipment screens. Screens tidy a roofscape, but their supports become penetrations and their bases can trap debris. Leave room to inspect behind them.
- Walkways. A consistent route, in a color and material chosen with the roof, protects the membrane and reads as part of the design.
- Repairs. Visible patches must use compatible materials. Where color or texture matters, ask whether a matching approved product exists.
- Cable and conduit runs. Grouped, supported, and recorded runs look better and are easier to inspect than scattered lines.
The priority order stays fixed: drainage first, safety and access second, compatibility and warranty third, appearance fourth. Appearance is an outcome of good maintenance, not a reason to override it.
Turn inspection records into a roof asset management file

A roof asset file is the single, organized record of everything known about a roof. It is where roof asset management actually happens, and it should contain:
- Baseline documents. Original drawings, specifications, product data, and warranty certificates, where available.
- The current roof plan with zones, drains, penetrations, equipment, and access routes.
- Inspection history by date and zone, with photos labeled by zone and item ID.
- Work history. Repairs, cleanings, and changes, with who did them and which materials were used.
- Open items with priority and next action.
- Warranty obligations. Required maintenance, notification procedures, exclusions, and the claim process.
- Capital notes. Estimated remaining service life, budget assumptions, and lifecycle triggers.
Before-and-after photos and records that match the proposal help managers support warranty requests and explain roof conditions to owners, lenders, insurers, or tenants.
Keep the file shared, and use one structure across a portfolio so roofs can be compared.
Plan work around tenants, deliveries, and business continuity
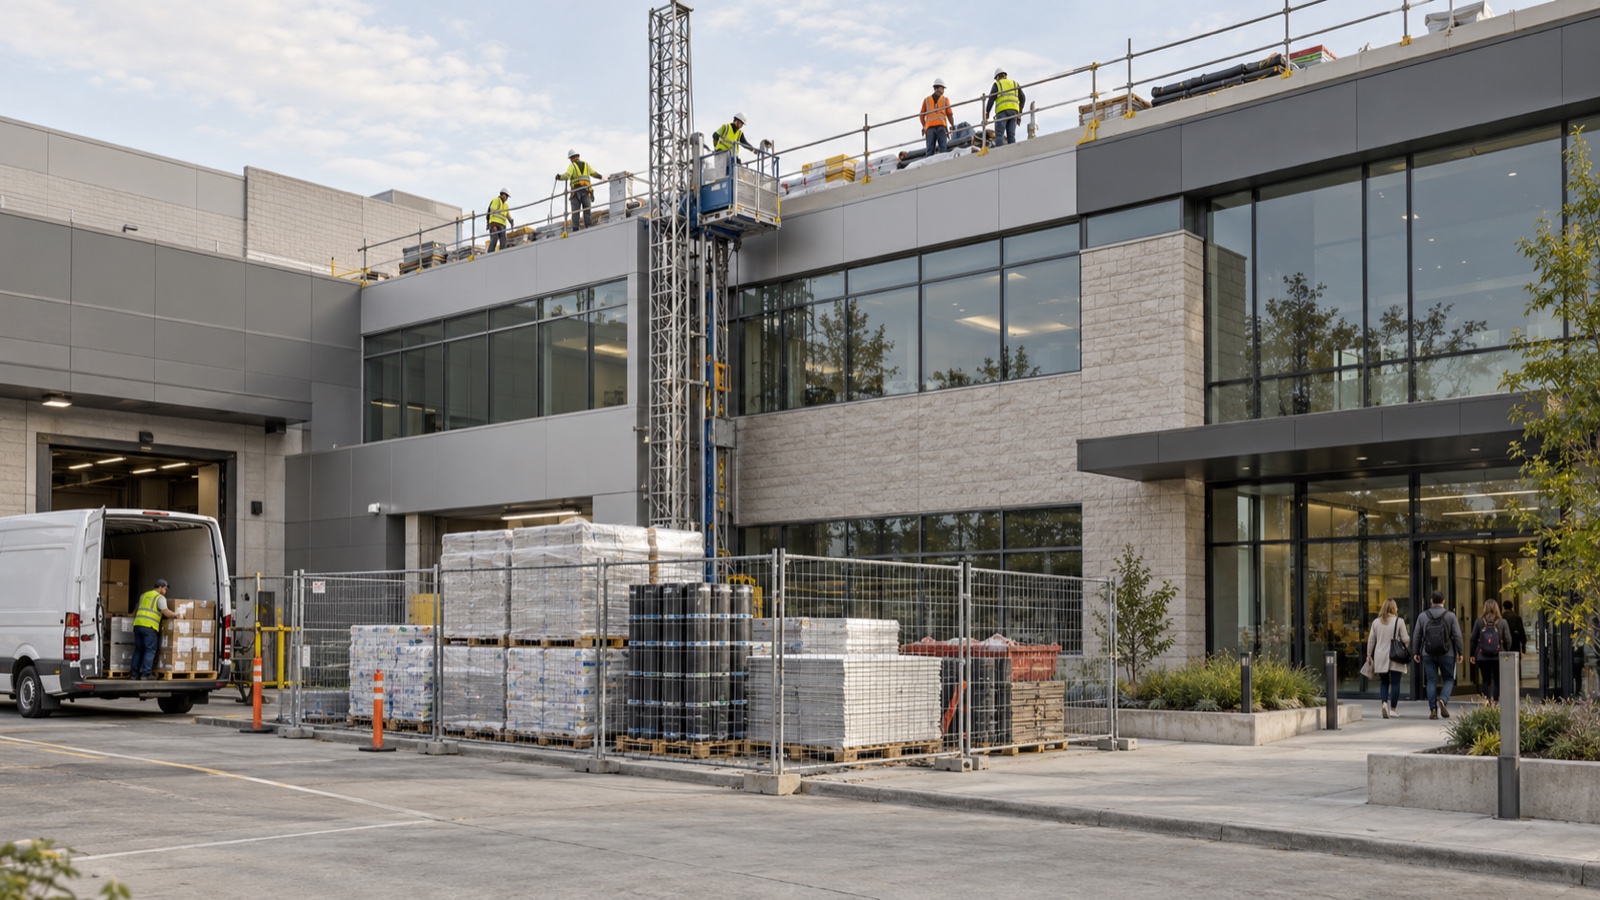
Roof work on an occupied building affects the people below it. For significant work, agree in advance on:
- Staging. Where materials are stored and lifted, and which ground areas are restricted.
- Crew access. How crews reach the roof without passing through sensitive tenant spaces.
- Noisy or odorous tasks. When they can happen, and whether nearby air intakes need temporary protection.
- Cleanup and overnight protection. Daily debris removal, and temporary protection if a section stays open or weather stops work.
- Emergency access. How fire exits, emergency routes, and rooftop equipment stay reachable.
Tell tenants what to expect, when, and who to contact.
Decide when repair, restoration, or replacement is the right move

The record pays off at decision points, showing whether a roof is stable, declining, or failing. Keep the terms distinct:
- Inspection is observation and recording.
- Maintenance is routine care, such as clearing drains and securing loose components.
- Repair fixes a specific defect, like a split seam.
- Restoration extends the life of a basically sound roof, sometimes with coatings or other approved methods.
- Replacement removes or covers the existing roof with a new system.
Lifecycle triggers are conditions, agreed in advance, that prompt a move from one category to the next. Examples include repeated leaks in one zone, a growing area of wet insulation, widespread seam or surface deterioration, warranty expiry, a change in building use, or equipment replacement that will disturb large sections of roof. Define them with your roofing professional.
Written triggers prevent two costly mistakes: patching a roof long after replacement made sense, and replacing one that repair or restoration could have kept in service. Deciding when a complete roof replacement is justified deserves its own analysis, with an architect involved where design changes are on the table.
When work is proposed, ask for a written scope naming the system, work area, schedule, documentation to be delivered, and the contractor’s commercial work and workmanship warranty. Review coverage, exclusions, and the claim process before signing.
A 90-day rollout plan for large properties
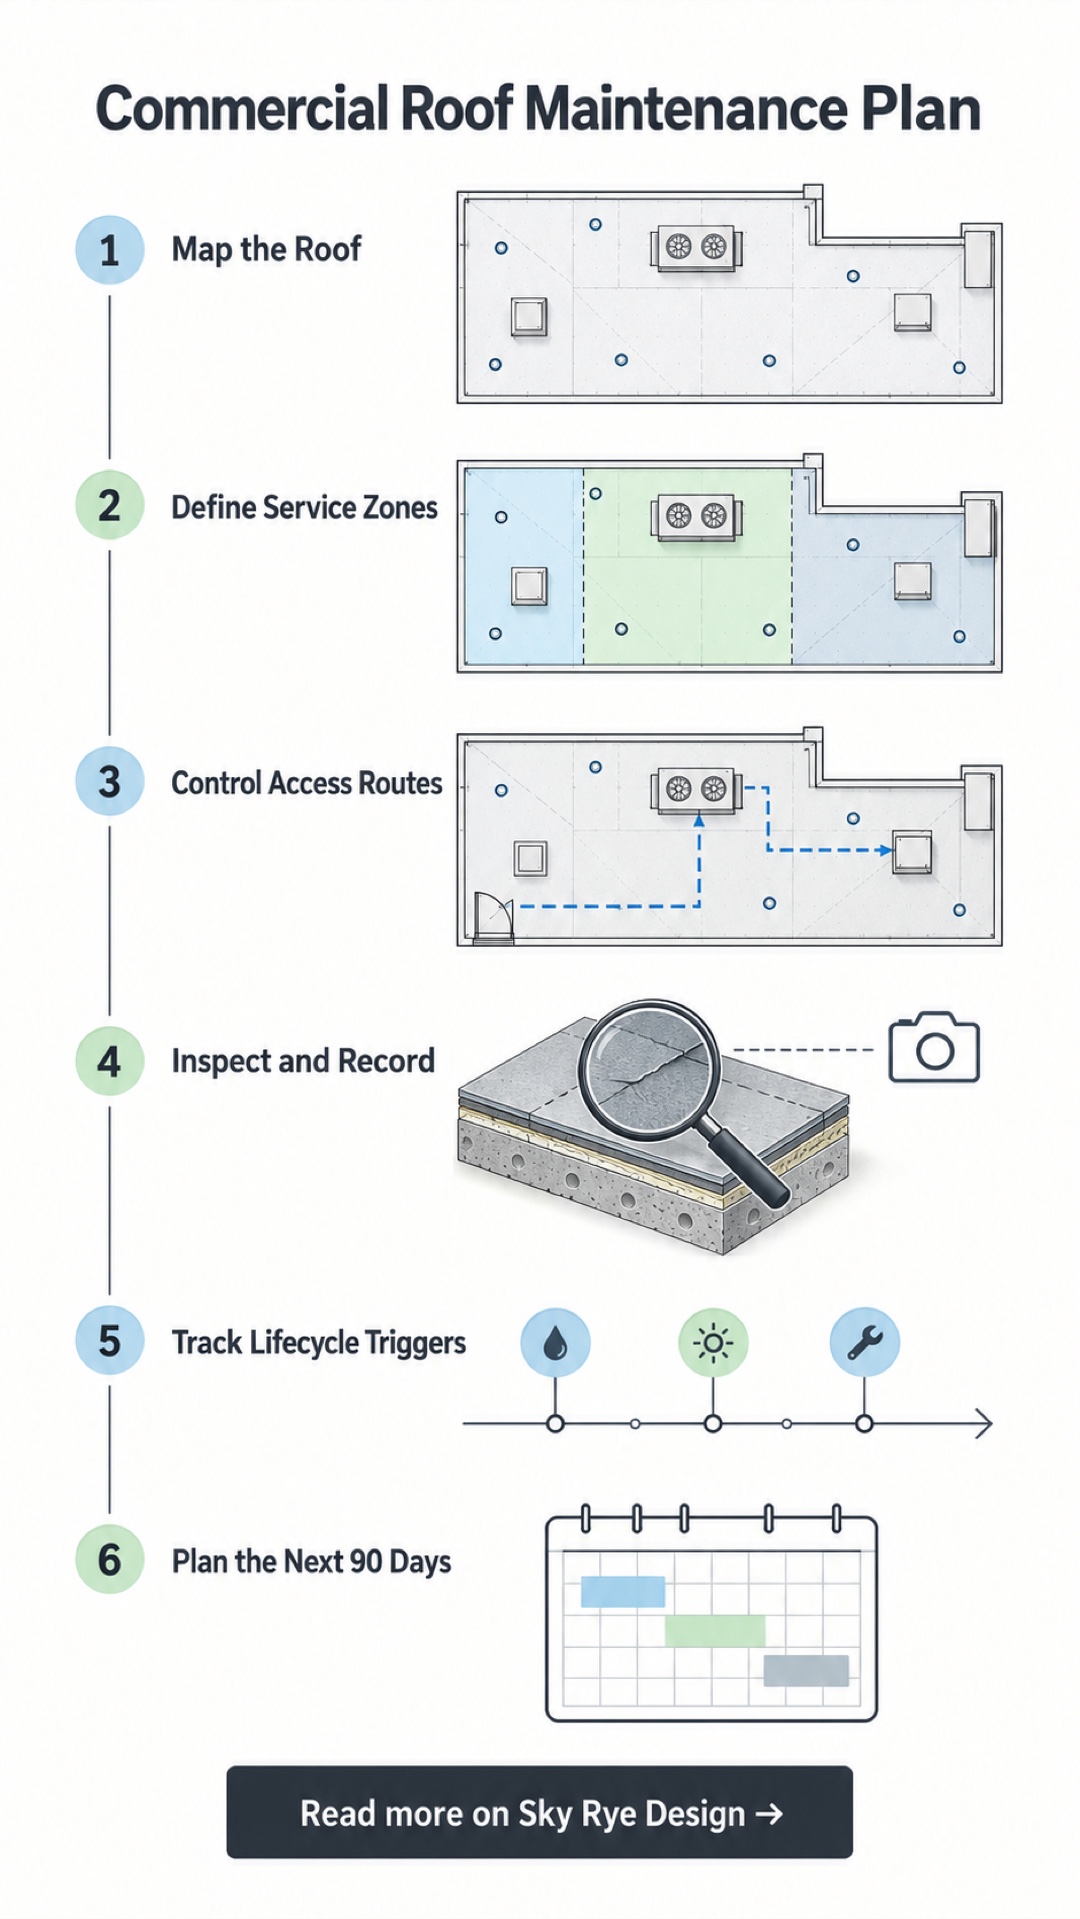
Days 1 to 30: Gather and map
- Collect drawings, specifications, warranty documents, and repair records. List the gaps.
- Commission a baseline inspection from a qualified roofing professional.
- Produce a current roof plan.
- Confirm with the responsible employer which access and fall-protection arrangements exist and which are needed.
Days 31 to 60: Define and document
- Name and label service zones on the plan.
- Lay out controlled access routes and mark where walkway protection may be needed.
- Adapt the checklist table to your system.
- Set up the roof asset file with consistent folder and photo naming.
- Issue a one-page rooftop access procedure for all trades.
Days 61 to 90: Operate and plan
- Run the first routine inspection using the new zones and checklist.
- Log open items with priorities and owners.
- Agree on lifecycle triggers.
- Draft a budget for maintenance, expected repairs, and a reserve for future restoration or replacement.
- Put the next inspections and a post-storm check on the facility calendar.
At day 90, review which zones were hard to inspect and which records were missing, then adjust the plan.
FAQ: Commercial roof maintenance plans
What is a commercial roof maintenance plan?
A written program for inspecting, accessing, maintaining, documenting, and budgeting a commercial roof, built around a roof plan, service zones, a checklist, records, and lifecycle triggers.
How often should a commercial roof be inspected?
No single interval suits every roof. A typical program combines routine inspections with checks after severe weather or major rooftop work, on a schedule set with your roofing professional.
Who should be allowed on a commercial roof?
Only people with a legitimate reason who follow the site’s access procedure and the fall-protection arrangements set by their employer.
What belongs in a roof asset file?
Drawings, the current roof plan, system and warranty details, inspection reports, labeled photos, work history, open items, and capital planning notes, kept in one shared location.
Can appearance guide roof maintenance decisions?
It can inform them, but it ranks after drainage, safety, and material compatibility. Even a visible repair that needs to match must use approved compatible materials.
The practical takeaway
Start with the map. A current roof plan with named zones, marked drains and penetrations, and defined access routes makes inspections comparable and records meaningful. Add the checklist, the asset file, and agreed lifecycle triggers, and the roof becomes a managed part of the building rather than a surface the organization reacts to.
- 0shares
- Facebook0
- Pinterest0
- Twitter0
- Reddit0