Introduction to Ferrari Drawing
Ferraris have captivated car artists for decades. From the legendary 1987 F40 to the modern 488 GTB and SF90 Stradale, these machines deliver dramatic lines, a rich racing heritage, and that signature Rosso Corsa red that makes every drawing feel alive. There’s a reason why the prancing horse emblem, brought to prominence by Enzo Ferrari himself, represents more than just a car brand—it symbolizes speed, passion, and Italian engineering at its finest.
At Sky Rye Design, we approach Ferrari drawing as both an art exercise and a design study. You’ll work on form, reflections, and proportions while gaining appreciation for what makes automotive styling so compelling. This tutorial focuses on pencil and marker drawing on paper, though the same steps adapt easily to digital tools like Procreate or Photoshop.
This guide assumes basic drawing experience but provides enough structure for ambitious beginners to follow along. If you want to learn more about how to draw cars, we’ll cover supplies, references, basic construction, body details, wheels, shading, color, and finishing touches. By the end, you’ll have a complete Ferrari illustration you can enjoy and learn from.

Essential Materials for a Ferrari Drawing
 plus Copic marker match codes | Sky Rye Design")
You don’t need luxury tools to draw a Ferrari, but certain materials make glossy car surfaces easier to render. The right supplies help you capture those smooth curves and mirror-like reflections that define the brand.
- HB and 2B graphite pencils for construction and line work
- Kneaded eraser for lifting graphite without damaging paper
- Ruler for initial ground lines and perspective guides
- A4 or US Letter smooth Bristol or marker paper

Marker palette for Ferrari reds:
Color Type | Suggested Markers |
|---|---|
Main reds | Berry Red, Lipstick Red |
Highlight reds | Salmon Pink, Pastel Pink |
Shadow reds | Burgundy |
Neutrals | Ice Grey 1, 4, 7, Blue Black |
These alcohol markers mirror what professional car concept artists use in their sketches.
Colored pencils for finishing:
- One soft black for panel gaps and deep shadows
- One soft white for edge highlights
- One warm red for blending transitions
Optional extras:
- White paint marker for bright specular highlights
- Masking tape to keep paper flat
- Soft brush to sweep away eraser crumbs
Choosing and Using Reference Photos

A convincing Ferrari drawing starts with strong reference photography that captures correct proportions and reflections. Without good references, even skilled artists struggle to nail the shape of these precision-engineered machines.

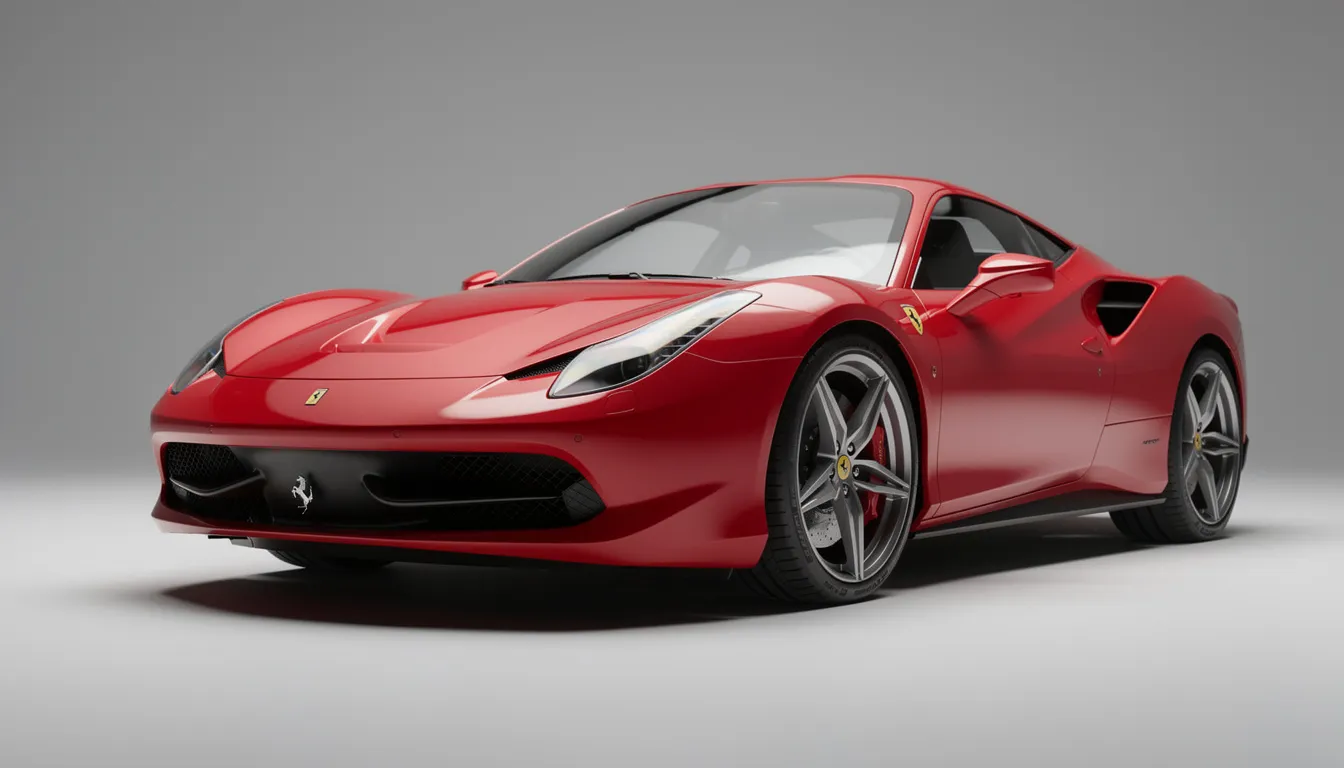
Pick a specific model to work from. The Ferrari 488 GTB in Rosso Corsa from a 3/4 front view works excellently because it shows the front, side, and a portion of the roof clearly. This angle gives you the most visual information for understanding the car’s three-dimensional form.
Reference selection tips:
- Download 1–2 high-resolution, front–three-quarter references
- Find a secondary close-up for wheel and headlight detail
- Look for studio photos with clean lighting and minimal background distractions
- Avoid warped smartphone photos shot with heavy wide-angle lenses
Analyzing your reference:
Before you start to sketch, study the image carefully. Mark the horizon line, main perspective directions, and the key design lines including the beltline, wheel arches, and air intakes. Understanding where light hits the car body helps you plan reflections later.
Print your reference or display it on a tablet beside your workspace. You’ll refer to it constantly throughout the drawing process.
Step-by-Step Ferrari Drawing: From Base Shape to Body Details
This section walks through constructing a modern Ferrari (like the Ferrari F8 Tributo) in logical drawing stages. We’ll use light guideline layers first, building up to confident final lines.
Keep your lines extremely light at the start. Focus on big shapes and perspective before adding any details like vents or logos. The goal is to create a solid foundation that makes everything easier later.
We’re working in two-point perspective with a slight eye-level view—the most flattering angle for sports cars. Use a ruler only for initial ground and center lines to avoid stiff drawing in the organic curves.
1. Block In the Ferrari’s Base Proportions

Start with a long, low rectangle representing the overall footprint of the car, slightly tilted in perspective to show the 3/4 view. This base shape establishes the length-to-height ratio that makes Ferraris look so dynamic.
Add a gentle curve at the front for the nose and a slightly taller rear end to echo the typical mid-engine stance. This subtle wedge shape is fundamental to Ferrari’s design language.
Lightly indicate wheel center lines and the ground line so the car doesn’t appear to float on the page. These construction marks help you place elements accurately in later steps.
Remember: these are construction lines only. Draw with an HB pencil using very little pressure. You’ll erase most of these marks before finishing.
2. Establish the Roofline and Cabin

Draw the Ferrari’s low, sweeping roofline as a smooth curve starting above the front wheel and flowing down toward the rear. This line defines the car’s profile and creates that aggressive, forward-leaning stance.
Sketch the A-pillars (windshield supports) and C-pillars (rear supports), keeping them aligned with the perspective of your base shape. On modern Ferraris, these pillars are thin and raked back sharply.
The glass area should feel compact and teardrop-like, consistent with modern Ferrari proportions. The cabin sits low, allowing the muscular fenders to dominate the silhouette.
Check symmetry by flipping the paper against a window or simply stepping back and viewing from a distance. Errors are easier to spot from afar.
3. Outline the Front and Rear Fenders

Now it’s time to “inflate” the flat base into muscular wheel arches. Exaggerate the curve above each wheel to capture that Ferrari stance—this is what makes the car look powerful and planted.
Keep the front overhang short and the rear slightly longer, echoing the mid-engine layout of cars like the 488 GTB or F8 Tributo. The engine sits behind the cabin, pushing weight toward the rear axle.
Lightly add the cutline where the front bumper meets the hood. This helps define the Ferrari’s face and separates major body panels.
Common mistake to avoid: Drawing wheel arches as perfect circles instead of flattened ellipses in perspective. Remember that every round element appears compressed when viewed at an angle.
4. Draw the Windshield and Side Windows

Detail the windshield as a single large shape that wraps around slightly, then subdivide into front and side windows using thin pillars. The glass on a Ferrari flows smoothly into the body.
The upper edge of the side windows should roughly parallel the beltline of the car, converging in perspective toward the vanishing point on your right side. This creates visual harmony across the design.
Add a small, aerodynamic side mirror on the driver’s side, anchored to the door or A-pillar based on your reference. Modern Ferrari mirrors are compact and sculpted to reduce drag.
Keep the glass area clean with minimal internal lines at this stage. Save reflections for the rendering phase—adding them too early creates confusion.
5. Add Key Ferrari Design Lines
Identify and lightly draw the characteristic sculpting lines: the door cut, side intake (prominent on models like the 488), and the hood’s main creases. These panel lines define the car’s personality.

Each design line must follow the form of the car’s surface, bending over the wheel arch instead of running flat. Lines that ignore the 3D form make the drawing look amateur.
Add the fuel cap, panel gaps around the doors, and the front splitter line to start giving the drawing a technical, engineered feel. Ferrari design is precise—your line work should reflect that.
This is a good stage to lightly place the Ferrari badge on the hood or side fender using a small vertical rectangle. The prancing horse logo adds authenticity.
6. Sketch the Headlights and Front Details
Rough in narrow, swept-back headlight shapes that follow the hood contour. Post-2010 Ferraris feature dramatic lighting designs with LED strips and complex internal geometry.

Add inner shapes for the LED strips or projector elements, but keep them simple so they don’t overwhelm the design. Suggesting detail is often more effective than rendering every tiny element.
Draw the main grille opening, smaller intakes, and the lower lip of the bumper with crisp lines for a sharper look. The front end of a Ferrari is all about aggressive, purposeful openings.
Check that all front details align correctly in perspective and don’t appear to slide off the car’s surface. Misaligned lights are immediately noticeable.
7. Construct the Wheels and Tires
Draw the wheels as ellipses in correct perspective, ensuring they sit firmly on the ground line and are aligned front-to-back. The left wheel will be a tighter ellipse than the one closer to you.

Outline the tire thickness, then add the rim inside. Maintain a consistent gap between rim and tire edge. Ferrari tires are low-profile, so the sidewall is relatively thin.
Create a five-spoke Ferrari-inspired wheel design. Angle each spoke slightly to suggest rotation and depth. The spokes should radiate from the center hub.
Don’t fully shade the wheels yet—detail and value will come in the rendering phase. For now, focus on accurate construction and placement.
8. Refine and Clean the Line Drawing
Go over the most important contours with a slightly darker 2B pencil. Vary your line weight: thicker lines in shadow areas, thinner lines where light hits. This creates depth even before color.

Erase unnecessary construction lines from earlier steps so the Ferrari looks clean and intentional. A messy drawing with visible scaffolding undermines your final result.
Double-check the alignment of wheels, height of the roof, and the balance between front and rear volumes before moving on to shading. Finally, step back and view the whole composition.
At this stage, your drawing should be clearly readable as a Ferrari silhouette, even before any color is added. If the shape reads well in line, it will look even better rendered.
Shading and Coloring Your Ferrari Drawing
This section focuses on turning your clean line drawing into a glossy, three-dimensional Ferrari using markers and colored pencils. The right approach to color makes the difference between a flat sketch and a stunning illustration.
Start with neutrals—black parts, wheels, shadows—to organize the design visually before committing to bright red bodywork. This prevents the red from overwhelming your composition too early.
Establish a clear light direction. For this tutorial, we’ll assume light coming from the top-left. Every shadow and highlight must stay consistent with this choice, or the car will look confused.
Color application order:
- Black and dark greys (grilles, tires, vents)
- Wheels and ground shadow
- Glass surfaces
- Red body panels
- Final highlights and details
Coloring Dark Parts and Wheels
Color all black or near-black elements first: grille openings, tires, deep vents, and interior cabin using Ice Grey 7 and Blue Black. These dark areas anchor the design and create contrast.

Use Ice Grey 1 and 4 for the wheel faces, leaving small uncolored slivers as rim highlights for a metallic effect. The spokes should show subtle value variation.
Add a soft, elongated ground shadow under the car with light greys. Make it slightly darker directly under the wheels where the weight presses down.
Blend the edges of your shadow with lighter greys to avoid harsh transitions. A smooth shadow makes the car look grounded rather than cut out and pasted.
Rendering Glass and Headlights
Lay a very light grey base (Ice Grey 1) over the windshield and side windows, leaving areas of pure white where the brightest reflections hit. Glass is never uniformly dark.

Build depth in the glass with Ice Grey 4 and 7 toward the top corners and along the edges. This echoes typical studio lighting reflections seen in professional car photography.
Keep headlights slightly lighter than the dark grilles. Use mid-greys with subtle blue or warm grey tints to differentiate the lens material from surrounding bodywork.
Use a black colored pencil sparingly to sharpen the windshield border and headlight outlines after your marker layers dry. This adds crispness.
Layering the Ferrari Red Body Color
Start with a mid-tone red marker (Lipstick Red) as the first overall layer on the body. Avoid panel gaps and badges—leave those as paper white for now.

Deepen shadows and undersides with Berry Red and Burgundy, especially under the side air intake, lower doors, and around the wheel arches. This creates the car’s form.
Use Salmon Pink and Pastel Pink on the roof ridge, fender tops, and hood center to create a smooth gradient toward highlights. These warm light tones suggest glossy paint.
Keep marker strokes consistent with the direction of the car’s curves. Following the form enhances the 3D illusion and prevents a patchy appearance.
Adding Final Details and Highlights
Use a white colored pencil to subtly enhance edges catching light: fender tops, hood lines, and mirror tips. These soft highlights add dimension without being too harsh.

Apply a few sharp white paint marker highlights on the brightest reflective spots: top of the front fender, windshield corner, and headlight glass. Less is more here.
Deepen panel gaps and vents with a black colored pencil, slightly softening them so they don’t look like heavy outlines. The goal is subtle depth, not graphic lines.
End with a quick, critical check of your drawing from arm’s length. The Ferrari’s form should read clearly, and the red surfaces should feel glossy, not flat.
Common Ferrari Drawing Mistakes and How to Fix Them

Even experienced artists struggle with car drawings. Wheels, perspective, and reflections present unique challenges that require specific solutions.
Distorted wheels: The most common issue is drawing front wheels as circles instead of ellipses. In perspective, wheels always appear compressed. Use a light ellipse guide or practice drawing ellipses separately before tackling cars.
Flat-looking cars: If your Ferrari looks two-dimensional, increase value contrast between top and side planes. Add a clear, continuous highlight along the shoulder line where the body curves from top to side.
Misaligned details: Door handles, side vents, and window bases must follow the same perspective direction as the beltline. Cross-check everything against your main perspective lines.
Overworked reflections: Resist copying every small highlight from your photo. Simplify reflections into a few large, graphic shapes. Suggestion beats literal recreation for drawing impact.
Proportions feel wrong: The thing that makes Ferraris look fast is their low, wide stance. If your drawing feels off, the roof is probably too tall or the wheels too small. Compare measurements against your reference.

Practicing Ferrari Drawing for Long-Term Improvement
Drawing one Ferrari is inspiring, but consistent practice builds real confidence and develops your personal style. Make automotive sketching a regular part of your creative routine.

Quick practice exercises:
- 5–10 minute gesture sketches of Ferraris from different angles (front, rear, overhead)
- Focus on capturing overall proportions rather than details
- Use a timer to prevent overworking
Mini-series approach:
Week | Focus Model | Learning Goal |
|---|---|---|
1 | Ferrari F40 | Angular, wedge-shaped bodies |
2 | Ferrari Enzo | Complex curves and vents |
3 | Ferrari 296 GTB | Modern hybrid design language |


This rotation helps you study design evolution across eras while building shape memory.

Vary your tools:
- Graphite-only studies for form understanding
- Monochrome marker renders for value practice
- Digital sketches in Procreate for speed and experimentation
Each medium teaches different skills that strengthen your overall car rendering abilities.


Sky Rye Design regularly publishes new car-drawing tutorials and inspiration. Bookmark our site and return for more automotive art content to fuel your creative journey.
FAQ


How long does it take to draw a detailed Ferrari?
A clean line drawing of a Ferrari in 3/4 view typically takes 30–60 minutes for an intermediate artist. A fully rendered color piece with markers and pencils can take 2–4 hours depending on detail level. Beginners should allow extra time, focusing on accuracy rather than speed. With practice, your timing naturally improves.
Is it better to draw a Ferrari from a photo or from life?
High-quality photos are more practical for most people, since access to real Ferraris like a 488, F8, or SF90 is limited. However, drawing from life at car shows or museums offers invaluable experience understanding real proportions and how light plays across surfaces. Use quick sketches and smartphone photos as backup references when opportunities arise.
Can I draw a Ferrari digitally using this guide?
Absolutely. All construction, perspective, and shading principles in this tutorial apply directly to digital drawing apps like Procreate, Clip Studio Paint, or Photoshop. Use separate layers for construction lines, clean line art, flat colors, and highlights. This mirrors the traditional workflow and makes corrections easy.
Do I need expensive markers to get a realistic Ferrari red?
Professional alcohol markers offer smoother blending, but budget-friendly sets work if you have at least three to four reds and a few neutral greys. Value contrast and clean edges matter more than brand names. Colored pencils can greatly enhance cheaper marker work by adding refined highlights and deepened shadows.
What Ferrari model is best for beginners to draw?
Start with relatively clean, modern designs like the Ferrari 458 Italia or 488 GTB. Their surfaces are smooth and easier to read than heavily vented race cars or complex hypercars. After becoming comfortable with basic car construction and perspective, move on to more complex icons like the F40, LaFerrari, or classic 250 models.
- 1.3Kshares
- Facebook0
- Pinterest1.3K
- Twitter0
- Reddit0


