The holiday season is a magical time, filled with sparkling lights, festive music, and the joyous anticipation of giving and receiving. While the gift itself is certainly the star, there’s an undeniable charm in a beautifully presented package. A well-wrapped present isn’t just about hiding what’s inside; it’s an extension of the thought, care, and love you put into choosing that special something. It elevates the entire experience, transforming a simple exchange into a moment of artistry and excitement. If you’ve ever found yourself wrestling with unruly paper, battling sticky tape, or ending up with a lumpy, less-than-picturesque package, you’re in the right place. This comprehensive guide will walk you through how to wrap a Christmas present perfectly, ensuring your gifts look as wonderful on the outside as they are on the inside. Get ready to ditch the frustration and embrace the art of presentation!
Gather Your Gear: The Essential Wrapping Arsenal
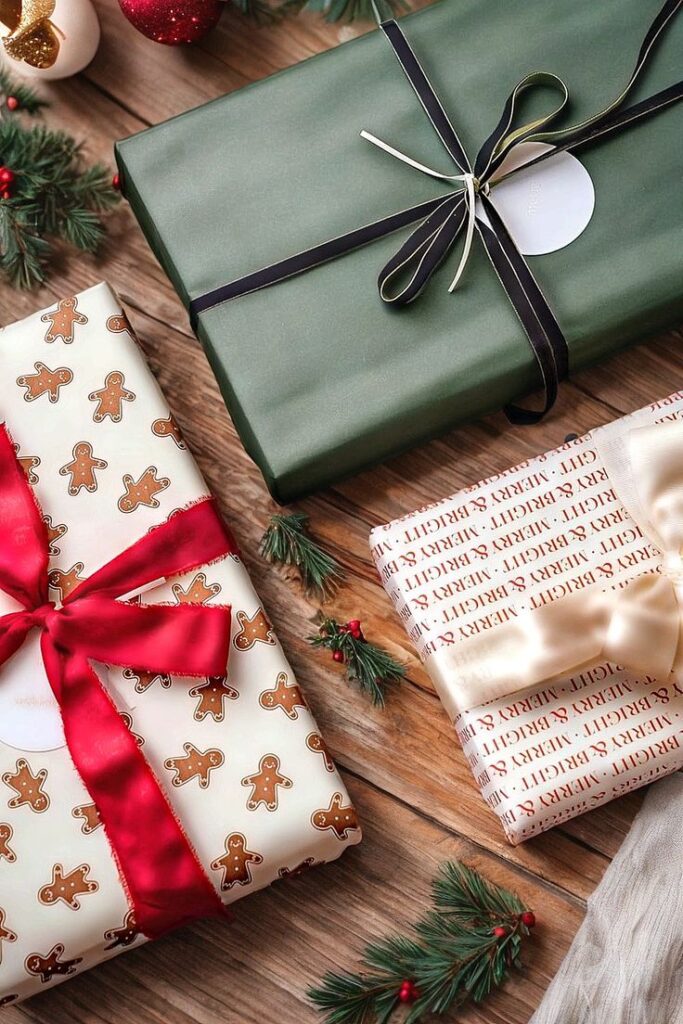
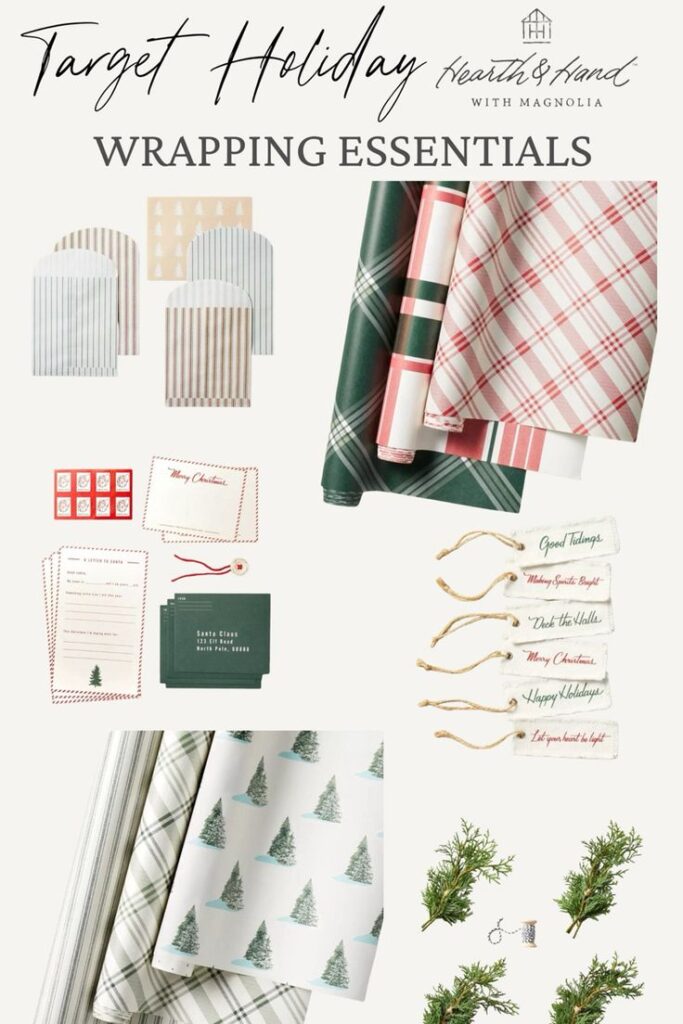
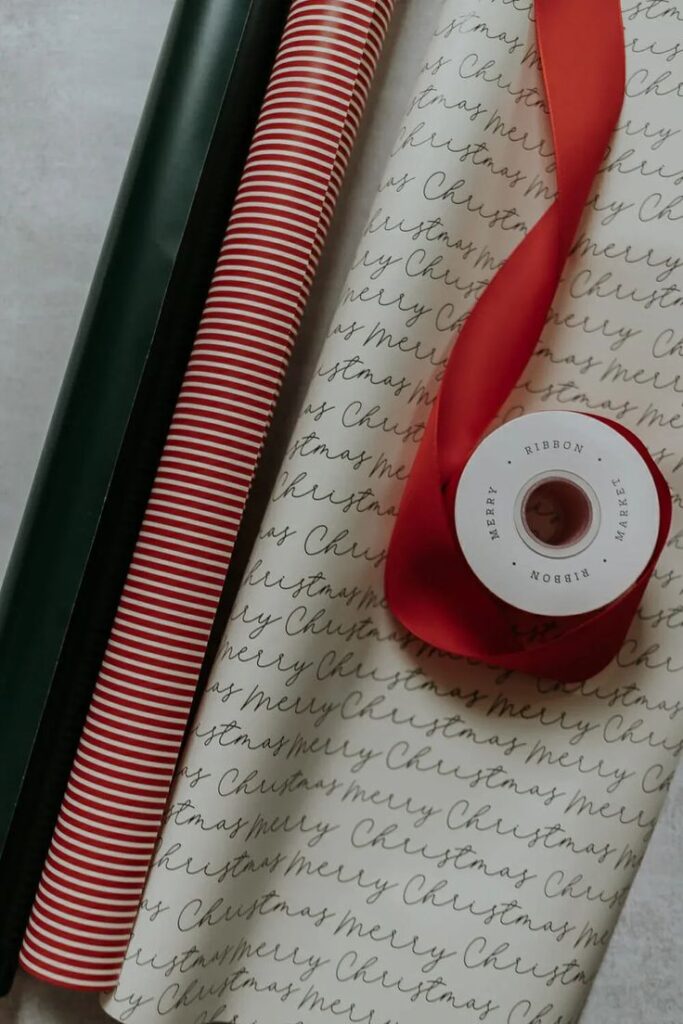
Before you even think about cutting a single sheet of paper, a little preparation goes a long way. Having all your tools organized and within reach will make the process smoother and more enjoyable. Think of it as setting up your creative workshop!
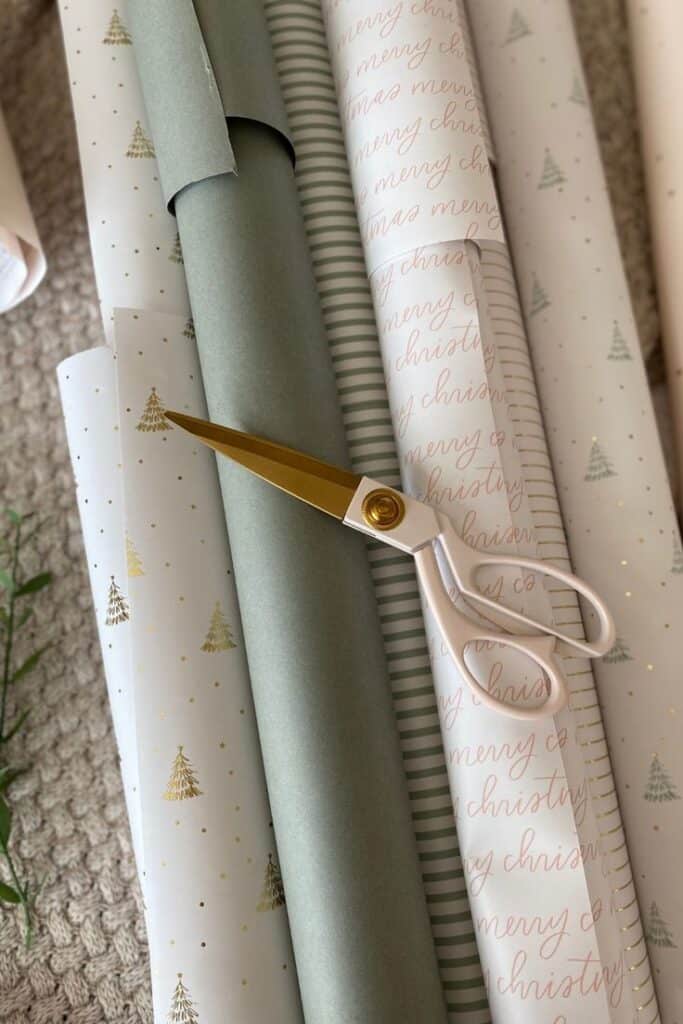
First and foremost, you need the right wrapping paper. Don’t just grab the cheapest roll; consider the recipient’s taste, the occasion, and the overall aesthetic you’re aiming for. Thicker paper tends to be more forgiving, less prone to tearing, and provides a more luxurious feel. Patterns and colors can range from traditional festive motifs to elegant metallics, whimsical designs, or even minimalist plain options. A good quality paper sets the stage for a stunning presentation.
Next up, scissors. This might seem obvious, but a sharp pair of scissors is non-negotiable. Dull blades lead to jagged edges, ripped paper, and immense frustration. Invest in a pair specifically for crafts or wrapping, and keep them away from sticky tape to maintain their sharpness.
Then there’s tape. Standard clear cello tape works for most applications, but for a truly professional finish, consider double-sided tape. It keeps seams invisible and gives your package a clean, seamless look. A tape dispenser can be a lifesaver, allowing for quick, one-handed application. You might also want to have a strong craft glue on hand for attaching heavier embellishments.
Don’t forget the ribbon. Ribbon adds a touch of elegance and can transform a simple package into something truly special. Stock up on a variety of widths, textures (satin, grosgrain, velvet, curling), and colors that complement your chosen paper.
Finally, gather your gift tags (pre-made or DIY), any embellishments you plan to use (ornaments, sprigs, small figures), and a trusty pen for writing heartfelt messages. For a truly inspiring wrapping session, you might even want to check out some packaging design inspiration to get those creative juices flowing!

The Foundation: Measuring and Cutting Your Paper
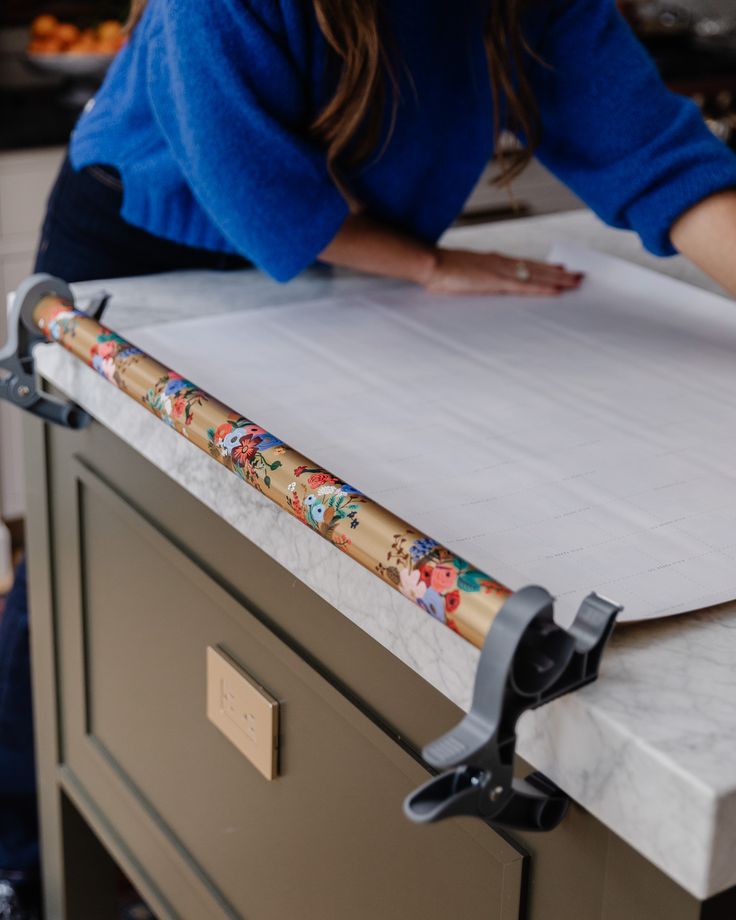
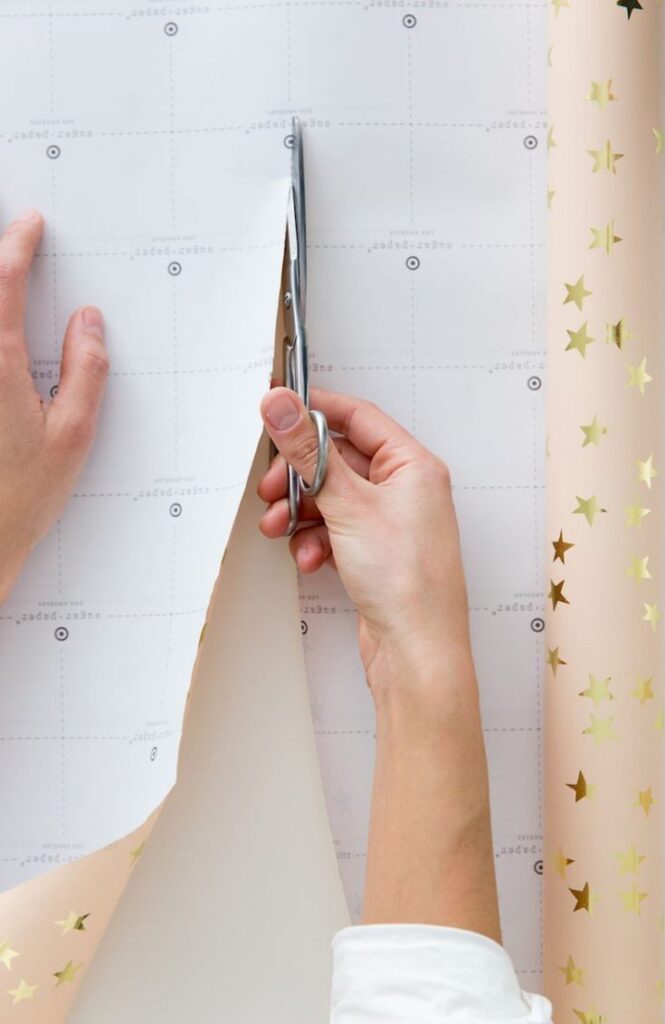
This is where many wrapping woes begin! Too much paper leads to bulky, untidy folds, while too little means awkward patches and exposed corners. The secret to a crisp, professional wrap lies in precise measurement.
For a standard rectangular or square box:
- Determine the length: Place your box upside down on the wrapping paper. Roll the paper over the top of the box until it meets the other side. This gives you roughly the circumference. Add about 1-2 inches (2.5-5 cm) to this measurement to ensure a generous overlap for taping.
- Determine the width: Stand the box on its longest side. Bring the paper up each side of the box. You want enough paper so that when you fold it over, it covers about two-thirds to three-quarters of the side. Don’t go all the way to the top – this will create too much bulk. Imagine the paper meeting roughly in the middle of the side of the box when you pull it up.
- Cut with precision: Once you have your measurements, carefully cut the paper. For straight lines, you can use a ruler and a craft knife, or simply fold the paper and cut along the crease with your sharp scissors. Remember, a straight cut makes for clean seams.
Pro Tip: If you’re unsure, err on the side of slightly more paper than less. You can always trim excess, but you can’t add more! Also, make sure your paper pattern is aligned correctly before you cut – nobody wants upside-down reindeer!
The Art of the Fold: Mastering the Basic Square/Rectangular Wrap
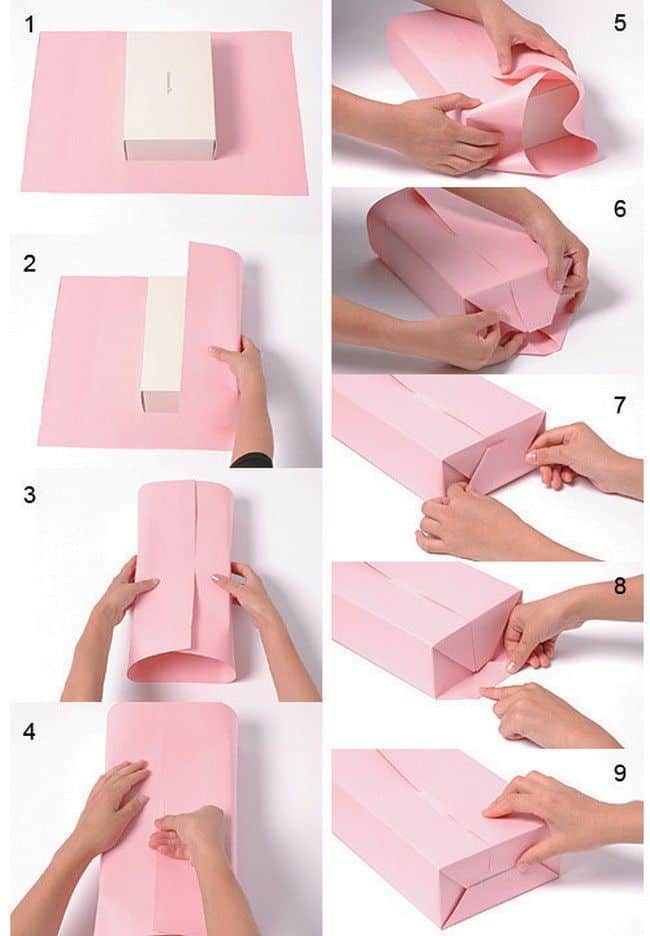
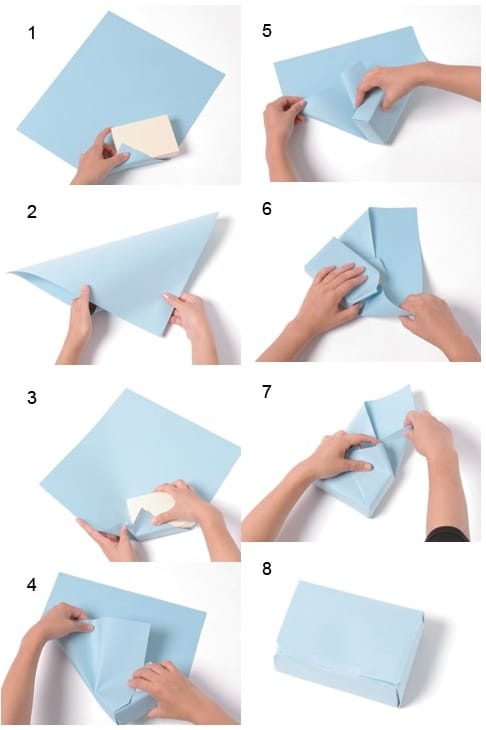
Now that your paper is perfectly cut, it’s time for the main event. This classic technique is the backbone of beautiful gift wrapping.
- Position the gift: Place your gift box upside down in the center of your cut wrapping paper. This ensures that the seam will be on the bottom of the package, out of sight.
- First fold and tape: Bring one long edge of the paper over the box. Take the opposite long edge and fold about half an inch (1 cm) inwards along the raw edge. This creates a clean, finished look and hides any rough cuts. Bring this folded edge over the box, overlapping the first edge by about an inch (2.5 cm). Secure the overlap with a few pieces of tape. If using double-sided tape, apply it to the underside of the folded edge before bringing it over.
- Tackling the ends (the “hospital corners” technique): This is where the magic happens for crisp corners.
- Step A: Fold in the sides. On one of the shorter ends of the box, push the paper inwards on both sides, creating two neat triangular flaps.
- Step B: Fold down the top flap. Take the top flap (the one above the box) and fold it down firmly against the side of the box. Crease it sharply and secure it with a piece of tape.
- Step C: Fold up the bottom flap. Take the bottom flap and fold it up, overlapping the top folded flap. Again, crease sharply. You can fold the raw edge inwards for a cleaner finish before taping. Secure with tape.
- Repeat on the other end. Turn the box over and repeat steps A-C for the other end.

Key to Success: Sharp creases are your best friend. Use your fingers or a ruler to really press down and define each fold. This creates a tailored, professional look that screams “I put effort into this!”
Tackling Tricky Shapes: From Cylinders to Irregularities
Not every gift comes in a convenient box. From bottles to plush toys, some items present a wrapping challenge. But fear not, there are clever ways to conquer these irregular forms.
Cylindrical Gifts (Bottles, Cans, Tubes)
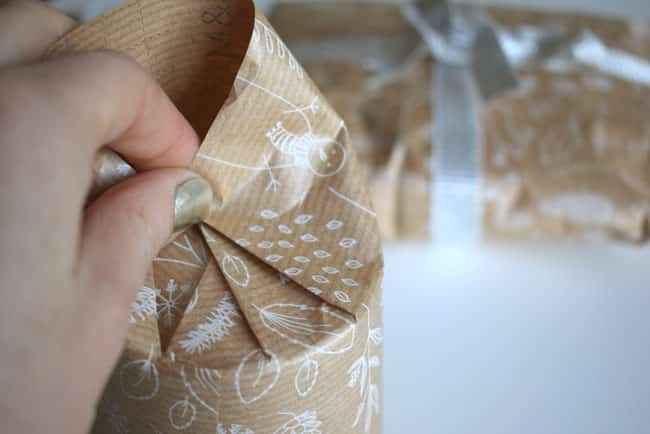
- Measure the length: Wrap the paper around the cylinder, ensuring enough overlap for taping, similar to a rectangular gift.
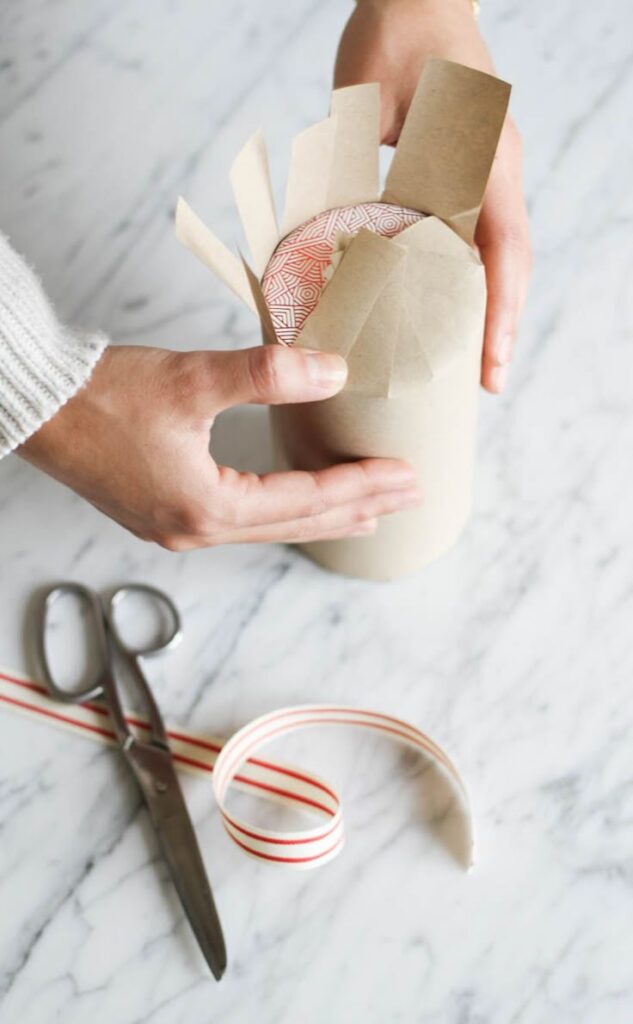
- Measure the width: Extend the paper beyond each end of the cylinder by about two-thirds of the cylinder’s height. This extra paper will be used to create the ‘fringe’ or ‘pleated’ ends.
- Wrap the body: Secure the paper around the body of the cylinder with tape, creating a neat seam.
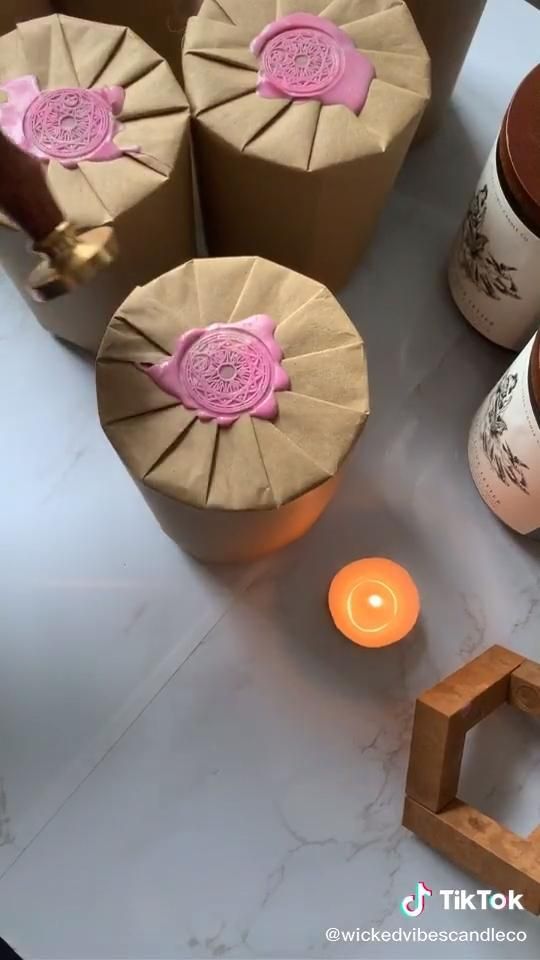
- Pleat the ends: At one end, gather the excess paper and gently pleat or fold it inwards around the opening of the cylinder. As you go around, press the folds down firmly against the top/bottom of the cylinder. Continue until the entire opening is covered with neat, radiating pleats. Secure the center with a piece of tape or a sticker. Repeat for the other end.
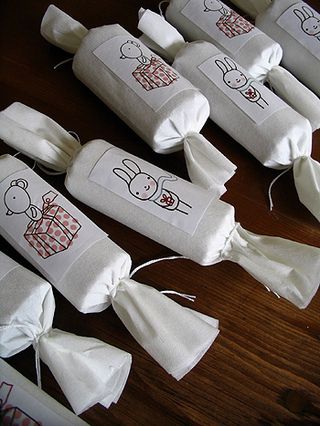
- Alternative: The “candy wrapper” technique: If the item is long and thin, extend the paper even further beyond the ends. Once the body is wrapped, simply twist each end like a candy wrapper and tie with ribbon.
Irregularly Shaped Items (Stuffed Animals, Awkward Gadgets)
This is where creativity comes in!
- The “Crush and Wrap” Method: For items that are somewhat pliable, you can try to gently mold them into a more regular shape. Place the item in the center of a generous piece of paper. Gather the paper around it, bringing all the edges up to meet at the top. Secure with ribbon or string at the “neck” of the gathered paper, creating a kind of paper sack. Fluff out the top.
- Using a Box or Bag: Don’t be afraid to embrace the humble gift box or bag! A sturdy box can transform an odd-shaped item into an easily wrapped rectangle. Similarly, a festive gift bag with tissue paper is a fantastic, elegant solution for items that defy conventional wrapping. You can even personalize the bag by adding a small ornament or a decorative tag.
- Fabric Wrap (Furoshiki): This traditional Japanese method uses cloth to wrap gifts. It’s elegant, eco-friendly, and incredibly versatile for odd shapes. You simply place the item in the center of a square cloth and use various folding and knotting techniques to secure it. More on eco-friendly options later!
The Ribbon Rhapsody: Adding Flair and Elegance
Ribbon isn’t just for holding paper together; it’s a powerful decorative element that can elevate your gift to new heights.
Basic Ribbon Techniques
- The Classic Criss-Cross:
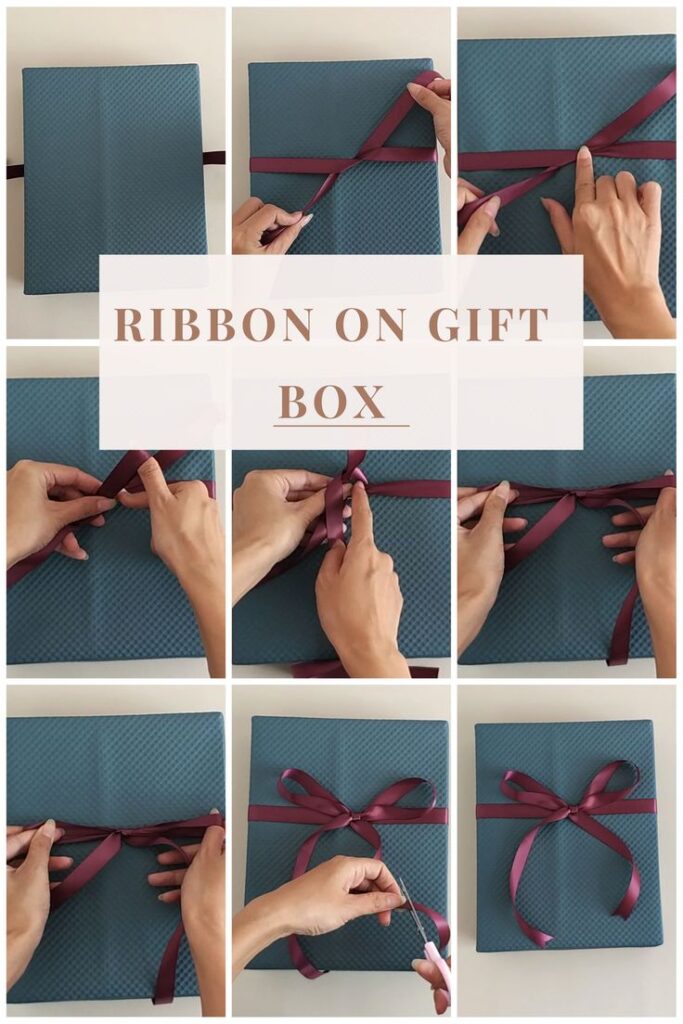
- Place your wrapped gift face up.
- Lay the ribbon across the center of the gift, ensuring both ends are equal in length.
- Flip the gift over, bringing the ribbon ends together and crossing them in the center.
- Flip the gift back over. Bring the ribbon ends up the sides of the gift and cross them again over the original ribbon piece, forming a cross or “X” pattern.
- Tie a knot in the center to secure.
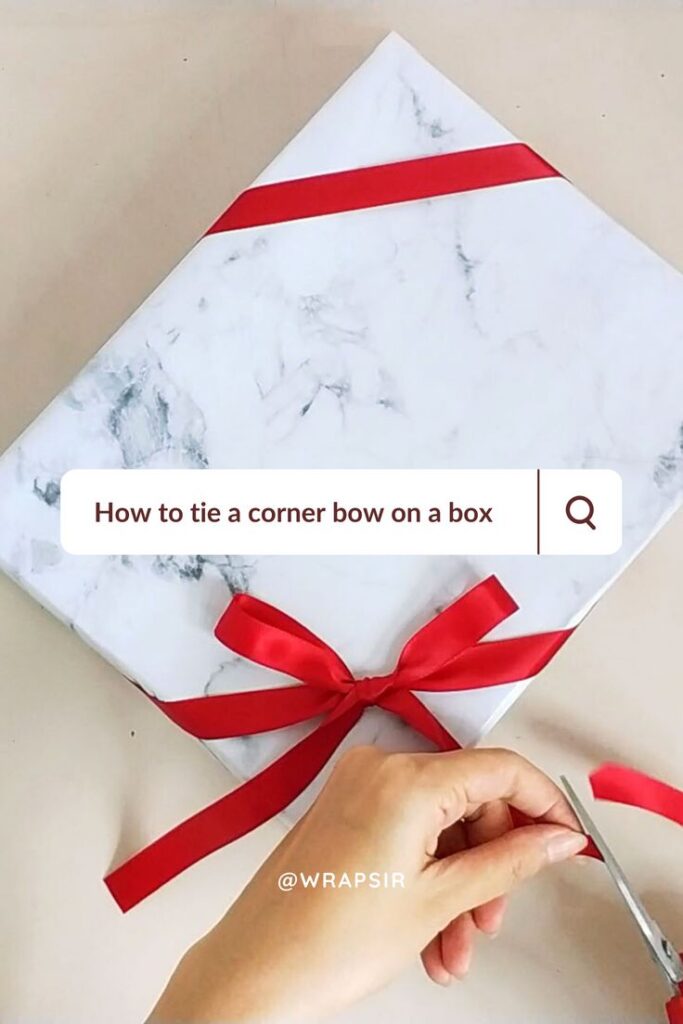
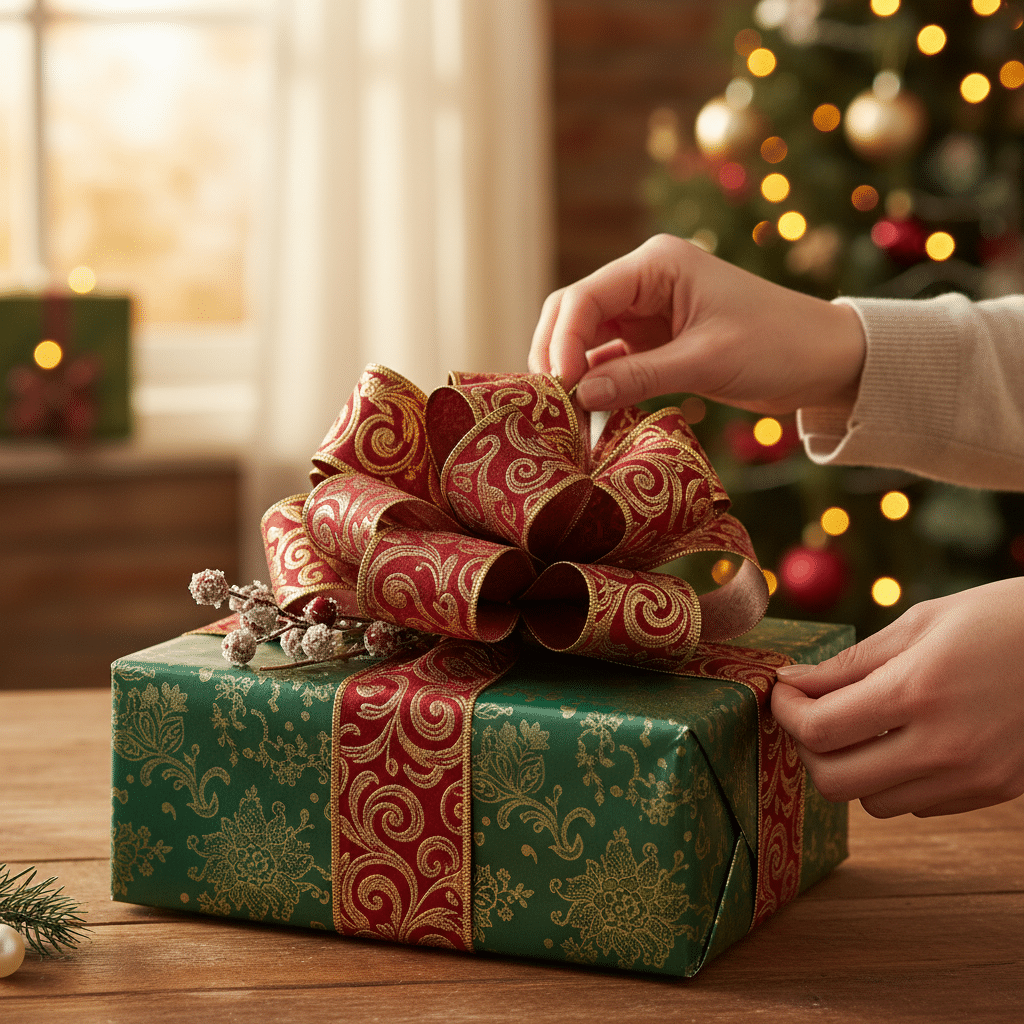
- Now you can tie a simple bow, a double bow, or even a fancy multi-loop bow. Trim the ends diagonally or in an inverted “V” shape for a polished look.
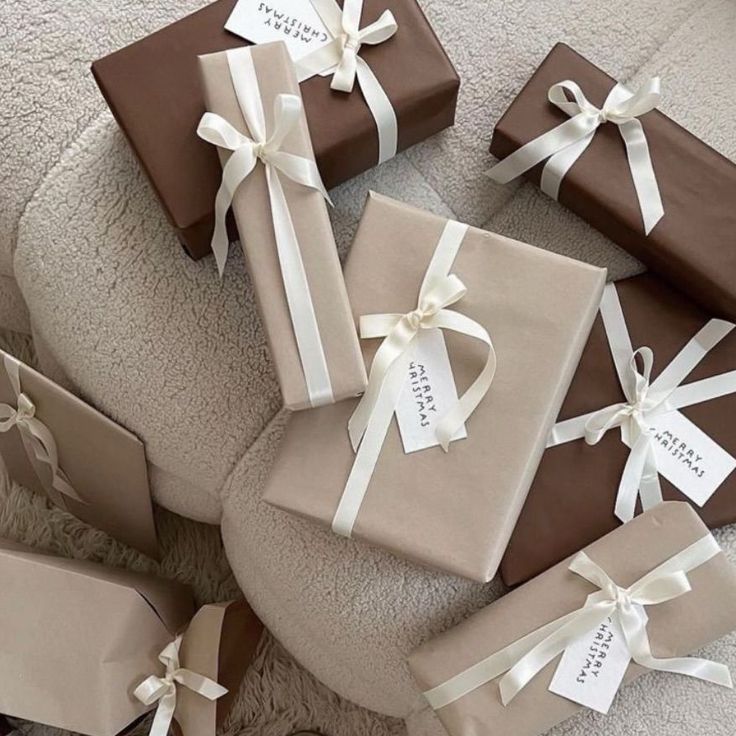
- Single Ribbon Accent: For a minimalist look, simply wrap a single ribbon around the width or length of the gift. Tie a bow on top or off-center for a sophisticated touch.
Choosing and Using Ribbon
- Complement, Don’t Compete: Choose ribbon colors and textures that complement your wrapping paper. A busy pattern might benefit from a solid-colored ribbon, while a plain paper can handle a more elaborate, textured ribbon.
- Layering: For a truly luxurious look, layer two or even three different ribbons. For example, a wide satin ribbon underneath a narrower, contrasting velvet ribbon creates depth and visual interest.
- Curling Ribbon: If you’re using curling ribbon, pull it tautly along the dull edge of your scissors for playful curls. This works great for a festive, bouncy effect.
- Wired Ribbon: Wired ribbon holds its shape beautifully, making it perfect for creating elaborate bows that stand up and maintain their structure.
Accessorize with Style: Tags, Toppers, and Beyond
The ribbon might be the main accessory, but the small details truly complete the package. These elements add personality and make each gift feel uniquely special.
Gift Tags
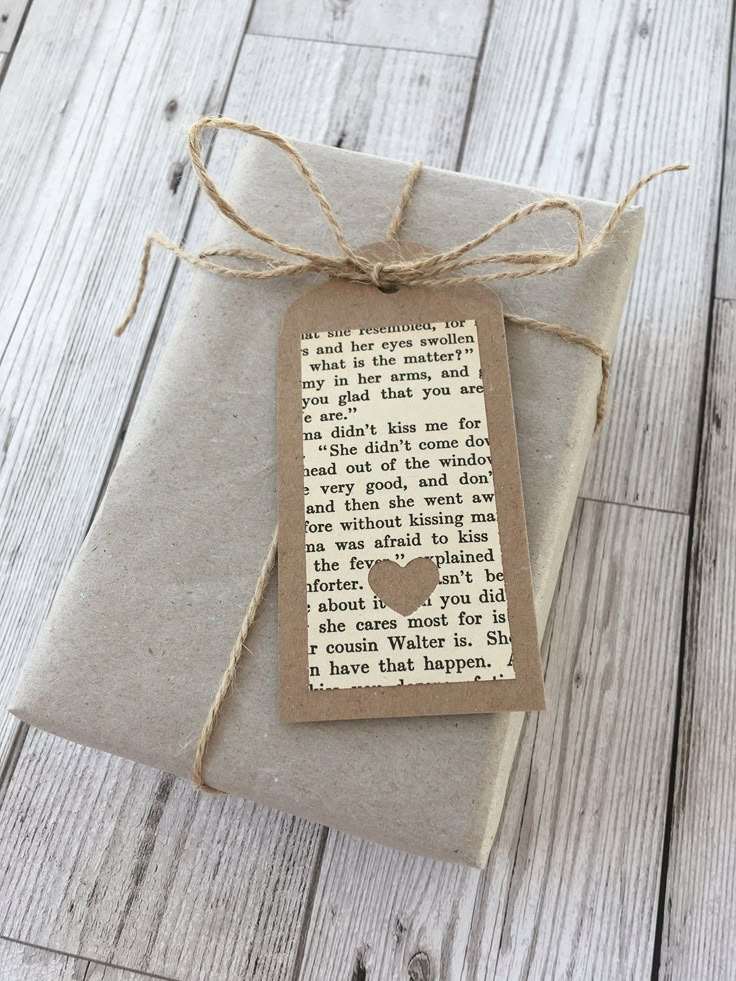
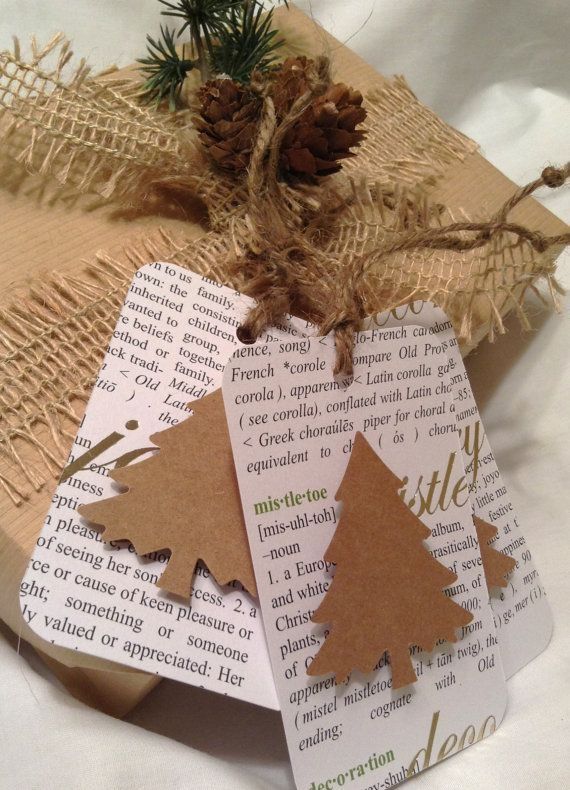
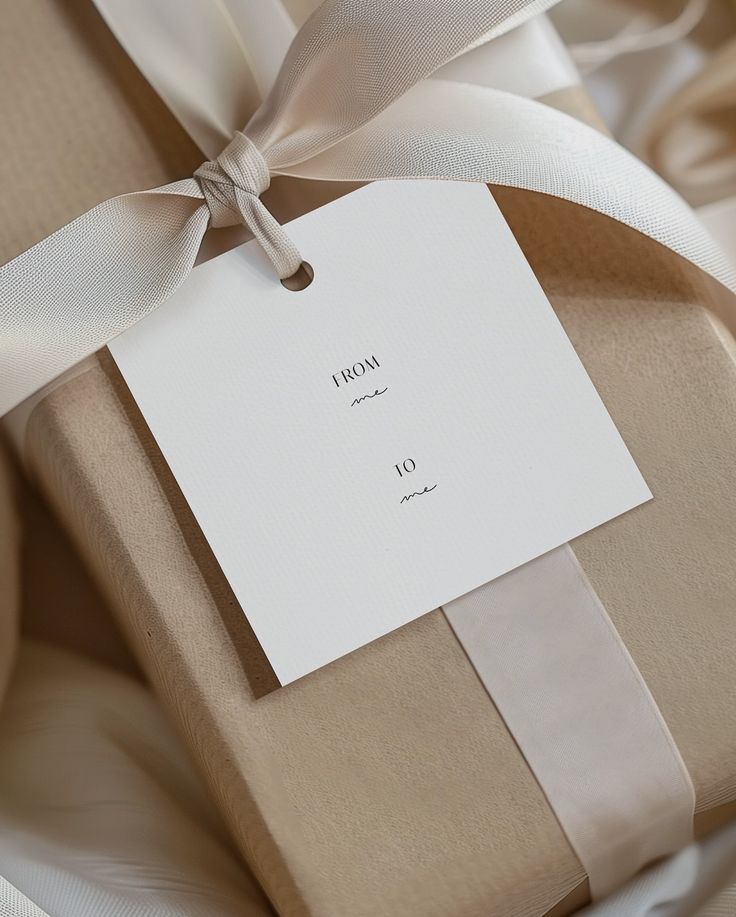
- Handwritten Charm: Always include a gift tag! A simple, store-bought tag becomes special with a handwritten message. Consider a small, personal anecdote or a specific reason why you chose the gift.
- DIY Delight: Get creative with 10 DIY decor ideas for your gift tags! Cut shapes from cardstock, stamp them, add glitter, or even draw a small illustration. This adds an extra layer of thoughtfulness.
- Printable Perfection: Numerous free printable gift tags are available online. Just print, cut, and attach!
Creative Toppers
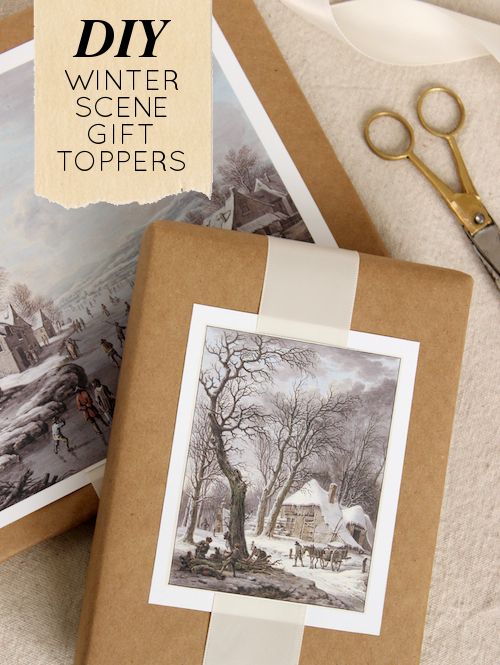
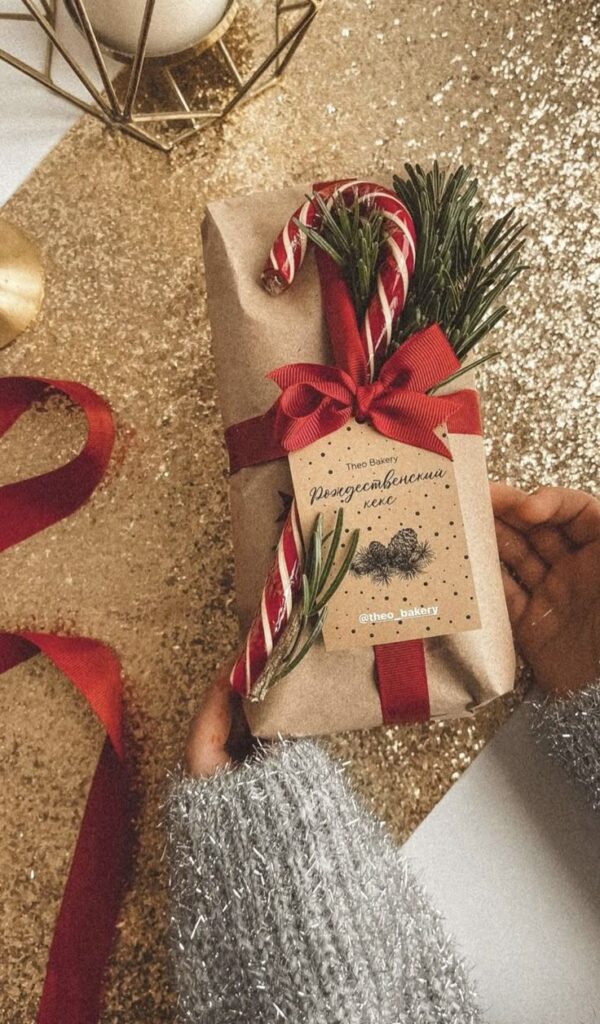
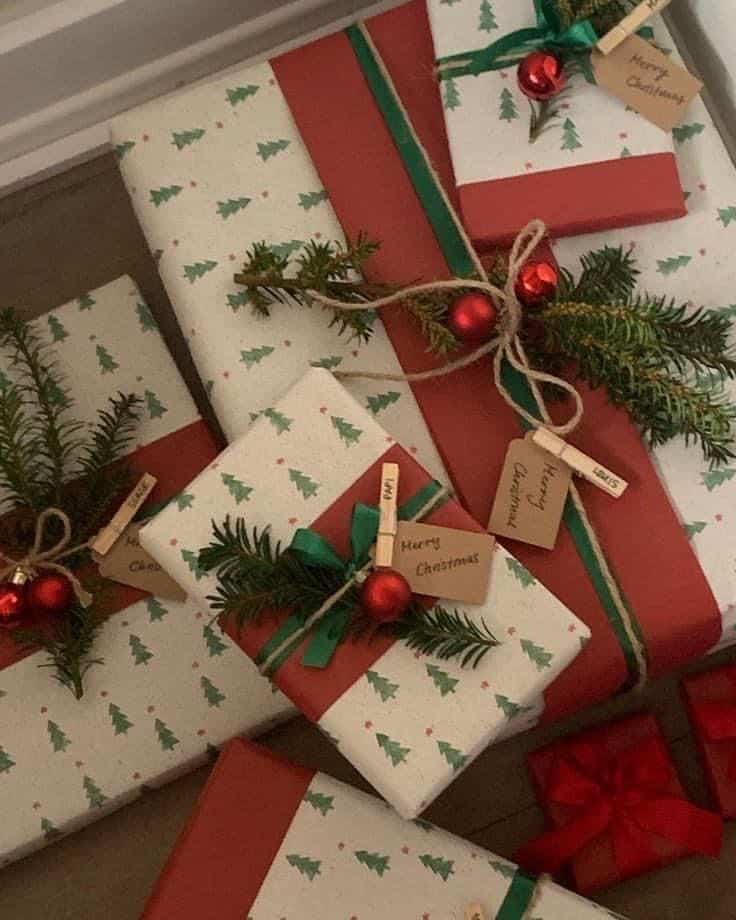
Beyond bows, a well-chosen topper can turn your gift into a mini work of art.
- Natural Elements: For a rustic or elegant look, attach a small sprig of fresh pine, eucalyptus, holly, or mistletoe. A tiny pinecone, dried orange slice, or cinnamon stick can also add a delightful scent and aesthetic.
- Mini Ornaments: A small, inexpensive Christmas ornament tied onto the ribbon makes a lovely keepsake and an extra little gift.
- Small Treats: A candy cane, a small gourmet chocolate, or a handmade cookie tied with twine can be a sweet surprise.
- Personalized Touches: If the gift is for a man, consider tying a small bottle opener or a fishing lure to the package for a truly unique handmade gift ideas for men topper that speaks to his interests.
- Felt or Fabric Shapes: Cut out festive shapes like stars, snowflakes, or hearts from felt and glue them onto the package or tie them to the ribbon.
- Bells and Whistles: Small jingle bells tied to the ribbon add a cheerful sound and a festive touch.
Remember that less can often be more. Choose one or two focal accessories that complement your paper and ribbon rather than overwhelming the package.
Eco-Friendly Wrapping: Sustainable Spreading Joy
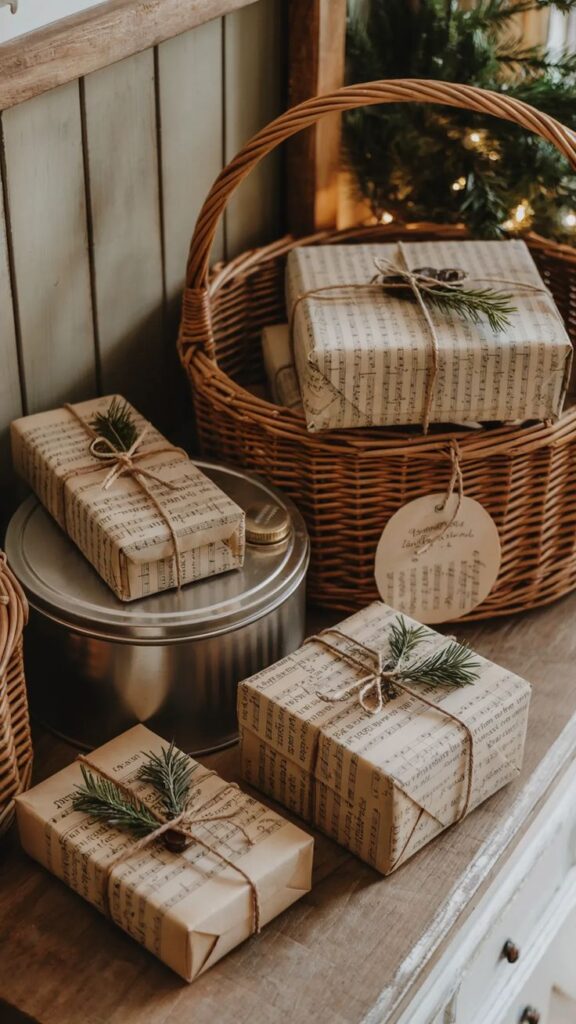

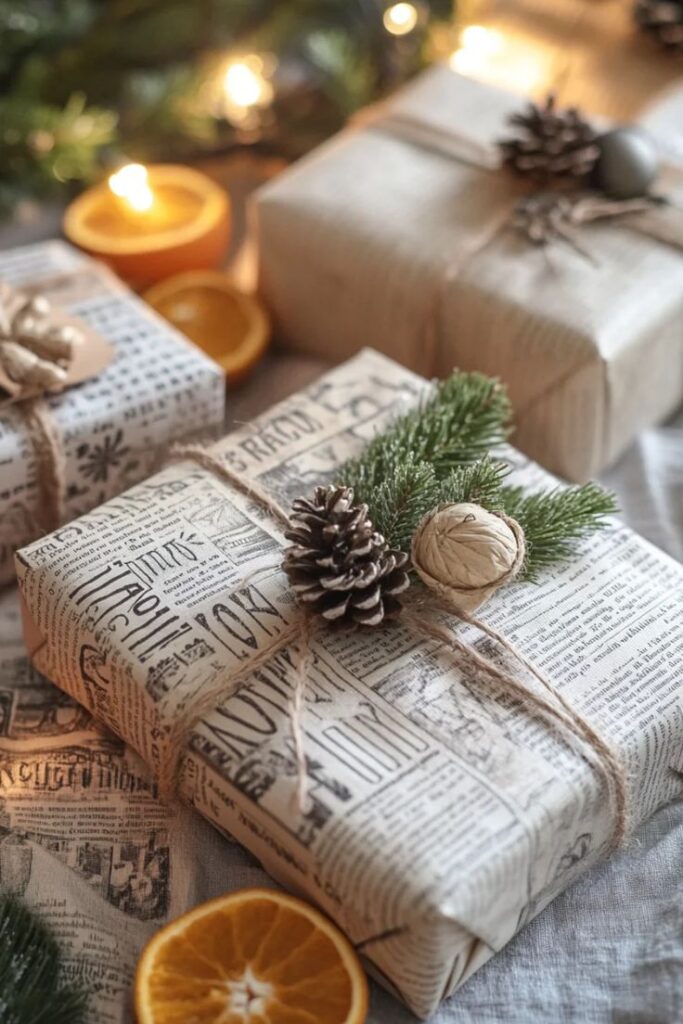
In an age of growing environmental awareness, sustainable wrapping is a thoughtful way to spread holiday cheer without contributing to waste. Many traditional wrapping papers are not recyclable due to dyes, laminates, or glitter.
Alternatives to Traditional Paper
- Fabric Wraps (Furoshiki): As mentioned earlier, furoshiki is a brilliant alternative. You can use scarves, tea towels, bandanas, or even specially purchased reusable fabric wraps. The recipient gets two gifts in one, and the fabric can be reused countless times. Look for beautiful patterns or personalized fabrics to make it extra special.
- Recycled and Recyclable Paper: Seek out wrapping paper made from recycled content, or choose plain brown kraft paper which is easily recyclable and offers a minimalist, rustic aesthetic perfect for customization.
- Newspaper or Magazine Pages: For a quirky and charming wrap, use old newspaper (especially the comic or classifieds section for a vintage feel) or colorful magazine pages.
- Paper Bags: Decorate plain paper bags with stamps, drawings, or collages.
- Reusable Gift Bags: Invest in high-quality, reusable fabric gift bags that can be passed around and reused for years.
Eco-Friendly Embellishments
- Natural Elements: Pinecones, dried flowers, sprigs of rosemary, or bay leaves are biodegradable and beautiful.
- Jute Twine or Natural Raffia: Instead of synthetic ribbons, opt for natural fibers.
- DIY Tags from Recycled Materials: Use old holiday cards, cereal boxes, or scraps of paper to create your own tags.
- Eliminate Tape (Where Possible): Use clever folding techniques, string, or stickers to secure paper, reducing plastic waste.
Embracing eco-friendly wrapping shows an extra layer of care, not just for the recipient, but for the planet too.

The Personal Touch: Making Your Gift Memorable
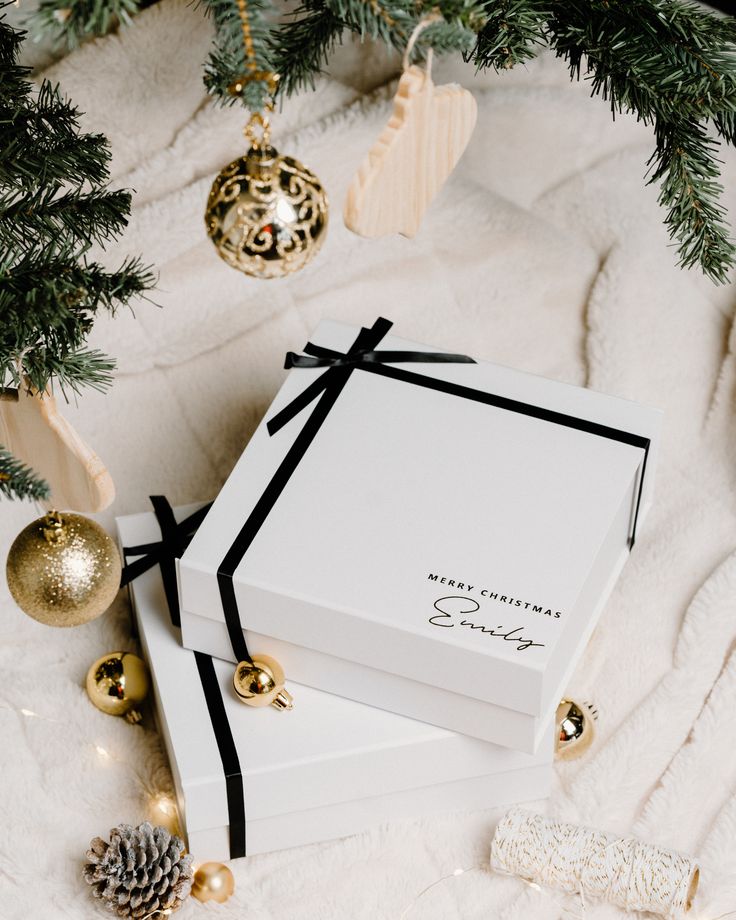
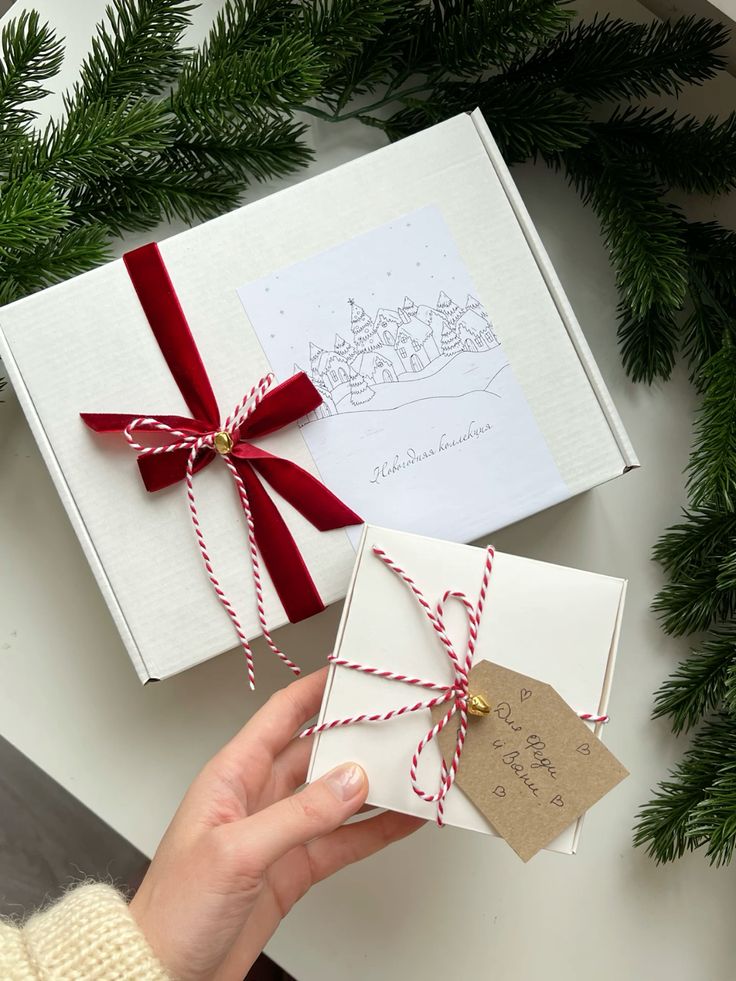
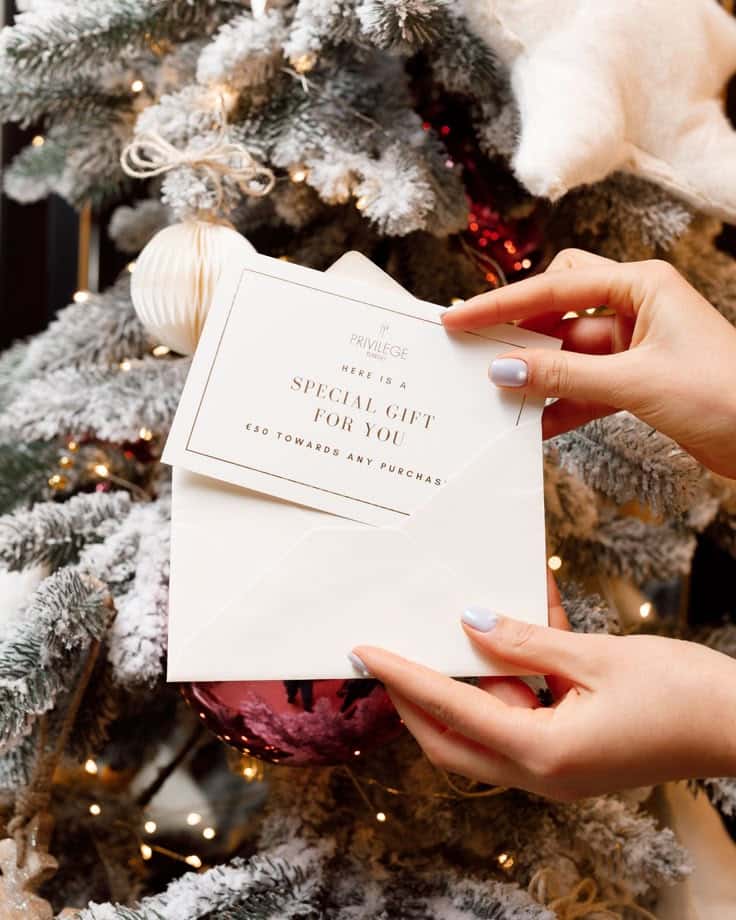
Wrapping a gift isn’t just about aesthetics; it’s an opportunity to inject personality and make the recipient feel truly cherished. A beautifully wrapped gift, presented thoughtfully, can significantly enhance the gifting experience, much like how luxury meets comfort in designing elegant yet livable interiors for modern homes. It’s all about attention to detail.
Handwritten Notes and Messages
Always include a handwritten note. In a digital world, a personal message holds immense value. Write something sincere, expressing your feelings or a special memory associated with the gift or the recipient. This connection makes the gift instantly more meaningful.
Consider the Recipient’s Style
Think about the person you’re wrapping for. Are they minimalist or extravagant? Do they prefer traditional or modern aesthetics? Tailoring the wrapping to their taste shows you truly know them. For instance, a child might love bright, playful paper and a silly bow, while a sophisticated friend might appreciate elegant, understated tones with a subtle satin ribbon.
Include a Small Bonus
Sometimes, the wrapping can hold a little extra surprise. Tuck a small, flat item like a thoughtful photograph, a small piece of artwork, a handmade charm, or even a scratch-off lottery ticket inside the ribbon or under a tag. These tiny additions speak volumes. Even considering the general home care tips for maintaining beauty and order in the interior of your home when presenting gifts can add to the overall impression of thoughtfulness and care.
Scented Touches
For an extra sensory delight, add a subtle scent. A few drops of essential oil (like frankincense, myrrh, or orange for Christmas) on the inside of the paper or on a natural embellishment can create a memorable olfactory experience when the gift is opened. Just be mindful of allergies!
Common Wrapping Woes and How to Fix Them
Even the most seasoned wrappers encounter challenges. Here are solutions to some common pitfalls:
Visible Tape
- Problem: Pieces of tape are showing, making the gift look messy.
- Solution: Use double-sided tape for a seamless finish. Alternatively, use clear cello tape, but try to place it discreetly along seams or under folds. For embellishments, use a strong craft glue that dries clear.
Wrinkled or Creased Paper
- Problem: The paper isn’t smooth, especially after handling.
- Solution: Always store wrapping paper rolls vertically or in protective bags to prevent crushing. When wrapping, work on a clean, flat surface and gently smooth out the paper as you go. For very delicate paper, a light spray of starch (from a distance) can help stiffen it slightly, but test on a scrap piece first!
Awkward, Bulky Corners
- Problem: The corners of your rectangular gifts look lumpy instead of crisp.
- Solution: This usually means too much paper on the sides. Revisit the “Measuring and Cutting” section and ensure you’re not extending the paper too far up the sides of the box. Practice the “hospital corners” technique with sharp creases. If the paper is thick, you might need to trim the side flaps slightly before folding.
Gift Too Large for One Sheet
- Problem: You have a big gift, but only smaller rolls of paper.
- Solution: Don’t panic! You can seamlessly join two pieces of paper. Cut two pieces to the required length. Place them side by side, overlapping by about half an inch. Use double-sided tape or a thin strip of clear cello tape on the underside to join them, creating a larger sheet. Position this seam discreetly on the bottom of the gift. Alternatively, embrace the patchwork look with contrasting papers!
No Ribbon on Hand
- Problem: You’ve wrapped the gift beautifully, but forgot ribbon!
- Solution: Look around your home! You can use jute twine, yarn, strips of fabric (from an old shirt or scrap fabric), shoelaces, or even a piece of pretty string from a shopping bag. Improvise with natural elements or a hand-drawn design on the paper itself to add flair.
Conclusion
Wrapping a Christmas present is more than just a chore; it’s an integral part of the festive celebration, an expression of your affection and creativity. From selecting the perfect paper and mastering the crisp corners to adding those delightful finishing touches, each step contributes to the joy of giving. A beautifully wrapped gift not only builds anticipation but also communicates the care and thought you’ve invested.
So, this holiday season, ditch the lumpy, last-minute wrap jobs. Arm yourself with sharp scissors, quality paper, and these expert tips, and transform your gifts into stunning packages that truly sparkle. Remember, the effort you put into the presentation is a gift in itself, making the unwrapping experience as memorable as the treasure within. Happy wrapping, and may your holiday season be filled with joy, beauty, and perfectly presented surprises!
How do I measure and cut the wrapping paper for a box?
Place the box upside down, measure around its girth, add 1-2 inches for overlap, and cut the paper to cover the length and width with some extra margin for a neat finish.
How can I wrap gifts with irregular shapes or cylinders?
For cylinders, wrap the paper around, pleat the ends inward, and secure with tape or tie like a candy wrapper. For odd shapes, use a box or gift bag, or try fabric wrapping or the crush and wrap method for pliable items.
What are some eco-friendly wrapping options and decorations?
Use fabric wraps like furoshiki, recycled or plain kraft paper, newspaper, or reusable gift bags. Decorate with natural elements like pinecones, dried flowers, or ribbon made from natural fibers, and create recycled paper gift tags.
What is the best way to neatly wrap a rectangular gift?
Position the box upside down, fold and tape the long sides over the box, then fold the ends in a hospital corner style by folding side triangles, folding the top and bottom flaps, and securing with tape for crisp, professional corners.
What essential tools do I need for wrapping Christmas presents?
You need quality wrapping paper, sharp scissors, double-sided tape or clear tape, ribbons, gift tags, embellishments, and a pen for writing messages.
- 30shares
- Facebook0
- Pinterest27
- Twitter3
- Reddit0

