Creating the perfect backdrop can transform any shooting space from ordinary to professional. It’s not just about picking a color or pattern; it involves considering size, texture, and how the background complements the subject. A well-styled backdrop enhances the mood and focus of the photo, making the entire shoot more effective and visually appealing.
Many photographers find that hand-painted or textured backdrops add depth and character that flat colors can’t achieve. Choosing the right size is also crucial—too small, and it limits framing; too large, and it wastes space or budget. Balancing these elements shapes the overall look without overwhelming the scene.
Whether working in a home studio or on location, styling the shooting space is key to professional results. Thoughtful backdrop choices help convey the intended story, highlight the subject, and keep the viewer’s attention exactly where it should be.
Planning Your Backdrop Design
Creating an effective backdrop starts with understanding the feeling to evoke, the colors to use, and how the space and lighting influence the final look. These elements work together to create a strong visual impact that supports the subject and the shoot’s purpose.
Choosing a Theme and Mood

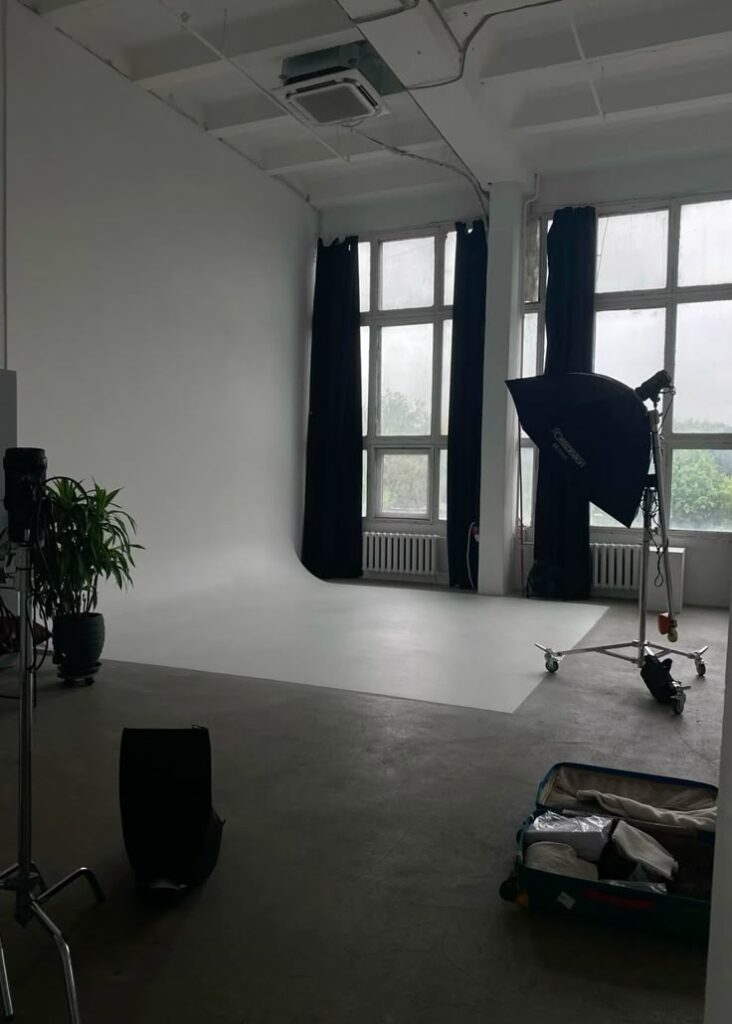
Deciding on a theme gives the backdrop direction. Whether it’s professional, playful, or minimalist, the theme should match the content and purpose of the shoot. For example, a clean, modern look works well for product photography, while textured or layered backdrops suit portraits.
Mood influences choices like props, textures, and materials. If the goal is warmth, natural elements like wood or soft fabrics add comfort. For a bold mood, vibrant or contrasting elements will stand out. Consistency between the backdrop and the subject’s style is key to avoiding distractions.
Selecting Colors and Patterns


Colors should complement the subject’s clothing and skin tone to avoid clashing. Neutral tones like gray, beige, or muted blues are versatile and won’t overpower. Bright colors can work but require careful balance with other scene elements.
Patterns need to be subtle if the focus is on the subject. Busy or large prints could distract and pull attention away. Textures such as brick or wood can add depth without competing visually. Combining solid colors with soft patterns often creates a professional, balanced look.
| Color Tips | Pattern Tips |
|---|---|
| Use colors that enhance | Avoid overly busy designs |
| natural skin tones | Opt for subtle, simple prints |
| Consider mood impact | Mix textures, not colors |
Assessing Lighting and Space

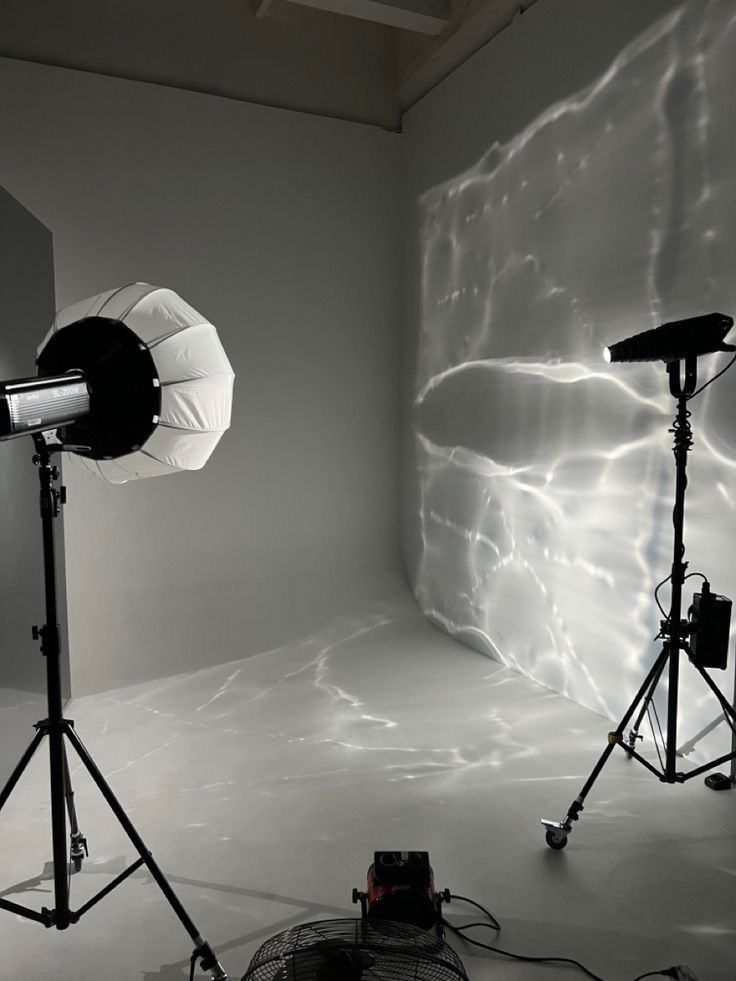
Lighting affects how colors and textures appear on camera. Natural light softens the backdrop but might require adjustments to avoid shadows. Artificial lighting offers control but needs positioning to prevent harsh highlights or dark spots.
Space determines how far the subject stands from the backdrop. Keeping the subject at least six feet away softens the background and reduces shadows. Small spaces may require compact or foldable backdrops to avoid clutter. Measuring the shooting area prior to setup helps plan for light angles and backdrop size.
Setting Up and Styling Your Shooting Space
Creating the right shooting space involves thoughtful placement of background materials, choosing props that add character, and adjusting your setup to suit camera angles. Each element works together to enhance the final image or video.
Arranging Background Materials
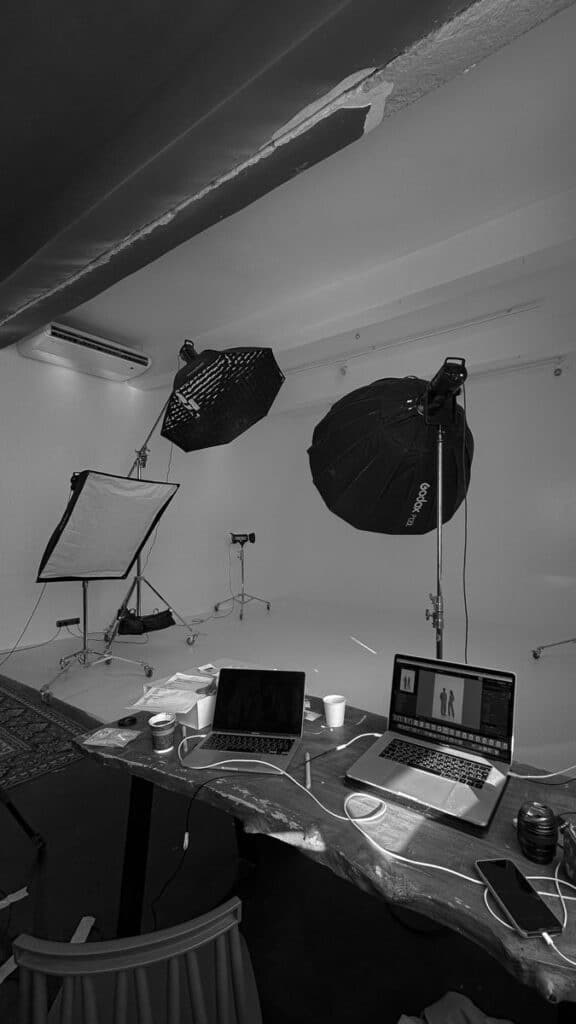

Background materials define the mood and professionalism of the shoot. He or she should choose backdrops that complement the subject without overpowering it. Popular options include solid colors, textured fabrics, or simple patterns.
Mount the backdrop securely to avoid wrinkles or sagging, which distract the viewer. If space is limited, lightweight, foldable materials offer flexibility and easy storage. Lighting plays an essential role here—matte finishes reduce reflection and glare.
Layering can add depth, such as placing a sheer curtain over a solid color. The background should be far enough from the subject to prevent shadows but close enough to keep focus intact.
Incorporating Props for Visual Interest
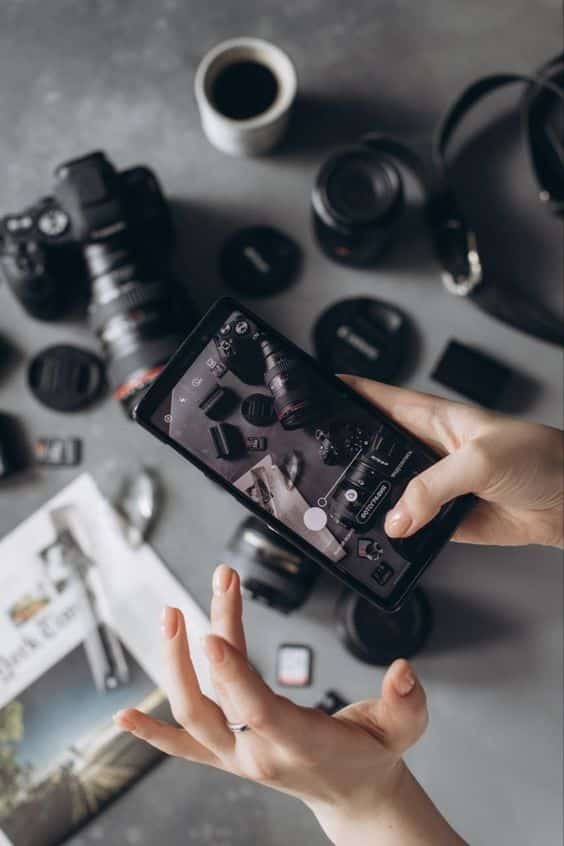
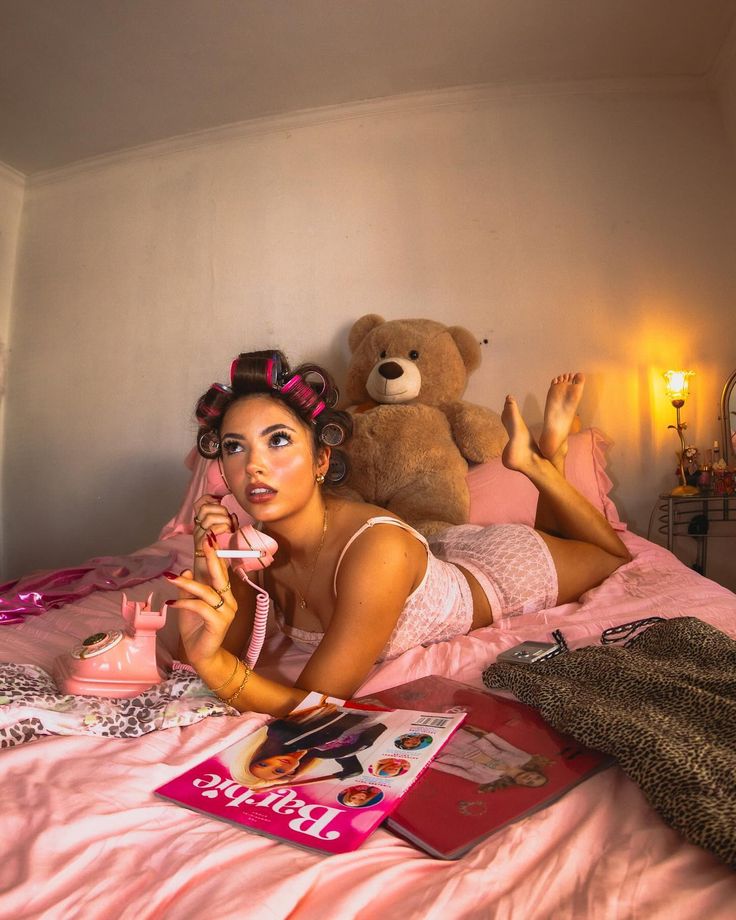
Props help tell a story and bring energy to the shot. They should align with the theme and never clutter the scene. Minimal, meaningful additions perform best.
Arrange props by grouping related items or spacing them evenly for balance. For example, a plant, a stack of books, or a coffee cup can create a cozy, inviting vibe. Natural textures often add warmth without distracting.
Test different placements to find what works best within the frame. Avoid shiny surfaces that cause unwanted reflections under bright lights. Keep props clean and relevant to maintain professionalism.
Optimizing for Camera Angles


Camera direction impacts how the backdrop and props appear. He or she should plan shots using multiple angles to highlight strengths and hide imperfections.
Lower angles make spaces feel larger, while eye-level shots create connection with the subject. Slight tilts can enhance depth but should not cause distortion.
Adjust the backdrop and props based on the chosen angle to avoid awkward cropping or shadows. Marking spots for the camera and subject can save time during shooting.
Consistent lighting from the chosen angle improves clarity and color fidelity. Experimenting with angles also reveals the best combination of background, props, and subject placement.
Conclusion
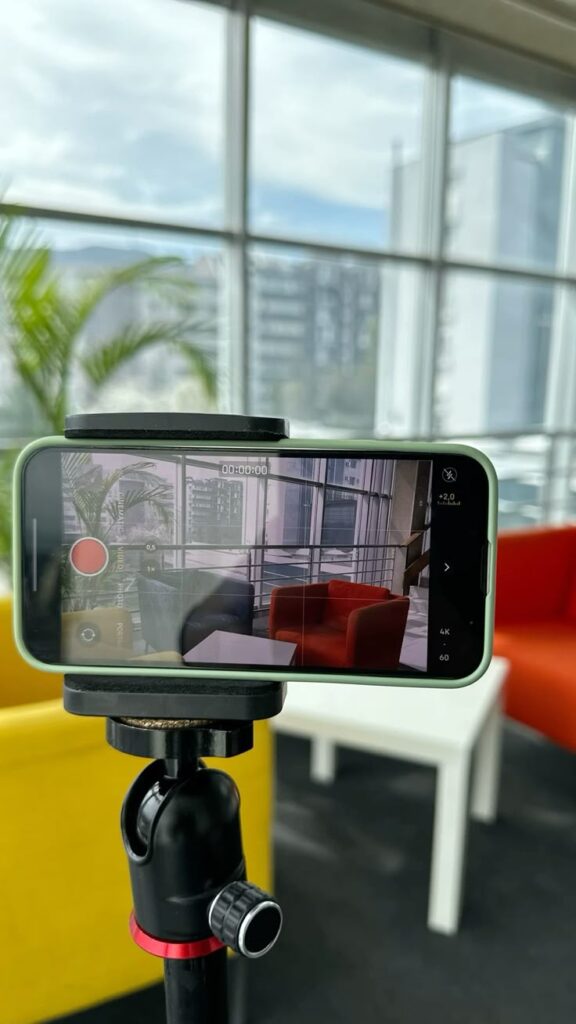
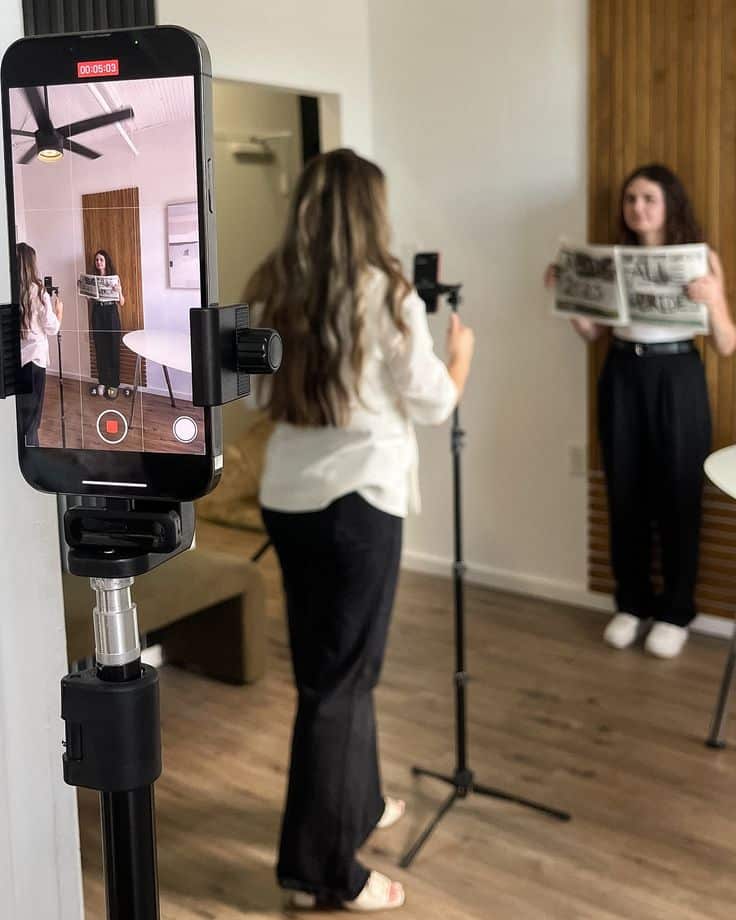
Creating the perfect backdrop is a mix of creativity and practicality. Choosing colors, textures, and materials that fit the shoot’s purpose helps set the scene effectively.
They should consider lighting carefully, as it shapes the mood and highlights the subject. Simple adjustments can dramatically improve the quality of the final image.
A well-styled backdrop doesn’t need to be complicated or expensive. Using affordable options like fabric, paper, or painted walls can provide excellent results.
It is helpful to keep versatility in mind. Backdrops that allow easy changes or additions save time and add variety for different shoots.
Key tips to remember:
- Match the backdrop to the theme or mood
- Ensure good lighting and minimal distractions
- Choose materials that fit the budget and style
- Keep setup and tear-down easy for efficiency
With these steps, photographers and creators can shape their shooting space to highlight the subject and enhance their work’s storytelling.
- 961shares
- Facebook0
- Pinterest960
- Twitter1
- Reddit0

