Drawing a guitar can be a fun and rewarding experience, whether you’re a budding artist or a seasoned illustrator. Guitars, revered for their melodic sounds, have a unique structure that offers an exciting challenge to capture on paper. Understanding the anatomy of this beloved musical instrument is crucial before attempting to draw it. Each part of the guitar, from the headstock to the body, has specific proportions and details that add to the overall look and feel of the drawing.
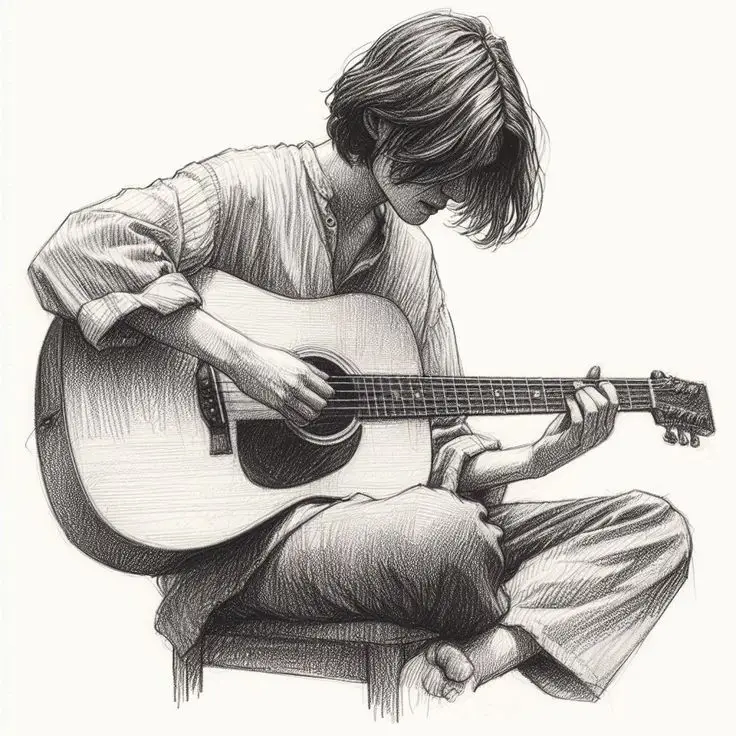

Starting with the basics, it’s important to learn the different ways you can represent a guitar in your artwork. Techniques for drawing a guitar vary, ranging from simple outlines to intricate detailing that showcases the guitar’s individual characteristics. Artists often begin with a simple sketch, focusing on the main shape and adding elements such as strings and tuning pegs as they progress. As skills develop, shading and texturing techniques can bring drawings to life, providing depth and realism. Digital tools also offer new horizons for guitar art, allowing for precision and a range of effects that can enhance the final piece.
Key Takeaways
- Understanding guitar anatomy is essential for accurate representation.
- Mastering basic shapes and progressing to complex details enriches the drawing process.
- Digital tools can enhance the creation and detailing of guitar art.
Understanding Guitar Anatomy
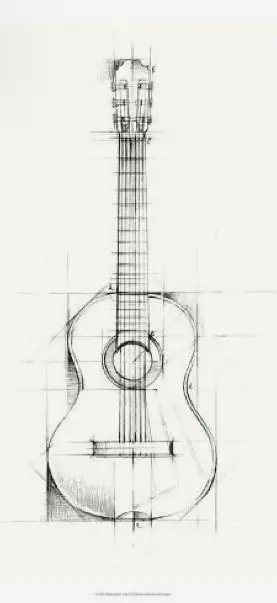
A well-made guitar consists of several key components that affect its playability and sound. Whether you’re looking at an acoustic or electric guitar, understanding these parts can help deepen your appreciation of the instrument.
Parts of an Acoustic Guitar
An acoustic guitar typically has a large hollow body that amplifies the sound of the strings. The sound hole is located in the center of the guitar body, allowing sound to resonate outwards. Just below it is the bridge, which supports the strings and transmits their vibrations to the body. The guitar body often has a pick guard, a protective plate to guard against scratches from picks.
The neck of the guitar is attached to the body and holds the frets, small metal bars that mark different notes. At the top of the neck is the headstock, which includes tuning pegs. These pegs adjust the tension of the strings and, as a result, their pitch. Here are the essential parts of an acoustic guitar:
- Headstock: Contains the tuning pegs.
- Neck: Long piece that holds the frets and connects to the body.
- Frets: Metal strips that divide the neck into musical notes.
- Sound Hole: The opening in the body that projects sound.
- Pick Guard: Protective plate for the body.
- Bridge: Where the strings are anchored to the body.
Components of an Electric Guitar
An electric guitar, unlike an acoustic guitar, usually has a solid body and relies on electronic amplification. It shares some similarities with the acoustic guitar, such as the neck, frets, and headstock with tuning pegs. However, the sound is not amplified through a sound hole but through pickups that convert the string vibrations into electrical signals.
The bridge on an electric guitar can have various designs, some allowing for the strings to be adjusted for better intonation and action. The pick guard is also present, but mainly on models that aim to reduce electrical interference with the pickups. Here are the key components of an electric guitar:
- Headstock: Contains the tuning pegs.
- Neck: Supports the frets and transmits hand movements to pitch.
- Frets: Metal strips on the neck to play different notes.
- Body: Solid and houses the electronic components.
- Pick Guard: Shields from electrical noise and protects the body.
- Bridge: Holds the strings and may alter their height and length.
Both acoustic and electric guitars share core components that define their unique sounds and playing experiences.
Basics of Guitar Drawing
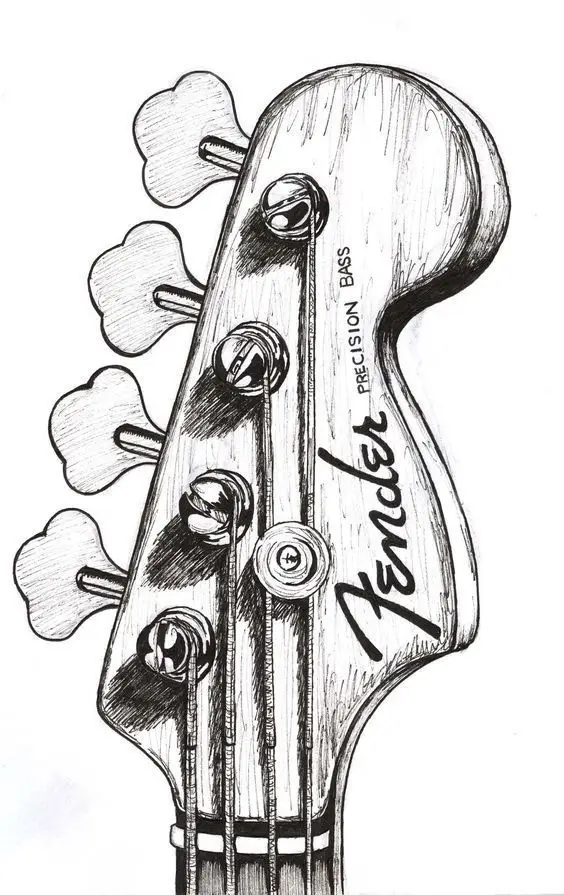
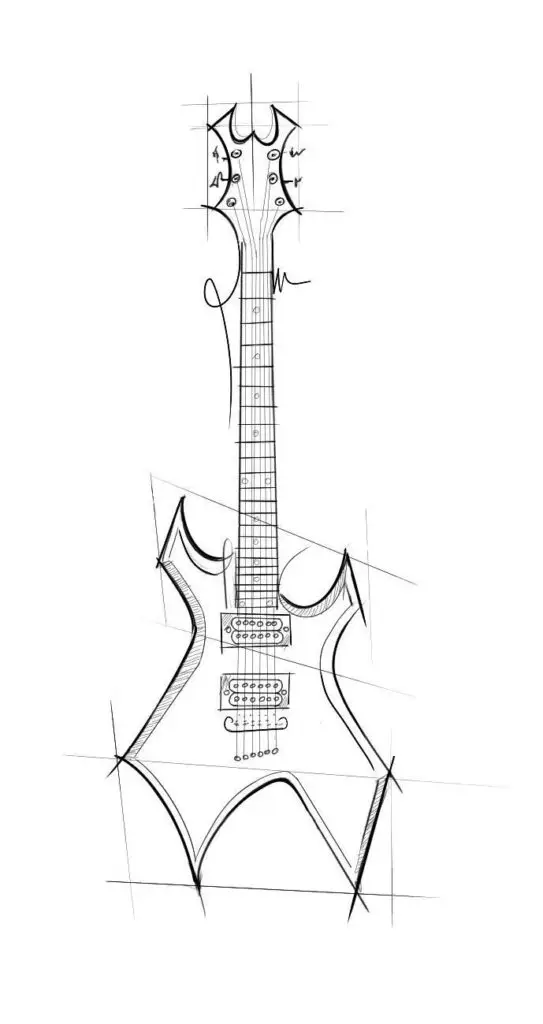
To draw a guitar well, one needs to start with a basic outline before adding details like the body, neck, and headstock.
Sketching the Outline
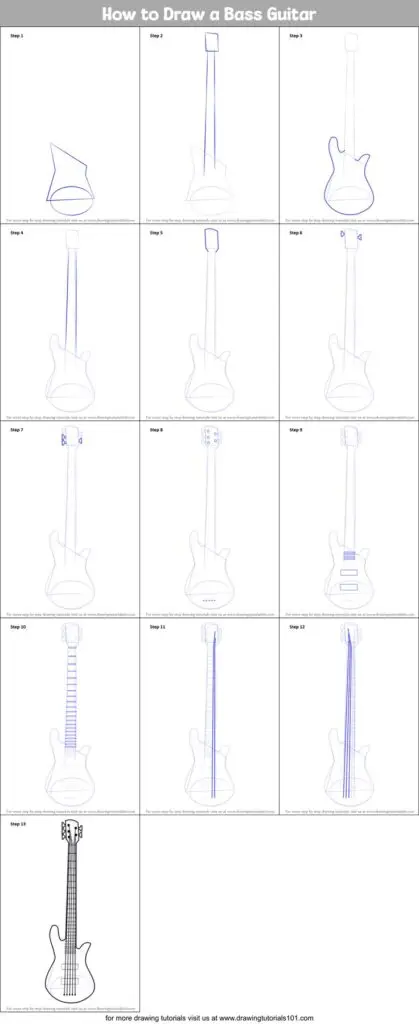
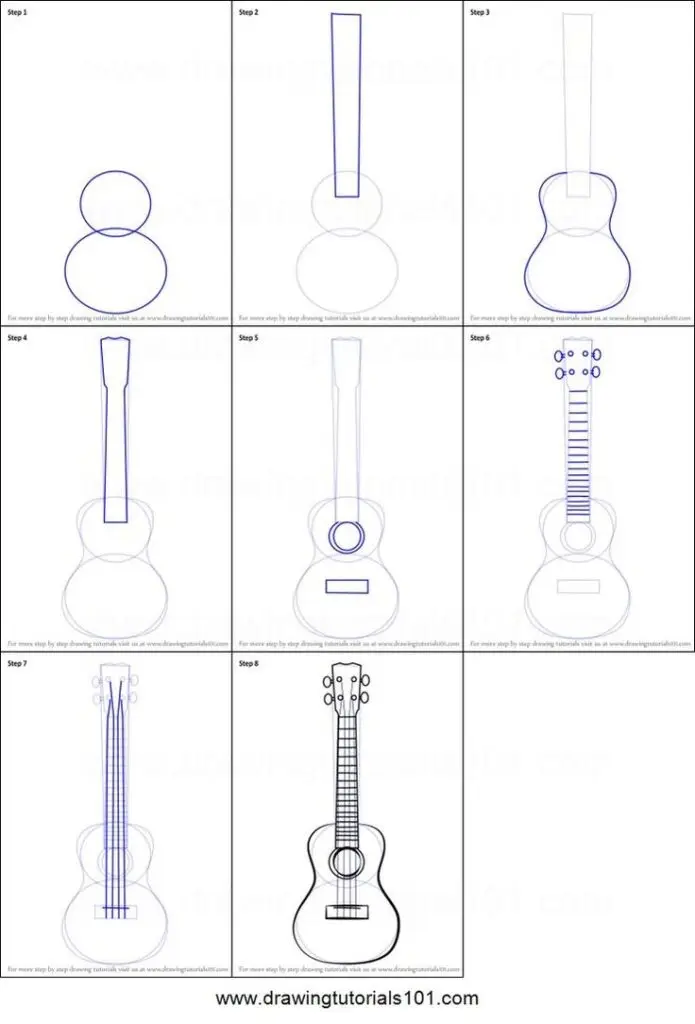
The first step is to sketch a simple outline of the guitar. This usually starts with a vertical line for the neck and two curved lines to represent the body’s shape. Getting the proportions correct is key, so one might want to refer to a picture of a guitar for guidance.
Steps for sketching a guitar outline:
- Draw a long, thin rectangle for the neck.
- Sketch an oval shape for the body, making sure it’s symmetrical.
- Connect the neck and body smoothly.
Drawing the Body
After the outline, the guitar’s body needs more definition. Here, one adds the sound hole, pick guard, and the bridge. One should use gentle curves for the sound hole and precise lines for the pick guard and bridge.
Features to include in the guitar body:
- Sound hole: A perfect circle in the center of the body’s oval shape.
- Pick guard: A teardrop shape near the bottom of the sound hole.
- Bridge: A small rectangle at the base of the body.
Defining the Neck and Headstock
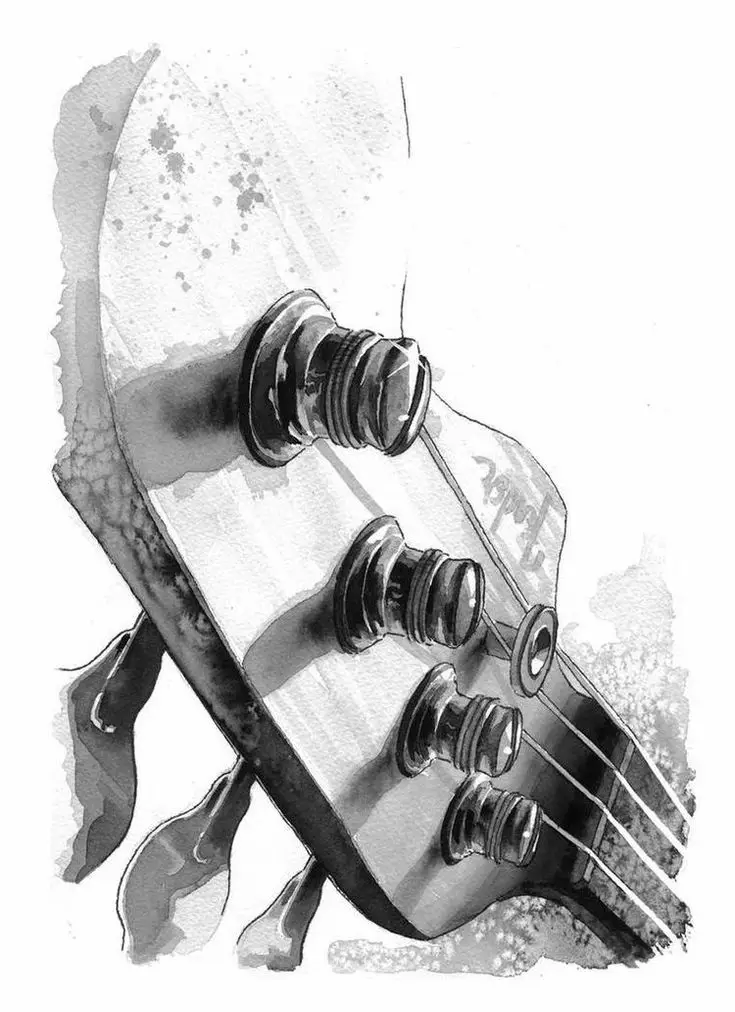
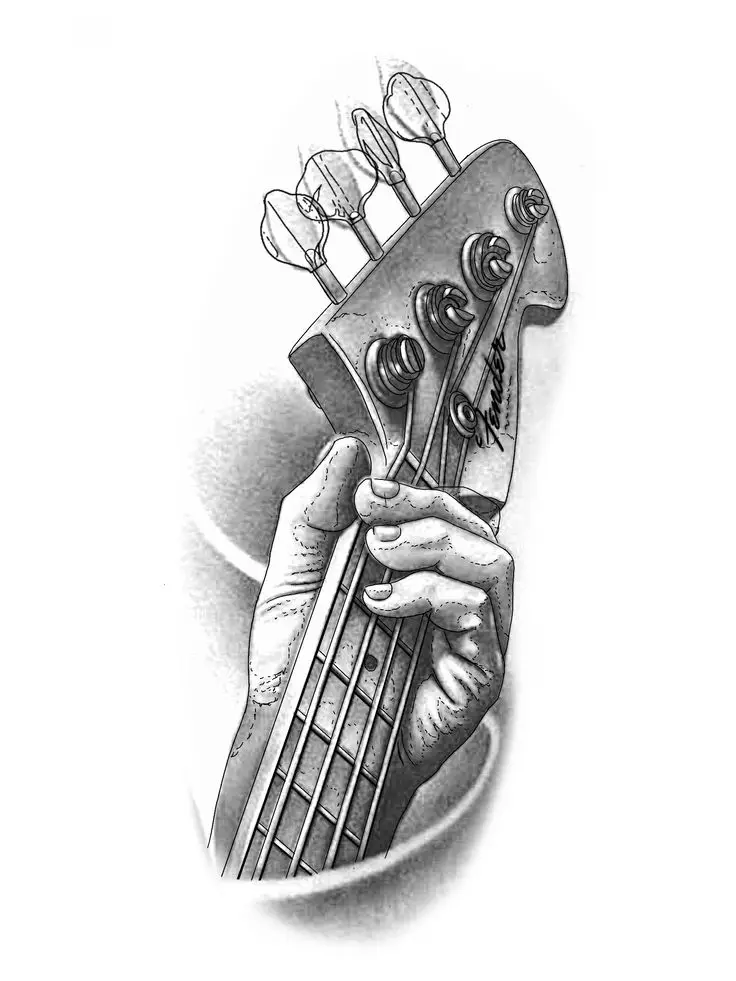
Finally, it’s important to detail the neck and headstock of the guitar. The neck houses the frets and fingerboard, and the headstock is where one finds the tuning pegs.
Aspects to draw on the neck and headstock:
- Frets: Evenly spaced lines across the neck.
- Tuning pegs: Small ovals or circles at the top of the headstock.
Each component should be given attention to ensure the guitar drawing looks realistic and accurate.
Drawing Techniques
When drawing guitars, paying close attention to shading and texture helps achieve a realistic look, while accurately detailing the frets and strings defines the instrument’s intricate features.
Shading and Texture
To begin with shading, one can use a range of pencils such as 2H for light shading and 6B for darker areas. First, identify the light source to determine where the shadows fall on the guitar body. Use tight, circular pencil strokes for even shading and vary the pressure to create different tones. For fine-grained wood texture, add subtle lines that follow the guitar’s shape.
To highlight the reflections on the guitar’s smooth surface, keep certain areas free of pencil marks or use an eraser to lift color off a shaded region. This method can add depth and a more three-dimensional quality to the drawing.
Detailing the Frets and Strings
For the frets and strings, start with a ruler to draw straight lines along the neck of the guitar. Frets can be evenly spaced using light marks before being fully defined. A detailed step-by-step guide can help to get the proportions right.
Drawing the strings requires a steady hand; they should be parallel and extend from the top of the guitar neck to the bridge. For a more dynamic drawing, depict the strings with slight curves to show tension. Using fine, sharp pencils will contribute to the delicate look of the strings and enhance their realism.
Finishing Touches


Guitar drawings gain life when one adds music notes as if a melody is played. They come alive with color, allowing them to look as vibrant as they would sound.
Adding Music Notes
Music notes can be sketched around the guitar to create a sense of rhythm and melody. Here are the steps:
- Decide where to place the music notes around the guitar.
- Lightly draw treble clefs and music notes such as quarter notes or eighth notes.
- Use a thin pen to go over the sketches.
Tips for Music Notes:
- Space the notes evenly to suggest a continuous rhythm.
- Use different types of notes (e.g., quarter, eighth, half) to add variety.
Coloring Your Guitar


When coloring the guitar, one should choose shades that reflect the guitar’s intended style. Use the following guide to color your guitar:
- Outline: Darken the edges of the guitar using a fine-point pen or a sharp pencil to define the boundaries.
- Wood tones: Select brown shades for a natural look, or get creative with colors like blue or red for a more stylized approach.
- Strings: Keep them light or use a gentle gray to hint at their metallic nature.
- Details: Use darker colors for the fretboard and lighter shades for the inlays.
Materials List:
- Colored pencils
- Fine-point pens
- Eraser for corrections
Remember to blend colors smoothly for a realistic appearance or use contrasting colors for a more abstract style.
Digital Guitar Art


Creating digital guitar art requires mastery of specific tools and techniques. Artists can bring their musical visions to life using advanced software.
Using Art Software
Art software offers various tools and features to create detailed guitar art. For example, artists might use layers to separate different parts of the guitar such as the body, strings, and fretboard. This makes it easier to edit each part without affecting the others.
- Layers: Separate elements for organized editing.
- Brushes: Mimic different textures and styles.
- Color palettes: Choose exact colors for a realistic look.
Artists may follow drawing instructions to sketch the guitar step-by-step, starting with basic shapes and then adding details. It’s helpful to reference real guitars for accuracy.
Some artists prefer video tutorials, which provide a visual guide to learn new techniques and tools within the software. They usually show how to start a drawing, which tools to use, and how to add effects for more depth and realism.
Resources for Learning
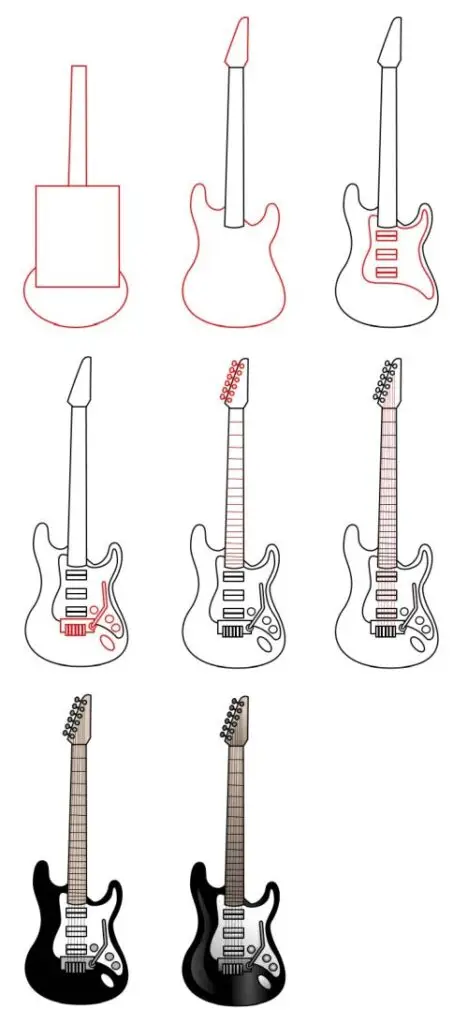
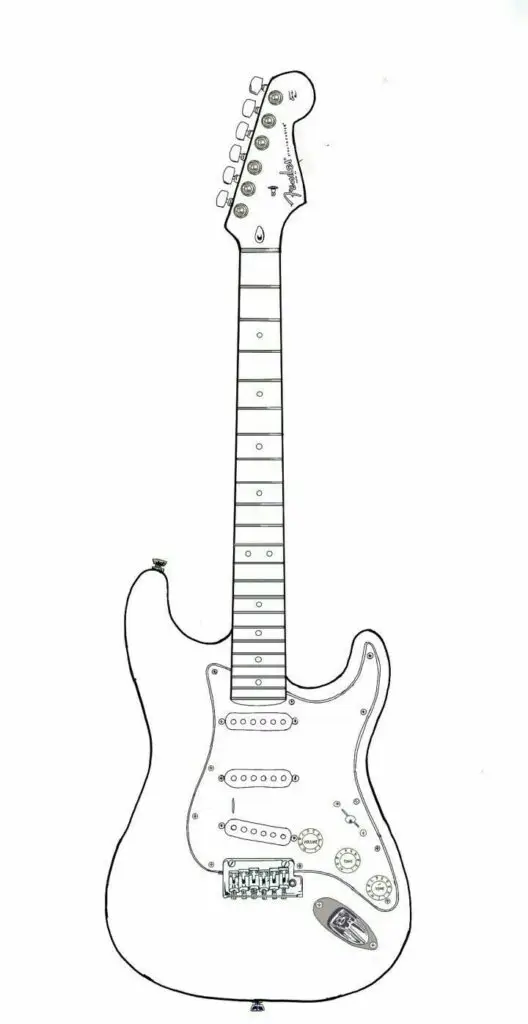
Learning to draw a guitar can be made easier with the right materials. Printable pages are particularly useful for beginners to practice and refine their skills.
Printable Pages for Practice
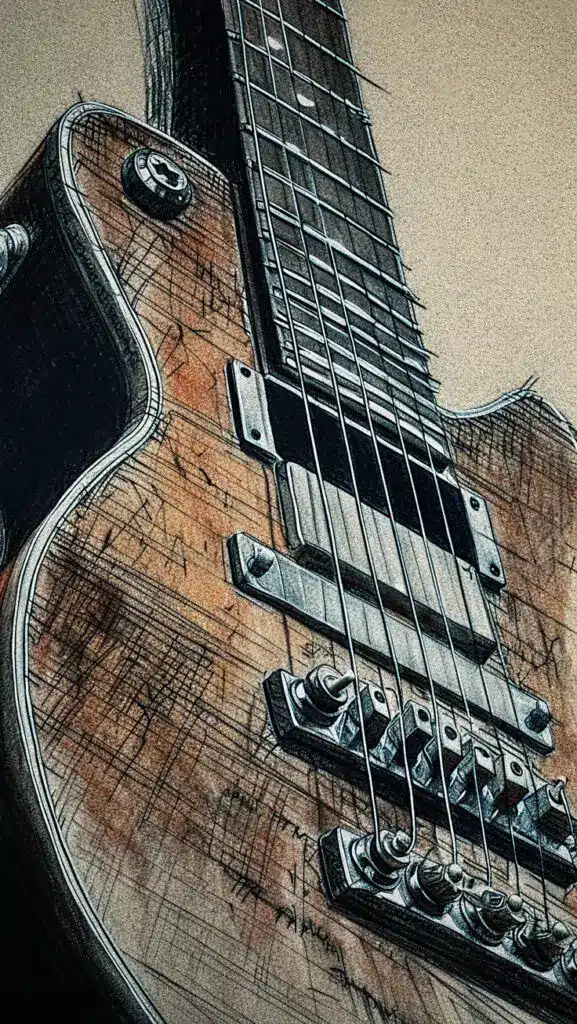
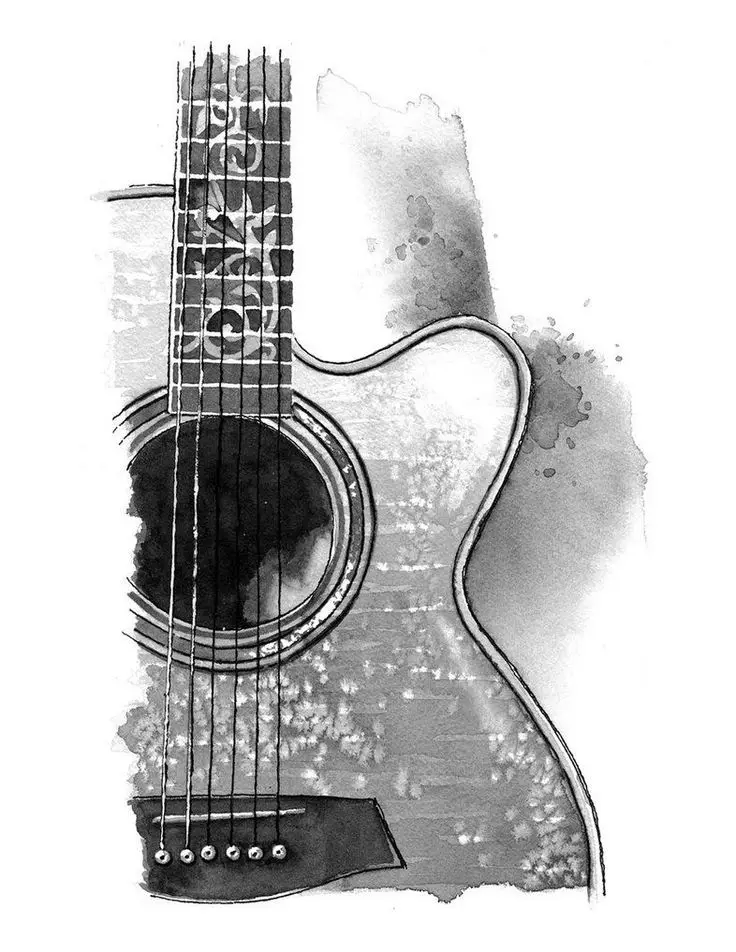
Printable pages provide learners with a variety of easy drawing exercises. These resources often include outlines of guitars that students can trace or use as a reference for freehand drawing. By practicing with these guides, individuals can get comfortable with the shapes and proportions of different guitar types.
- Advantages:
- Structured Learning: Offering step-by-step progression.
- Convenience: Accessible anywhere with a printer.
- Finding Pages:
- Search for websites dedicated to music education or art.
- Look for printable guitar worksheets on online platforms that specialize in educational resources.
When selecting printable pages for practice, always ensure they are appropriate for the learner’s skill level to promote a sense of achievement and steady progress.
- 3.9Kshares
- Facebook0
- Pinterest3.9K
- Twitter3
- Reddit0


