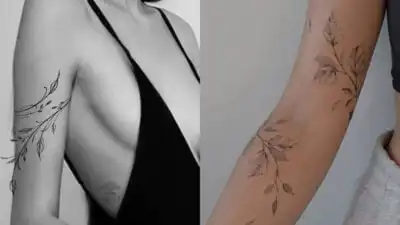
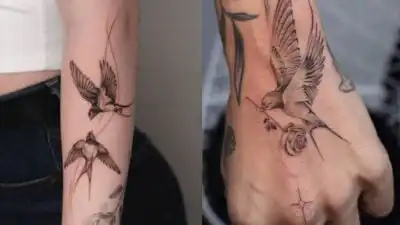
Ever tried to capture the intricate beauty of a freshly inked tattoo, only to find your photos fall flat? You’re not alone. Tattoos are a deeply personal art form, a permanent canvas of stories, symbols, and self-expression. Yet, photographing them effectively can be surprisingly tricky.
From catching the subtle nuances of color to highlighting the crispness of a line, there’s a whole world beyond just pointing and shooting. That’s exactly why we’re diving deep into the ultimate guide to mastering tattoo photography tips, ensuring your ink shots are as stunning and impactful as the artwork itself.
Whether you’re a tattoo artist looking to build a killer portfolio, a client wanting to show off your new piece, or a photographer expanding your niche, these insights will elevate your game. We’ll cover everything from the right gear to the magic of lighting, composition, and even how to make your subjects truly shine. Get ready to transform your tattoo photos from “meh” to absolutely magnificent!
Why Good Tattoo Photography Matters
Think about it: a tattoo is a significant investment, a piece of art that lives and breathes on skin. Poor photography can completely misrepresent its detail, vibrancy, and overall impact. For artists, high-quality images are critical for attracting new clients and showcasing their skill. They form the backbone of a professional portfolio, whether online or in print. For clients, it’s about preserving a memory, a story, and sharing it with the world in the best possible light. A great photo celebrates the artist’s vision and the wearer’s unique style.
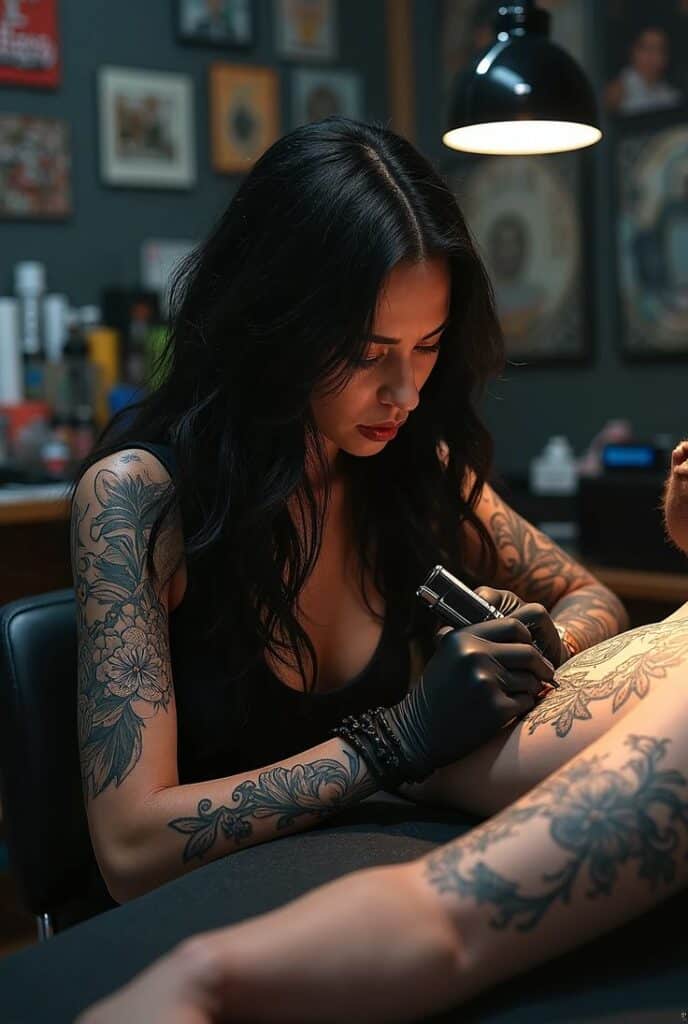
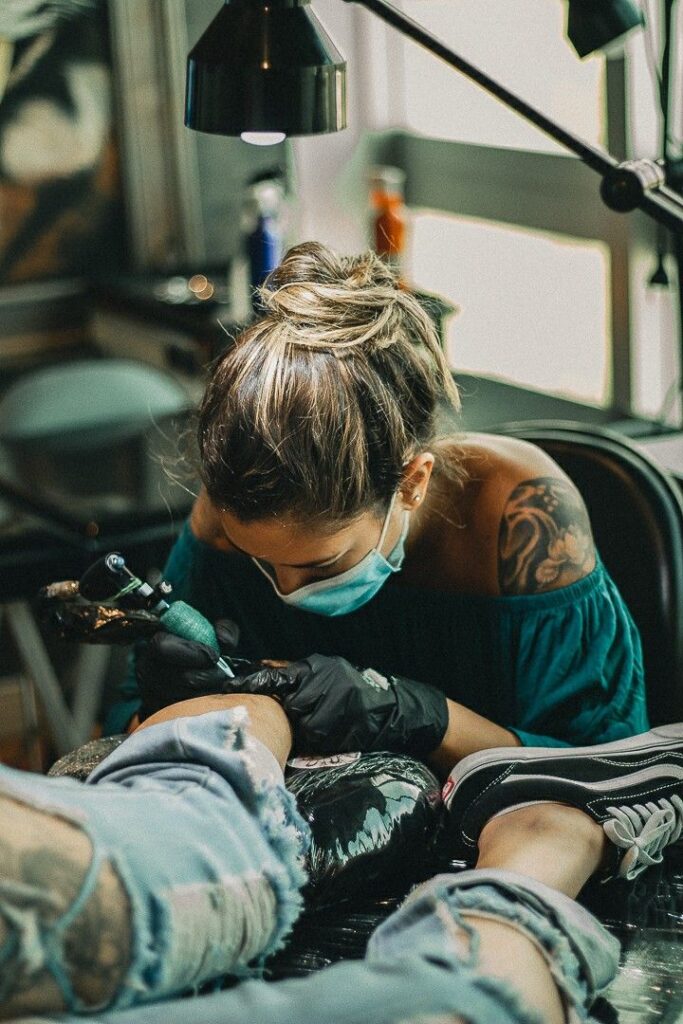
Gearing Up: Essential Tools for Top-Tier Tattoo Shots
You don’t need a professional studio’s worth of equipment, but having the right tools certainly makes a difference. Let’s break down what’s essential to get you started on your journey to capturing incredible tattoo photos.
Camera Bodies: Your Photography Workhorse
While your smartphone camera can do a decent job for quick snaps, a dedicated camera offers far more control and image quality.
- DSLRs or Mirrorless Cameras: These are your best friends for tattoo photography. They offer interchangeable lenses, manual controls, and larger sensors, which translate to better low-light performance and sharper images. You don’t necessarily need the latest, most expensive model; a mid-range camera body from brands like Canon, Nikon, Sony, or Fujifilm will serve you well.
- Sensor Size: Full-frame sensors generally provide better image quality, especially in challenging lighting, but crop-sensor cameras (APS-C) are more affordable and perfectly capable of producing excellent results. The key is understanding your camera’s capabilities and how to maximize them.
Lenses: The Eye of Your Camera
The lens you choose profoundly impacts the look and feel of your tattoo photos.
- Macro Lenses: If you want to capture intricate details, fine lines, and subtle textures, a macro lens is invaluable. These lenses allow for extreme close-ups, revealing the artistry in a way standard lenses can’t. A 50mm, 85mm, or 100mm macro lens is a fantastic investment.
- Prime Lenses (Fixed Focal Length): Lenses like a 50mm f/1.8 or 85mm f/1.8 are excellent for overall shots. Their wide apertures (low f-stop numbers) let in more light, allowing for faster shutter speeds and beautiful background blur (bokeh), which helps the tattoo pop. They also tend to be very sharp.
- Zoom Lenses: A versatile zoom lens like a 24-70mm f/2.8 can be handy for capturing both full body shots and tighter crops without switching lenses constantly. While not as sharp as primes, modern zoom lenses are incredibly capable.
Lighting Equipment: Shaping the Scene
Lighting is arguably the most crucial element in any photography, and tattoo photography is no exception. It defines mood, highlights texture, and ensures color accuracy.
- Natural Light: The sun is your most powerful and often most flattering light source. Look for soft, diffused natural light – think near a large window, in open shade outdoors, or on an overcast day. Avoid harsh direct sunlight which can create blown-out highlights and deep shadows.
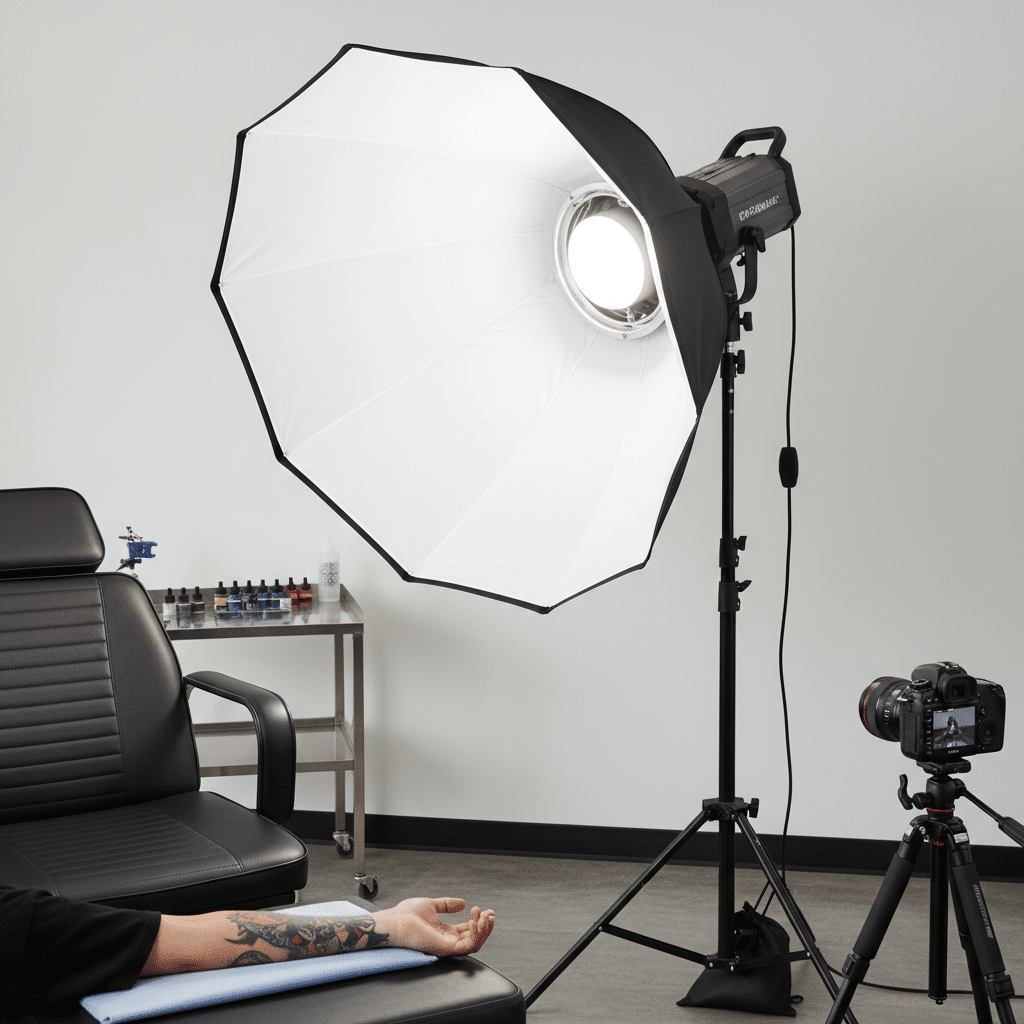
- Continuous LED Lights: These are fantastic for studio setups. They provide a constant light source, letting you see exactly how the light falls on the tattoo before you even press the shutter. Look for lights with adjustable brightness and color temperature.
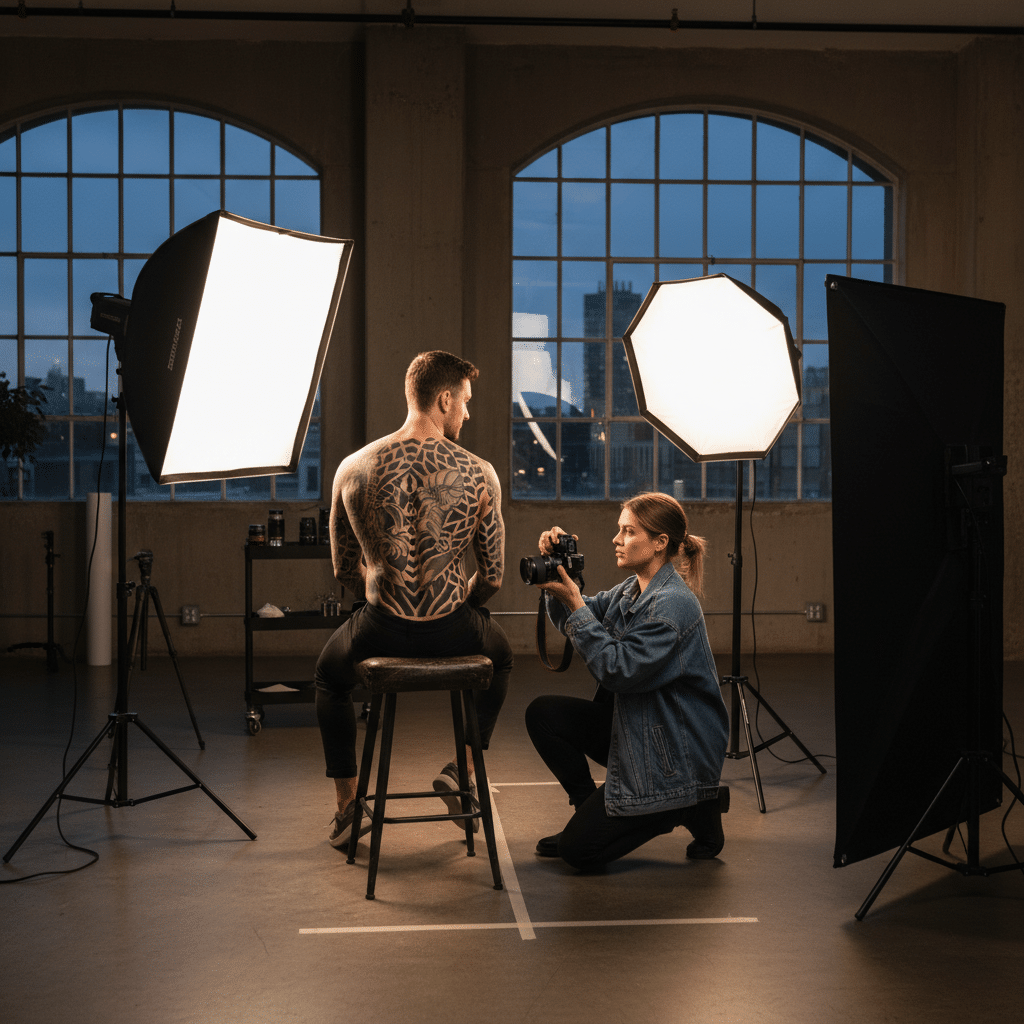
- Speedlights/Flashes: Off-camera flashes give you immense control. Used with diffusers, softboxes, or umbrellas, they can create professional-looking, soft, and even lighting. The ability to direct light precisely helps in illuminating the tattoo without washing out its details.
- Reflectors and Diffusers: These are often overlooked but incredibly powerful tools. A reflector can bounce light back onto the subject, filling in shadows and adding sparkle. A diffuser softens harsh light, creating a more even and pleasing illumination.
Mastering the Light: Illuminating Your Ink
Effective lighting is the secret sauce for captivating tattoo photos. It can make or break your shot, influencing everything from color vibrancy to the perception of depth and detail.
Understanding Light Direction and Quality
Just as a painter uses light and shadow to create dimension, you, as a photographer, manipulate light to make the tattoo truly stand out.
- Soft vs. Hard Light: Soft light, typically from a large, diffused source (like a big window or a softbox), creates gradual transitions between highlights and shadows. This is usually ideal for tattoos, as it minimizes harsh glare and evenly illuminates the details. Hard light, from a small, undiffused source (like direct sunlight or a bare flash), creates sharp shadows and intense highlights, which can sometimes obscure fine lines and colors.
- Frontal Lighting: When light comes from directly in front of the tattoo, it tends to flatten the image. While it ensures even illumination, it can strip the tattoo of depth.
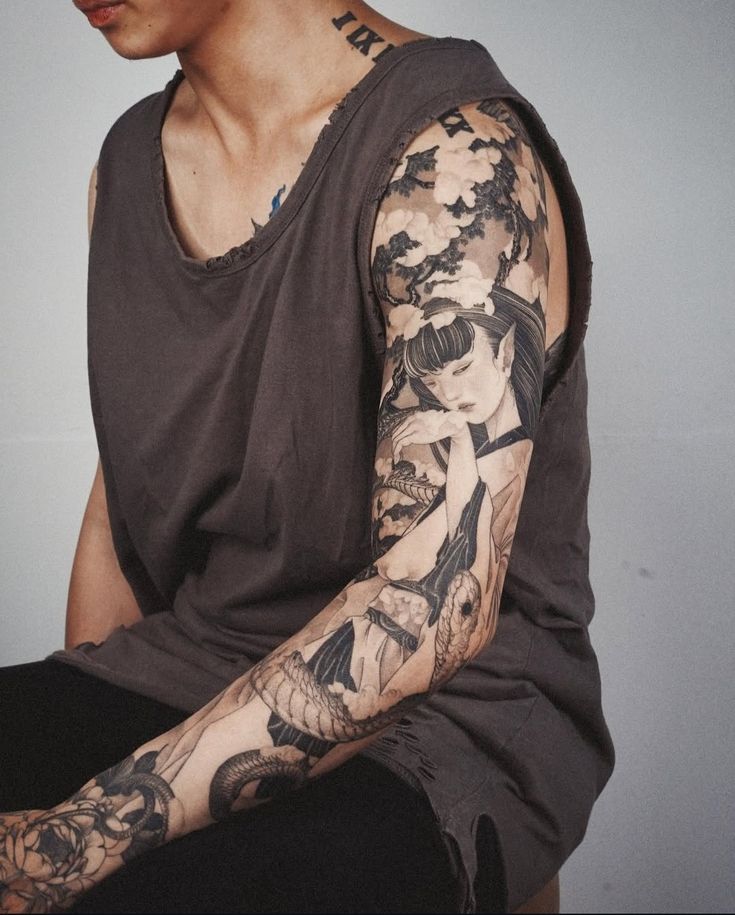
- Side Lighting (Raking Light): This is often your best friend for texture. When light hits the tattoo from an angle, it creates subtle shadows that accentuate the texture of the skin and the raised quality of fresh ink. This is particularly effective for black and grey realism or linework.
- Backlighting: Light coming from behind the subject can create a dramatic silhouette or rim light, separating the subject from the background. While beautiful, ensure enough frontal fill light to illuminate the tattoo itself.
The Power of Diffusers and Reflectors
These simple tools are game-changers.
- Diffusers: If you’re working with strong natural light or a bare flash, a diffuser panel placed between the light source and the tattoo will soften the light dramatically. This reduces harsh shadows and glare, making the colors appear richer and the lines clearer.
- Reflectors: A silver or white reflector can bounce ambient light back onto the tattoo, especially useful for filling in shadows created by side lighting or ensuring even exposure across the entire piece. A gold reflector can add warmth, which might be appealing for certain skin tones or tattoo styles.
Avoiding Glare and Hot Spots
One of the biggest challenges in tattoo photography is managing glare. The skin, especially fresh ink with a protective balm, can be reflective.
- Angle of Incidence: The angle at which light hits the tattoo is crucial. Experiment with different angles of your light source to find where glare is minimized. Often, moving your light slightly off-axis from your camera can help.
- Polarizing Filter: A polarizing filter attached to your lens can work wonders in reducing reflections and glare from the skin, similar to how polarized sunglasses reduce glare from water. This is an indispensable tool for professional results.
- Matte Balm/Powder: For fully healed tattoos, a very light application of a matte setting spray or powder can help reduce natural skin oils that cause shine. Be extremely careful with fresh tattoos and always consult the artist first.
Composition and Angles: Framing the Art
Once you’ve got your lighting dialed in, it’s time to think about how you frame your shot. Composition is about telling a story, guiding the viewer’s eye, and showcasing the tattoo in its best light.
Rule of Thirds and Leading Lines
These fundamental photography principles are just as relevant for tattoo photography.
- Rule of Thirds: Imagine a tic-tac-toe grid over your image. Placing the tattoo or key elements along these lines or at their intersections often creates a more balanced and dynamic shot than simply centering everything.
- Leading Lines: The human body itself, or elements in the background, can create leading lines that draw the viewer’s eye directly to the tattoo. Think about the curve of an arm, the line of a collarbone, or even architectural elements in the setting.
- Negative Space: Don’t be afraid to use negative space – the area around the tattoo – to make the artwork breathe and stand out. Sometimes, less is more.
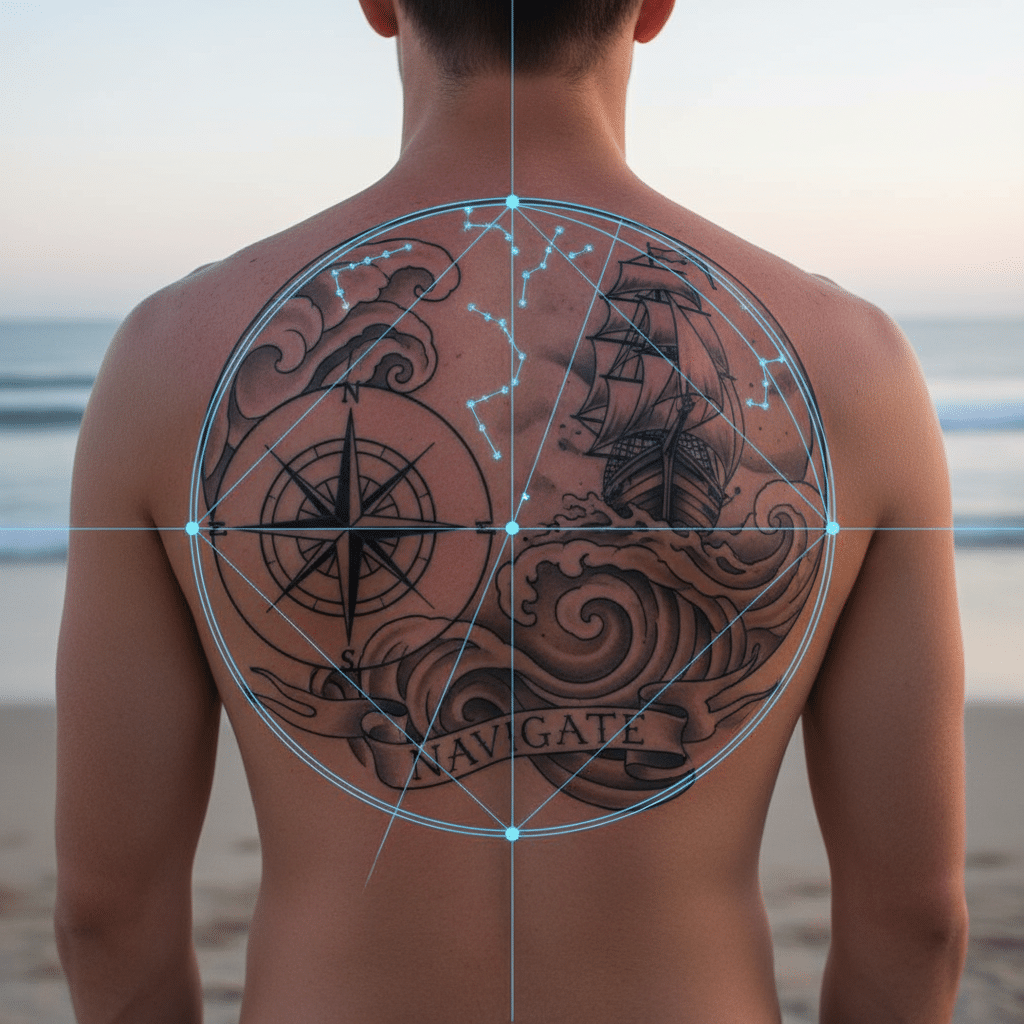
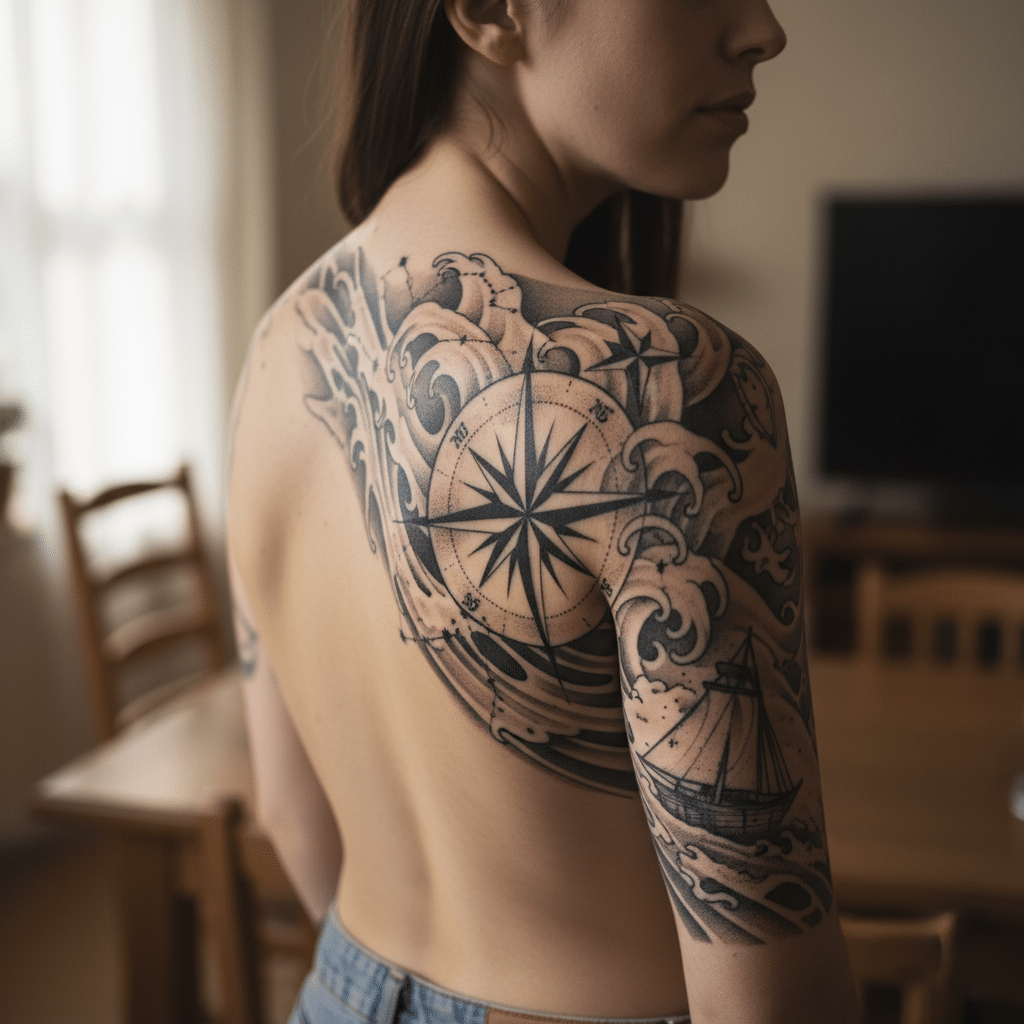
Capturing the Whole Story: Full Shots, Mid-Shots, and Details
A single photo rarely tells the whole story. A varied approach to composition provides a comprehensive view of the tattoo.
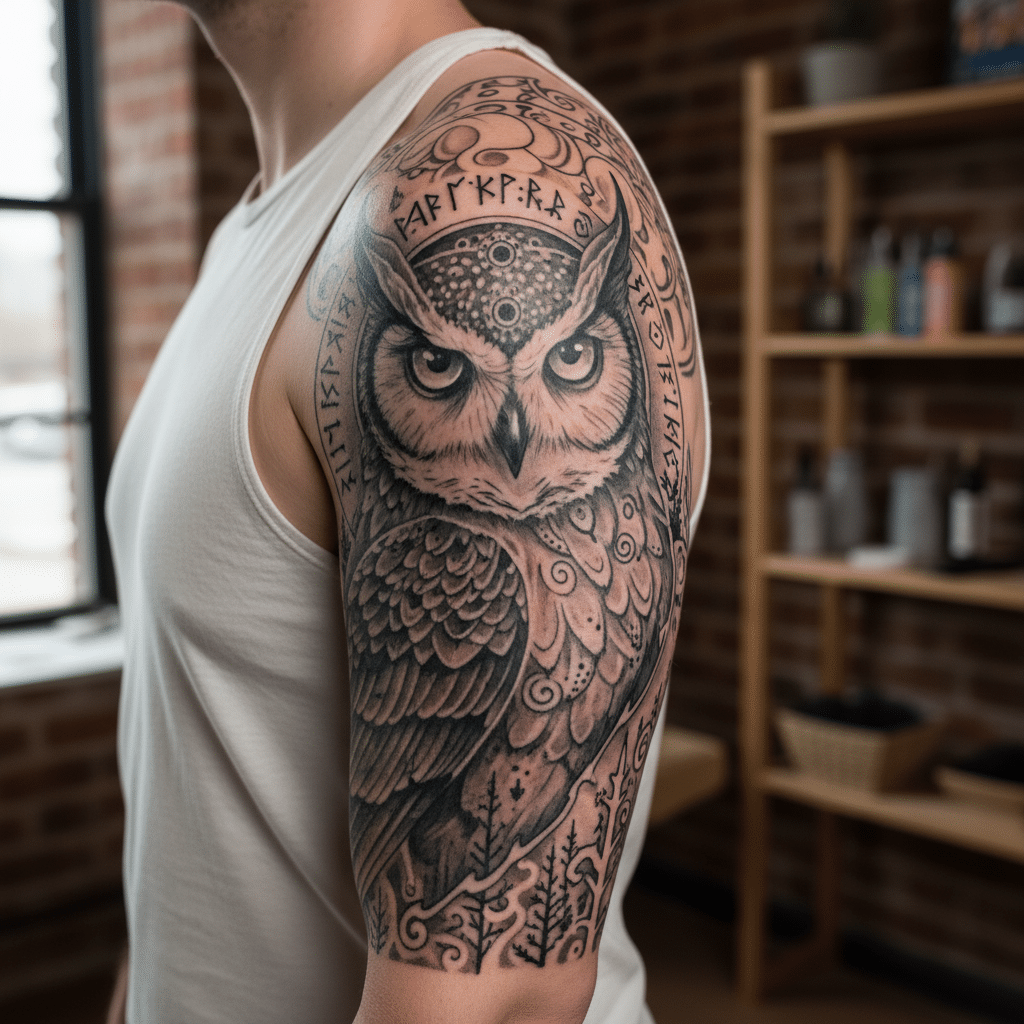
- Full Body Shots: Show the tattoo in context on the body. How does it flow with the natural curves? Does it complement the wearer’s style? These shots provide scale and often capture a broader narrative. Consider the overall aesthetic of the shot, much like you would for formal fashion inspiration.
- Mid-Range Shots: Focus on the specific area of the tattoo, perhaps from the elbow to the shoulder, or the full back piece. These shots highlight the tattoo’s overall design without getting bogged down in minute details.
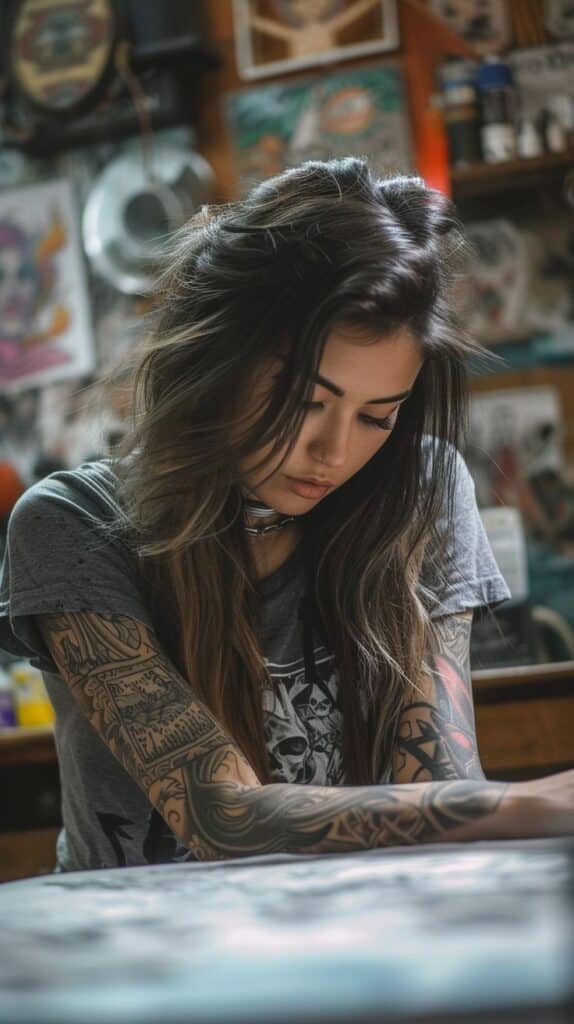
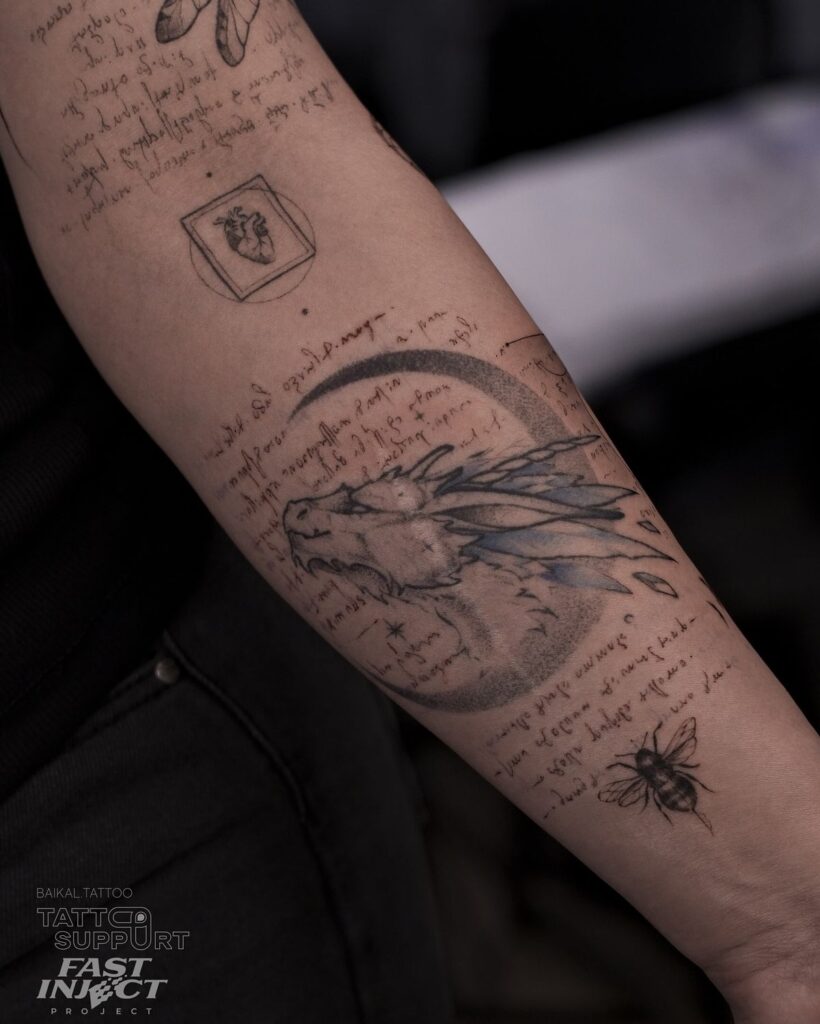
- Detailed Close-ups: This is where you bring out the artist’s precision. Capture the fine lines, the subtle color gradients, the tiny textures. A macro lens shines here, but even a standard lens with a tight crop can work. These shots are crucial for showcasing the quality of the work.

Angles and Perspectives
Don’t just shoot straight on. Move around your subject!
- Eye-Level: Often a good starting point, as it feels natural and relatable.
- High Angle (looking down): Can make the subject appear smaller or emphasize the tattoo’s spread on a flat surface like a back.
- Low Angle (looking up): Can make the tattoo and subject feel more powerful or grand, especially useful for leg or chest pieces.
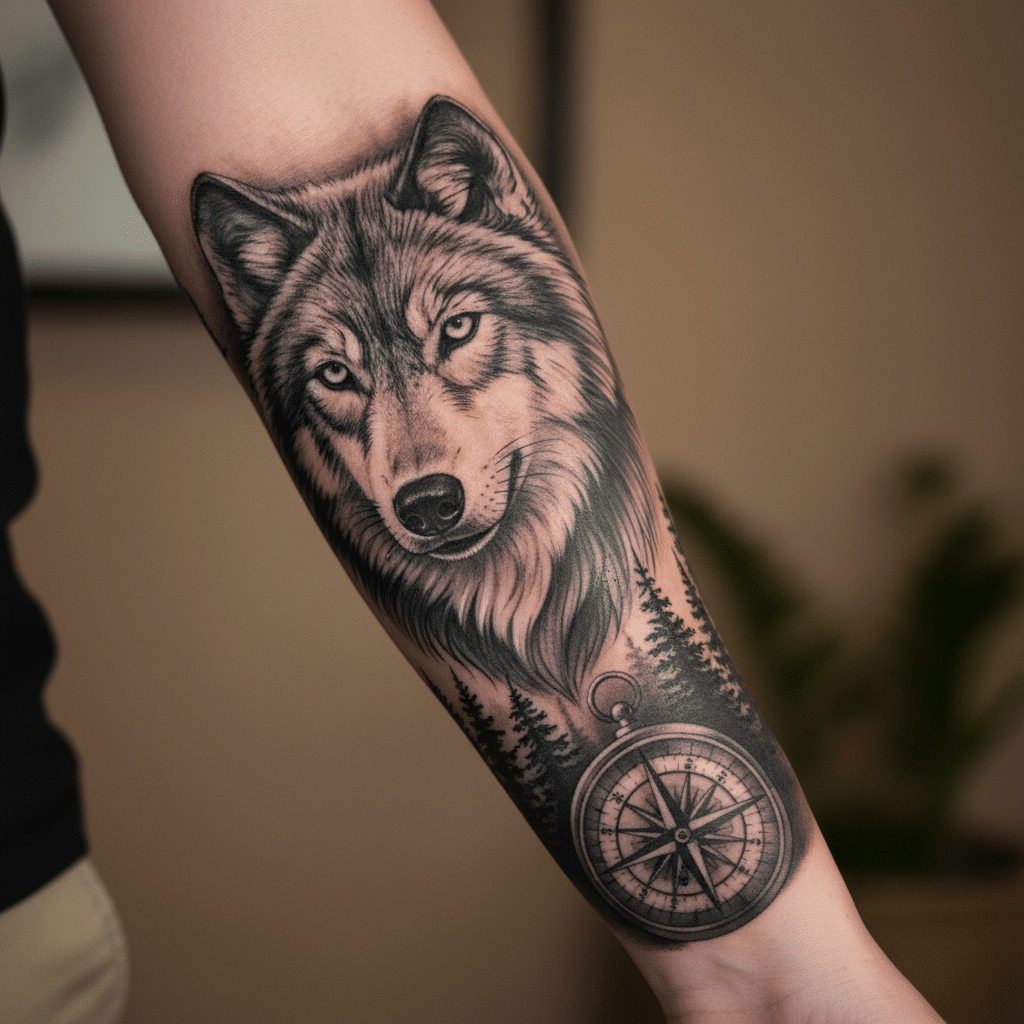
- Body Contours: Tattoos flow with the body. Shoot along the curve of a bicep, the arch of a back, or the sweep of a calf. This emphasizes the tattoo’s integration with the anatomy, reflecting an understanding similar to human anatomy for artists.
Posing Your Subject: Bringing Ink to Life
A beautifully composed and lit shot can still fall flat if your subject looks stiff or unnatural. Posing is about making the wearer comfortable and showcasing the tattoo in its most dynamic form.
Comfort is Key
Most people aren’t professional models. Make them feel at ease.
- Communicate: Talk to your subject. Explain what you’re trying to achieve. Ask them about their tattoo – its meaning, the artist, their experience. This helps build rapport.
- Relaxation: Encourage natural postures. If they’re stiff, the tattoo will look stiff. Sometimes, having them interact with something, like holding a prop or leaning against a wall, can help.
- Music: Playing some relaxed background music can significantly change the atmosphere and help your subject loosen up.
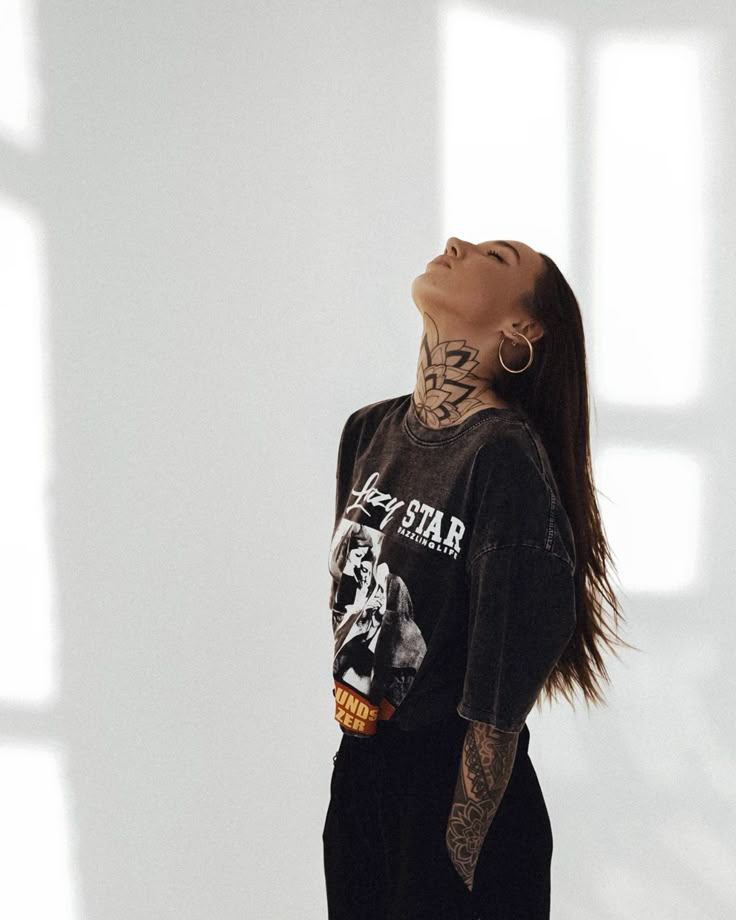
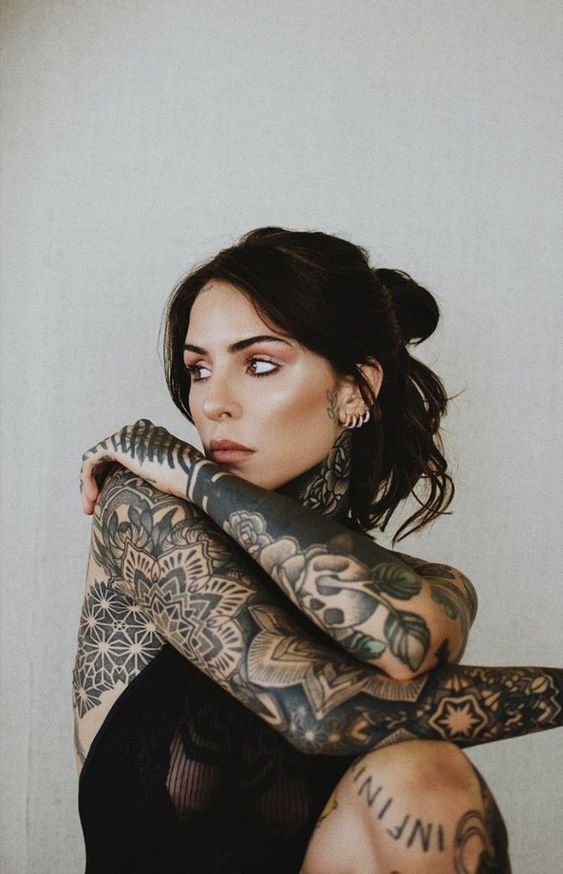
Dynamic Poses for Dynamic Ink
Avoid flat, lifeless poses. Tattoos are part of a living canvas!
- Movement: Encourage subtle movement. A slight turn of the body, a relaxed bend of the arm, or a shift in weight can add dynamism. For inspiration on creating engaging images, consider exploring dynamic poses photoshoot guides.
- Interaction: How does the tattoo interact with the body? A sleeve might wrap around the arm, a chest piece might expand with a deep breath. Capture these interactions.
- Storytelling: Can the pose tell a part of the tattoo’s story? If it’s a warrior tattoo, can the pose evoke strength? If it’s a delicate floral piece, can it convey grace?
- Focus on the Tattoo: While the subject is important, the tattoo is the star. Position the body so the tattoo is visible, not obscured or distorted. Sometimes, you might need to ask the subject to stretch or twist slightly to get the full effect of the artwork.

Focus, Sharpness, and Detail: Every Line Counts
A blurry tattoo photo is a wasted opportunity. Sharp focus and incredible detail are paramount for doing justice to the artist’s work.
Achieving Pin-Sharp Focus
- Autofocus Points: Use your camera’s single-point autofocus mode and place that point directly on a key detail of the tattoo. This ensures your camera focuses precisely where you want it.
- Manual Focus: For extreme close-ups or in challenging light, manual focus can give you absolute control. Use your camera’s “focus peaking” or “magnify” functions to ensure every line is razor-sharp.
- Steady Hands: Even with a fast shutter speed, camera shake can introduce blur. Use a tripod or monopod whenever possible, especially for detailed macro shots. If hand-holding, brace yourself, use a fast shutter speed (e.g., 1/125s or faster), and take multiple shots.
Depth of Field: Isolating the Art
Depth of field (DoF) refers to how much of your image is in focus, from front to back.
- Shallow DoF (Low f-number like f/1.8-f/4): This blurs the background beautifully, making the tattoo pop off the skin. It’s great for isolating the artwork, but be careful – with very shallow DoF, only a small portion of the tattoo might be in perfect focus, especially on curved surfaces.
- Deep DoF (High f-number like f/8-f/16): Keeps more of the scene in focus, including the background. This is useful if you want to show the tattoo in its environment or if the tattoo itself has a large, complex surface that needs to be entirely sharp.
- Balancing Act: Often, an aperture around f/4 to f/8 strikes a good balance, offering enough depth to keep the entire tattoo sharp while still providing some separation from the background.
Capturing True Colors and Textures
Tattoo artists painstakingly choose their pigments. Your photos should reflect those choices accurately.
- White Balance: Get your white balance right in-camera. Use a custom white balance or a preset that matches your lighting conditions (e.g., “Daylight” for natural light, “Tungsten” for incandescent bulbs). Incorrect white balance can make colors look dull or cast an unwanted tint.
- RAW vs. JPEG: Always shoot in RAW format. RAW files contain much more data than JPEGs, giving you far greater flexibility in post-processing to correct colors, exposure, and recover details without losing quality.
- Texture: Side lighting is fantastic for emphasizing texture. For fresh tattoos, the slight swelling and sheen of the skin are part of the process. For healed tattoos, show the integration with the skin.
Post-Processing: The Final Polish
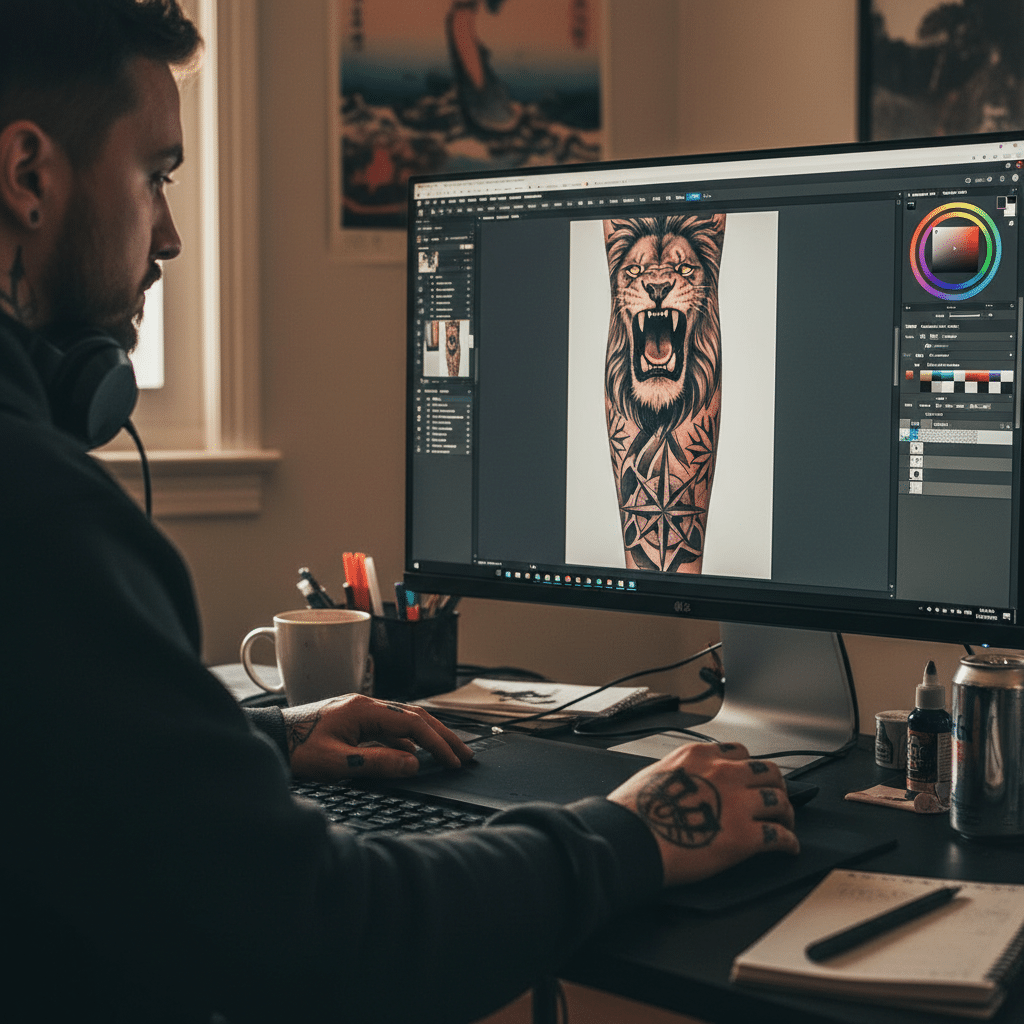
The journey doesn’t end when you click the shutter. Post-processing is where you refine your images, correct imperfections, and make the tattoo truly shine. Think of it as the digital darkroom for your ink.
Essential Editing Software
You don’t need highly specialized software. Standard photo editors are powerful enough.
- Adobe Lightroom/Capture One: These are industry standards for organizing, developing, and batch-editing RAW files. They offer powerful tools for color correction, exposure adjustments, sharpening, and noise reduction.
- Adobe Photoshop/GIMP: For more intricate retouching, compositing, or removing distractions, Photoshop is unparalleled. GIMP is a free, open-source alternative.
Key Adjustments in Post-Processing
This is where you bring out the vibrancy and clarity.
- Exposure and Contrast: Adjust these to ensure the tattoo is well-lit and stands out from the skin. Be careful not to overexpose highlights or crush shadows, which can lose detail.
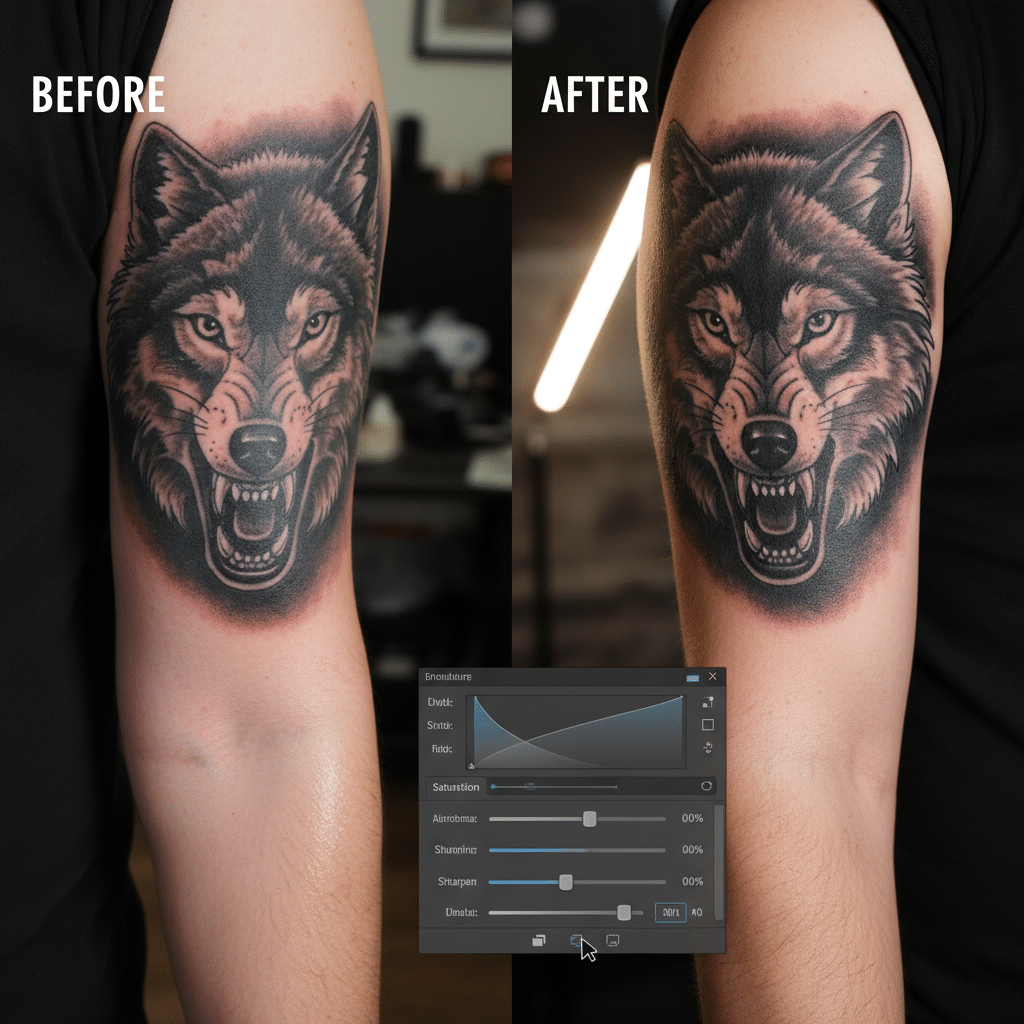
- White Balance and Color Correction: Fine-tune your white balance if it wasn’t perfect in-camera. Then, selectively adjust hue, saturation, and luminance of individual colors to make the tattoo pop without looking artificial. This ensures the colors match the actual ink as closely as possible.
- Sharpening and Clarity: Apply sharpening judiciously to enhance the crispness of lines and details. “Clarity” can add mid-tone contrast, giving the tattoo more punch. Avoid over-sharpening, which can introduce artifacts.
- Noise Reduction: If you shot in low light at a higher ISO, you might have digital noise. Apply noise reduction carefully, as too much can soften details.
- Cropping and Straightening: Refine your composition. Crop out distracting elements and straighten any crooked horizons or lines.
- Spot Healing/Cloning: Use these tools to remove small blemishes, stray hairs, or minor skin imperfections that detract from the tattoo itself. Be subtle – the goal isn’t to create a plastic look, but to clean up distractions. For preserving image quality, especially when preparing for prints, understanding how to make a digital file for printing without losing quality is crucial.
Ethical Retouching
There’s a fine line between enhancing and misrepresenting.
- Artist’s Intent: Your primary goal is to accurately represent the artist’s work. Don’t digitally “fix” bad linework or muddy colors if they were present in the original tattoo. This misrepresents the artist’s skill.
- Client Comfort: Be respectful of your client’s body. Minor skin blemishes are normal. Only remove distractions if they truly pull away from the tattoo and with the client’s permission.
- Fresh vs. Healed: Be mindful of the stage of the tattoo. Fresh tattoos will have redness, swelling, and balm. You can gently reduce redness, but don’t erase the fact that it’s a new tattoo. Healed tattoos show how the ink settles into the skin over time.

Context and Storytelling: Beyond the Ink
A great tattoo photo often transcends merely documenting the ink. It tells a story, captures an emotion, or places the artwork within a broader narrative.
The Environment Matters
Where the tattoo is photographed can add significant meaning and visual interest.
- Studio Cleanliness: For portfolio shots, a clean, simple background is often best to keep the focus entirely on the tattoo. A neutral wall, a plain backdrop, or even a soft blur from shallow depth of field works wonders.
- Contextual Environments: Sometimes, the environment enhances the tattoo’s story. A nature-themed tattoo might look incredible in a forest setting. A nautical piece could shine by the sea. Think about how the surroundings complement the artwork without overwhelming it. For example, if you’re showcasing an outdoor-themed tattoo, photographing it in a beautifully designed outdoor living space could add incredible depth.
- Lifestyle Shots: Integrate the tattoo into daily life. Show the person engaging in an activity where the tattoo is naturally visible. This makes the art feel more alive and relatable.
Capturing Emotion and Personality
Tattoos are personal. Their meaning is often tied to the wearer’s emotions or personality.
- Facial Expressions: If the face is included, ensure the expression aligns with the tattoo’s vibe. A serious tattoo might call for a contemplative look; a joyful one, a smile.
- Body Language: The way the subject holds themselves can convey confidence, vulnerability, strength, or peace. These subtle cues add layers to the image.
- Authenticity: Aim for genuine moments. Candid shots, where the subject isn’t directly posing but interacting naturally, can often be the most powerful. This allows the tattoo to become an extension of their character, much like how personal style evolves through the little things we choose.

Building Your Portfolio: Showcasing Your Best
Once you’ve honed your skills and captured a collection of amazing tattoo photos, the next step is to curate and showcase them effectively. A strong portfolio is your visual resume.
Consistency is Key
Your portfolio should have a cohesive look and feel.
- Editing Style: Aim for a consistent editing style across all your photos. This doesn’t mean every photo has to look identical, but there should be a recognizable aesthetic – similar color grading, contrast levels, and overall mood.
- Quality Over Quantity: It’s better to have 10 outstanding photos than 50 mediocre ones. Only include your absolute best work that truly represents your skill.
- Variety: While consistency is good, also show variety in the types of tattoos you photograph (different styles, colors, placements) and your photographic approaches (close-ups, full body, contextual shots).
Presentation Matters
How you present your work is almost as important as the work itself.
- Online Portfolio: A dedicated website or a professional platform (like Instagram, Behance, or Flickr) is essential. Make sure your images load quickly and are displayed beautifully.
- High Resolution: Always upload high-resolution images. Viewers want to zoom in and see the details.
- Watermarks: Consider subtle watermarks to protect your work, but ensure they don’t distract from the tattoo.
- Descriptions: Provide brief, informative descriptions for each photo: the artist’s name (if known), the style of the tattoo, and perhaps a short story about the piece.

Final Thoughts: The Art of Seeing
Tattoo photography is more than just technical skill; it’s about seeing the art, understanding its story, and having the passion to do it justice. It’s a blend of technical precision, artistic vision, and empathetic connection with your subject. Each tattoo is a unique canvas, and your job is to capture its essence, its vibrancy, and the emotion it carries.
By focusing on thoughtful lighting, dynamic composition, careful posing, and meticulous post-processing, you can transform simple snapshots into captivating visual narratives. Remember, practice makes perfect. The more you shoot, experiment, and learn, the better you’ll become. So grab your camera, find some stunning ink, and start snapping those awesome shots!
Ready to elevate your tattoo photography? Experiment with these tips and share your incredible results. The world is waiting to see the art you capture!
Why is good tattoo photography important?
Good tattoo photography is essential because it accurately represents the ink’s detail and vibrancy, helps artists showcase their skill, and allows clients to preserve and share their tattoos effectively.
What equipment do I need to start taking top-quality tattoo photos?
While a smartphone can work for quick shots, having a dedicated camera such as a DSLR or mirrorless with a suitable lens, like macro or prime lenses, and proper lighting equipment like natural light, LED lights, and reflectors will significantly improve your tattoo photography.
How does lighting affect tattoo photos, and what should I focus on?
Lighting shapes the mood, highlights texture, and ensures color accuracy in tattoo photos. Soft, diffused light from natural sources or softboxes is ideal. Side lighting enhances texture, while managing glare with angles and polarizing filters is crucial for clear, vibrant images.
- 26shares
- Facebook0
- Pinterest26
- Twitter0
- Reddit0

