It can be worrying whenever your personal images are being erased from your phone. Those pictures may hold memories or personal moments you never wanted to lose. Sometimes, a small mistake or system issue can make them disappear instantly. In such moments, an Android data recovery app for Android can help you recover lost photos.
These apps make it easy for anyone to restore pictures without technical skills. Besides, protecting your photos from others’ eyes is equally important to keep them private. Thus, this guide will show how to recover and enhance your private photos easily. You’ll also learn simple tips to protect them from future loss or unauthorized use.
Part 1. How Can I Retrieve Lost Photos on Android?
Although it is possible to lose personal photographs in a flash, these can be restored. So, this section covers 2 photo recovery methods to restore deleted pictures:
1. Recover Deleted Photos from the Gallery
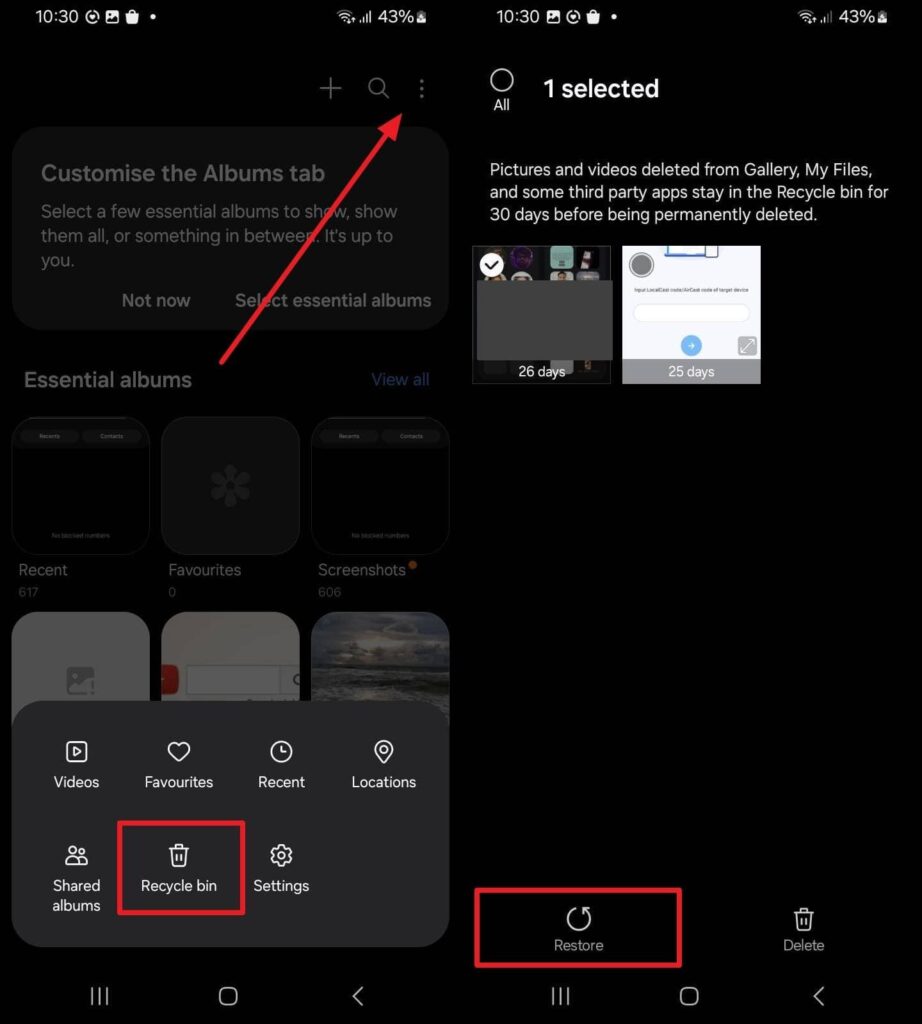
The Gallery app usually keeps deleted photos for 30 days before permanent removal. This makes it easy to find and restore lost pictures without extra tools. Its native data recovery feature helps you bring back images quickly and safely. You can preview deleted files to select the ones you need and recover them easily. Go through the following guide to restore your deleted photos from the gallery app:
Instructions. Initially, navigate to the “Gallery” app’s “Recycle Bin” section by tapping the “Three Dots” icon. Upon finding your desired photo, select it and press the “Restore” option.
2. Restore Deleted Images from Google Photos
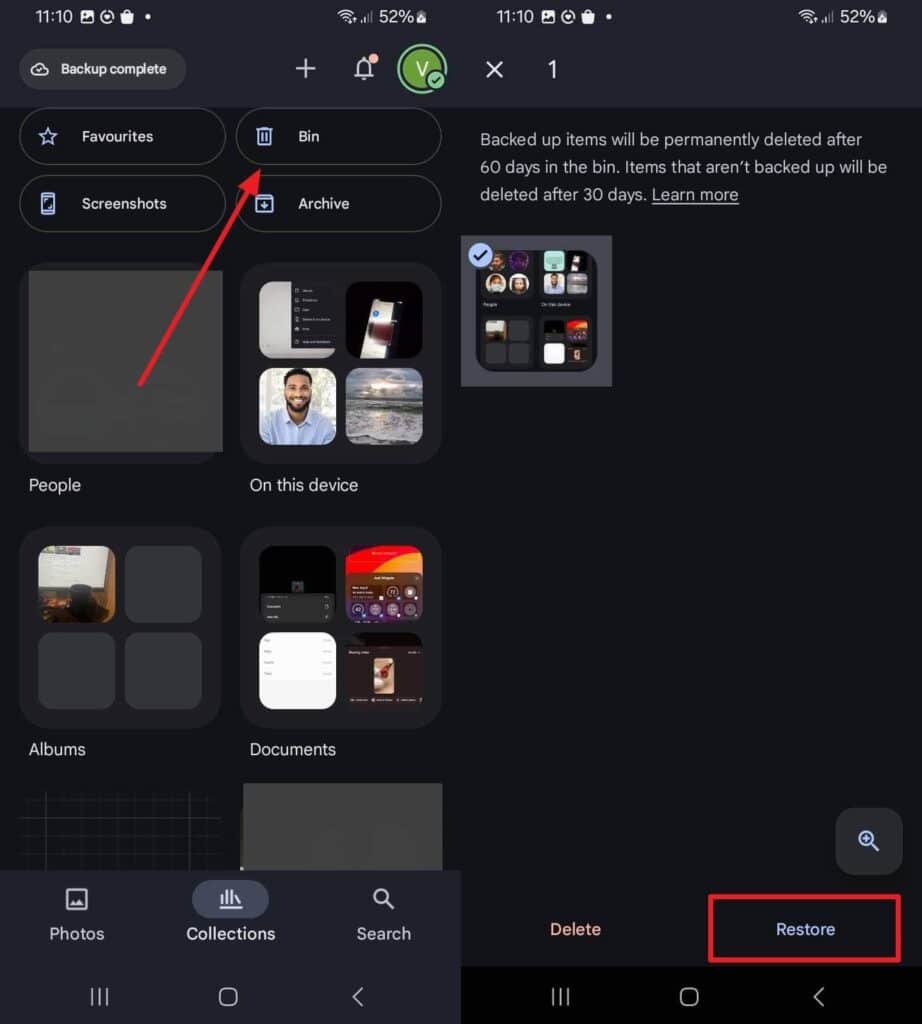
This cloud storage also offers a smart way to recover synced images deleted from your phone. Its Trash folder keeps deleted pictures for up to 60 days for easy restoration. With this file recovery feature, users can bring back photos directly from their cloud backup. It also allows sorting and selecting specific images to restore. Take guidance from the given steps to retrieve deleted photos from cloud storage:
Instructions. Once you tap the “Bin” section from the app’s main screen, find and select your desired deleted photos. After choosing all the deleted images, opt for the “Restore” option.
Part 2. How to Secure Photos with Encrypted Spaces
Photo recovery is essential, as well as the protection of your personal photos. Privacy is now a necessity of ensuring people do not lose personal pictures and videos to unauthorized individuals. To address this need, the Dr.Fone App offers an easy way to secure your sensitive files in encrypted storage. Its Secret Space tool lets you create a hidden area to store your private media securely.
You can set a unique PIN password to ensure only you can open this private vault. This feature adds an extra layer of security against unwanted access or misuse. The app also allows you to hide original files from your phone for complete privacy. This ensures your sensitive images remain visible only inside the encrypted vault. Review the given steps to encrypt sensitive photos using Dr.Fone App:
Step 1. Access the Dr.Fone Secret Space Feature

To initiate, go to the “Secret Space” section from the app’s main screen and press the “Settings” button. After that, set your preferred PIN to set a password to unlock this section.
Step 2. Import Your Sensitive Photos and Videos

Subsequently, hit the “+” button and choose the “Import Photos or Videos” option. You will then need to select all the private photos and videos from your phone’s storage.
Step 3. Encrypt Your Private Videos and Photos

Upon importing them, you will be able to access the private photo or video in the designated tabs using the PIN.
Part 3. How to Enhance Restored Photos with AI Techniques
After completing data recovery, your restored photos may appear blurry or low in quality. To fix this, the Dr.Fone App provides powerful AI tools to enhance recovered images easily. Its AI Toolbox feature includes options for improving and restoring photo clarity instantly. This feature uses advanced algorithms to sharpen faces and fix image details.
The app offers a quick guide showing which photos work best for AI enhancement. During the process, you can view progress through a completion bar for convenience. After enhancement, you can compare the before and after images using a simple slider tool. The Save option allows you to store improved photos safely in your gallery or vault. Adhere to the steps below to understand how to enhance restored photos:
Step 1. Choose the AI Photo Enhancer of Dr.Fone App

As you access the app, tap the “AI Toolbox” button and then opt for the “AI Photo Enhancer” feature.
Step 2. Import and Enhance Your Blurry Restored Photo

Afterward, hit the “Select Photo” button to import the blurry restored image from your phone. Here, press the “Enhance” button and let the app improve your blurry image quality.
Step 3. Download the Enhanced Photo to Your Phone

When the process completes, preview the before and after results and tap “Save” to export them.
Part 4. Tips for Preventing Unauthorized Access to Your Data
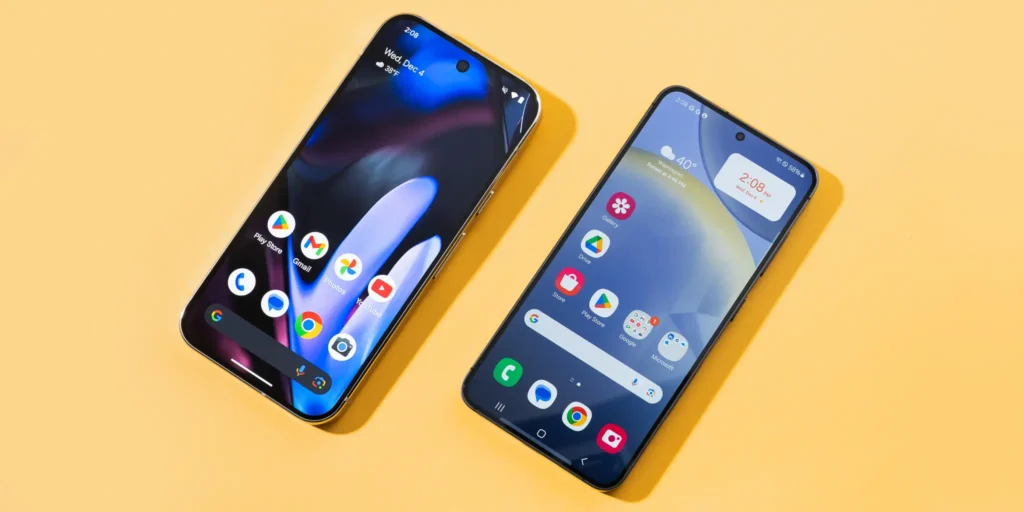
It’s crucial to block unwanted access to keep your private photos safe. Simple settings and protected apps give effective ways to secure sensitive pictures. These tips combine well with photo recovery methods for comprehensive protection:
- Strong Passwords: Use long passwords with letters and numbers to stop easy guessing. Plus, you should change passwords regularly to keep your account safe.
- App Lock: Lock your photo gallery app with a pin or fingerprint to stop strangers. It added level blocks to any unwanted attempts to access photos.
- Two-Step Verification: Enable two-factor checks on accounts holding your photos for extra protection. This method asks for a code, which strangers can’t easily get.
- Encryption Tools: Use encryption apps to hide photos inside locked digital vaults for privacy. These tools lock your photos, adding strong protection to your Android device.
- Limit Permissions: Only allow trusted apps to access your photos or camera for privacy. Checking apps’ access prevents misuse of your personal pictures.
Part 5. Strategies to Enhance Privacy and Accessibility Together
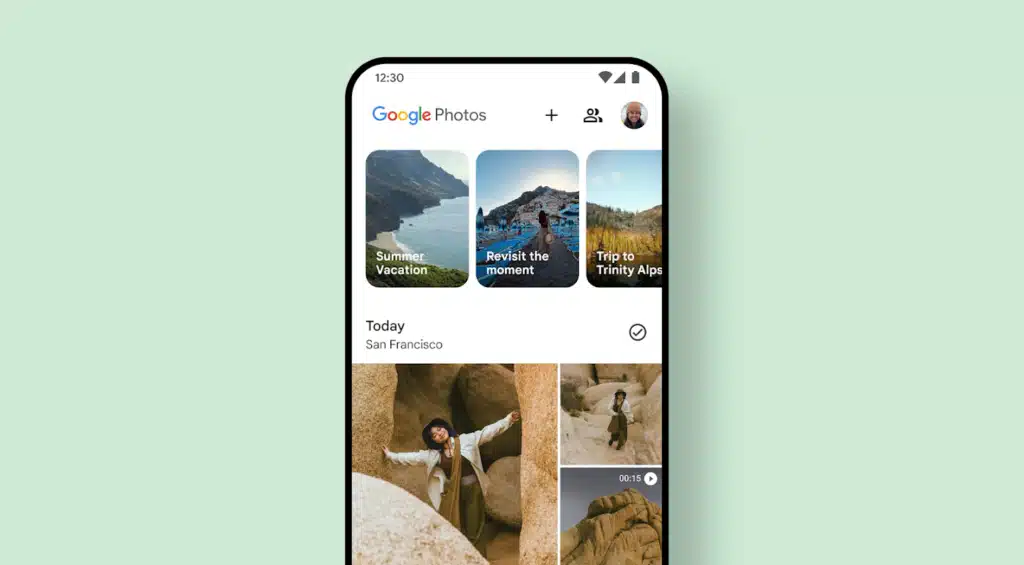
Balancing privacy and ease of access is key for photo management today. Using smart methods helps you keep your pictures safe yet easy to find. Let’s explore effective ways to combine these needs smoothly:
| Tip Name | Main Goal | Key Action | User Benefit | Privacy Level | Accessibility Ease |
| Cloud Backup | Secure online copies | Upload photos to the cloud | Access anywhere, anytime | High with encryption | Very easy access |
| Local Copy | Offline data safety | Save files on an SD card | Quick offline recovery | Medium protection | Easy manual access |
| Folder Organization | Better file sorting | Create labeled folders | Find files faster | Moderate security | Very high access |
| Auto Sync | Continuous protection | Enable auto-sync for apps | Updated photo storage | High reliability | Instant access updates |
| Private Vaults | Hide sensitive media | Use vault apps | Extra privacy control | Very high privacy | Controlled access |
| Password Manager | Secure credentials | Store passwords safely | Simplifies the login process | High account safety | Quick and simple use |
| Regular Check | Consistent security | Review app settings monthly | Spot risks early | Strong protection | Smooth performance |
Conclusion
In conclusion, protecting and restoring private photos on Android doesn’t have to be difficult. This article has discovered several solutions to restore and secure your personal memories. Always keep your images safe using backups and smart storage practices. To simplify everything, use an Android data recovery app for Android that also protects privacy. That’s why Dr.Fone App is a great all-in-one solution for every user.
- 1share
- Facebook0
- Pinterest0
- Twitter1
- Reddit0
