Making your own scented candles at home can be a rewarding and enjoyable experience. This step-by-step guide will provide you with the essential knowledge and skills needed to create beautiful, aromatic candles that fill your space with warmth. Whether you want to express your creativity or gift a special item, homemade candles are a great choice.
Gathering the right materials and understanding the candle-making process is crucial for achieving the best results. Each step, from selecting fragrances to pouring the wax, plays a vital role in the final product. By following this guide, you will learn how to set up your workspace and carefully craft your candles, ensuring a pleasant and satisfying experience.
Embrace the art of candle-making and transform your home with delightful scents that reflect your personal style. With the right techniques, you can create candles that not only smell great but also serve as decorative elements in your living space.
Key Takeaways
- Learn about the ingredients and materials necessary for candle-making.
- Set up an efficient workspace to enhance the crafting process.
- Follow clear steps to create and finish your homemade candles.
Understanding Candle Ingredients and Materials
When making homemade scented candles, selecting the right ingredients is crucial. This section covers the types of wax available, how to choose wicks, and the importance of fragrance oils and essential oils.
Types of Wax and Their Properties
Different wax types offer unique properties that affect the performance and aesthetics of your candles:
Soy Wax: Derived from soybeans, this eco-friendly option burns cleanly and produces minimal soot. Soy wax flakes are easy to melt and mix with fragrances.
Beeswax: A natural product, beeswax has a distinct honey scent and emits negative ions that purify the air. It burns longer than most waxes and has a natural golden hue.
Paraffin Wax: A common choice for many candle makers, paraffin is affordable and allows for vibrant colors and fragrances. It can produce more soot if not properly maintained.
Palm Wax: This wax is renewable and leaves a unique crystalline texture when cooled, providing an attractive finish.
Coconut Wax: A newer option, coconut wax blends well with other waxes and has excellent fragrance retention.
Each wax type has its benefits, so consider your goals when selecting the right one.
Choosing the Right Wicks for Your Candles
Selecting the appropriate wick is essential for ensuring a clean burn. Consider the following:
Wick Diameter: The size of your wick should correspond to the diameter of your candle. Smaller candles require thinner wicks, while larger candles need thicker ones.
Material: Common materials include cotton and wood. Cotton wicks are versatile and widely available, while wooden wicks produce a unique crackling sound.
Wick Holder: This tool helps stabilize the wick while the wax sets. It ensures your wick remains centered for an even burn.
Experiment with different wicks to find the perfect match for your chosen wax and candle size.
The Importance of Fragrance and Essential Oils
Fragrance plays a vital role in creating a delightful candle experience. Understand the differences between these options:
Fragrance Oils: Synthetic blends designed to produce strong and diverse scents. They are consistent and often more potent in candles.
Essential Oils: Derived from plants, these oils offer natural scents. Popular options include lavender, eucalyptus, and peppermint. They may provide a subtle aroma compared to fragrance oils.
Natural Scents: Blending fragrances and essential oils can create unique combinations that enhance the ambiance.
Carefully measure and incorporate your chosen scents to ensure they blend well with the wax and achieve the desired aroma when burned.
Setting Up Your Candle-Making Workspace
Creating a functional workspace is essential for candle-making. You need to focus on selecting suitable containers, preparing your tools, and ensuring a safe environment.
Selecting the Right Containers
Choosing the appropriate candle containers is fundamental to your project. Options like mason jars, glass votives, or metal tins work well. Each type has unique characteristics; for example, mason jars provide a rustic look and are heat-resistant.
Ensure the containers are clean and dry. If you’re using previously used jars, remove any labels and residue. Consider the size of the container, as it affects burn time and scent throw. Avoid plastic containers, as they may warp or melt during the pouring process.
Preparing Your Tools and Equipment
A well-organized workspace maximizes efficiency. Gather necessary tools before starting. Key items include a double boiler for melting wax, a pouring pot for transferring melted wax, and a thermometer to monitor temperature.
Select a stirring utensil made of wood or heat-resistant silicone for mixing in fragrance oils. Ensure you have a scale for measuring wax and scents accurately. Having everything within reach speeds up the process and reduces mess.
Ensuring Safety and Proper Ventilation
Safety is crucial when making candles at home. Set up your workspace in a well-ventilated area to avoid inhaling fumes from melting wax or fragrance oils. Open windows or use a fan to improve air circulation.
Wear protective gear, including gloves and safety glasses, especially if you’re working with hot wax. Keep a fire extinguisher nearby and avoid flammable materials in your workspace. By prioritizing safety, you can enjoy candle-making without unnecessary risks.


The Candle-Making Process
Creating scented candles involves three essential steps: melting the wax, mixing in scents and colors, and pouring and setting the candles. Each step is crucial for achieving a well-crafted final product.
Melting the Wax
Begin by selecting your wax. Common options include paraffin, soy, or beeswax. Each type has unique qualities affecting the burn and scent throw.
Use a double boiler to melt your wax. This prevents direct heat, allowing for controlled melting. Monitor the temperature, keeping it between 170°F to 185°F.
For every pound of wax, consider adding about 1 ounce of fragrance oil, adjusting based on your scent preference. Ensure that the entire amount of wax is melted to promote even mixing later.
Mixing in Scents and Colors
Once melted, it’s time to add scents and colors. Choose high-quality fragrance oils specifically designed for candle making. Essential oils can also be used, though their scent may dissipate faster.
To color your candles, use candle dyes. You can choose from liquid or solid dyes based on your preference. Add the dye to the melted wax, stirring thoroughly.
If you prefer pastel colors, start with a small amount and add more as needed. Always remember that colors will appear lighter after the candle sets.
Pouring and Setting the Candles
Before pouring, make sure your wicks are secured in the center of your containers or molds. Use a wick holder if necessary.
Pour the wax carefully, ensuring even distribution. Aim for a temperature between 140°F to 160°F when pouring, as this helps avoid imperfections like cracks on the surface.
Allow your candles to cool completely before removing them from their molds. This can take several hours depending on the size and type of wax used. After setting, trim the wick to about 1/4 inch for optimal burning.

Finishing Touches and Curing
Once your candles are poured, the finishing touches are crucial for achieving a polished look. Allow the candles to cool completely in their molds. This usually takes about 4 to 6 hours, depending on the size of the candles.
After cooling, trim the wicks to about 1/4 inch. This length helps in achieving an even burn. If you notice any irregularities on the surface, use a heat gun to gently smooth them out.
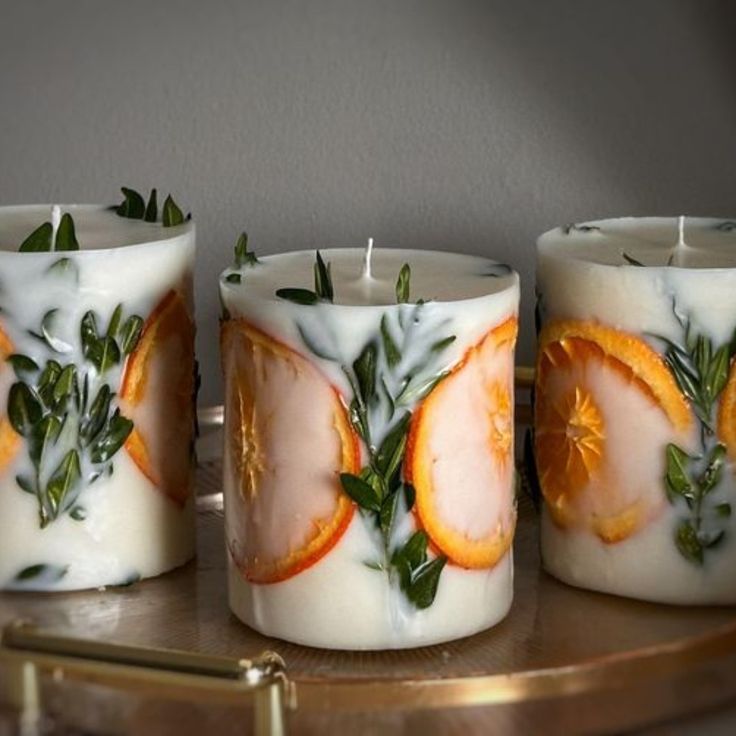
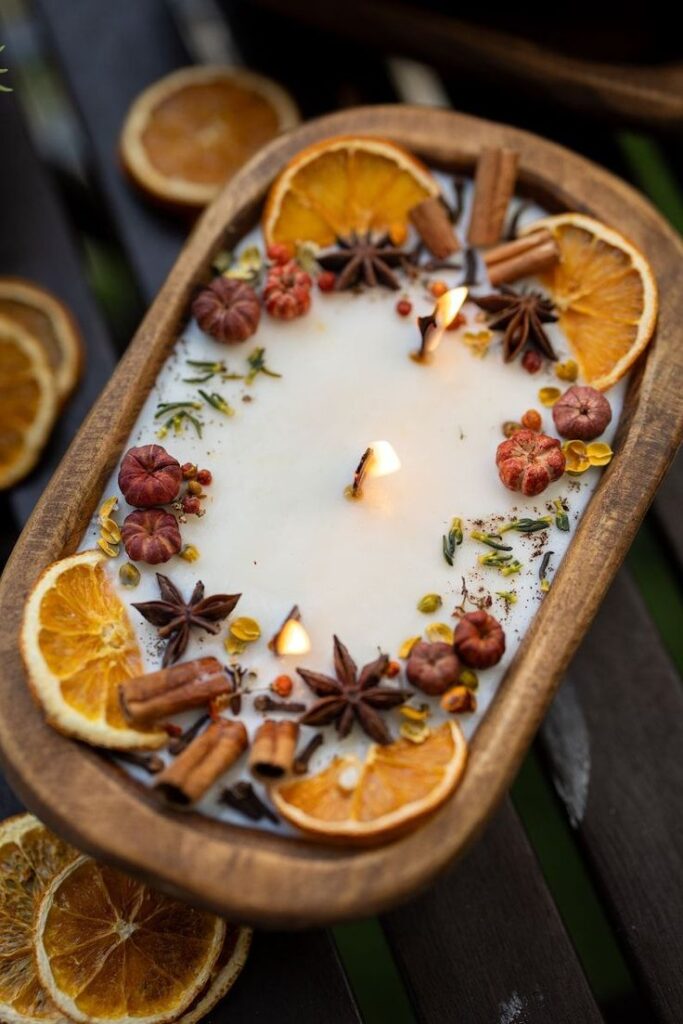
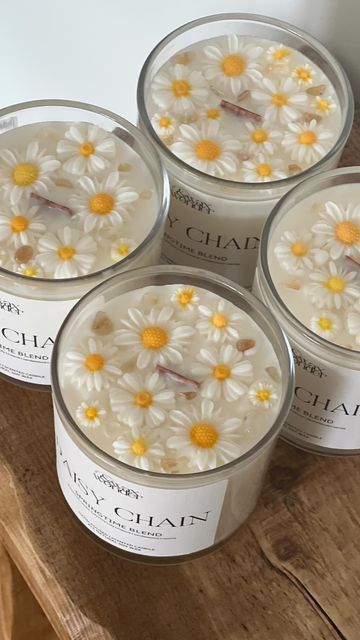
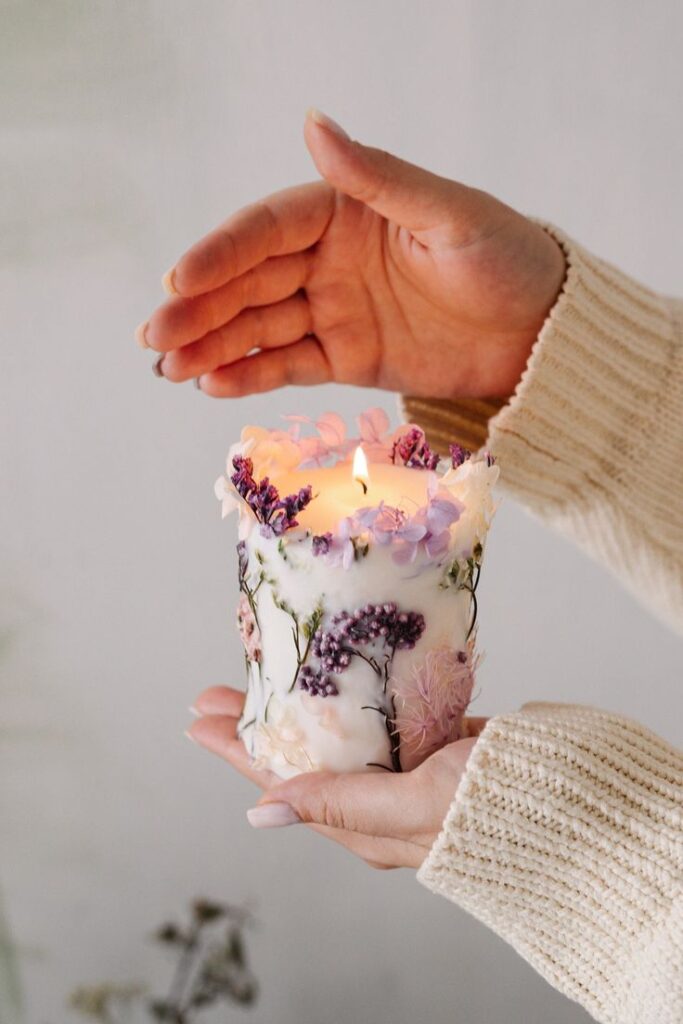
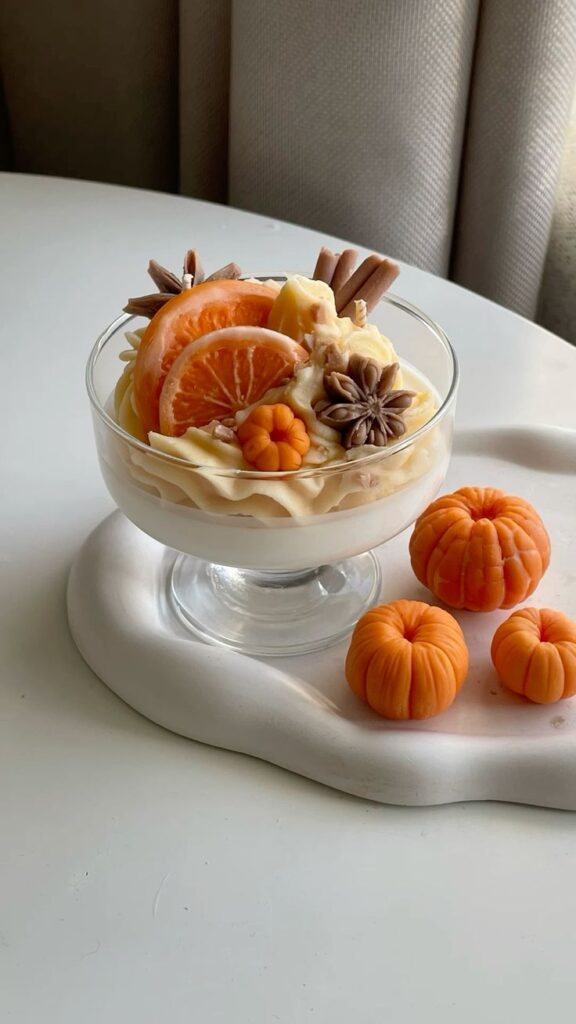
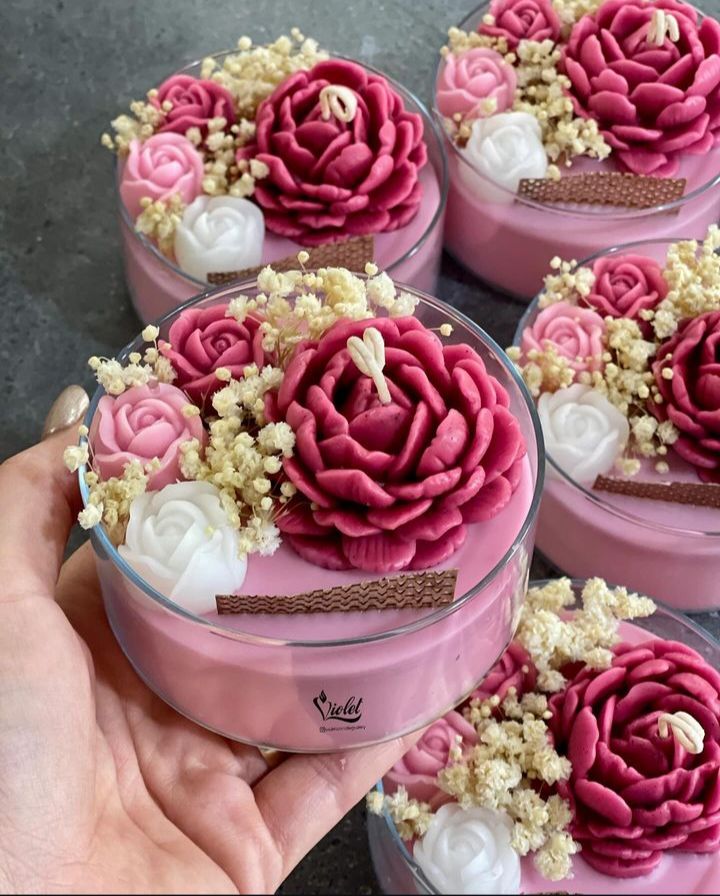
You can also enhance the aesthetic by adding decorative elements. Consider incorporating dried flowers or colored wax on the top for visual appeal.
Curing your candles is essential for maximizing fragrance throw and burn quality. Ideally, let your candles cure for 3 to 14 days. The longer the cure, the stronger the scent will be when lit.
When storing, keep them in a cool, dry place away from direct sunlight. This prevents discoloration and helps maintain scent integrity.
Consider arranging your finished candles in a stylish way to complement your home decor. Use trays or decorative boxes to display them. This not only enhances their appeal but also keeps them organized and protected.
- 625shares
- Facebook0
- Pinterest625
- Twitter0

