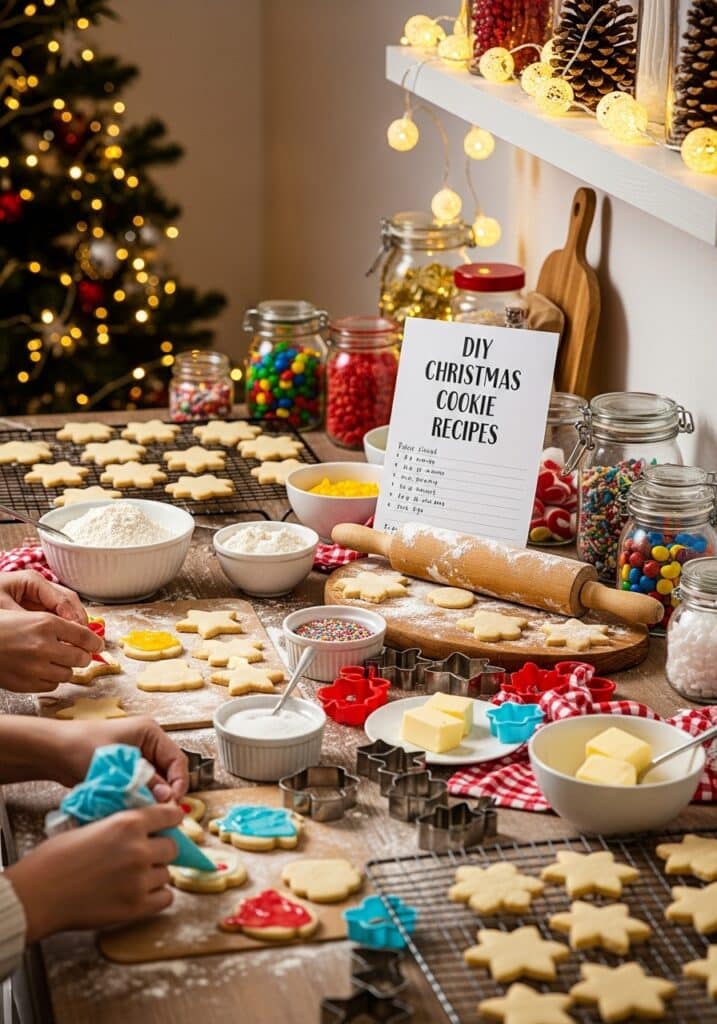

The holiday season evokes a distinct sense of warmth, joy, and the undeniable aroma of freshly baked goods. For many, Christmas cookies are more than just a treat; they are edible symbols of tradition, comfort, and celebration. While store-bought options offer convenience, there’s an unparalleled satisfaction and charm in presenting a platter of exquisitely crafted homemade cookies. This guide delves into the professional techniques and precise recipes that transform a home kitchen into a holiday bakery, empowering you to master the art of DIY Christmas cookie creation. Beyond simple recipes, we will explore the science of baking, essential tools, and the finesse required to produce treats that not only taste divine but also look like they emerged from a high-end patisserie. Embark on this culinary journey to elevate your holiday baking from amateur endeavors to professional masterpieces, leaving a lasting impression on family and friends.
The Science Behind the Perfect Cookie
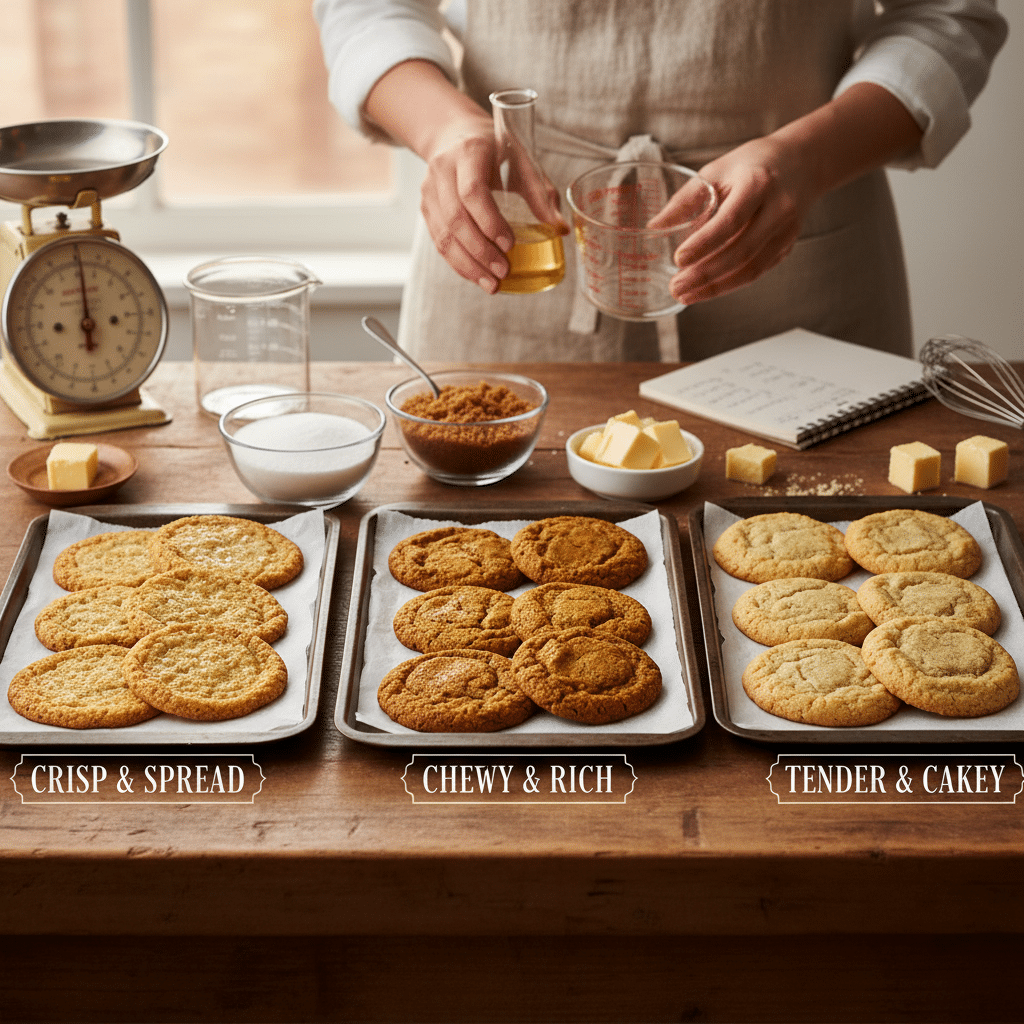
Achieving professional-grade cookies isn’t solely about following a recipe; it’s about understanding the fundamental science at play. Every ingredient interacts in specific ways to create the desired texture, flavor, and appearance.
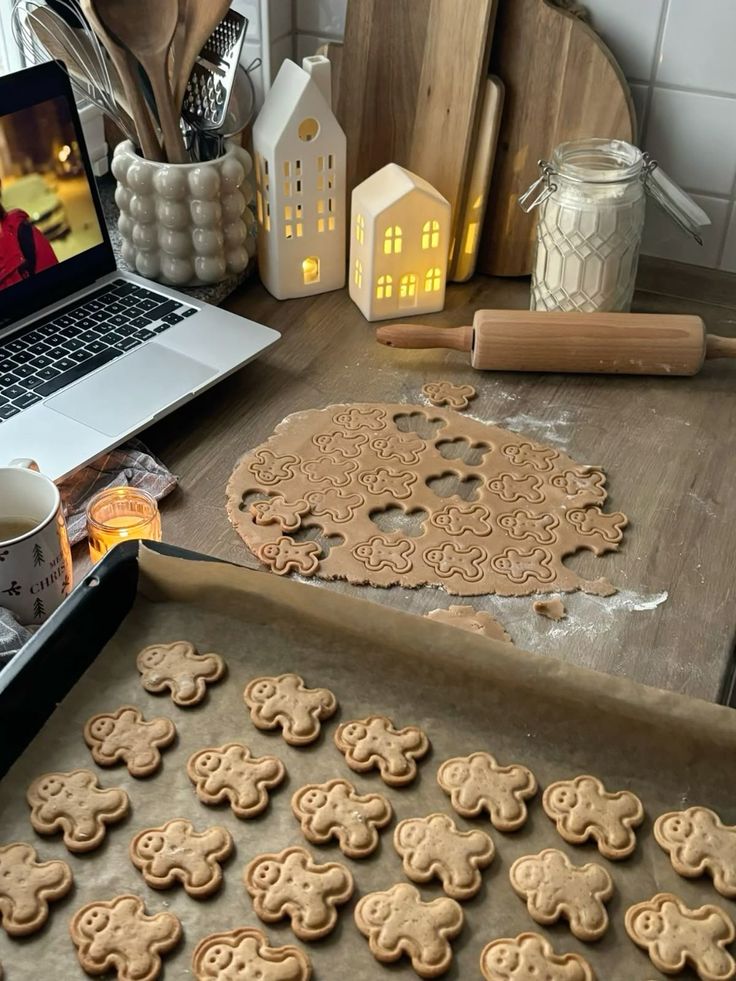
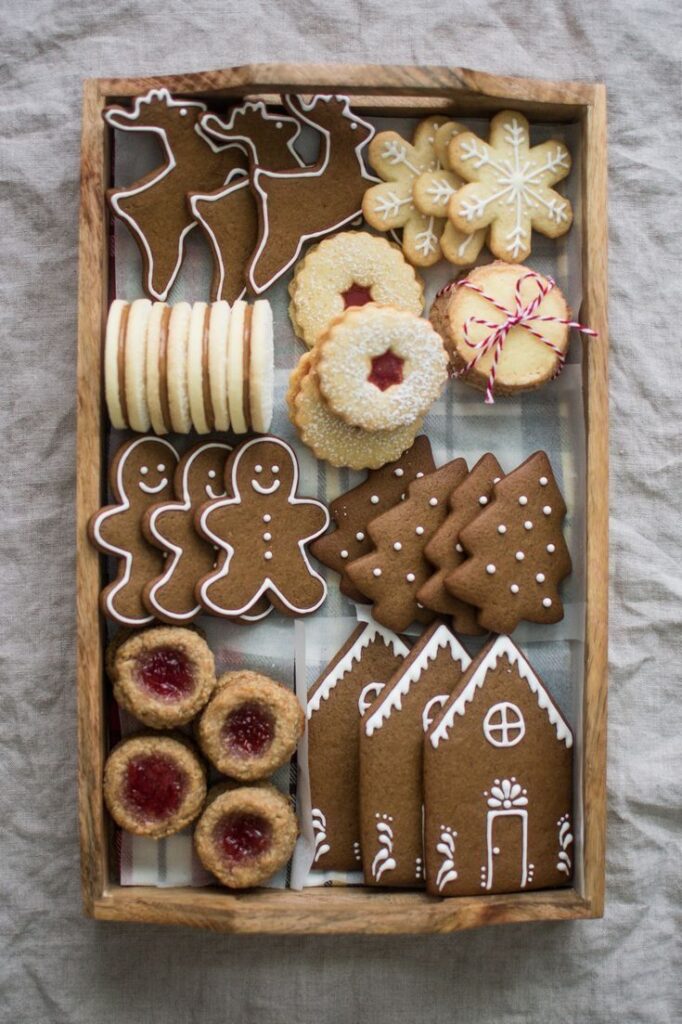
Understanding Your Ingredients
- Flour: The backbone of any cookie, flour provides structure. All-purpose flour is common, but its protein content (typically 10-12%) influences gluten development. Higher protein yields chewier cookies (like chocolate chip), while lower protein (e.g., cake flour) results in a tender, softer crumb, ideal for delicate shortbread. Sifting flour is crucial for aeration and preventing lumps, ensuring even distribution.
- Fats (Butter vs. Shortening):
- Butter: Offers superior flavor and browning, thanks to its milk solids. Its melting point influences cookie spread. Chilled butter is essential for cut-out cookies to maintain shape.
- Shortening: A hydrogenated vegetable oil, shortening is 100% fat (butter is about 80% fat, 20% water). It has a higher melting point, leading to less spread and a softer, more tender crumb. It can be excellent for sugar cookies where shape retention is paramount. Blending butter and shortening can offer the best of both worlds: flavor from butter, structure from shortening.
- Sugars (Granulated, Brown, Powdered):
- Granulated Sugar: Contributes to crispness and helps with spread. It crystallizes upon cooling, adding a delicate crunch.
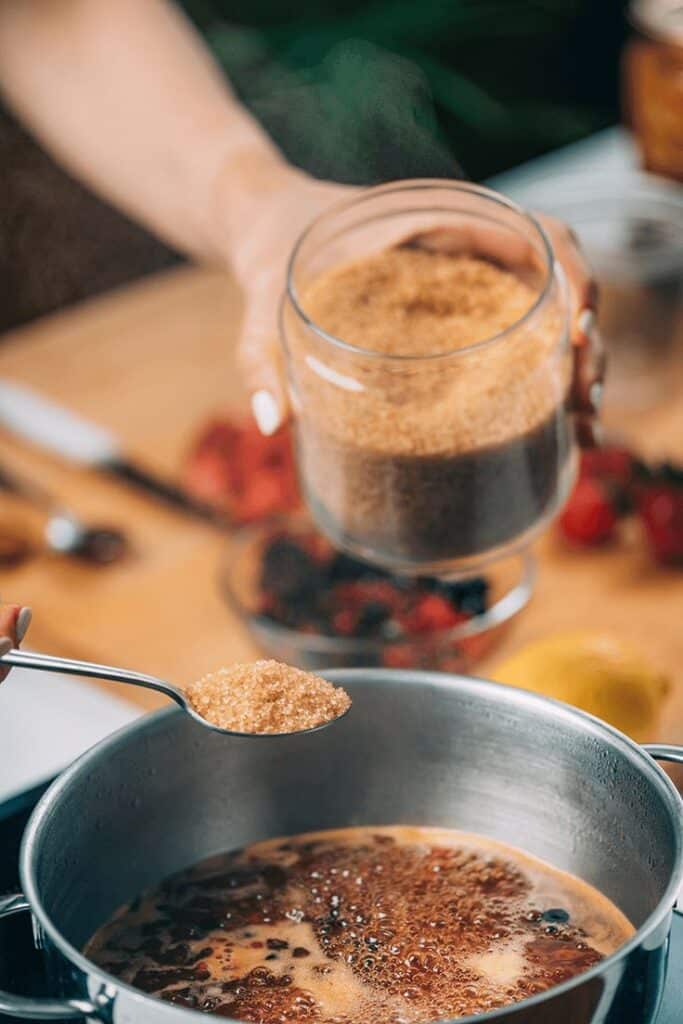
- Brown Sugar: Contains molasses, which adds moisture, chewiness, and a distinct caramel-like flavor. The acidity of molasses also reacts with baking soda, promoting leavening.
- Powdered Sugar (Confectioners’ Sugar): Very fine, it dissolves quickly, creating a tender, melt-in-your-mouth texture, often used in shortbread or glazes for smoothness.
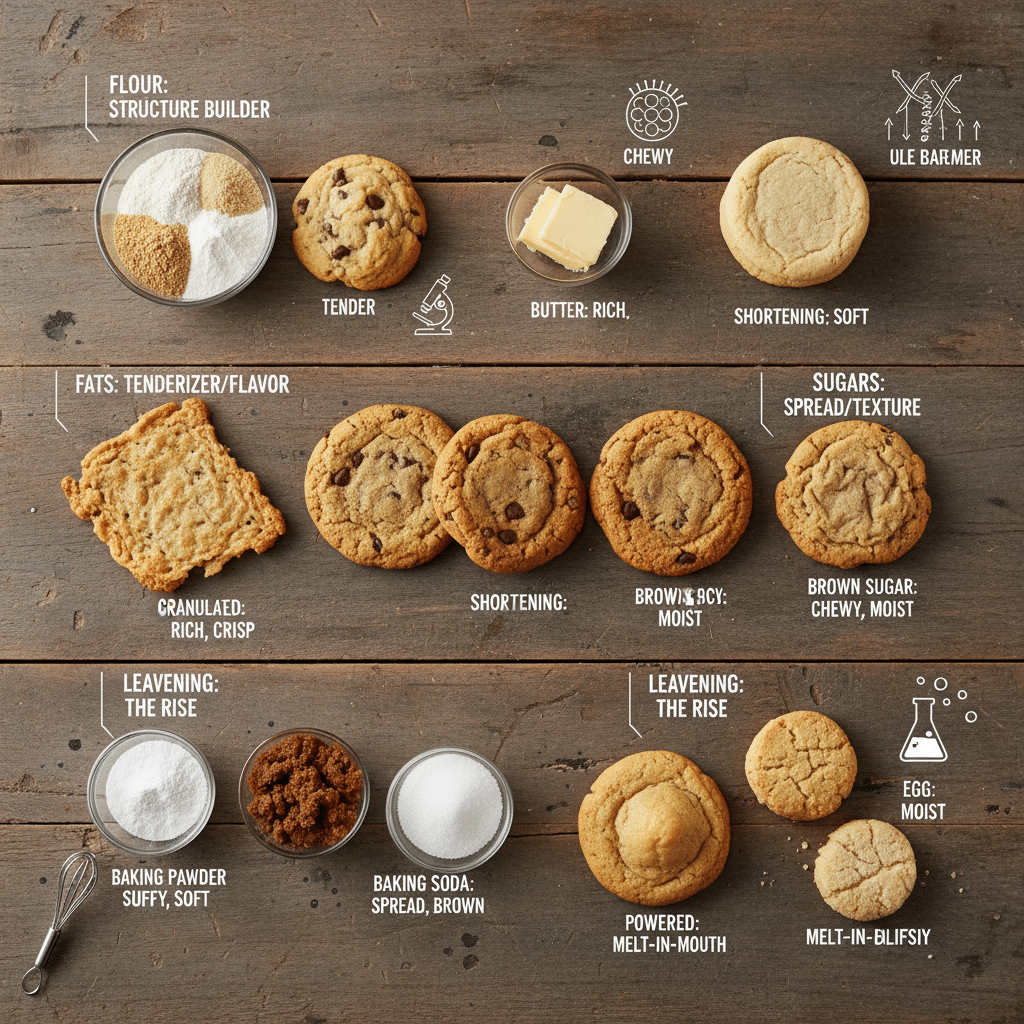
- Leavening Agents (Baking Soda vs. Baking Powder):
- Baking Soda: Requires an acid (like brown sugar, buttermilk, or cocoa powder) to activate and produce carbon dioxide, leading to rise and spread.
- Baking Powder: Contains both an acid and a base, activating in two stages: once with liquid and again with heat in the oven. It provides a more consistent rise. Over-using leavening can lead to bitter flavors or excessive spread.
- Eggs: Act as a binder, provide moisture, and contribute to richness and leavening. The yolk adds fat and flavor, while the white provides structure through protein coagulation.
The Importance of Temperature
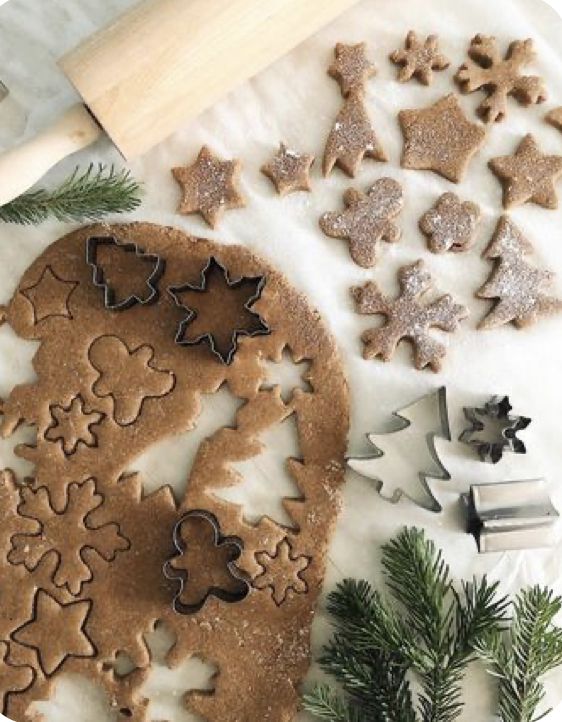

Temperature control is a critical factor often overlooked by home bakers.
- Dough Temperature: Chilling cookie dough is not an optional step for many recipes. It solidifies fats, preventing excessive spread in the oven, and allows flavors to meld. For cut-out cookies, chilled dough is easier to handle and ensures sharper edges.
- Oven Temperature: An accurately calibrated oven is paramount. Too low, and cookies spread excessively and can be dry; too high, and edges burn while centers remain raw. An oven thermometer is a small investment that yields significant returns in baking consistency. Preheating adequately ensures a stable temperature from the moment cookies enter the oven.
- Ingredient Temperature: Room temperature butter creams better with sugar, creating an emulsified, aerated base for your cookies, leading to a lighter texture. Cold eggs can seize melted butter, so bringing them to room temperature is also advisable.
Essential Tools for the Professional Home Baker
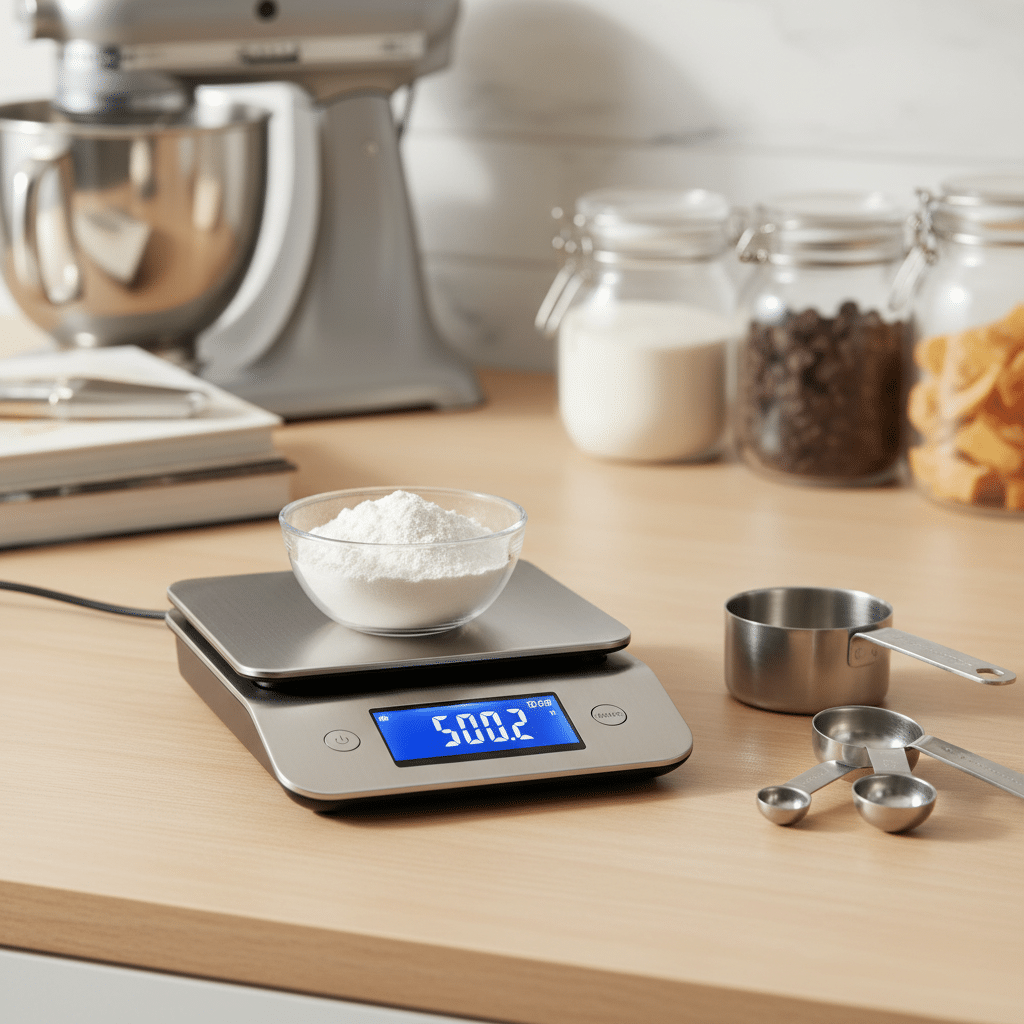
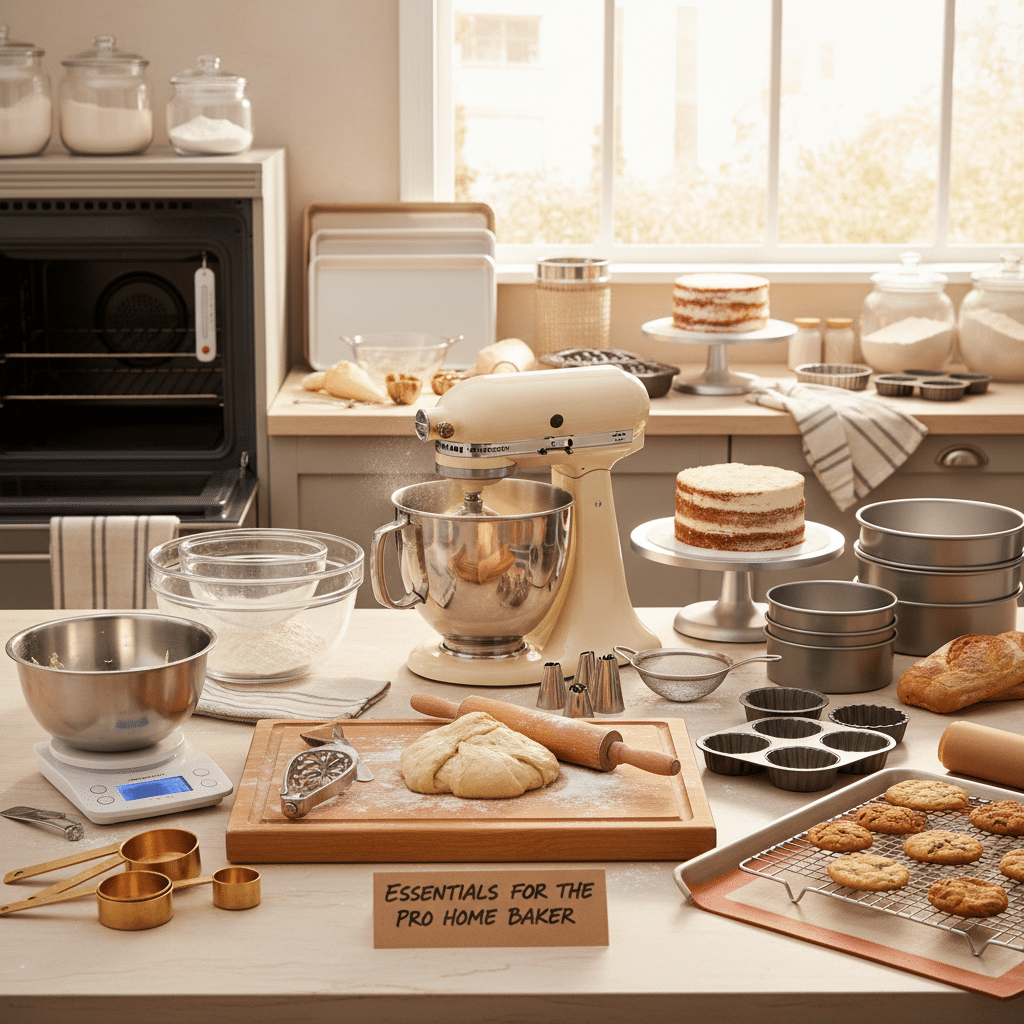
Just as a carpenter needs quality tools, a professional home baker relies on specific equipment for precision, efficiency, and superior results. Investing in a few key items can dramatically improve your baking outcomes.
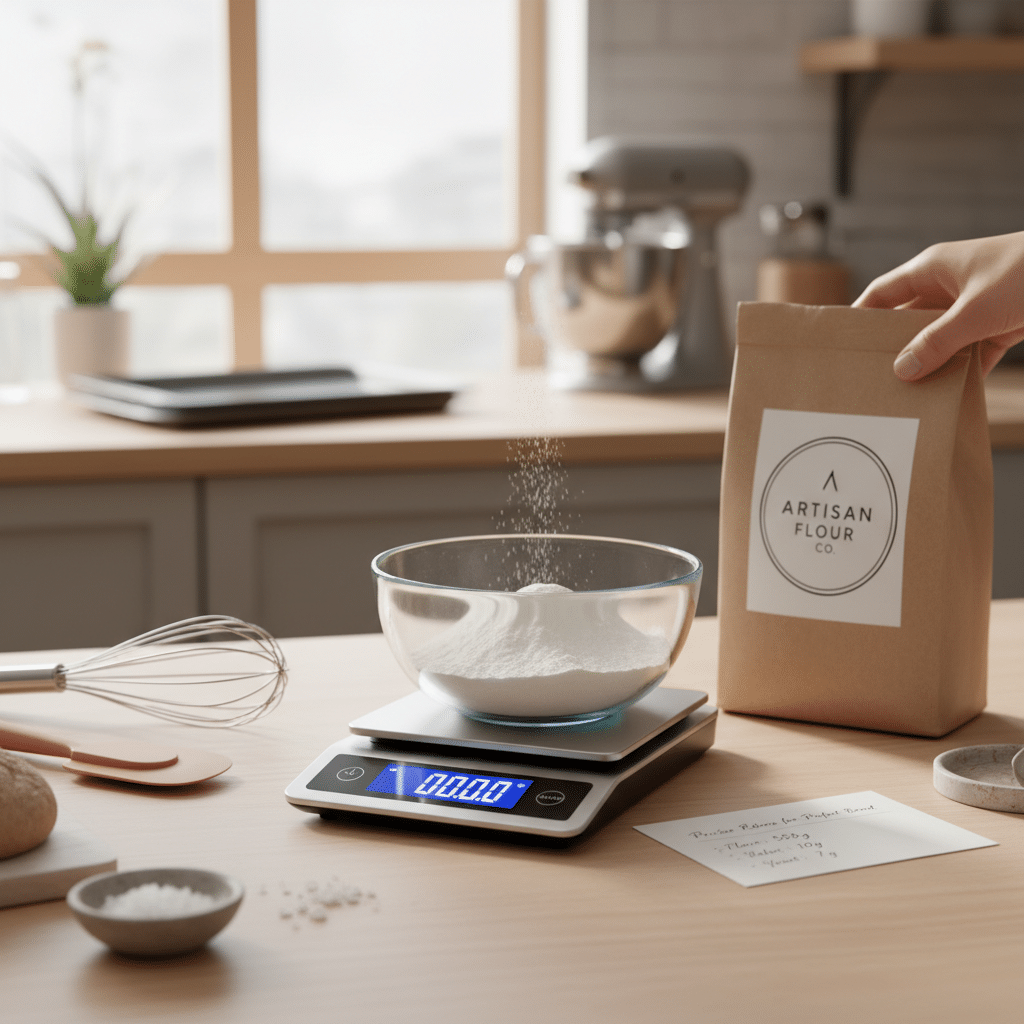
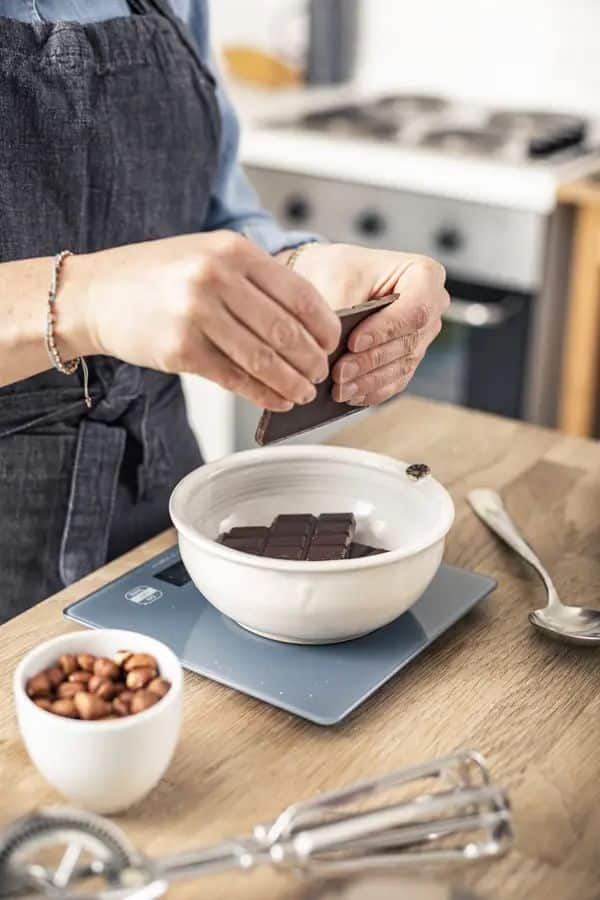
- Digital Kitchen Scale: This is arguably the most important tool for precision baking. Measuring ingredients by weight rather than volume eliminates inconsistencies caused by packing flour too tightly or loosely. Recipes often provide gram measurements, which are far more accurate.
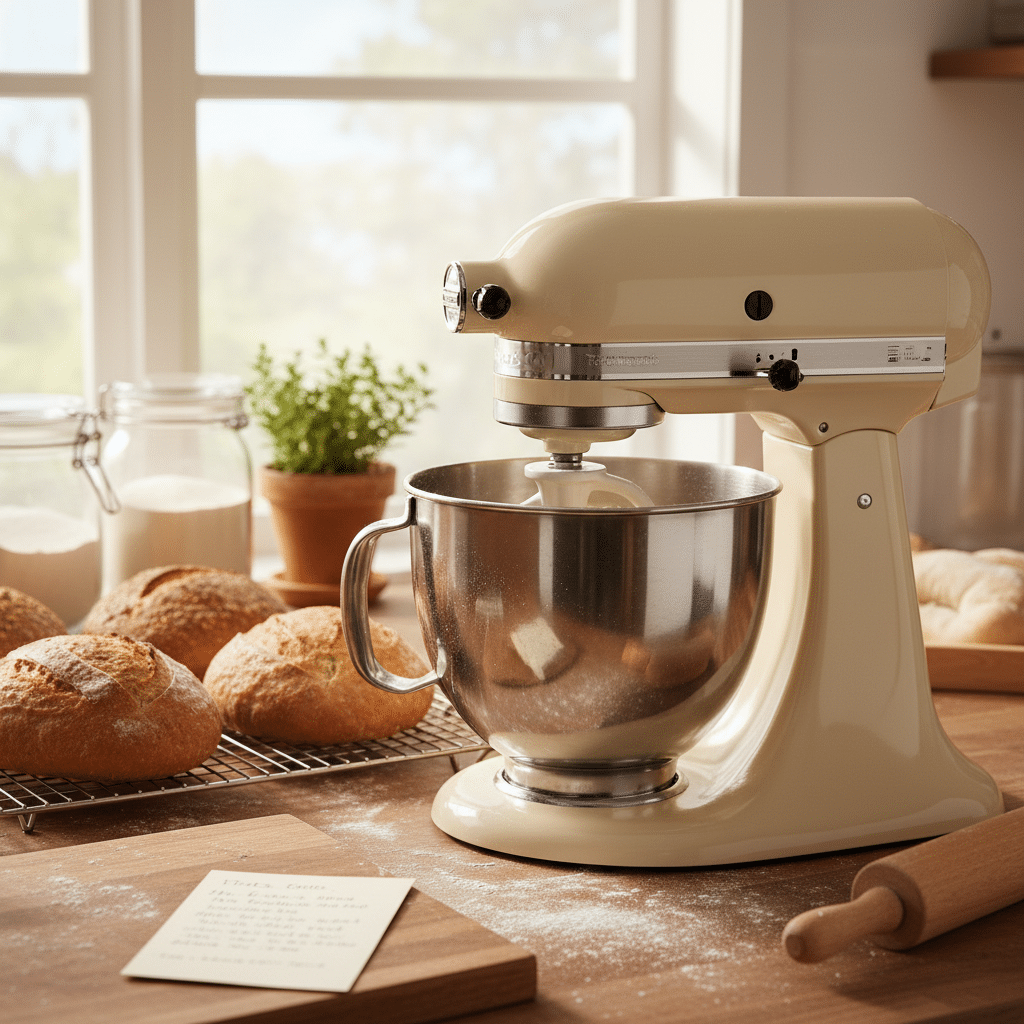
- Stand Mixer: While a hand mixer works, a stand mixer (like a KitchenAid) is a game-changer for creaming butter and sugar, mixing doughs, and whipping icings. It frees your hands and provides consistent power.
- Baking Sheets and Liners:
- Heavy-Gauge Aluminum Baking Sheets: These conduct heat evenly, preventing hot spots that can burn cookies. Avoid dark-colored sheets, which absorb more heat and can cause bottoms to over-brown.
- Parchment Paper or Silicone Baking Mats (Silpat): Essential for non-stick baking and even heat distribution. They prevent sticking, make cleanup easy, and promote consistent browning.
- Measuring Tools: A complete set of dry measuring cups, liquid measuring cups, and spoons. Even with a scale, these are useful for smaller quantities or when a recipe calls for volume.
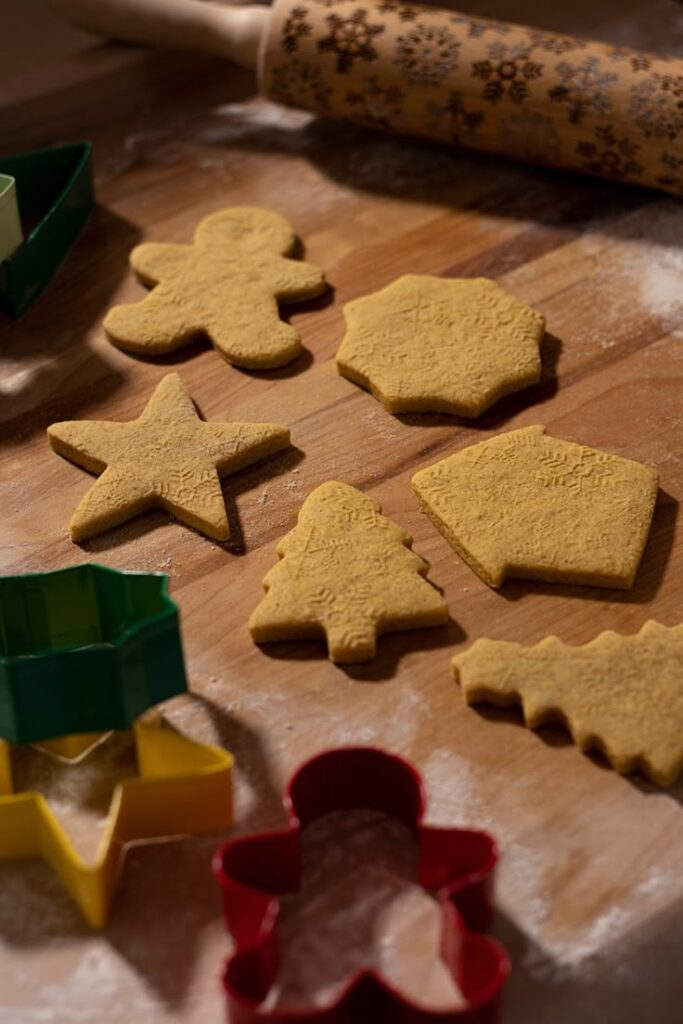
- Cookie Cutters: For holiday baking, an assortment of quality metal cookie cutters (stars, trees, snowflakes, gingerbread figures) is indispensable. Invest in sturdy ones that won’t bend easily.
- Piping Bags and Tips: For decorating, disposable piping bags and a set of basic tips (round tips like Wilton #1, #2, #3 for outlining and detail, and a larger tip like #4 or #5 for flooding) are crucial for professional-looking designs.
- Cooling Racks: Allow air circulation around cookies as they cool, preventing sogginess and ensuring even cooling.
- Rubber Spatulas and Whisks: For scraping bowls, folding ingredients, and whisking dry ingredients.
- Offset Spatula: Ideal for spreading royal icing smoothly onto cookies.
Mastering Classic Christmas Cookie Recipes
Here, we provide detailed blueprints for three quintessential Christmas cookies, focusing on techniques that yield professional results.


Professional No-Spread Decorated Sugar Cookies
The holy grail of holiday baking: a sugar cookie that holds its shape beautifully and serves as a perfect canvas for intricate decorations.
Ingredients:
- 3 cups (360g) all-purpose flour, sifted
- 1 teaspoon baking powder
- 1/2 teaspoon salt
- 1 cup (226g) unsalted butter, softened but cool (not melted)
- 1 1/2 cups (300g) granulated sugar
- 1 large egg
- 1 teaspoon vanilla extract
- 1/2 teaspoon almond extract (optional, for depth of flavor)
Instructions:
- Whisk Dry Ingredients: In a medium bowl, whisk together the sifted flour, baking powder, and salt. Set aside.
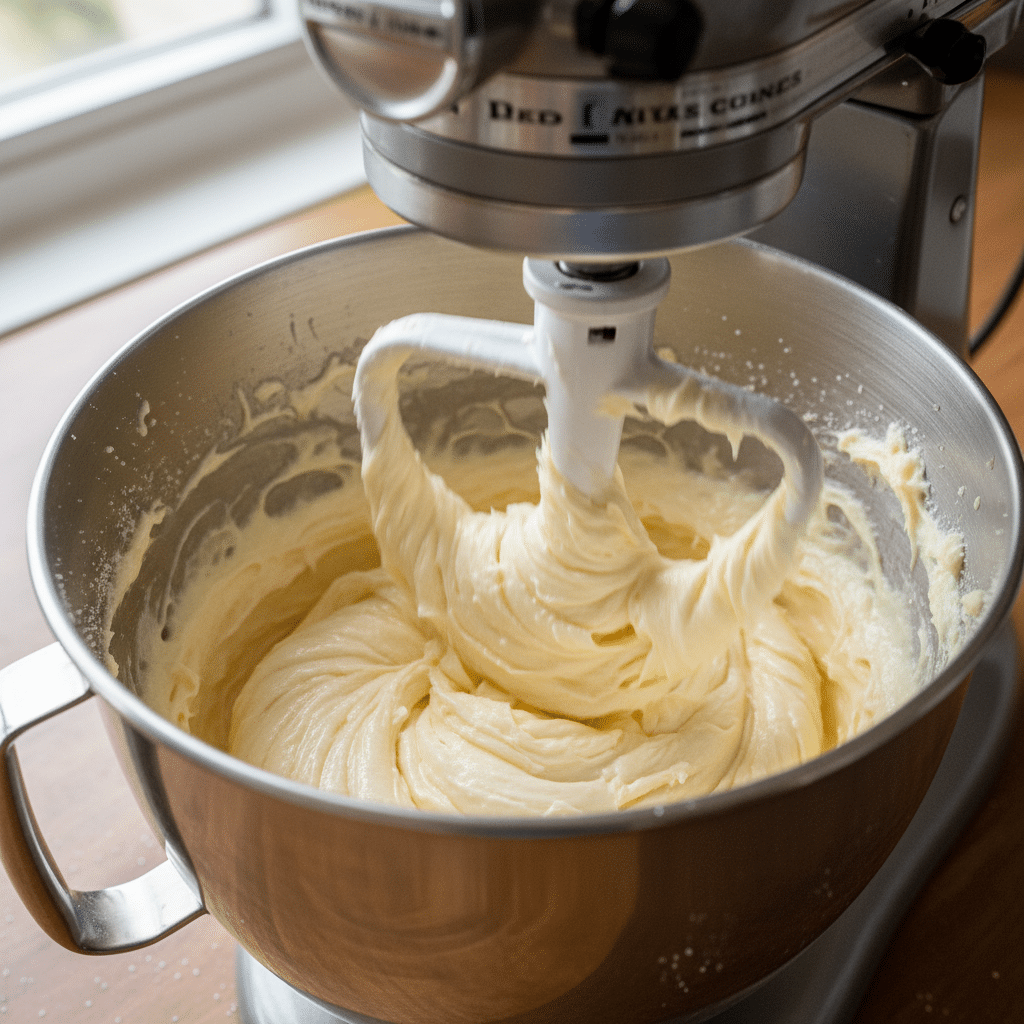
- Cream Butter and Sugar: In the bowl of a stand mixer fitted with the paddle attachment, cream the softened butter and granulated sugar on medium-high speed for 3-5 minutes until light and fluffy. This aeration is key to a tender cookie.
- Add Wet Ingredients: Beat in the egg, then the vanilla and almond extracts, until just combined. Scrape down the sides of the bowl.
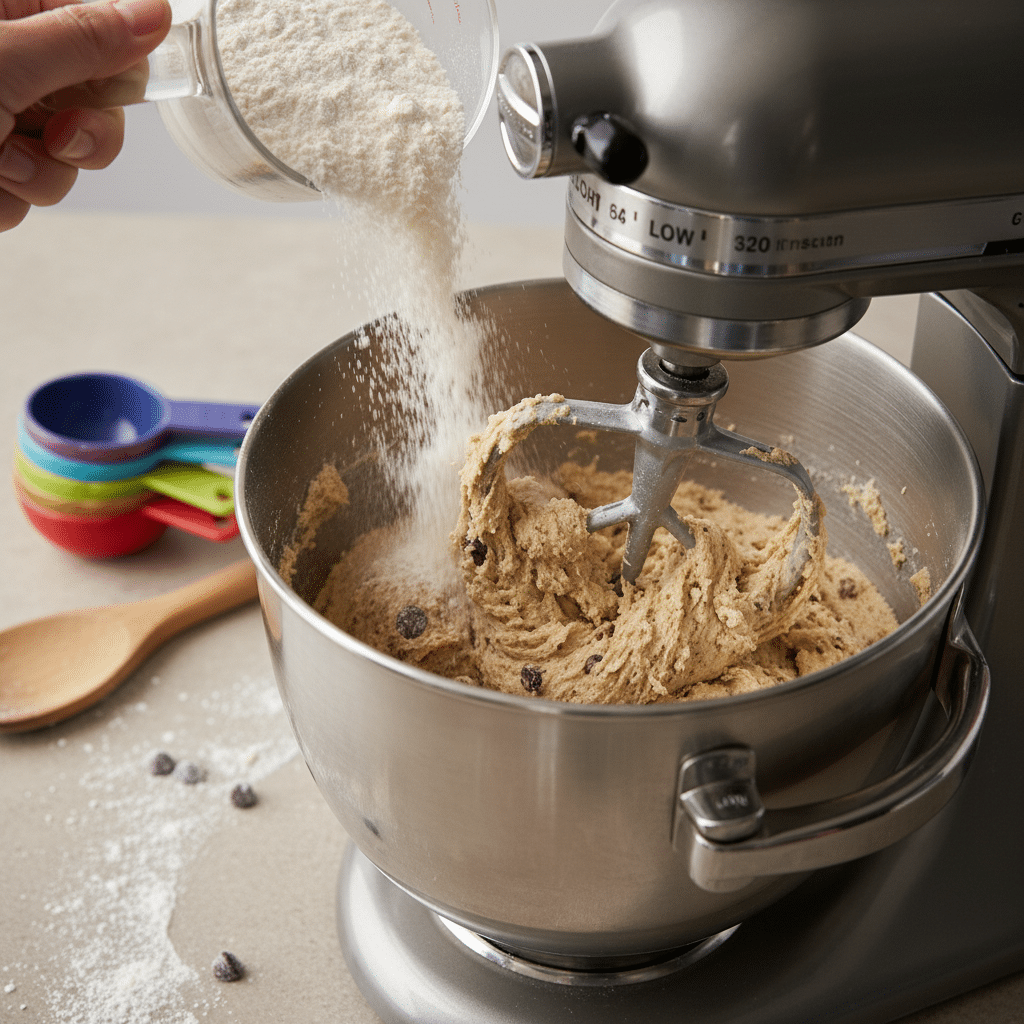
- Combine Dry and Wet: With the mixer on low speed, gradually add the dry ingredients to the wet ingredients, mixing until just combined. Do not overmix; over-developing gluten leads to tough cookies. The dough will be stiff.
- Chill the Dough: Divide the dough into two equal portions. Flatten each into a disc, wrap tightly in plastic wrap, and refrigerate for at least 1 hour, or preferably 2-3 hours. This firming prevents spread and makes rolling easier.
- Preheat and Prepare: Preheat oven to 375°F (190°C). Line baking sheets with parchment paper or silicone mats.
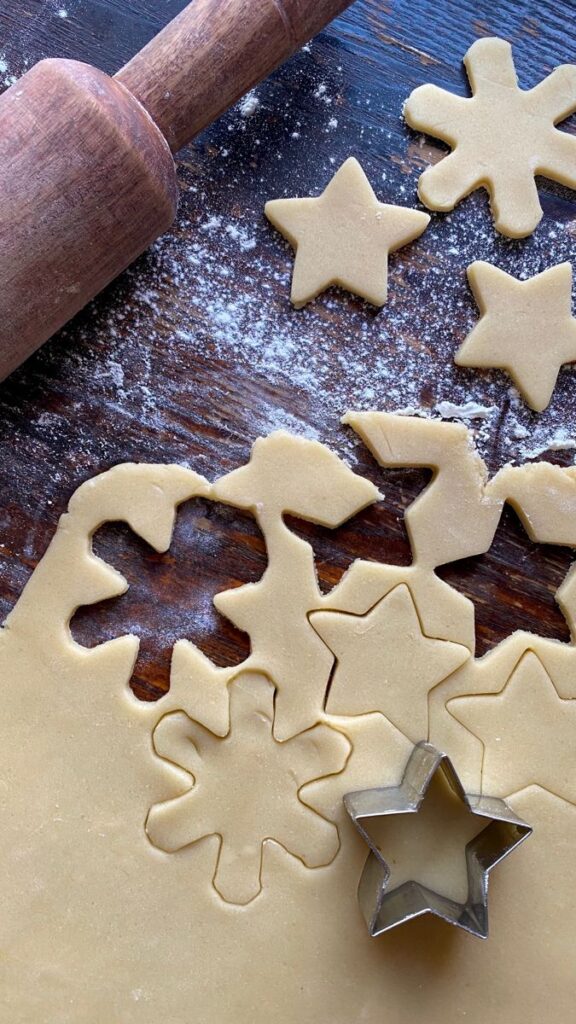
- Roll and Cut: On a lightly floured surface (or between two sheets of parchment paper for minimal flour addition), roll out one disc of chilled dough to about 1/4 inch thickness. Use your desired cookie cutters to cut out shapes. Carefully transfer cut-outs to the prepared baking sheets, leaving about 1 inch between them. Gather scraps, gently re-roll, and cut more cookies. If the dough becomes too warm, re-chill briefly.
- Bake: Bake for 8-10 minutes, or until the edges are lightly golden. Baking time will vary based on cookie size and thickness. Do not overbake, or they will be dry.
- Cool: Let cookies cool on the baking sheet for 5 minutes before transferring to a wire rack to cool completely. Decorate once fully cooled.
Royal Icing for Decoration
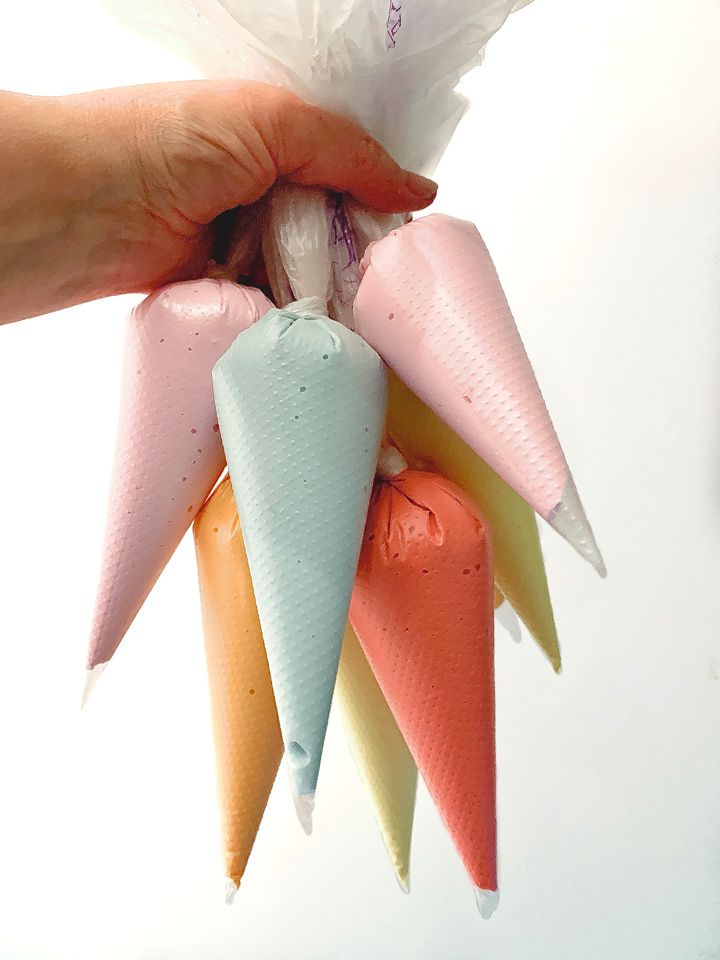

This icing dries hard and smooth, perfect for intricate designs.
Ingredients:
- 4 tablespoons meringue powder
- 1/2 cup (120ml) warm water
- 4 cups (480g) powdered sugar, sifted
- 1/2 teaspoon vanilla extract (clear extract preferred to maintain white color)
- Food coloring (gel paste preferred for vibrant colors without thinning the icing)
Instructions:

- Combine Meringue Powder and Water: In the bowl of a stand mixer, whisk together meringue powder and warm water until frothy, about 30 seconds.
- Add Sugar and Extract: Gradually add the sifted powdered sugar and vanilla extract.
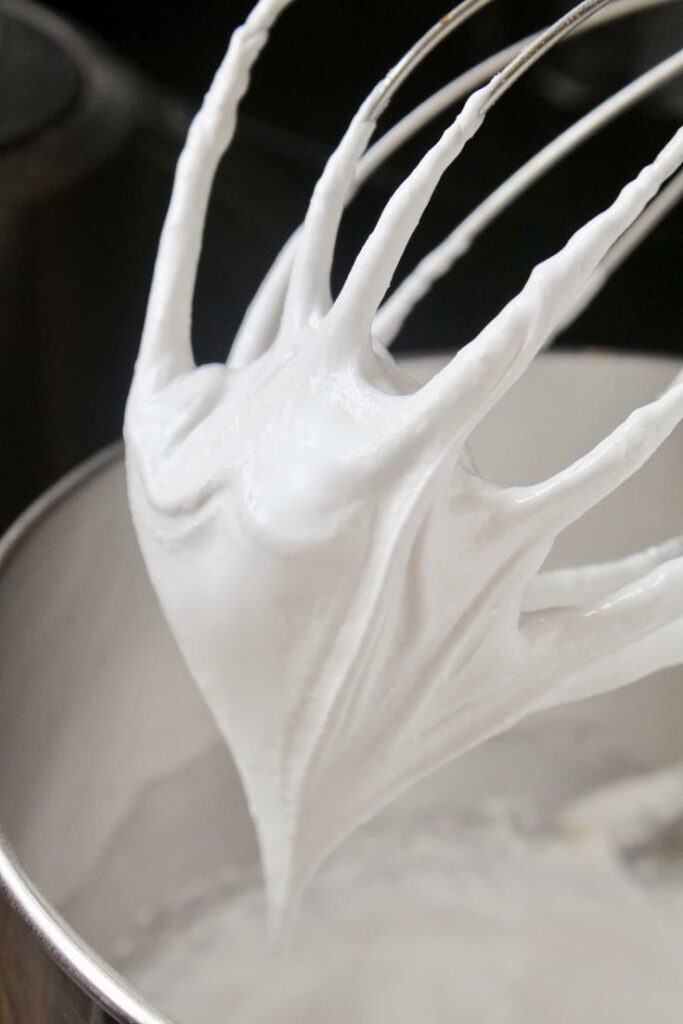
- Whip: Using the whisk attachment, beat on medium-high speed for 5-7 minutes until very stiff, glossy peaks form. The icing should be thick enough to hold its shape.
- Tint and Thin:
- Outline Consistency: Keep a portion of the thick icing for outlining. It should hold a distinct line without bleeding. If too thick, add water a few drops at a time.
- Flooding Consistency: For flooding, gradually thin the remaining icing with water, a teaspoon at a time, until it has the consistency of honey or shampoo. When you lift the whisk, a ribbon of icing should fall back into the bowl and disappear within 10-15 seconds.
- Decorate: Transfer icing to piping bags fitted with small round tips. Outline your cookies with the thicker consistency, then flood with the thinner icing. Allow each layer of icing to dry completely (several hours or overnight) before adding details or stacking. For inspiration on intricate designs, consider how minimalist drawing ideas can spark creativity in your cookie art.
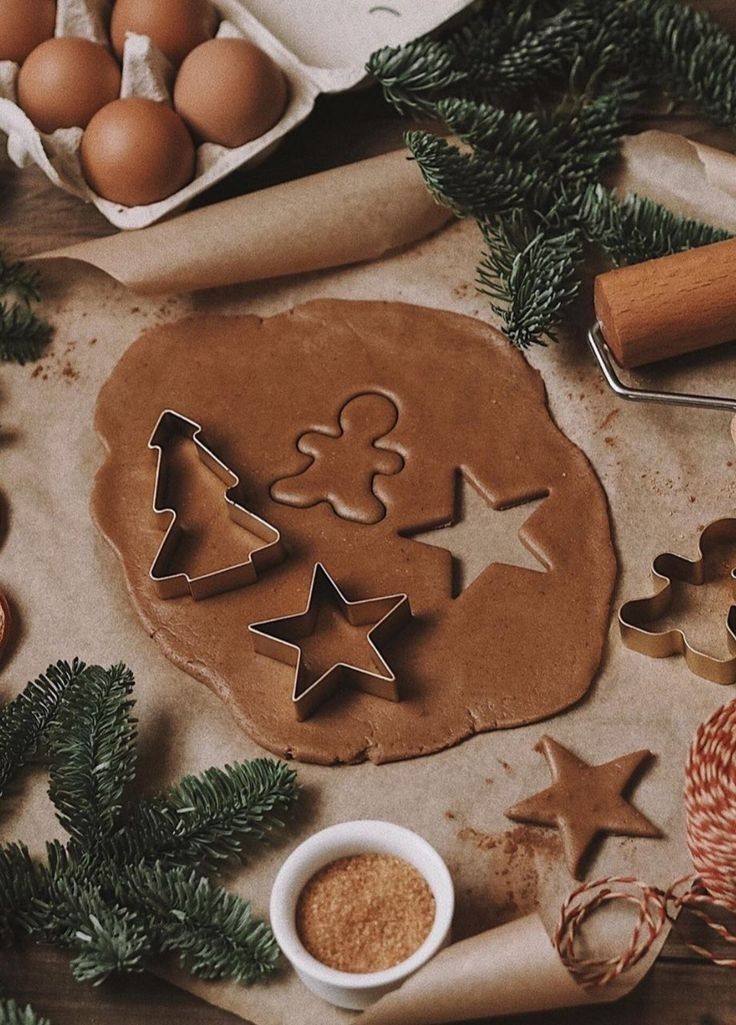
Classic Gingerbread Cookies
Perfect for eating or building charming gingerbread houses, this recipe balances spice and structure.

Ingredients:
- 3 cups (360g) all-purpose flour, sifted
- 1 tablespoon ground ginger
- 1 teaspoon ground cinnamon
- 1/2 teaspoon ground cloves
- 1/2 teaspoon ground nutmeg
- 1/2 teaspoon baking soda
- 1/4 teaspoon salt
- 1/2 cup (113g) unsalted butter, softened
- 1/2 cup (100g) packed dark brown sugar
- 1 large egg
- 1/2 cup (120ml) molasses (unsulphured, robust flavor)
- 1 teaspoon vanilla extract
Instructions:
- Whisk Dry Ingredients: In a large bowl, whisk together flour, ginger, cinnamon, cloves, nutmeg, baking soda, and salt.
- Cream Butter and Sugar: In a stand mixer, cream softened butter and brown sugar until light and fluffy.
- Add Wet Ingredients: Beat in the egg, then molasses and vanilla extract, until well combined.
- Combine Dry and Wet: Gradually add the dry ingredients to the wet mixture, mixing on low speed until just combined.
- Chill Dough: Divide dough, flatten, wrap, and chill for at least 2 hours, or up to overnight. This is crucial for flavor development and ease of handling.
- Preheat and Prepare: Preheat oven to 350°F (175°C). Line baking sheets with parchment.
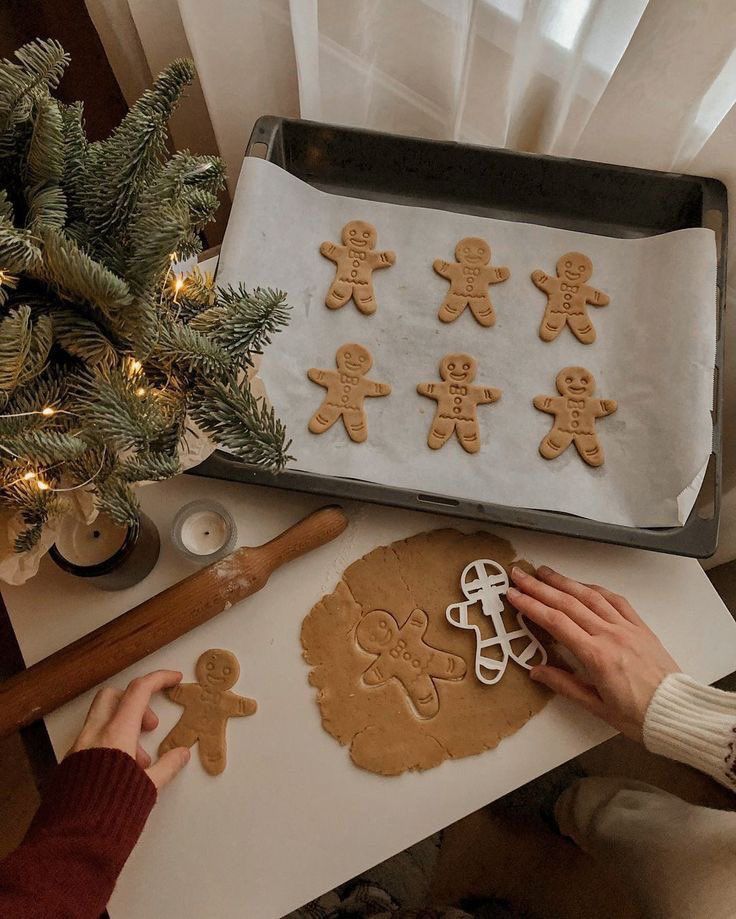
- Roll and Cut: Roll chilled dough to 1/4 inch thickness. Cut out shapes. For detailed gingerbread houses, ensure consistent thickness.
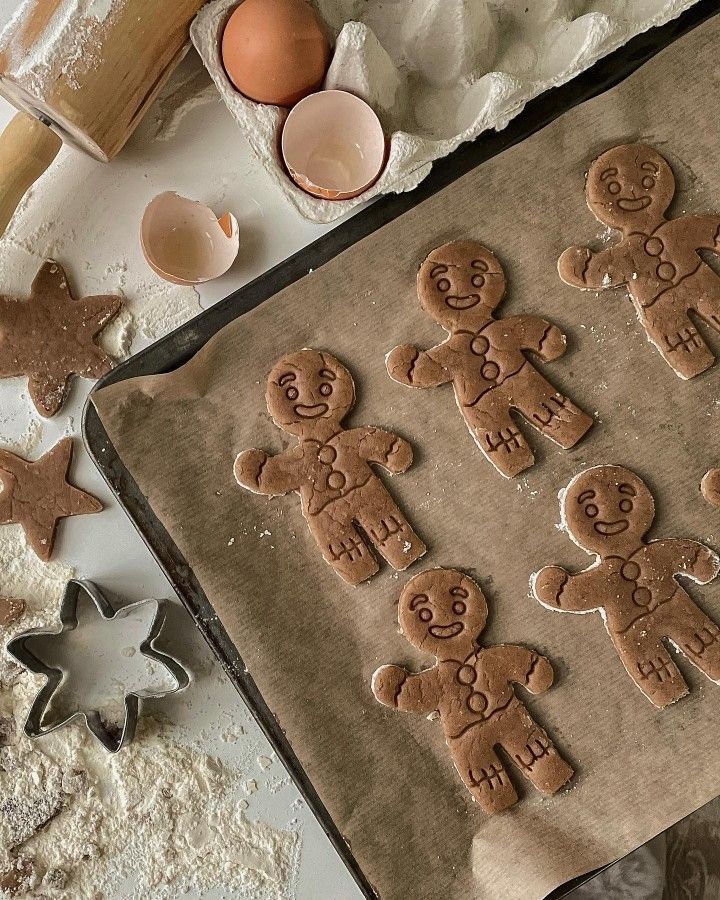
- Bake: Bake for 8-12 minutes, depending on size. Cookies will be firm around the edges but still slightly soft in the center. They will harden as they cool.
- Cool: Cool on baking sheet for 5 minutes, then transfer to a wire rack.
Peppermint Chocolate Crinkle Cookies
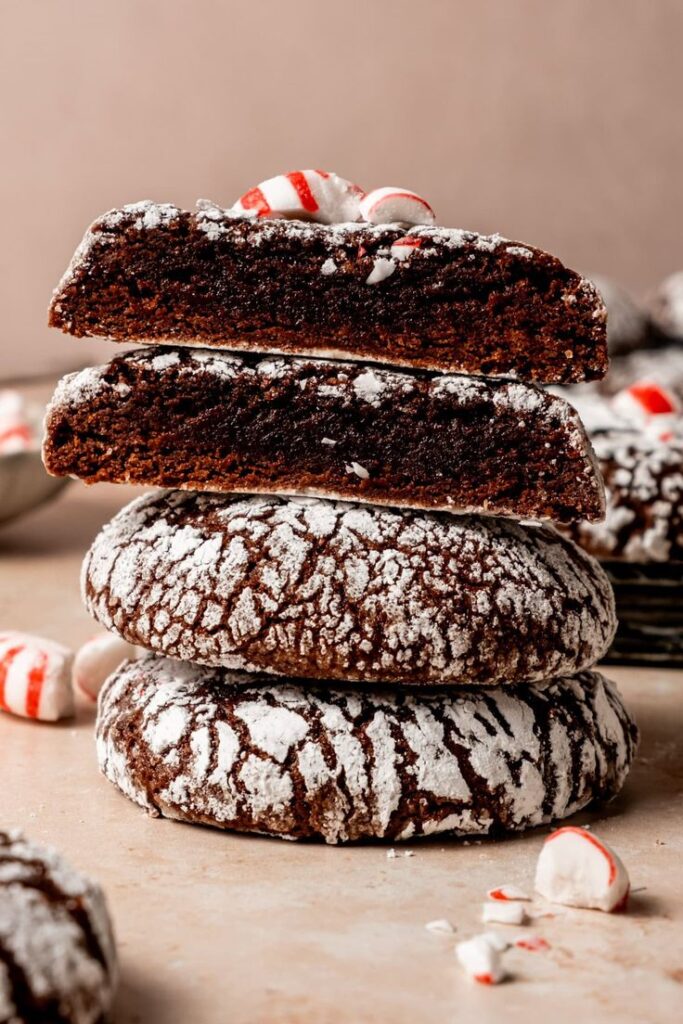
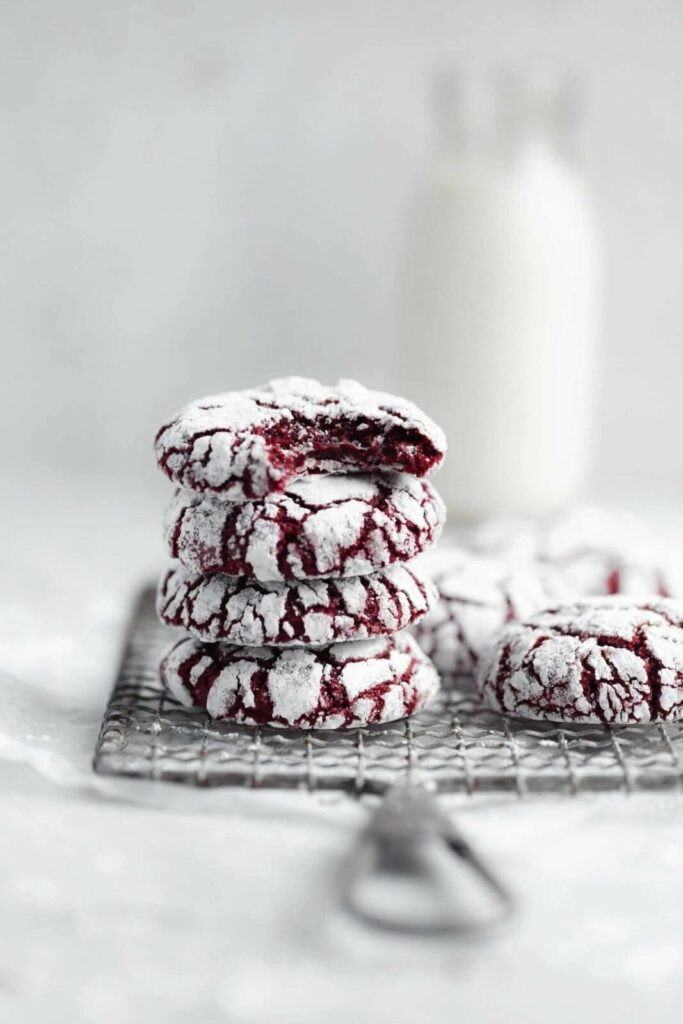
A festive, fudgy, and visually striking cookie with a delightful peppermint kick.
Ingredients:
- 1 1/2 cups (180g) all-purpose flour
- 1/2 cup (45g) unsweetened cocoa powder (Dutch-processed for darker color)
- 1 teaspoon baking powder
- 1/4 teaspoon salt
- 1/2 cup (113g) unsalted butter, melted
- 1 cup (200g) granulated sugar
- 2 large eggs
- 1 teaspoon vanilla extract
- 1/2 teaspoon peppermint extract (or more, to taste)
- 1/2 cup (60g) powdered sugar, for coating
Instructions:


- Whisk Dry Ingredients: In a bowl, whisk together flour, cocoa powder, baking powder, and salt.
- Combine Wet Ingredients: In a separate bowl, whisk together melted butter, granulated sugar, eggs, vanilla extract, and peppermint extract until well combined.
- Combine All Ingredients: Gradually add the dry ingredients to the wet mixture, mixing until just combined and a soft dough forms.
- Chill Dough: Cover the bowl with plastic wrap and chill the dough for at least 2 hours, or until firm enough to roll. This prevents the powdered sugar from dissolving into the dough.
- Preheat and Prepare: Preheat oven to 350°F (175°C). Line baking sheets with parchment paper. Place powdered sugar in a shallow bowl.
- Roll and Coat: Scoop dough by tablespoons (or use a small cookie scoop). Roll each portion into a smooth ball. Drop each ball into the powdered sugar, ensuring it’s generously coated on all sides. A thick coat creates the best crinkle effect. Place coated balls 2 inches apart on the prepared baking sheets.
- Bake: Bake for 10-12 minutes. The cookies will puff up, and the powdered sugar will “crinkle.” Do not overbake; they should still be soft in the center for a fudgy texture.
- Cool: Let cool on the baking sheet for a few minutes before transferring to a wire rack to cool completely. The intense chocolate flavor and crackled finish make these a standout.
Elevating Your Presentation: Packaging and Gifting
The visual appeal of your cookies is just as important as their taste. Thoughtful packaging transforms homemade treats into cherished gifts, reflecting the care and effort you put into baking.


Strategic Packaging for Freshness
- Airtight Containers: For storing cookies at home or for transport, airtight containers are essential to maintain freshness and prevent them from drying out or becoming stale. Layer cookies with parchment paper to prevent sticking.
- Food-Safe Bags: Cellophane bags or clear treat bags are perfect for individual cookies or small assortments. They protect the cookies while allowing their beauty to shine through. Seal them with festive ties or ribbons.
- Decorative Boxes and Tins: For a truly professional touch, invest in holiday-themed tins or sturdy cardboard boxes. These offer protection and an elegant presentation. Line them with tissue paper or crinkle paper for a luxurious feel.
- Labeling: Consider adding a small, elegant label with the cookie name and any dietary information (e.g., “Contains Nuts”). This professionalism adds a thoughtful touch.
Creative Gifting Ideas
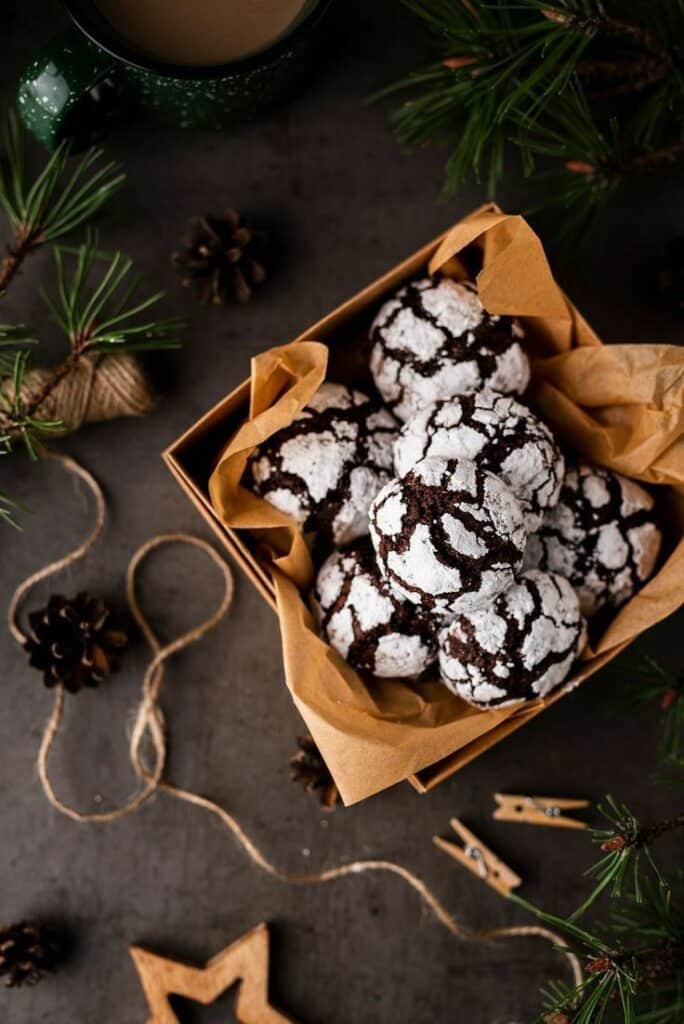
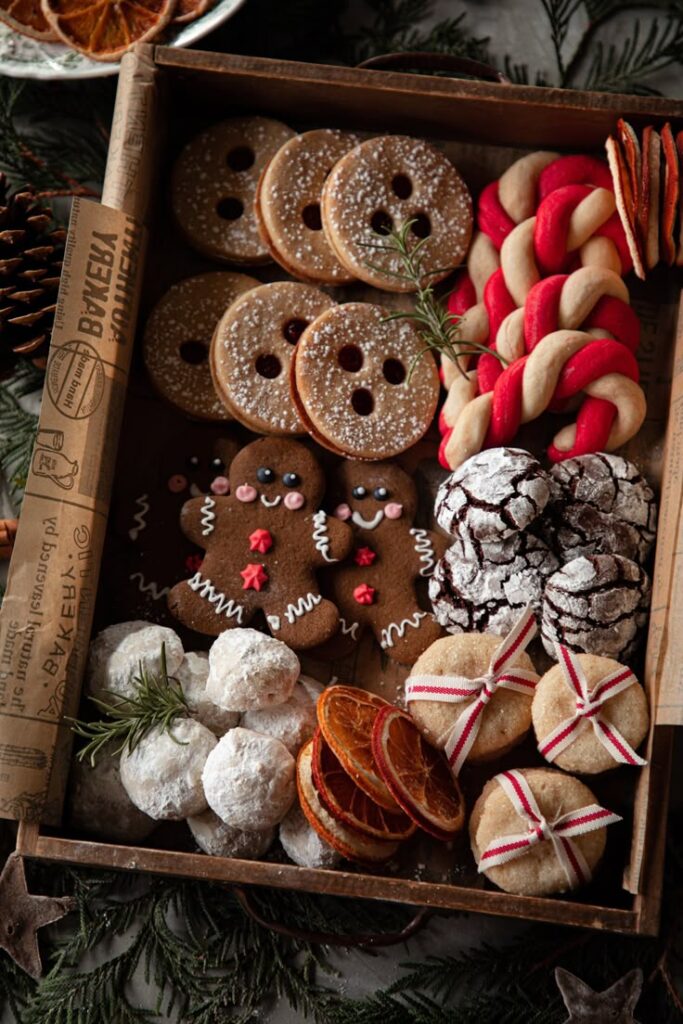
- Cookie Platters: Arrange an assortment of different cookies on a festive platter, perhaps adorned with fresh cranberries or sprigs of rosemary. Wrap the platter in cellophane and tie with a large bow. This is ideal for bringing to holiday gatherings.
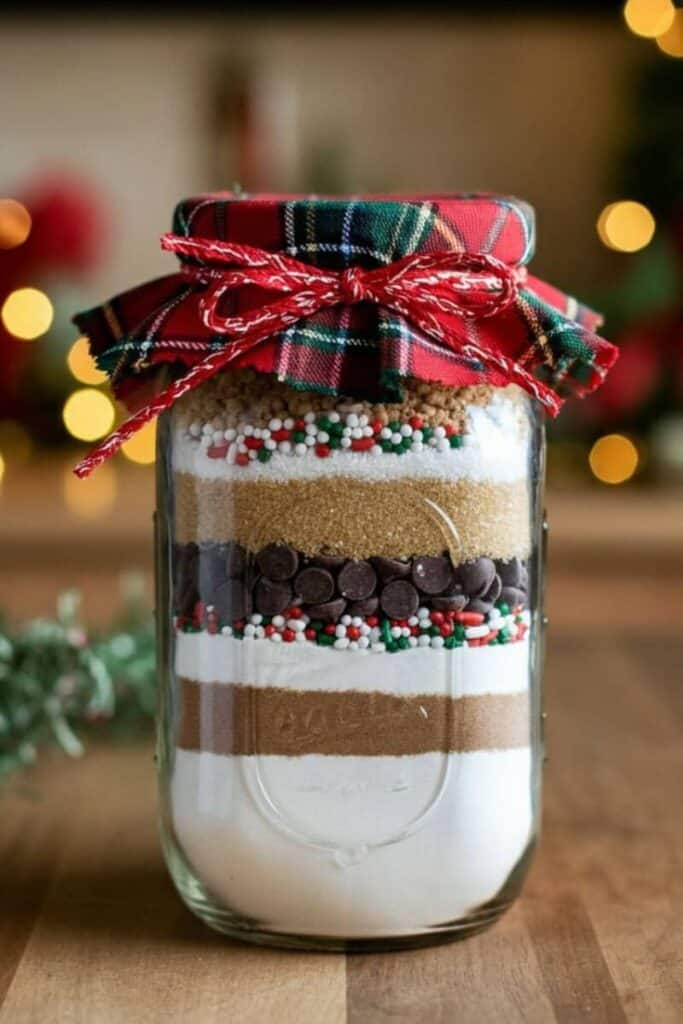
- DIY Cookie Kits: Package dry ingredients for a simple cookie recipe (like a basic sugar cookie or chocolate chip) in a jar, with instructions attached. This offers a creative gift that continues the baking tradition.
- Cookie “Bouquets”: Attach lollipop sticks to the back of decorated sugar cookies with melted chocolate or royal icing. Arrange them in a small vase or mug like a floral bouquet.
- Personalized Touches: Tie your packages with themed ribbons, attach small Christmas ornaments (learn how to make handmade Christmas ornaments for extra charm), or include a handwritten card. Consider making a DIY fall table decor piece to accompany a larger cookie gift as a complementary offering.
Troubleshooting Common Cookie Calamities
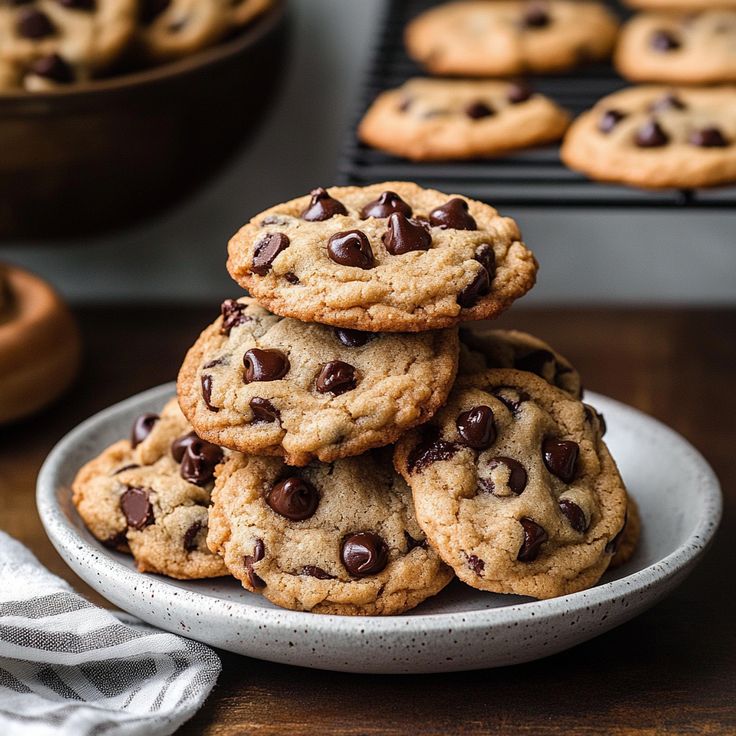
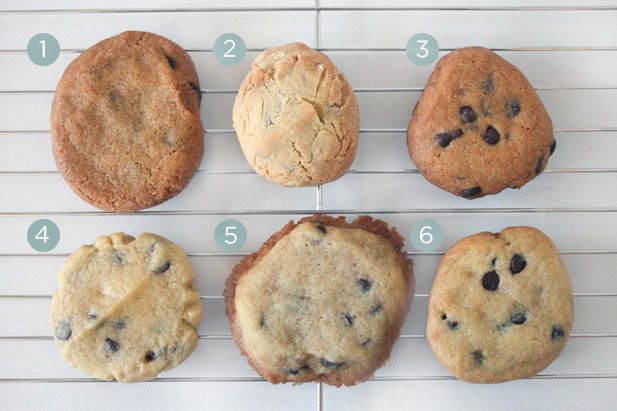
Even experienced bakers encounter challenges. Knowing how to diagnose and rectify common cookie problems is a mark of a true professional.
- Cookies Spreading Too Much:
- Cause: Too much butter/fat, butter too soft, dough not chilled enough, oven temperature too low, too much sugar, or insufficient flour.
- Solution: Ensure butter is firm (not melted), chill dough thoroughly (up to 24 hours), check oven temperature with a thermometer, reduce sugar slightly, or add a tablespoon of flour.
- Cookies Too Hard or Dry:
- Cause: Overbaking, too much flour, insufficient fat/liquid, overmixing the dough.
- Solution: Reduce baking time, measure flour by weight, ensure correct fat/liquid ratios, mix dough until just combined.
- Cookies Burnt on the Bottom, Raw in the Middle:
- Cause: Hot spots in the oven, dark baking sheets, rack too low.
- Solution: Use light-colored baking sheets, rotate baking sheets halfway through, move oven rack to the middle position, ensure oven is calibrated.
- Royal Icing Bleeding or Cracking:
- Cause: Icing too thin, uneven drying conditions, high humidity, incompatible food colors.
- Solution: Ensure outline icing is firm, allow each color/layer to dry completely before applying the next, use gel food coloring. Dry cookies in a low-humidity environment.
- Cookies Sticking to Baking Sheet:
- Cause: No parchment paper/silicone mat, not enough grease, or not cooled enough before moving.
- Solution: Always use parchment paper or a silicone mat. Ensure cookies cool for a few minutes on the sheet before transferring.
- Flavor Falling Flat:
- Cause: Old spices, low-quality extracts, too little salt.
- Solution: Use fresh, high-quality spices and extracts. Don’t omit salt, as it enhances all other flavors. For general kitchen upkeep, remember that pest control by design can prevent unwelcome guests from spoiling your ingredients or finished products.
The Creative Edge: Customization and Innovation
Beyond classic recipes, professional home bakers embrace creativity, adapting recipes and experimenting with new flavors and aesthetics.
Flavor Variations and Inclusions
- Citrus Zest: Add orange, lemon, or lime zest to sugar cookie dough or royal icing for a bright, fresh flavor.
- Spices: Experiment with cardamom, allspice, or a pinch of cayenne in chocolate or gingerbread recipes for complex notes.
- Nuts: Toasted pecans, walnuts, or almonds add texture and depth. Incorporate them into doughs or use them as a garnish.
- Dried Fruits: Cranberries, cherries, or candied ginger can be folded into dough for chewy bites and festive colors.
- Chocolate: Beyond chips, consider white chocolate, dark chocolate chunks, or even a swirl of melted chocolate in your dough.
- Extracts: Beyond vanilla and almond, try maple, rum, coffee, or coconut extracts to customize your cookie profiles.

Decorating Beyond the Basic
- Edible Glitter and Dusts: Add sparkle and shimmer to royal icing or finished cookies.
- Sprinkles: A classic for a reason, but choose high-quality, themed sprinkles for a polished look.
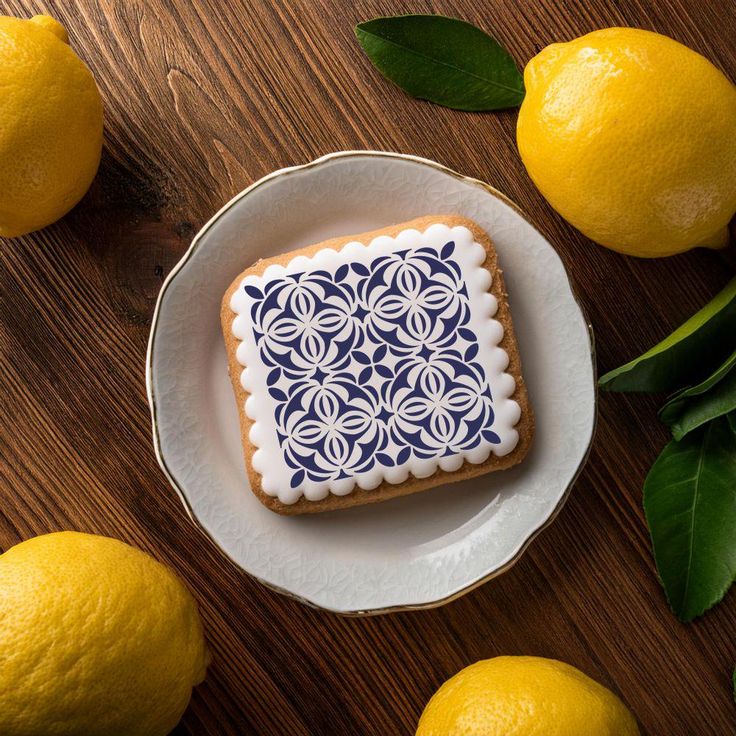
- Stenciling: Use food-grade stencils and royal icing or powdered sugar to create intricate patterns.
- Hand-Painting: Once royal icing is dry, use edible food markers or food coloring mixed with a little vodka or clear extract to paint designs.
- Dipping and Drizzling: Dip cookies halfway into melted chocolate, then sprinkle with nuts, peppermint pieces, or edible glitter. Drizzle with contrasting chocolate or icing for an artistic touch.
Pairings and Presentations
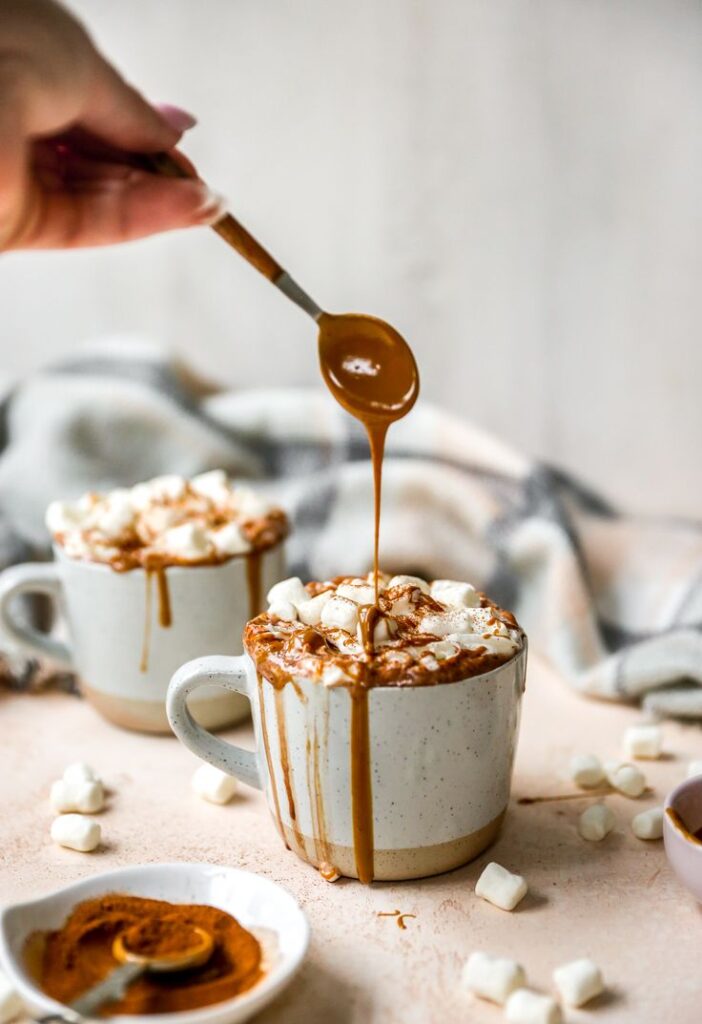
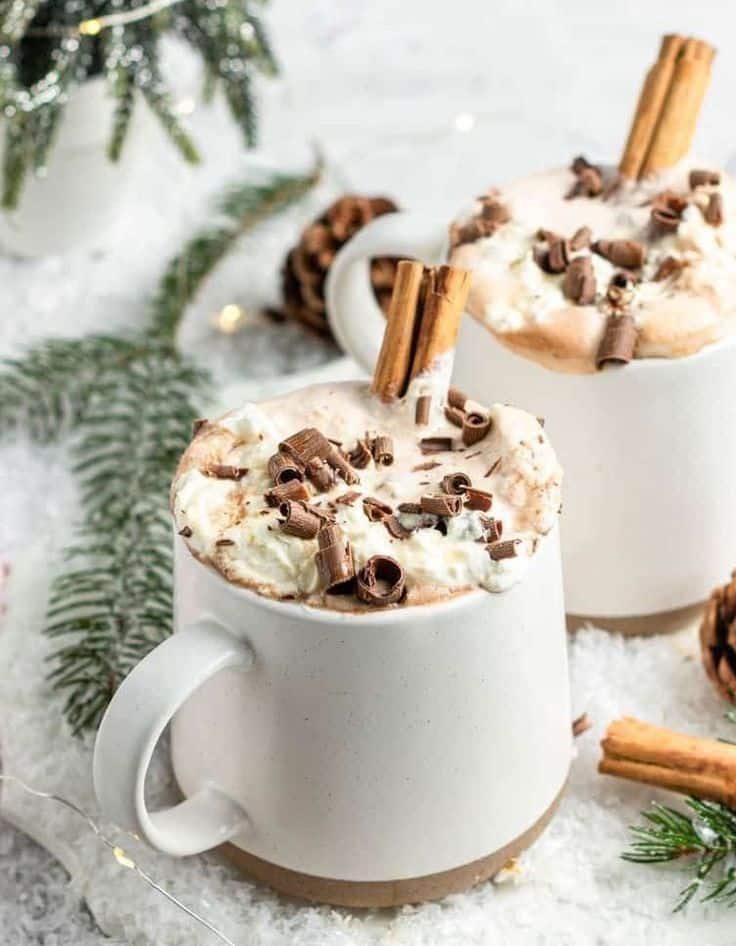
- Festive Beverages: Suggest pairing your cookies with homemade spiced cider, gourmet hot cocoa, mulled wine, or specialty coffee blends.
- Dessert Boards: Arrange your cookies with other small holiday treats, cheeses, fruits, and nuts on a large board for an impressive display.
- Thematic Design: Align your cookie aesthetics with your overall holiday decor, whether it’s a rustic home decor theme or a modern minimalist approach. Cookies can become an integral part of your festive environment.
The Joy of Giving: Homemade Gifts
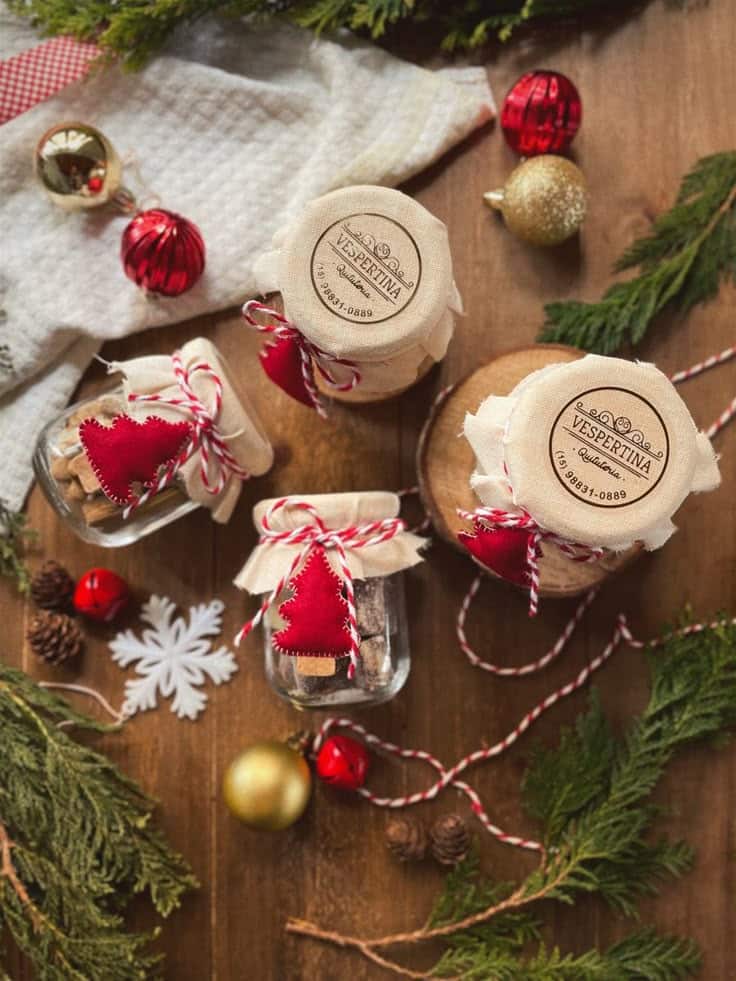
The effort invested in mastering professional DIY Christmas cookie recipes culminates in the joy of sharing. A beautifully presented box of homemade cookies is a deeply personal and cherished gift. It’s not just about the sugar and flour; it’s about the time, care, and love that went into creating something special. In a world increasingly dominated by mass-produced goods, a handmade gift stands out. Consider these as perfect unique handmade gift ideas for men or anyone else on your list, as they convey a sincerity often unmatched by store-bought presents.
Conclusion
Embarking on the journey to master holiday baking is a rewarding endeavor that transcends the simple act of making treats. By understanding the science of ingredients, equipping your kitchen with essential tools, and practicing meticulous techniques, you can transform ordinary cookie recipes into extraordinary culinary creations. From the perfect no-spread sugar cookie to the aromatic gingerbread and the festive peppermint crinkles, each cookie becomes a testament to your dedication and skill. Elevate your presentation, troubleshoot with confidence, and unleash your creativity through customization, ensuring your holiday bakes are not just delicious but truly memorable.
This holiday season, embrace the role of the professional home baker. Let the warmth of your oven and the sweet scent of your creations fill your home, inviting joy and wonder. Share your masterpieces, knowing that each bite carries a piece of your handcrafted artistry and holiday spirit. Start experimenting, refining, and creating today – your next batch of Christmas cookies could be your most impressive yet. Happy baking!
- 138shares
- Facebook0
- Pinterest135
- Twitter3
- Reddit0


