Wrapping a present is a skill that combines practicality with creativity, making your gift feel thoughtful before it’s even opened. The key to wrapping a present successfully is to prepare your materials and workspace carefully, then follow simple, precise steps to achieve a neat and attractive finish. This ensures your gift looks polished and shows the effort you put into the presentation.
Whether your gift is a clear-cut box or an unusual shape, you can wrap it efficiently by measuring paper correctly and securing edges tightly. Small details like choosing quality ribbon and neat folds can elevate the look, making your gift stand out. Learning a few reliable techniques also helps you wrap faster and with less waste.
If you want to add a personal touch without complicating things, simple decorations or reusable materials can enhance your wrapping while being environmentally mindful. This approach combines style and function, helping you create a memorable gift experience.
Key Takeaways
- Prepare your materials and workspace before wrapping.
- Use precise measurements and folding for a clean finish.
- Incorporate simple decorative elements or eco-friendly options.

Gather Essential Materials
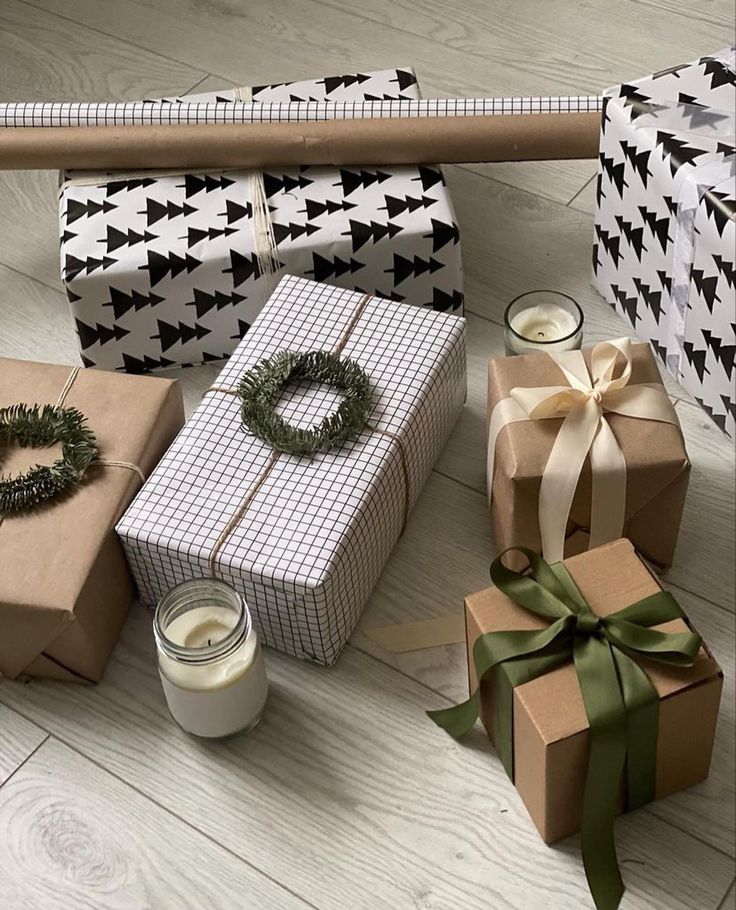
To wrap a present neatly, you need specific supplies that fit the size and shape of your gift. Each material serves a clear purpose, from protecting the item to enhancing its appearance.
Choosing the Right Wrapping Paper
Select wrapping paper that matches both the occasion and the gift’s size. For smaller boxes, thin paper works well and reduces bulk when folding. For larger or oddly shaped gifts, thicker paper offers better durability and easier handling.
Measure enough paper to cover the gift with a slight overlap—usually about 2 to 3 inches extra on all sides. Avoid paper that tears too quickly or is too glossy, as it can be tricky to work with. Stick to patterns or colors that suit the event to add a polished look.
Selecting Tape and Scissors
Choose a clear, strong tape to secure the wrapping paper without tearing. Double-sided tape can create a cleaner finish, especially along edges. Avoid tapes that are too weak or overly sticky, as they make adjustments difficult.
Use sharp scissors with a comfortable grip to cut wrapping paper precisely. Dull scissors cause jagged edges and can slow you down. Keep scissors dedicated for wrapping to maintain their sharpness.
Using Tissue Paper and Ribbon
Tissue paper adds protection and layering inside boxes or between delicate items in gift bags. Choose colors that complement your wrapping paper. Use several sheets if cushioning is needed.
Ribbons enhance the finish and can be tied into bows or curled for decoration. Select a width and texture that suits the package size. Satin, grosgrain, or curling ribbon are common options. Secure the ribbon firmly so it holds its shape during handling.


Preparing the Gift for Wrapping
Before you start wrapping, focus on getting the right size of wrapping paper and ensuring your gift is secure, especially if it is fragile. Proper preparation makes the wrapping process smoother and results in a neat appearance.
Measuring and Cutting Paper
Place your gift box upside down on the wrapping paper. Roll the paper around the box to check how much is needed; you want enough paper to cover the entire gift with a slight overlap.
Use a ruler or straight edge to mark the length you need on the paper. Cut carefully with scissors to avoid jagged edges.
Make sure the paper extends at least 2 to 3 inches beyond the gift’s height on all sides to allow for folding and clean edges.
Keep your cut paper flat and wrinkle-free by laying it on a smooth surface before you begin wrapping.
Securing Fragile Items
If your gift is fragile, wrap it first in bubble wrap or tissue paper for protection. This prevents damage during handling and keeps the shape intact under the gift wrap.
Place the protected gift in a sturdy box to create a solid base for wrapping. Avoid using soft or uneven surfaces.
If the item isn’t box-shaped, use padding material inside a box or wrap carefully to keep the paper tight and prevent tearing.
Double-sided tape can help hold padding in place discreetly without affecting the appearance of the final wrap.

Step-by-Step Gift Wrapping Process
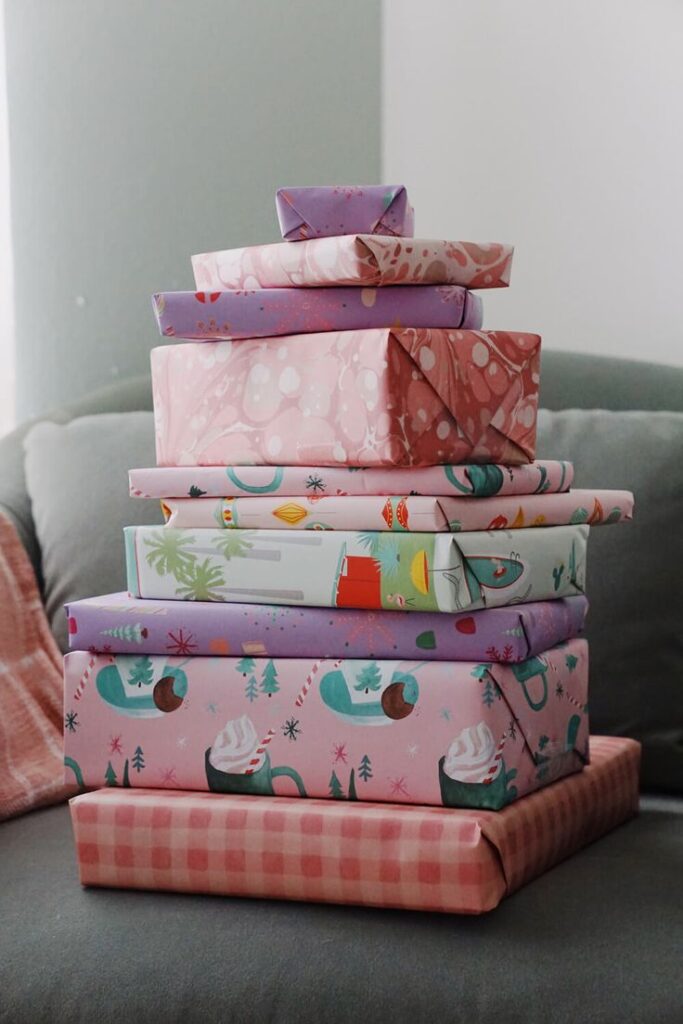
Start by positioning the wrapping paper and preparing your gift for a neat finish. Proper measurement and folding will help you avoid excess paper and uneven edges. Using tape strategically ensures the wrap stays secure without visible clutter.
Folding and Securing Gift Wrap
Place your gift box topside down on unrolled wrapping paper. Leave enough paper on all sides to cover the box completely.
Fold one side of the paper over the box. Then, bring the opposite edge over and slightly overlap the first fold. Use your fingers to press and crease the folds sharply for clean edges.
At the ends, push the paper inwards, creating two flaps, and fold the top flap down, then the bottom flap up. Secure each fold as you go to keep the paper tight against the box.
Taping and Smoothing Edges
Use double-sided or clear tape to keep the paper firmly in place without excess visible tape lines. Start by taping the primary seam where paper overlaps.
Add tape along the folded ends to hold the flaps down. Press tape firmly to prevent lifting or puckering.
Smooth out any air bubbles or wrinkles with your hands, starting from the center and moving outward. This helps maintain a flat surface and sharp lines.
Keep tape use minimal but effective for a clean, professional appearance.


Adding Decorative Finishing Touches
Small details can elevate your wrapped gift, making it look thoughtful and complete. Using bows and ribbons carefully adds texture and color that highlight your wrapping skills.
Attaching a Bow
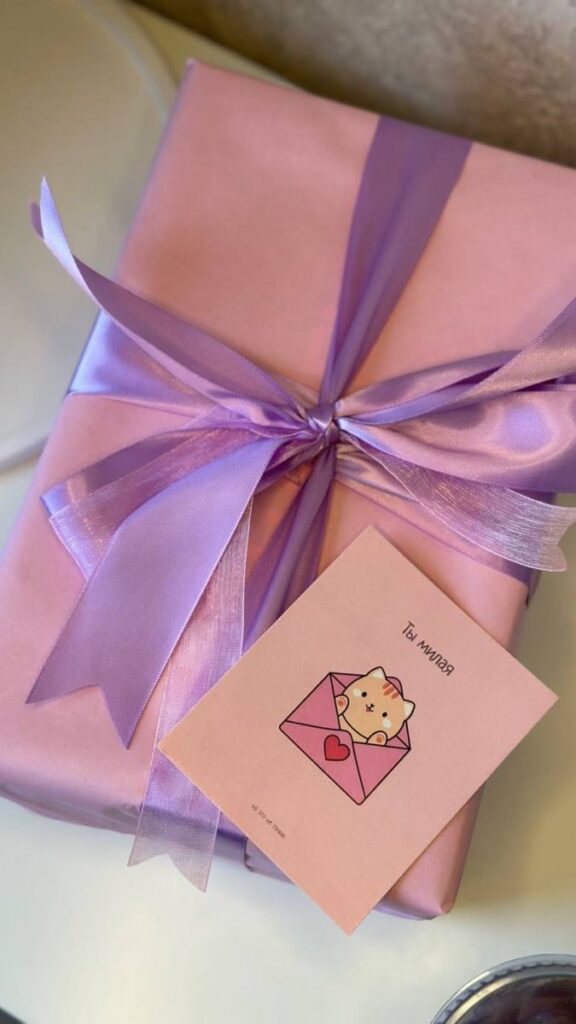
Choose a bow size proportional to your gift box for balance. Peel or cut the adhesive backing if your bow has one to secure it firmly on top. If the bow doesn’t have adhesive, use double-sided tape or a small dab of hot glue.
Place the bow in the center or a corner of the gift, depending on your design preference. For layered effects, you can stack smaller bows on top of larger ones using glue or tape.
If you want a natural touch, consider adding elements like dried orange slices or sprigs of greenery beneath the bow for visual interest.
Tying a Ribbon
Cut the ribbon long enough to wrap around the gift both lengthwise and widthwise, leaving extra for tying a bow. Wrap the ribbon snugly, but not too tight to avoid denting the paper.
Cross the ribbon at the bottom of the gift, twist, and bring the ends back to the top. Tie a simple knot before forming a bow.
To enhance the look, curl the ribbon ends with scissors by pulling the blade along the ribbon’s edge. Use a wide, satin ribbon for elegance, or decorative tape as an alternative if you want a cleaner look without bulk.

Eco-Friendly Gift Wrapping Choices
Choosing gift wrap that is kind to the environment can reduce waste and lower your impact. You can select materials that are sustainable or reuse what you already have to make your gifts look great without harming the planet.
Sustainable Wrapping Materials
Opt for natural or renewable materials like fabric wraps, which you can reuse multiple times. Cotton, linen, or even old scarves work as wrapping cloths that are washable and durable.
Brown kraft paper is a practical alternative to traditional wrapping paper. It is typically uncoated, recyclable, and biodegradable. You can decorate it simply with stamps, drawings, or natural accents like twine and dried flowers.
Look for wrapping paper made from recycled content or certified sustainable sources. Avoid glossy or metallic papers, as these often contain plastic and are not recyclable.

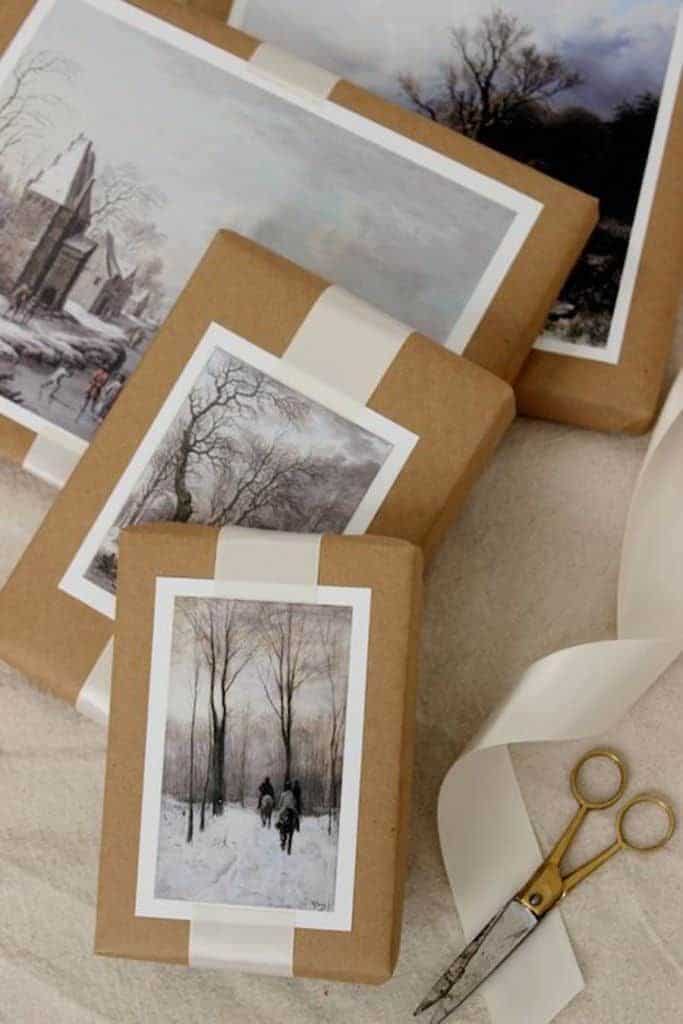
Reusing and Recycling Gift Wrap
Reuse leftover paper, gift bags, or ribbons from past gifts to cut down on waste. If you receive gifts in reusable containers or fabric bags, save those for future use.
Wrap gifts with newspaper, pages from old magazines, or maps for a creative and resourceful touch. These materials are easy to recycle after use.
When tape is needed, choose eco-friendly options like paper-based tape that breaks down more easily in recycling systems. Avoid plastic tapes, which complicate the recycling process.
- 545shares
- Facebook0
- Pinterest539
- Twitter6
- Reddit0


