Creating a friendship bracelet is a wonderful way to express your bond with someone special. With the right materials, techniques, and a bit of creativity, you can craft a bracelet that holds lasting memories. This guide will help you navigate the entire process, ensuring your bracelet is not just a piece of jewelry but a cherished token of friendship.
You don’t need to be an expert in crafting to make a meaningful wristband. By following simple steps and exploring various patterns, anyone can design a bracelet that reflects personality and shared experiences. This article will equip you with everything you need to know to create a timeless accessory that captures the essence of your friendship.
Whether for yourself or as a gift, making a friendship bracelet can be a rewarding experience. Dive into the world of colors, patterns, and personal touches that can transform your bracelet into a unique piece of art.

Key Takeaways
- Gather the right materials for crafting.
- Explore different patterns to enhance creativity.
- Personalize your bracelet to reflect your friendship.
Materials and Tools for Crafting Timeless Friendship Bracelets
To create friendship bracelets that you will cherish, selecting the right materials and tools is crucial. Quality components enhance the durability and appearance of your creation. Here’s what you need to get started.
Choosing Quality Embroidery Floss and Beads
Opt for high-quality embroidery floss, as it impacts the bracelet’s texture and longevity. Look for brands like DMC or Omega, known for their vibrant colors and strength. Cotton or polyester floss are preferable, offering a soft feel and resistance to fraying.
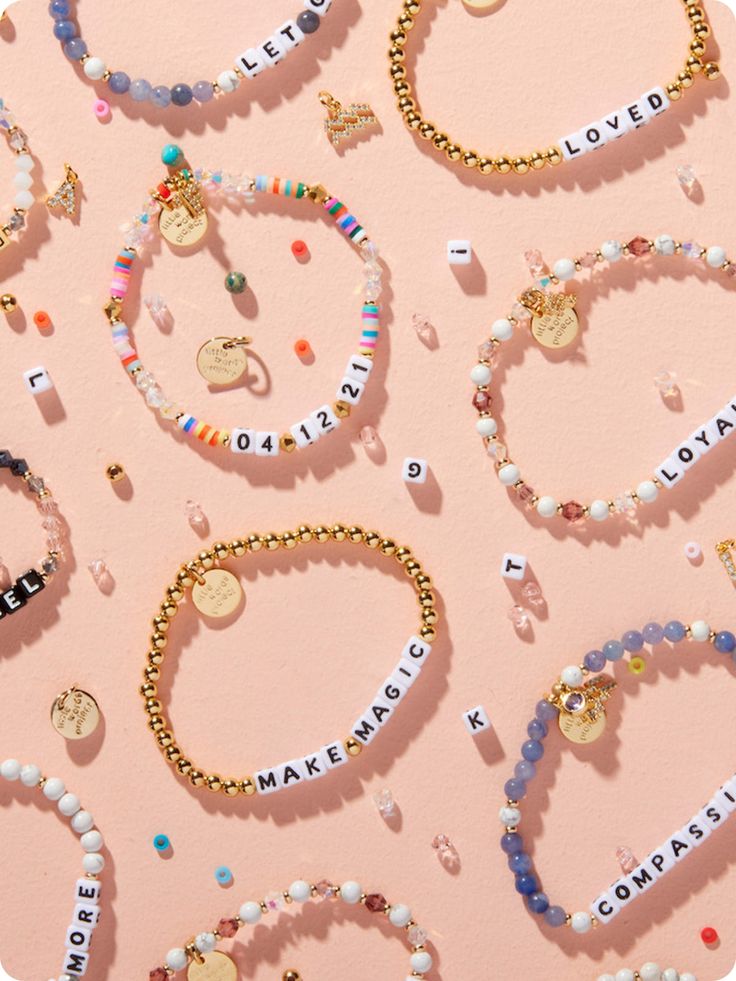
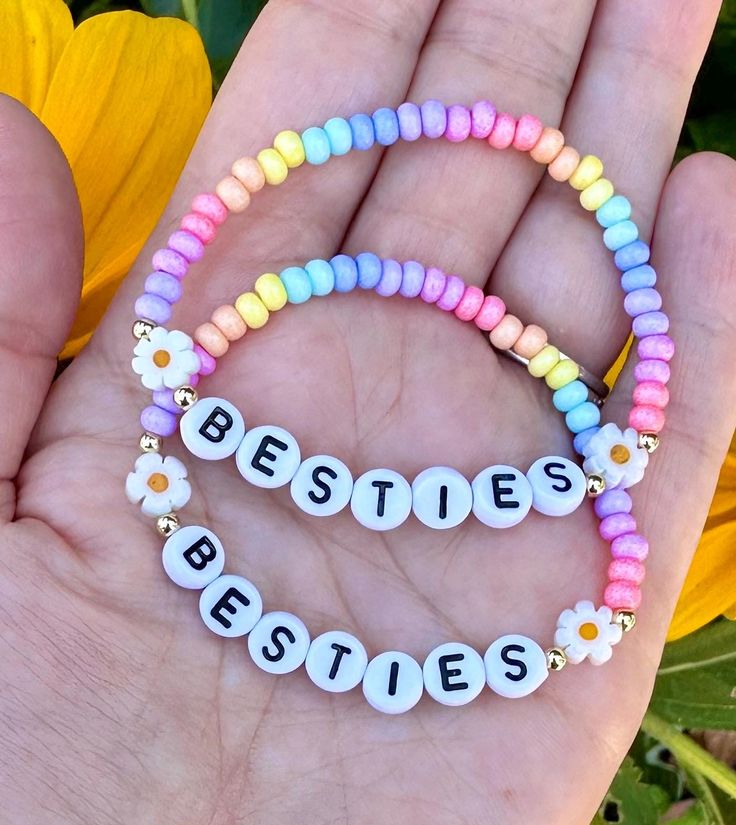
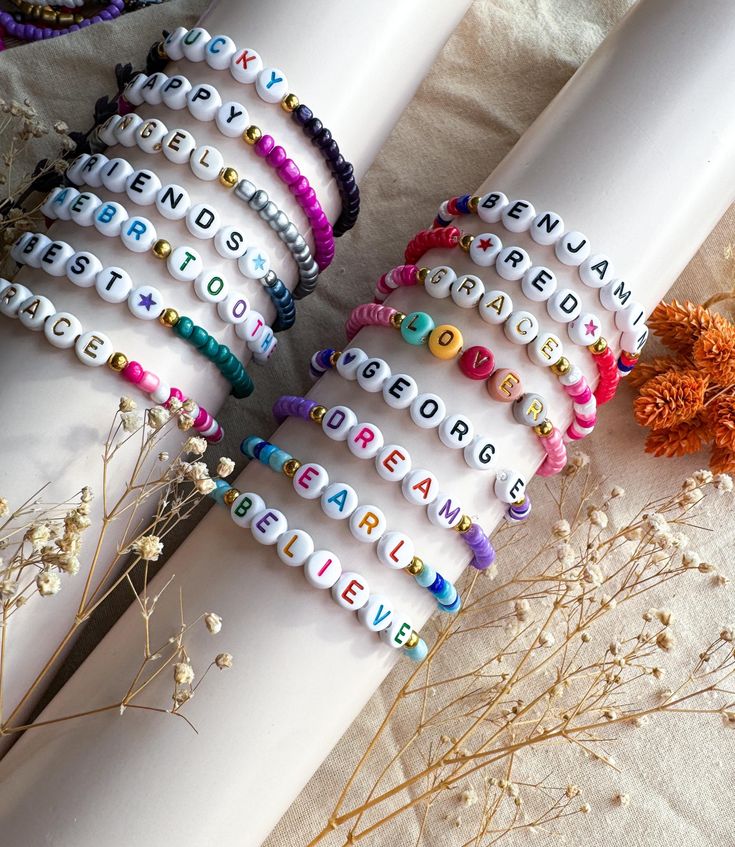
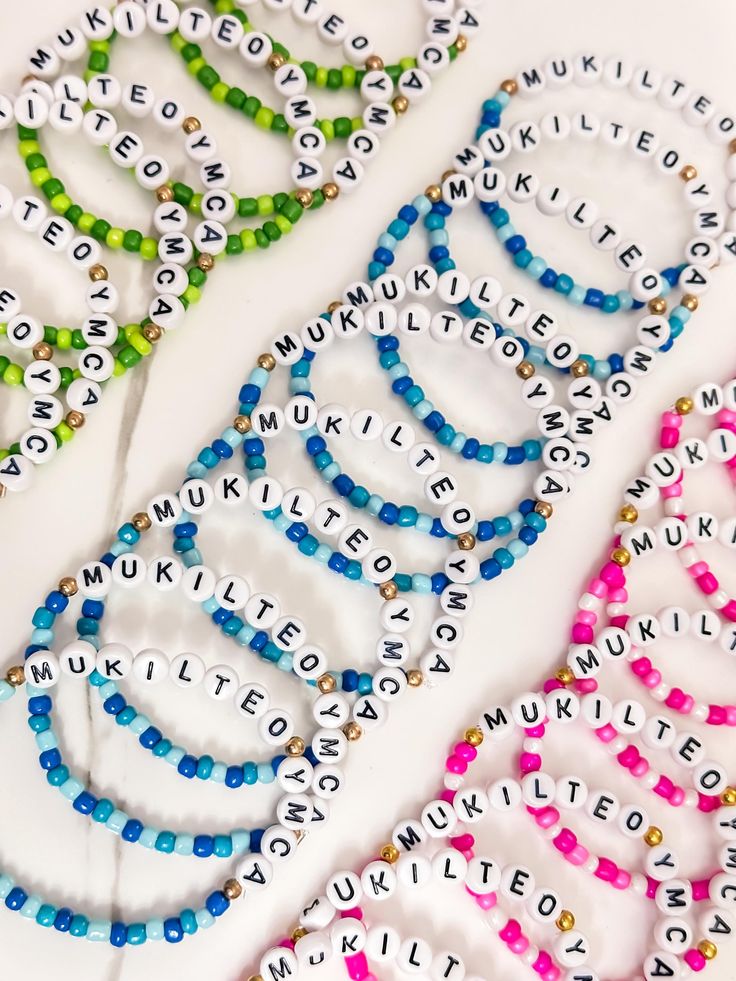
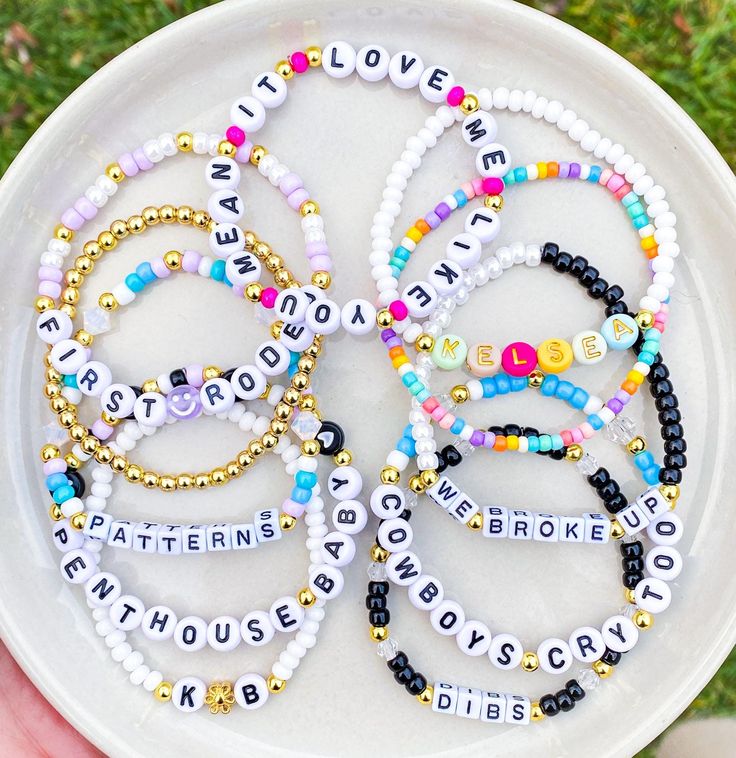
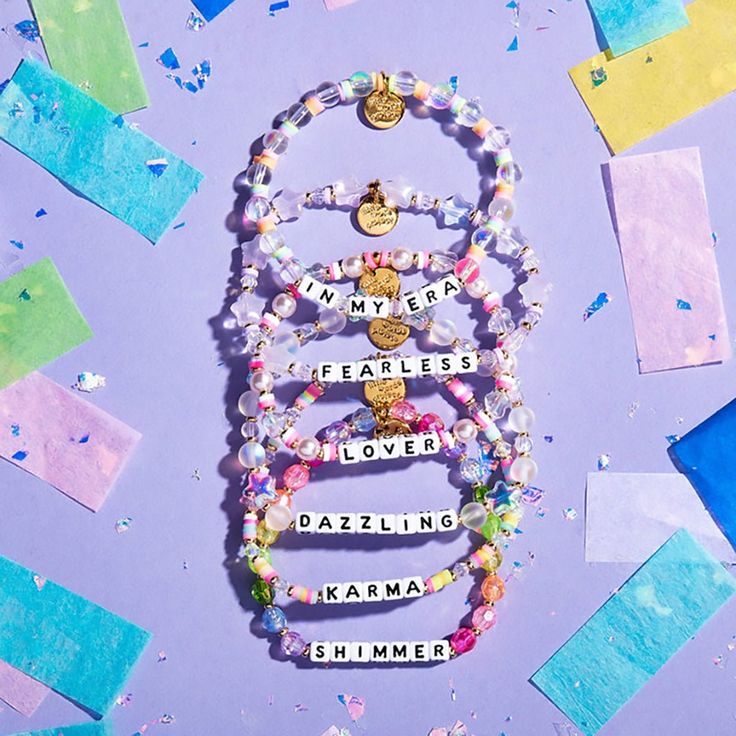
When it comes to beads, a variety adds personality. Consider using seed beads for intricate details or larger beads for a bold statement. Letter beads allow personalization, making your bracelet unique. Ensure that your beads have consistent hole sizes to accommodate your chosen floss without difficulty.
Essential Tools: Scissors, Tape, and Safety Pins
Your tools play a vital role in bracelet-making precision. A reliable pair of scissors is essential for clean cuts, especially when working with embroidery floss. Ensure they are sharp to avoid fraying the ends.
Tape is useful for securing your bracelet while you work, preventing it from slipping. You can also use safety pins to hold the bracelet in place on a pillow or cloth. This will provide stability, making it easier to create consistent patterns without losing your progress.

Additional Supplies: Charms and Elastic Cord
To enhance the design, you may want to incorporate charms into your bracelet. Charms add a personal touch and can represent shared memories or interests. Choose charms that resonate with you or your friend for a meaningful design.
Elastic cord is another option, especially if you prefer a stretchable bracelet. It allows for easy wearing and removal while ensuring durability. When choosing elastic cord, verify its thickness to match your beads and design style, ensuring a comfortable fit.
The Art of Friendship Bracelet Patterns
Creating friendship bracelets involves mastering various patterns and techniques. These elements are central to designing bracelets that not only look beautiful but also hold personal significance. This section explores essential knots, traditional designs, and innovative patterns.
Mastering Basic Knots and Techniques
To begin, familiarize yourself with basic knots that form the foundation of many friendship bracelet patterns. The forward knot and backward knot are essential. The forward knot is made by taking the first string, creating a “4” shape, and pulling the second string through the loop. Alternatively, the backward knot mirrors this process.
Another useful technique is the square knot, which is a more complex stitch combining both forward and backward knots. Practice these basics to gain confidence and accuracy. The quality of your knots will significantly affect the final look of your bracelet, so take the time to perfect your technique.
Traditional Patterns: Candy Stripe and Chevron
Two classic patterns you’ll want to master are the candy stripe and the chevron. The candy stripe pattern is simple, involving consistent forward knots down the length of the bracelet. This results in diagonal stripes that alternate colors, easy to customize with your favorite hues.
The chevron pattern is slightly more intricate. It requires an understanding of both forward and backward knots. Start with the middle strand and work outward, forming a V shape as you combine knots. This creates a striking and visually pleasing design that signifies the bond of friendship. Both patterns provide a solid foundation for more complex creations.
Innovative Friendship Bracelet Designs
For those looking to push creative boundaries, consider exploring innovative designs. Integrate different techniques and colors to develop unique patterns. Try braiding strands or adding beads for added flair. You might also experiment with asymmetric patterns where one side differs from the other.
Use resources like online tutorials or pattern generators to discover fresh ideas. Combining various knot techniques can also yield exciting results. With practice, you’ll develop your personal style, turning simple knots into cherished, one-of-a-kind bracelets that reflect your individuality and the sentiments behind your friendships.

Step-by-Step Guide to Making a Friendship Bracelet
Creating a friendship bracelet involves a few essential steps: preparing the foundation, weaving unique patterns, and securing your design with knots. Follow these instructions closely to craft a bracelet you’ll treasure.
Preparing the Bracelet Foundation
Choose your string material wisely. Common options include embroidery floss, yarn, or hemp. Select at least three different colors for vibrant designs. Cut each strand to about 24 inches in length, ensuring you’re working with enough material for knots and weaving.
Next, gather the strands and tie them together with an overhand knot, leaving a few inches for an adjustable loop. Secure this knot to a stable surface using tape or a clipboard. This setup allows you to focus on weaving without losing your grip on the strings.
Weaving Patterns and Adding Beads
Now it’s time to create your pattern. You can use simple knotted techniques or more intricate designs like chevrons or braids. To begin, take the leftmost strand and create a forward knot over the next strand. Pull tightly to secure each knot.
Continue this process, always starting with the leftmost strand. To add beads, thread them onto the strands before making your knots. This will give your bracelet a personalized touch. Be strategic about the placement and color of beads to enhance your overall design.
Securing the Bracelet with Knots
After completing your bracelet, it’s crucial to secure the ends properly. Gather all strands and tie a final overhand knot, accommodating your wrist size for comfort. Trim excess strands, leaving a small tail, as this can help if you need to retie the bracelet later.
Finally, if desired, create a small adjustable loop by tying a knot on one end, making it easier to wear. Ensure all knots are tight to prevent any unraveling. With your bracelet finished, it’s ready to be shared and cherished.


Cultural Significance and Personalization of Your Bracelet
Understanding the background of friendship bracelets enhances their value. You can also add your personal touch through various customization options, making your bracelet truly unique.
The Historical Roots of Friendship Bracelets
Friendship bracelets have deep historical roots that trace back to ancient cultures. The Mayan civilization is often credited with creating these bracelets as a symbol of friendship and loyalty. They used intricate patterns and bright colors to reflect the bond between friends.
These handmade creations were traditionally woven from threads, each color representing different emotions or aspects of friendship. Modern iterations have evolved to include a variety of materials and styles, such as the popular chevron bracelet. This rich history adds a layer of meaning, making your bracelet not just a piece of jewelry but a representation of personal connections.
Creating a Personalized Expression with Beads and Charms
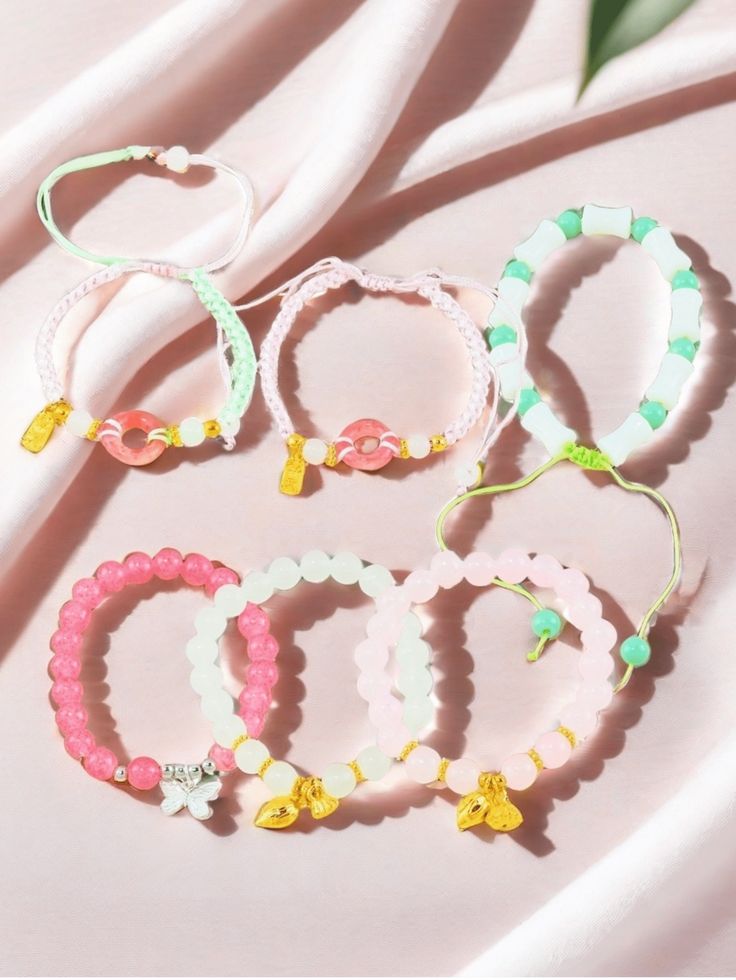
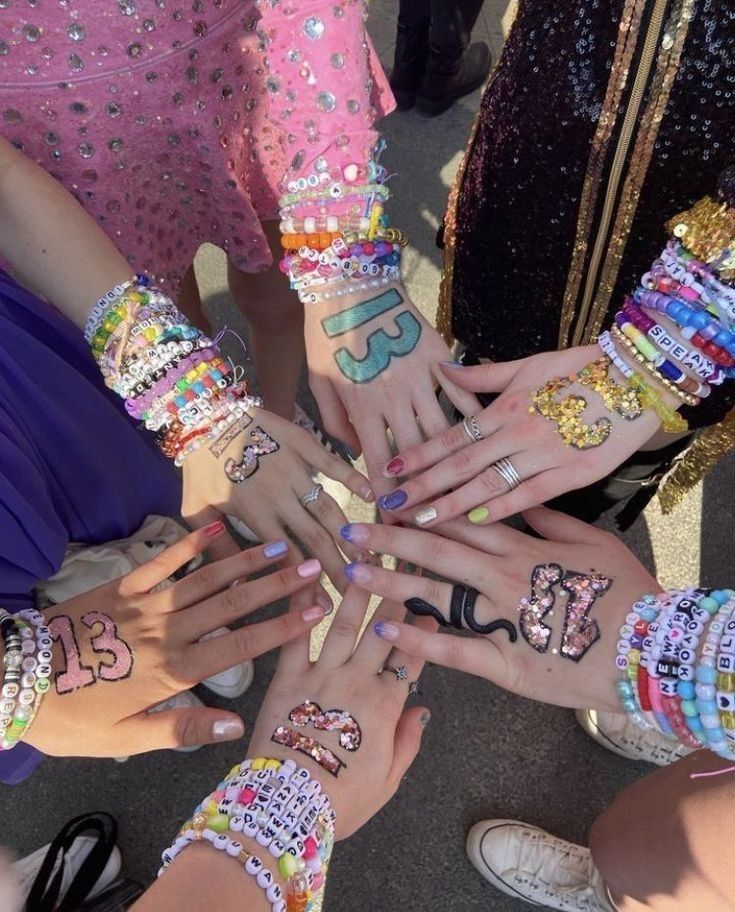
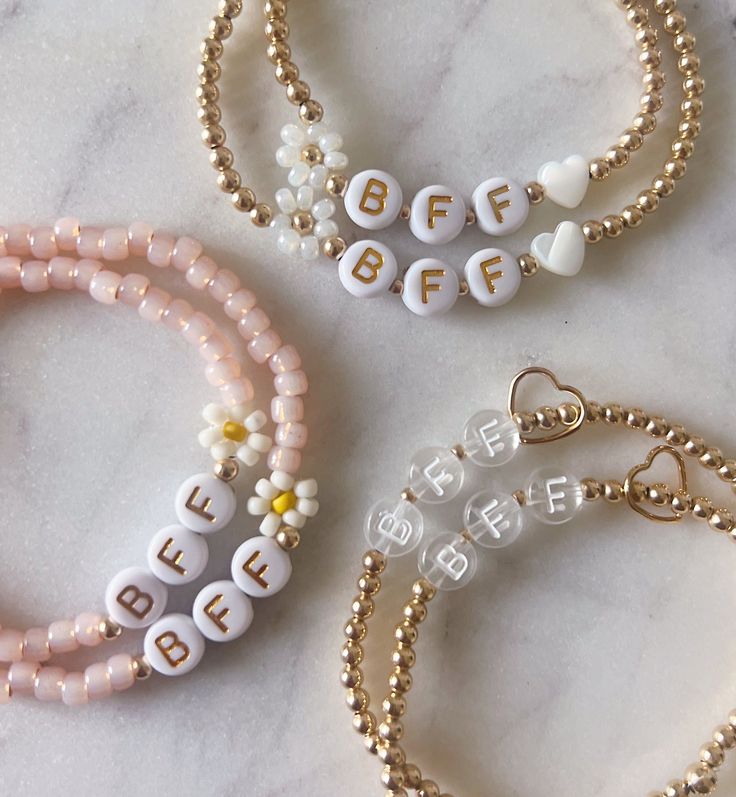
Personalization transforms a standard bracelet into a unique expression of your identity and relationships. You can use a mini bead kit to add a variety of colors and shapes that resonate with your personal style. Consider selecting beads that represent significant events or memories shared with your friends.
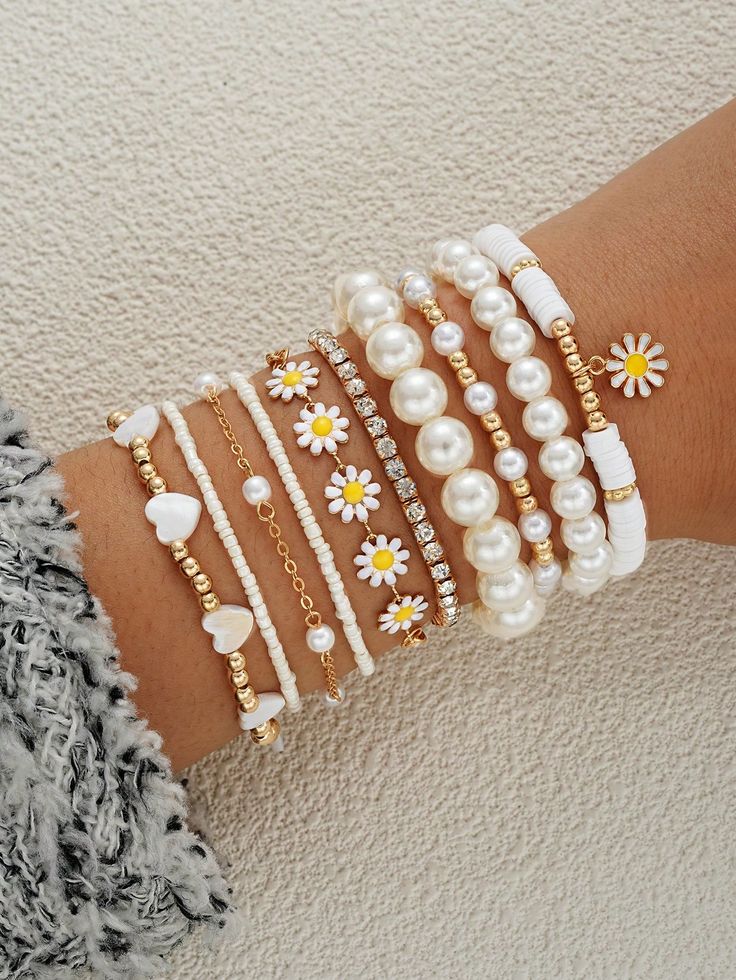
Incorporating charms can further enhance your bracelet’s meaning. Choose charms that symbolize specific traits, interests, or events that matter to you and your friends. This process of customization not only reflects your individuality but also solidifies the bond you share, making the bracelet a cherished keepsake.
- 33shares
- Facebook0
- Pinterest33
- Twitter0
