Learning how to make your own soap at home gives you control over the ingredients and allows you to create unique, personalized bars for your daily routine. DIY soap making is a straightforward process that combines science and creativity, using just a few basic supplies and some simple steps. With the right approach, you can skip harsh additives and customize your soap with natural oils, scents, and botanicals.
Whether you are looking for a new craft project or want to produce gentle, natural soaps for your family, starting with DIY soap is accessible to beginners and rewarding for experienced makers alike. From cold process methods to creative recipe ideas, you’ll find all the essential information you need to begin making satisfying, high-quality soap at home.
Key Takeaways
- DIY soap making is approachable and rewarding.
- You need just a few core ingredients and proper preparation.
- Simple techniques help you create custom soaps with ease.
Understanding DIY Soap Making
DIY soap making allows you to control the ingredients, choose natural additives, and customize the look and feel of your soap. It can also be an engaging craft that yields tangible results, such as unique, skin-friendly bars made at home.
What Is Homemade Soap?
Homemade soap is typically made by combining oils or fats with an alkali, like lye, creating a chemical reaction called saponification. This process transforms the ingredients into soap and glycerin.
You can select natural ingredients including olive oil, coconut oil, shea butter, and essential oils. Additives like herbs, clays, or oats give texture or beneficial properties.
Homemade soap differs from most store-bought bars, which often contain synthetic detergents or fillers. When you make soap yourself, you can avoid common allergens and irritants.
Key Benefits of DIY Soap
Making your own soap gives you complete control over the formula. You know exactly what goes into every bar, which helps avoid unnecessary chemicals and artificial fragrances.
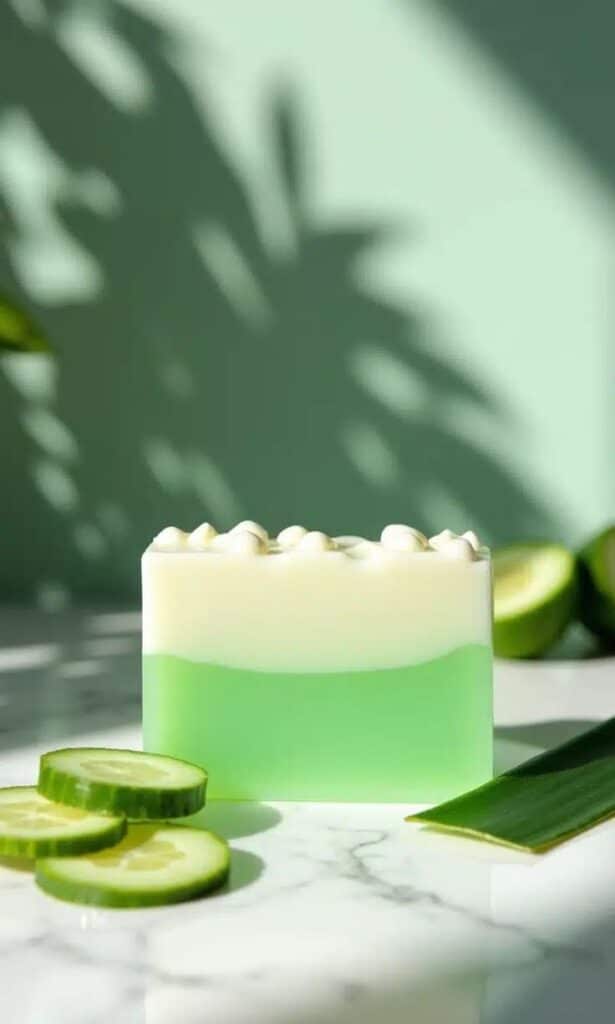
DIY soap can be tailored for sensitive skin by excluding harsh surfactants, dyes, or strong scents. You can use pure essential oils or soothing natural additives like oatmeal or aloe.
It’s cost-effective in the long term. With a few base oils and lye, you can create several bars at once. Many people find making soap relaxing and rewarding, as it’s a way to create practical, usable products for yourself, family, or gifts.
Soap Making Methods
There are several methods of making soap at home, with cold process soap being the most traditional. Cold process involves mixing oils and lye solution, then pouring into molds to set and cure over several weeks. This creates a firm, gentle bar with a natural feel. Learn more about cold process soap making steps if you want detailed guidance.
Another option is the melt and pour method. This involves melting pre-made soap base, adding color or fragrance, and then pouring into molds. It is beginner-friendly and much faster, but less customizable in terms of ingredients.
Hot process soap uses heat to speed up saponification. With this method, the soap is ready to use much sooner, but the finished bars are usually rustic in appearance. Each method has advantages depending on your goals and experience level.
Essential Ingredients for Homemade Soap
Making your own soap requires particular ingredients chosen for their specific properties. The right combination of oils, water, lye, and additives will determine everything from how well your soap cleans to how it feels on your skin.
Oils and Fats Used in Soap Making
Oils and fats are the foundation of any soap recipe. The most popular oils include olive oil, coconut oil, palm oil, tallow, and sweet almond oil. Each brings distinct benefits to your homemade soap.
Olive oil creates a mild and moisturizing bar, making it ideal for sensitive skin. Coconut oil is valued for its cleaning power and ability to produce fluffy lather. Palm oil, when used responsibly, gives your soap a firmer texture. Tallow, rendered animal fat, makes a very traditional hard bar with a creamy lather. Sweet almond oil is gentle and nourishing, adding luxury to specialty soaps.
You can use a single oil or blend several based on the properties you want. Many common soap making oils are available at grocery or craft stores, allowing you to tailor your soap to your needs. For more comprehensive guides and beginner recipes, see this instruction for easy soap recipes for beginners.
The Role of Lye and Water
Lye (sodium hydroxide) is crucial for turning oils into soap via a reaction called saponification. Without lye, oil and water won’t combine to form a solid bar of soap. You’ll usually find pure lye labeled as 100% sodium hydroxide at hardware or online stores.
Distilled water is best for mixing with lye because it avoids minerals and impurities that might affect soap texture or shelf life. Water helps dissolve the lye, which is then mixed carefully with the chosen oils. Always add lye to water, not the other way around, to prevent dangerous splashes.
Accurate measurements are vital. A digital scale ensures that you use the precise amounts needed for a safe, effective soap. For step-by-step details on working with lye, check a practical guide on how to make soap from scratch.
Fragrances and Additives
Fragrances personalize your soap, and options include essential oils—like lavender, peppermint, or tea tree—or fragrance oils created specifically for soap making. Essential oils are natural but often more expensive, while fragrance oils offer a wider variety of scents. Always use skin-safe products designed for soap.
Common additives include colorants (like clays, oxides, or natural botanicals), exfoliants (such as oatmeal or poppy seeds), and specialty oils for extra skin benefits. When selecting additives, review whether they are stable in high pH and compatible with your chosen oils. Aim for a balance between creativity and skin safety.
Only a few drops or small amounts are needed, as too much can cause irritation or impact how your soap sets. See more about fragrance and oil choices in this article on making soap from scratch.
Understanding Soft and Hard Oils
Soap making oils are often classified as soft or hard based on their effect on finished soap. Hard oils, such as coconut oil, palm oil, and tallow, are solid at room temperature and result in a firm, long-lasting bar. They help soap hold its shape and lather well.
Soft oils like olive oil and sweet almond oil are liquid and make bars gentle and moisturizing but softer. Soap made entirely from soft oils may need a longer cure time and may not last as long in the shower.
A balanced recipe combines both oil types. Too many hard oils can make soap drying, while too many soft oils can make it mushy. Reviewing common cold process soap recipes will show typical blends that provide pleasant texture and usability. Adjust your recipe to achieve the balance you prefer for cleanliness, hardness, and skin feel.

Core Soap Making Techniques
Understanding the essential soap making methods helps you choose the best approach for your needs. Using the proper recipe and tools will produce consistent, high-quality bars for personal use or gifting.
Step-by-Step Cold Process Soap Making
The cold process method allows you to customize your soap recipe using oils, water, and lye. Start by carefully measuring each ingredient. Melt solid oils and combine them with liquid oils in a heat-safe bowl.
In a separate, well-ventilated area, mix lye into water—never the other way around—while wearing gloves and goggles for safety. Allow the lye solution and oils to cool until they’re both around 100–110°F (38–43°C). Slowly combine the lye and oils. Use an immersion blender to blend until you reach a light trace, which looks like thin pudding.
Add any fragrance, color, or additives at this stage. Pour the mixture into a mold, smooth the top, and insulate with a towel. After 24–48 hours, unmold and cut into bars. For full saponification and a gentle bar, let the cold process soap cure in a dry, ventilated area for 4–6 weeks.
Tips for Using a Lye Calculator
Accurate lye measurement is crucial to safe and effective soap making. A lye calculator lets you input your chosen oils and their quantities to determine the exact amount of lye and water needed.
Always double-check each entry and unit, as errors can cause a harsh or soft batch. Record the superfat percentage—most recipes use 5–8% for a gentle, moisturizing soap. Superfatting means some oils are left unsaponified, which softens the bar and improves skin feel.
Review your lye result after substituting oils in a recipe. Many free lye calculators are available online to help prevent common mistakes. If you use additives like milk or fruit puree, account for their water content in the total liquid calculation.
Working with Castile Soap
Castile soap refers to bars made with at least 70% olive oil, sometimes as the sole fat. Its simplicity makes it ideal for beginners and those with sensitive skin.
Expect a slower trace when mixing, as olive oil thickens more slowly than coconut or palm. The resulting soap bar is gentle, but may feel slimy if not allowed to cure for the full 4–6 weeks.
You can use a basic Castile soap recipe for everything from body wash to cleaning. Add small amounts of other oils, like 20% coconut oil, for a harder, bubblier bar. Ensure you cure Castile soap in a dry, cool location to improve its texture and longevity.
Safety and Preparation
DIY soap making requires careful attention to both personal safety and your working environment. You will need the correct protective gear, safe handling of hazardous materials like lye, and a well-organized workspace.
Essential Safety Gear
When making soap, wear goggles, long sleeves, and chemical-resistant gloves to protect your skin and eyes from splashes. Lye is caustic and can cause burns on contact, even in small amounts. Use a dedicated apron to guard your clothing, and closed-toe shoes for additional protection.
A mask or a well-ventilated area helps prevent inhalation of fumes, especially at the point where lye is mixed with water. Tie back your hair, and remove jewelry to minimize contamination risks or accidents.
Have paper towels or old rags nearby to quickly wipe up any spills. Keep a bottle of vinegar on hand for neutralizing lye spills on surfaces, but never on skin. Always store your protective equipment where it is easy to access, so you never skip a step.
Proper Handling of Lye
Lye (sodium hydroxide) is necessary for traditional soap making but is dangerous in raw form. Always add lye to water, never the reverse, to prevent it from violently reacting and causing splatters. Use only heat-safe containers, such as a ceramic liner from a crock pot—avoid glass, even if “heat resistant,” since it may shatter or leach chemicals (ceramic crock pots are safe, but not Pyrex).
When mixing lye, stir gently and steadily. The solution will heat up rapidly, releasing fumes. Stand back and avoid leaning directly over the container. Ensure pets and children are out of the area until you have finished with the lye and thoroughly cleaned all surfaces.
Clearly label your lye and store it in a secure location, away from children or pets. Never use utensils or equipment for food after they have come into contact with lye.
Workspace Setup for Soap Making
Set up your work area away from food preparation zones or places with heavy foot traffic. Use a sturdy, flat table or countertop with enough room for all tools and ingredients. Arrange all materials before beginning to minimize the risk of accidental mixing or spills.
Lay out your lye, oils, molds, spatulas, thermometers, and safety gear within easy reach. Protect surfaces with newspaper or silicone mats, which can be discarded or washed easily. Set aside a designated area for soap to cure, with adequate ventilation to help dissipate any lingering fumes.
Make sure there is a clear path to an exit and a water source in case of emergency. Clean as you go, and wash all equipment thoroughly after use to prevent unwanted lye exposure, keeping the process as safe as possible (step-by-step safety process).

Inspiring Soap Recipes and Creative Ideas
Experimenting with different soap recipes lets you personalize ingredients and scents for your skin’s unique needs. Whether you want something simple or enjoy designing creative bars, you can shape every batch to suit your preferences.
Popular DIY Soap Recipes
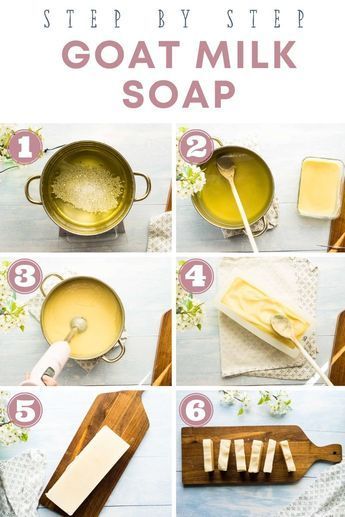
DIY soap recipes often start with a blend of oils, lye, and water. Goat’s milk soap is a frequent favorite, offering a gentle cleanse and added moisture. An oatmeal and honey soap is popular for soothing sensitive skin and works well in kitchen or bath bars, providing a natural exfoliant and a mild scent that many find comforting.
Lavender soap remains a classic thanks to its relaxing aroma. You might also try a charcoal and tea tree oil recipe for oily skin, using activated charcoal to deep clean and unclog pores. Some makers enjoy cold process soap, which allows for more ingredient customization and creative additives.
A good starting point for beginners is a basic soap recipe or a melt-and-pour base. This approach simplifies the process and lets you mix in your own botanicals and fragrances.
Incorporating Essential Oils
Essential oils are a simple way to add natural fragrance and skin benefits to soap. Lavender oil is popular for relaxation, while peppermint or eucalyptus oils lend a refreshing, invigorating quality. Citrus oils, like orange or lemon, provide a bright scent but should be used sparingly due to their potential sensitivity to sunlight.
You can blend oils for a custom scent profile, such as lavender and rosemary for balance or lemongrass and ginger for an energizing effect. Always check the recommended safe usage rates for each essential oil. For reference, a typical guide is no more than 3% by weight of your soap batch.
Experiment with combinations in small batches first. Many soap makers appreciate the flexibility of using essential oils to suit personal scent preferences and skin needs in each handmade soap recipe.
Designs and Customizations
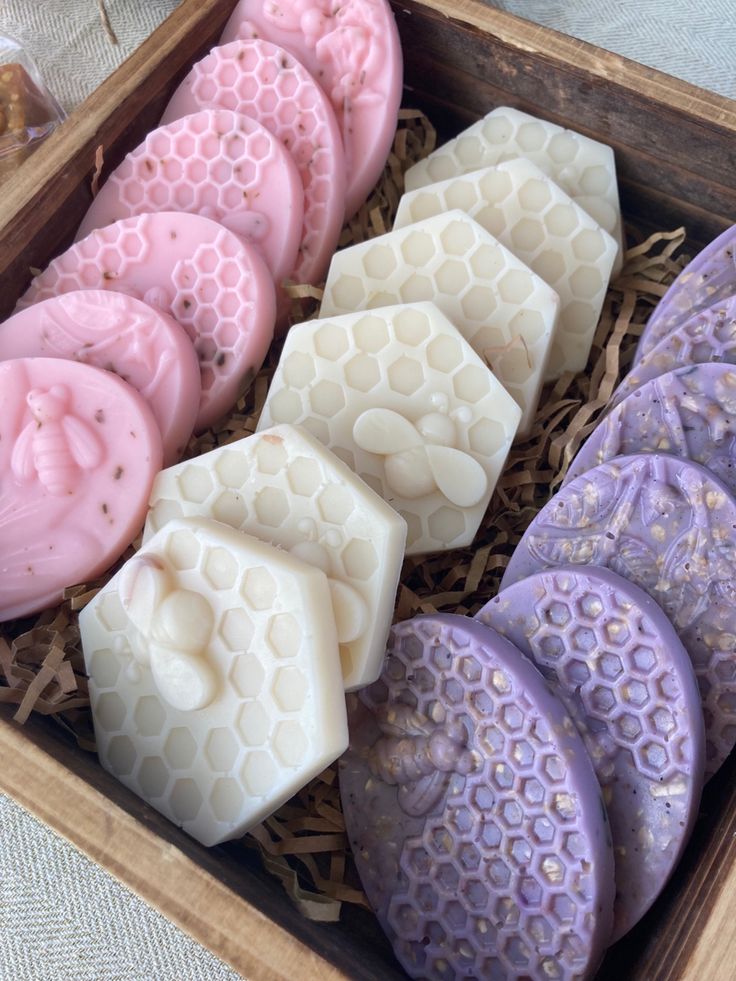
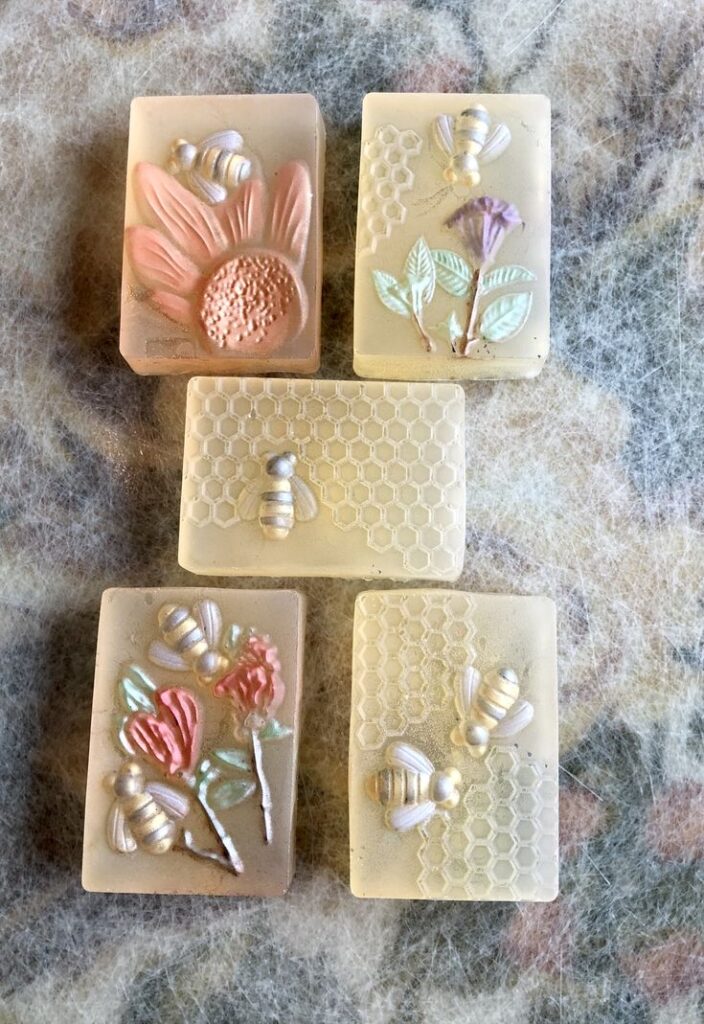
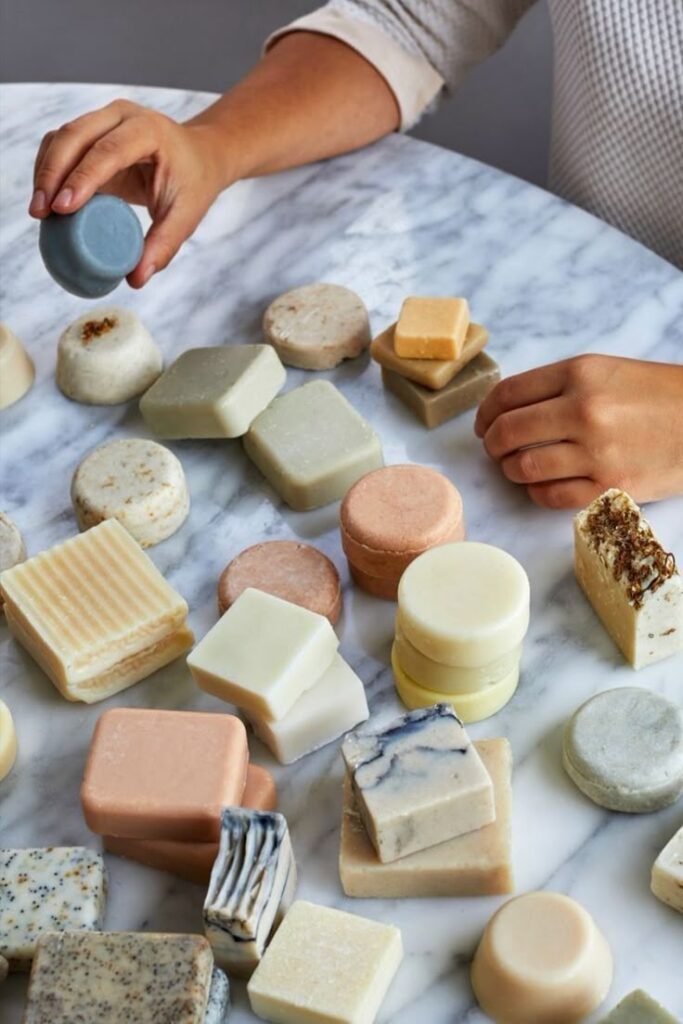
Soap making offers endless room for creativity in colors, shapes, and textures. You can use natural colorants like spirulina, turmeric, or cocoa powder for subtle shades. Swirling techniques, layering, or using silicone molds let you craft bars in a wide range of designs.
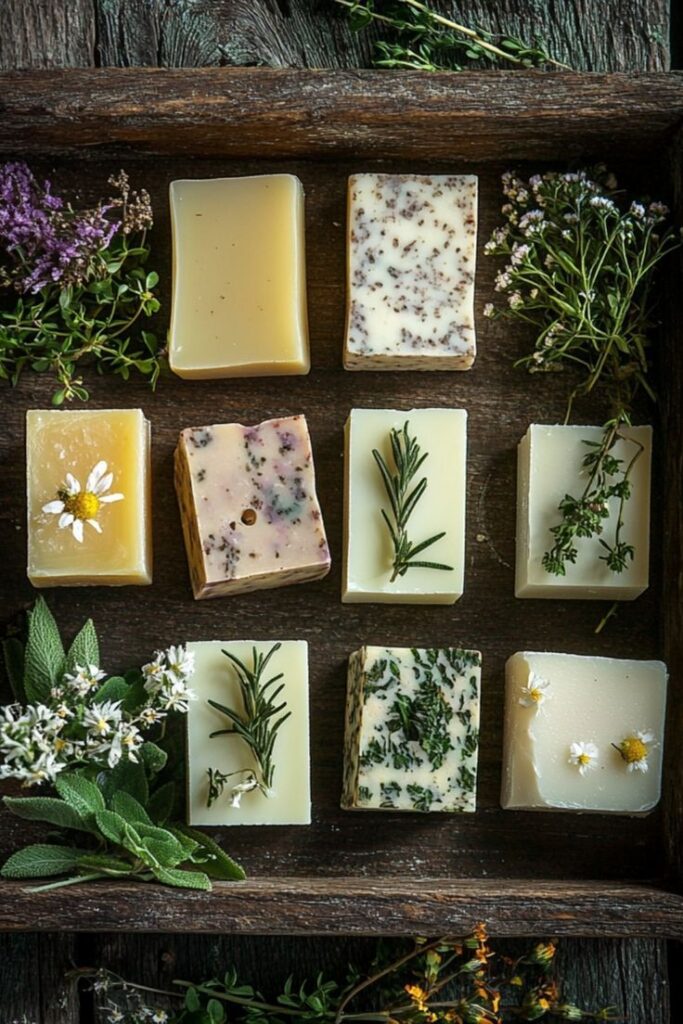
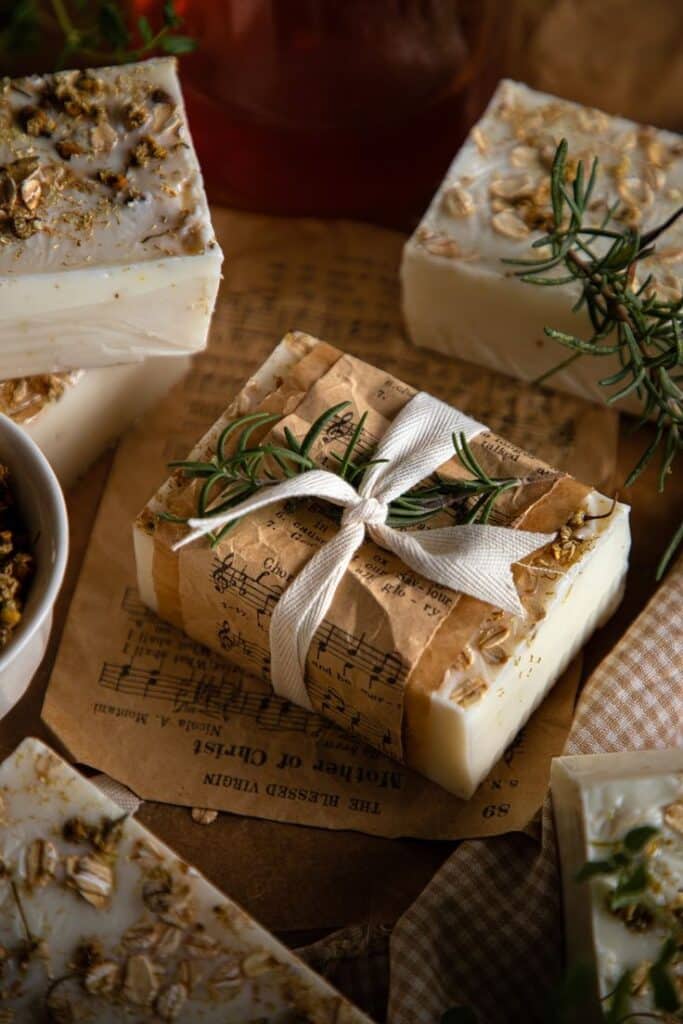
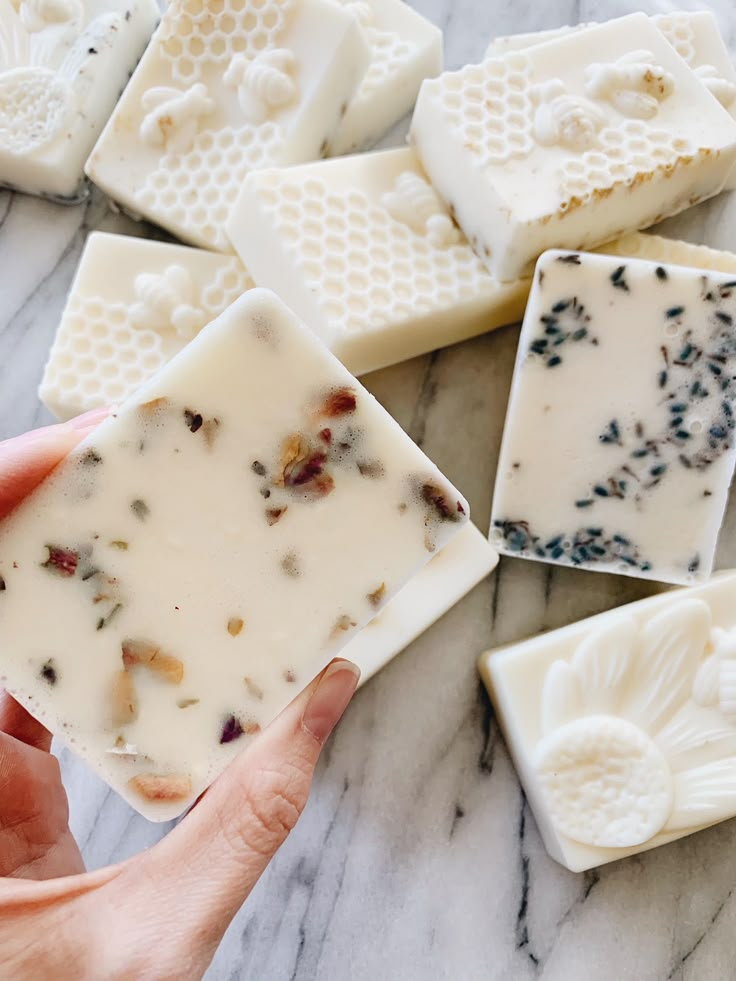
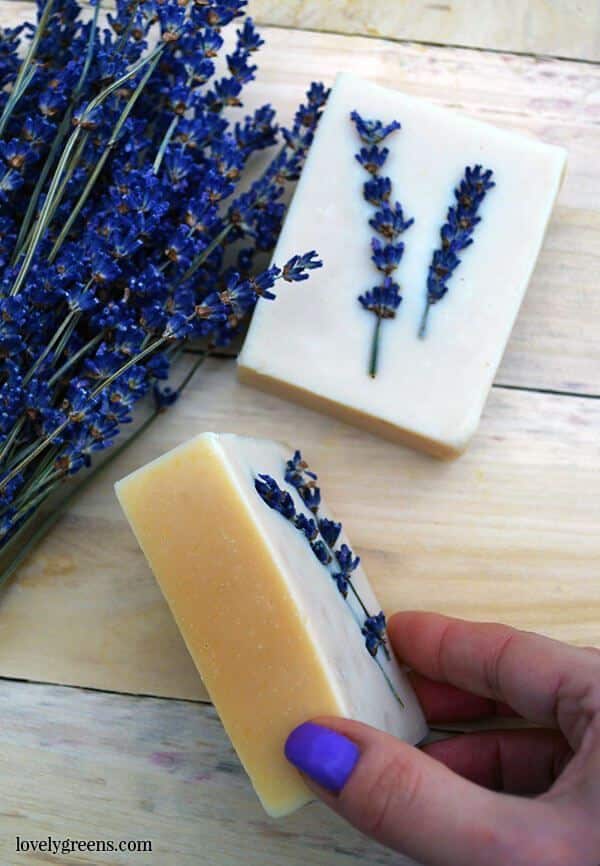
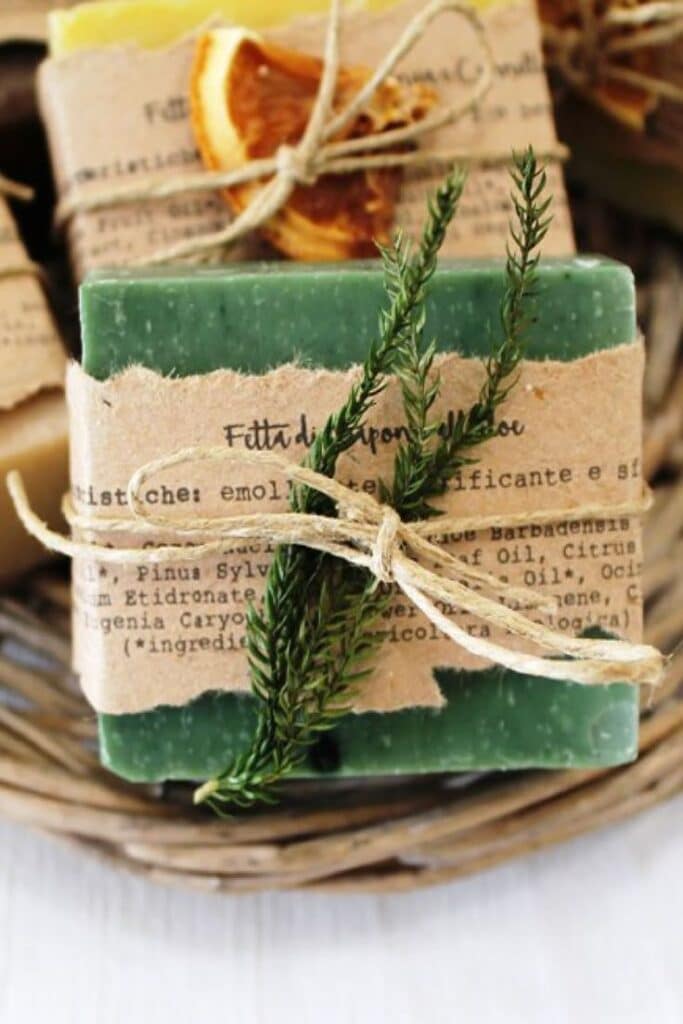
Embedding dried flowers or herbs such as lavender buds, rose petals, or calendula can add visual appeal and texture. Consider making soaps with unique shapes—hearts, stars, or geometric patterns—to match a theme or special occasion. Decorative stampers and textured mats provide extra detail to finished bars.
Find inspiration for designs and customizations in online galleries or soapmaker boards, where you can view finished examples and pick up new ideas for your next project. This adds a personal touch to each batch you create and can make your soap feel like a unique gift.
- 612shares
- Facebook0
- Pinterest609
- Twitter3
- Reddit0


