Creating a DIY charging station gives you a practical way to organize all your devices while keeping them powered in one convenient spot. A well-designed charging station reduces clutter, saves space, and ensures your gadgets are always ready to use.
You can customize your station to fit your specific needs using simple materials and tools, making it both functional and visually appealing. Whether you have phones, tablets, or other electronics, this project helps streamline your daily routine.
Building your own station also means you can tailor its size and features exactly how you want, rather than relying on pre-made options that might not suit your space or devices.
Key Takeways
- Planning your station to fit your devices improves efficiency.
- Using basic tools and materials makes the project accessible.
- Organizing cables and charging ports simplifies maintenance.
Understanding DIY Charging Stations
Creating a space to charge and organize your electronic devices can improve your daily routine. Knowing what a DIY charging station entails, its advantages, and the common types helps you tailor a solution that fits your needs.
What Is a DIY Charging Station
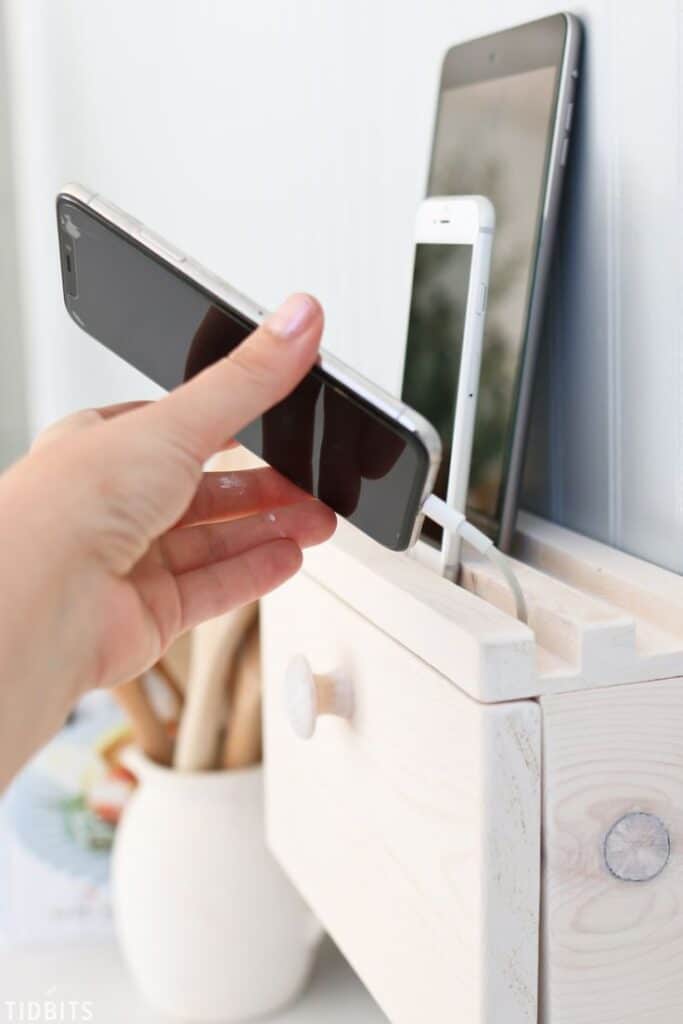
A DIY charging station is a customized setup you build to charge multiple electronic devices simultaneously. It often involves materials like wood, plastic, or recycled items, designed to keep cords organized and devices accessible.
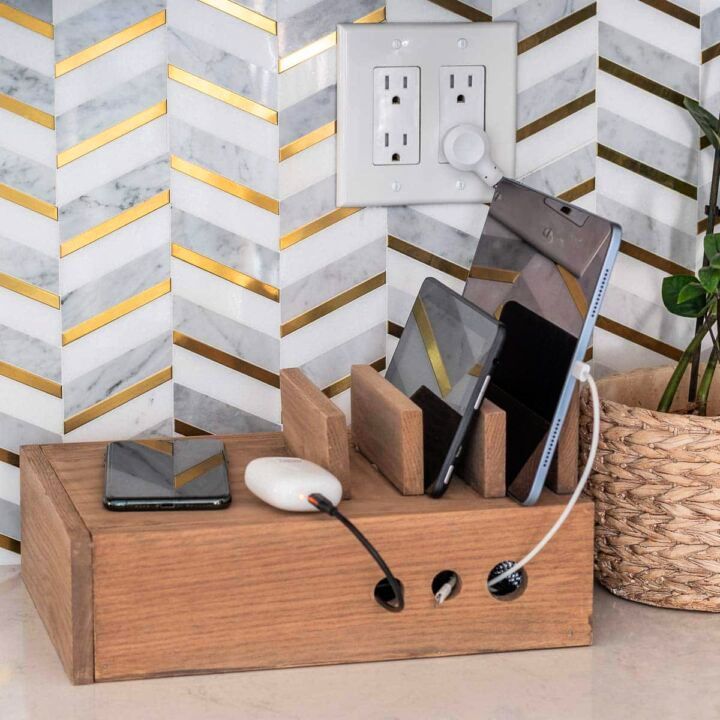
You control the size, style, and features. Commonly, these stations include slots or holders for phones, tablets, smartwatches, and batteries, with cable management solutions to reduce clutter.
Making it yourself means you can adapt the layout to the types and number of your devices, optimizing convenience.
Benefits of Building Your Own Charging Station
Building your own charging station saves money compared to purchasing commercial options. It allows you to reuse scrap materials, adding sustainability and reducing waste.
You gain flexibility to customize storage, cable length, and security features, such as theft-proof cables. It keeps your electronic devices organized in one central location, reducing the chance of misplacing chargers or devices.
Additionally, a DIY station can be mounted or placed to fit your available space, improving your environment‘s tidiness and reducing hazards from tangled cords.
Common Uses and Types
DIY charging stations often serve homes, offices, and public spaces. You can design a station for multiple smartphone models, tablets, smartwatches, or rechargeable batteries.
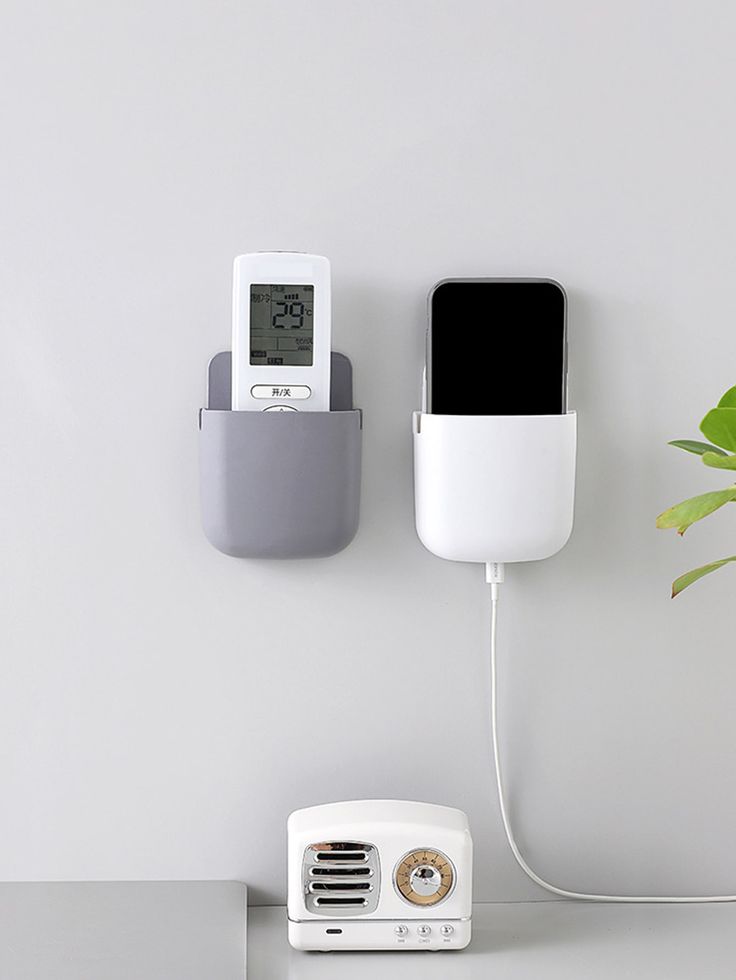
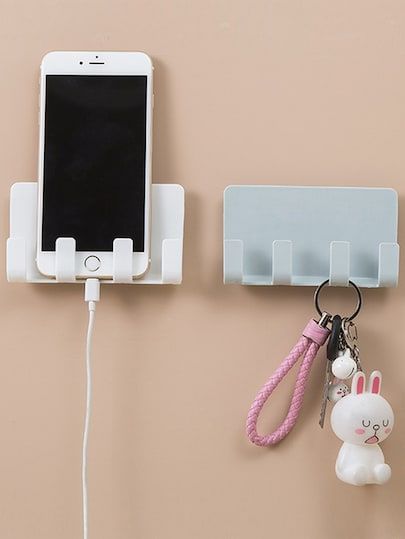
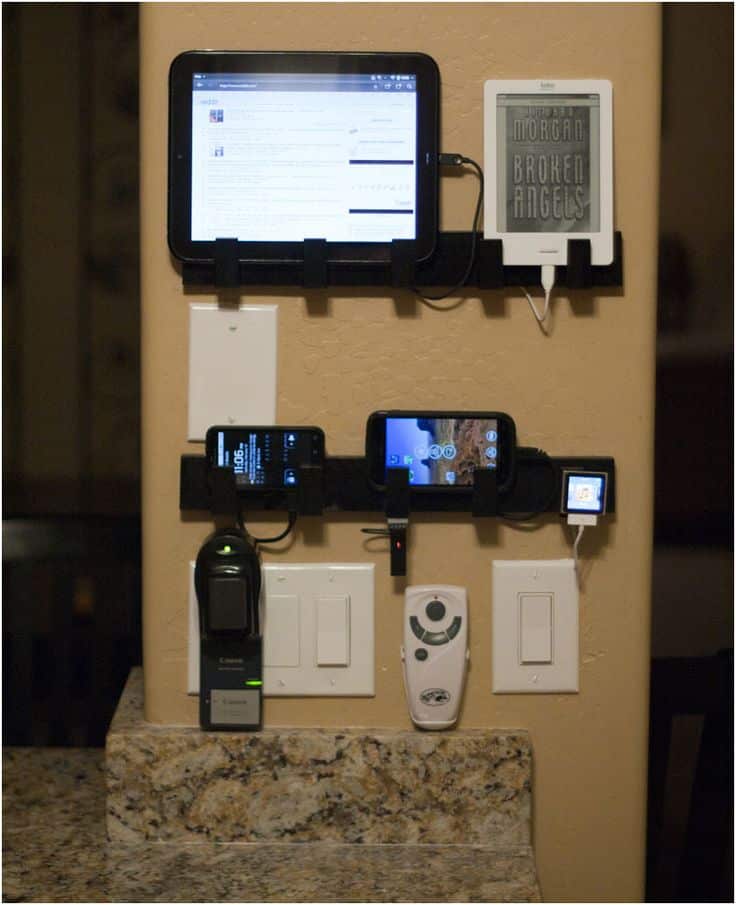
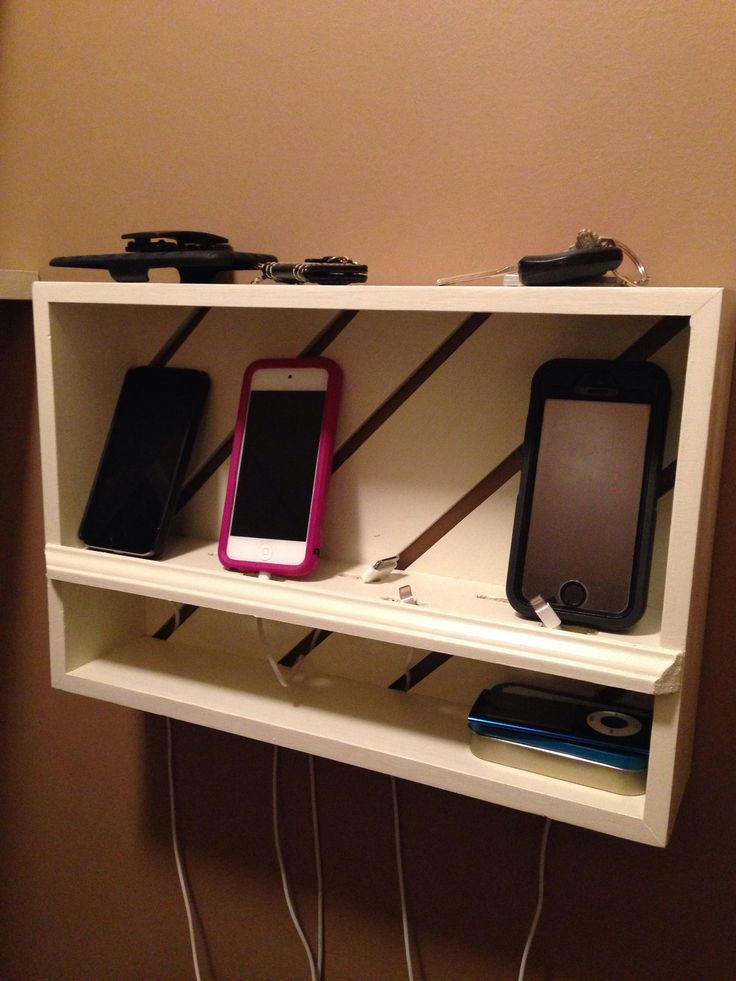
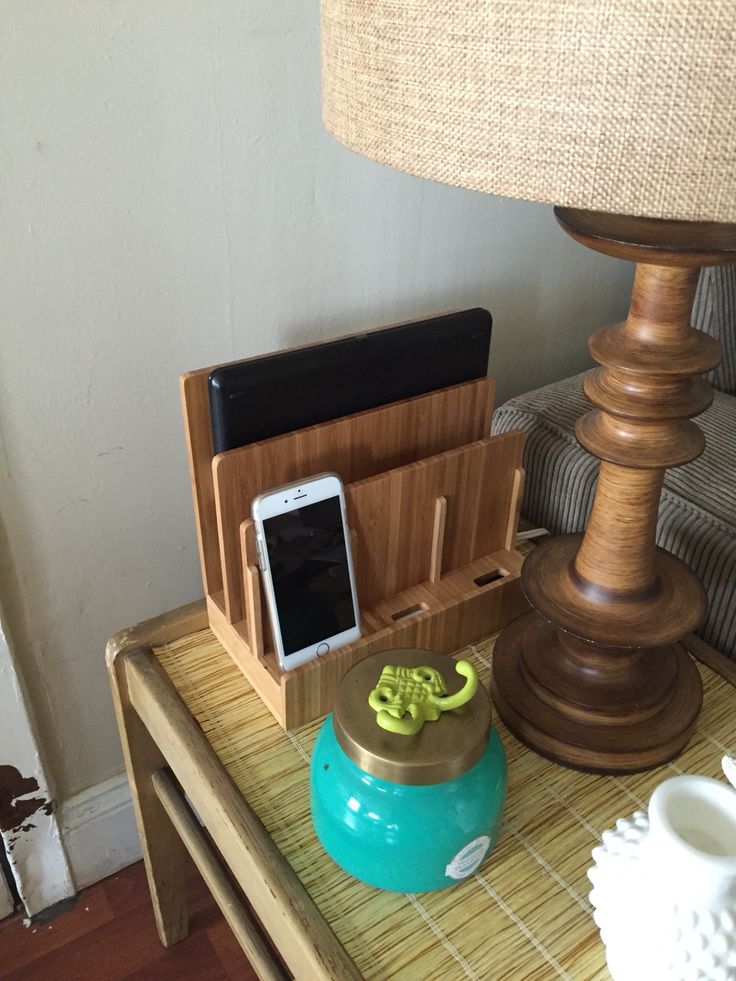
Types vary from simple wooden docks with slots, wall-mounted stations to save counter space, to integrated power strips with cable organizers.
Some stations prioritize portability, using lightweight materials. Others focus on security, adding locks or secured cables for shared or public use.
Choosing the right type depends on the number of devices you own and the location where you will use the station.
Planning Your DIY Charging Station Project
Before you start building your charging station, there are key elements to consider that will influence the function and appearance of the final product. You’ll want to think about where it will go, what it will look like, and what tools and materials you will need.
Choosing the Right Location
Pick a location near power outlets to minimize visible cords and ensure easy access to charging. Ideal spots include desks, countertops, or near your entertainment center. Consider proximity to your daily-use areas to keep devices within reach.
Make sure the surface is stable and large enough to hold multiple devices simultaneously. If your charging station will house a power strip, check that the power source supports the combined electrical load of all devices.
Design Considerations
Focus on creating a layout that accommodates your devices’ size and quantity. Slots or compartments help keep phones, tablets, and accessories separated to avoid clutter.
Plan cord management carefully. Holes or channels for cables prevent tangling. Decide if you want a vertical or horizontal arrangement to best suit your space and device types.
Consider ventilation if charging high-power devices to prevent overheating. Aesthetic elements like finish and color should match your room’s decor but remain functional.
Selecting Materials and Tools
Choose sturdy, easy-to-work materials such as plywood, MDF, or acrylic sheets depending on your desired look and durability. Wood materials allow smooth sanding, painting, and staining for a polished finish.
Essential tools include a drill for making holes and attaching components, and a miter saw for precise cuts. You’ll also need screws, sandpaper, and possibly wood glue.
Include a power strip in your design to centralize plugs. Make sure it fits well inside or underneath your station for neat, accessible wiring.
Essential Tools and Materials
To build a functional and sturdy DIY charging station, you need specific tools and materials that ensure ease of construction, durability, and safety. Focus on equipment that simplifies precise cutting and assembly while choosing materials that provide strength and longevity.
Recommended Tools for Construction
You will need a drill with appropriate drill bits to create holes for cables and mounting hardware. A miter saw is essential for cutting wooden boards to exact angles, allowing clean and accurate joins.
Use clamps to hold pieces securely during gluing or screwing, preventing movements that could misalign components. A measuring tape and pencil help maintain precise dimensions. Optional tools like a screwdriver set and sandpaper can improve finishing touches.
Key Materials for Durability
Select solid hardwood or plywood as the main construction material for strength and stability. They withstand weight from multiple devices and frequent handling. Use wood glue in combination with screws for firm joints that last.
Choose high-quality cables or charging wires and consider adding rubber grommets to protect cords from wear through drilled holes. A finish like polyurethane or wood varnish will protect your station from moisture and daily abrasion.
Safety Equipment for DIY Projects
Wear safety glasses to protect your eyes from dust and debris while drilling or sawing. Use ear protection when operating loud power tools like a miter saw or drill.
Gloves can protect your hands from splinters and sharp edges. Work in a well-ventilated area, especially if using finishes or glues that emit fumes. Follow all power tool safety instructions to avoid accidents.

Step-by-Step Guide to Building a DIY Charging Station
You’ll begin by measuring and cutting the materials precisely to fit your devices. Next, assemble the components securely before integrating power strips and managing cables to maintain order. Finally, you add finishing touches that improve both functionality and appearance.
Measuring and Cutting Materials
Start by deciding the size based on how many devices you want to charge. Measure widths to fit phones, tablets, or other electronics side by side. Use lumber around 11 inches wide for stability.
Cut the wood pieces for the sides, top, bottom, and dividers. Use clamps to hold the wood steady and a saw for clean, straight cuts. Label each piece to avoid confusion during assembly.
Measure the thickness of your devices to set groove depths or divider heights. Mark evenly spaced holes or slots for cables using a pencil. Accuracy here ensures your charging station fits devices without crowding.
Assembly and Construction
Begin assembling by connecting the side panels to the bottom piece. Pre-drill pilot holes for screws to prevent wood splitting. Use clamps to hold pieces steadily while fastening with screws or wood glue.
Add dividers or grooved slots inside the box to separate devices and keep them upright. Make sure these are spaced evenly to allow space for charging cables. The charging station should remain stable and balanced.
Drill larger holes at the back or bottom for power strip access and cord routing. Secure the top panel last, checking that all joints are tight and square. Test for sturdiness before moving on.
Integrating Power Strips and Cable Management
Select a power strip with enough outlets for all your gadgets. Mount it inside or just behind the charging station using screws or strong adhesive strips. Ensure the cable hole aligns with the power strip’s cord.
Guide each charging cable through the pre-drilled holes. Use cable clips or zip ties inside the station to bundle excess cord length neatly. This prevents tangling and keeps the station organized.
Label each cable near the port if you have multiple similar cords. This helps identify devices quickly. Make sure ventilation is sufficient around the power strip to avoid overheating.
Adding Finishing Touches
Sand the edges and surfaces smooth to avoid splinters. You can paint, stain, or apply a clear finish depending on your room’s decor. Opt for neutral tones for a clean, modern look.
Add rubber feet or small pads to the base to prevent slipping on smooth surfaces. If desired, install LED lights for visibility in dim rooms.
Test the charging station by placing and charging all devices simultaneously. Adjust spacing or cable guides as needed to improve usability. Your charging station should be both practical and tidy.


Tips for Organization and Maintenance
Organizing and maintaining your charging station ensures it stays efficient and safe for your electronic devices. Focus on smart cable management, secure placement of devices, and regular cleaning to keep everything working smoothly.
Cable Management Strategies
To control cable clutter, start by grouping cables by type or device. Use cable ties, Velcro straps, or twist ties to bundle excess length neatly. Label each cable near the plug to quickly identify it.
Incorporate simple tools like empty toilet paper rolls or small boxes with holes to route cables individually. This stops tangling and makes your charging station look orderly.
Position your power strip in an easily accessible but tucked-away spot. Drill holes in the charging station’s back or sides for each cable to feed through, preventing bulk and allowing better airflow.
Keeping Devices Secure
Make sure your devices remain stable while charging. Use cushioned compartments or soft liners inside your charging station to prevent scratches and slipping.
Stack multiple devices vertically only if your charging station has separate, reinforced shelves. Avoid placing heavy electronics on top of lighter ones to prevent damage.
Consider adding sturdy dividers to keep devices separated, so charging cables don’t get pulled unintentionally. Ensure the charging ports on devices are easy to reach without forcing cables into tight spaces.
Cleaning and Maintenance
Regularly unplug and dust your charging station to avoid grime buildup, which can impair connections and create fire hazards.
Use a soft, dry cloth or compressed air to clean power strips, cables, and device surfaces. Avoid liquids near electronics.
Check cables frequently for fraying or damage and replace them promptly. Inspect the power strip and charging ports to confirm they are functioning properly and not overheating.
Maintaining cleanliness and checking for wear preserves your charging station’s safety and effectiveness over time.
- 19shares
- Facebook0
- Pinterest16
- Twitter3
- Reddit0


