Transform your ordinary bath into a luxurious spa experience with homemade bath bombs that fizz, color, and scent your water. Creating DIY bath bombs is surprisingly simple and much more affordable than purchasing them, with most bath bombs costing between $5-$15 each at specialty stores. You only need a few basic ingredients like baking soda, citric acid, and a solid fat binder to create bath bombs that rival commercial products for a fraction of the cost.
The process takes about 20 minutes of active preparation, plus some drying time, making it an accessible project even for beginners. Beyond the cost savings, homemade bath bombs offer the benefit of customization—you can select your preferred essential oils, colors, and add beneficial ingredients like salts, oils, and clays to target specific needs or moods.
Key Takeaways
- DIY bath bombs require just a few simple ingredients like baking soda and citric acid, saving you money while delivering the same fizzy experience as store-bought options.
- You can customize homemade bath bombs with different colors, fragrances, and beneficial additives like oils and salts to create personalized bath experiences.
- Making bath bombs at home is a quick 20-minute process plus drying time, making it an accessible self-care project that can also serve as thoughtful handmade gifts.
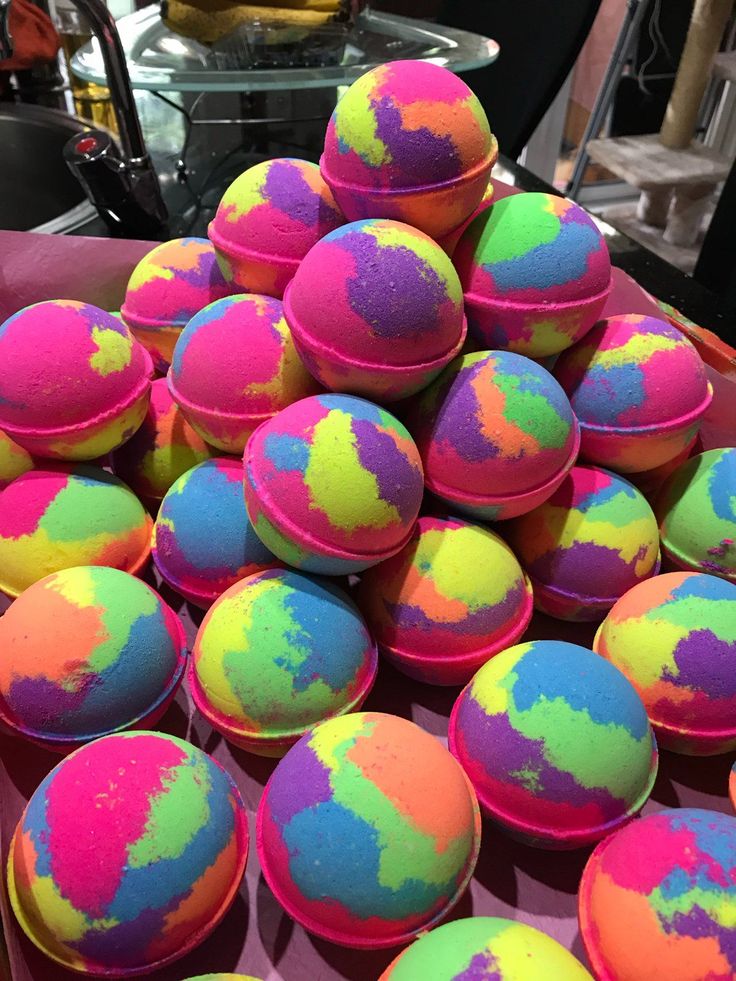
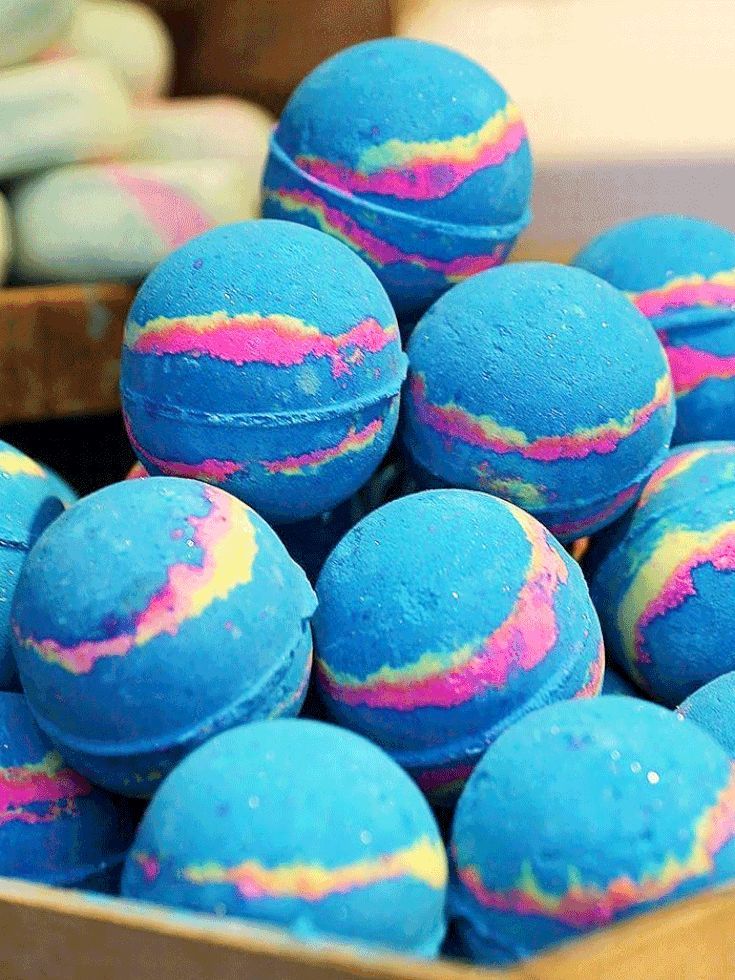
Key Ingredients for DIY Bath Bombs
Creating your own bath bombs requires specific ingredients that work together to produce the perfect fizz while delivering skin benefits. Each component plays a crucial role in the final product’s performance and therapeutic properties.
Core Dry Ingredients
Baking soda forms the foundation of any bath bomb recipe, creating the fizzing reaction when it contacts water. You’ll need approximately 1 cup of baking soda for a basic batch of 4-6 bath bombs.
Citric acid is equally essential, providing the acidic component that reacts with baking soda to create bubbles and fizz. The ideal ratio is typically 2 parts baking soda to 1 part citric acid.
Cornstarch helps slow the fizzing reaction and adds a silky feel to your bathwater. It makes bath bombs softer and more gentle on sensitive skin.
Epsom salts or sea salt add therapeutic benefits, helping soothe tired muscles and providing trace minerals. Start with ¼ cup in your recipe and adjust based on preference.
Clay (like kaolin or bentonite) can strengthen your bath bombs while adding skin-detoxifying properties. A tablespoon or two is usually sufficient.
Cream of tartar improves hardness and stability in bath bombs, making them less likely to crumble. This ingredient is optional but helpful for beginners.
Oils and Butters
Coconut oil works excellently as a binding agent in bath bombs, holding everything together while moisturizing your skin. It solidifies at room temperature, helping bombs maintain their shape.
Sweet almond oil and jojoba oil are lightweight emollient oils that soften and nourish skin without leaving a greasy feeling. They absorb quickly and work well for all skin types.
Shea butter and cocoa butter can be melted and incorporated for extra moisturizing benefits. These butters create a luxurious, spa-like bathing experience and help bath bombs hold together.
Use about 1-2 tablespoons of oils or butters per batch of bath bombs. Too much can interfere with the fizzing reaction or make your bombs too soft.
Carrier oils like avocado oil can be added in small amounts (½-1 teaspoon) for additional skin benefits without compromising the bath bomb’s structure.
Fragrances and Colorants
Essential oils provide both fragrance and therapeutic benefits. Lavender promotes relaxation, eucalyptus clears sinuses, and citrus oils energize. Use 10-20 drops per batch, depending on strength desired.
Fragrance oils offer more scent options but lack therapeutic properties of essential oils. They’re often stronger, so use slightly less than you would essential oils.
Food coloring works in small amounts but may stain bathtubs. Start with just 1-2 drops per color.
Cosmetic mica provides vibrant colors without staining and adds a beautiful shimmer. About ¼-½ teaspoon is sufficient for coloring a batch.
Liquid soap dyes are specifically formulated for bath products and won’t stain your tub. Follow package directions for amount.
Additional Enhancers
Witch hazel in a spray bottle helps bind ingredients without activating the fizzing reaction prematurely. Spritz lightly while mixing dry ingredients.
Polysorbate 80 helps oils disperse in bath water rather than floating on top. Add ½-1 teaspoon to prevent oil slicks and potential tub staining.
Dried flower buds and rose petals add visual appeal and can enhance therapeutic benefits. Use sparingly, as too many can clog drains.
Natural ingredients like dried herbs or oatmeal can add texture and skin benefits. Grind them finely to prevent scratchy bath bombs.
Exfoliants like fine salt or sugar can be incorporated in small amounts for extra skin benefits. Don’t add more than 1 tablespoon per batch to maintain structural integrity.
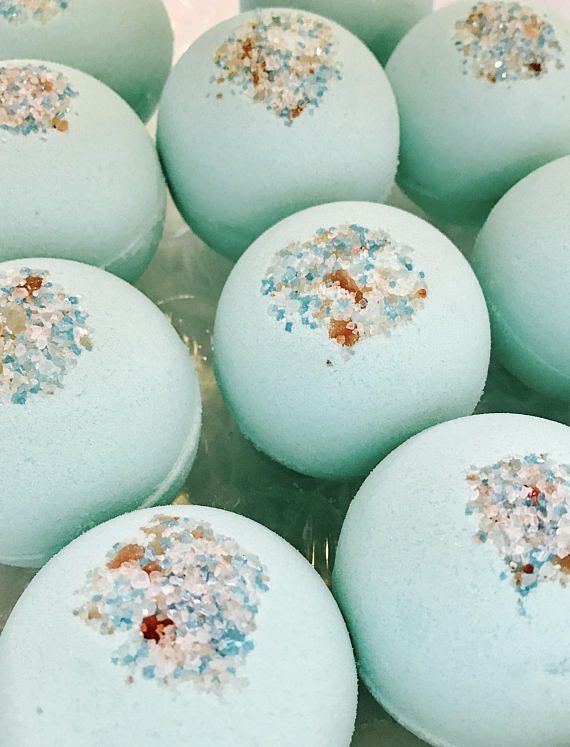
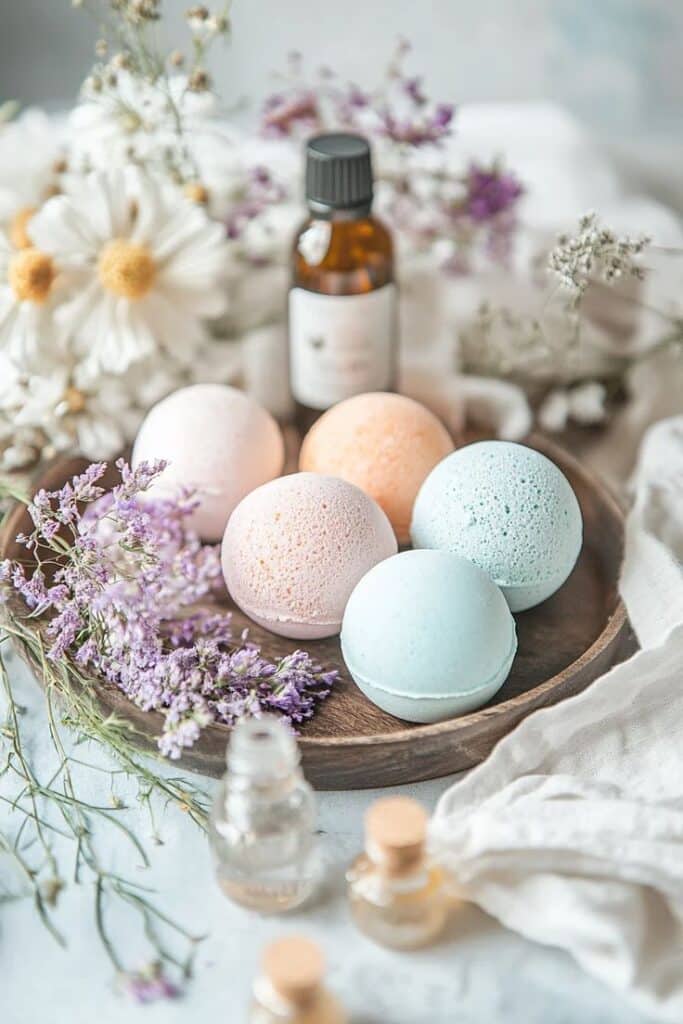
Step-by-Step DIY Bath Bomb Instructions
Creating bath bombs at home is straightforward when you follow these key steps. You’ll need to properly mix ingredients, mold your bath bombs correctly, and allow sufficient drying time for best results.
Mixing the Dry and Wet Ingredients
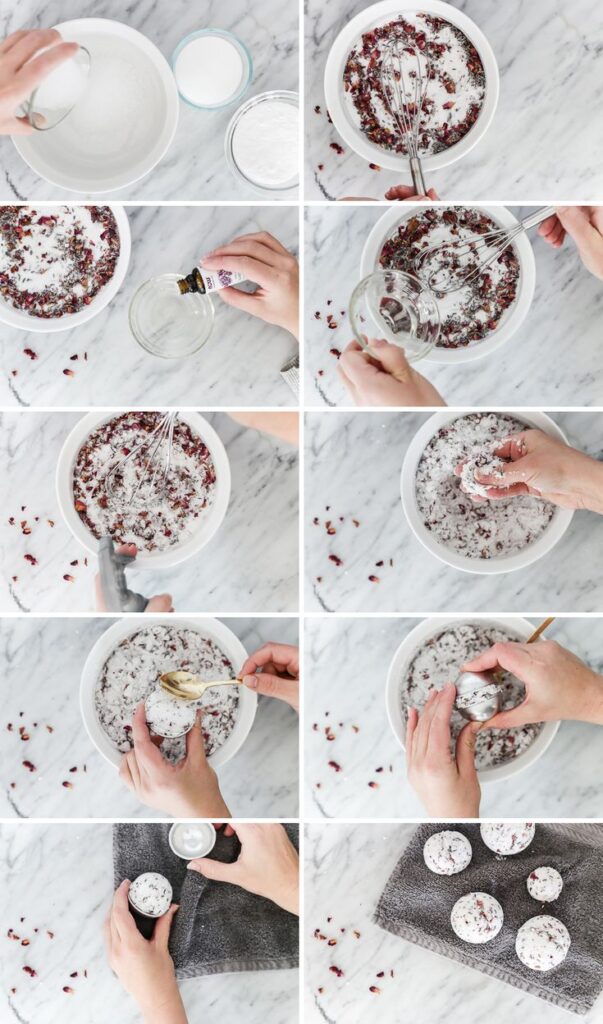
Begin by measuring your dry ingredients using measuring cups for accuracy. Combine 1 cup baking soda with 1/2 cup citric acid in a large bowl and whisk thoroughly to remove any lumps. Add 1/2 cup Epsom salt and 1/2 cup cornstarch, then mix again until evenly distributed.
In a separate small container, prepare your liquid binder. Combine 2-3 tablespoons of water or witch hazel with 2 tablespoons of oil (sweet almond, coconut, or olive oil work well). Add 5-10 drops of essential oils for fragrance and a few drops of food coloring if desired.
The most crucial step is combining wet and dry ingredients. Spray or slowly drizzle the liquid mixture into the dry ingredients while whisking continuously. Add liquid gradually to prevent premature fizzing.
Your mixture should reach a consistency similar to damp sand. When squeezed in your hand, it should hold together without being too wet.
Molding Your Bath Bombs
Once your mixture reaches the proper consistency, it’s time to fill your bath bomb molds. You’ll need to work quickly before the mixture begins to dry out. Bath bomb molds come in various shapes, with spherical being the most traditional.
Pack each half of your mold firmly with the mixture, slightly overfilling both sides. Press the halves together with moderate pressure, then gently twist to seal them.
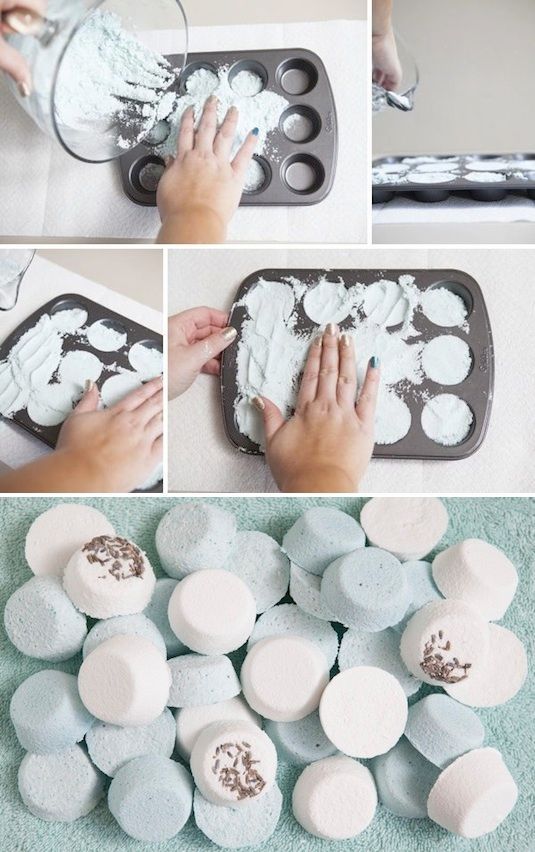
For simpler options, try silicone cupcake molds, ice cube trays, or even plastic Easter eggs. When using these alternatives, press the mixture firmly into the mold to ensure it holds together.
If you notice the mixture expanding or continuing to fizz in the mold, it likely contains too much moisture. In this case, add small amounts of dry ingredients to rebalance the mixture.
Drying and Storing Bath Bombs
Carefully remove one half of the mold after about 30 seconds. If your bath bomb feels firm, remove the other half. If it crumbles, the mixture may be too dry. Add a tiny bit more liquid binder and try again.
Leave your bath bombs to dry completely for 24-48 hours in a cool, dry place. Avoid humid environments as moisture in the air can trigger premature fizzing.
Once fully hardened, store your bath bombs in an airtight container to protect them from humidity. Add parchment paper between layers if stacking multiple bombs.
For gift-giving, wrap individual bath bombs in cellophane or place them in decorative tins. Properly stored bath bombs can maintain their fizzy quality for 6 months or longer.
Bath Bomb Recipes and Custom Variations
Creating your own bath bombs allows you to customize the ingredients, scents, and effects to suit your personal preferences. The following recipes range from basic formulations to more creative variations that can transform your bath time into a truly spa-like experience.
Basic Bath Bomb Recipe
The foundation of any good bath bomb starts with the right proportions of dry and wet ingredients. For a basic recipe that produces 6-8 medium-sized bath bombs, you’ll need:
Dry Ingredients:
- 1 cup baking soda
- 1/2 cup citric acid
- 1/4 cup Epsom salts
- 1/4 cup cornstarch
Wet Ingredients:
- 2-3 tablespoons oil (coconut, almond, or olive)
- 1 teaspoon water
- 5-10 drops essential oil of choice
- Food coloring (optional)
Whisk all dry ingredients in a large bowl until well combined. In a separate container, mix the wet ingredients. Very slowly add the wet mixture to the dry ingredients, stirring constantly to prevent premature fizzing.
When the mixture holds together when squeezed (like damp sand), press firmly into molds. Let dry for 24 hours before removing from molds and using.
Relaxing and Spa-Inspired Blends
Transform your bathroom into a relaxation sanctuary with these stress-relieving combinations.
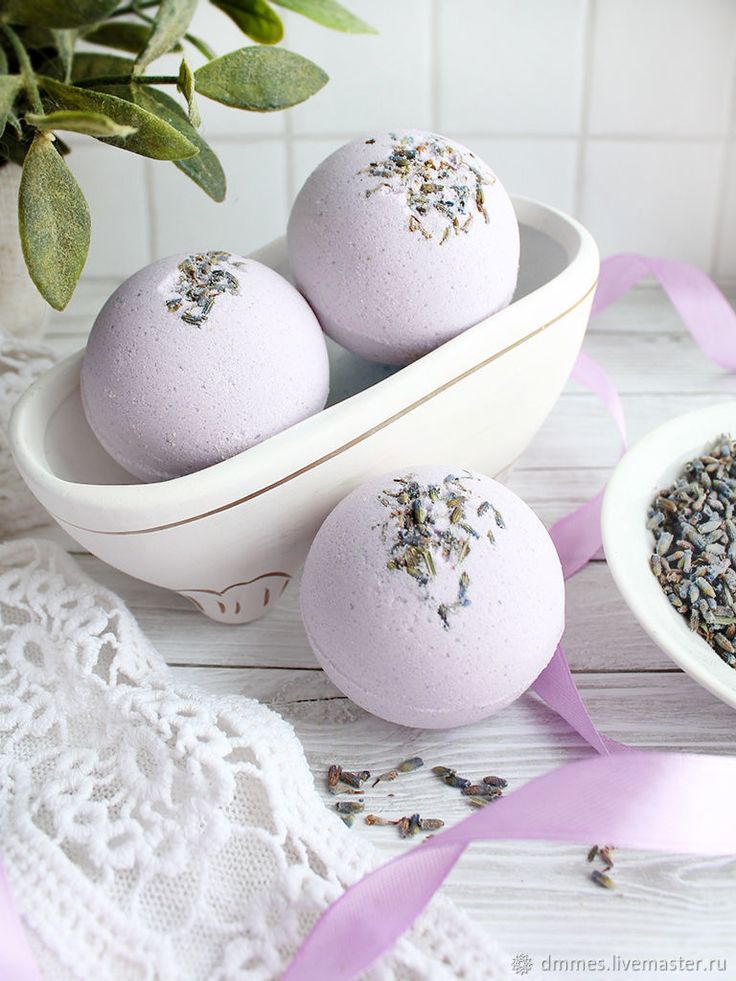
Lavender Dreams Blend:
- Basic bath bomb recipe
- 10 drops lavender essential oil
- 5 drops chamomile essential oil
- 1 tablespoon dried lavender buds
Eucalyptus Mint Refresher:
- Basic bath bomb recipe
- 8 drops eucalyptus essential oil
- 7 drops peppermint essential oil
- 1 tablespoon green clay (for color and detoxification)
For deeper relaxation, add 1/4 cup more Epsom salts to any recipe. These minerals help soothe tired muscles and promote overall relaxation.
You can also incorporate 1 tablespoon of powdered milk for skin-softening benefits that enhance the spa-like experience. White kaolin clay adds a silky texture to your bath water and helps the bath bombs hold together better.
Creative Add-Ins and Special Effects
Take your bath bombs to the next level with these fun additions that create memorable bath experiences.
Colorful Surprises:
- Add mica powders for vibrant, non-staining colors
- Layer different colored mixtures in the mold for rainbow effects
- Use polysorbate 80 (1 teaspoon) to help disperse colors and oils evenly in water
Texture and Visual Elements:
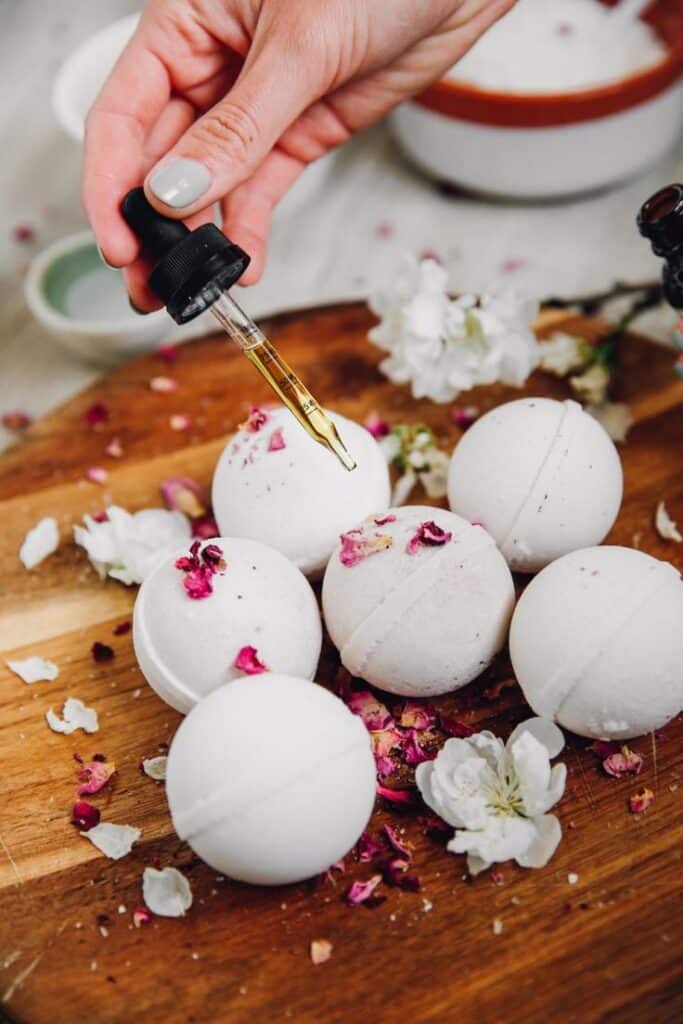
- Dried flower petals (roses, calendula)
- Biodegradable glitter (1/2 teaspoon)
- Small toys inside for kids’ bath bombs
- Cocoa butter chunks for moisturizing “explosions”
For foam effects, add 1 tablespoon of SLSA (Sodium Lauryl Sulfoacetate) to your recipe. This creates bubbles as your bath bomb dissolves. Witch hazel works better than water for binding ingredients together without causing premature fizzing.
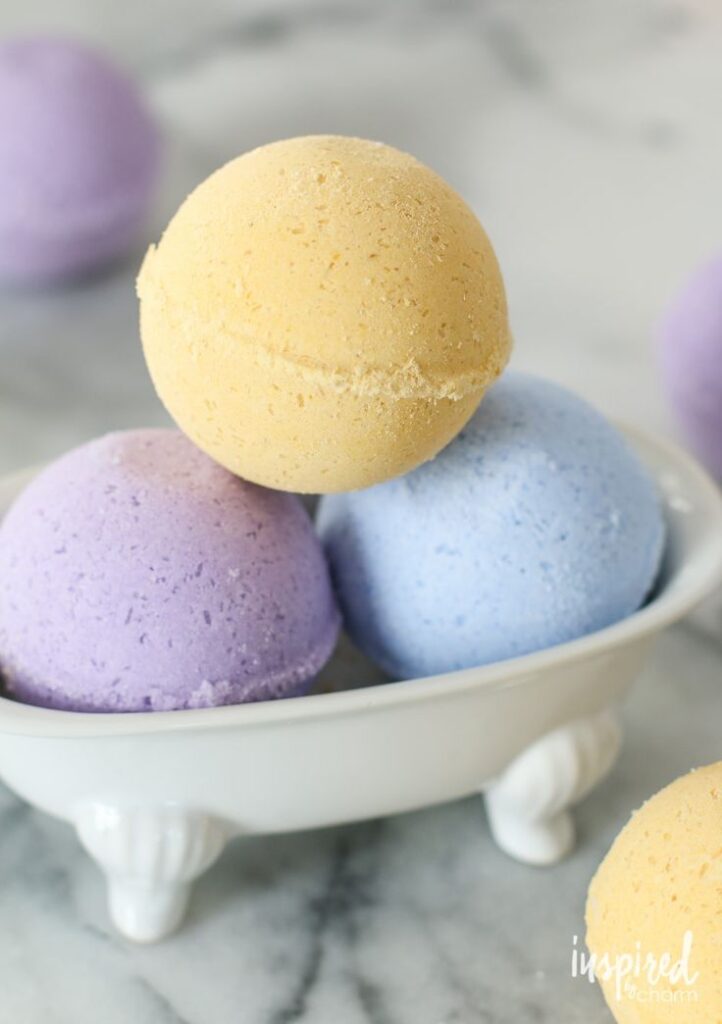
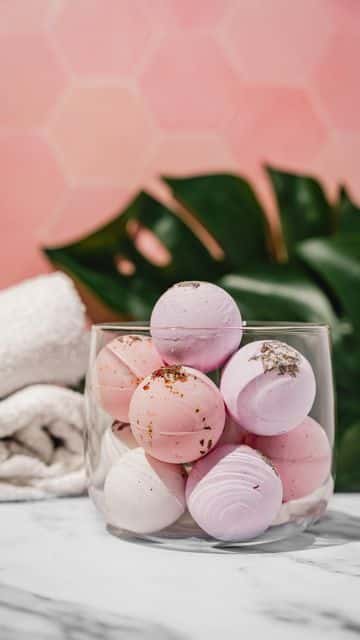
These bath bombs make wonderful DIY gifts for holidays or special occasions. Package them in cellophane bags tied with ribbon, or place in decorative jars for an impressive homemade present.
Tips for Perfect Results and Troubleshooting
Creating beautiful bath bombs requires attention to detail and understanding how ingredients interact. The following tips will help you avoid common pitfalls and achieve professional-quality results every time.
Achieving the Ideal Fizz
The perfect fizz comes from the right balance of citric acid and baking soda. Aim for a 2:1 ratio of baking soda to citric acid for optimal reaction.
Too much moisture during mixing can trigger premature fizzing. If your mixture starts to expand in the bowl, you’ve added too much liquid. Add a small amount of additional dry ingredients to compensate.
Adding kaolin clay can significantly improve cohesion and prevent crumbling. Start with 1 tablespoon per cup of dry ingredients.
For stronger, more durable bath bombs, include a small amount of cream of tartar. This ingredient helps harden your bath bombs without affecting the fizzing reaction.
Test your bath bombs before making a large batch. Drop a small amount of your mixture into water to gauge the fizzing intensity.
Color and Scent Safety
When coloring bath bombs, use skin-safe, cosmetic-grade colorants like mica powders. A little goes a long way—start with ¼ teaspoon per cup of mixture.
Consider adding polysorbate 80 to your colored bath bombs. This ingredient helps mica colors disperse evenly in bathwater rather than floating on top or sticking to the tub.
For those with sensitive skin, avoid artificial dyes and opt for natural colorants like beetroot powder or spirulina.
Essential oils provide natural fragrance, but must be used cautiously. Stick to 15-20 drops total per cup of dry ingredients. Some oils like cinnamon and peppermint can irritate skin if used in high concentrations.
Always check for skin sensitivity by testing a small amount on your inner wrist before using new scent combinations in your bath.
Storing and Preserving Homemade Bath Bombs
Proper drying is crucial for longevity. Allow bath bombs to dry completely for 24-48 hours in a low-humidity environment before packaging or using.
Store finished bath bombs in airtight containers with silica gel packets to absorb excess moisture. Glass containers work better than plastic for long-term storage.
Keep your bath bombs away from heat, direct sunlight, and humid areas like bathrooms. A cool, dark cabinet is ideal for preserving their fizz and fragrance.
Bath bombs without preservatives typically last 6 months. Add a teaspoon of kaolin clay to extend shelf life and maintain hardness.
Label your bath bombs with ingredients and creation date. This helps track freshness and is especially important if you’re giving them as gifts or have multiple varieties.
- 32shares
- Facebook0
- Pinterest29
- Twitter3
- Reddit0


