As the festive season approaches, the anticipation it brings is often as cherished as the celebrations themselves. For many, the traditional Advent calendar serves as a delightful harbinger of joy, building excitement day by day. While countless commercial options abound, there’s an unparalleled satisfaction in crafting a bespoke Advent calendar. This guide delves into the professional considerations and creative approaches behind designing and constructing your own festive countdown, transforming a simple tradition into a deeply personal and aesthetically pleasing experience.
The allure of a DIY Advent calendar extends beyond mere aesthetics. It’s an opportunity to inject personal narrative, reflect cherished memories, and ensure the daily surprises resonate deeply with the recipient. In a world increasingly saturated with mass-produced goods, a handcrafted calendar stands as a testament to thoughtful effort and bespoke design. It moves beyond generic chocolates or trinkets, offering a curated experience that can range from small, meaningful gifts to daily activities that foster connection and tradition. Moreover, opting for a DIY approach inherently champions sustainability, allowing for the reuse of materials and the creation of a durable piece that can be enjoyed for years to come, becoming a cherished family heirloom.
The Undeniable Appeal of a Bespoke Countdown
A DIY Advent calendar isn’t just a craft project; it’s a strategic design endeavor that yields significant returns in sentiment and satisfaction. The benefits are multifaceted, appealing to both the creator and the recipient.
Customization Beyond Compare
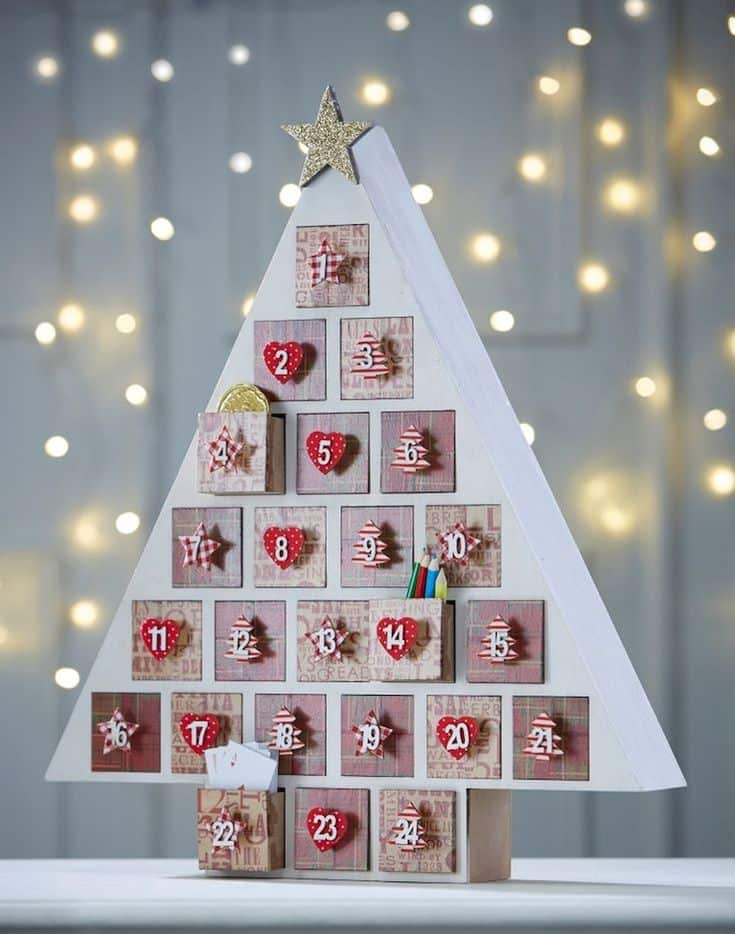
Unlike off-the-shelf calendars, a handmade version offers limitless customization. You dictate the theme, the color palette, and, most importantly, the contents. This level of personalization allows you to cater specifically to the recipient’s age, interests, and preferences, whether it’s a child eagerly awaiting tiny toys, a partner appreciating handwritten affirmations, or a family enjoying shared activities. Imagine a calendar filled with unique artisanal candies, miniature handcrafted items, or even custom-printed vouchers for experiences like “movie night” or “hot chocolate date.” This thoughtful curation elevates the Advent experience from a simple countdown to a daily moment of connection and joy.
Fostering Sustainability and Reusability
In an era of increasing environmental consciousness, DIY projects often present a more sustainable alternative. By selecting durable materials such as wood, high-quality fabric, or recycled paper, you create a calendar that can be reloaded and reused year after year. This approach significantly reduces waste associated with single-use plastic calendars and encourages a mindful consumption pattern. Furthermore, the act of repurposing existing items, like old tins or fabric scraps, aligns perfectly with eco-friendly principles, giving new life to materials that might otherwise be discarded.
Budget-Friendly Creativity
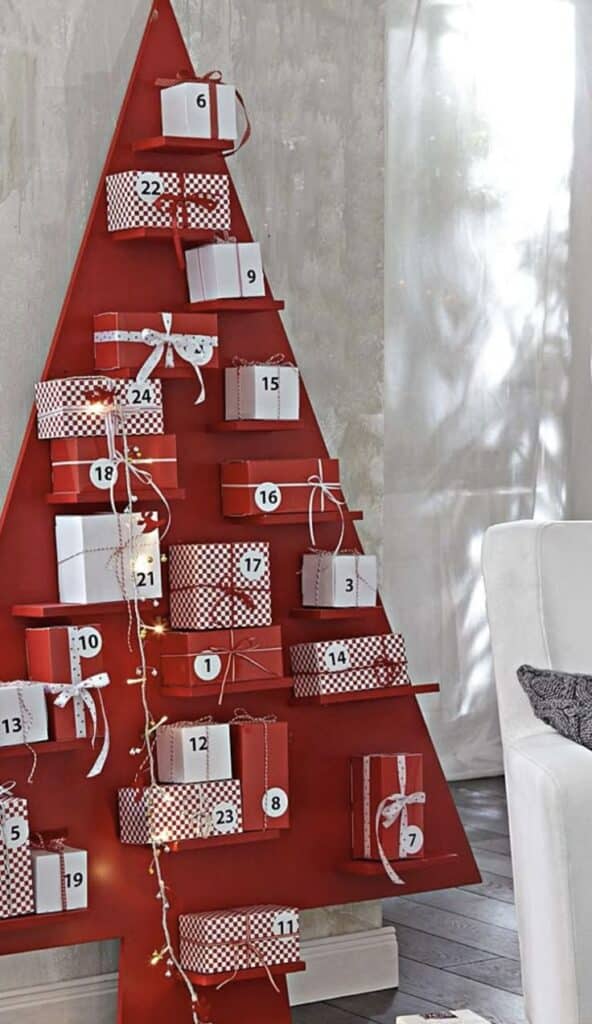
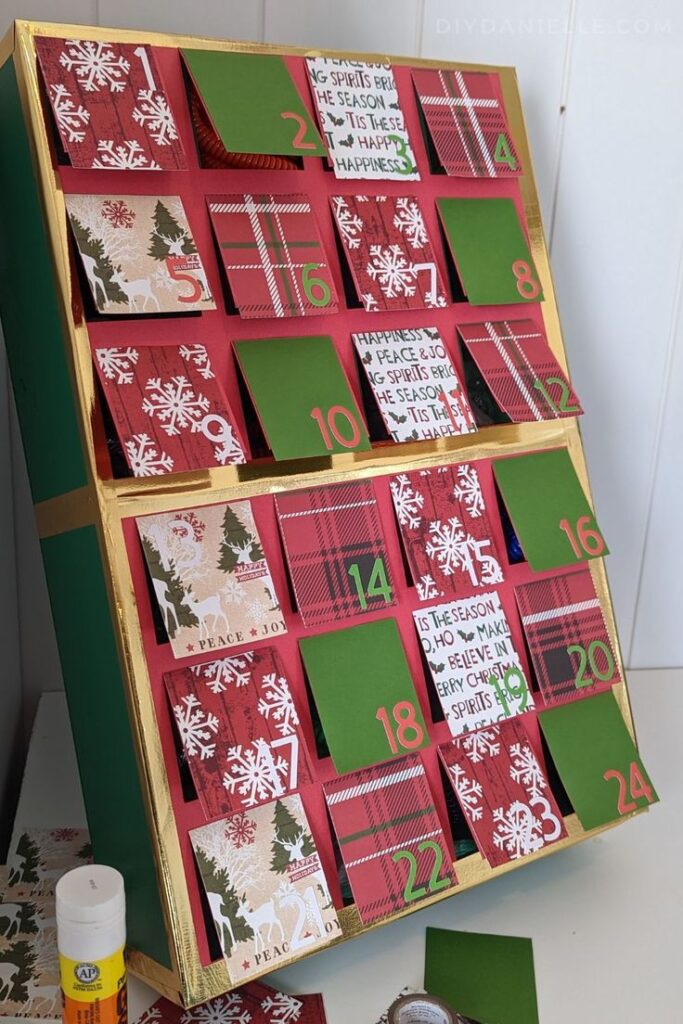
While high-end commercial Advent calendars can carry a substantial price tag, a DIY project allows for significant cost control. By sourcing materials strategically and often utilizing items you already possess, you can create an impressive calendar without overspending. The value derived from the effort and personalization far surpasses the monetary cost, offering a premium experience at a fraction of the retail price. This economic advantage, combined with the emotional richness, makes DIY a compelling choice for many.
A Lasting Keepsake and Tradition
Beyond its immediate function, a carefully constructed DIY Advent calendar can evolve into a cherished family heirloom. Each year, as it emerges from storage, it rekindles memories and strengthens festive traditions. Children who grew up with a handmade calendar may one day wish to pass it down or recreate a similar experience for their own families, forging a continuous link across generations. This enduring quality transforms a seasonal item into a piece of family history.
Strategic Planning: The Foundation of Your Advent Calendar Project
Successful execution of any creative project begins with meticulous planning. Crafting an Advent calendar is no exception. A well-defined strategy ensures a smooth process, prevents last-minute hurdles, and ultimately delivers a refined and impactful result.

Defining Your Budget and Timeline
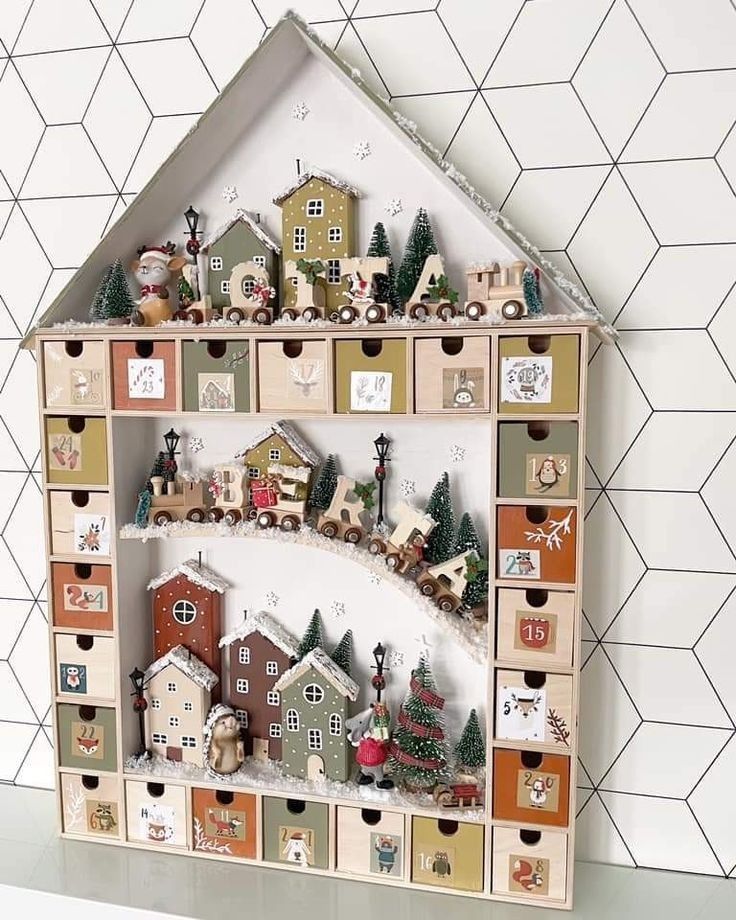
Before diving into design, establish clear parameters for your project. Determine a realistic budget that encompasses all materials, tools, and fillings. This helps guide your material choices and prevents unexpected expenses. Equally important is setting a detailed timeline. Advent calendars, by their nature, must be completed and filled before December 1st. Work backward from this date, allocating sufficient time for design conceptualization, material acquisition, construction, decoration, and filling. Breaking the project into smaller, manageable phases can prevent overwhelm and ensure timely completion, akin to strategies for managing large-scale projects.
Selecting a Theme and Aesthetic
The theme and aesthetic are the soul of your Advent calendar. They should ideally reflect the recipient’s personality or the overall decor of your home during the holidays.
- Traditional Elegance: Think classic reds, greens, and golds, with perhaps a touch of plaid or natural wood elements.
- Winter Wonderland: Utilize silvers, blues, whites, and iridescent accents to evoke a snowy landscape.
- Minimalist Chic: Focus on clean lines, monochromatic palettes (e.g., neutrals, black and white), and subtle textures.
- Nature-Inspired: Incorporate elements like dried oranges, pinecones, twigs, and burlap. This theme can draw inspiration from nature-inspired interior decor for a harmonious feel.
- Playful & Whimsical: Bright colors, quirky illustrations, and fun shapes are perfect for children or those young at heart.
Consider the overall style of your holiday decorations to ensure your calendar integrates seamlessly into your festive environment.
Comprehensive Material Gathering
Once your theme is set, compile a comprehensive list of materials. This proactive step saves time and ensures you have everything on hand when you begin crafting.
Base Structure Materials:
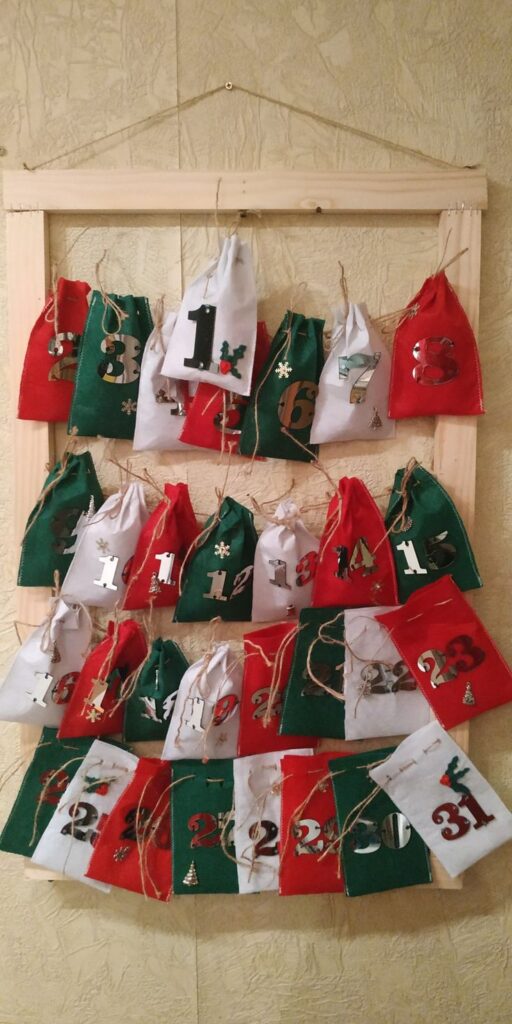
- Fabric: Felt, cotton, linen, burlap, or even repurposed textiles. Ideal for pouches, pockets, or a quilted backdrop.
- Wood: Plywood for a sturdy frame, small wooden boxes or drawers, dowels for hanging.
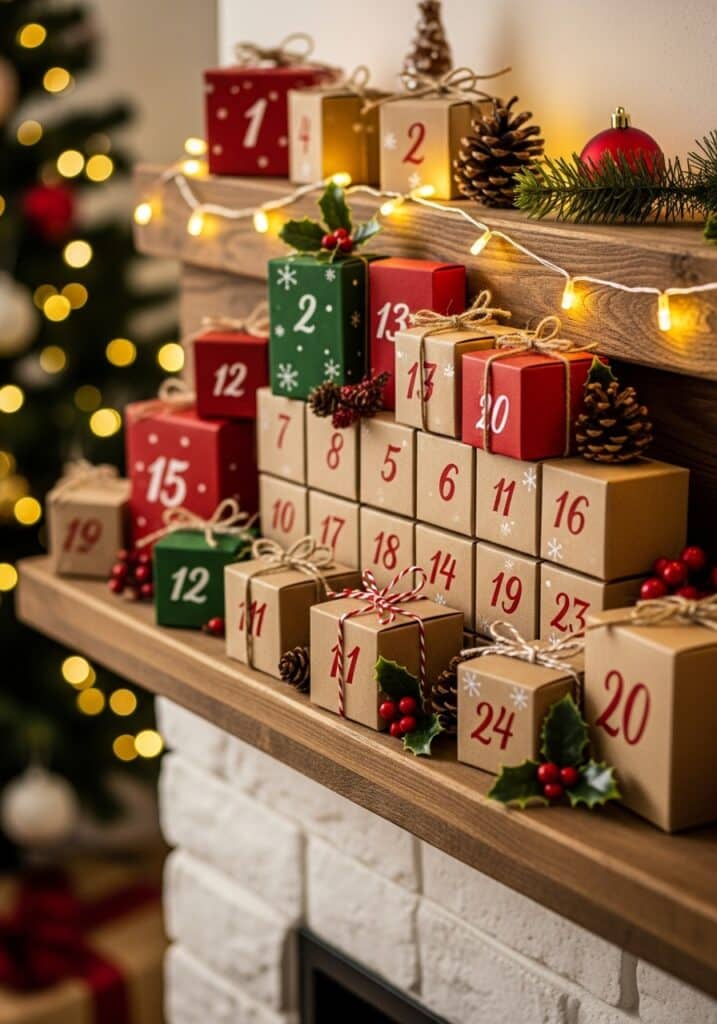
- Cardboard: Recycled shipping boxes, heavy cardstock, matchboxes. Versatile for creating individual compartments.
- Metal: Small tins, empty tea light holders (cleaned), or even repurposed metal containers.
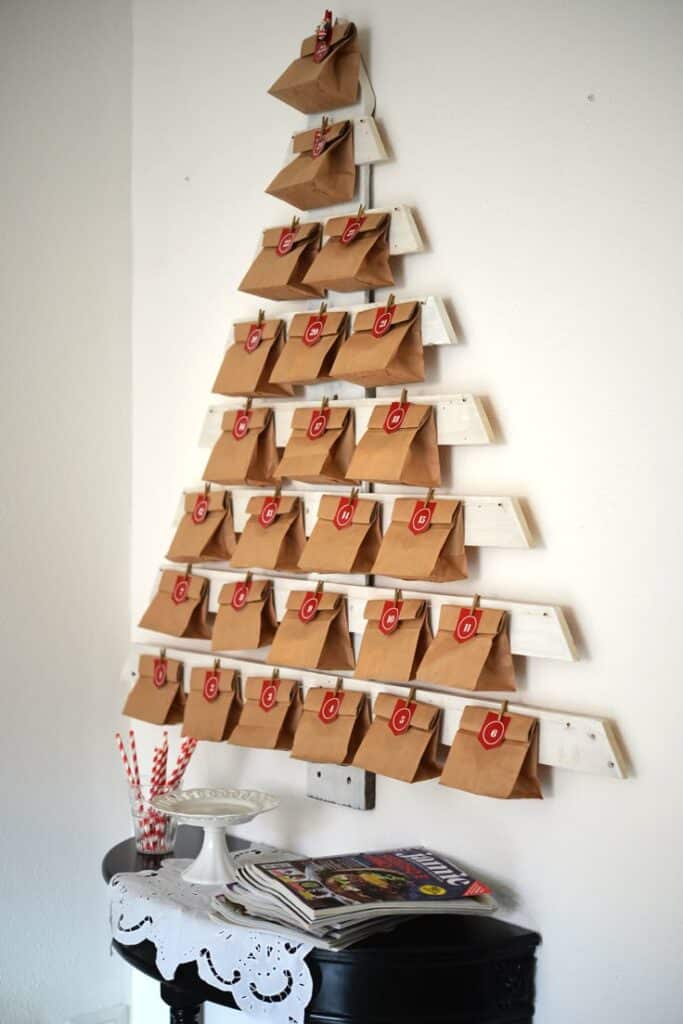
- Other: Glass jars, small ceramic pots, paper bags, envelopes.
Decorative Elements:
- Adhesives: Hot glue, craft glue, fabric glue, double-sided tape.
- Paints & Markers: Acrylic paints, permanent markers, glitter pens.
- Ribbons & Twine: Various colors and textures for hanging, tying, or embellishing.
- Embellishments: Buttons, beads, small ornaments, natural elements (pinecones, dried berries), mini bows.
- Numbering: Stencils, stamps, vinyl decals, or hand-drawn numbers. Consider experimenting with 7 inspiring sketching ideas for your sketchbook to design unique numbering styles.
Tools:
- Cutting Tools: Scissors, craft knife, cutting mat.
- Measuring Tools: Ruler, measuring tape.
- Fasteners: Sewing machine (for fabric calendars), needle and thread, stapler.
- Drill: For wooden structures or hanging elements.
- Paintbrushes: Various sizes for detailed work.
Diverse Design Concepts for Your DIY Advent Calendar
The beauty of DIY lies in its boundless creative potential. Here are several design concepts, ranging from simple to intricate, to spark your imagination.
Fabric-Based Calendars
These offer a soft, tactile aesthetic and can be incredibly durable.
- Quilted Pockets: Sew 24 small pockets onto a larger fabric backing. Each pocket can be numbered and filled. This allows for intricate quilting patterns and a cozy, heirloom feel.
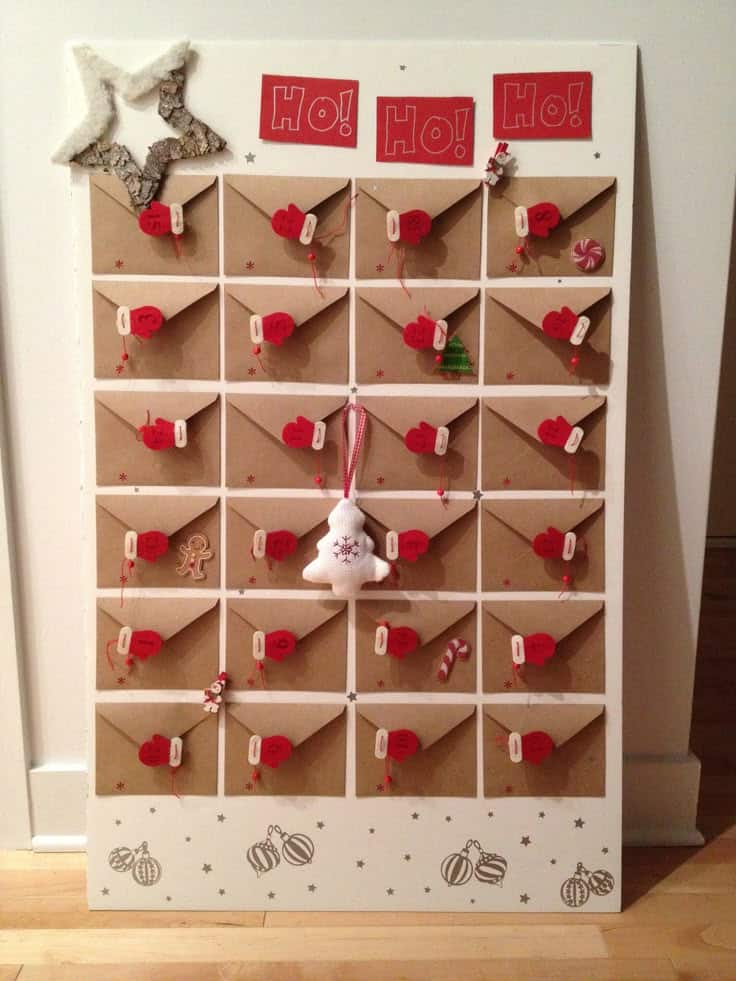
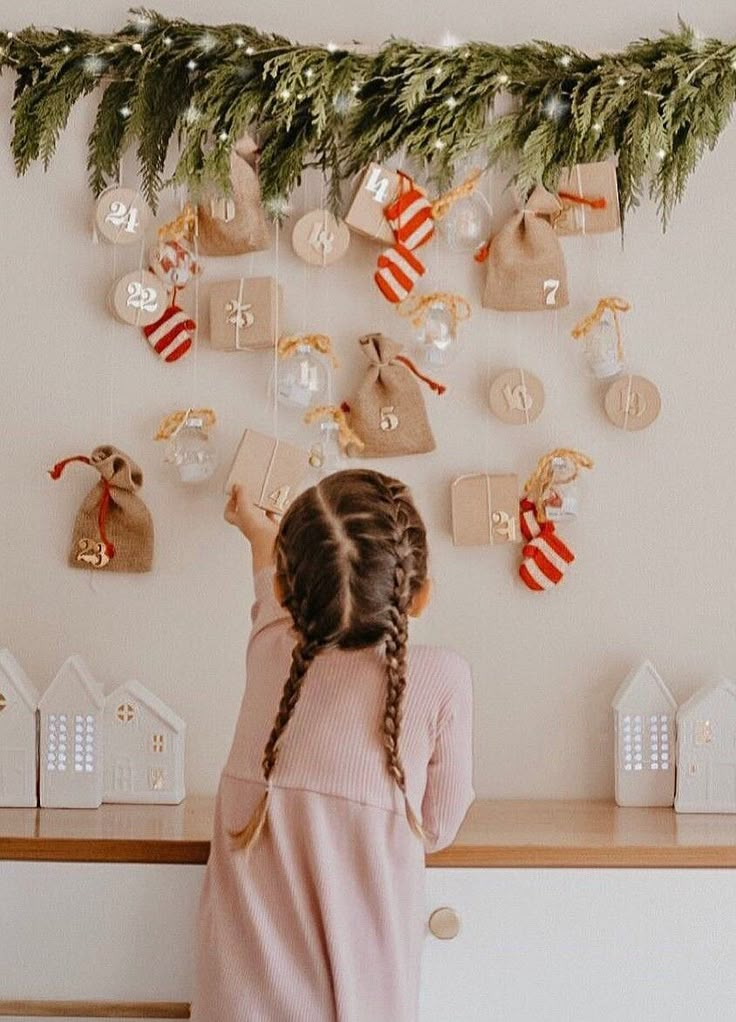
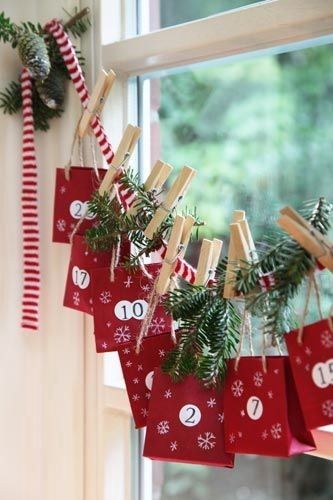
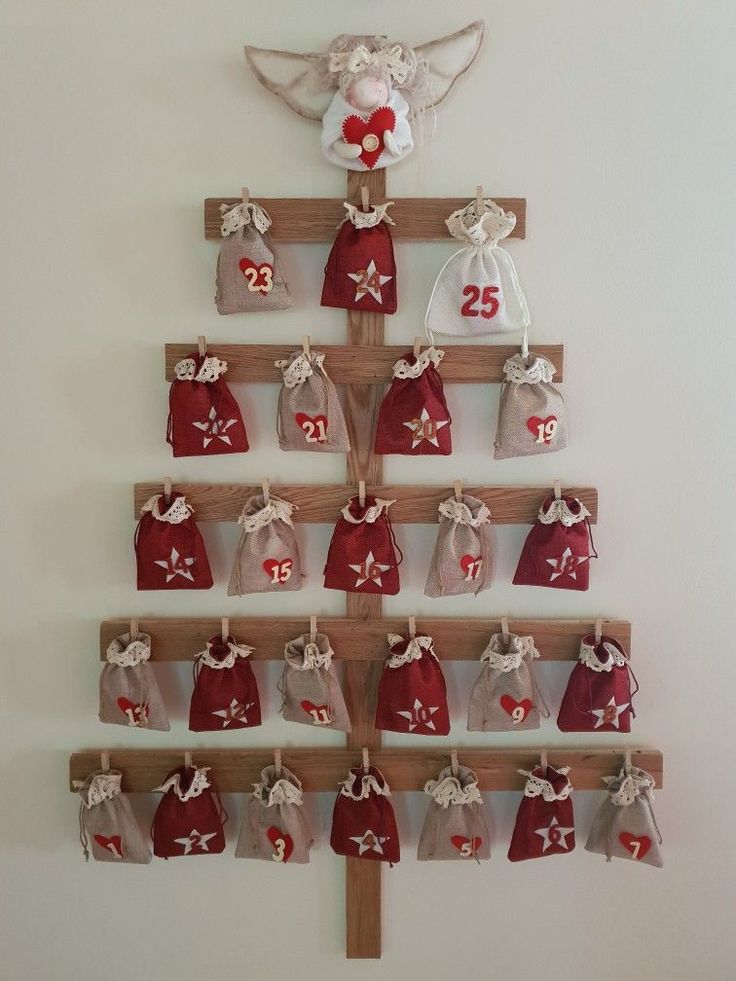
- Felt Envelopes/Pouches: Cut out 24 small felt envelopes or pouches, decorate them, and attach them to a decorative branch or a fabric panel with safety pins or small clothes pegs. Felt is easy to work with and doesn’t fray.
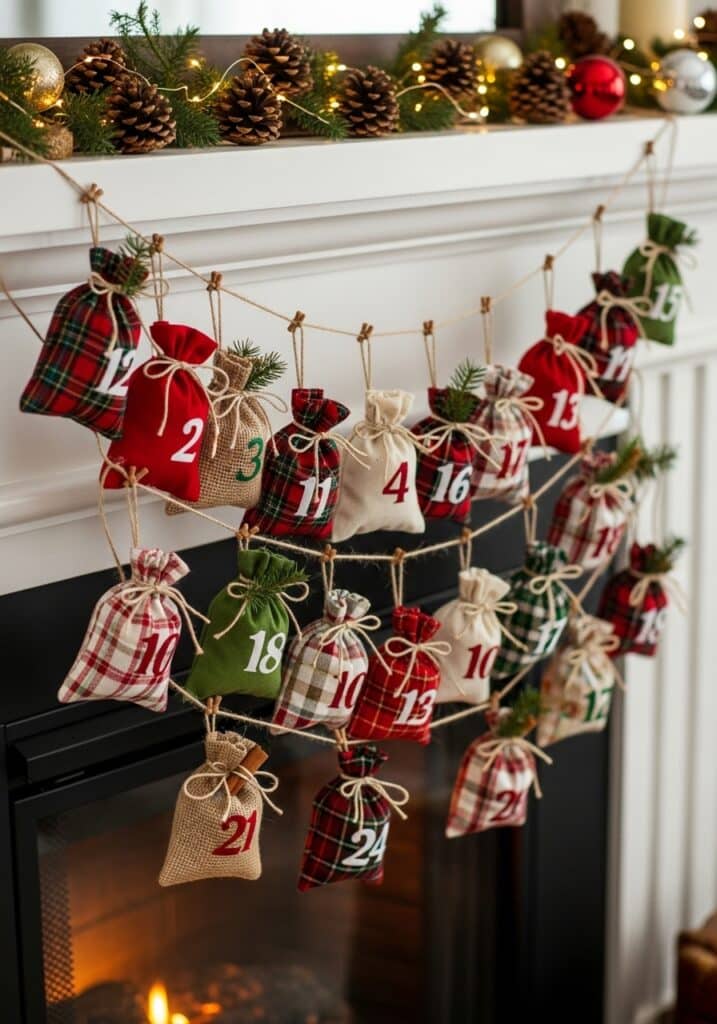
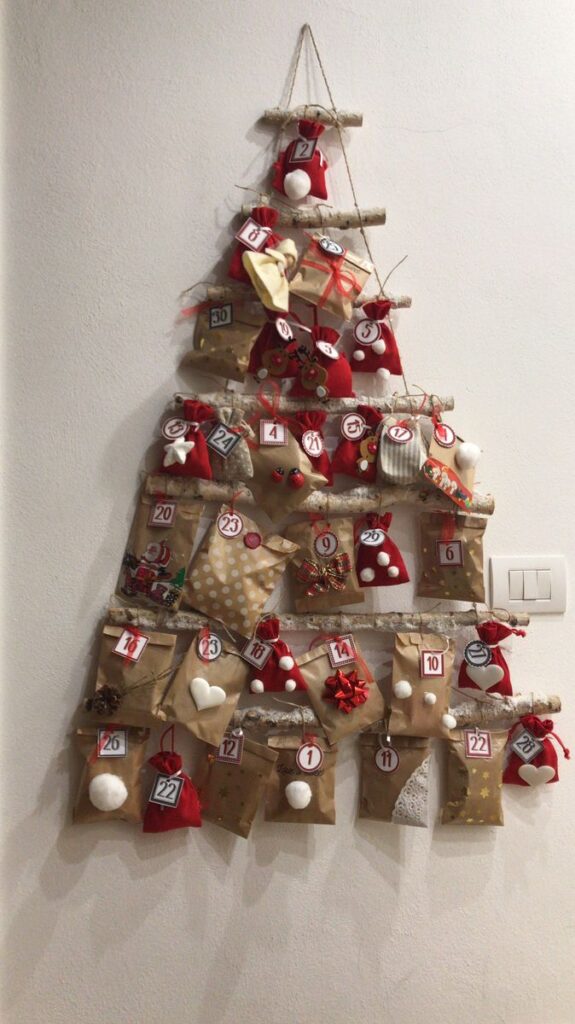
- Burlap Sacks: Small burlap sacks tied with festive twine and hung from a rustic branch evoke a charming, rustic appeal. These can be decorated with painted numbers or fabric appliqués.
Paper & Cardboard Creations
Affordable and versatile, paper and cardboard are excellent for intricate designs.
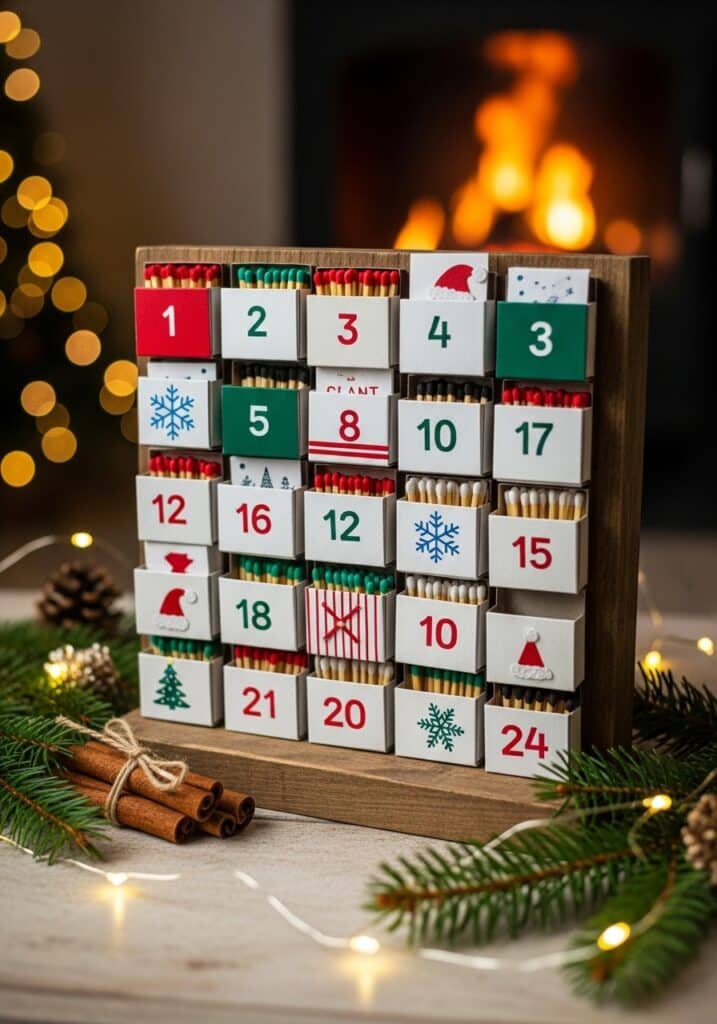
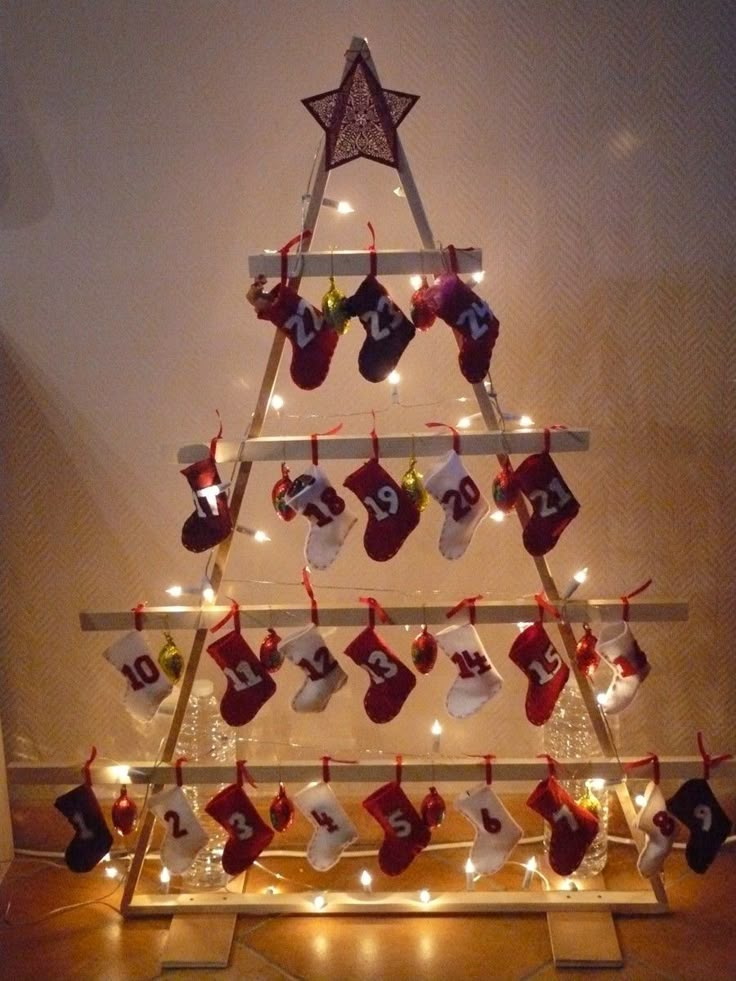
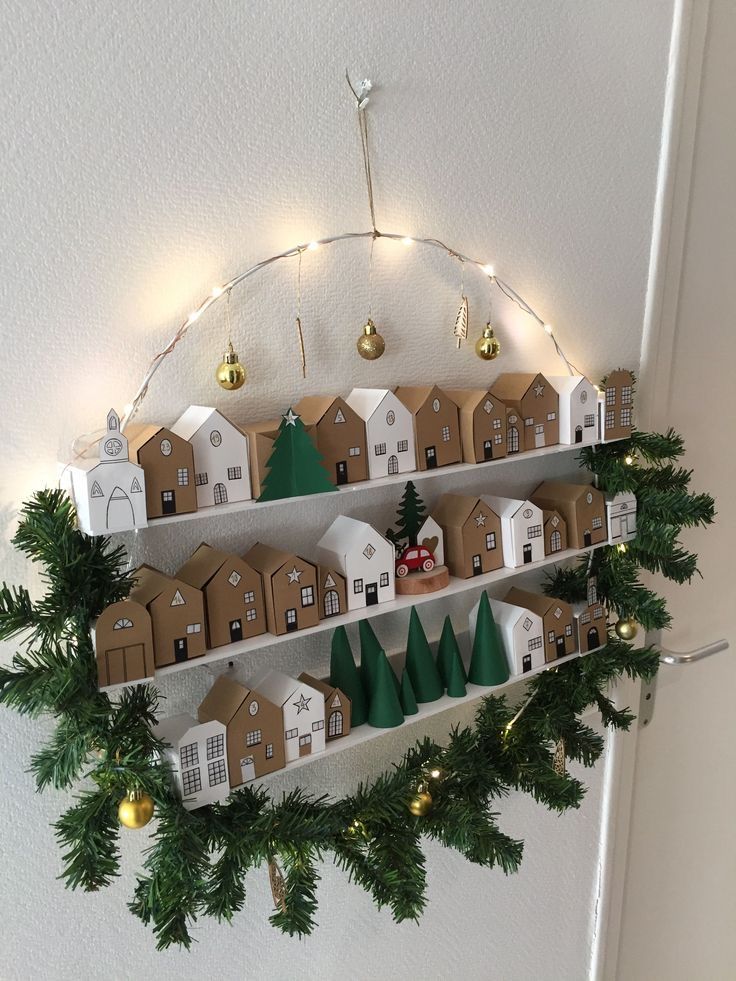
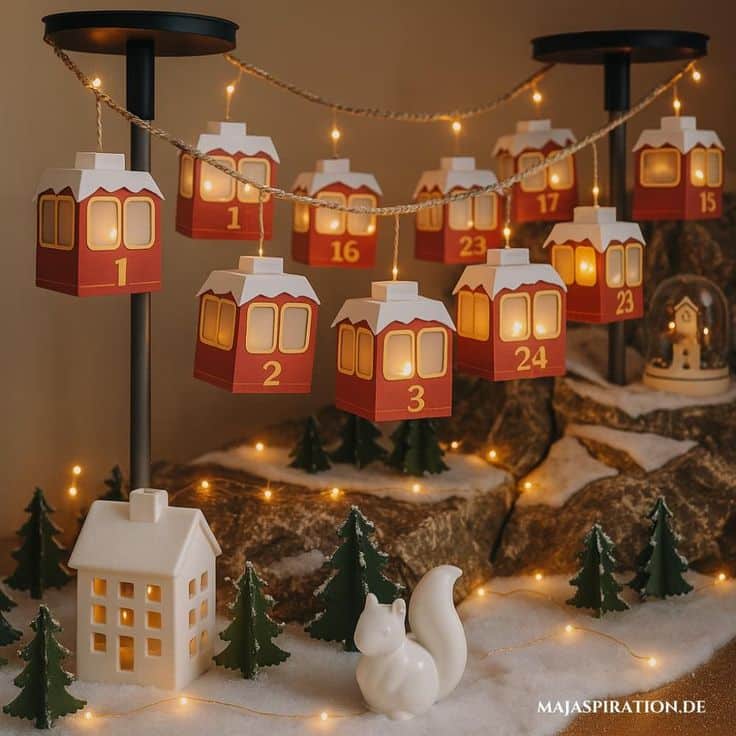
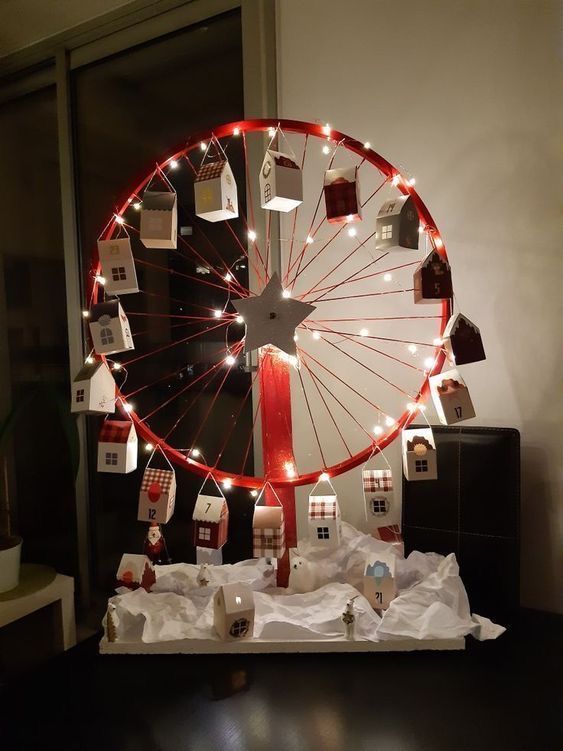
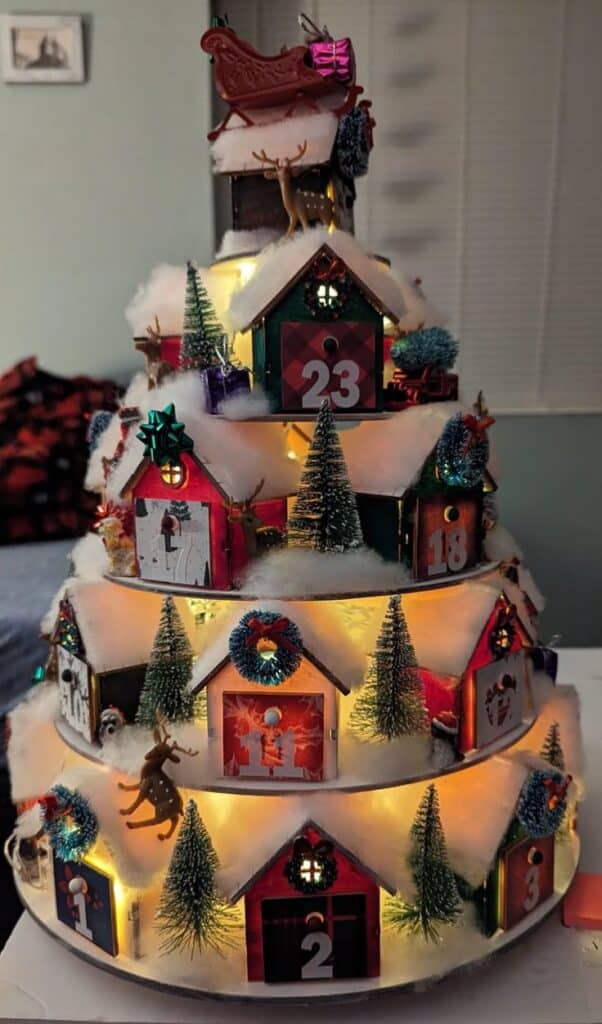
- Matchbox Stack: Collect 24 empty matchboxes (or craft small cardboard boxes). Decorate each one, fill it, and then stack and glue them together to form a festive structure, like a small house or a tree.
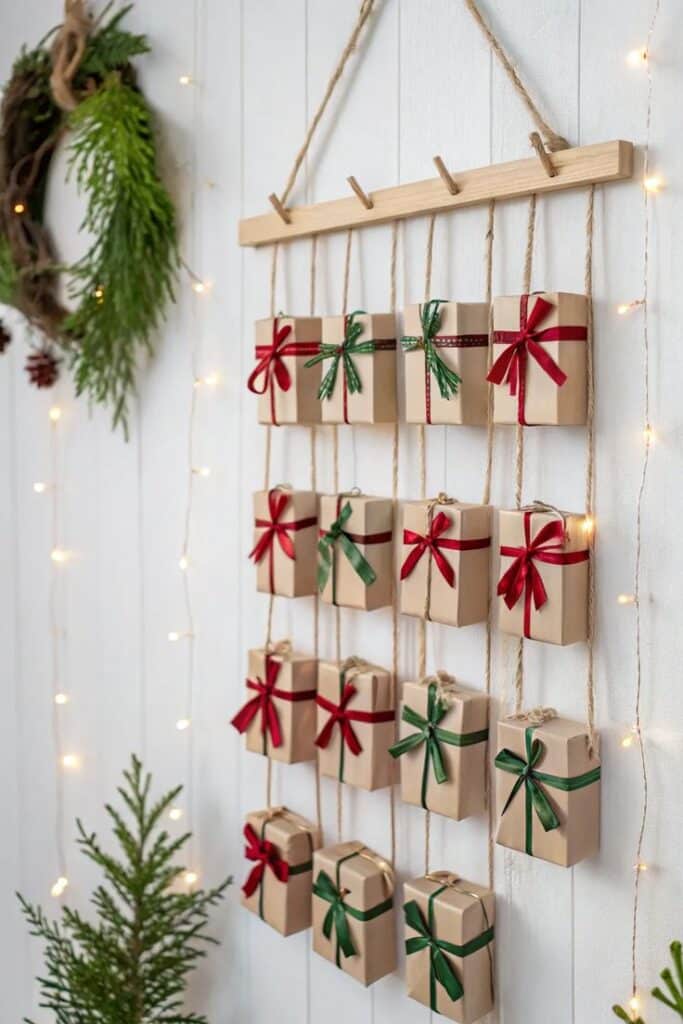
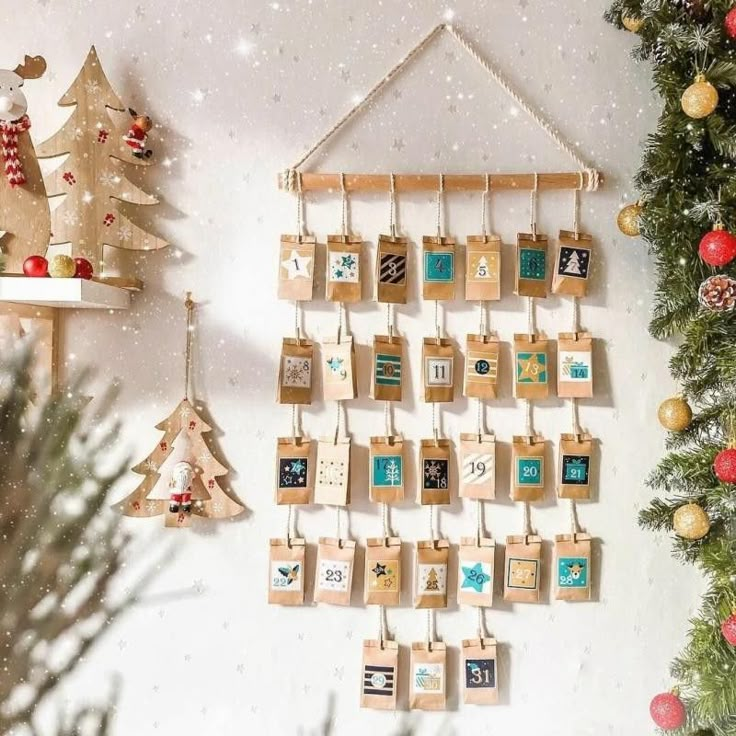
- Numbered Envelopes: Decorate 24 envelopes, number them, and hang them from a string or attach them to a corkboard. This is a quick and elegant option.
- Origami Boxes: For those with advanced paper crafting skills, intricate origami boxes can create stunning individual compartments.
- Toilet Paper Roll Pyramids: Collect 24 empty toilet paper rolls, decorate and number them, then arrange them into a pyramid or tree shape. Seal one end with tissue paper after filling.
Wooden Structures
Wooden calendars provide a sturdy, sophisticated, and long-lasting option.
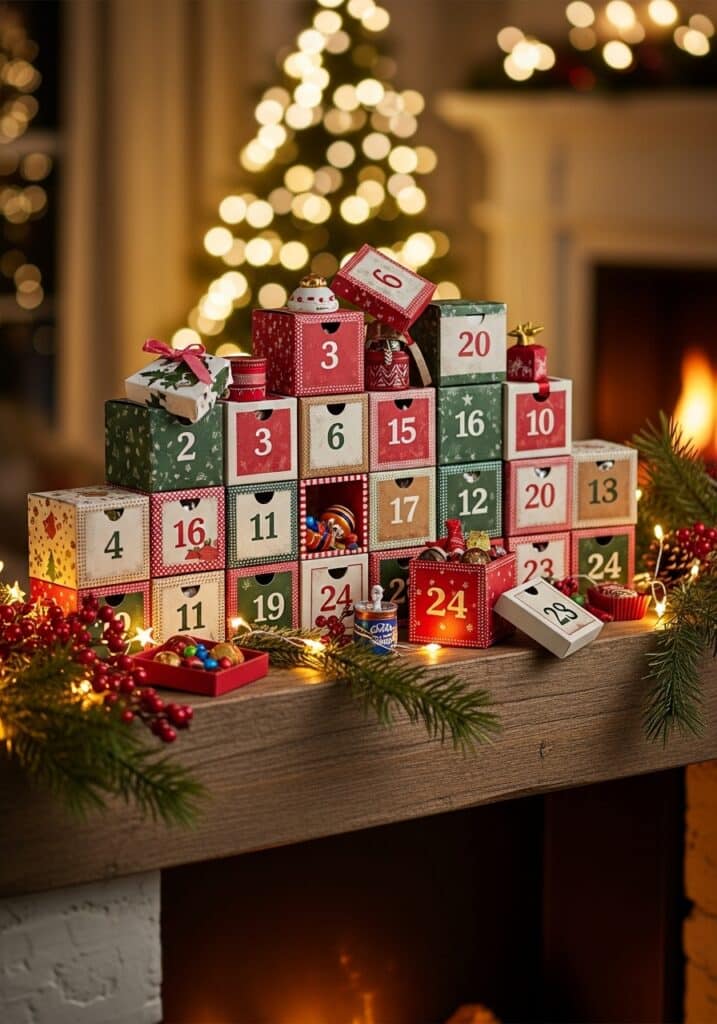
- Mini Drawer Chest: Construct a small wooden chest with 24 tiny drawers. This requires basic carpentry skills but results in a beautiful, permanent fixture.
- Shelf Display: A simple wooden shelf unit with 24 small compartments can be filled with mini gifts or decorative items. Each compartment can be uniquely painted or adorned.
- Drilled Plank: A wooden plank with 24 small holes from which to hang small pouches or ornaments with hidden treats.
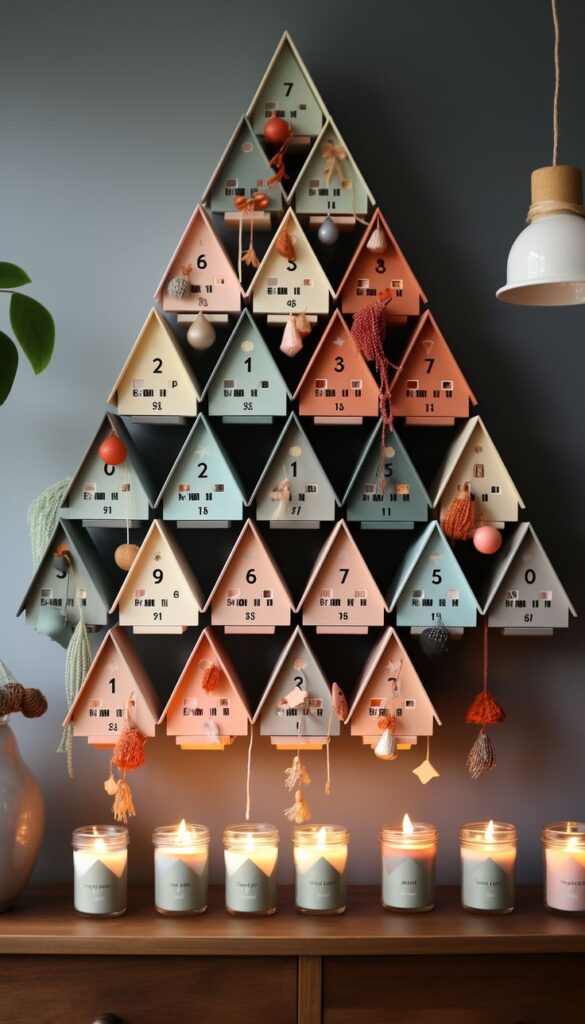
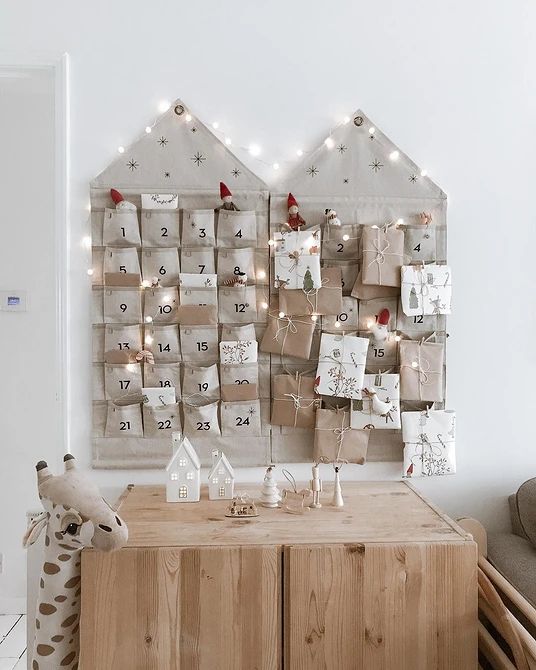
Repurposed & Upcycled Ideas
Embrace sustainability by transforming everyday objects into festive countdowns.
- Tin Can Display: Clean and decorate 24 small tin cans (e.g., from tuna or cat food). Stack them into a tree shape or arrange them on a shelf, with treats hidden inside.
- Jar Countdown: Use 24 small glass jars, decorate their lids or tie tags with numbers around their necks, and fill them with treats. These can be displayed on a mantelpiece.
- Old Books: Carefully hollow out pages of old books to create secret compartments, marking each with a number. This offers a whimsical, literary twist.
Digital & Interactive Calendars (Brief Mention)
For a modern twist, consider a hybrid approach. While the physical calendar remains central, small QR codes in some compartments can link to festive videos, digital recipes, or online games.
Crafting Your Calendar: Step-by-Step Execution
With your design concept and materials in hand, the next phase is bringing your vision to life.
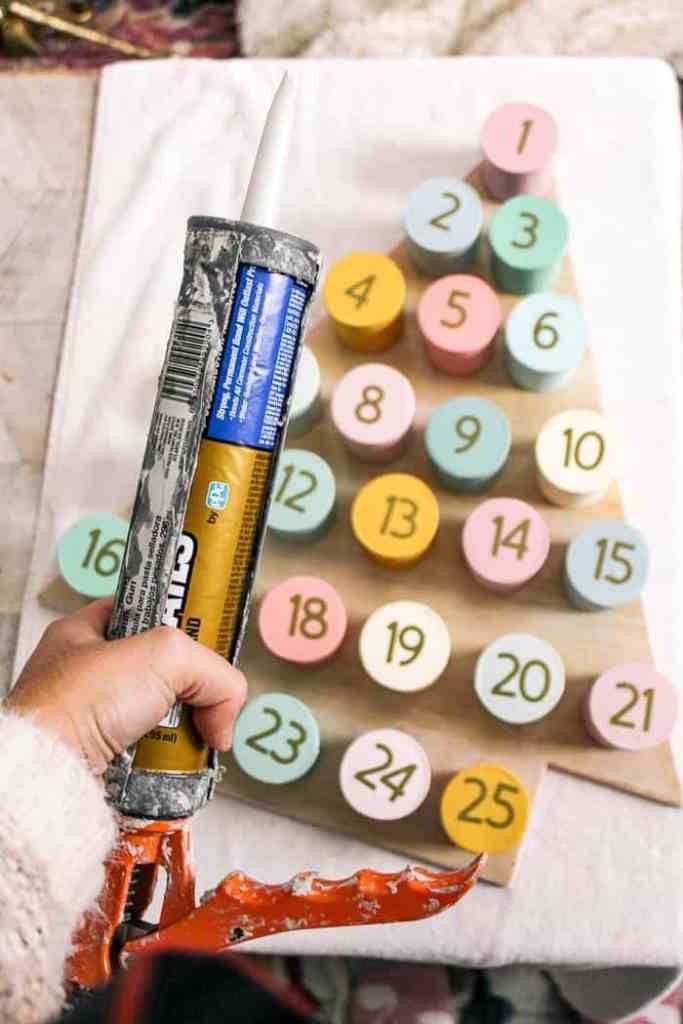
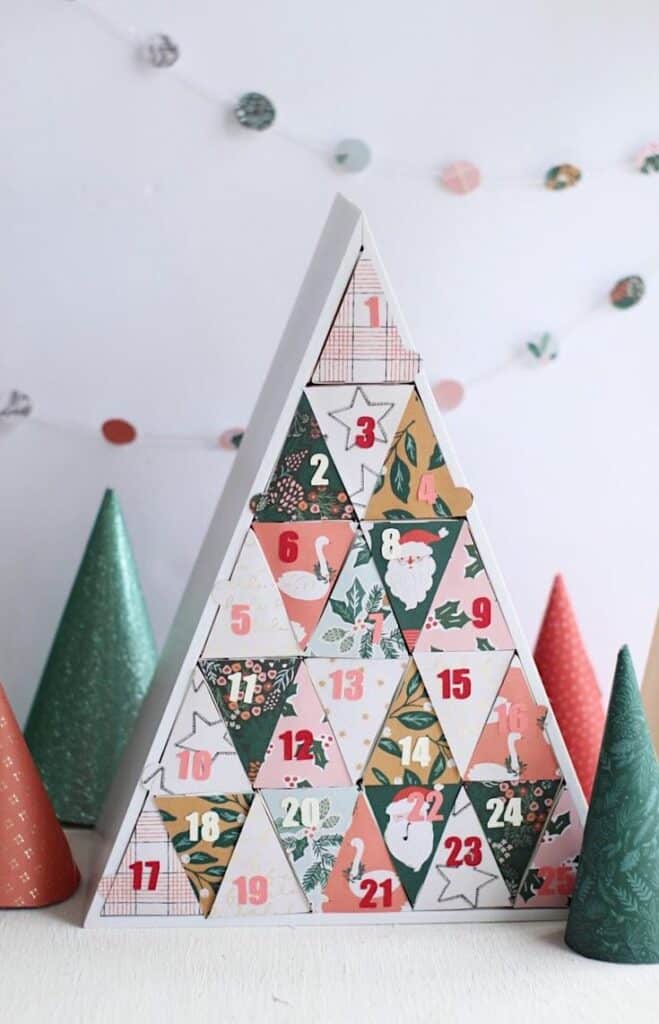
Preparing the Base Structure
This step will vary greatly depending on your chosen design.
- For Fabric: Cut your main backing fabric and 24 pocket pieces. Hem edges where necessary.
- For Wood: Cut and sand all wooden pieces. Assemble the frame or drawers using wood glue and small nails/screws.
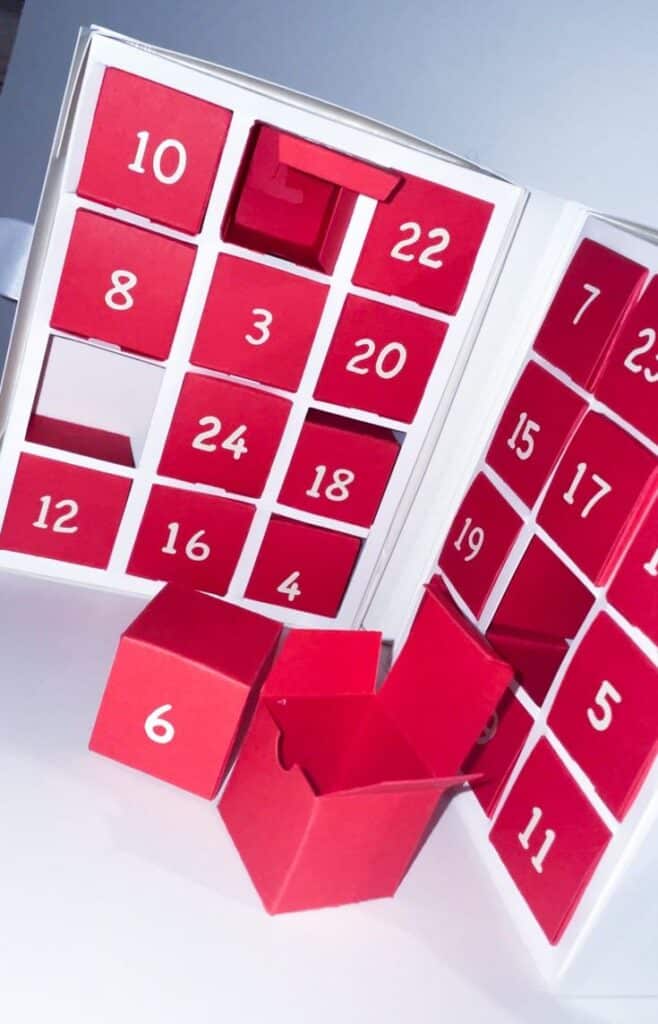
- For Cardboard: Cut, fold, and glue your individual boxes or envelopes. Ensure they are uniform in size if intended for stacking or a symmetrical display.
Numbering and Decorating Each Compartment
This is where your chosen aesthetic truly comes to life.
- Stenciling: Use stencils for clean, uniform numbers on fabric, wood, or paper.
- Hand-Painting/Drawing: For a more artistic touch, hand-paint or draw each number. This allows for unique drawing ideas easy for kids to be incorporated if the calendar is for them.
- Stamping: Rubber stamps offer a classic, crisp look.
- Vinyl Decals: For a professional, polished finish, custom vinyl numbers can be ordered or cut with a crafting machine.
- Embellishments: Add small ornaments, glitter, ribbons, dried flowers, or other decorative elements to each day’s compartment, ensuring they complement your overall theme.
Filling with Thoughtful Treasures
The contents of your Advent calendar are paramount. They should be meaningful and add to the festive anticipation. Aim for a mix of small gifts, experiences, and treats.
Small Gifts & Trinkets:
- Miniature toys (for children)
- Craft supplies (e.g., colorful beads, small spools of thread, sticker sheets)
- Jewelry (for adults, small earrings, charms)
- Keychains
- Miniature books or puzzles
- Seed packets (for garden enthusiasts)
Experience Vouchers:
- “Movie night with popcorn”
- “Bake Christmas cookies together”
- “Visit a local Christmas market”
- “Story time by the fireplace”
- “Extra 15 minutes of playtime”
- “Choose dinner for the evening”
Personalized Notes & Activities:
- A handwritten note with a cherished memory or affirmation.
- A small card with a festive joke or riddle.
- A suggestion for a holiday-themed activity (e.g., “draw a snowflake,” “sing a Christmas carol”).
- A piece of a larger story, revealed day by day.
Edible Treats:
- Artisanal chocolates or candies
- Gourmet tea bags or coffee samples
- Homemade cookies or fudge
- Miniature bottles of special condiments or spices
- Dried fruit or nuts
Remember to consider dietary restrictions or allergies when selecting edible treats. The key is variety and surprise, ensuring each day brings a unique moment of delight.
Advanced Techniques & Personalization
For those seeking to elevate their DIY Advent calendar, incorporating advanced techniques can create truly extraordinary pieces.
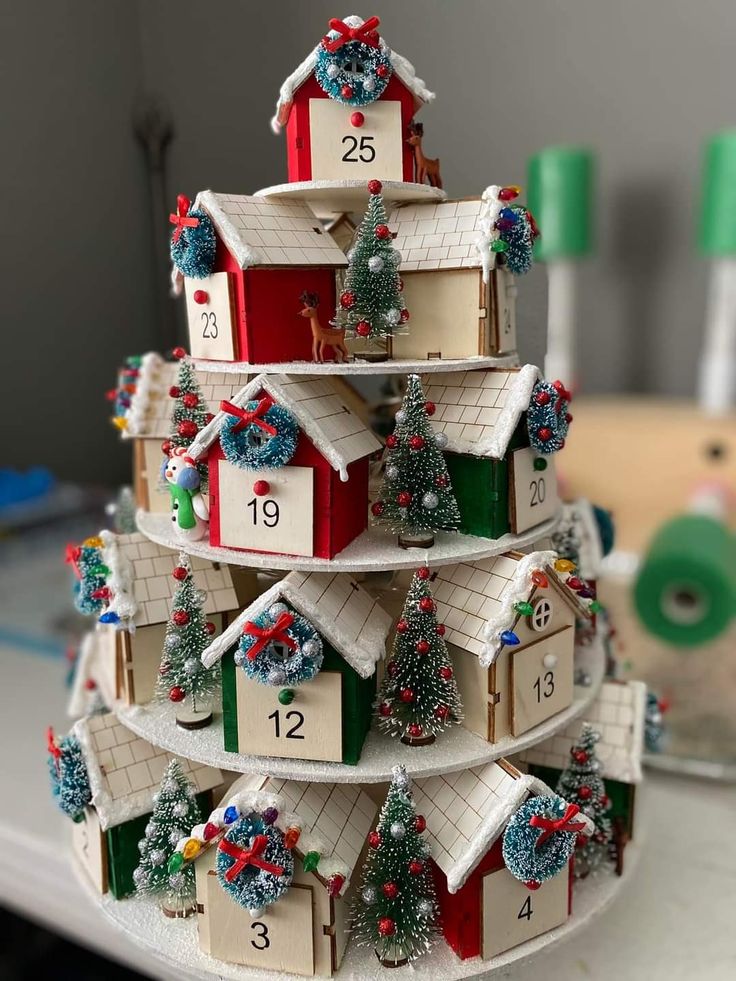

Incorporating LED Lighting
Small, battery-operated LED fairy lights can add a magical glow to your calendar. Weave them through a fabric backing, line the edges of a wooden structure, or place a tiny light inside a few select compartments for a special reveal. This not only enhances the aesthetic appeal but also creates a cozy, inviting atmosphere.
Adding Custom Illustrations or Hand-Lettering
Personalize your calendar further with custom artistic touches. If you have drawing skills, consider illustrating small festive motifs on each compartment or hand-lettering the numbers in an elegant script. This adds a unique artistic signature and can be a wonderful way to express your creativity. Even simple creative ideas for doodles can make a big impact.
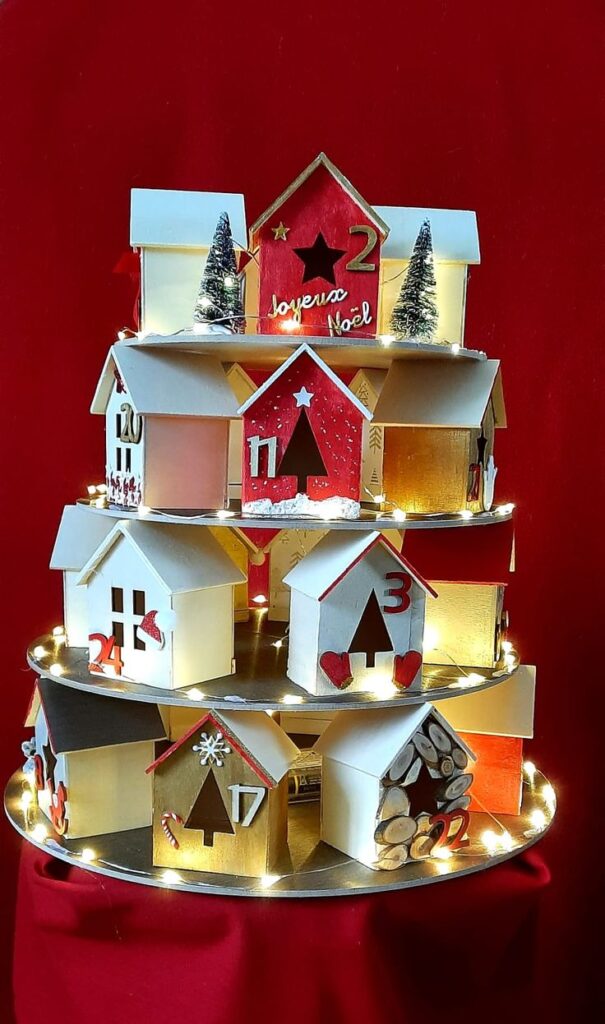
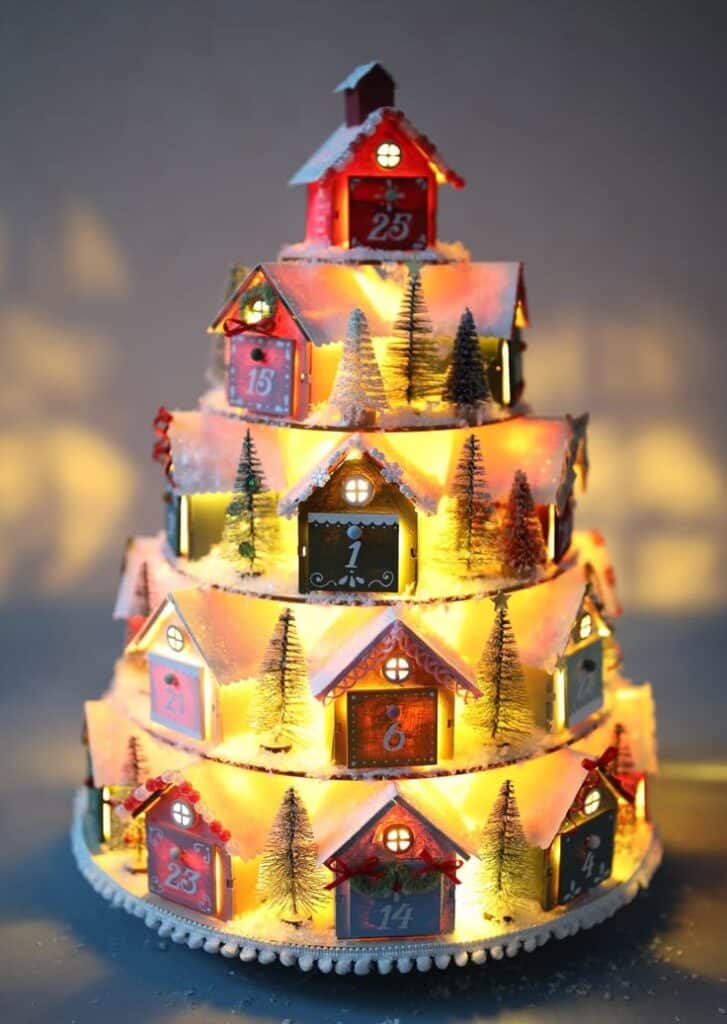
Integrating Interactive Elements
Beyond traditional contents, think about how to make your calendar more interactive.
- Puzzle Pieces: Each day, provide one piece of a larger puzzle that, once completed on December 24th, reveals a festive image or message.
- Recipe Cards: Include ingredients or steps for a holiday recipe, culminating in a festive treat on Christmas Eve.
- Scavenger Hunt Clues: Some compartments could contain clues leading to a larger hidden gift or a family activity.
Sustainability in DIY Advent Calendars
The sustainable aspect of DIY crafting is a powerful incentive. By making conscious choices, your Advent calendar can be a beacon of eco-friendly festivity.
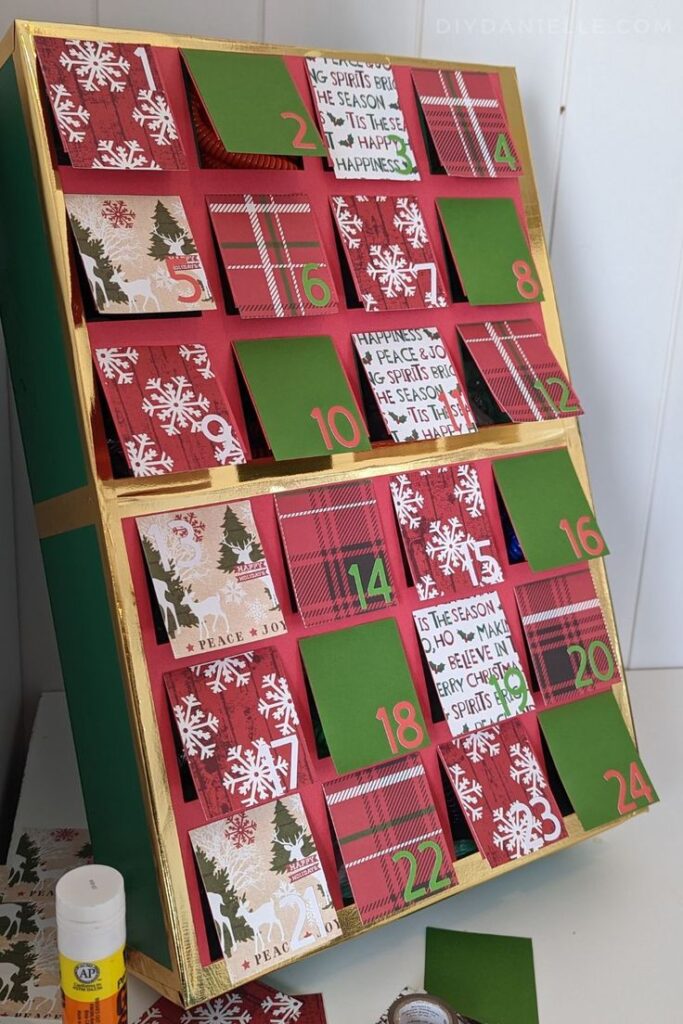
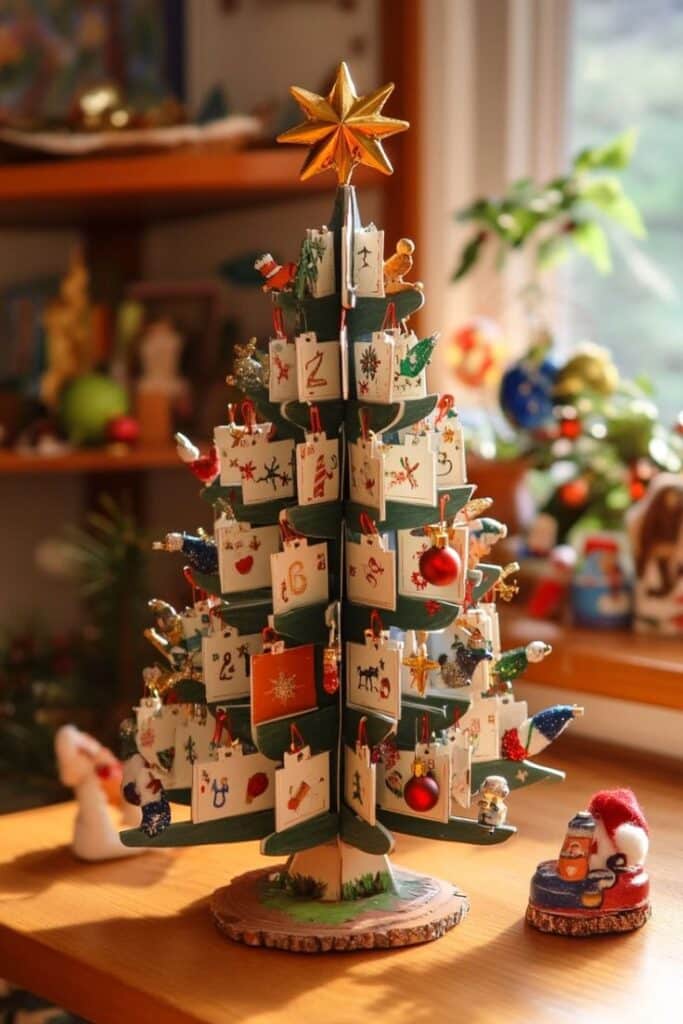
Eco-Friendly Material Choices
Prioritize materials that are natural, recycled, or easily recyclable.
- Natural Fabrics: Opt for organic cotton, linen, hemp, or wool over synthetic options.
- Recycled Paper/Cardboard: Utilize old boxes, Kraft paper, or FSC-certified paper.
- Reclaimed Wood: Source salvaged wood for your wooden structures.
- Non-Toxic Finishes: Use water-based paints, natural dyes, or beeswax finishes for wooden elements.
- Avoid Plastics: Minimize the use of plastic trinkets or decorations, focusing instead on natural or metal alternatives.
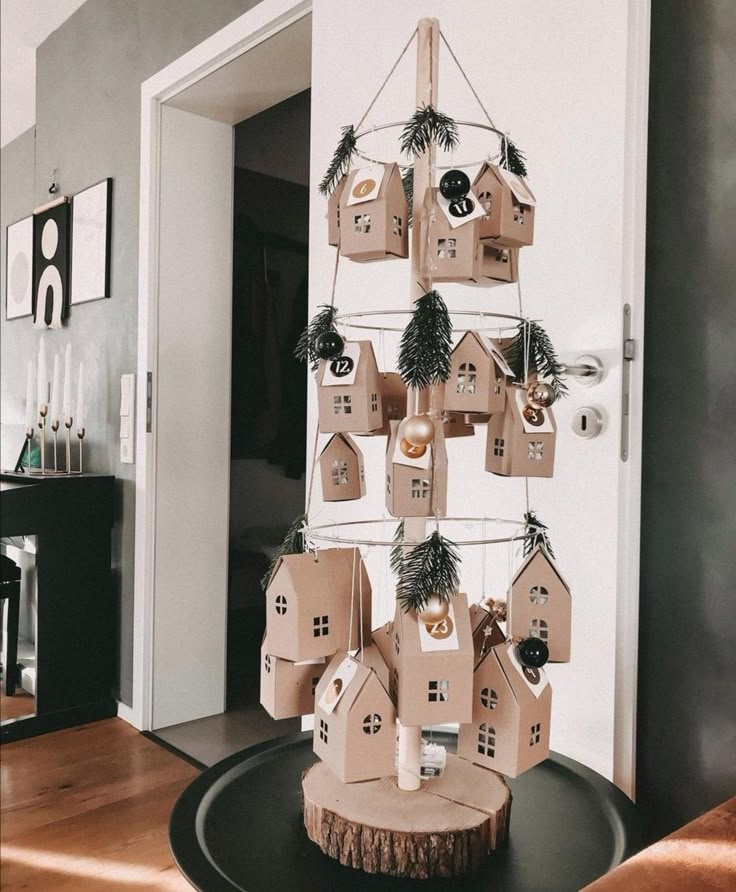
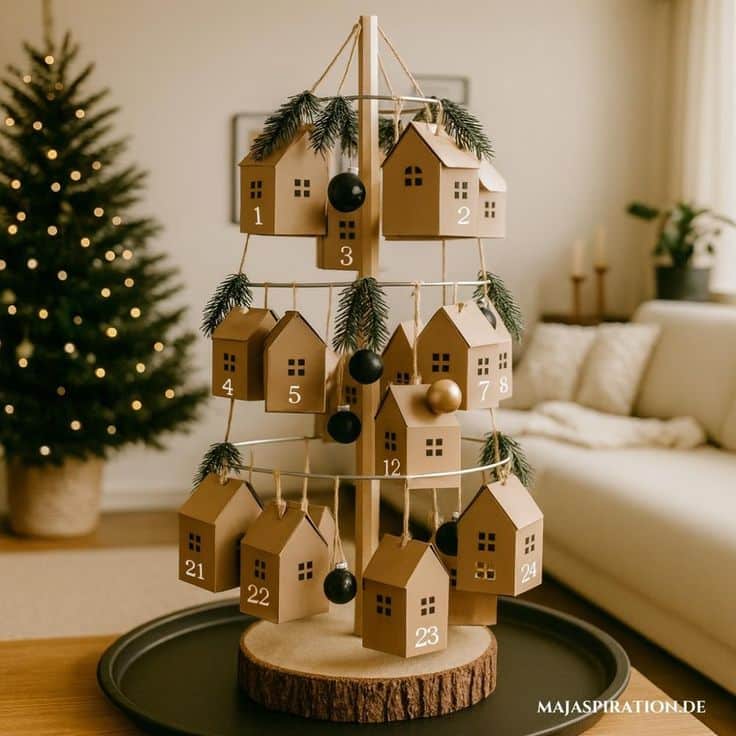
Reusability for Future Years
Design your calendar with longevity in mind.
- Durable Construction: Ensure all components are securely assembled to withstand repeated use and storage.
- Neutral Themes: While specific themes are fun, consider a more versatile aesthetic that won’t feel dated in a few years, allowing the calendar to adapt to evolving tastes.
- Robust Compartments: Ensure pockets, drawers, or boxes are strong enough to hold various fillings without tearing or breaking.
- Easy Refilling: Design the calendar so that refilling each compartment is straightforward and not overly time-consuming.
By focusing on these principles, your DIY Advent calendar becomes not just a festive item, but a statement of conscious living and sustainable celebration.
Overcoming Common DIY Challenges
Even the most seasoned crafters encounter hurdles. Anticipating and preparing for these can make your project smoother.
Time Management
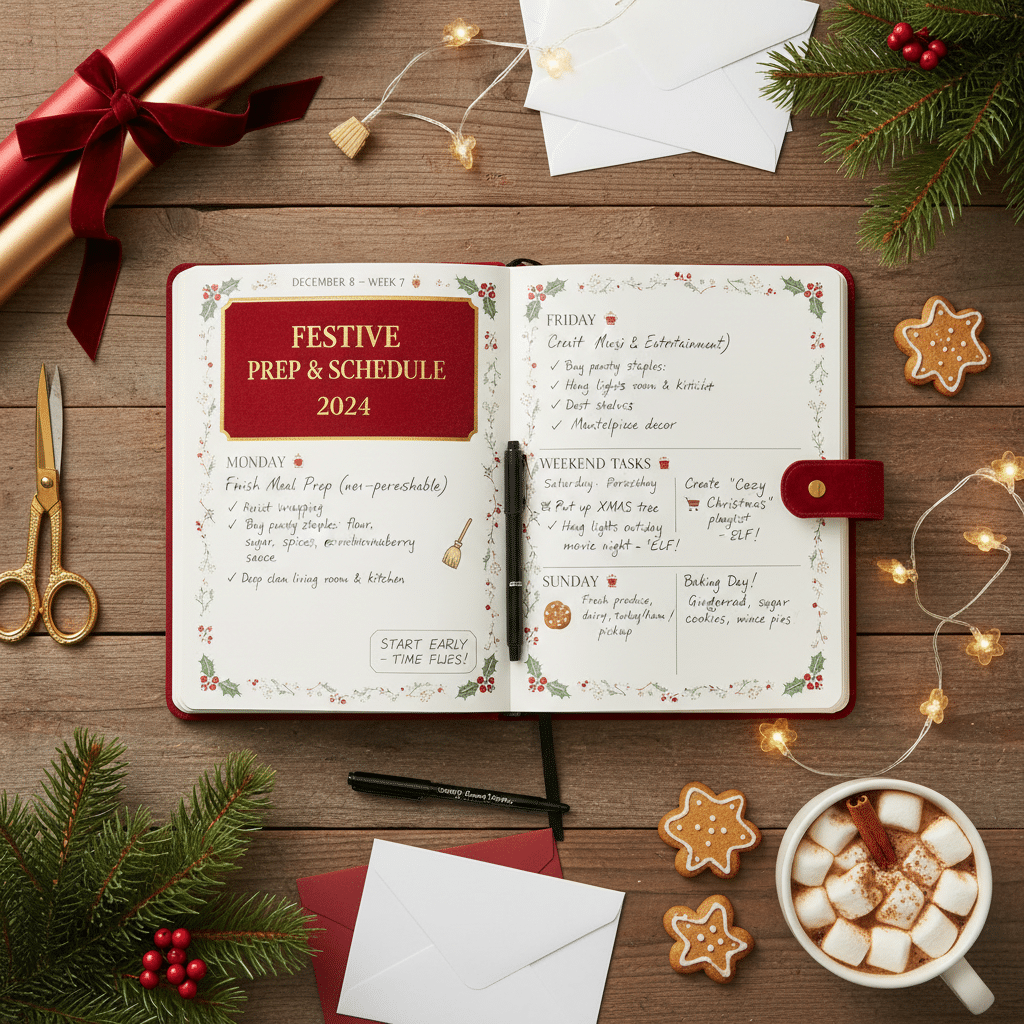
The biggest challenge for many is often time. As mentioned earlier, create a detailed schedule and adhere to it. Break down large tasks into smaller, manageable steps. If you find yourself running behind, simplify aspects of the design or decoration rather than compromising quality. Start earlier than you think necessary; the festive season tends to fill up quickly.
Material Sourcing
Sometimes, finding the exact materials envisioned can be difficult or expensive. Be flexible and resourceful.
- Shop Local: Support local craft stores, small businesses, or even thrift stores for unique finds.
- Online Marketplaces: Explore Etsy or specialized craft supply websites for specific components.
- Repurpose: Before buying new, look around your home for items that can be repurposed. Old clothing for fabric, empty containers, or even natural elements from your garden.
- Substitute: Be open to alternative materials if your first choice is unavailable. A different fabric or type of wood might still achieve the desired effect.
Creative Blocks
Every creator faces moments where inspiration wanes.
- Take a Break: Step away from the project for a bit. Sometimes a fresh perspective is all you need.
- Seek Inspiration: Browse online platforms like Pinterest, Instagram, or craft blogs for new creative ideas and techniques.
- Simplify: If an idea feels too complex, streamline it. Often, elegance lies in simplicity.
- Collaborate: Discuss your ideas with a friend or family member. A different viewpoint can often unlock new possibilities.
Maintaining and Storing Your Advent Calendar
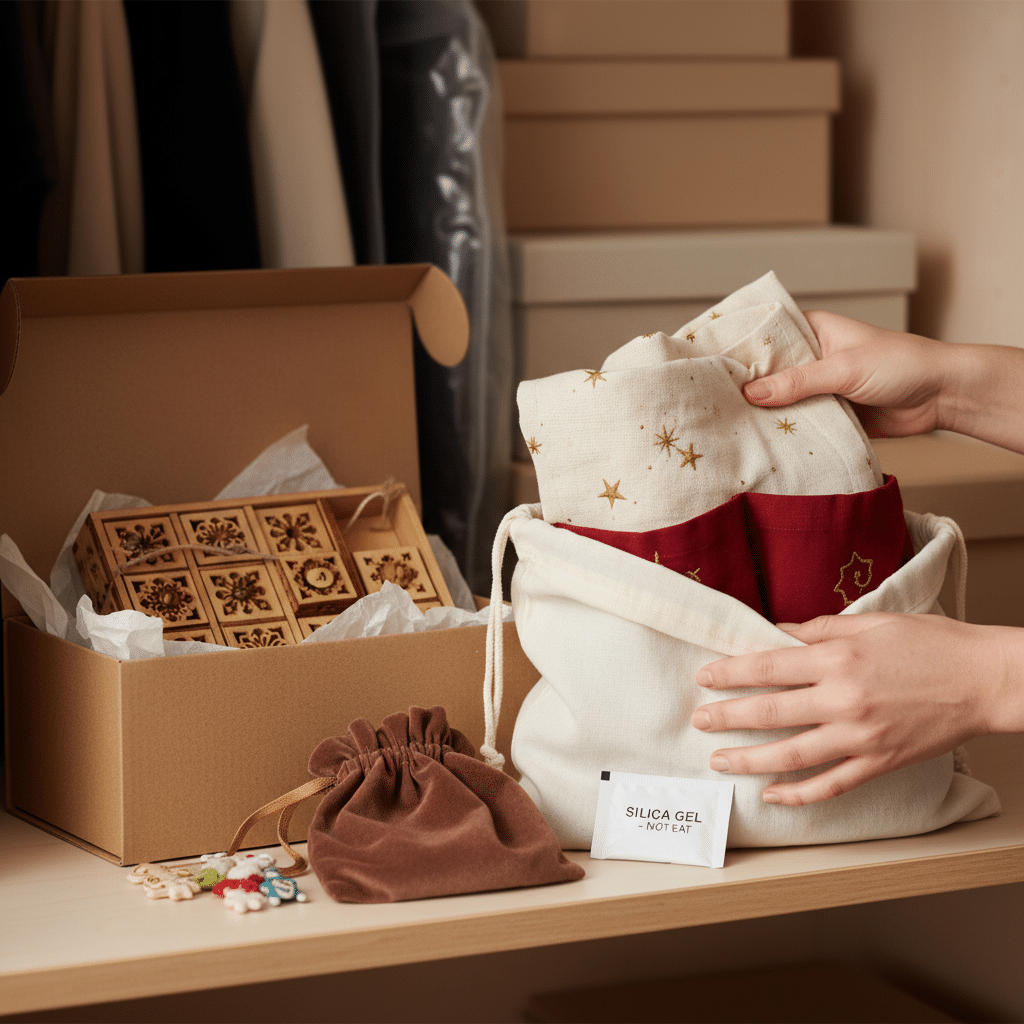
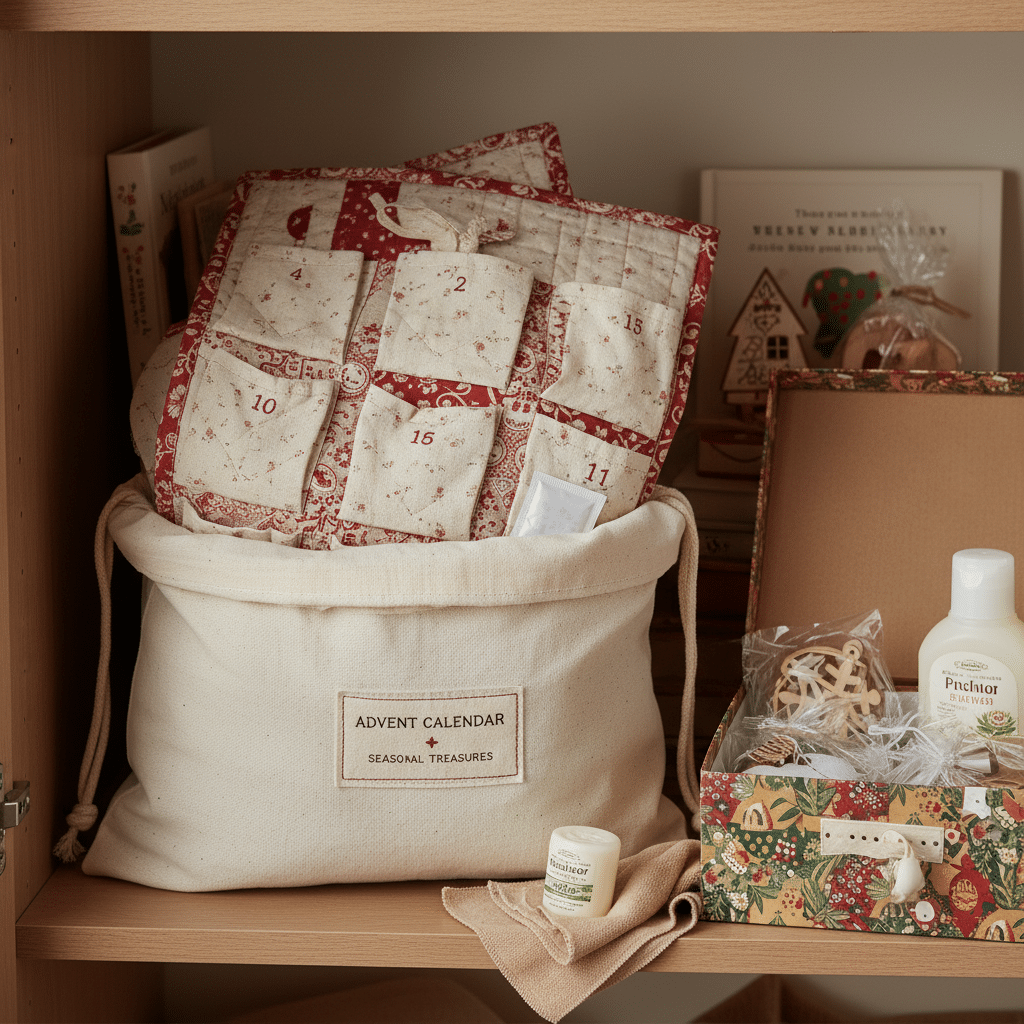
To ensure your handmade treasure lasts for many seasons, proper maintenance and storage are crucial.
- Gentle Cleaning: If your calendar is fabric-based, spot clean any marks with a mild detergent and allow it to air dry completely. For wooden or cardboard calendars, a soft, dry cloth is usually sufficient to remove dust.
- Empty and Inspect: After the holiday season, completely empty all compartments and inspect for any damage or wear. Make any necessary repairs immediately to prevent further deterioration.
- Proper Storage: Store your calendar in a clean, dry, and temperature-controlled environment. A breathable fabric bag (for fabric calendars) or a sturdy box (for rigid structures) will protect it from dust, moisture, and pests. Adding a silica gel packet can help absorb any ambient moisture.
- Fragile Fillings: If you plan to reuse particular fillings, store them separately and carefully.
Conclusion: A Legacy of Festive Craftsmanship
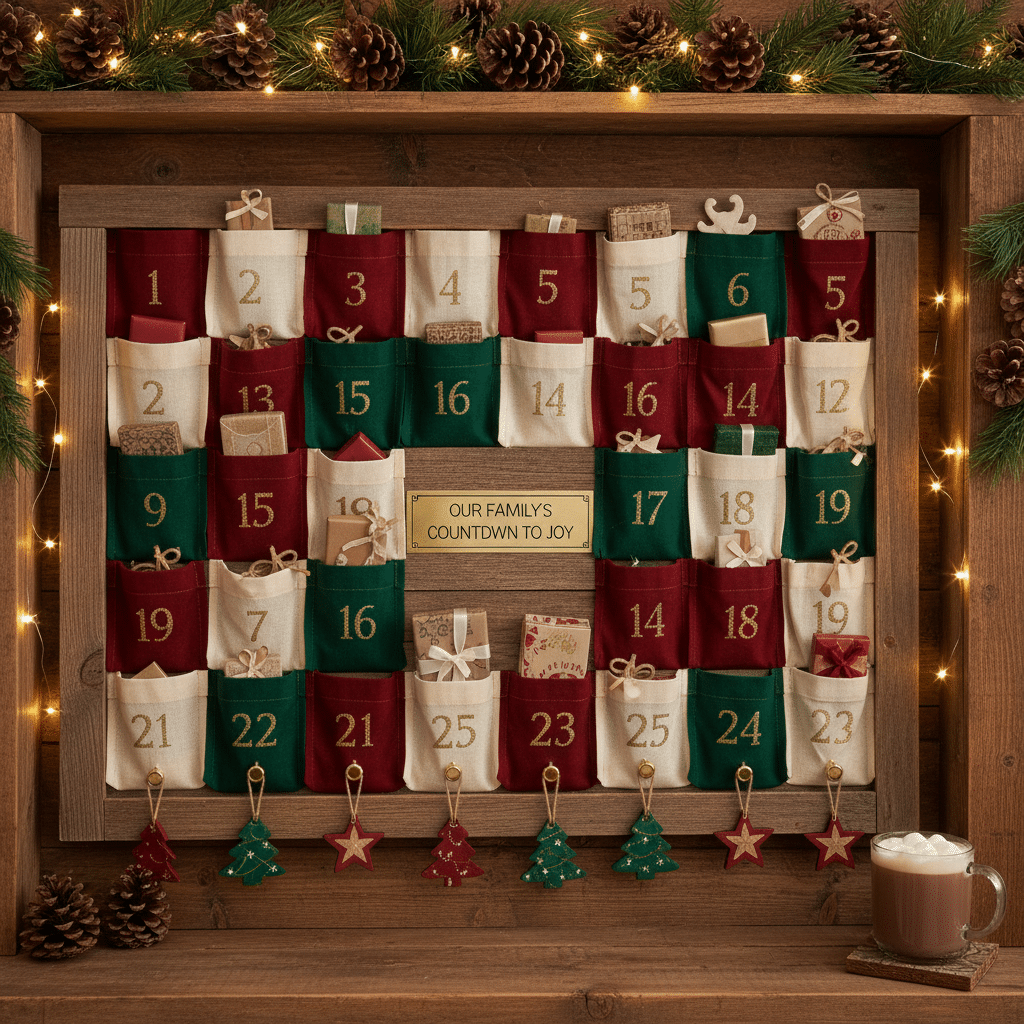

Crafting your own festive countdown is far more than a seasonal activity; it’s an investment in tradition, creativity, and personal connection. By meticulously planning, thoughtfully designing, and expertly executing your vision, you create a truly unique Advent calendar that transcends its functional purpose to become a cherished symbol of anticipation and joy. From the initial conceptualization to the final placement of each tiny gift, every step is an opportunity to imbue the piece with meaning, making it a powerful expression of festive spirit.
Embrace the journey of creation, knowing that your efforts will not only bring daily delight but also forge lasting memories and potentially become a treasured heirloom passed down through generations. Begin your crafting adventure today, and transform this holiday season into a celebration of bespoke beauty and heartfelt tradition. What unique touch will you add to your DIY Advent calendar this year?
- 1.3Kshares
- Facebook0
- Pinterest1.3K
- Twitter3
- Reddit0

